...
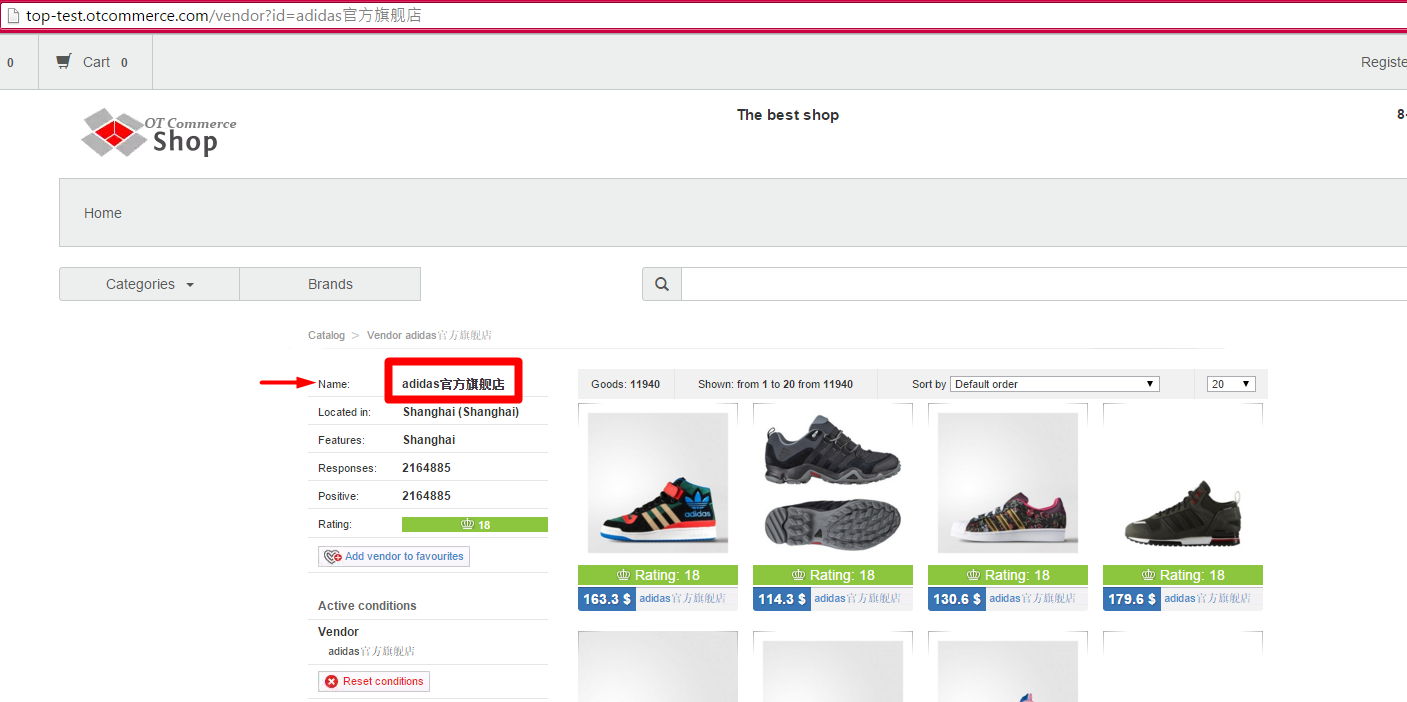
Look for an item on the website (for example, a product is in fashion this season or you know that this product is sold by a reliable seller who is convenient to work with):
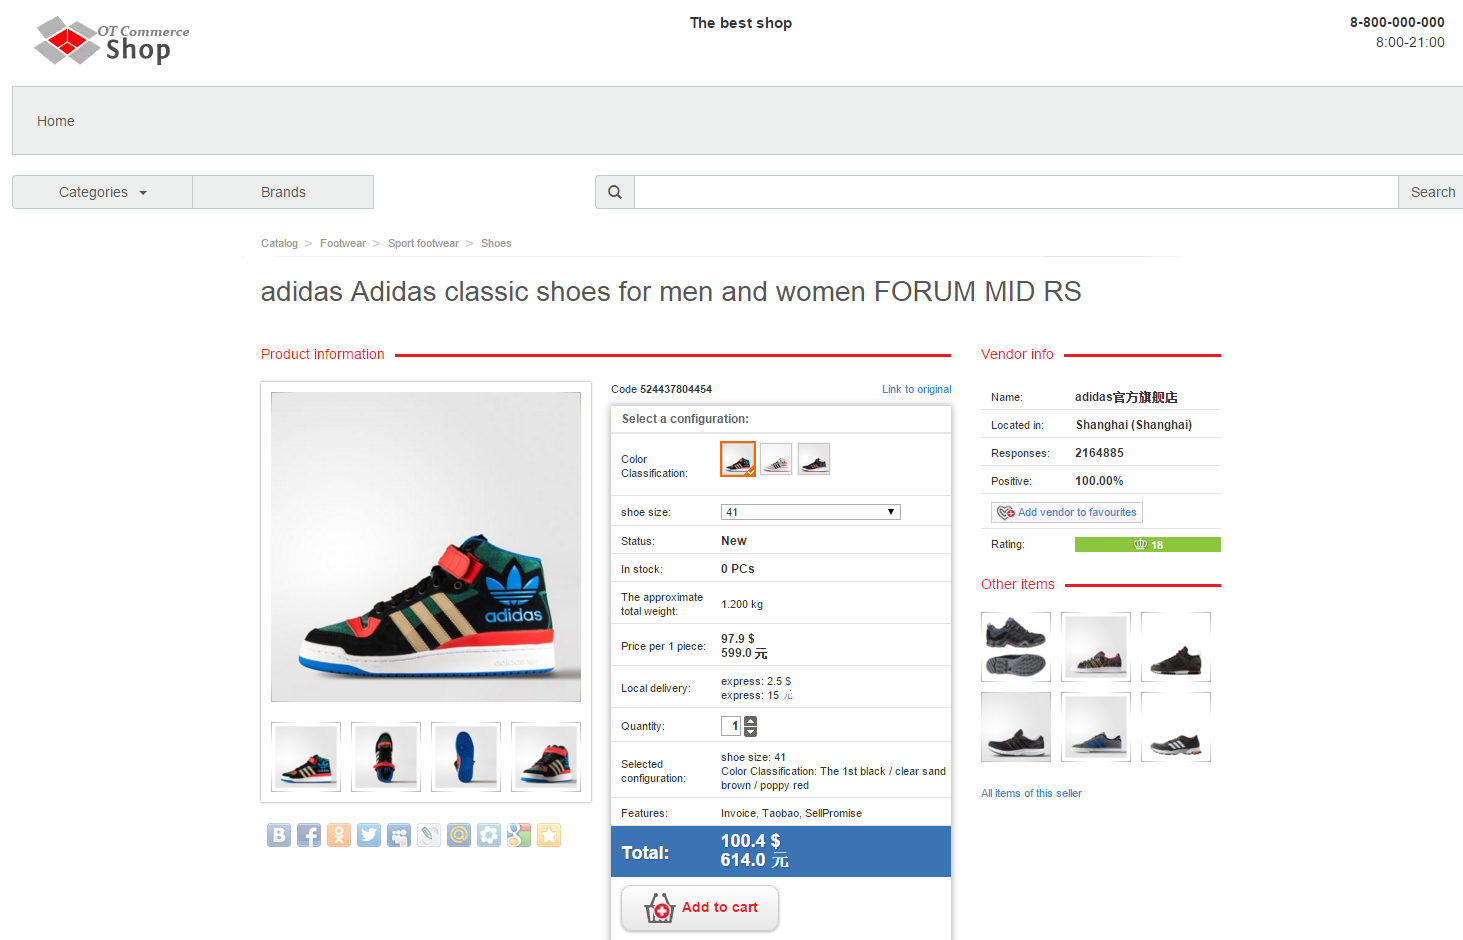
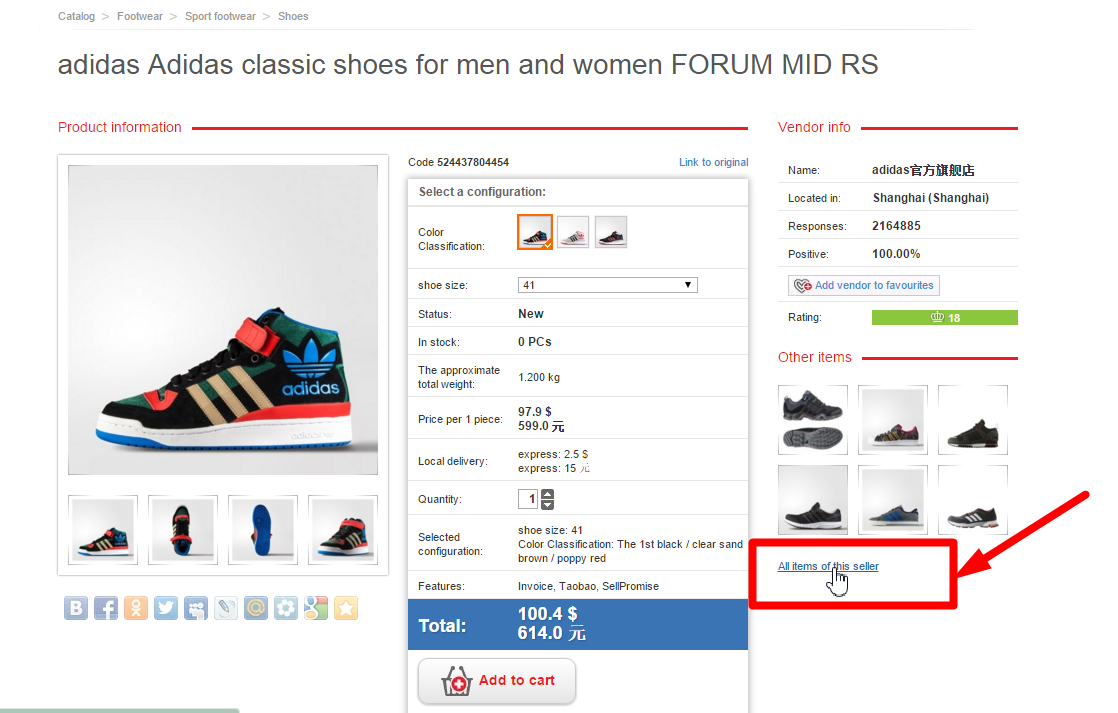
To start viewing all items of this seller you need to click on the link “All goods of this seller”.
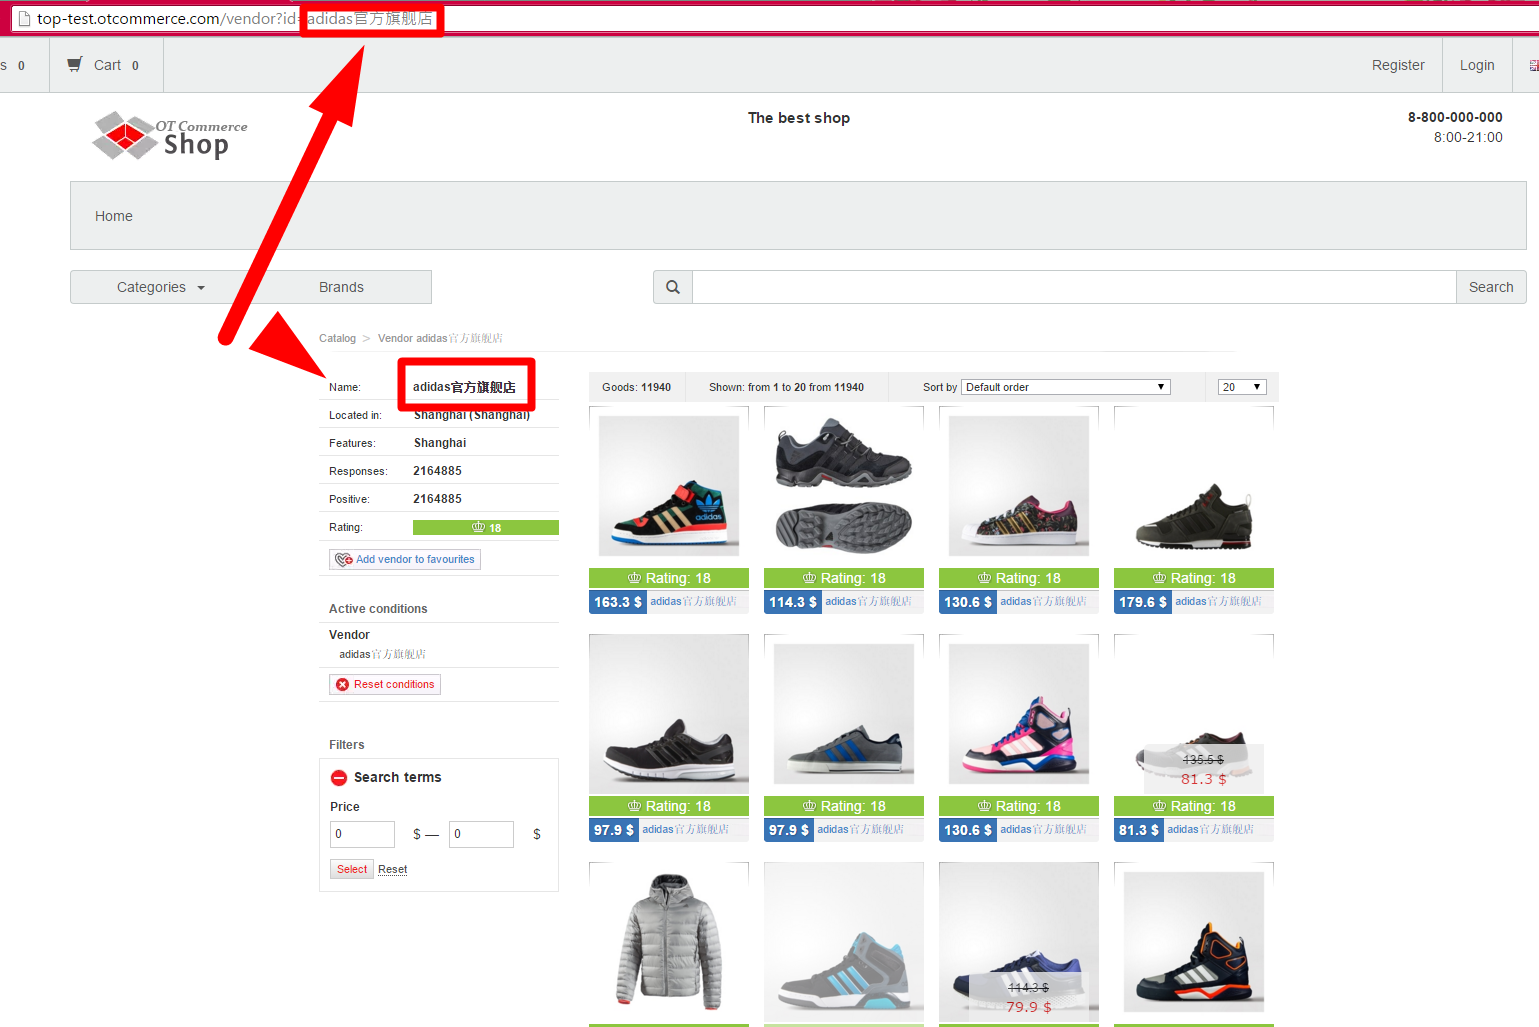
You need to find the following information on the item page: a seller name, a link and seller’s ID.
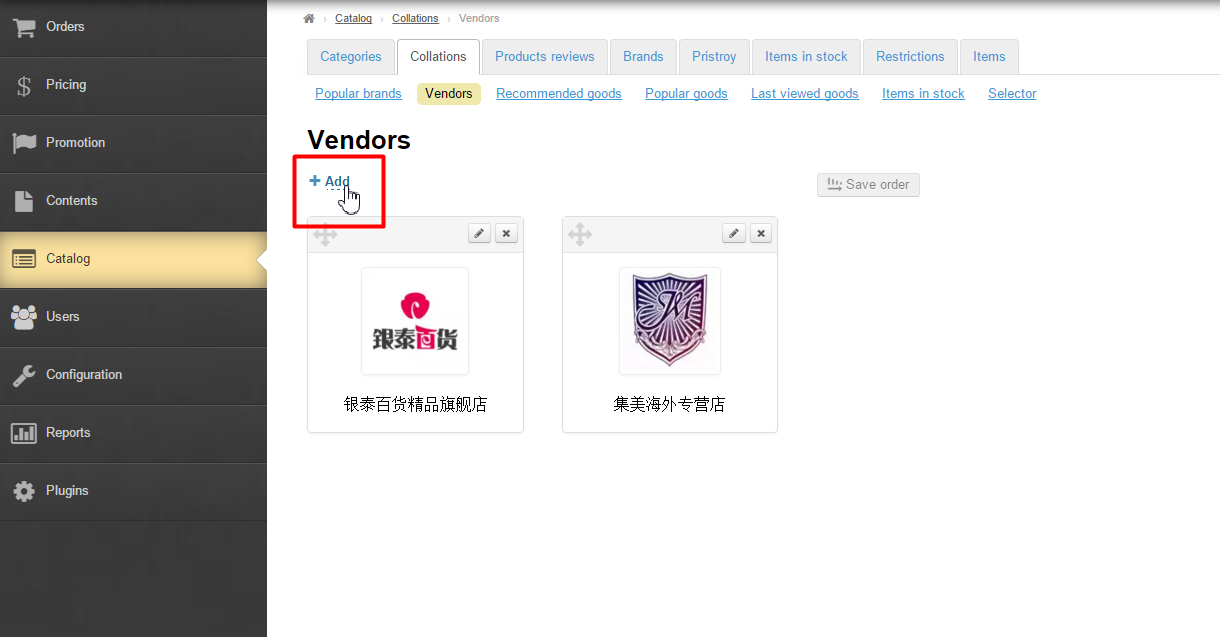
With all these data at hand, you can add a seller:
Click on the blue dashed underlined text “Add”.
You will see the form to be filled in:
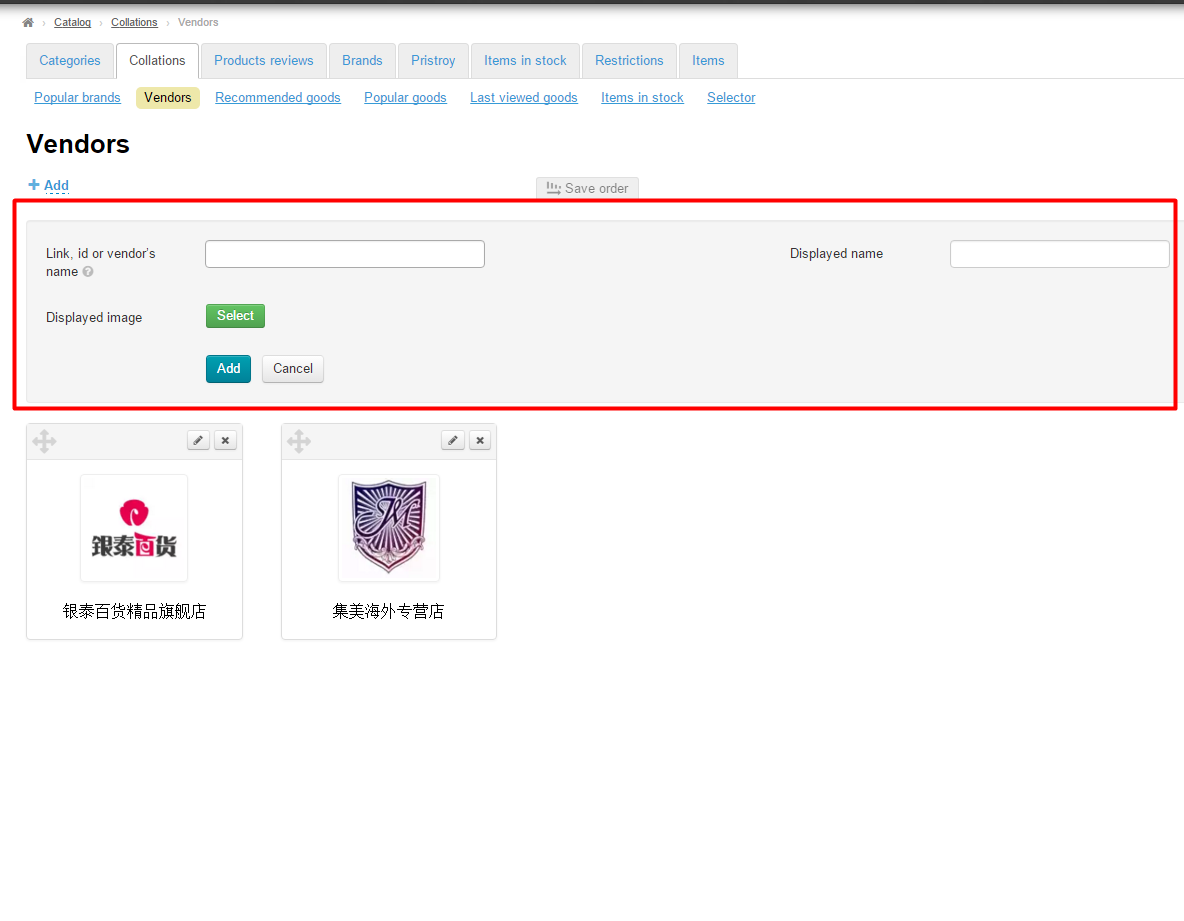
Fill in the first field of the form.
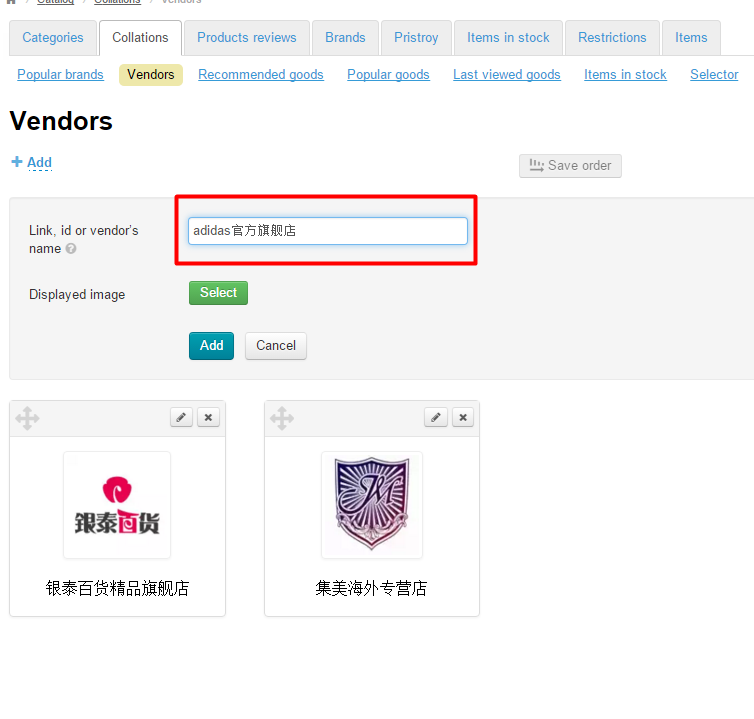
The form requires the following data:
Seller name | Link | Seller ID |
 |  |  |
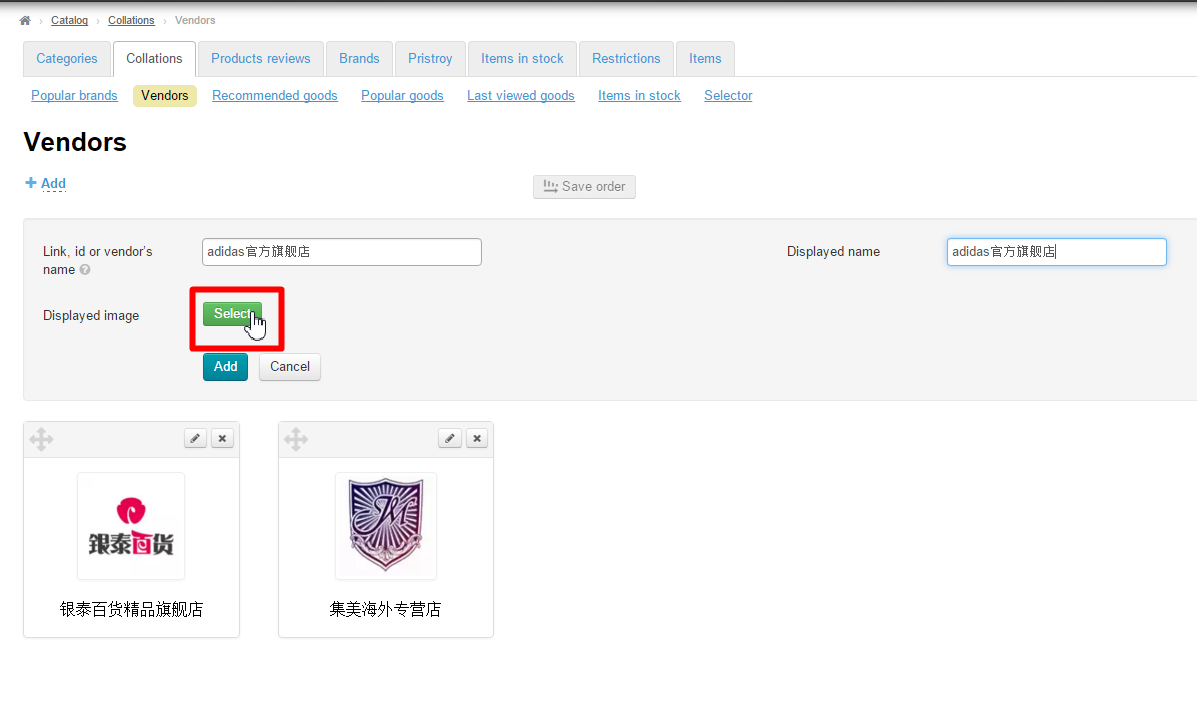
Fill in the next field “Displayed name” Here you can enter both a seller name specified on the website and its version in any language.

For each seller an image can be chosen and uploaded from your computer.
Once added, the displayed name and the image can be edited.
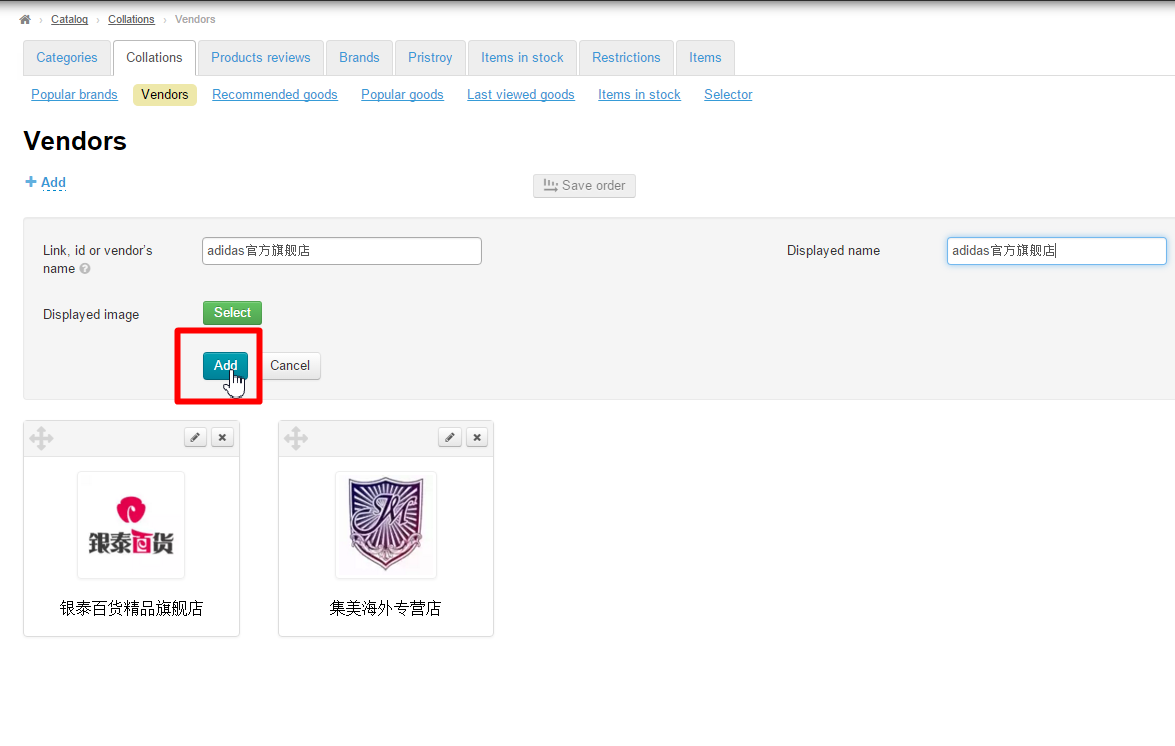
If there is no need to upload an image for the moment you should add the seller by clicking the “Add” button.
The new seller will appear in the administrative area of the website.
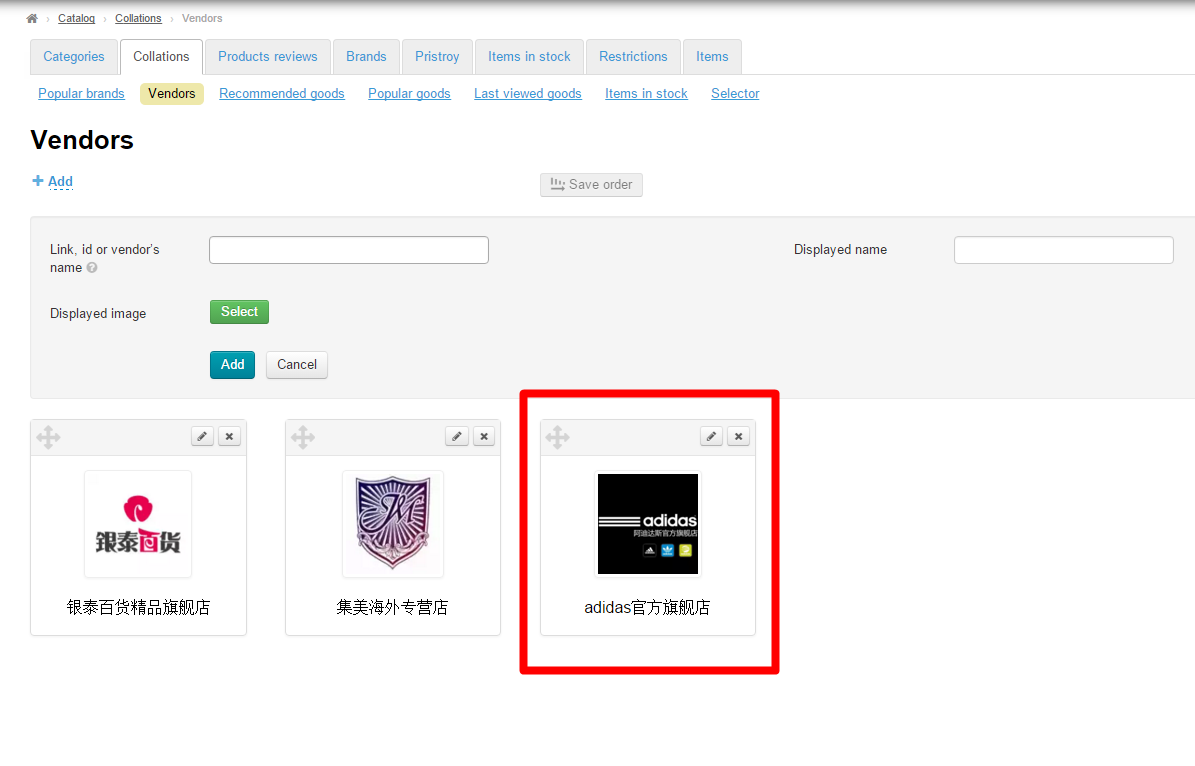
The changes will be visible on the homepage of the website as well.Once added, the displayed name and the image can be edited.
Edit
To edit the seller, click the Edit (the pencil icon) button next to the item.
...