...
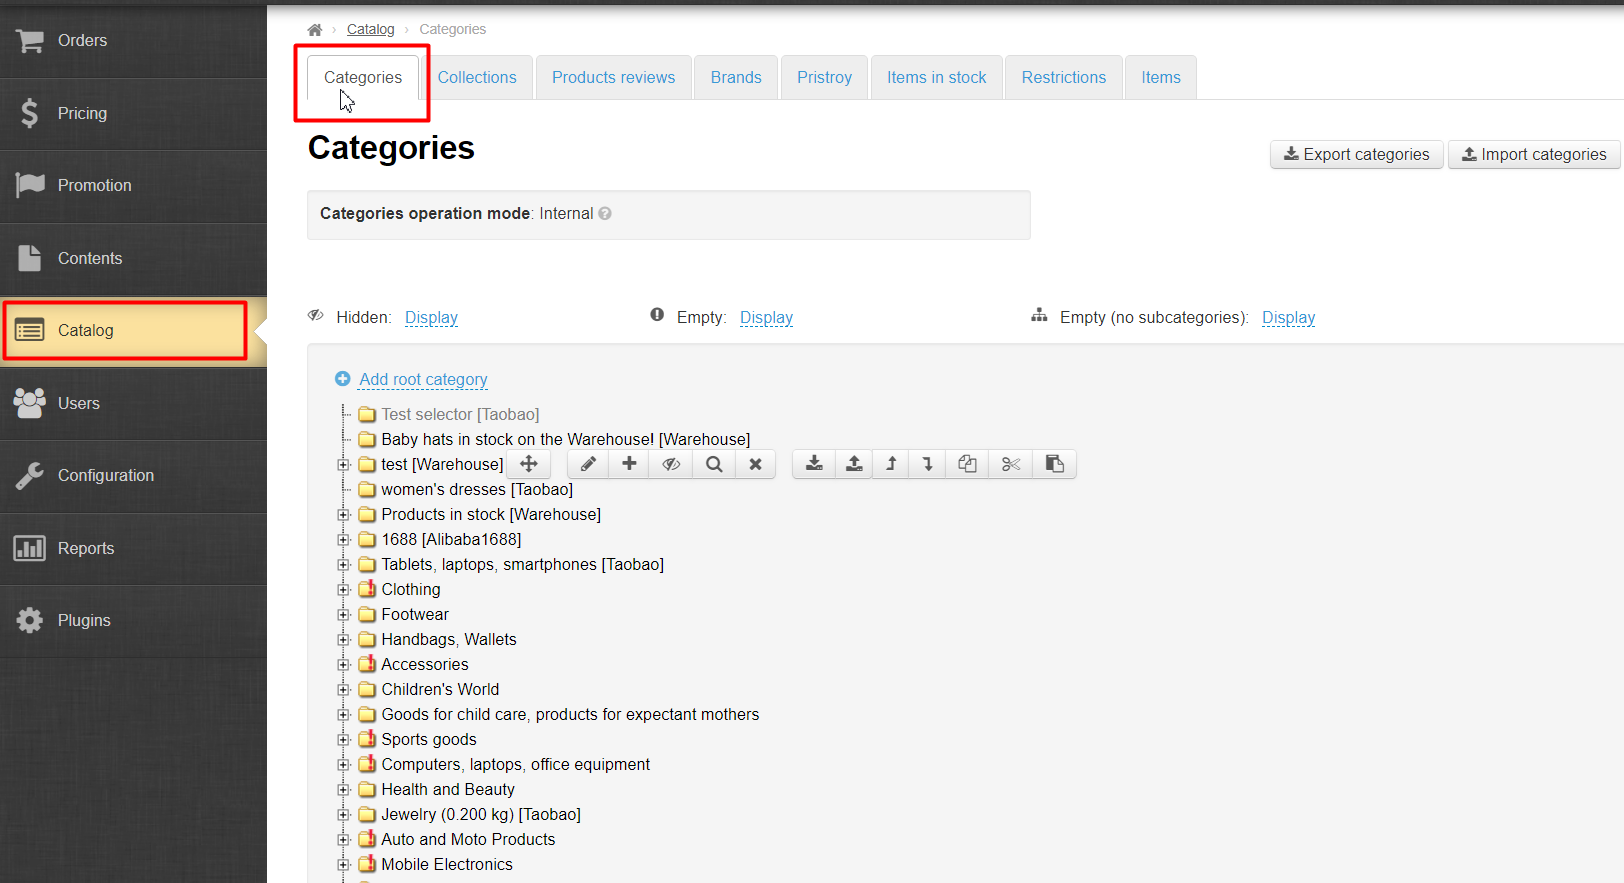
Open Catalog > Categories:
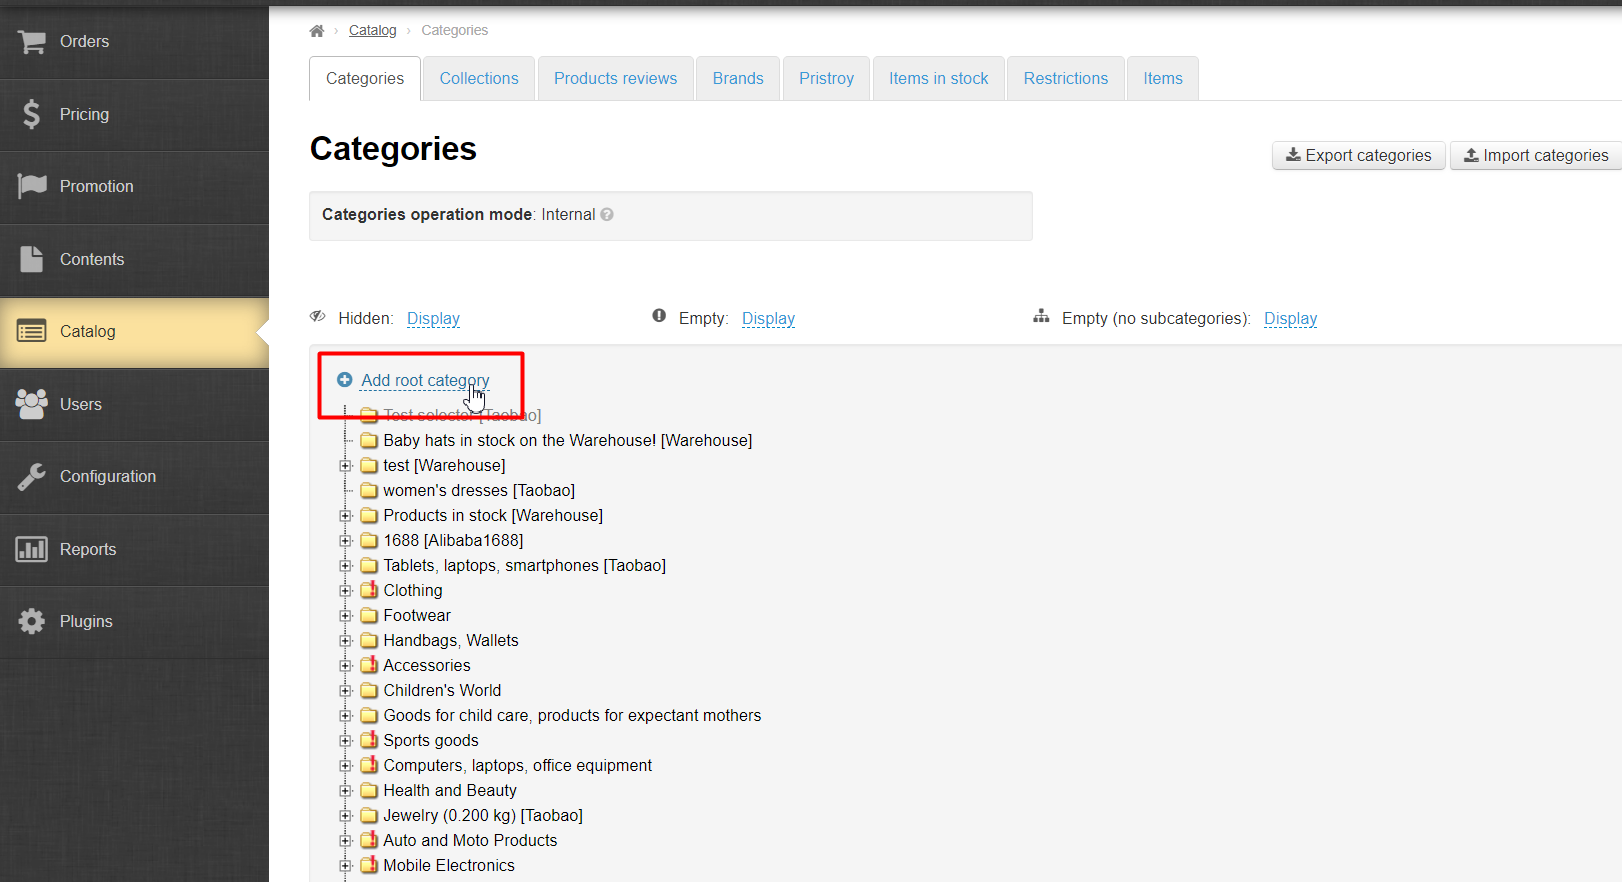
Create category:
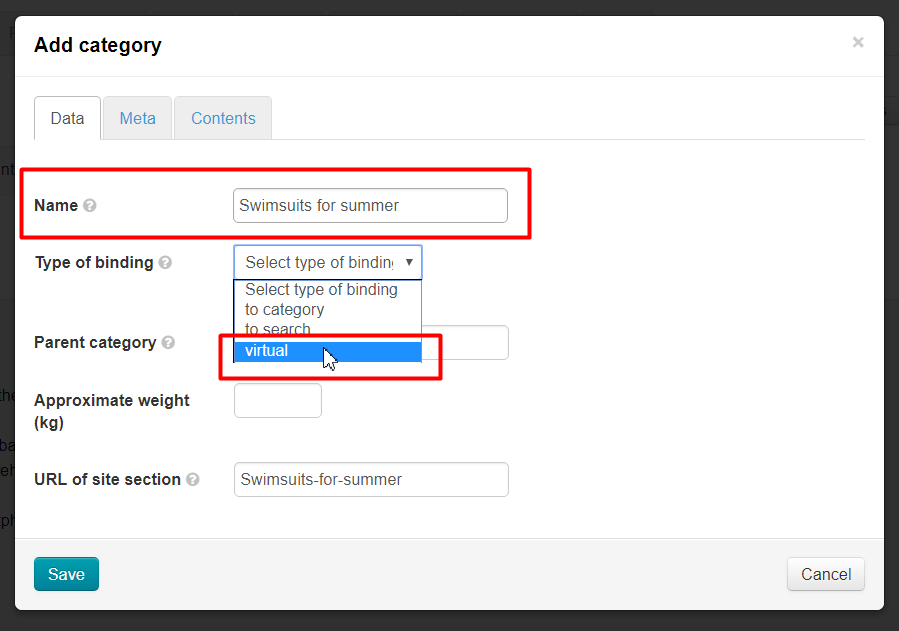
Call it "Swimsuits for summer season" and make it virtual:
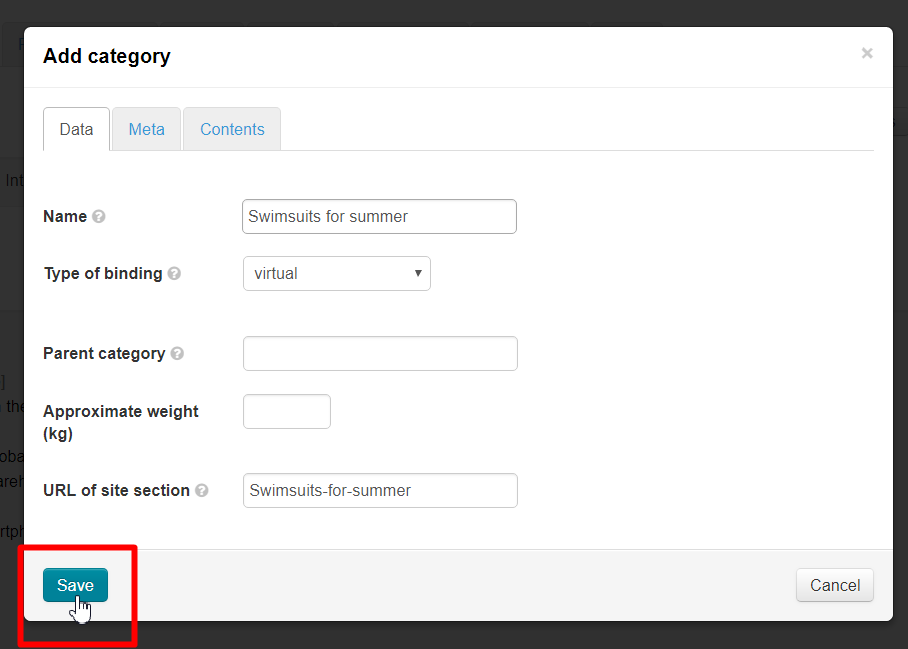
Save.
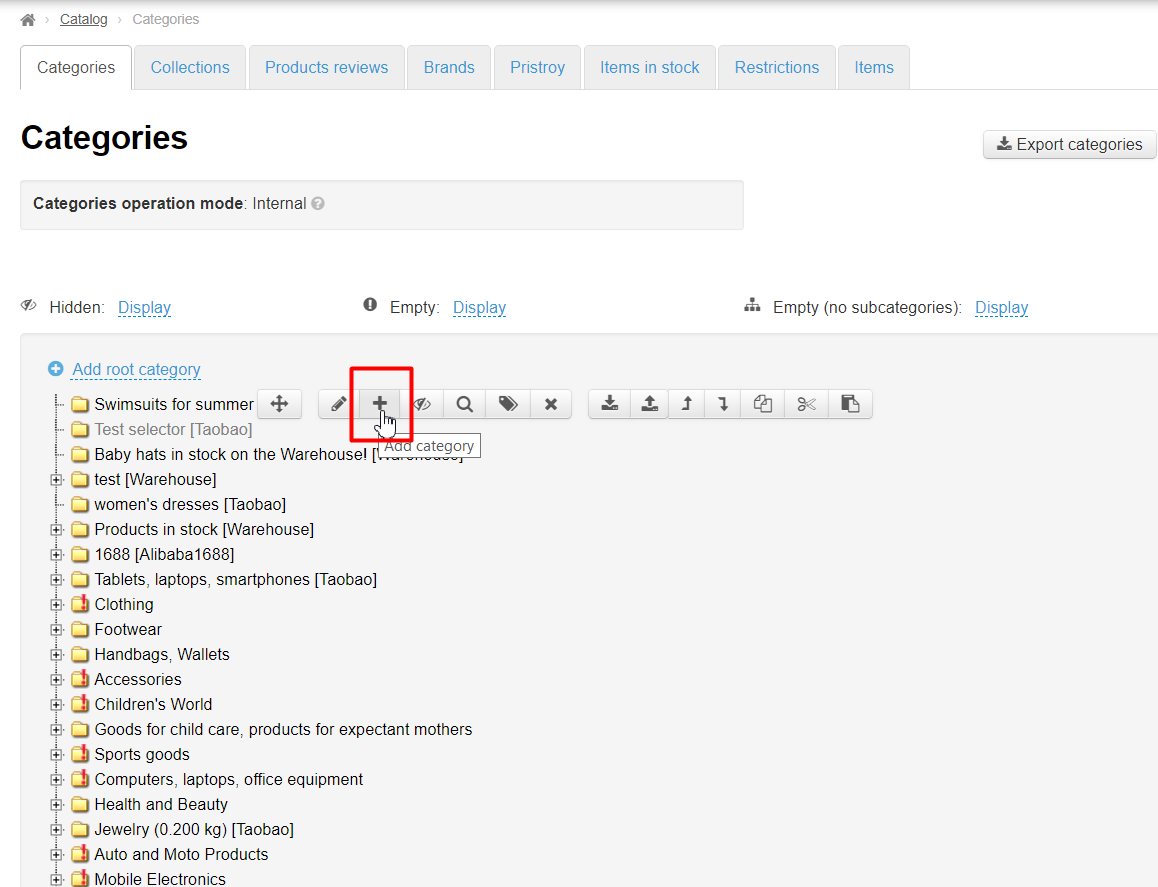
Point mouse over created category and select button with plus sign clicking it in menu that appears:
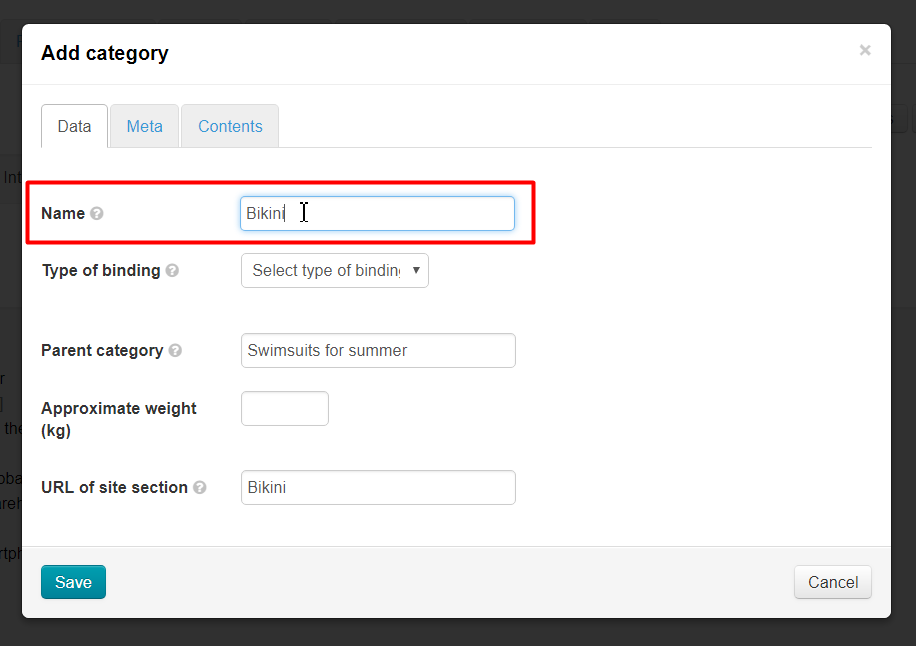
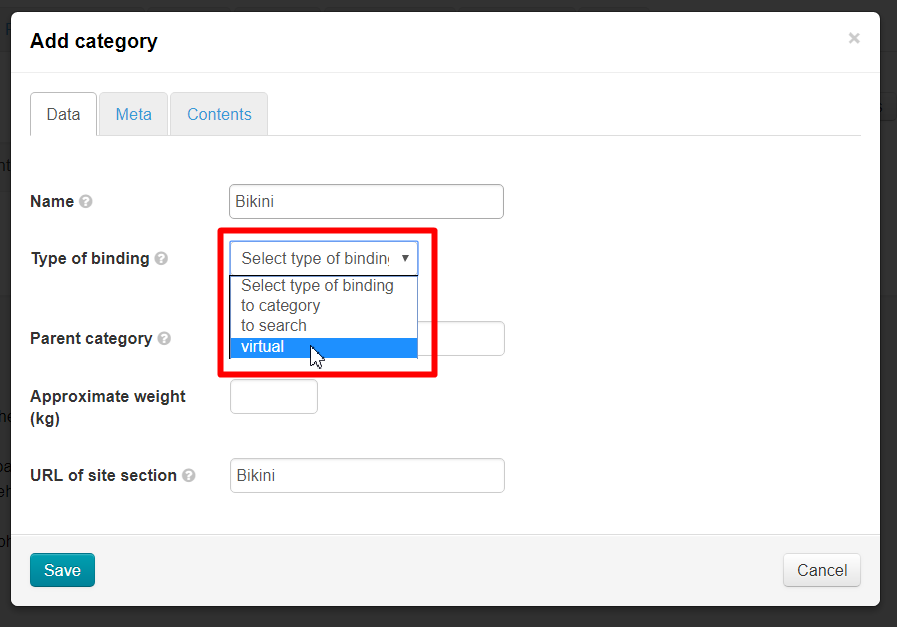
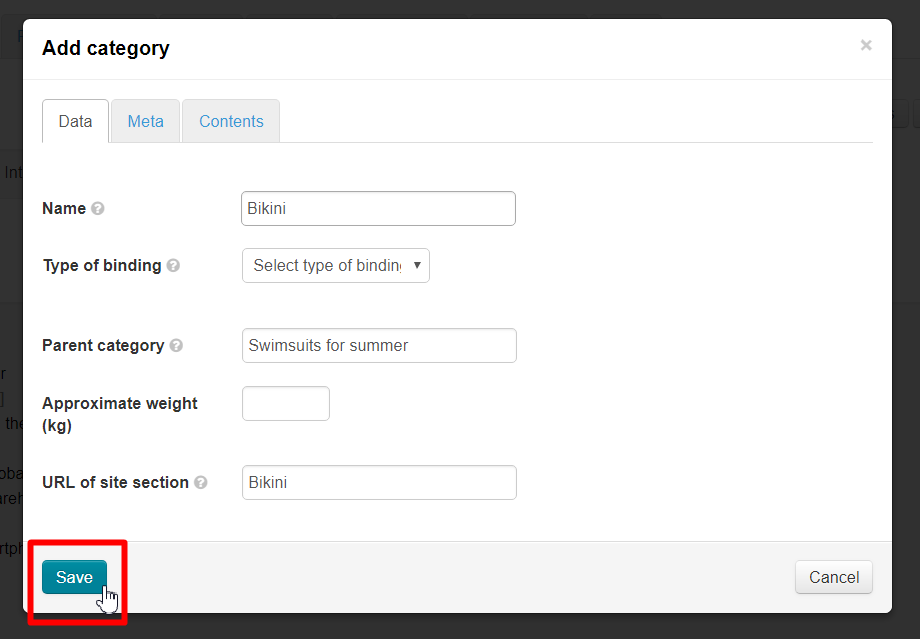
Window to add category will open. Choose virtual type of binding:
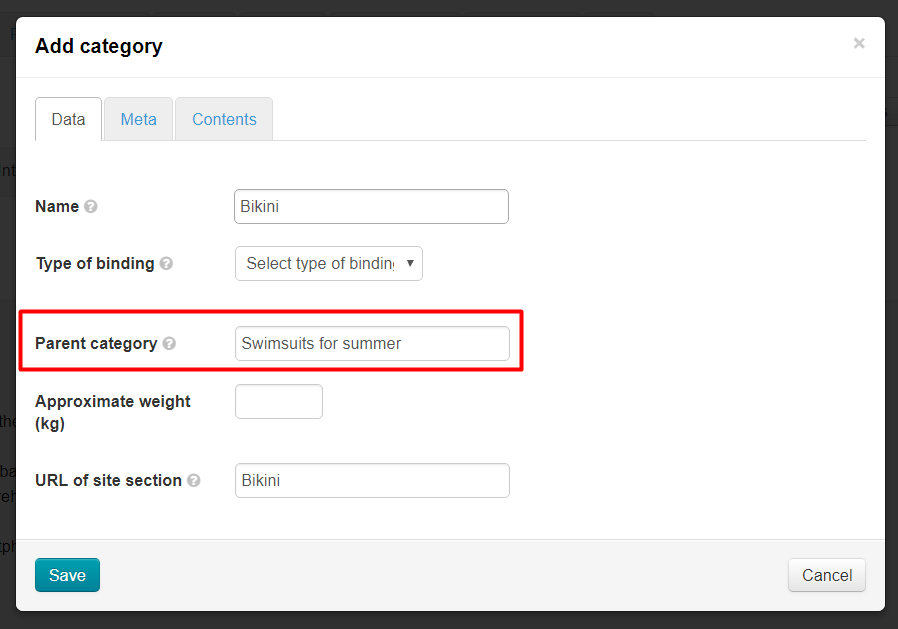
Parent category will show category that was created first:
Save category:
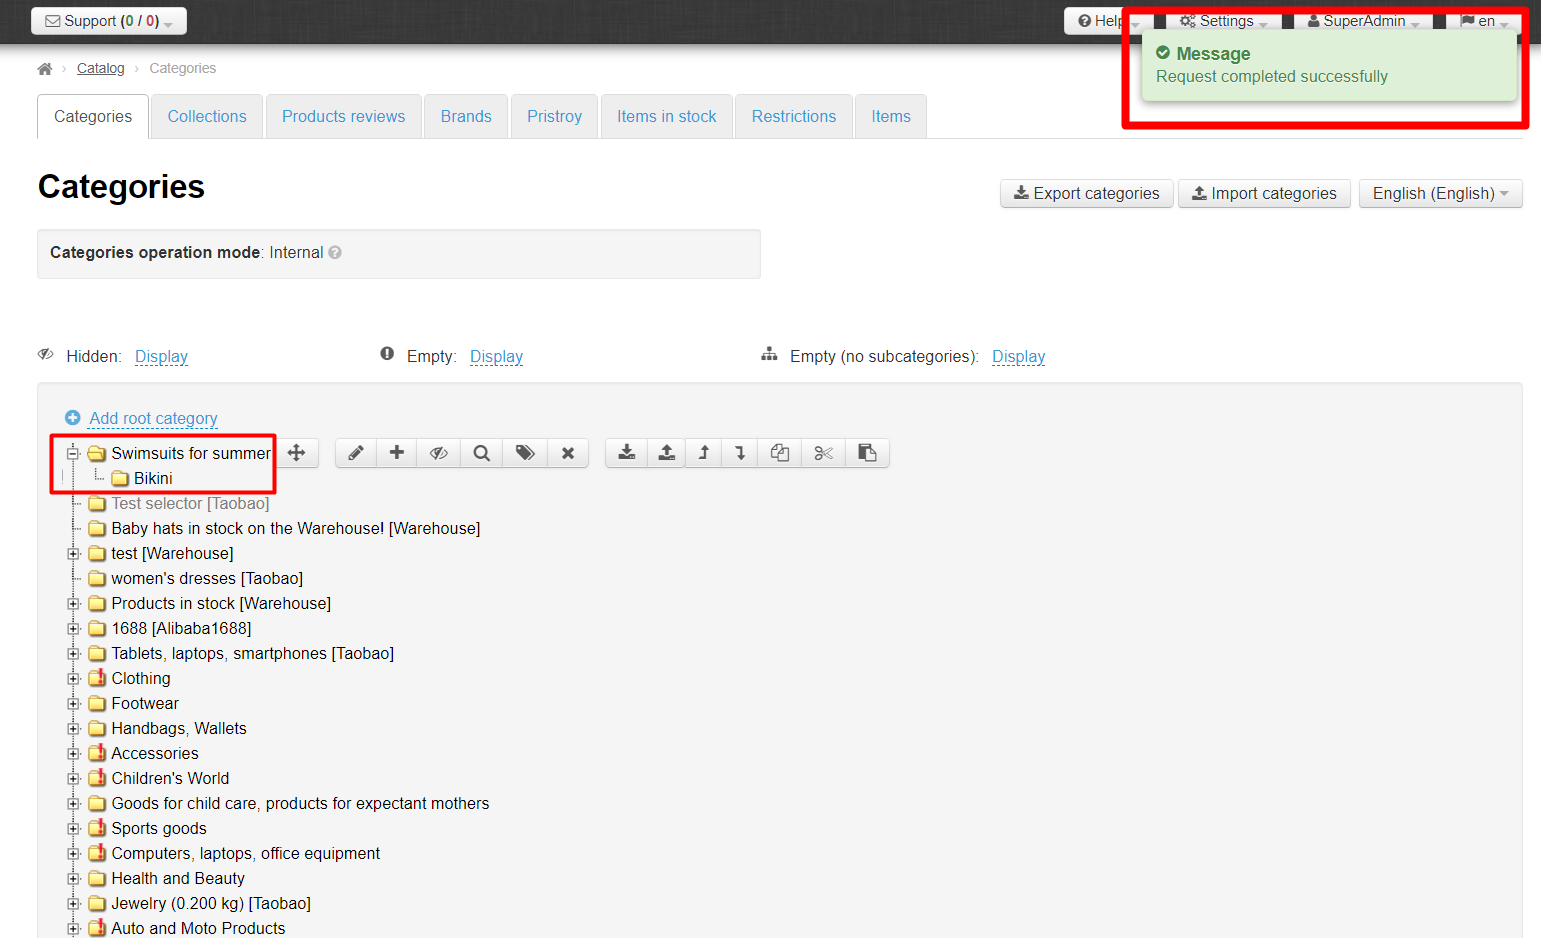
It will become subcategory after saving:
That's how we create a category tree, and then we fill each category separately with goods.
...
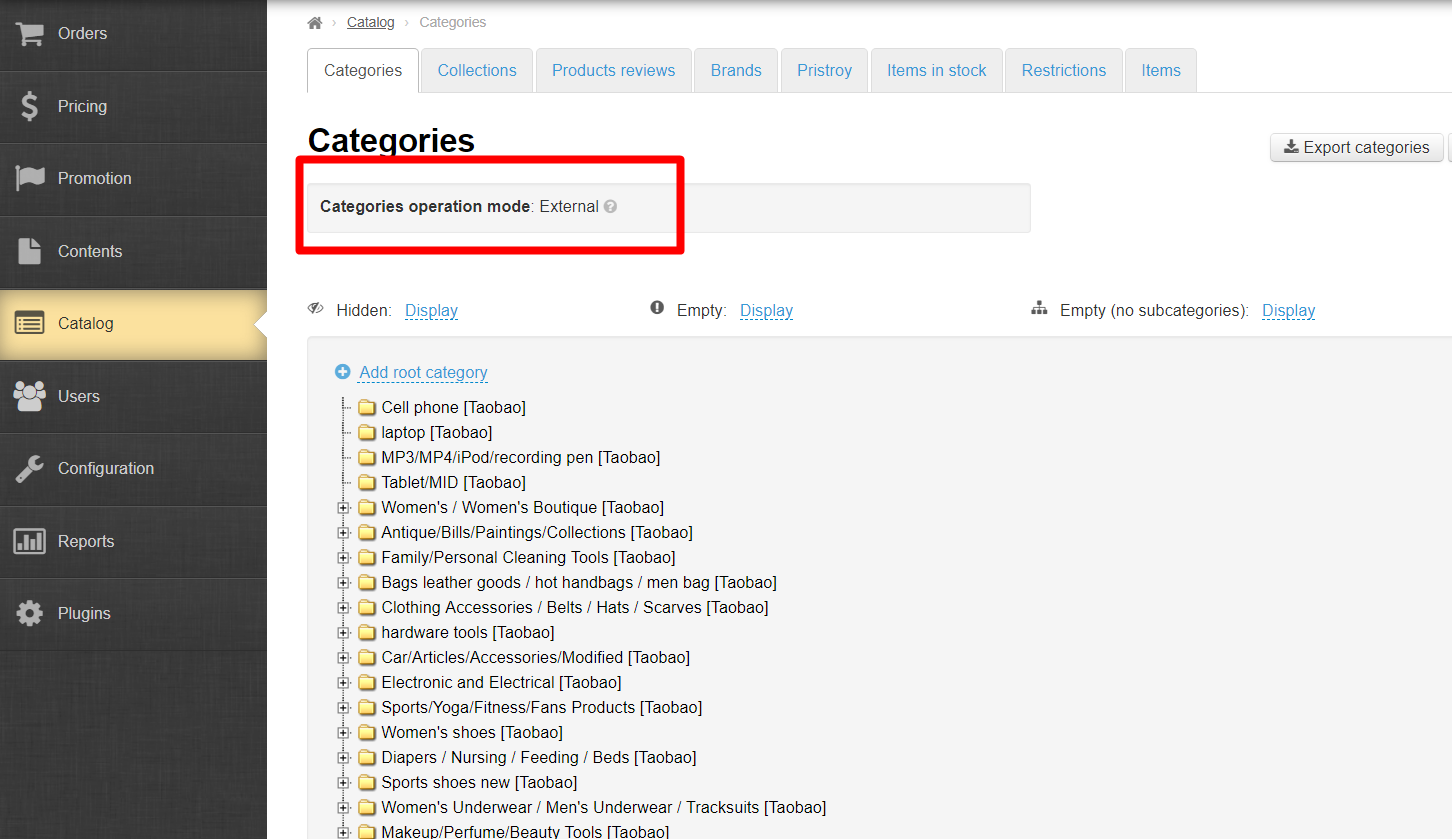
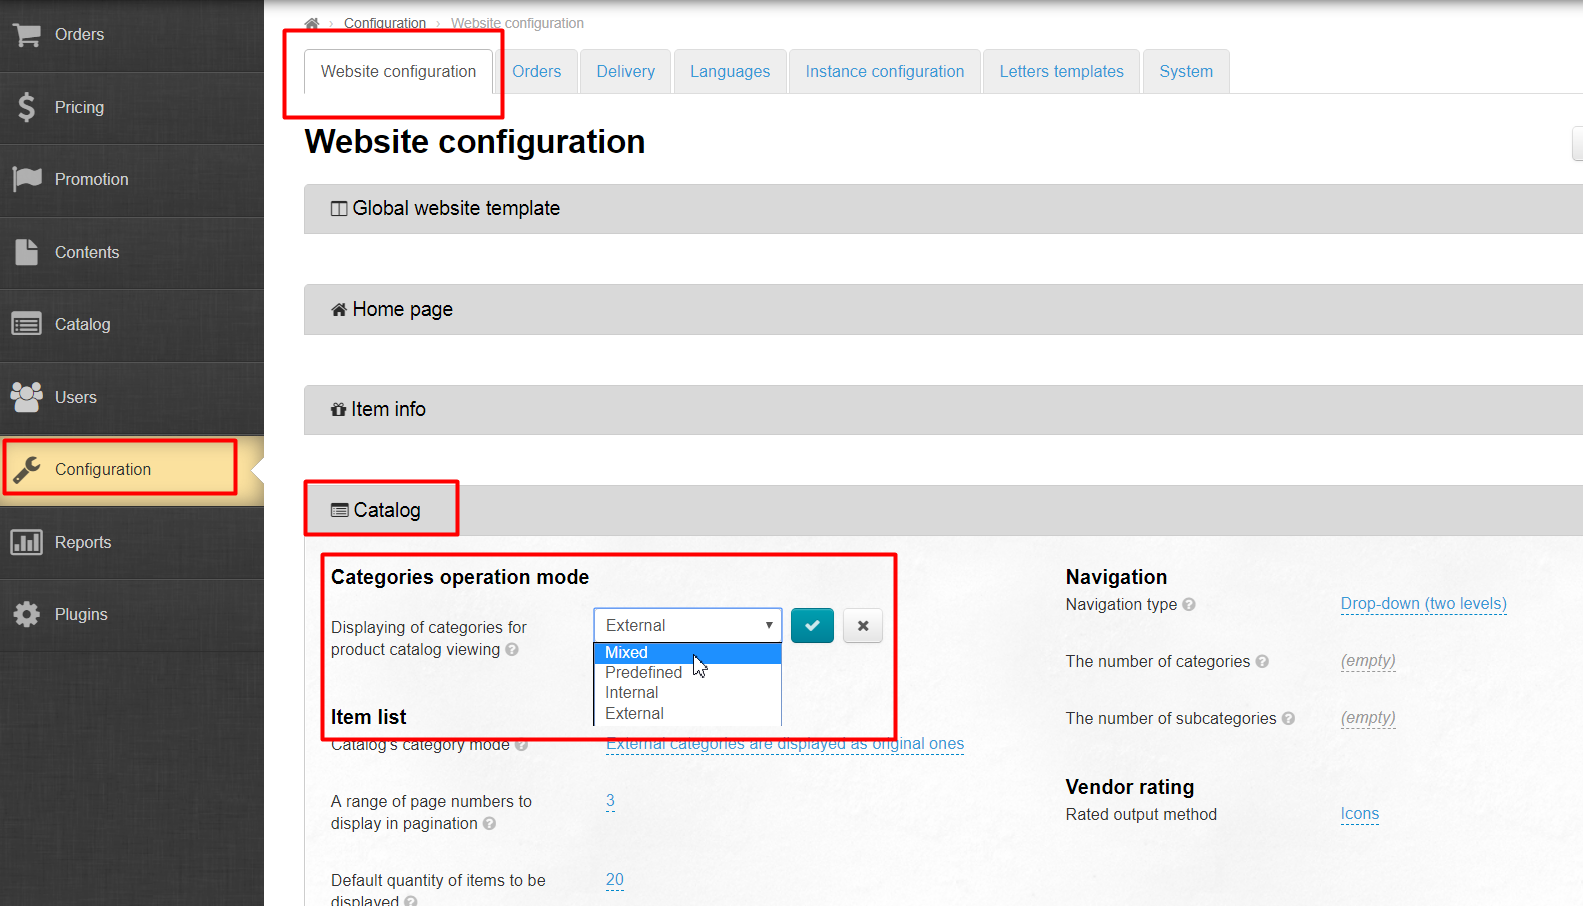
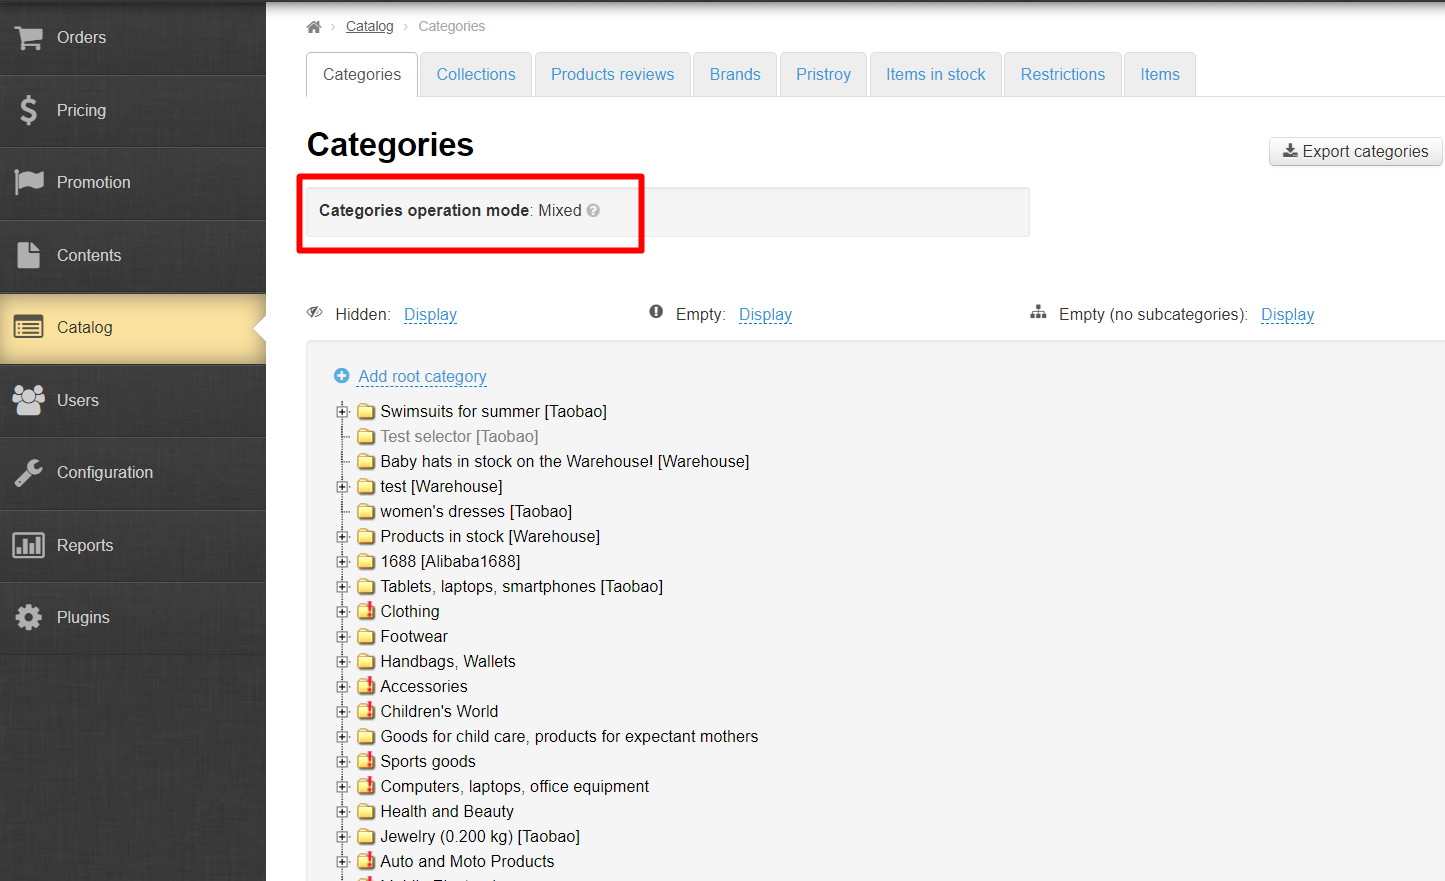
Change categories operation mode to "Mixed" if you use "External" standard catalog:
Read how to change categories operation mode in Catalog (Configuration) instruction.
You will see "Mixed" categories operation mode after change:
Edit original Taobao categories to save (it's not necessary in "Internal" mode) if you have them in "Mixed" mode. In this way these categories do not disappear when creating a virtual category.
...
Enter Catalog > Categories.
Click "Add root category".
Enter category name and choose virtual type of binding.
Other parameters are filled in if desired (read "Categories: Add root category" instruction" instruction)
Click "Save" button and refresh page
It's also possible to fill in information in Meta and Content tabs for categories (selections) of Selector in a standard way.
Read more in in "Categories: Add root category" instruction instruction.
Delete
| Информация | ||
|---|---|---|
| ||
Note that all goods in category (selection) of Selector will be removed after deleting category (selection). |
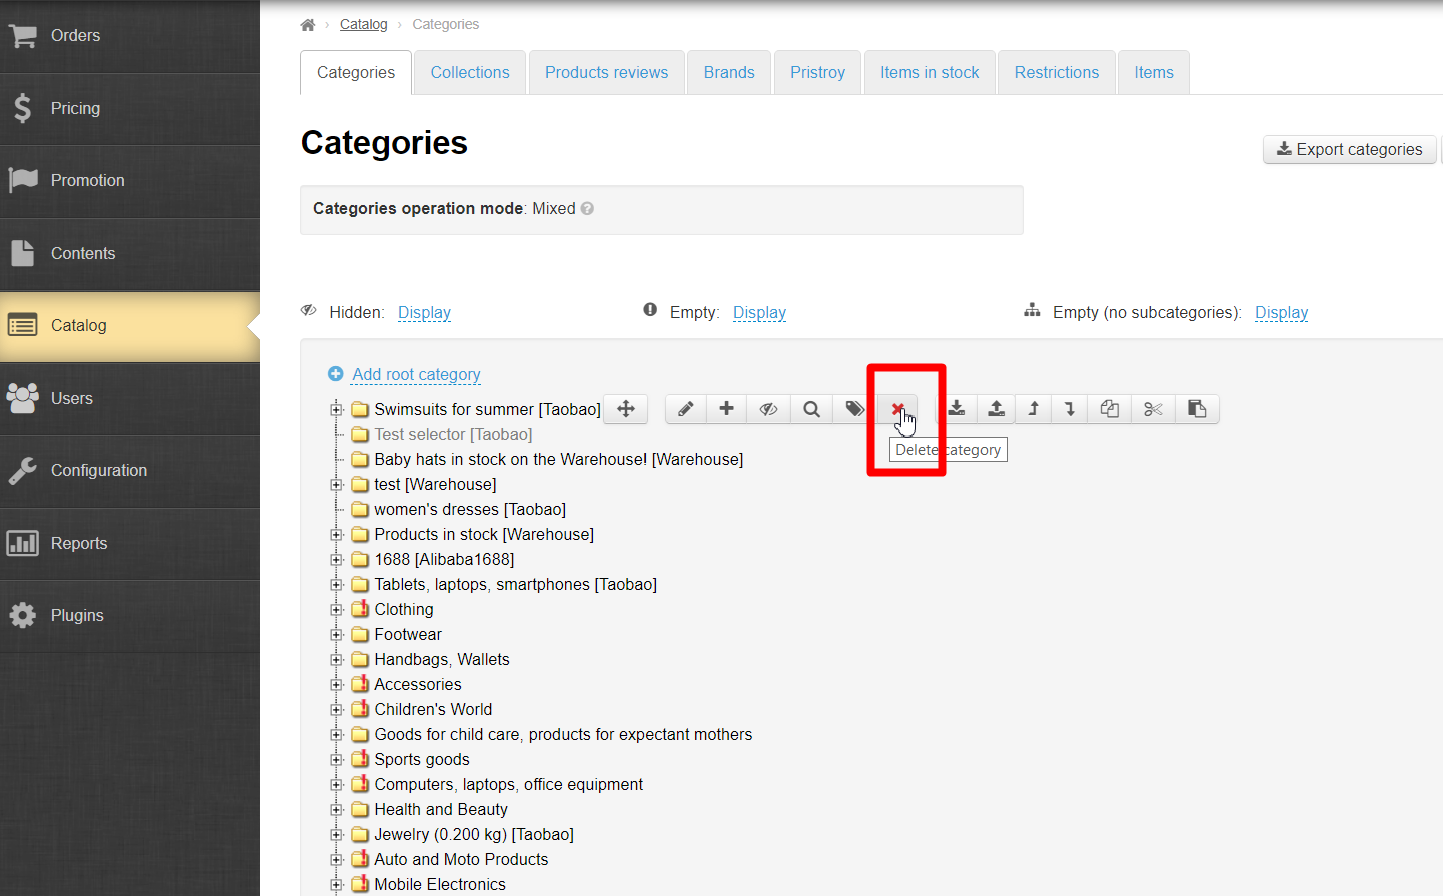
Hover mouse over a category (selection) of Selector and click cross to delete it :
Confirmation is required to completely delete. Click "Yes" button if you are sure you want to delete:
Edit
| Информация | ||
|---|---|---|
| ||
It's impossible to change binding from virtual to another after creating a category (selection) of Selector. In this case, goods will not be displayed! |
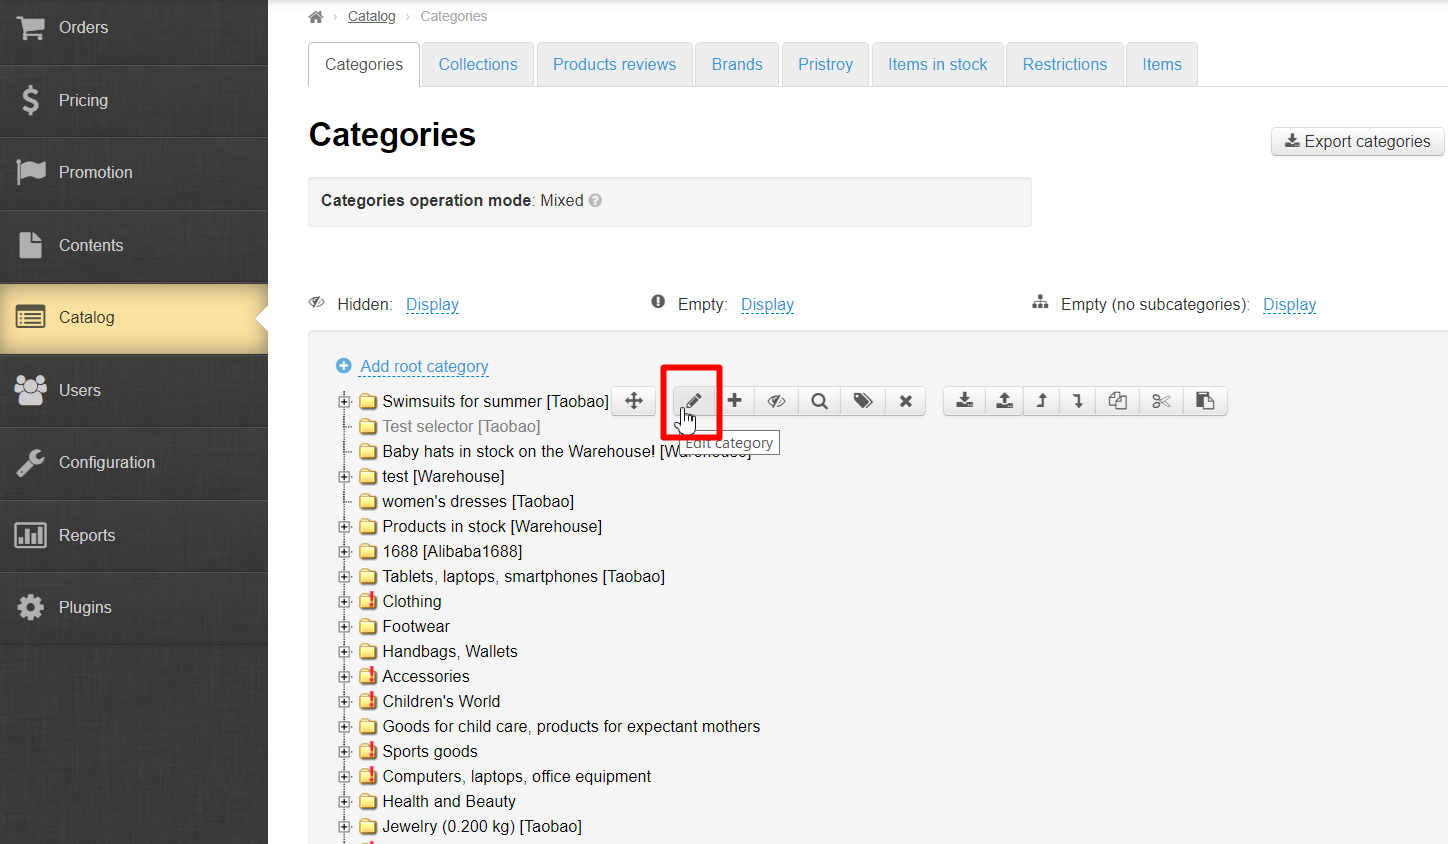
Category (selection) of Selector is edited in a standard way. Read more in "Categories: Editing" instruction instruction.
Operation with goods
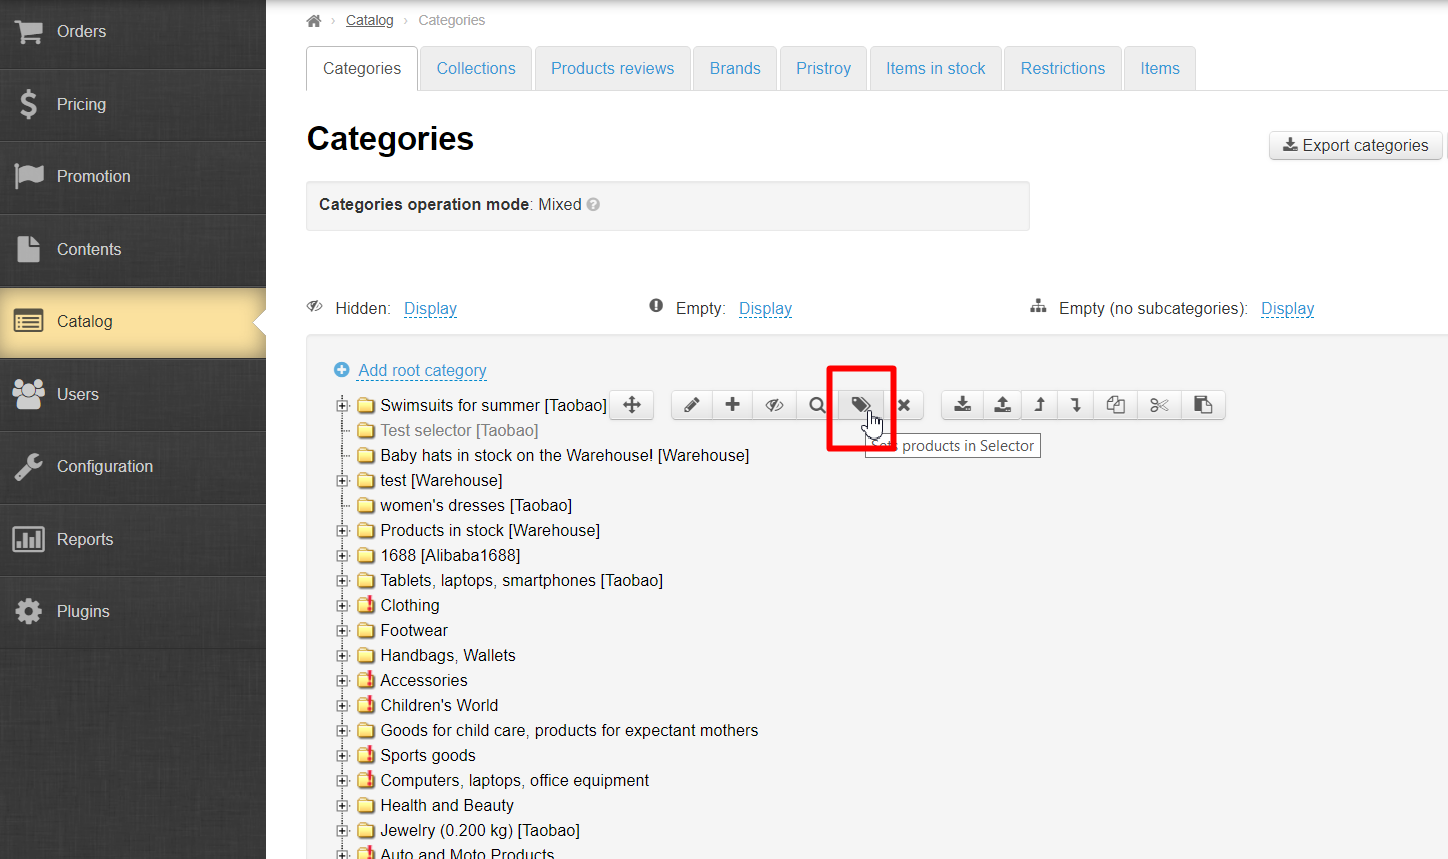
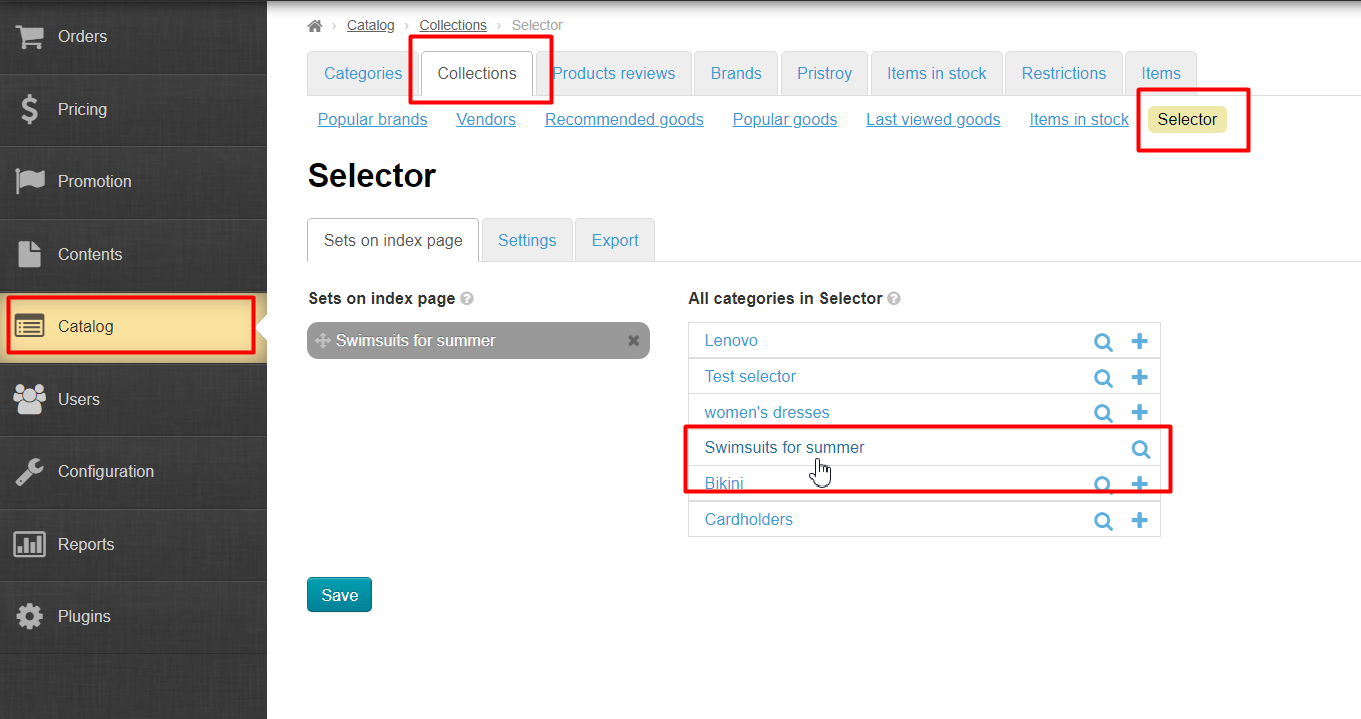
Hover mouse on category. Click "Items from the Collections Selector" sign.
You will move to "Collections" section (with a new tab in the browser).
...
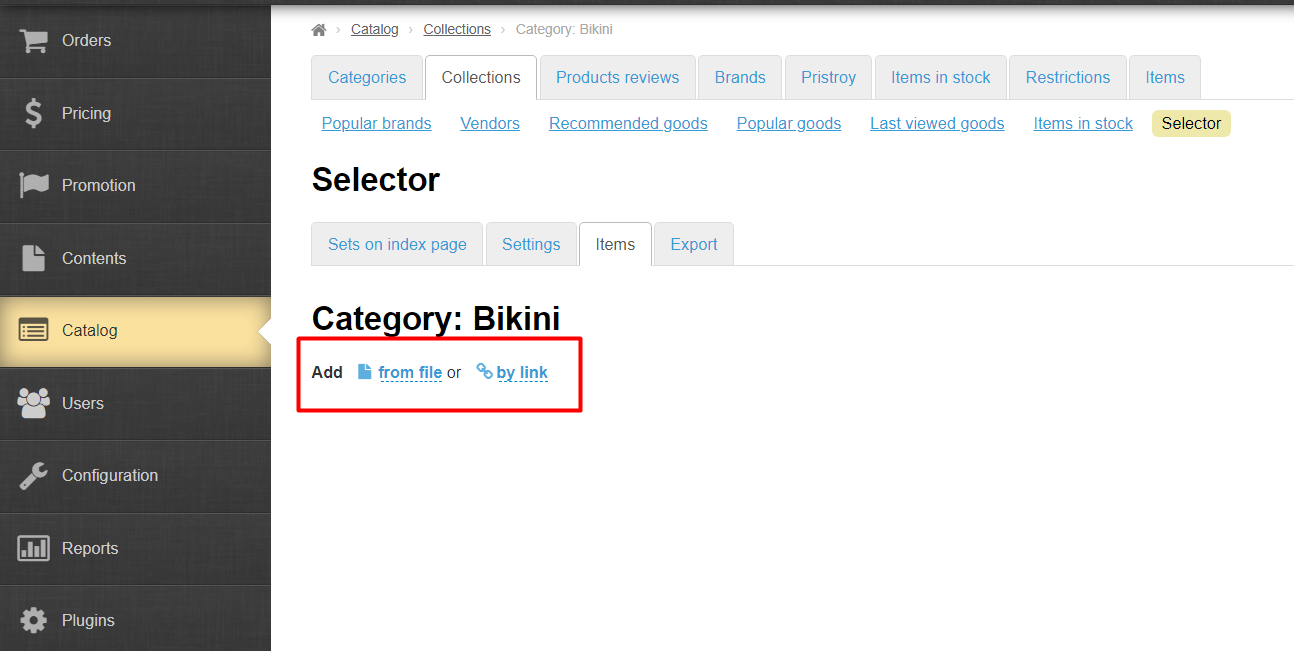
It's possible to add goods by two ways — by link and from file.
Add goods by link
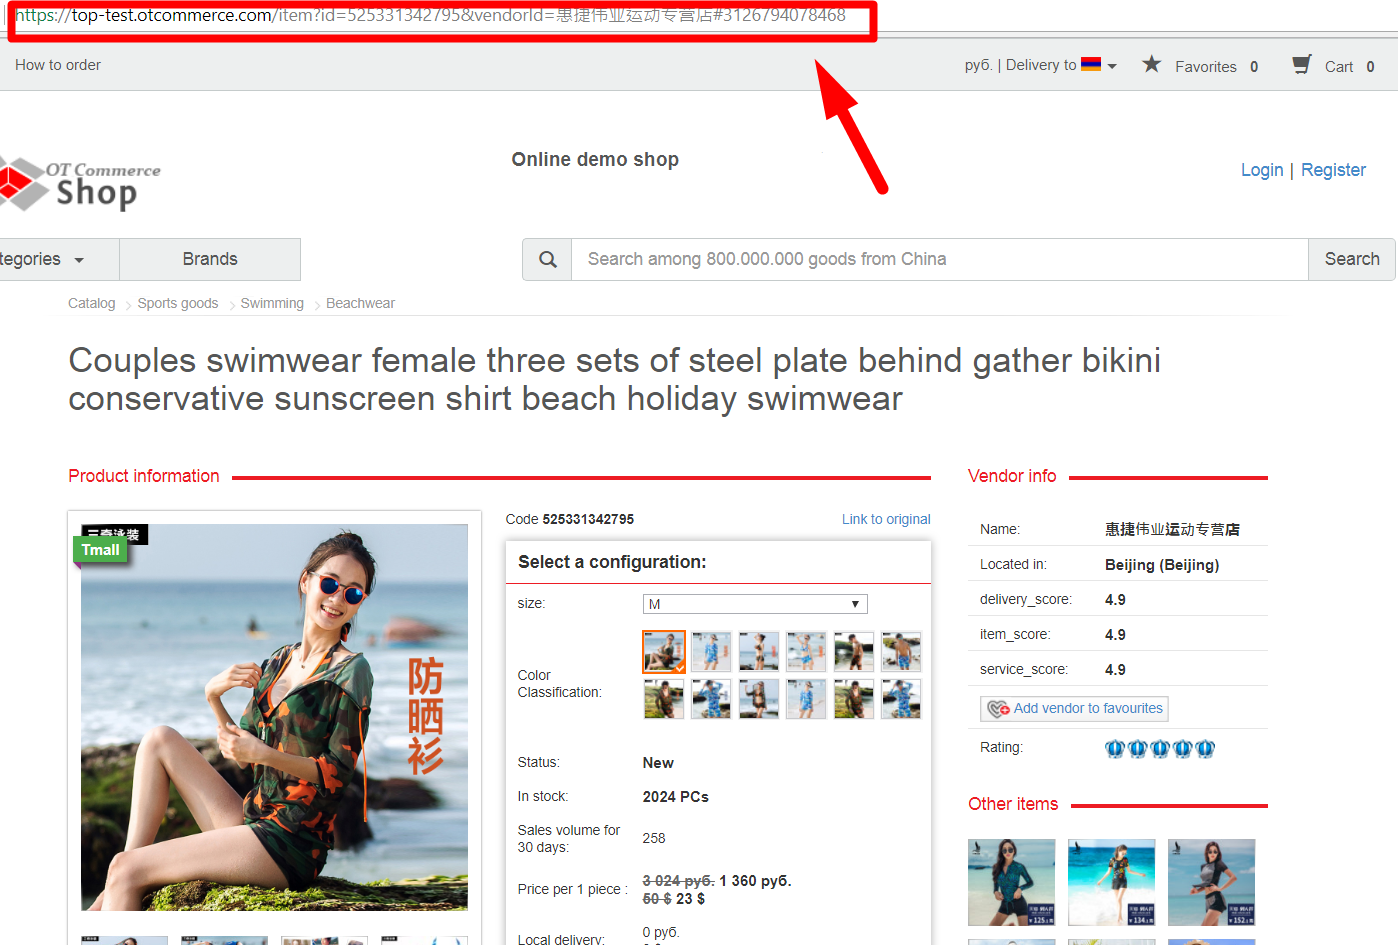
Copy link to necessary product from browser address bar.
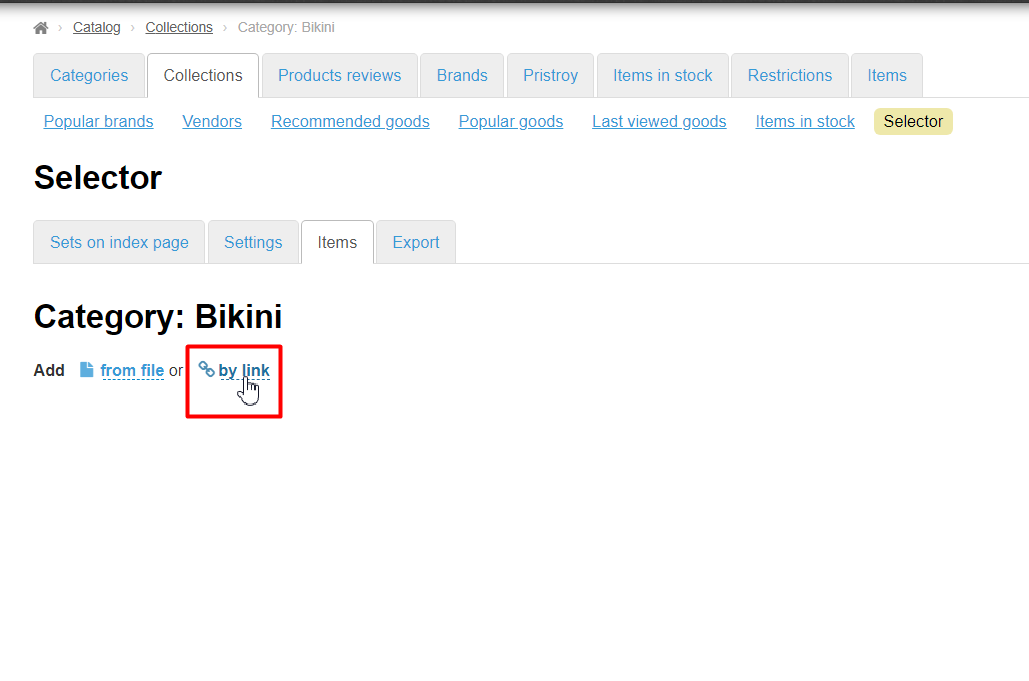
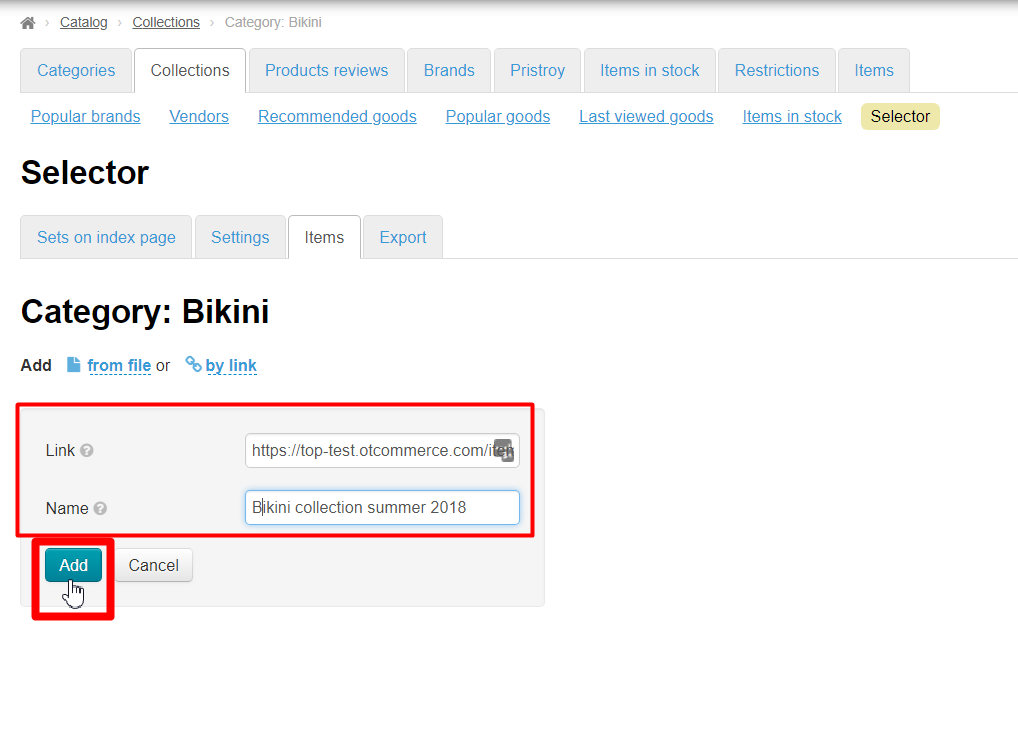
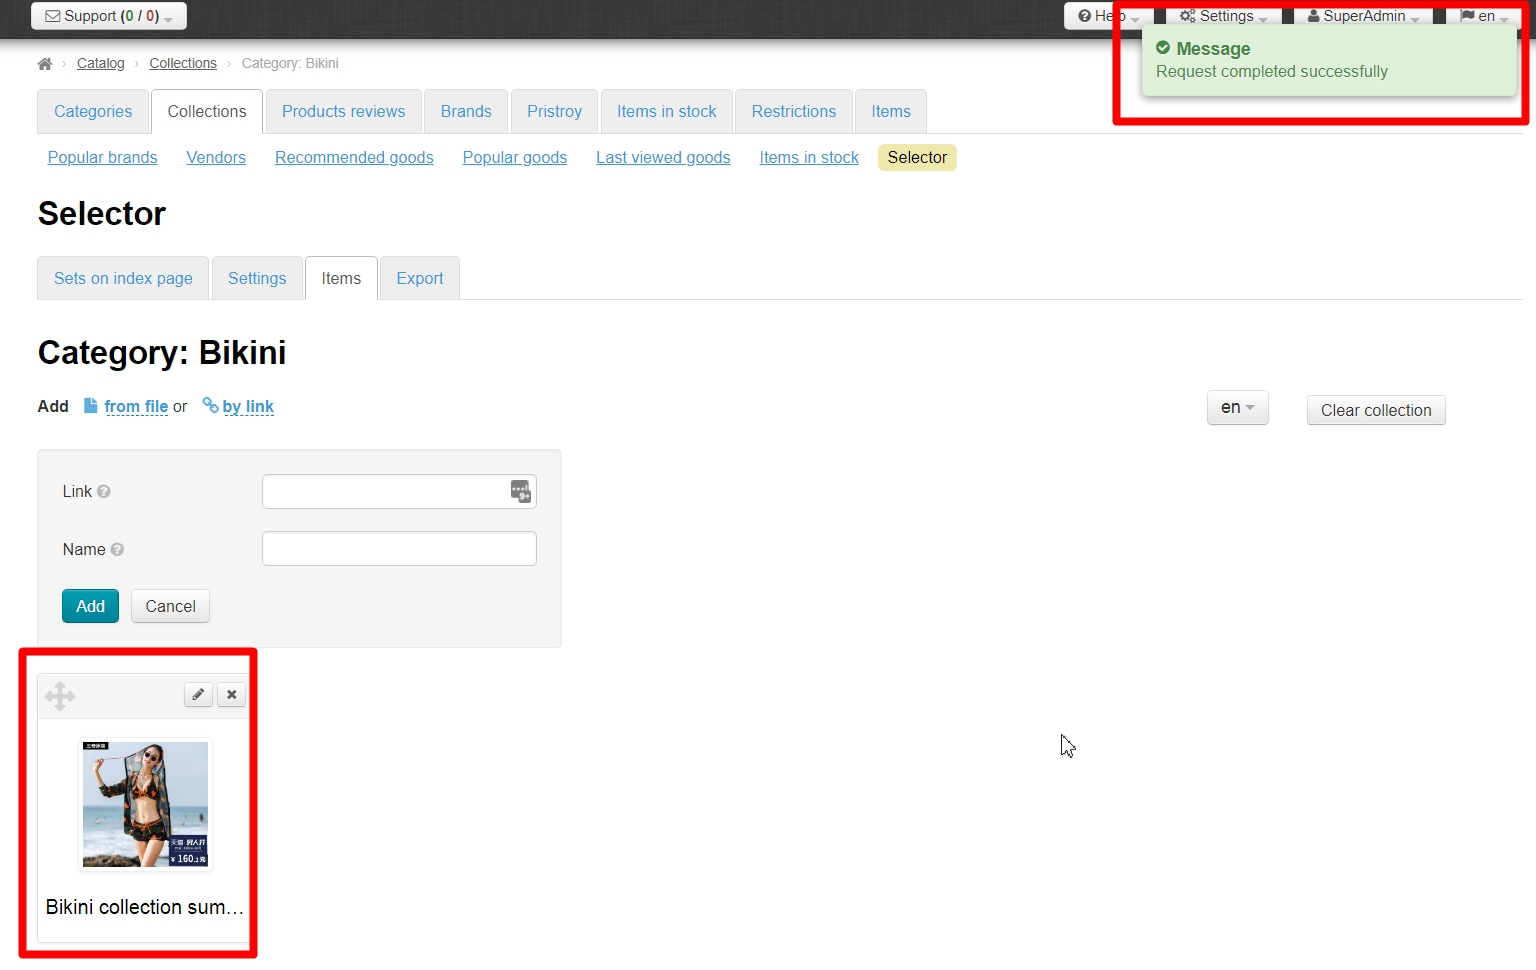
Click "By link" and paste the link into input field. Click "Add" button.
Product will be shown below.
Add goods from file
...
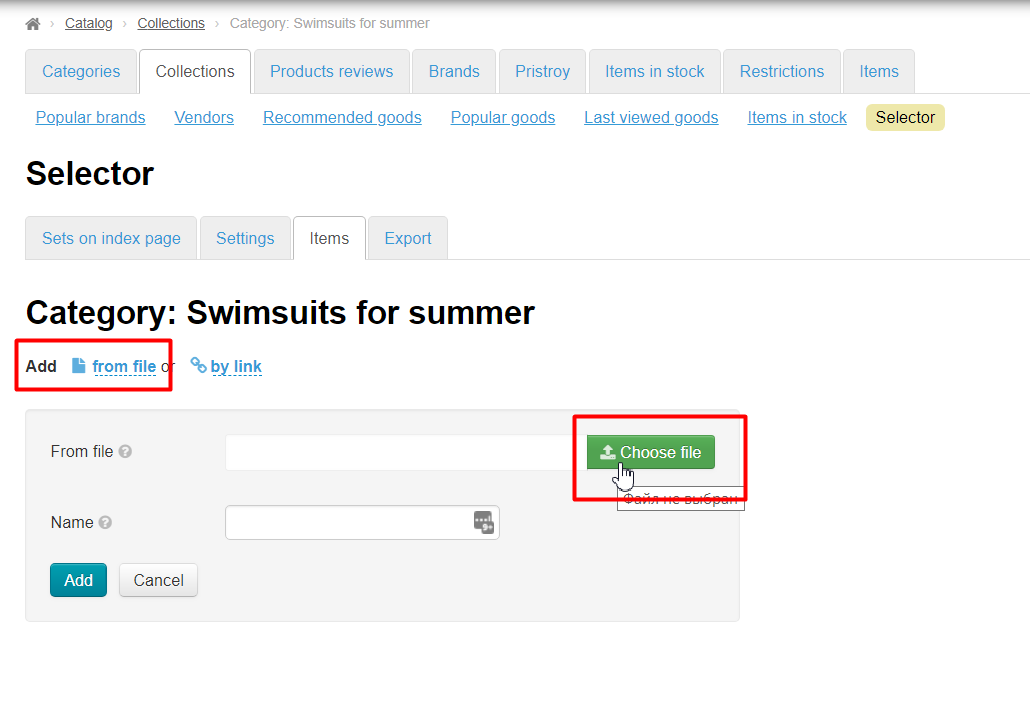
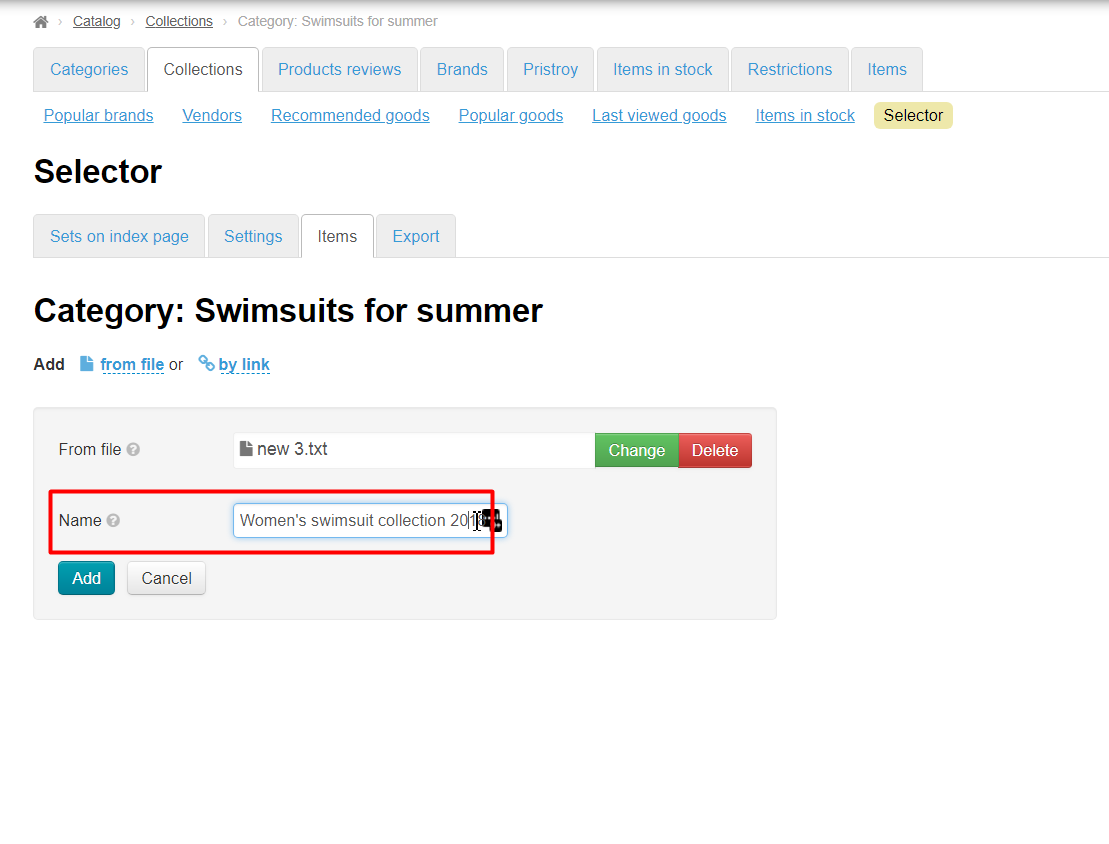
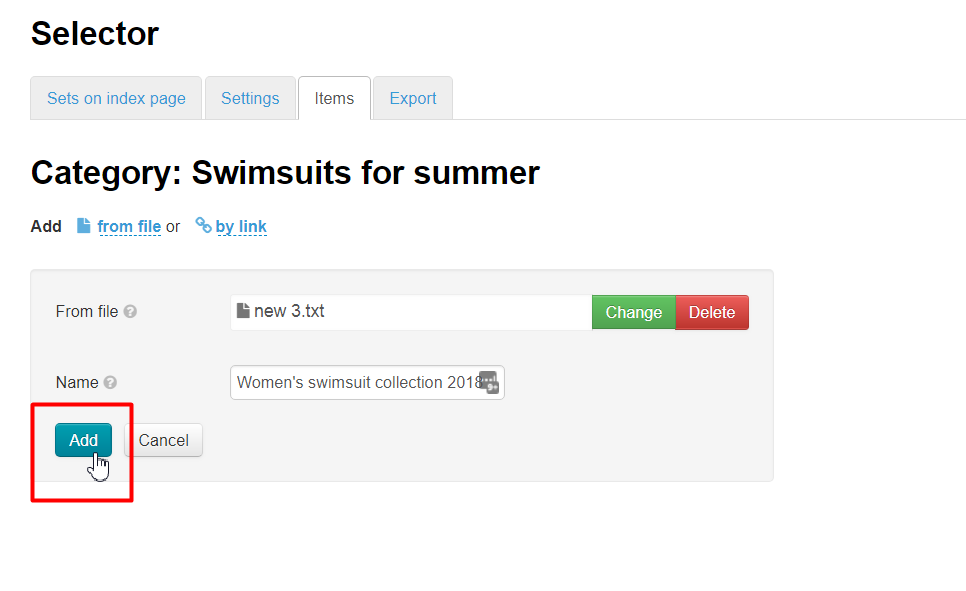
Click "From file", choose file created on step above and click "Add" button.
All products with these links will be displayed below, as well as when downloading one product.
Edit
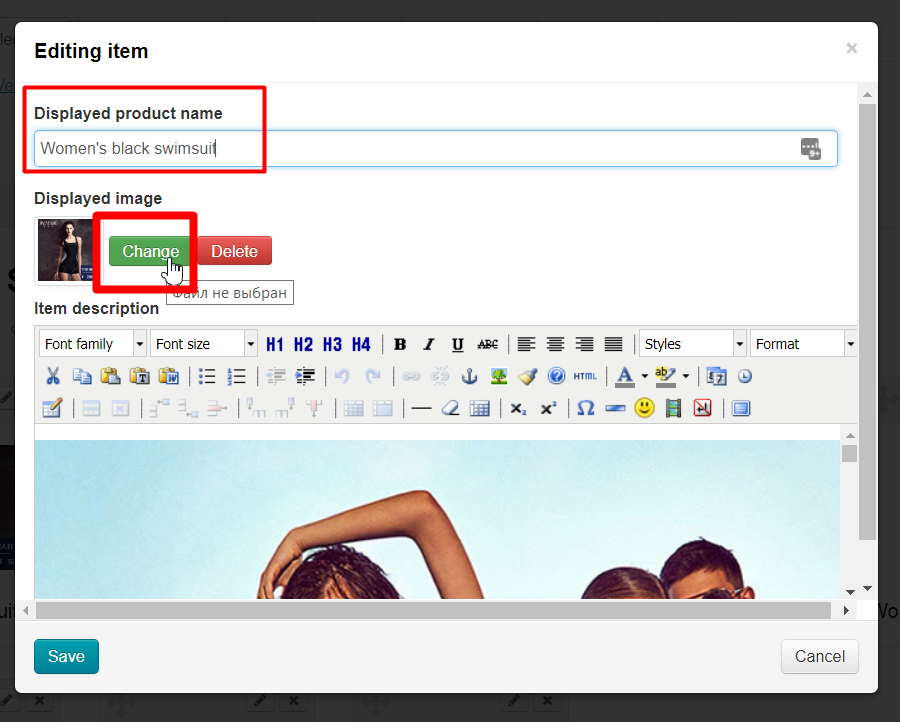
Module allows to correct translation, "Photo and description" page and upload your own photo. It only changes the main image if you upload your own photo of product, other images can't be changed by own pictures.
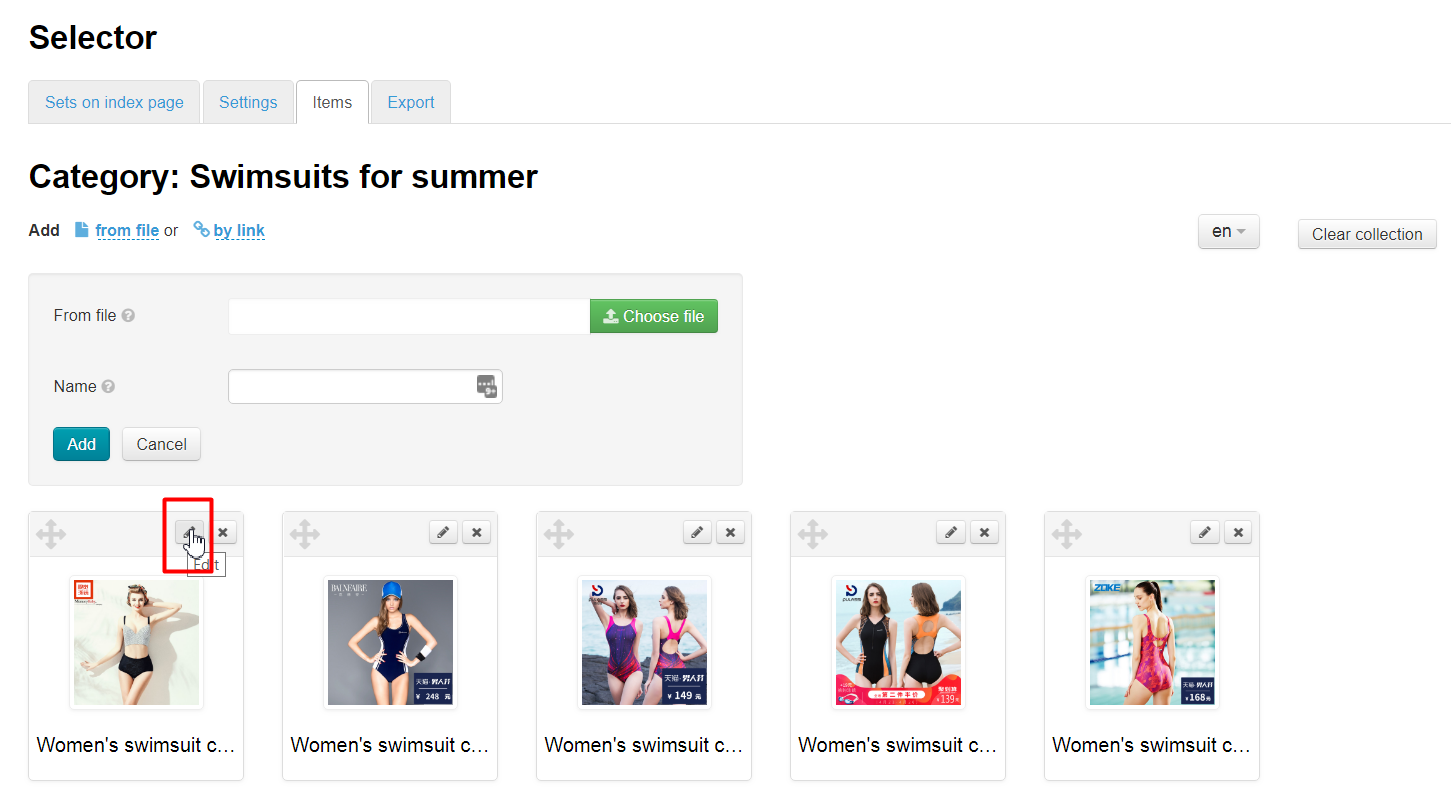
You can move o goods of necessary selection via catalog (read above) or via Catalog > Collections > Selector > Sets on index page > Go to product editing.
Click "Edit" icon.
Window to edit product will open.
...
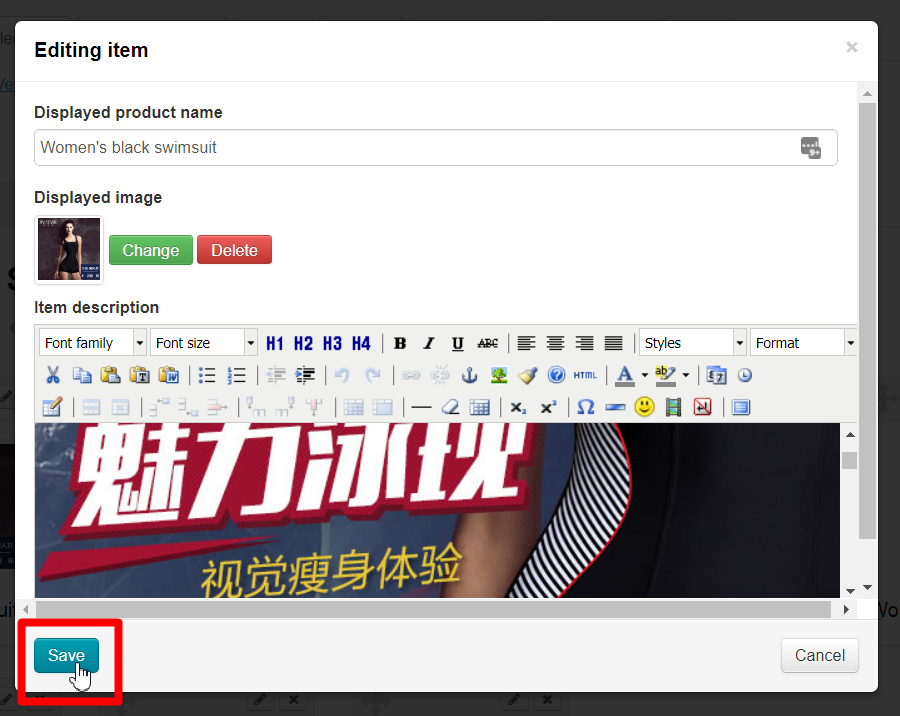
Click square to go to advanced mode, where editor will expand to full screen to edit description. Working with editor is standard. Click Save.
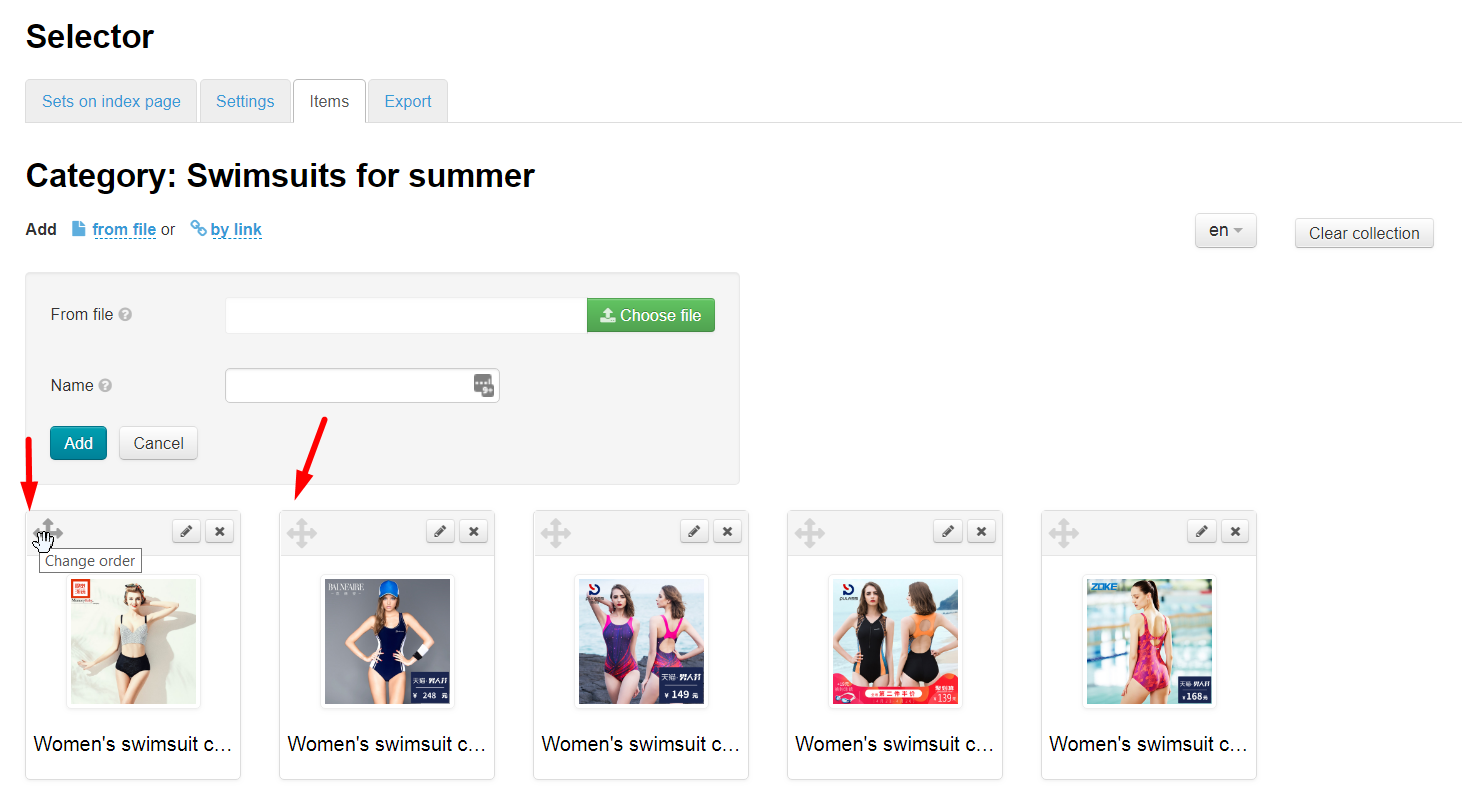
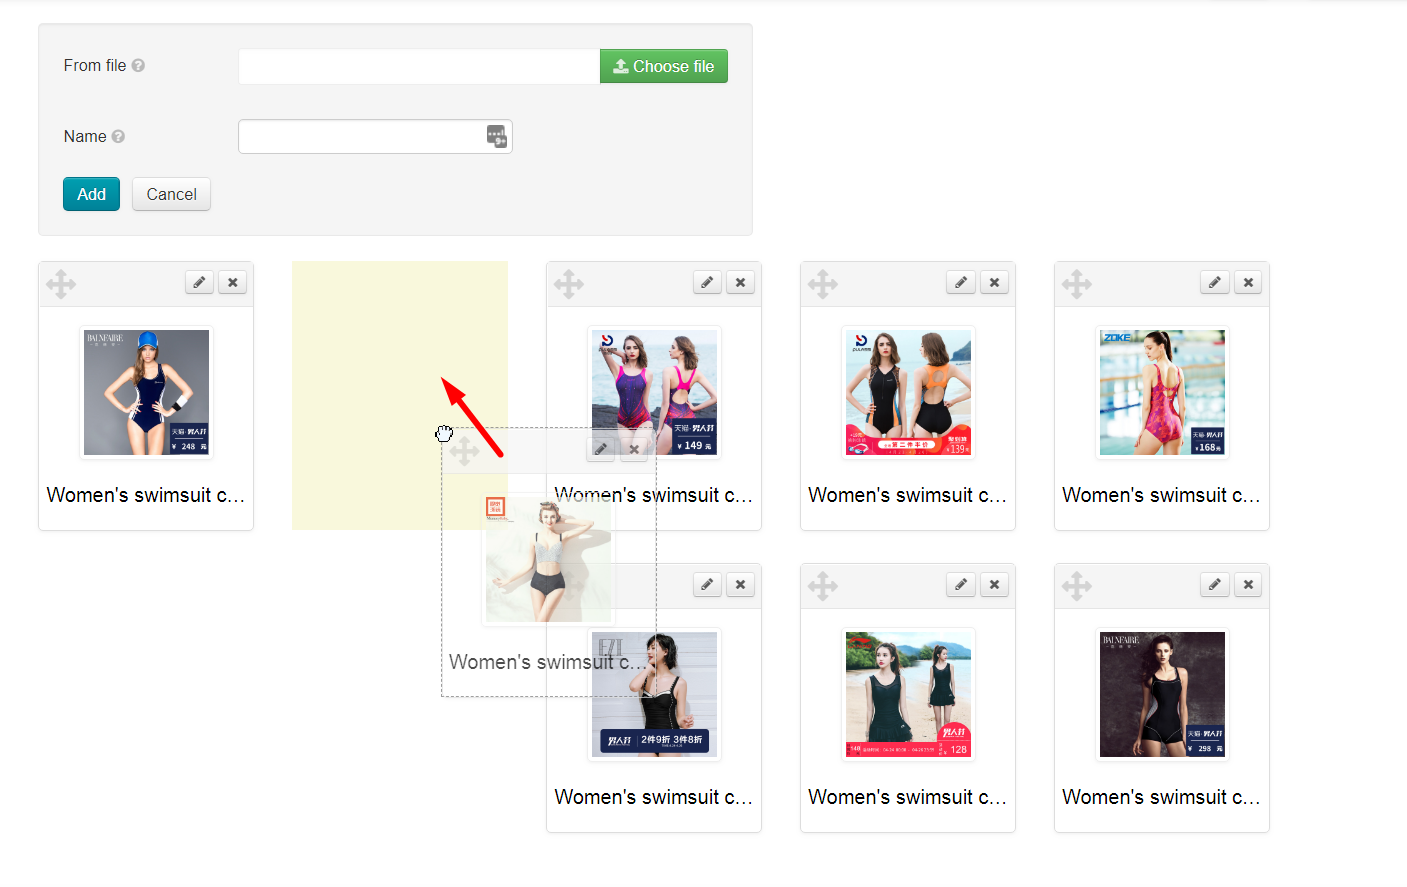
Move
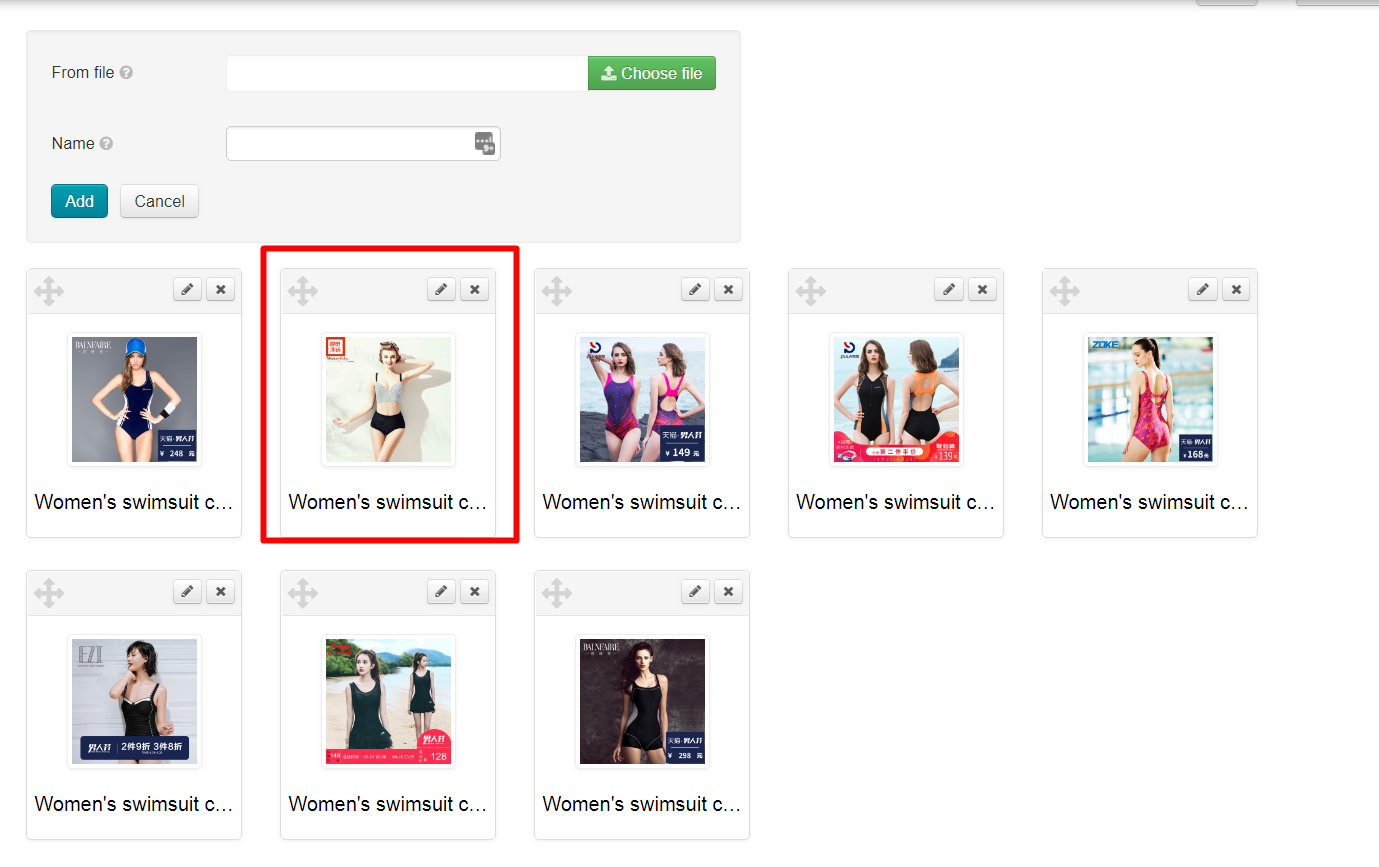
Grab mouse with a special pointer, move into desired direction, make sure that a dotted outline appears on future place of goods, release mouse to move goods. Click "Save Order" button.
Delete
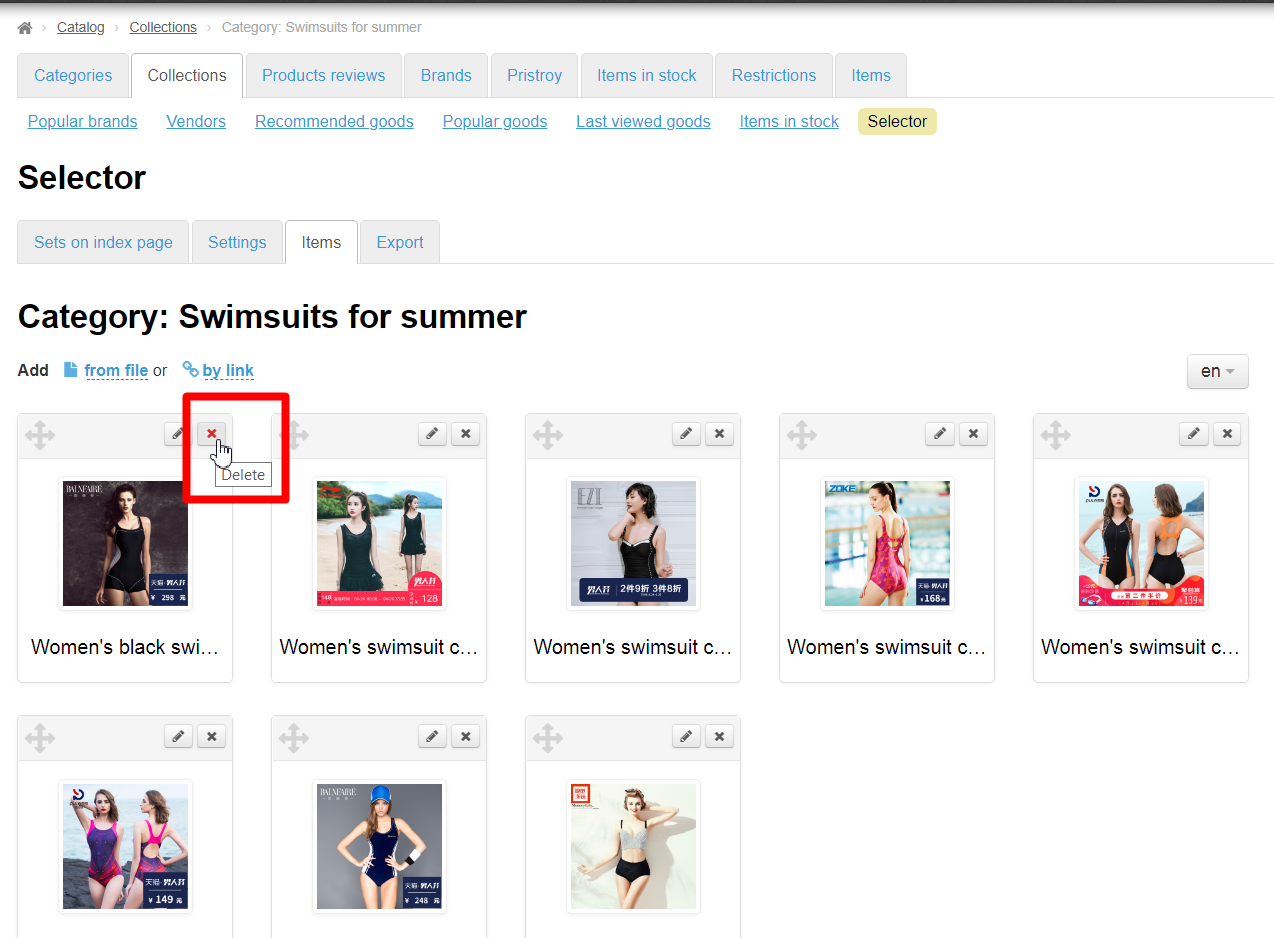
Click cross to delete product.
Confirmation is required after clicking. Click "Yes" button if you really want to remove product from collection:
Product will be deleted from selection and won't be shown on home page.
