...
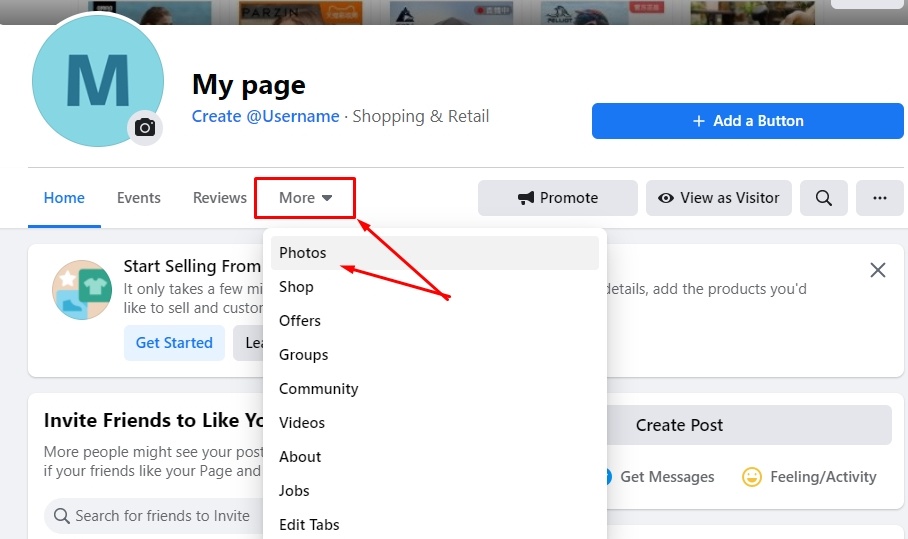
Click "More" and select "Pgotos" option.
Click "Create album":
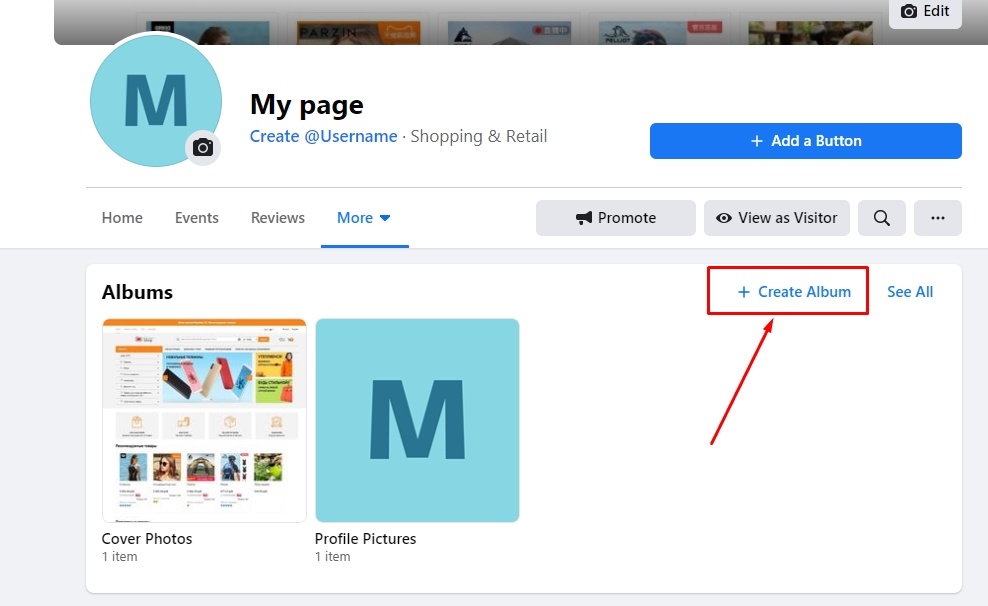
Add album name and description (optional). We will need to add this album name and OT Box admin panel. You are also required to upload 1 photo for album cover.
...
Select pages and click "Next":
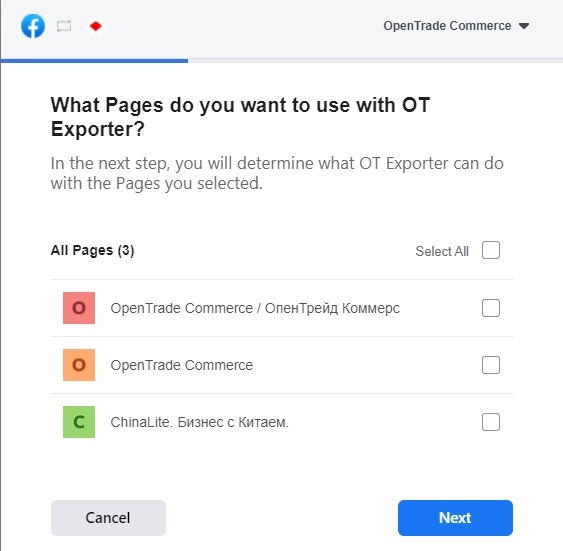
Now you need to select what OT Exporter is allowed to do. It is recomended to select all actions, as this directly affects export process.
...
You will see a message in new window "You've now linked OT Exporter to Facebook".
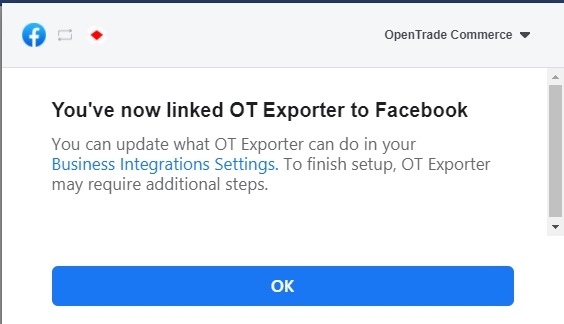
Click "OK".
You will have "Authorized" status after reloading OT Box admin page if everything was successful.
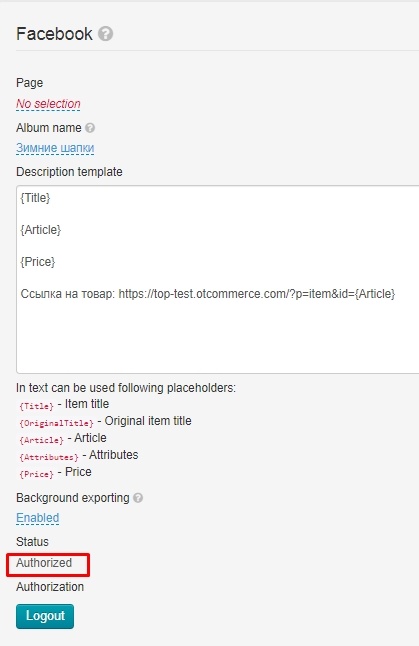
Set Facebook integration
Теперь поднимаемся чуть выше и настраиваем куда будут выгружаться товары во время Exportа
Кликаем по надписи «Не выбрано» и выбираем страницу из списка. Сохраняем выбор, нажав на кнопку с галочкой справа.
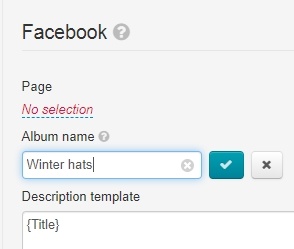
Пишем название альбома для товаров. Сохраняем название, нажав на кнопку с галочкой.
В Шаблоне описания можно указать какие данные будут выведены в карточку товара.
Кликайте в админке по красным надписям и они появятся в текстовом поле. Рекомендуем писать каждое значение с новой строки. Тогда и в карточке товара эти поля будут с новой строки. А можно и пустой строкой отметить для удобства.
Чтобы в вашей группе, при просмотре товара также отображалась ссылка на данный товар на вашем сайте, нужно в поле «Шаблон описания» прописать следующее:
Now we rise a little higher and set up where goods will be exported.
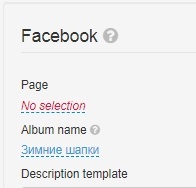
Click "No selection" and select page from the list. Save choice clicking checkmark button on the right.

Add Album name for goods. Save name clicking checkmark button on the right.
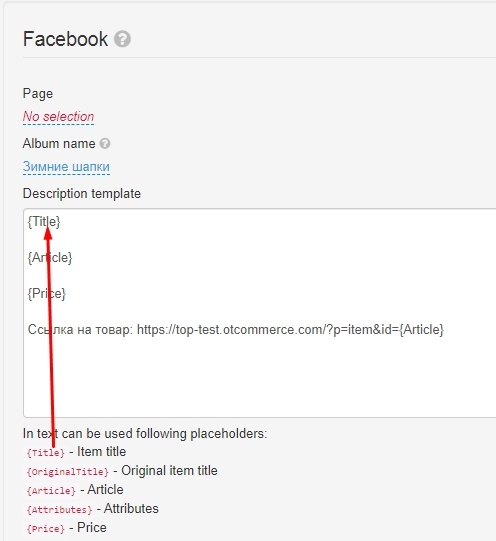
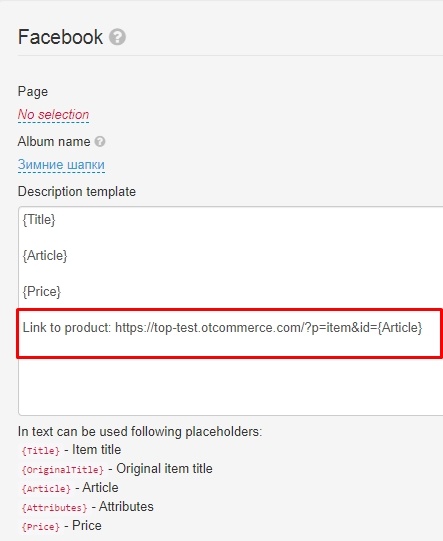
Description template allows to specify what data will be displayed in the product card.
Click red labels in admin panel and they will appear in the text field. We recommend you to write each value on a new line. Then in the product card, these fields will be on a new line. Or you can mark it with an empty line for convenience.
Write the following in "Description Template" field in order your group could have a link to this product on your website when viewing a product:
http://yourwebsitehttp://название_сайта/?p=item&id={Article}
Save all changes clicking checkmark button on the rightСохраняем все изменения нажав на кнопку с галочкой.
Описание товара будет выглядеть вот так
Product description will be swown in the following way:
Затем выбираем категории, которые будут Exportированы. Если у вас нет этого блока, значит категории Selectorа пустые и их необходимо заполнить товарами
Select categories for export. If you do not have this block, then Selector categories are empty and must be filled with products.
Кликаем по знаку + и когда все нужные категории будут в левой колонке, нажимаем «Сохранить»
Click + and "Save" when all the necessary categories are in the left column.
Таким образом мы выбрали какие категории Selectorа будут Exportированы в альбом страницы на Фейсбуке
Thus, we have chosen which categories of Selector will be exported to the album page on Facebook.
Export goods
В админке Коробки ОТ открываем радел: Каталог → Подборки → Selector → Export
...