...
Hover over a category. Click "Set Products in Selector" icon.
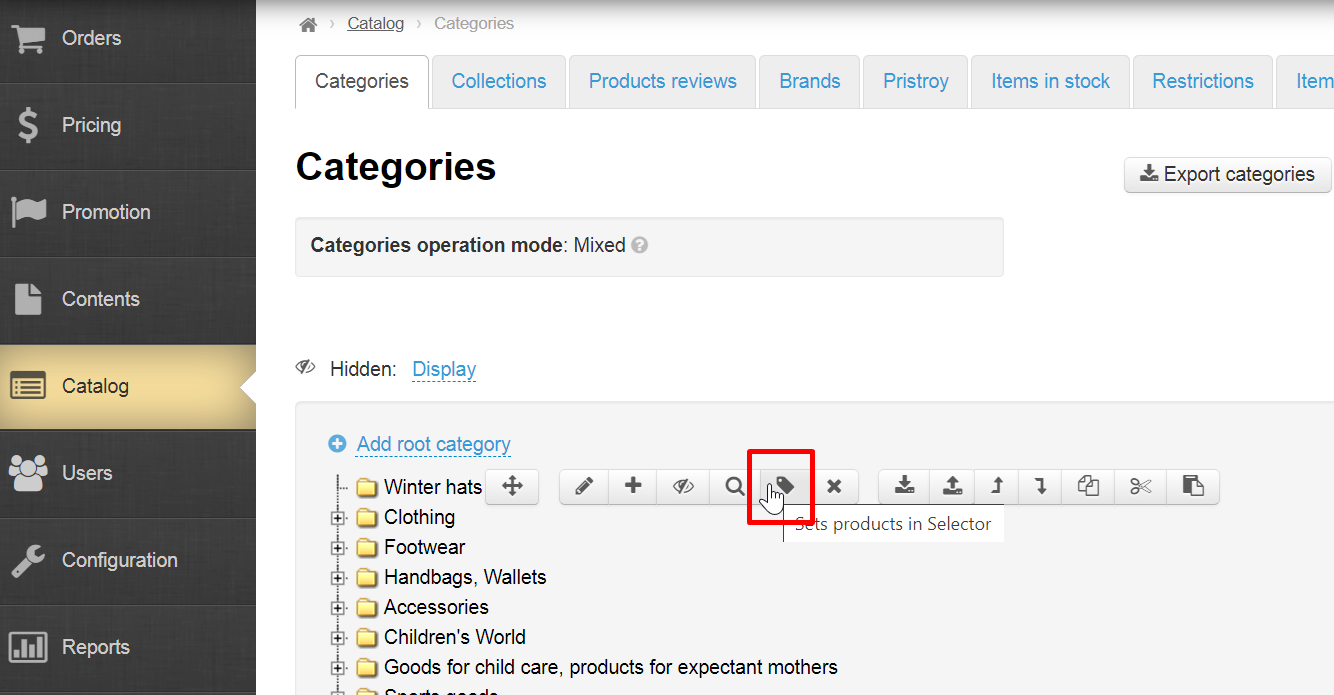
You will be redirected to "Collections" section (this will open a new tab in the browser).
...

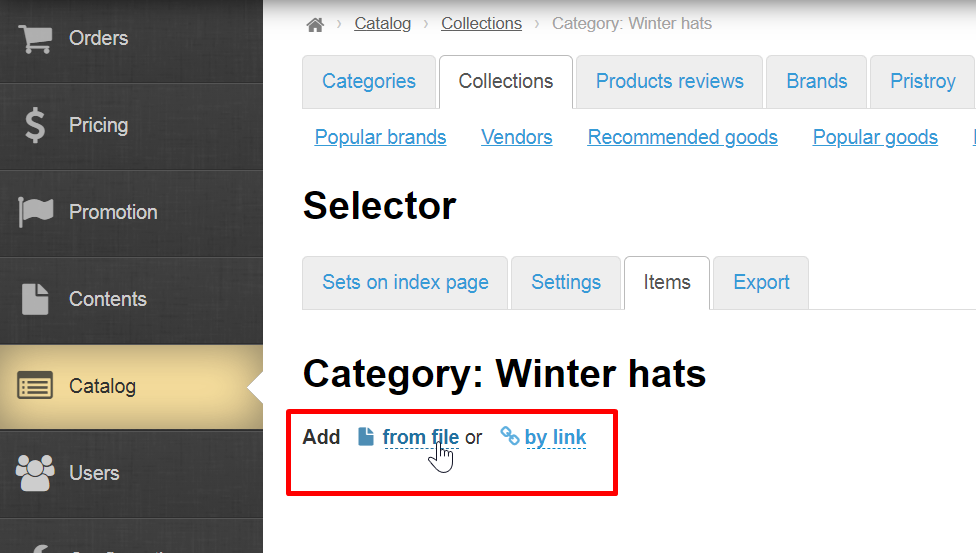
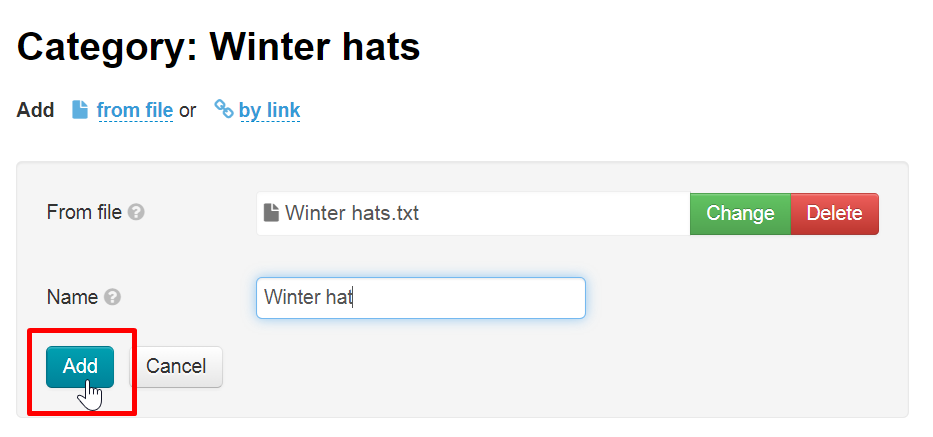
Click "from file":
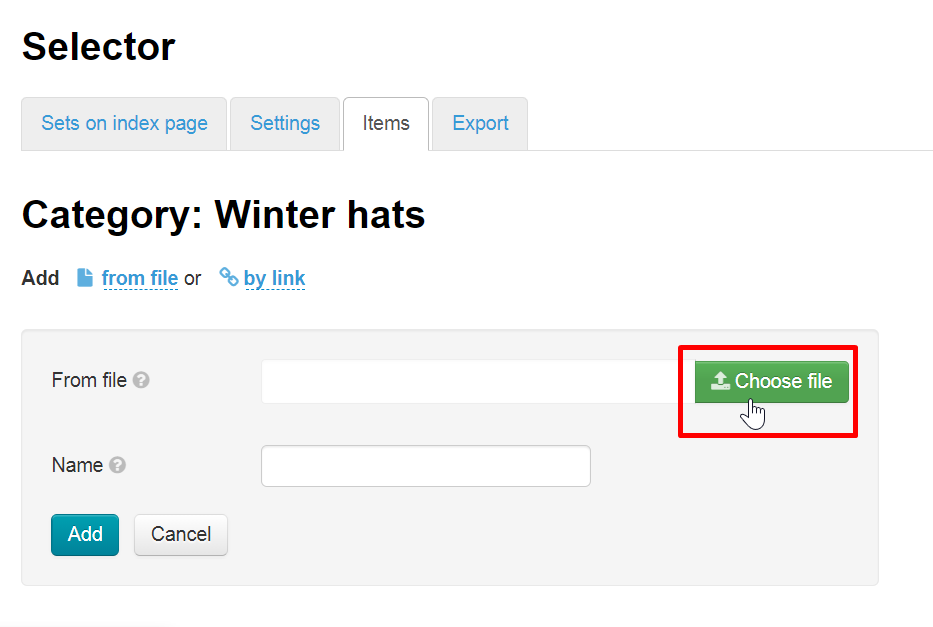
Select file created on the step above:
In addition, you can specify a common name for all products, for example "Teddy BearsWinter hat":
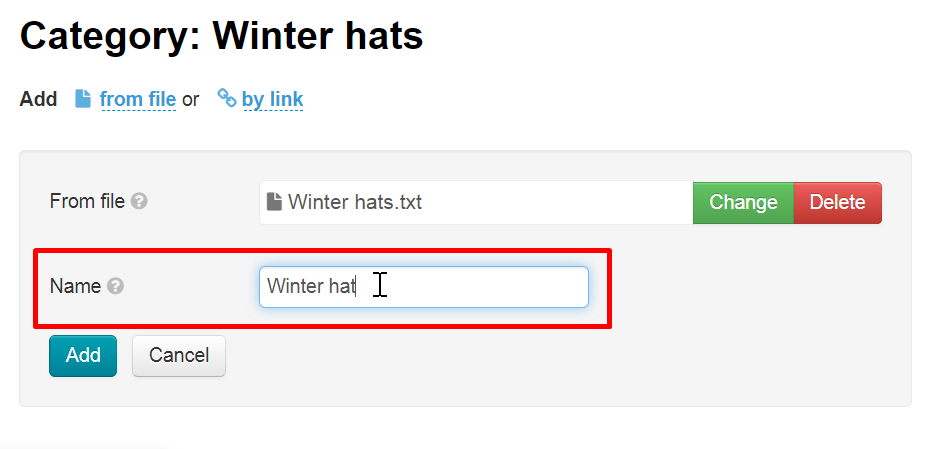
Click "Add":
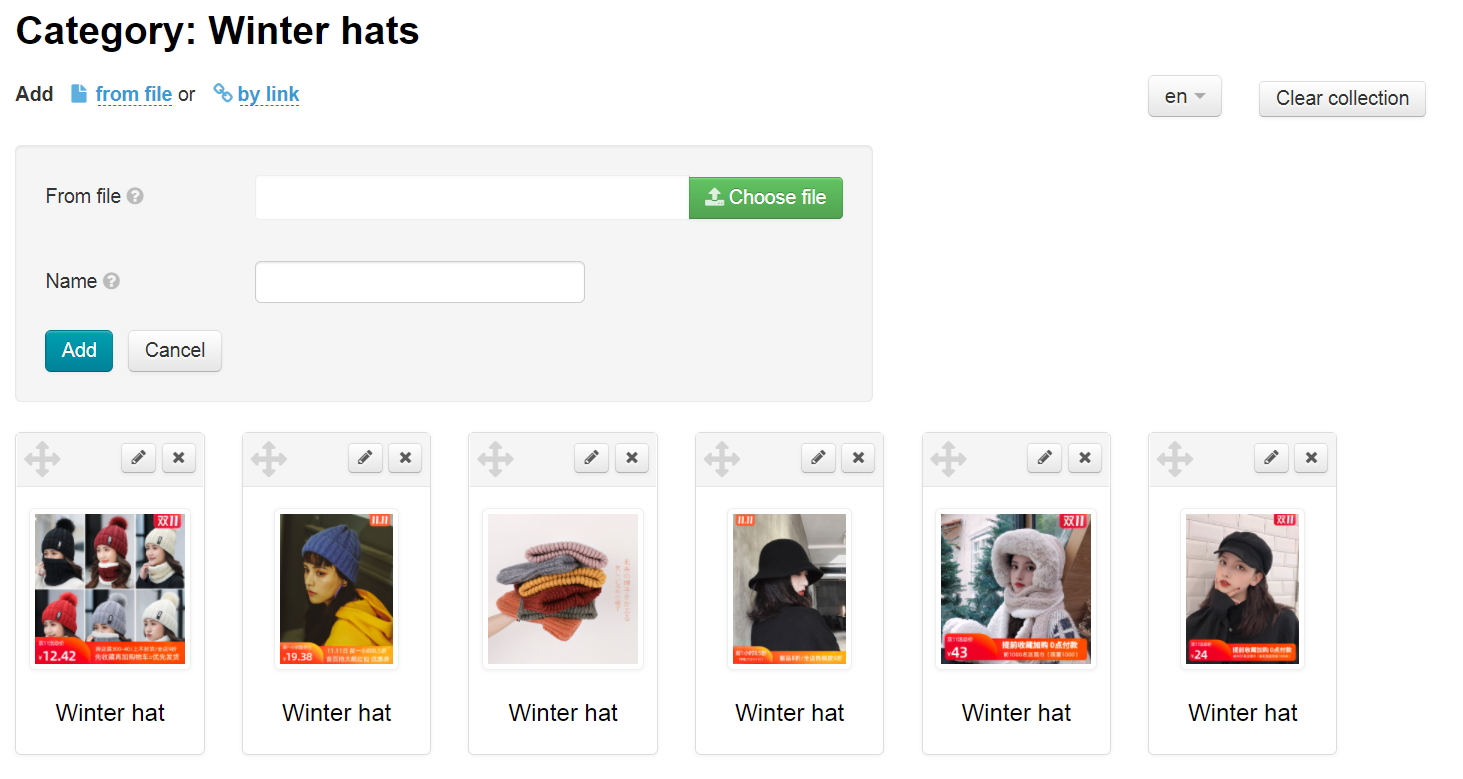
All products, links to which you have added, will be displayed below:
Set prices and margin for exported goods
The tab settings set goods price on the site. Here you can directly configure goods price: margin, price rounding and discounts.
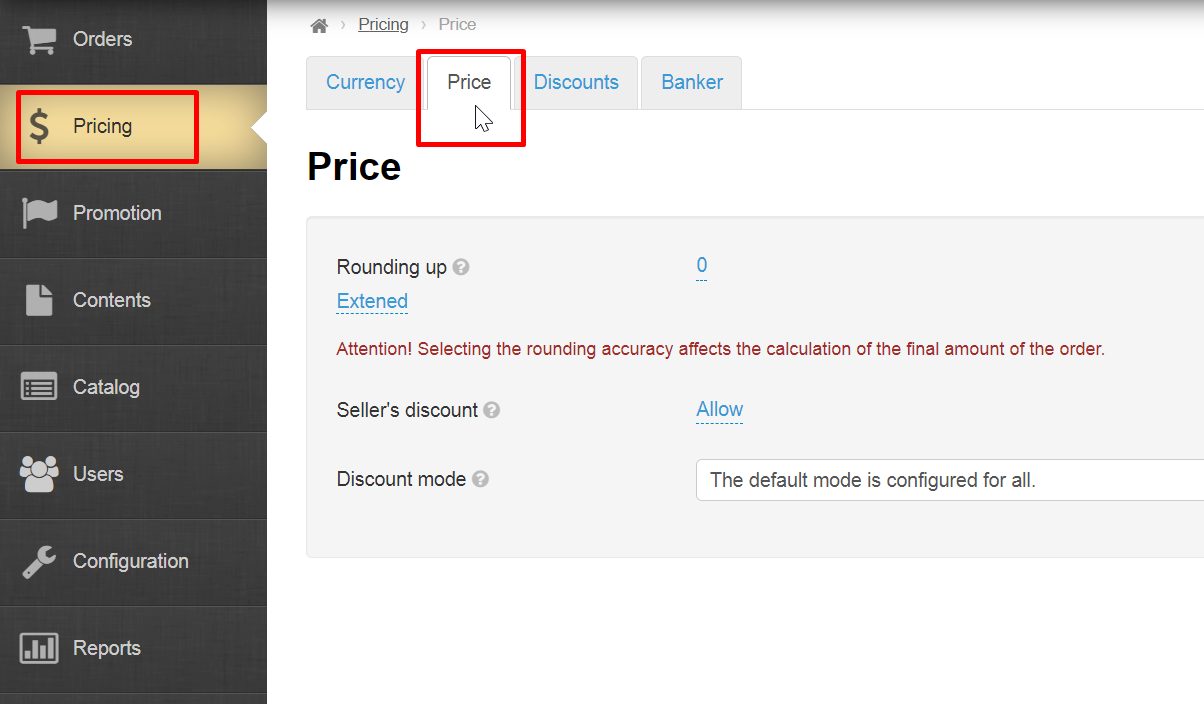
Price of each product is made up of individual parameters, namely: price rounding, discounts and minimum price.
...
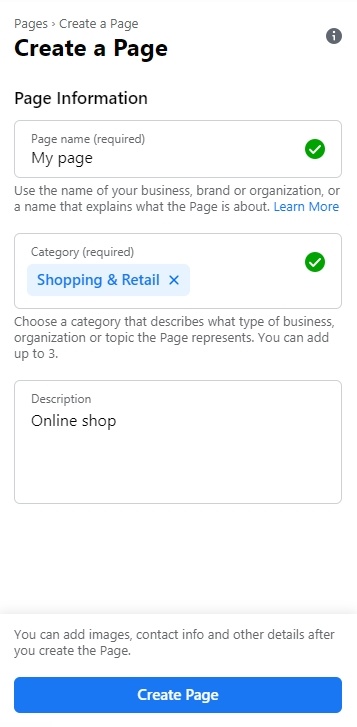
Click "Create page" button after you finish settings.
You will see following message in the bottom of the page:
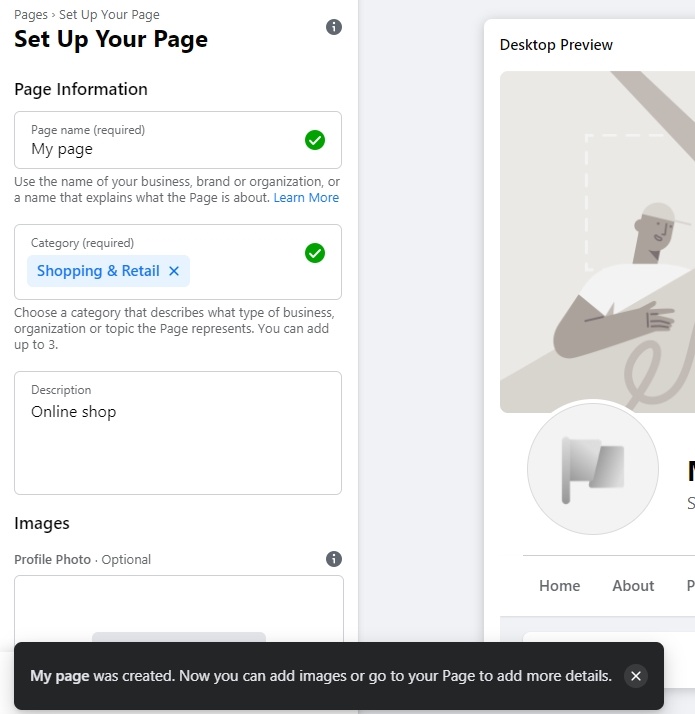
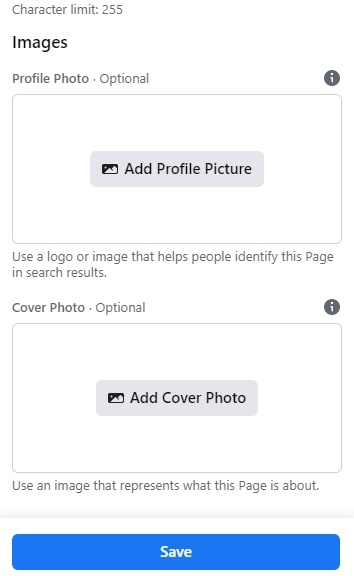
Set Up Your Page adding Profile Photo (Optional) and Cover Photo (Optional).
...
Click "Save" button after you finish settings. .
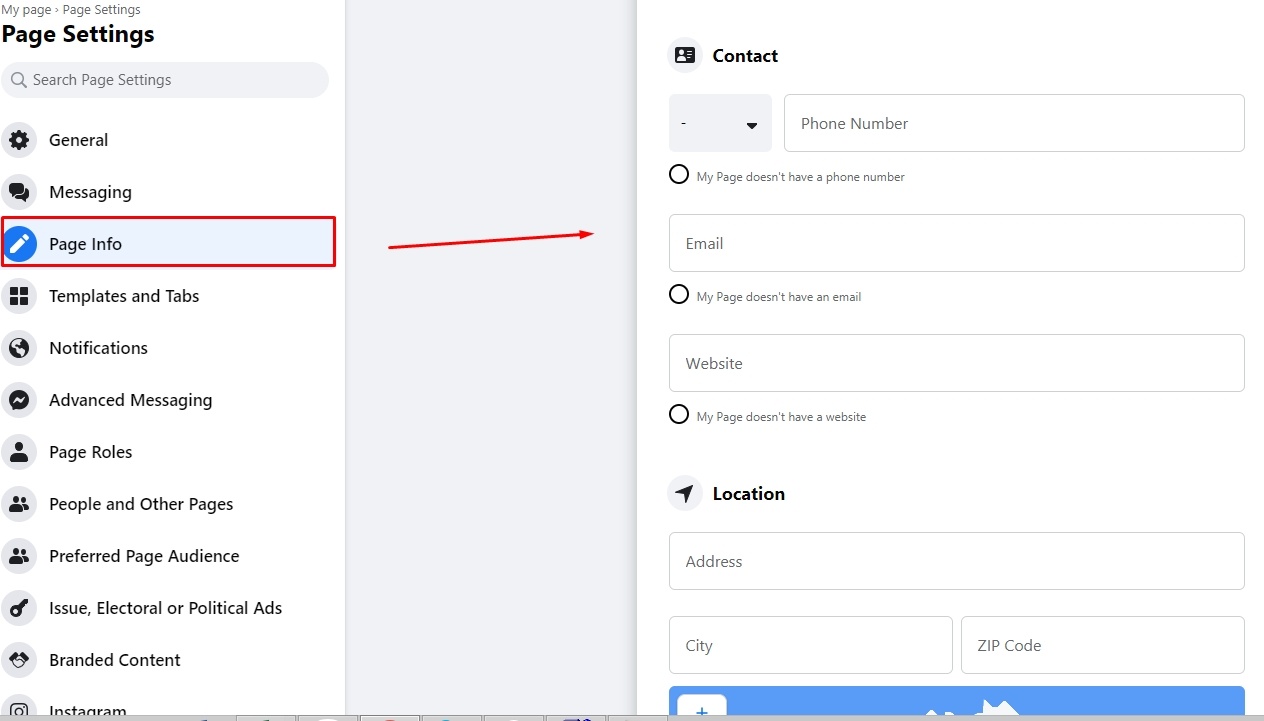
Go to "Page info" and add information about your shop:
You can mark "My Page doesn't have a location" if you don't have offline shop or showroom.
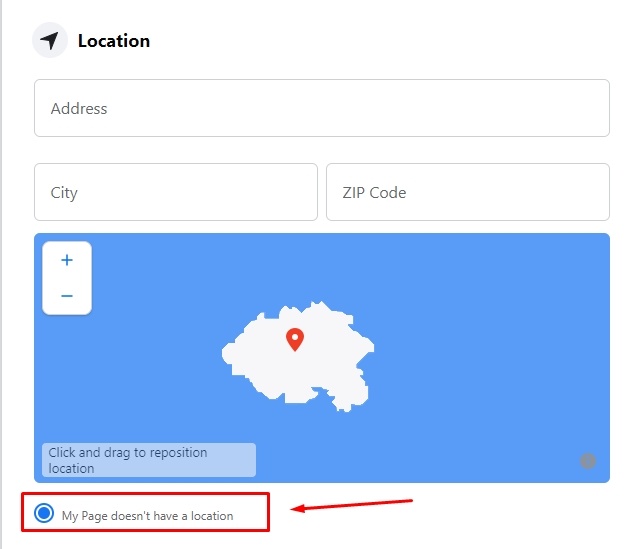
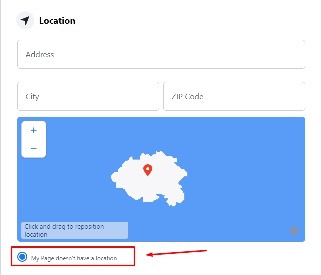
Your changes will be automatically saved.
...
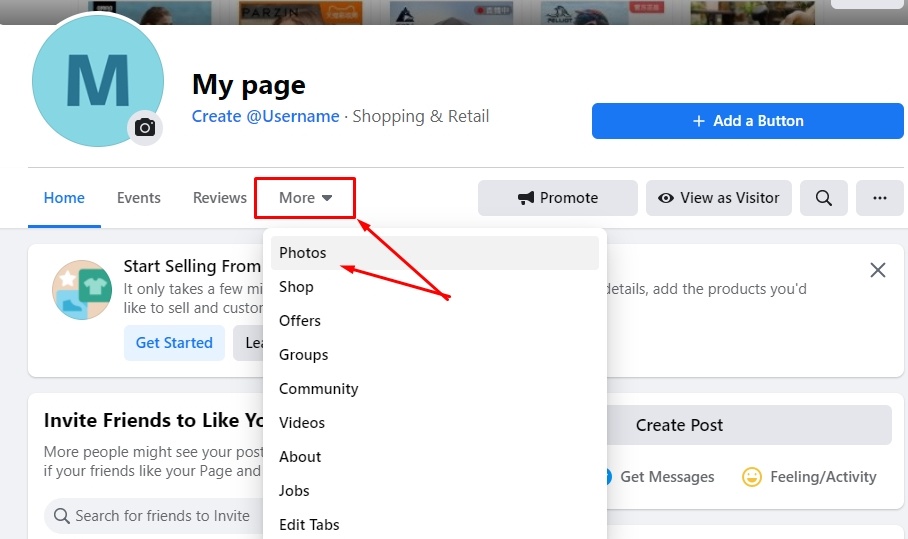
Click "More" and select "Photos" option.
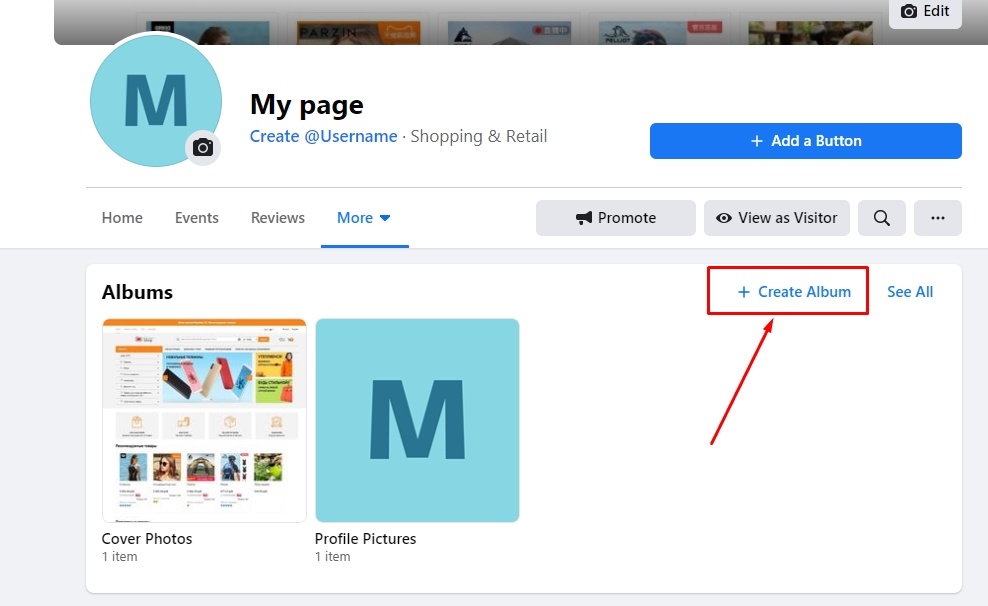
Click "Create album":
Add album name and description (optional). We will need to add this album name and OT Box admin panel. You are also required to upload 1 photo for album cover.
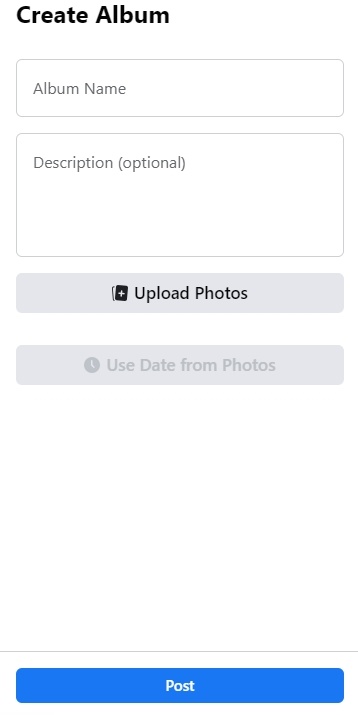
Click "Post" after you finish settings.
...