...
Select categories for export. If you do not have this block, then Selector categories are empty and must be filled with products.
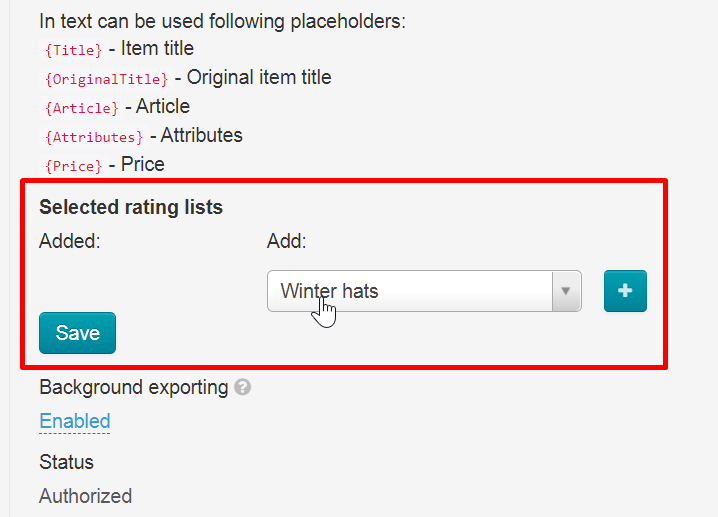
Click + and "Save" when all the necessary categories are in the left column.
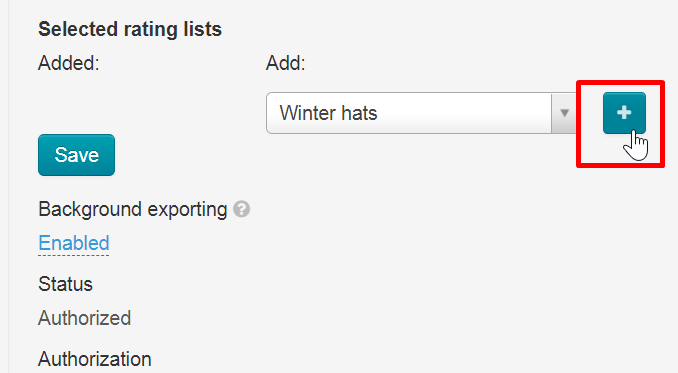

Thus, we have chosen which categories of Selector will be exported to the album page on Facebook.
...
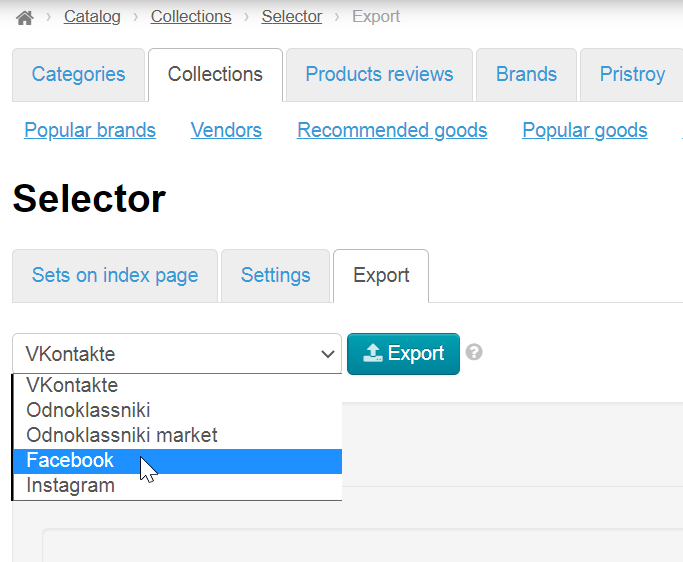
Select "Facebook" in the list of social networks for export.
Click "Export" button.
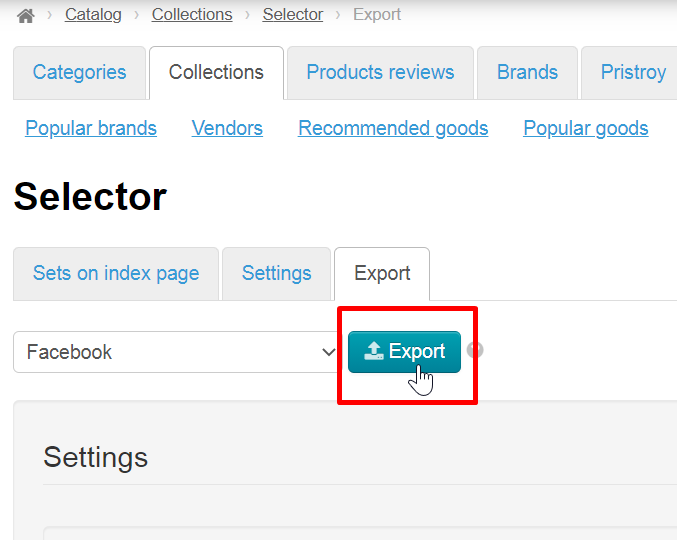
A window with download progress will open in admin panel when Export starts.
...
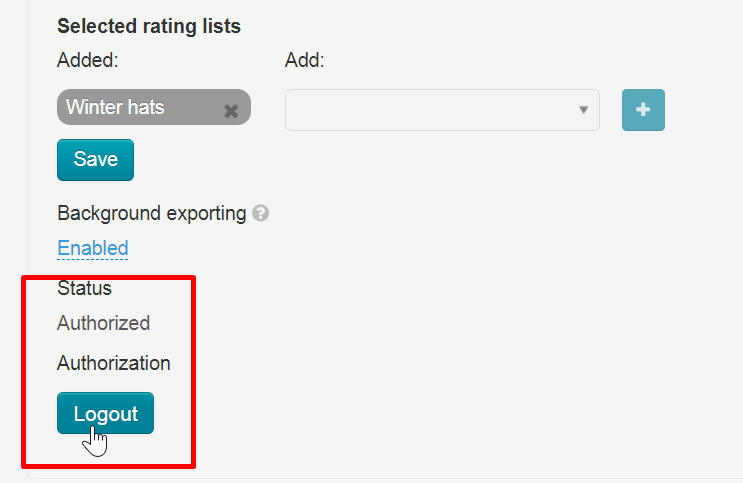
Scroll page to authorization block and click "Logout" button.
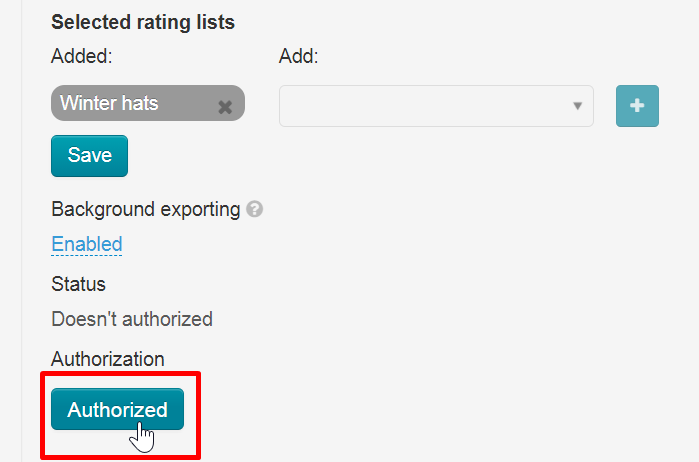
Click "Authorized" button after page automatically refreshes.
You can start export again.
...
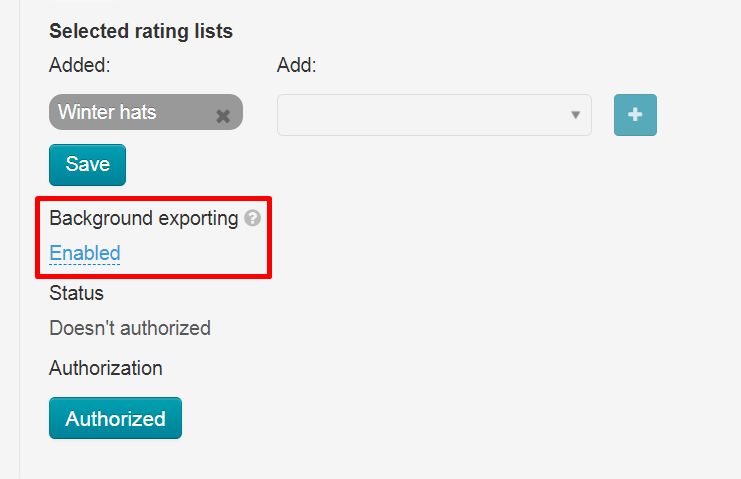
You need to enable "Background exporting" to synchronize products once a day.
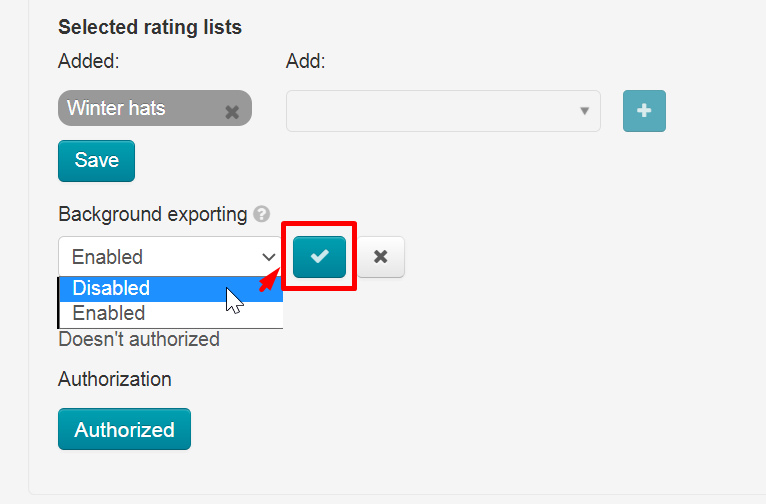
Click "Disabled", select "Enabled" and save choice clicking checkmark button on the right.
Export into Instagram
...
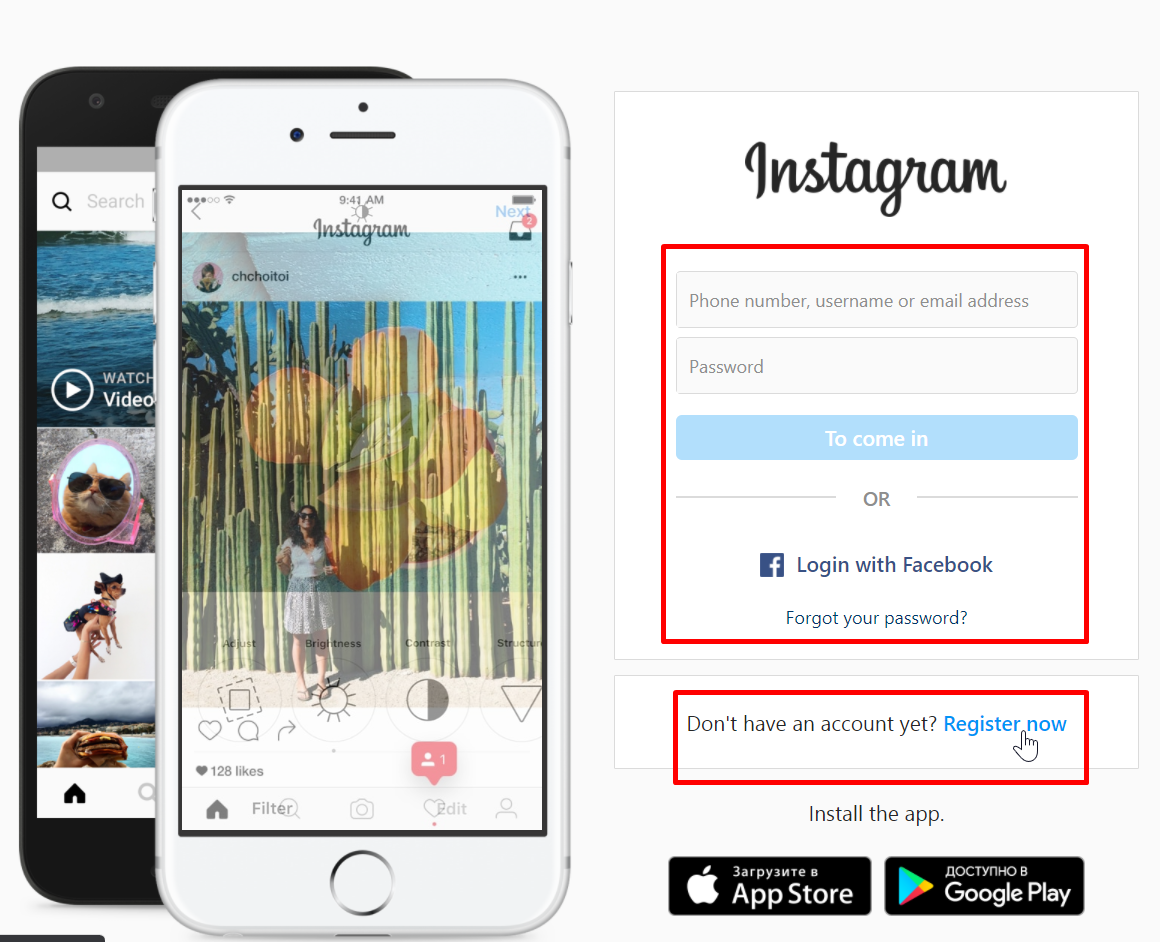
Register account in Instagram using "Create New AccountRegister now" button. If you have an account, log in and skip registration.
Enter phone or email. Enter the confirmation code sent to phone or email and click "Next" button.Enter Enter full name, username and password. You can check "Save password".Click "Continue and Sync Contacts" or "Continue Without Syncing
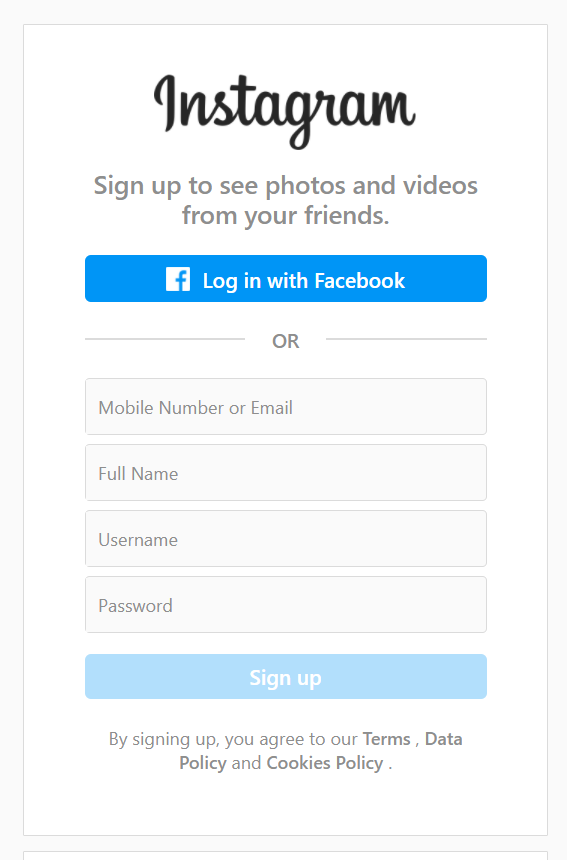
Click “Sign up”.
If you need, сlick "Continue and Sync Contacts" or "Continue Without Syncing Contacts".Add your birthday and click "Next".
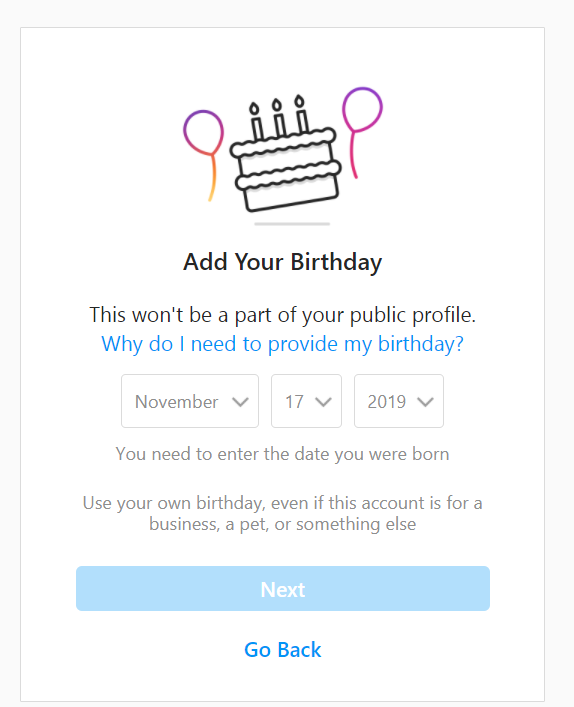
Complete registration clicking "Next" button.
After successful registration Instagram offers to connect Instagram to Facebook. You can link them if you have both accounts selling goods. It won't influence export anyhow. But you can inform your customers that now you are on Instagram. In addition, all advertising on Instagram goes through Facebook account.
Log in and start goods export if you have registered an account.
...
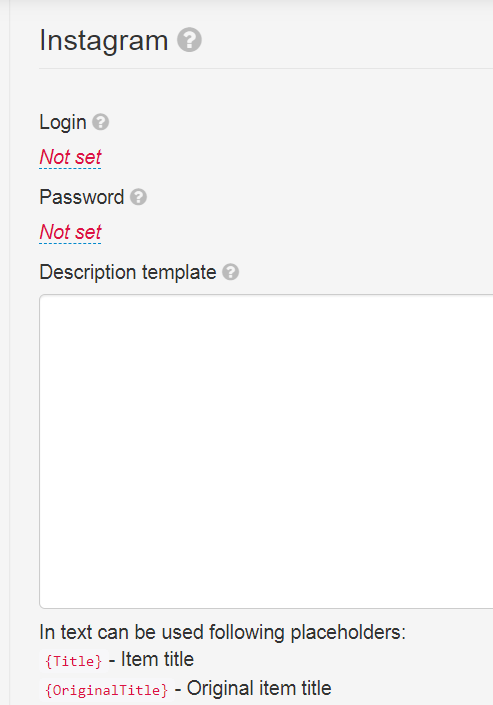
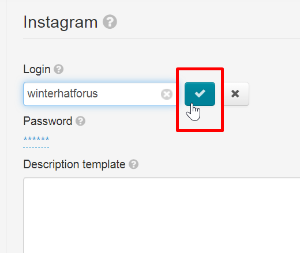
Scroll page to "Instagram" block. Click "Not set" to add Login and Password of your account.
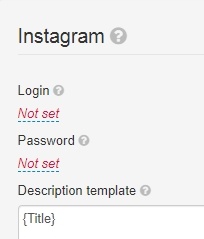
Save clicking checkmark button on the right:
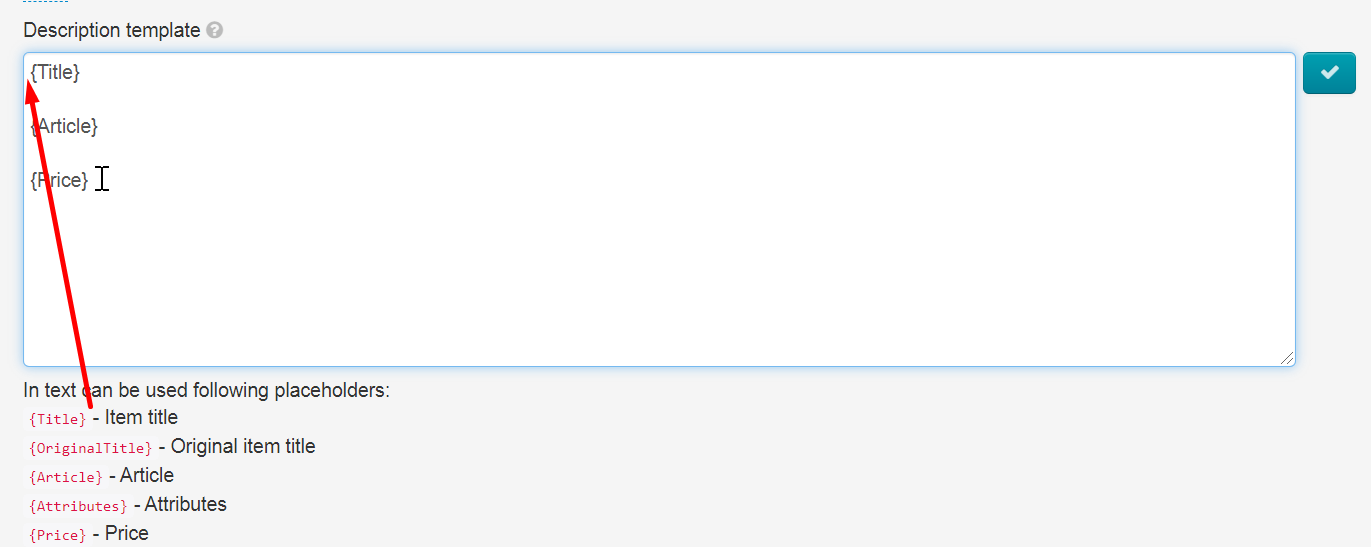
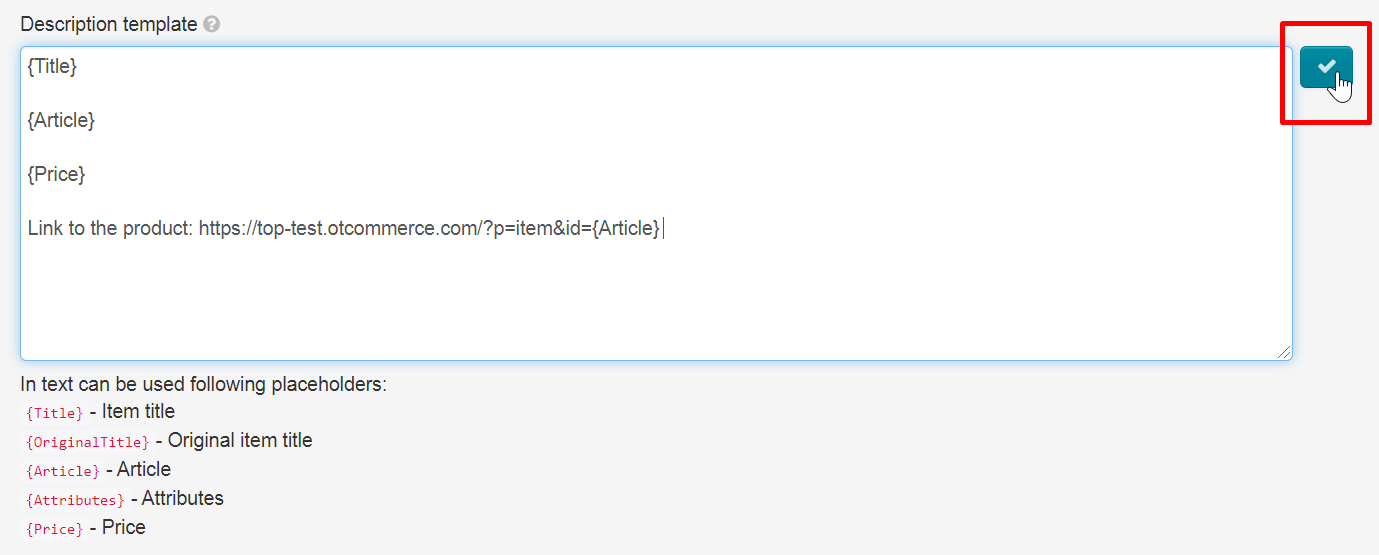
Description template allows to specify what data will be displayed in the product card.
Click red labels in admin panel and they will appear in the text field. We recommend you to write each value on a new line. Then in the product card, these fields will be on a new line. Or you can mark it with an empty line for convenience.
Write the following in "Description Template" field in order your group could have a link to this product on your website when viewing a product:
http://yourwebsite/?p=item&id={Article}
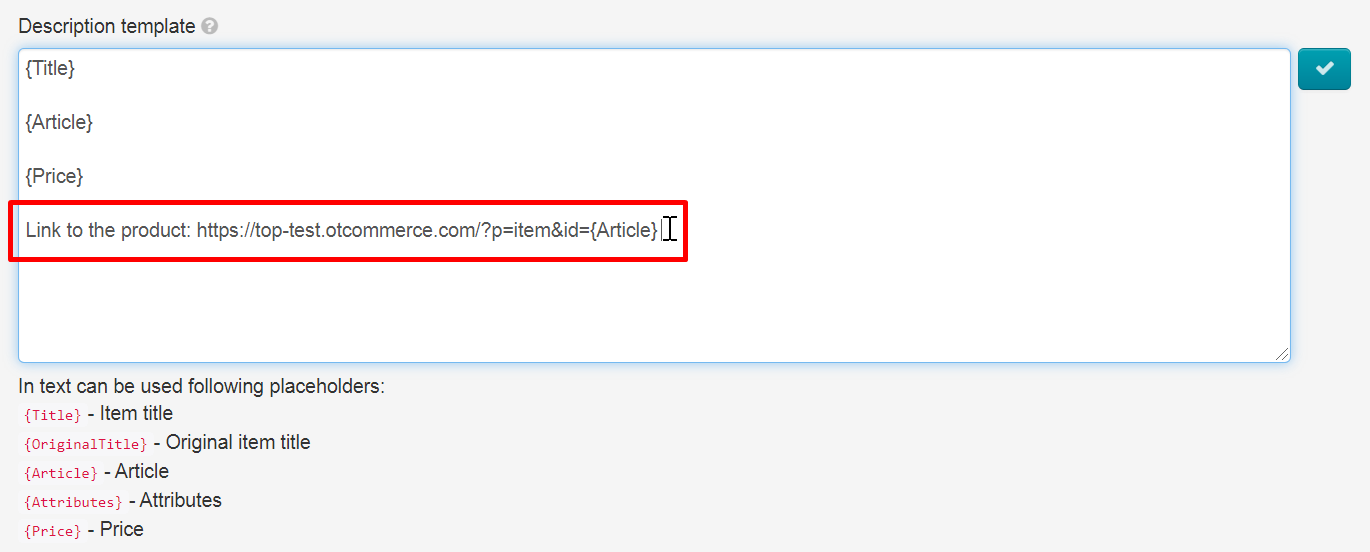
Save all changes clicking checkmark button on the right.
Product description will be shown in the following way:
...
Select categories for export. If you do not have this block, then Selector categories are empty and must be filled with products.
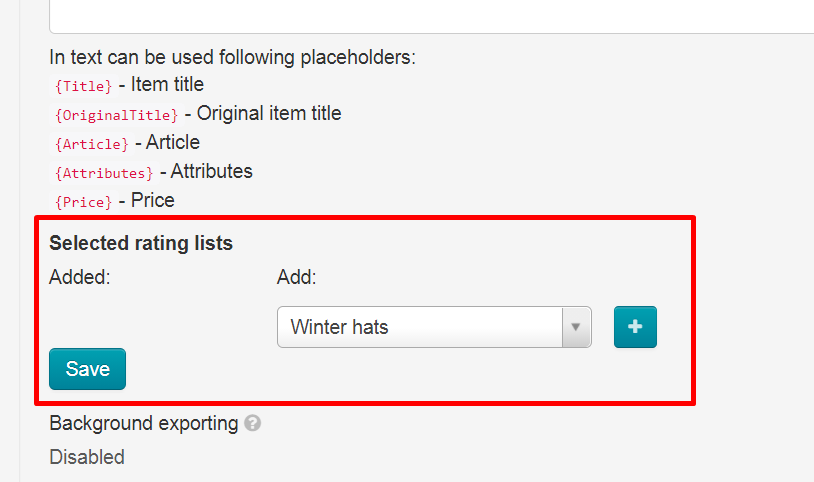
Click + and "Save" when all the necessary categories are in the left column.
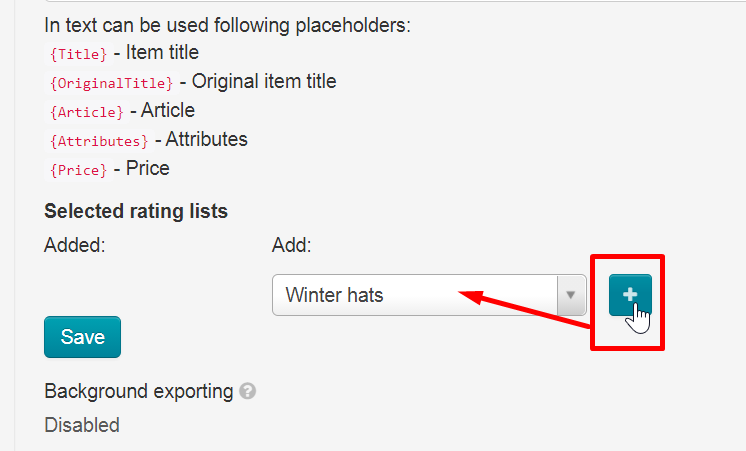
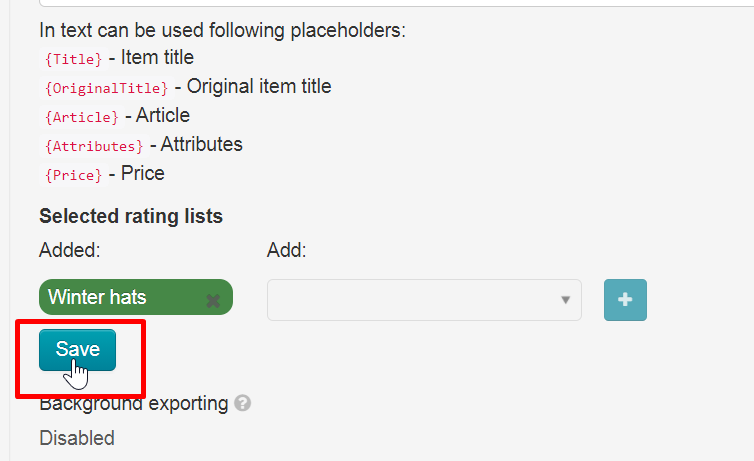
Thus, we have chosen which categories of Selector will be exported to the album page in Instagram.
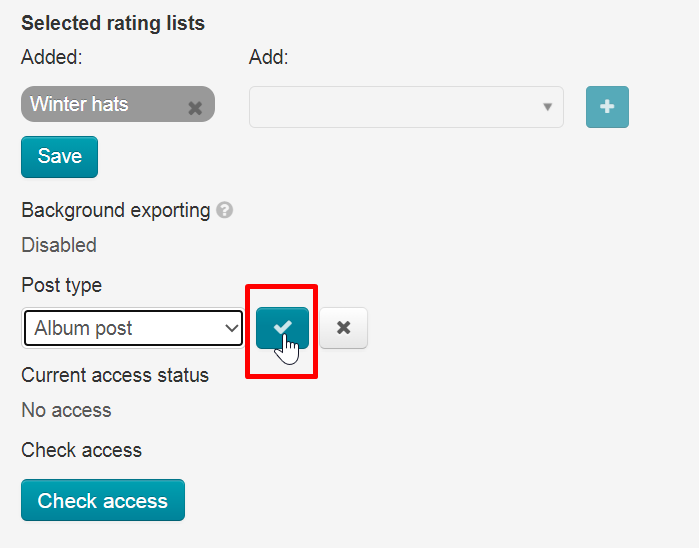
Post type
Select post type.
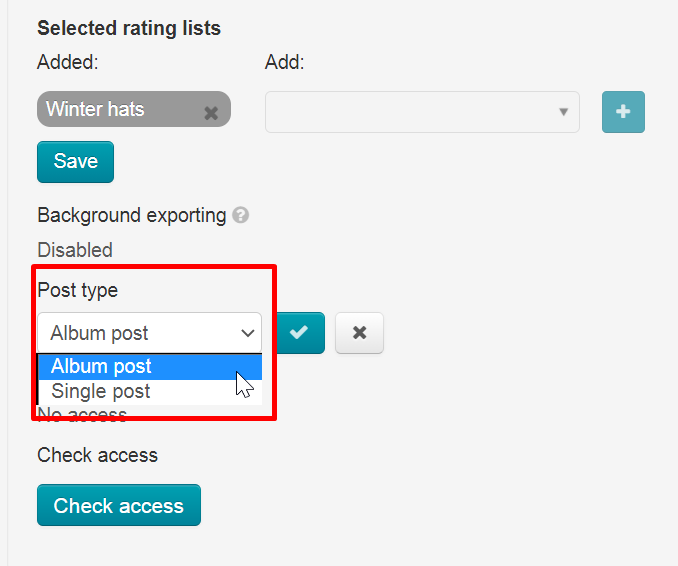
Save changes clicking checkmark button on the right.
Authorization in OT Box
...
Click "Check access" button.
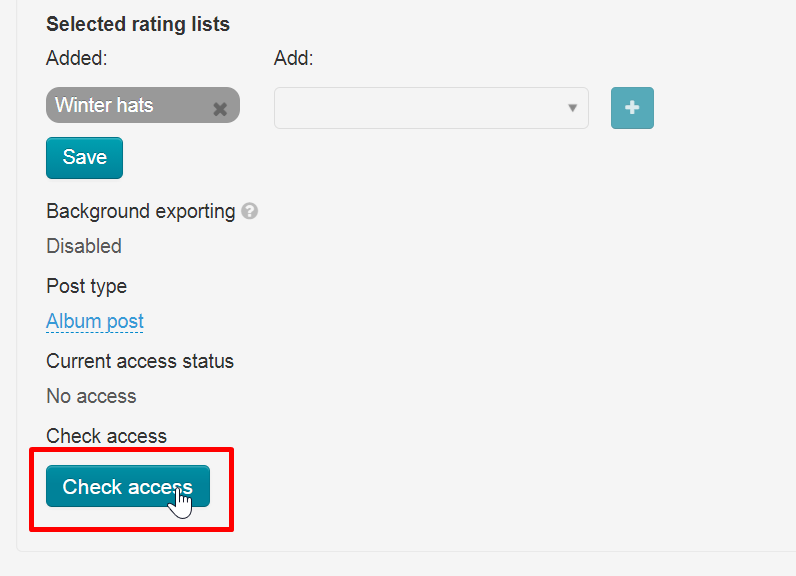
After requesting access verification, the page will be refreshed and confirmation code entry form will open.
Note! A confirmation code is not always required.
| Информация | ||
|---|---|---|
| ||
If you have two factor authentication enabled, then you will receive two security codes in sequence. We enter both codes in the “Security Code” window in the admin panel, as shown above. |
When security code came to email linked to Instagram, click "Not installed" and enter the code.
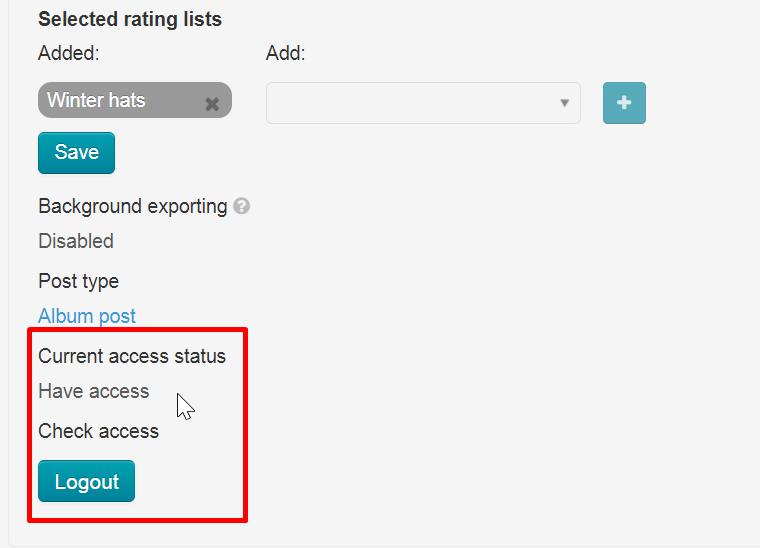
You will have "Authorized" status after reloading OT Box admin panel if everything was successful.
...
Select "Instagram" in the list of social networks for export.
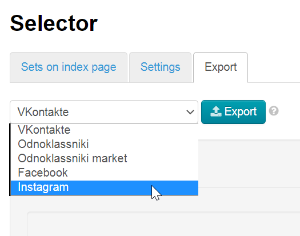
Click "Export" button.

A window with download progress will open in admin panel when export starts.
...
Scroll page to authorization block and click "Logout" button.
After requesting access verification, page will be refreshed and a confirmation code entry form will appear.
When security code came to email linked to Instagram, click "Not installed" and enter the code.
| Информация | ||
|---|---|---|
| ||
If you have two factor authentication enabled, then you will receive two security codes in sequence. We enter both codes in the “Security Code” window in the admin panel, as shown above. |
...
Click "Authorized" button after page automatically refreshes.
...
You need to enable "Background exporting" to synchronize products once a day.
Click "Disabled", select "Enabled" and save choice clicking checkmark button on the right.