| Оглавление |
|---|
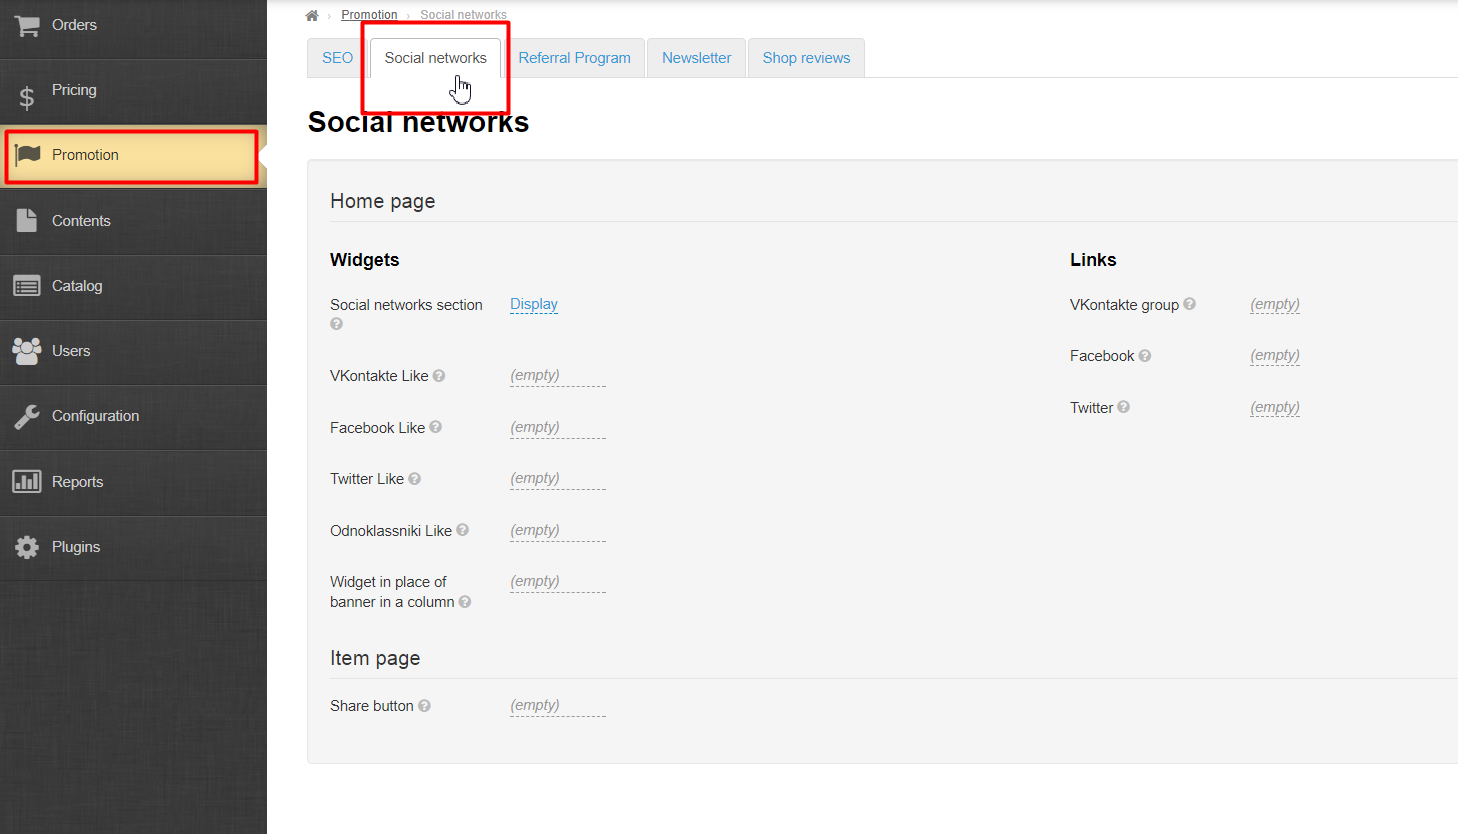
This section focuses on configuring social media widgets.
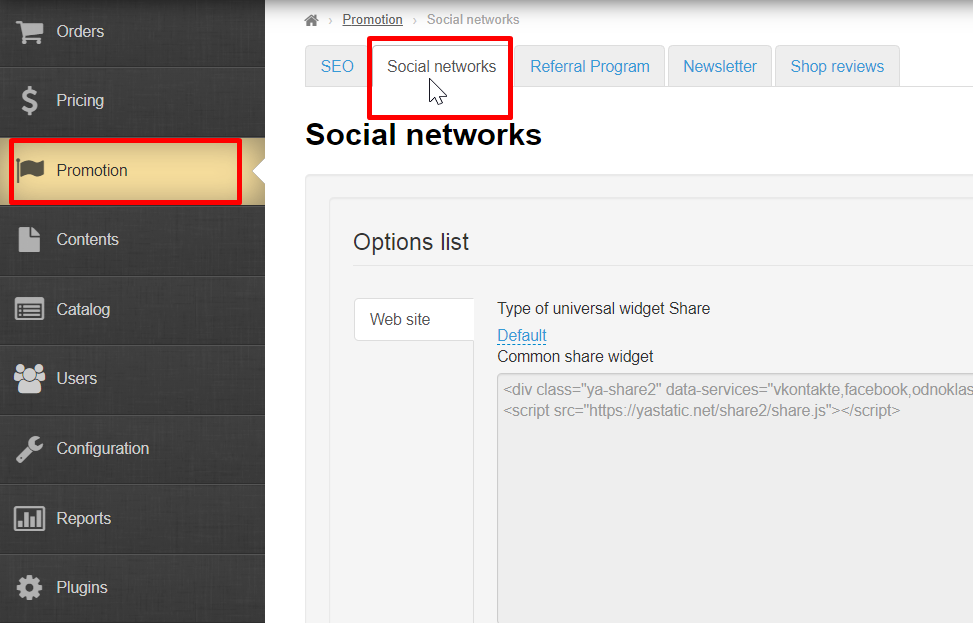
Navigate to: Promotion > Social media in admin panel of your website.
Description
This section is required if you want to place social media widgets, links and Like buttons on your website. You can put them either on the homepage or on the item page.
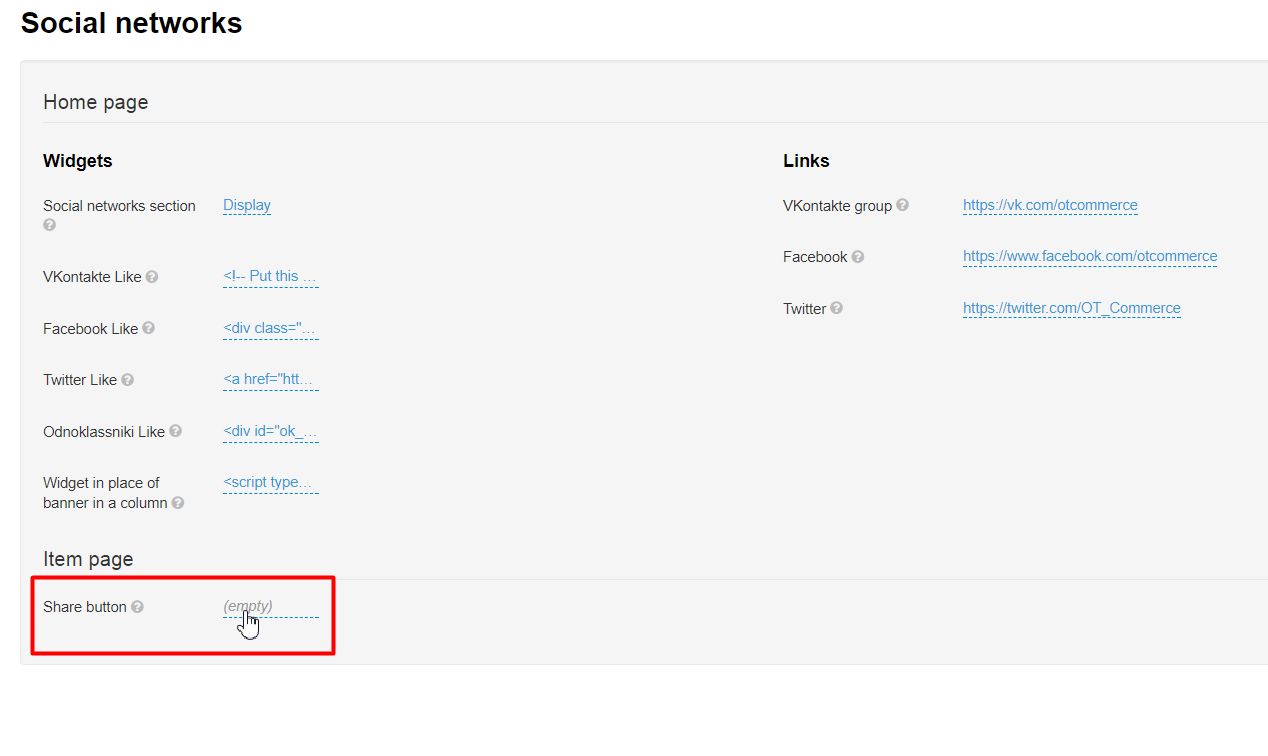
Homepage
Widgets
How to enable social media section
You should turn on social media widgets if you want to show them on the homepage.
Select “Social media section” and click dashed blue underlined text next to it.
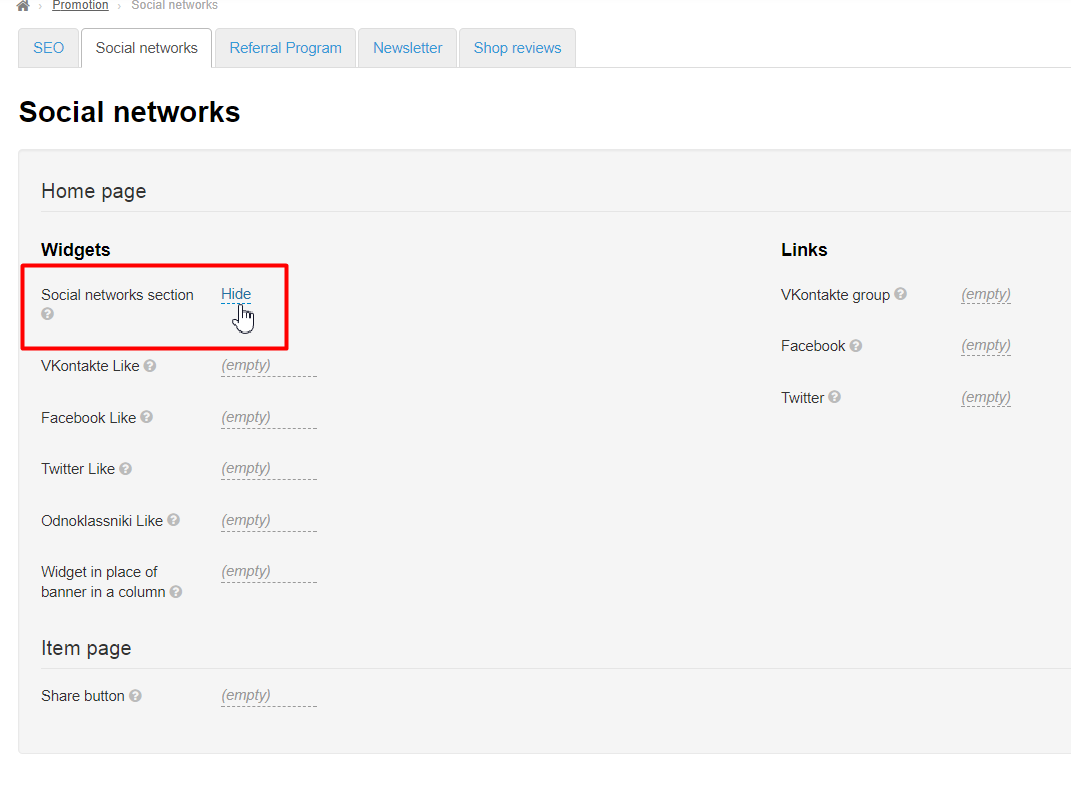
Click dropdown arrow on the right to display dropdown list.
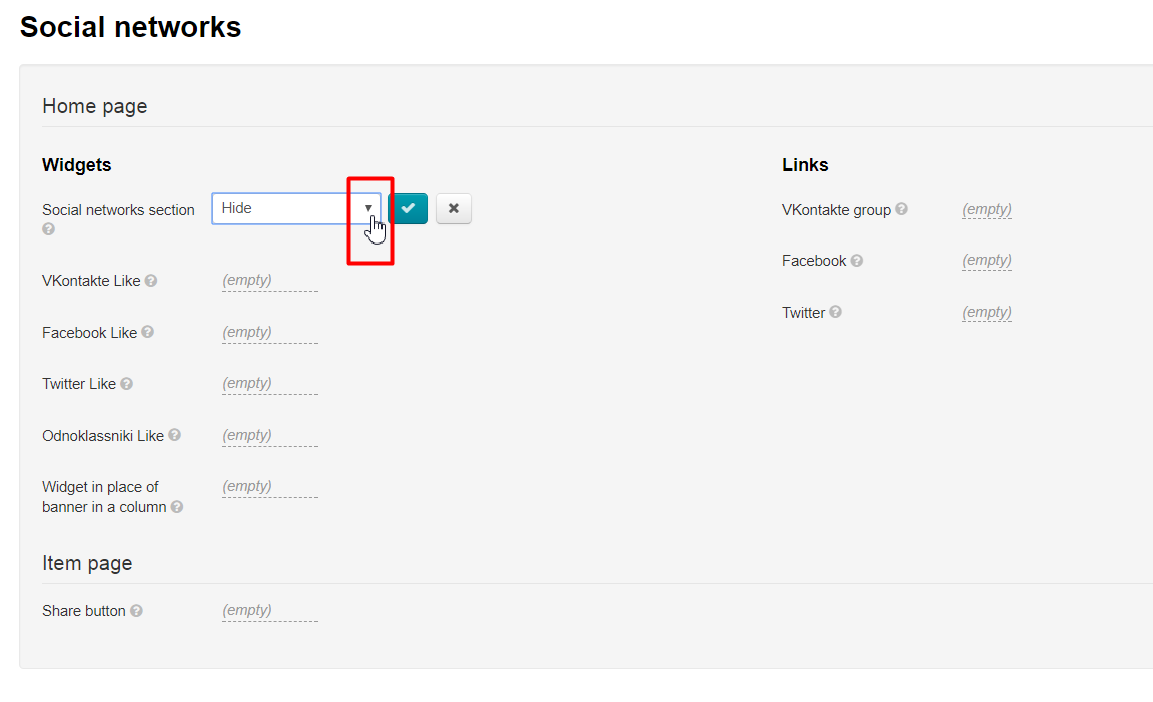
Select whether you want social media section to be shown or hidden.
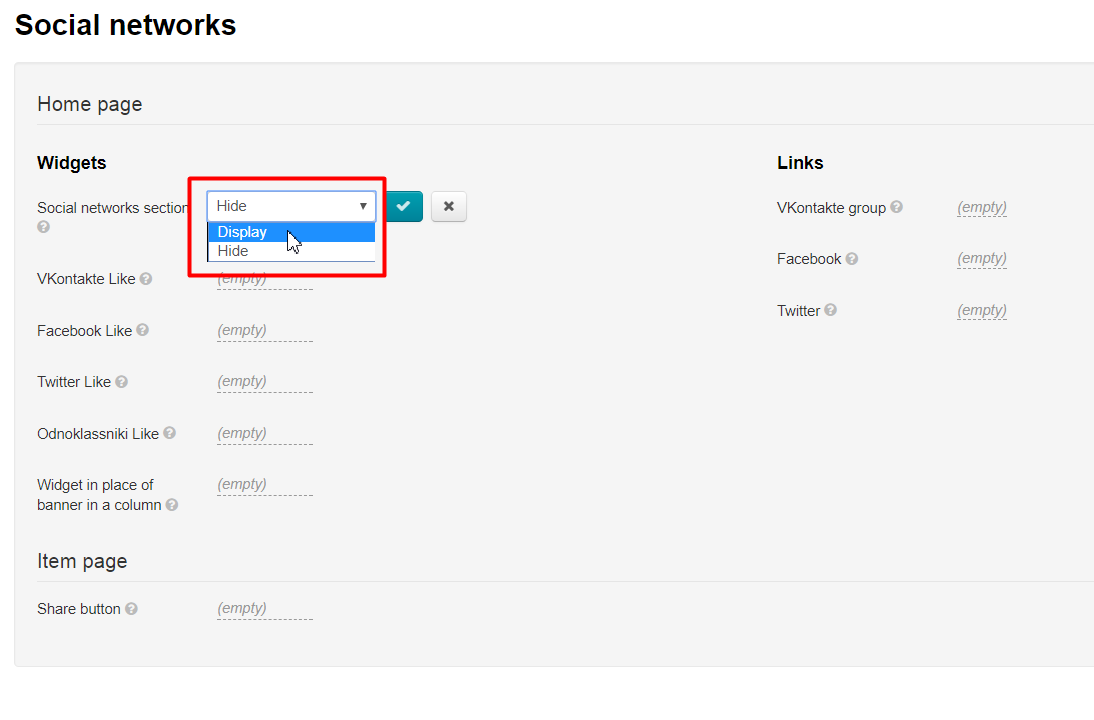
Click checkmark button to save.
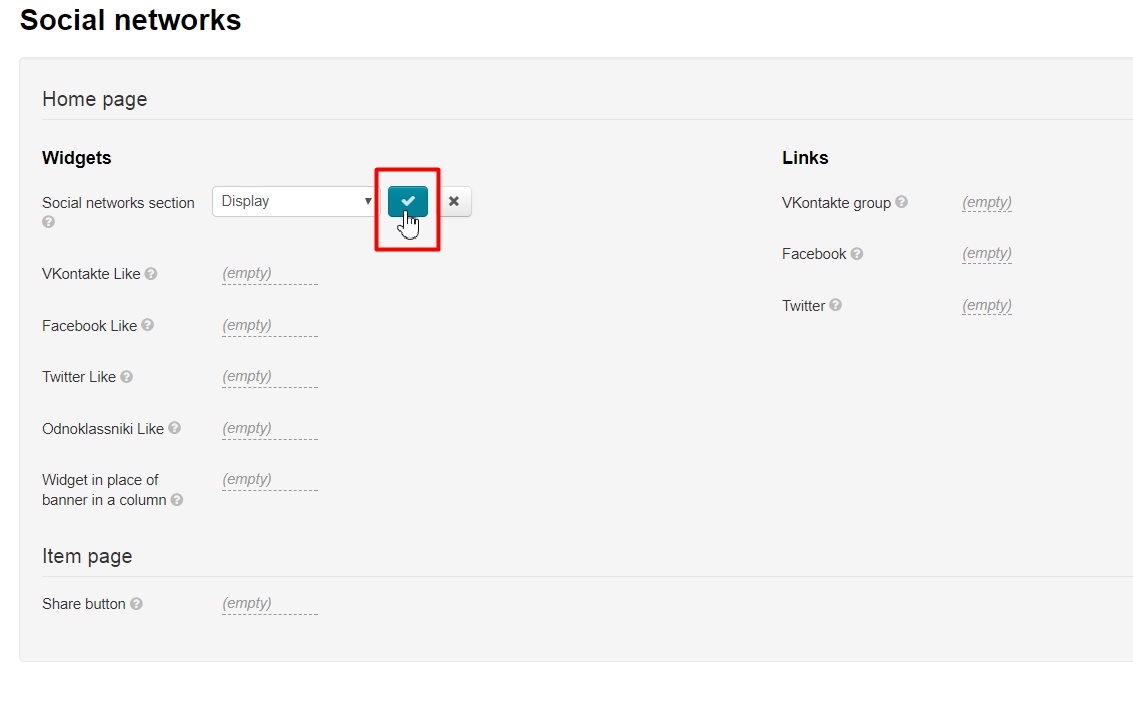
Modifications will be visible on website after saving.

Likes in VKontakte’s
Settings on VKontakte website
Navigate to “Managed apps” section on VKontakte website.
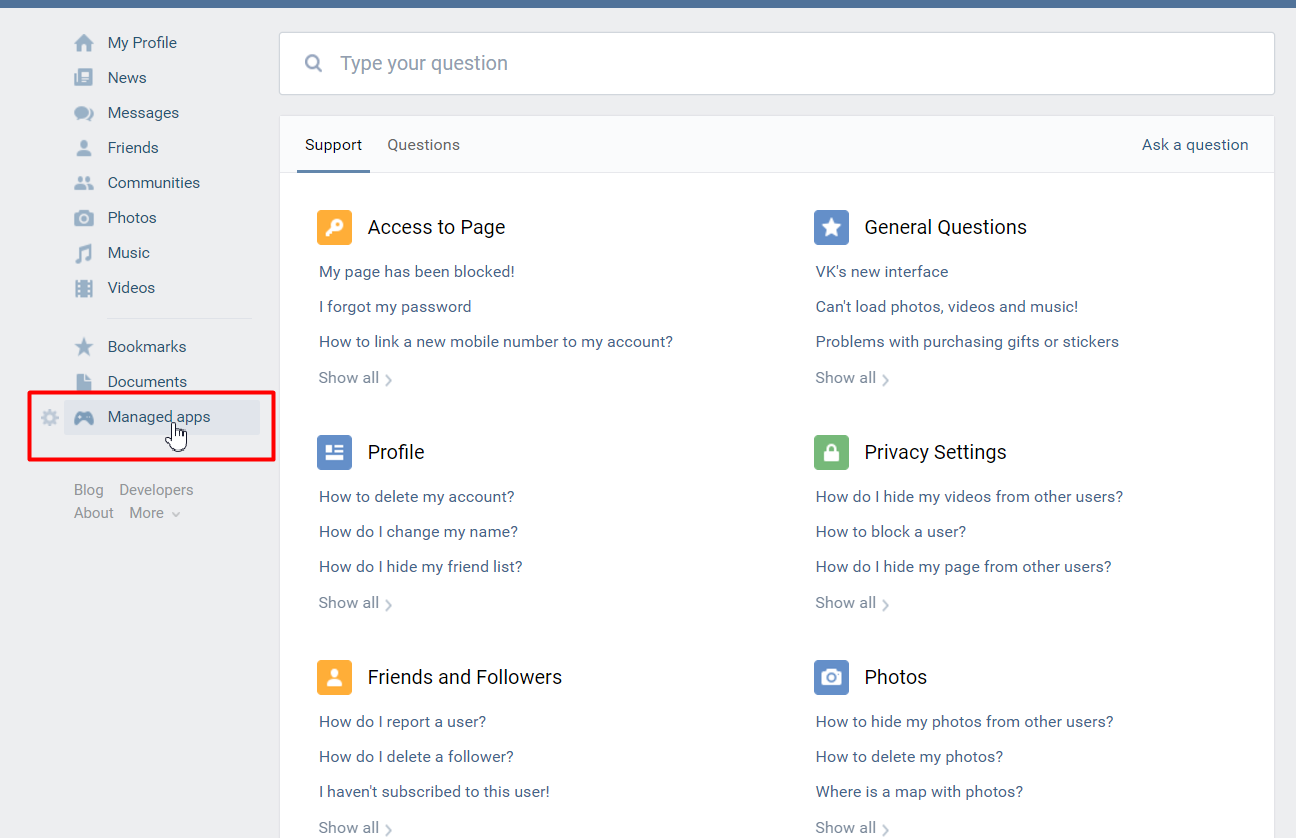
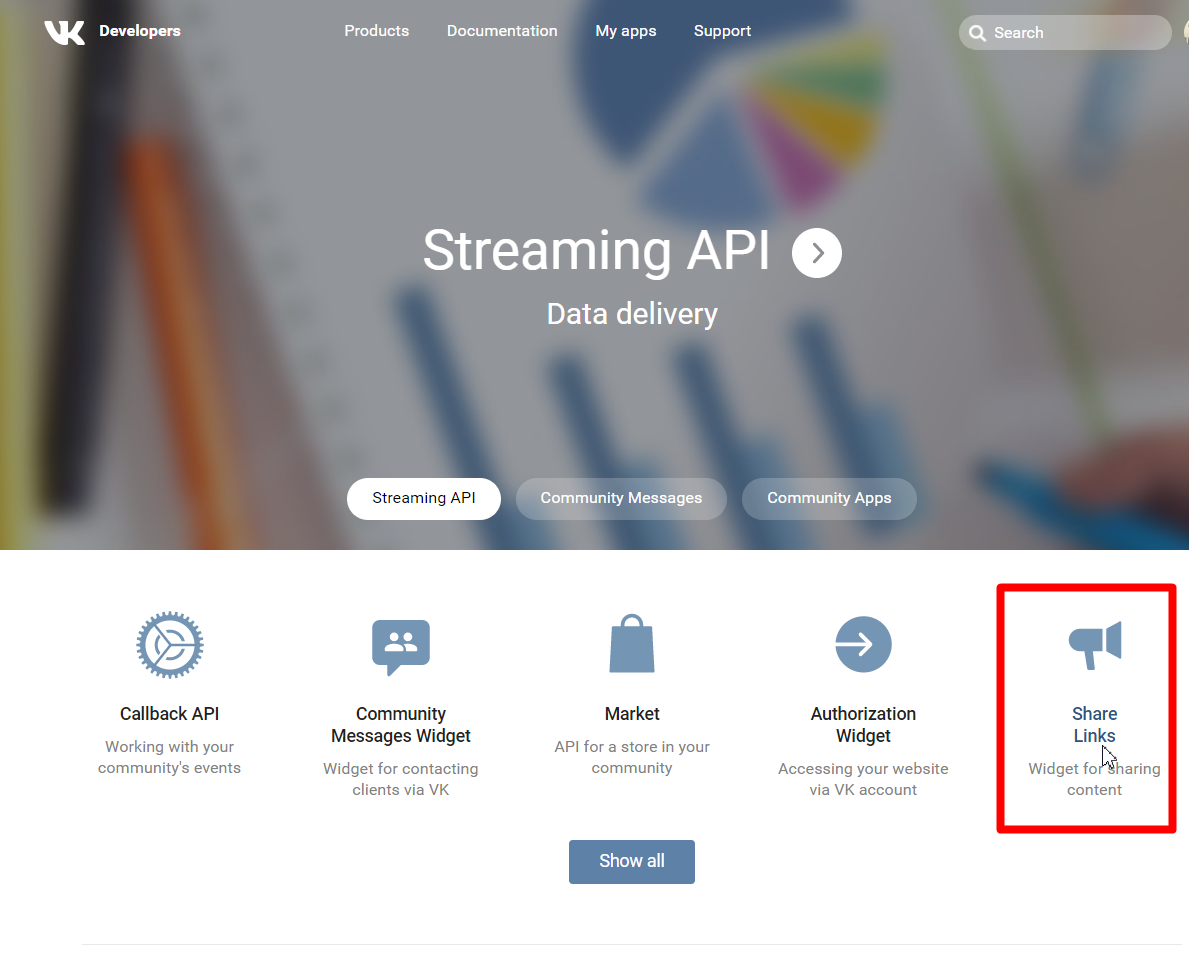
Click “Developers” link at page bottom.
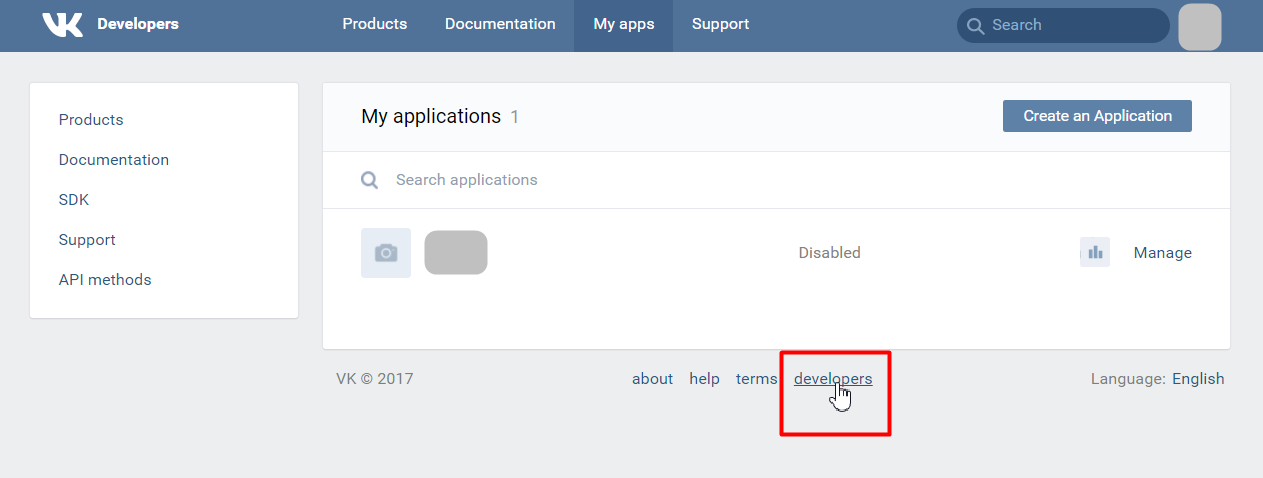
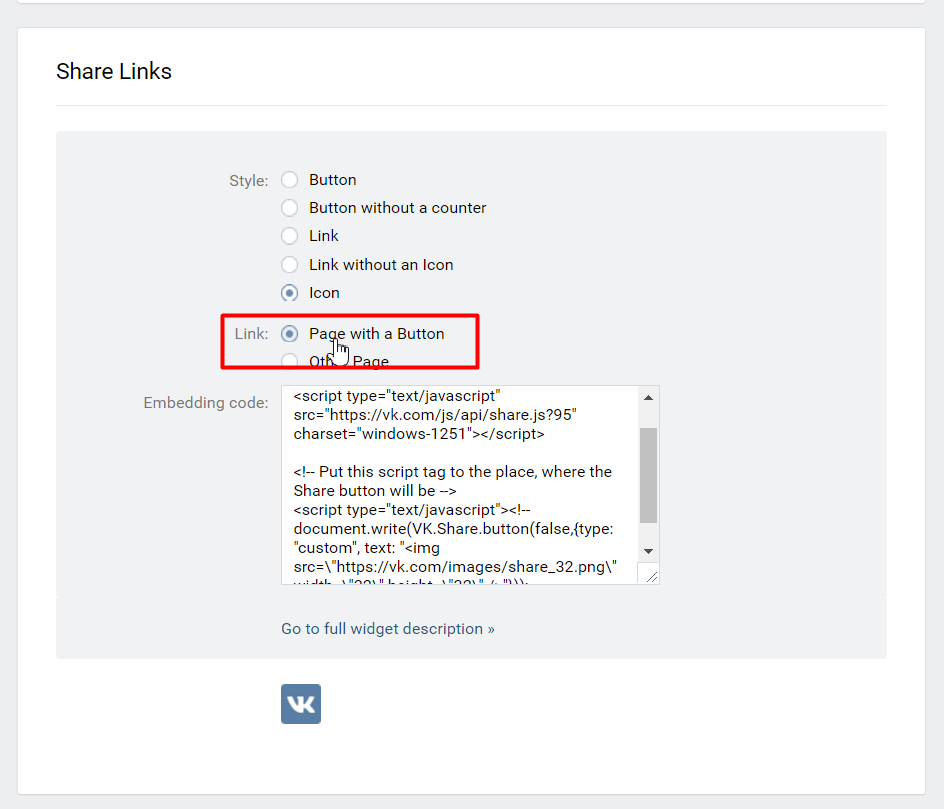
Go to “Share Links” section:
Select “Page whith a Button”:
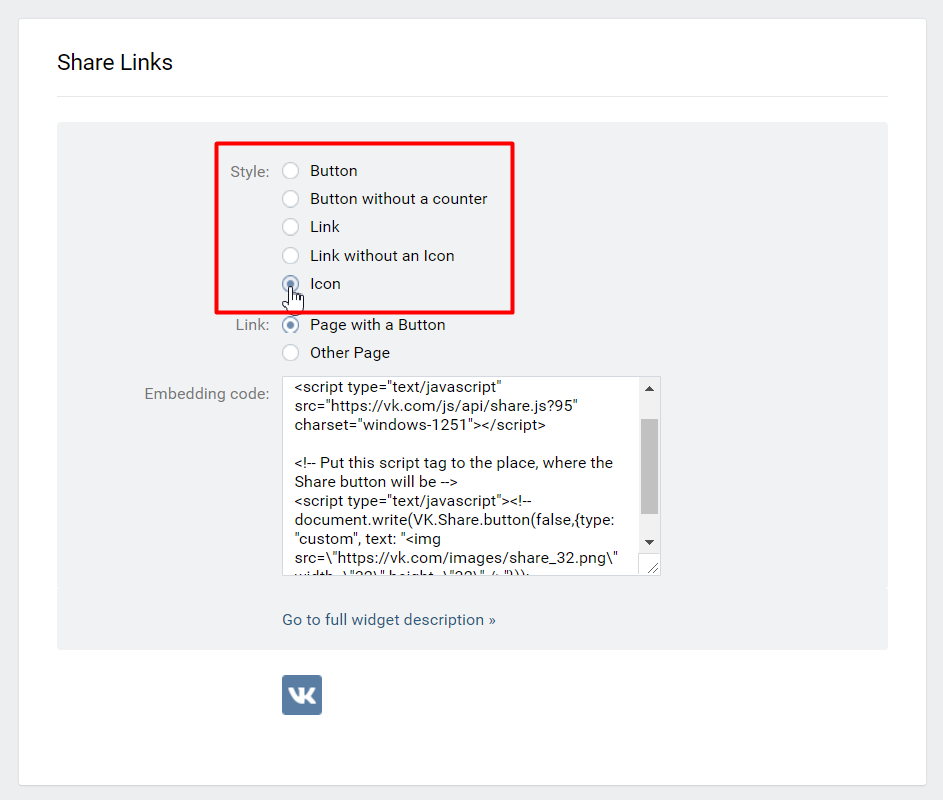
Select “Style” a Button:
Clicking “Embedding Code” field results in its content being highlighted in blue (or use the “Ctrl+A” keyboard)
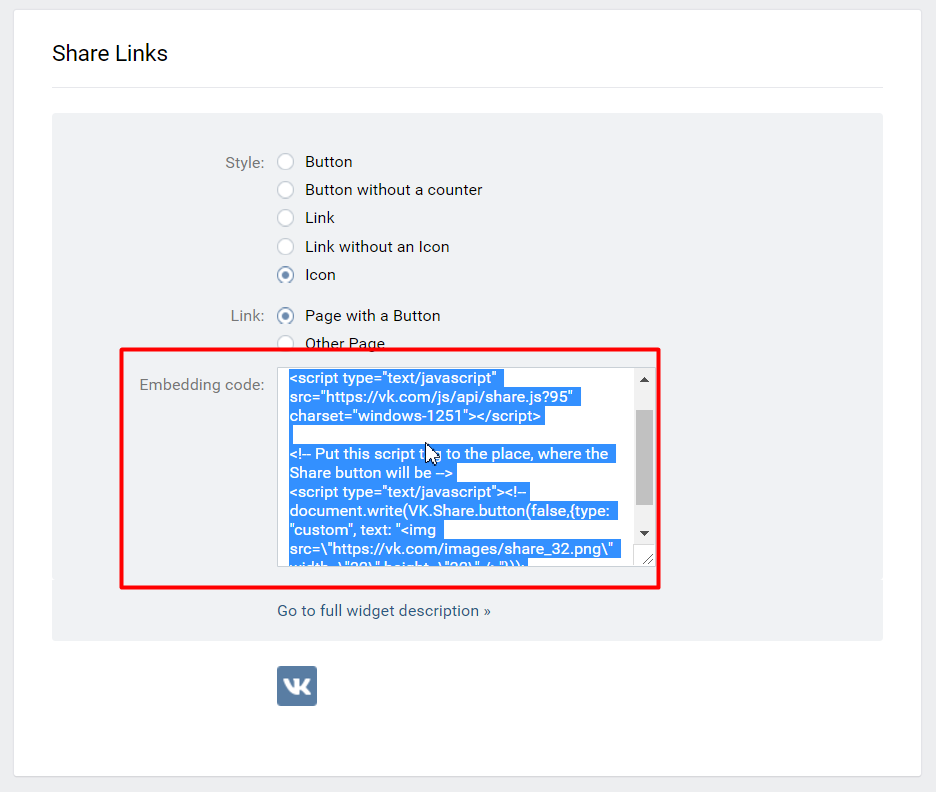
Right-Click highlighted area and select “Copy” option in the menu that appears (or use the “Ctrl+C” keyboard shortcut).
That’s done! The code has been received. Then you should navigate to admin panel.
Settings in admin panel
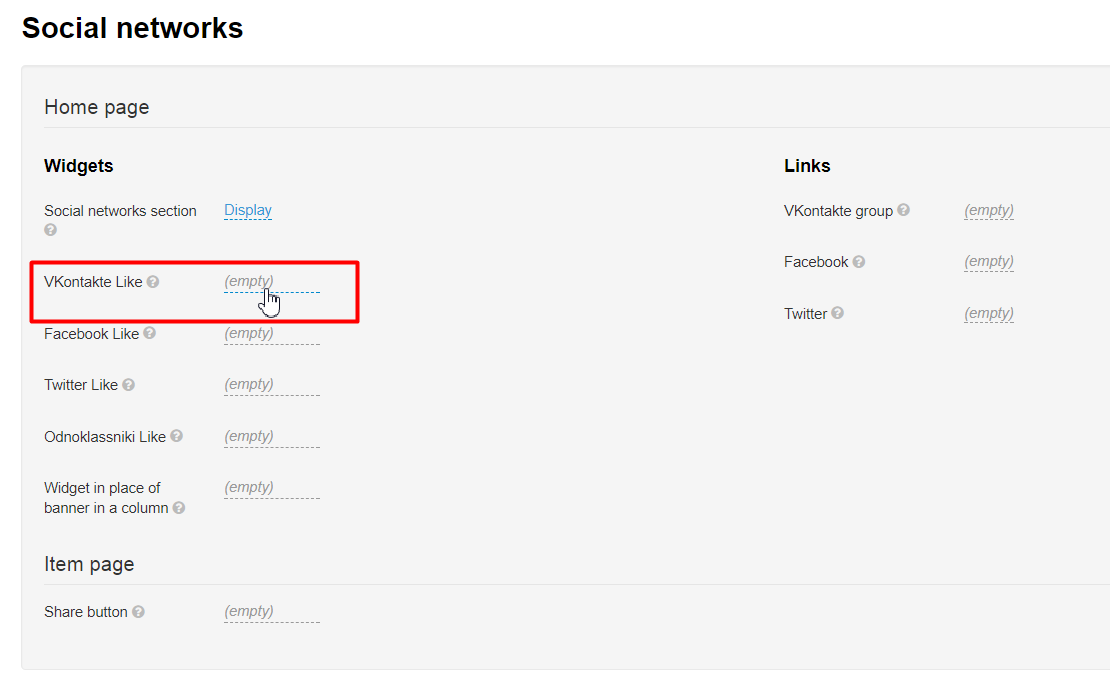
Select “Vkontakte’s Like” in admin panel and click dashed underlined text:
Paste embedding code (that you’ve got according to the instructions above) in the textbox field that appears:
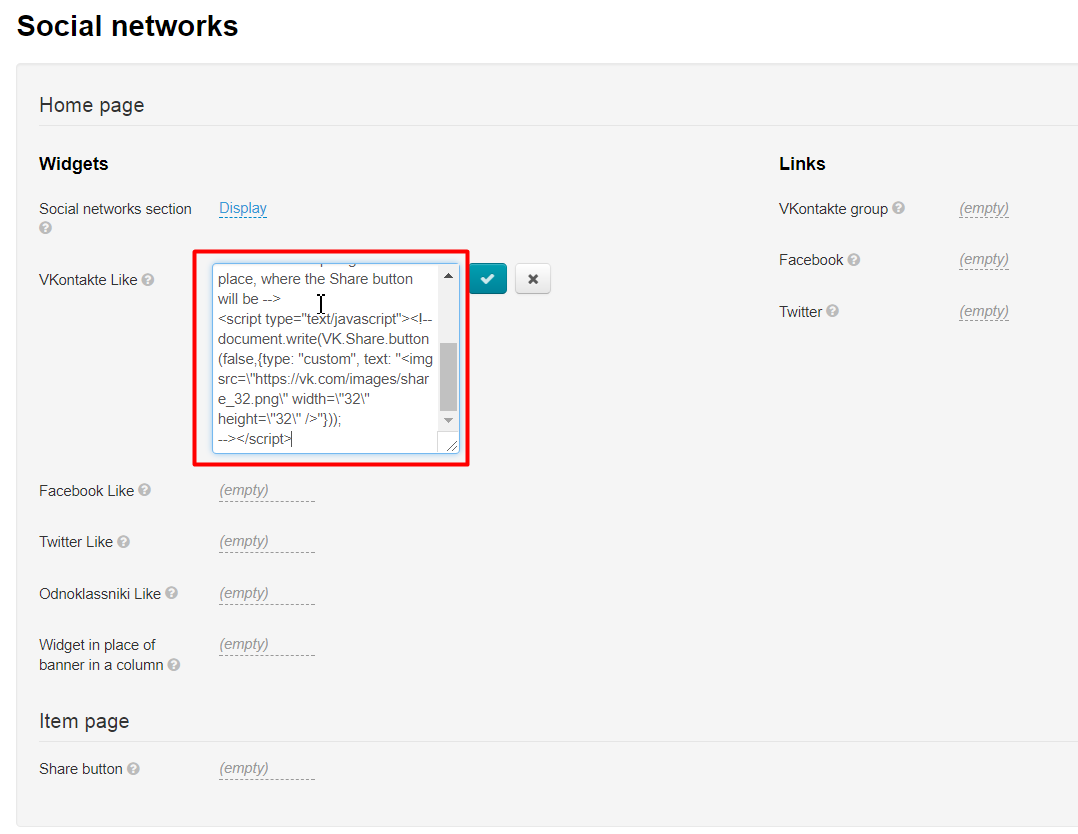
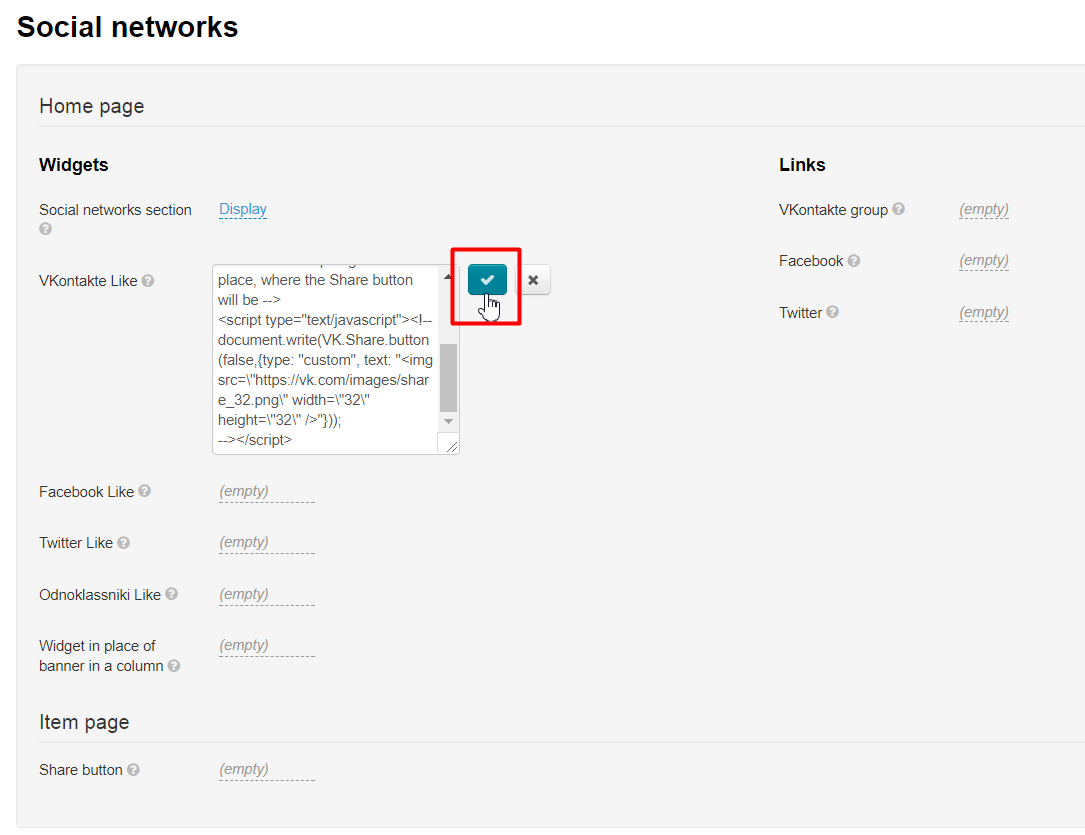
Save changes by clicking checkmark button.
Likes in Facebook
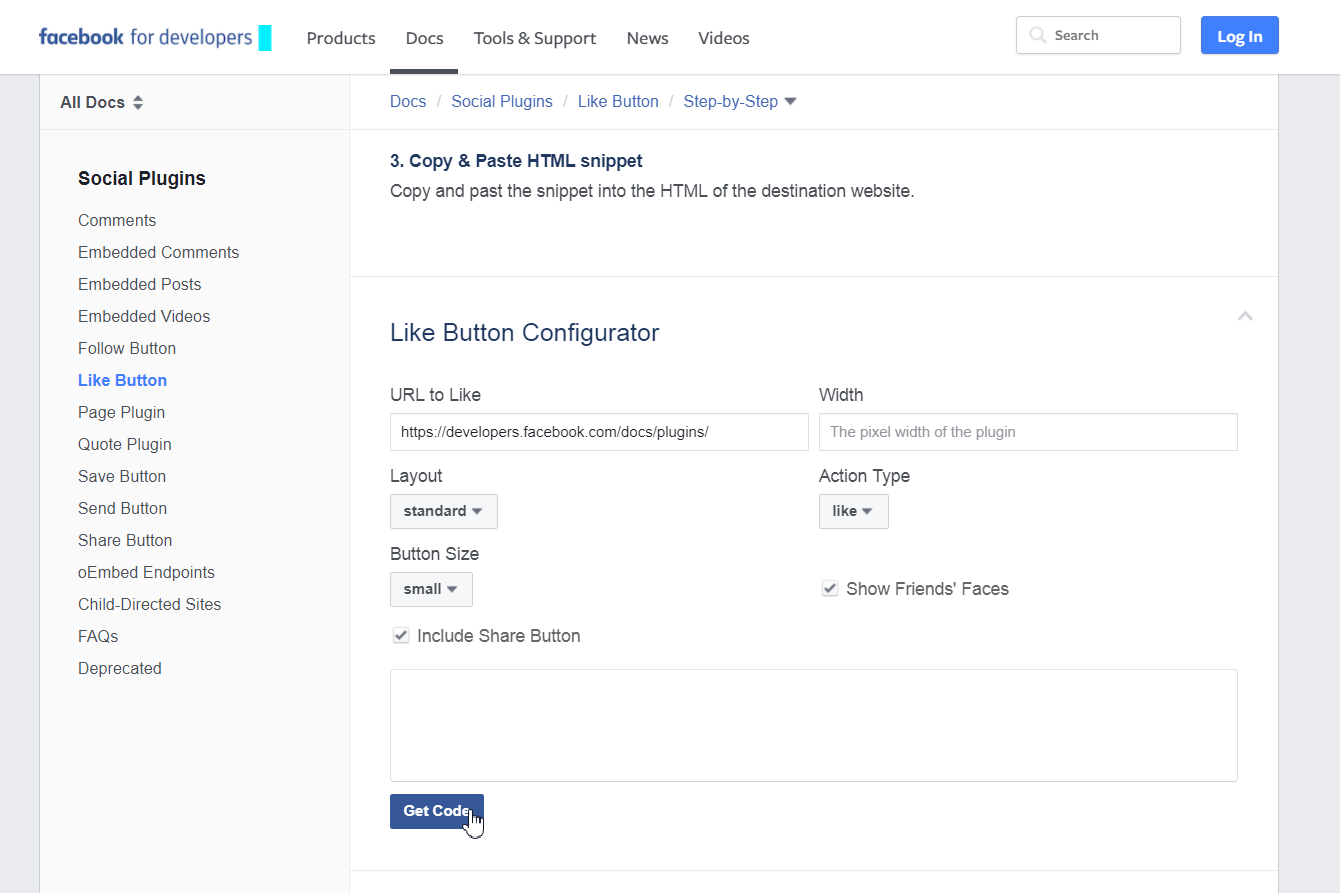
Please follow detailed instructions on the Facebook website: https://developers.facebook.com/docs/plugins/like-button to create “Facebook Like” button.
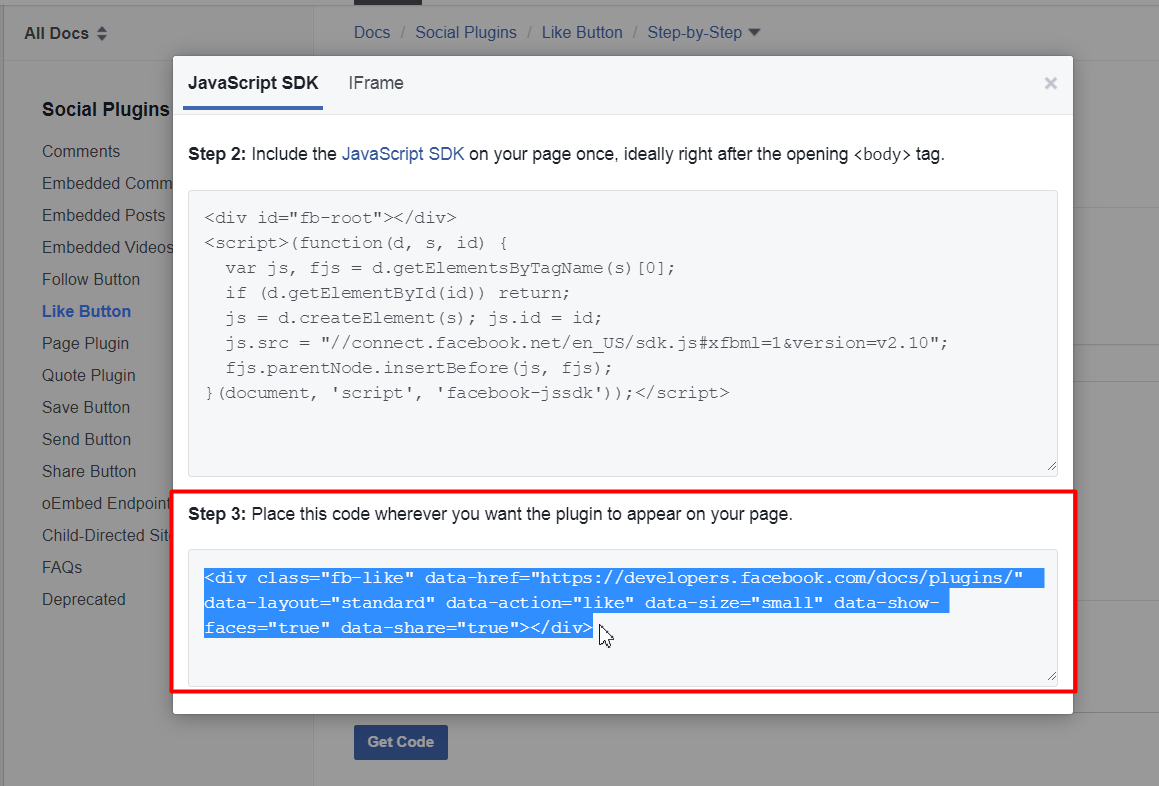
Do the following once you’ve got the code:
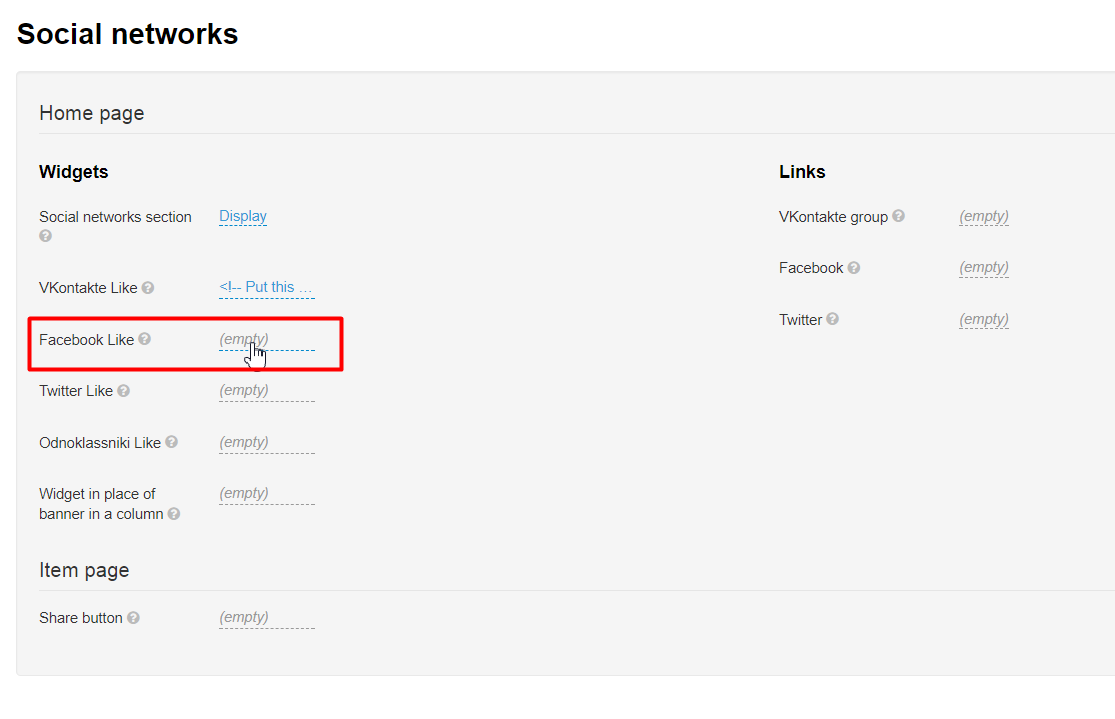
Click dashed grey underlined text “Empty”.
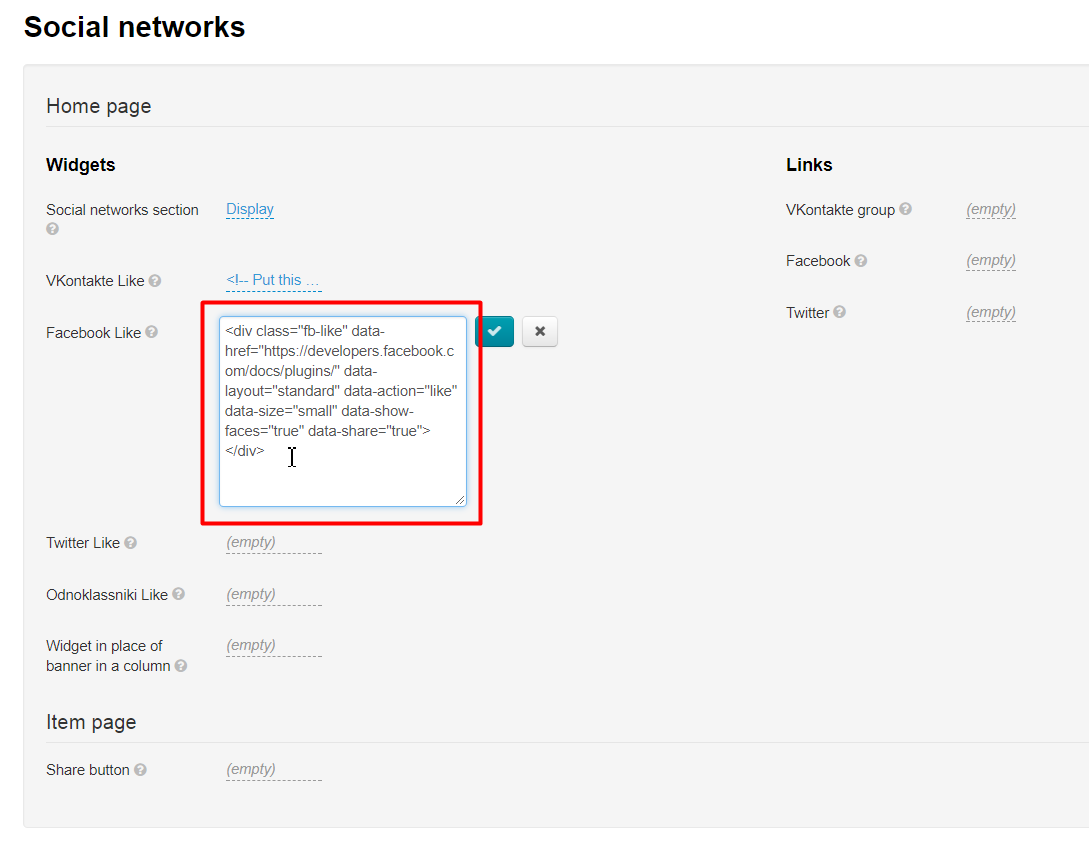
Paste the code you’ve received in textbox field that appears:
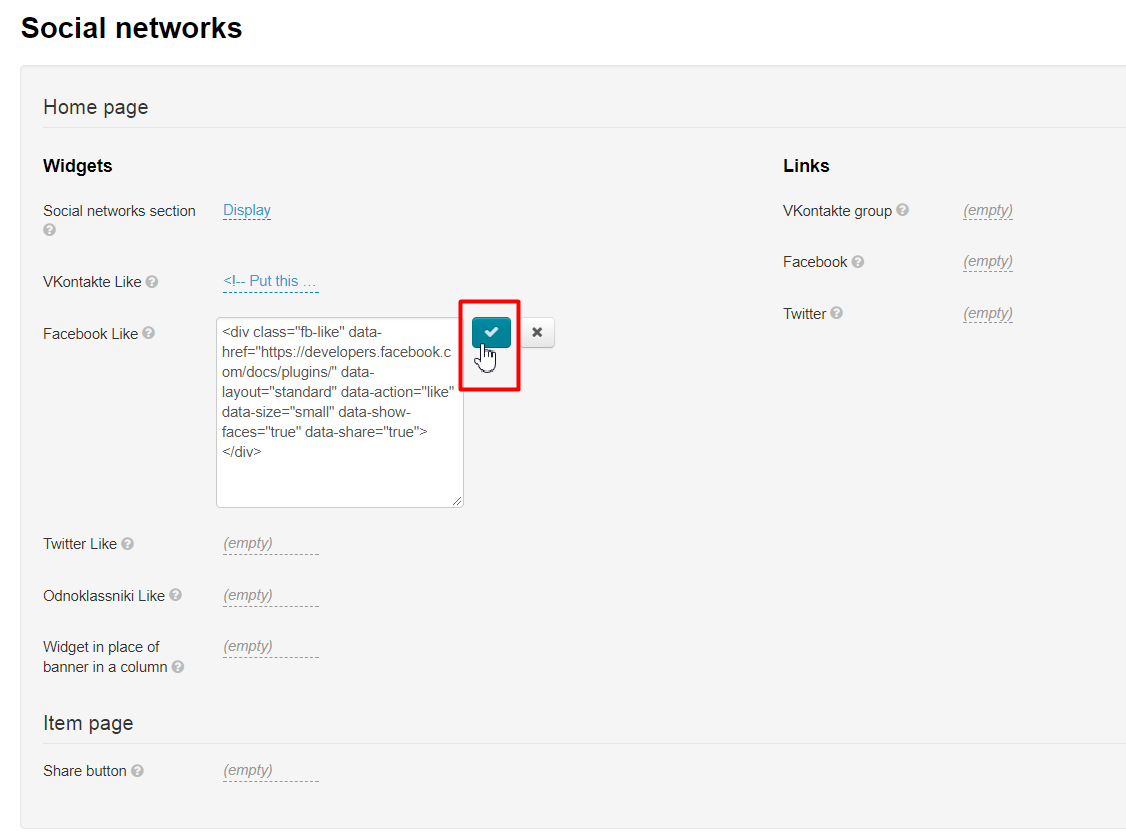
Be sure to click check mark button to save your changes.
Likes in Twitter
Navigate to https://about.twitter.com/resources/buttons to add “Twitter Like” button.
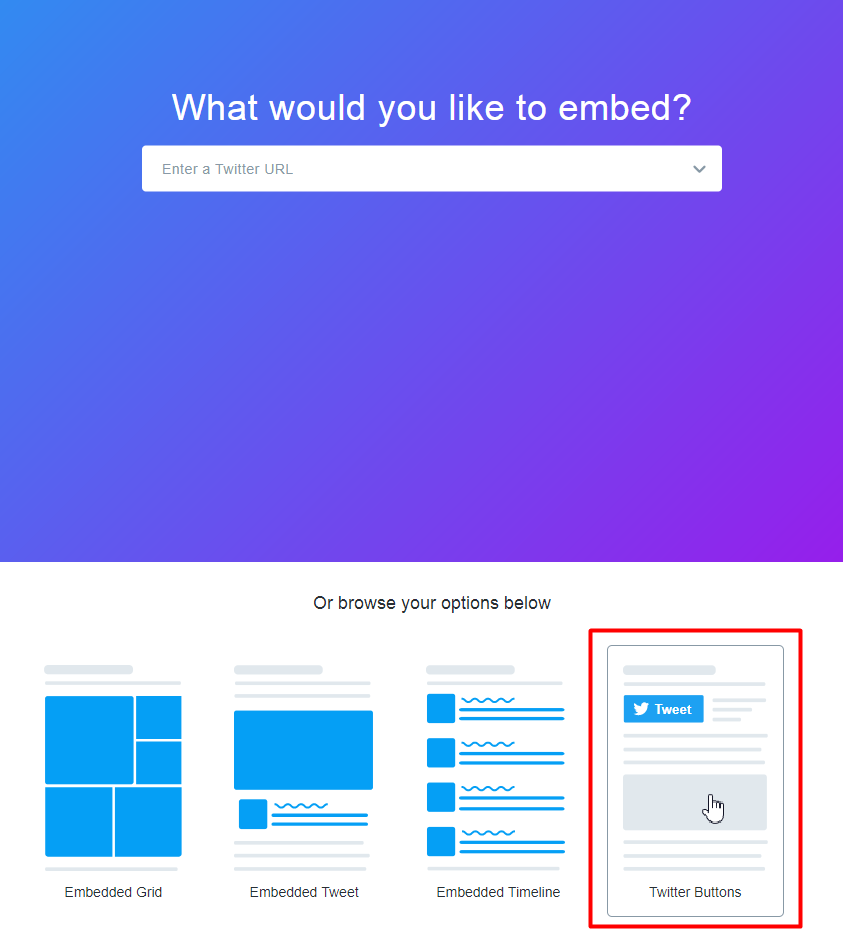
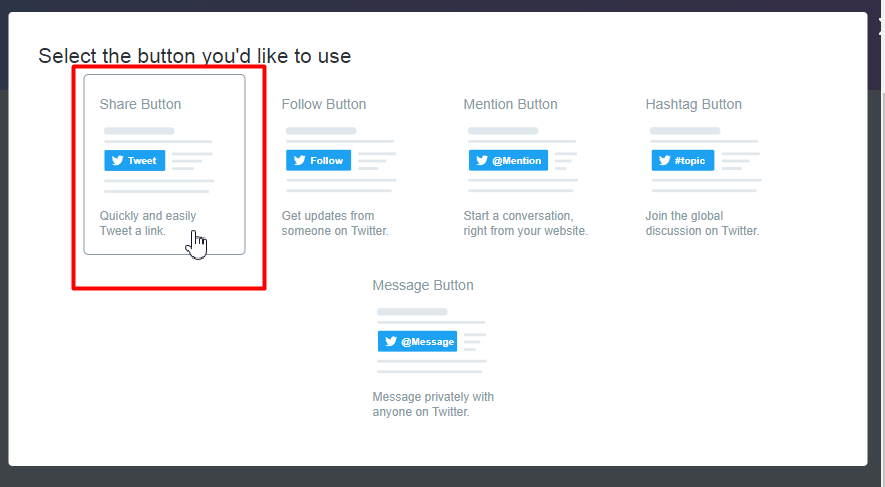
Select buttons you need and fill out the form that shows up.
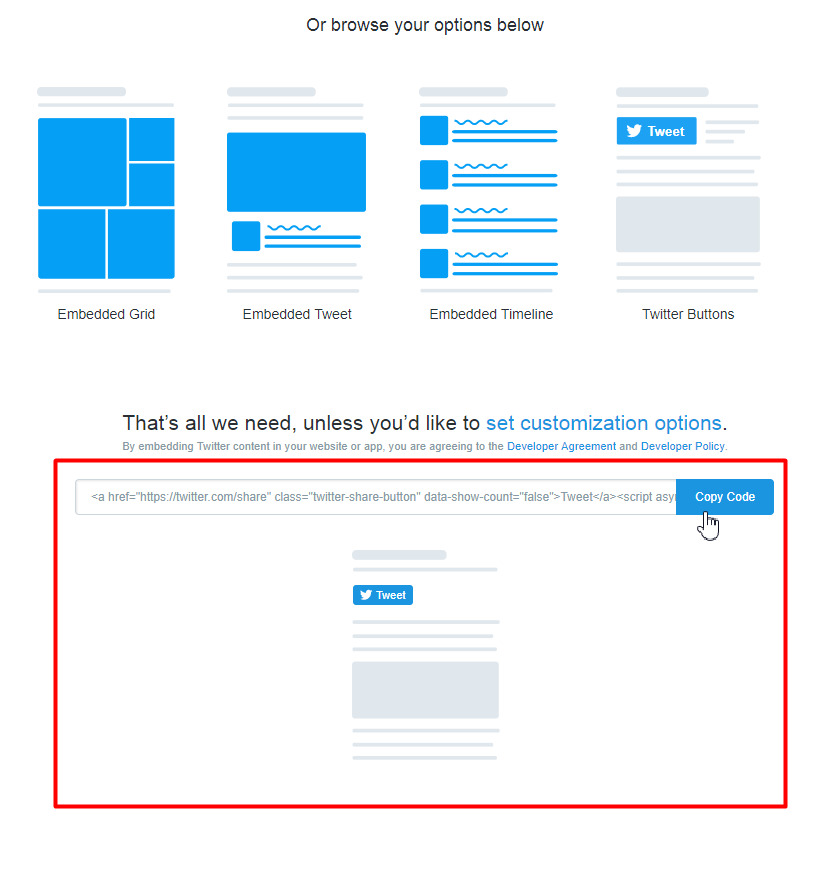
Code for website will appear on the right-hand column once setup is complete. Please copy it.
Click dashed grey underlined text “Empty” in admin panel.
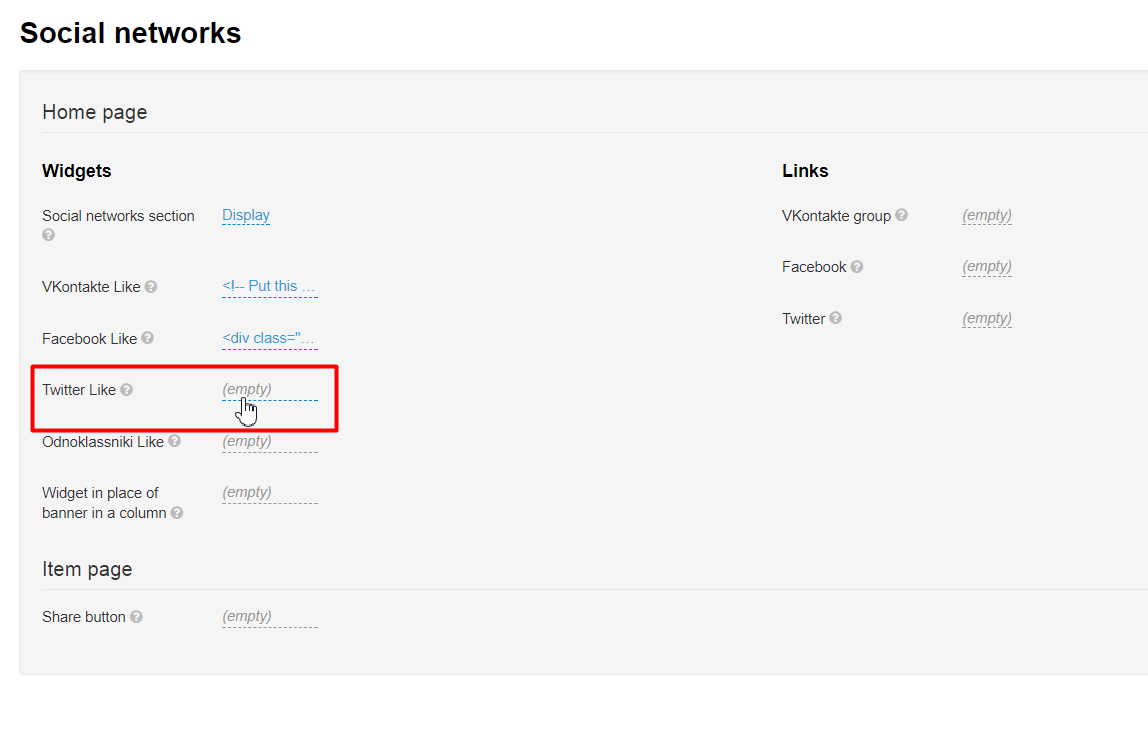
Paste the code you’ve copied when creating the button in the textbox field that appears:
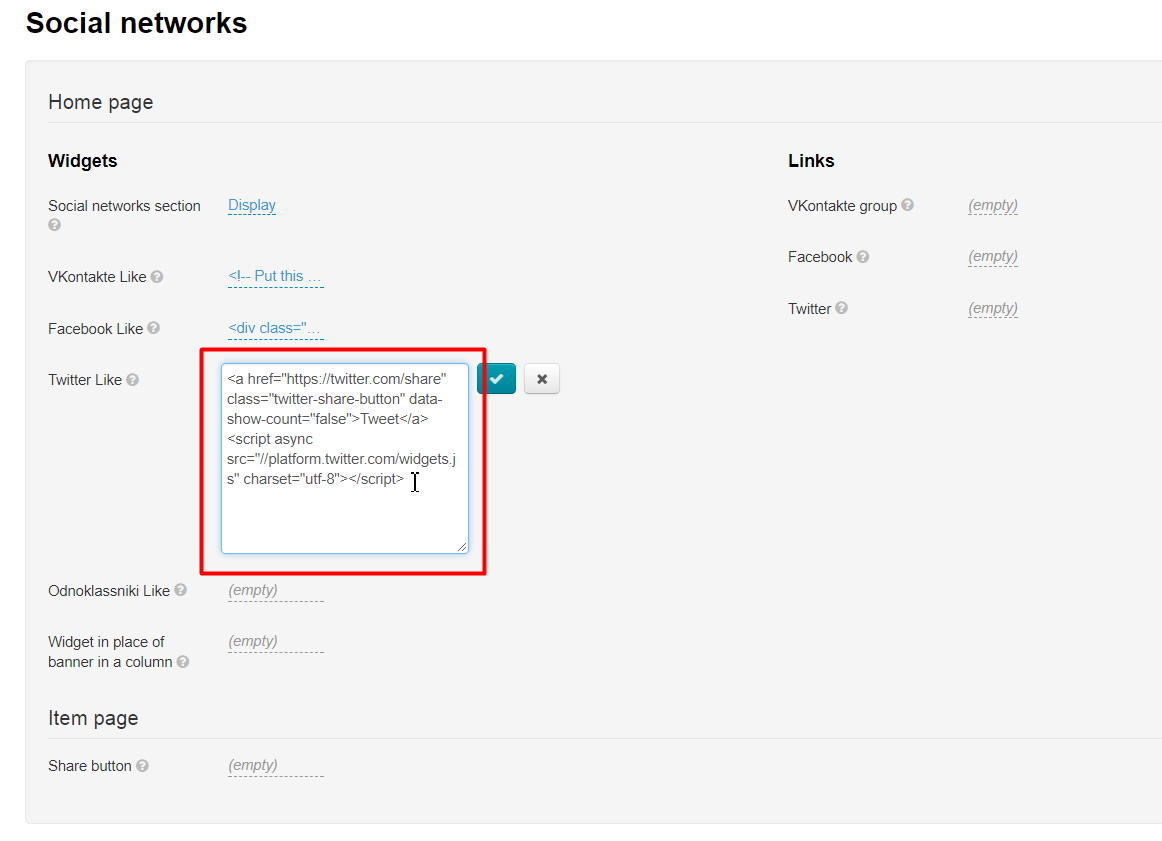
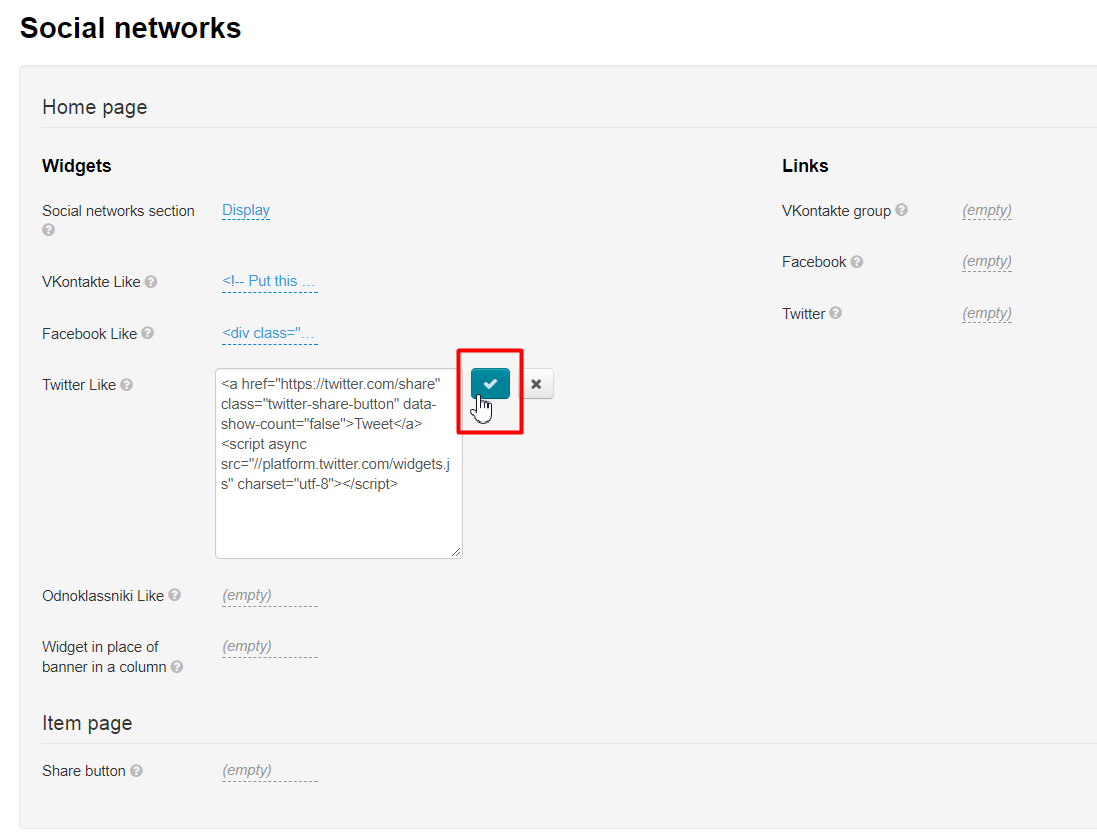
Be sure to click check mark button to save your changes.
Likes in Odnoklassniki
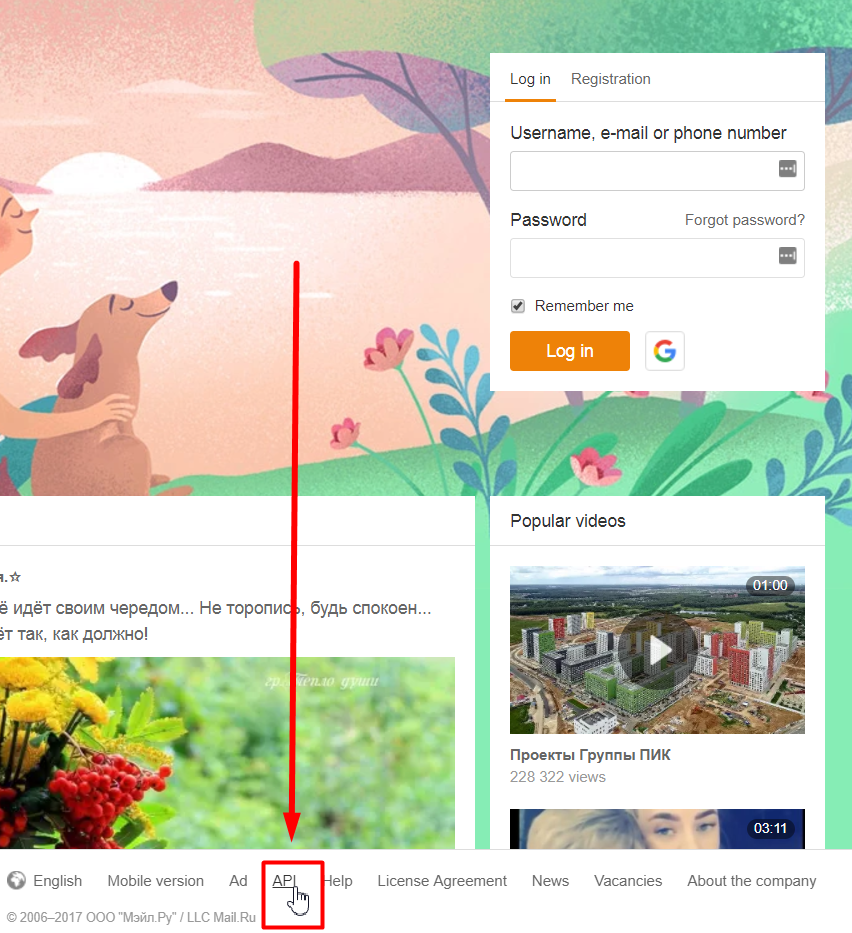
https://ok.ru/ Click “API” link at the bottom of page.
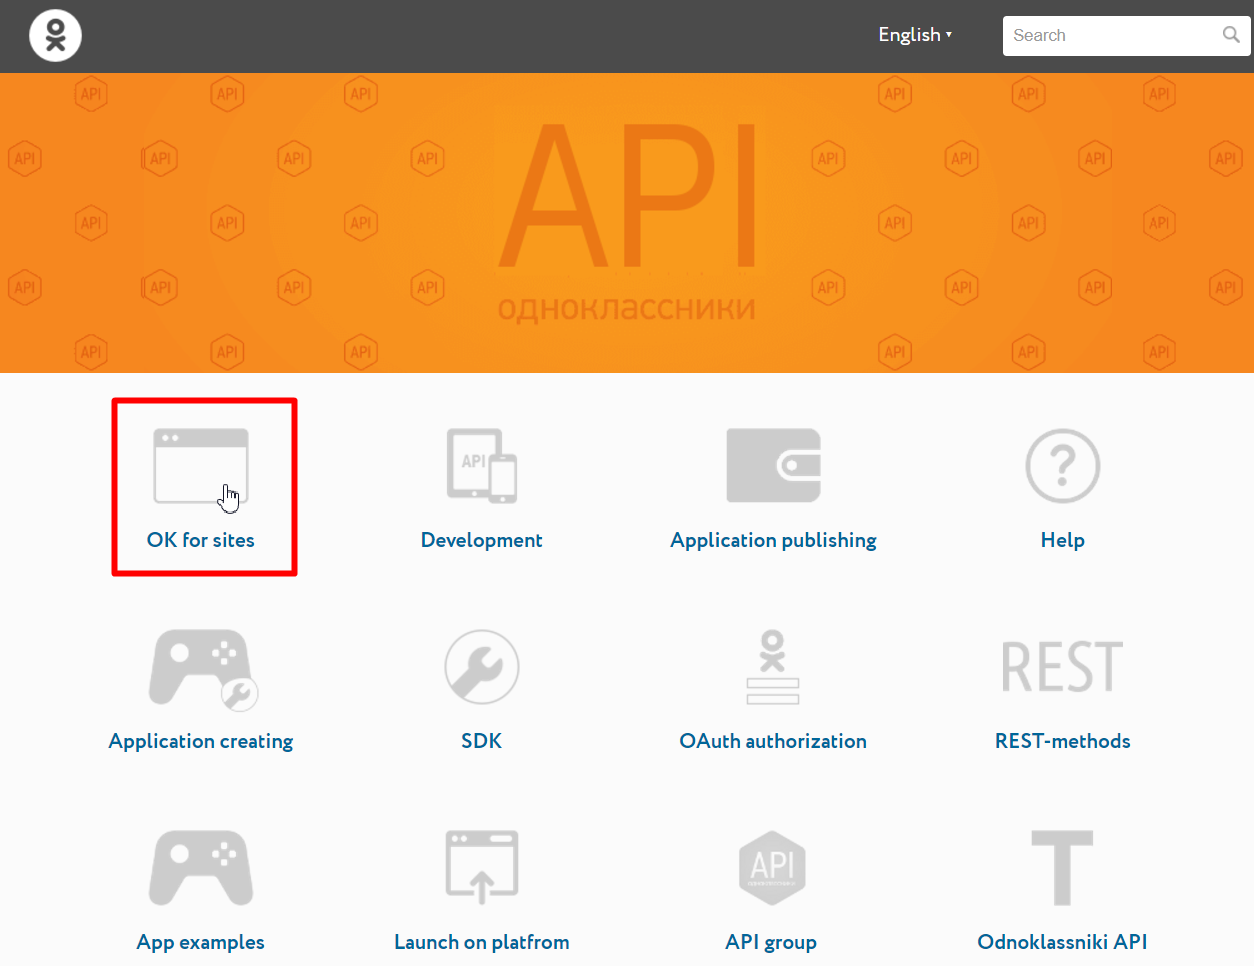
Select “OK for sites”, then “Like button”.

- Enter your website URL in “Use current URL on users page” field.
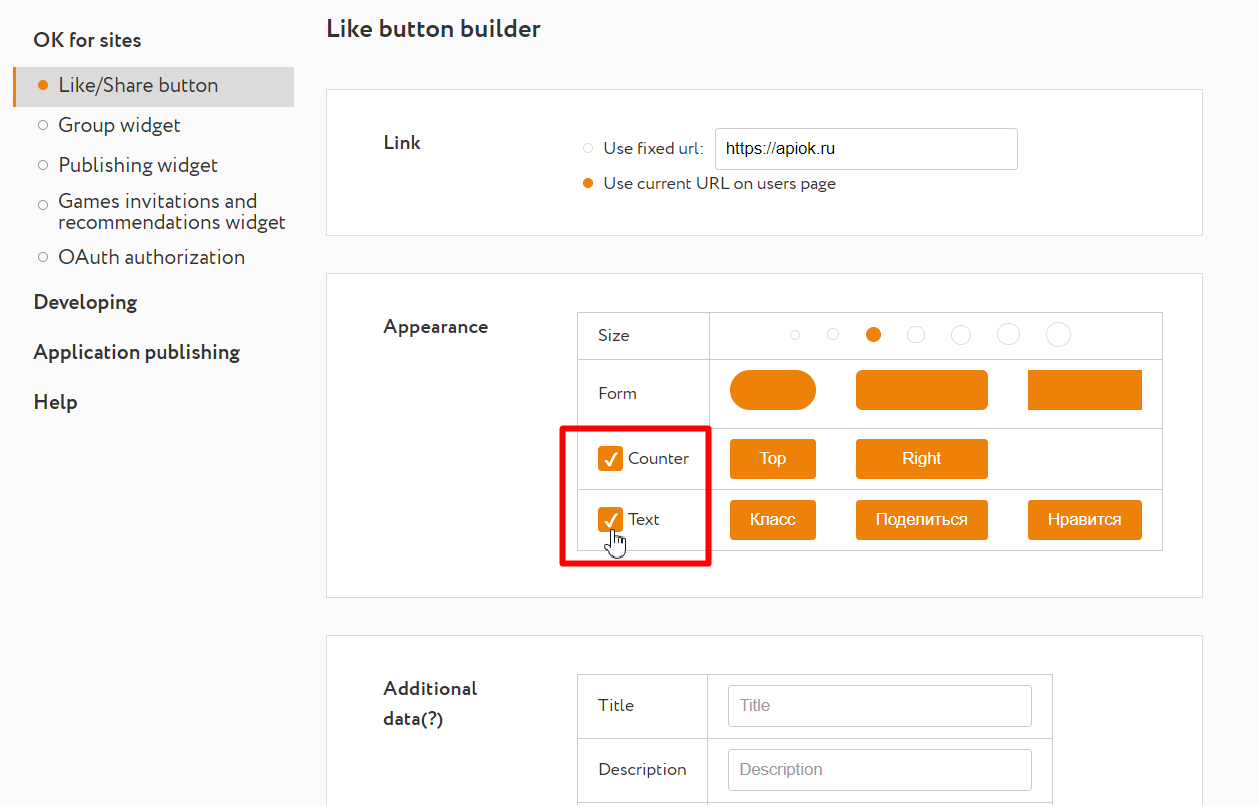
- Select button size, form, counter placement and text on the button.
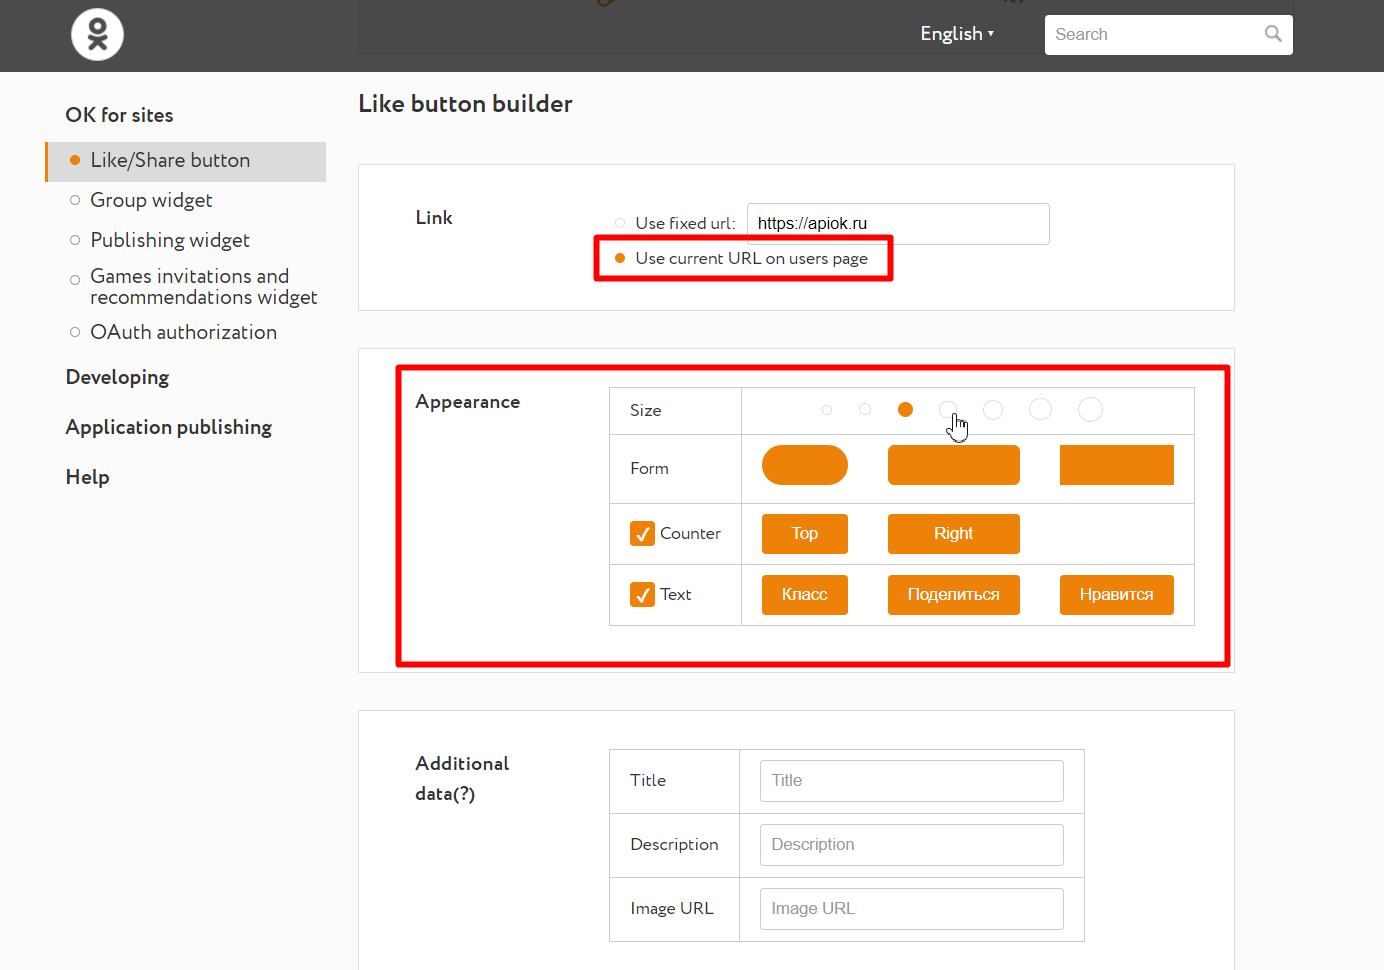
- “Text” and “Counter” can be hidden by unchecking the appropriate boxes.
- Preview is displayed in “Result” area of page.
Grab HTML code for your new button once setup is complete.
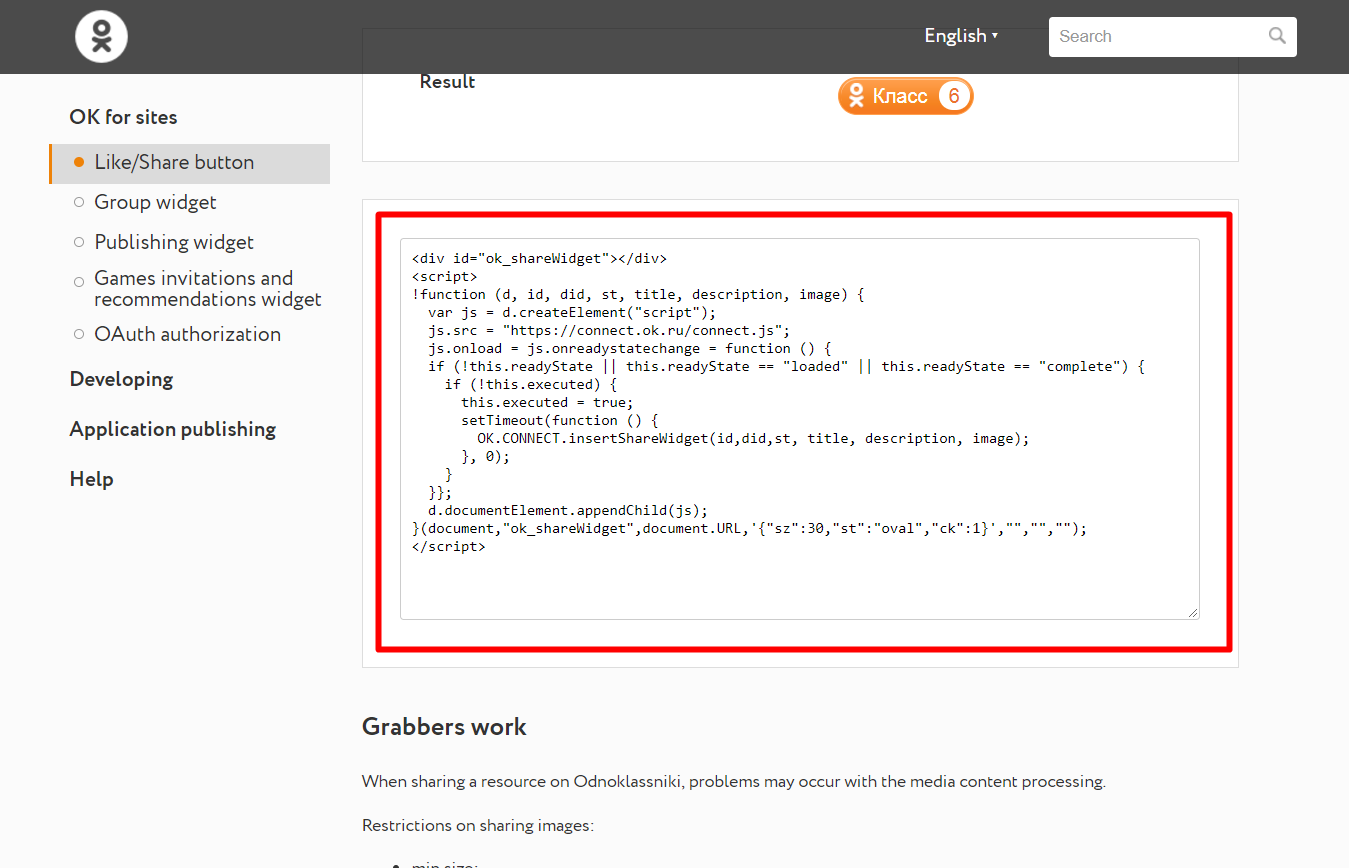
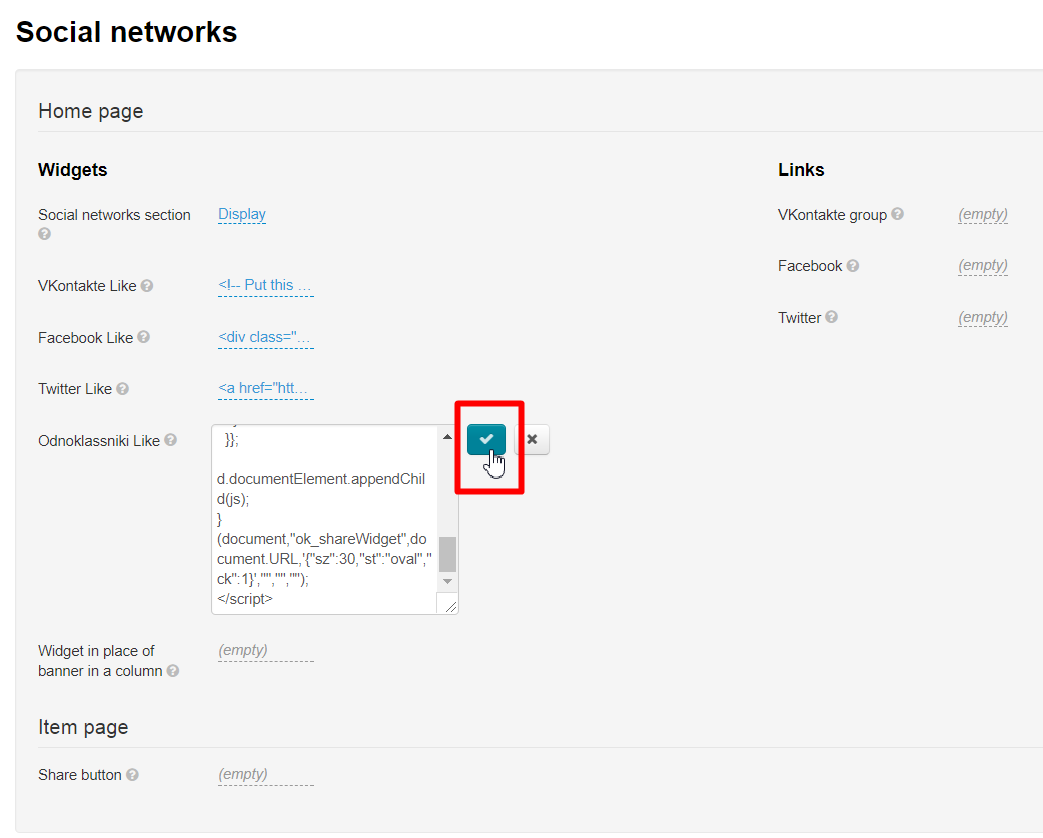
Click dashed grey underlined text “Empty” in admin panel.
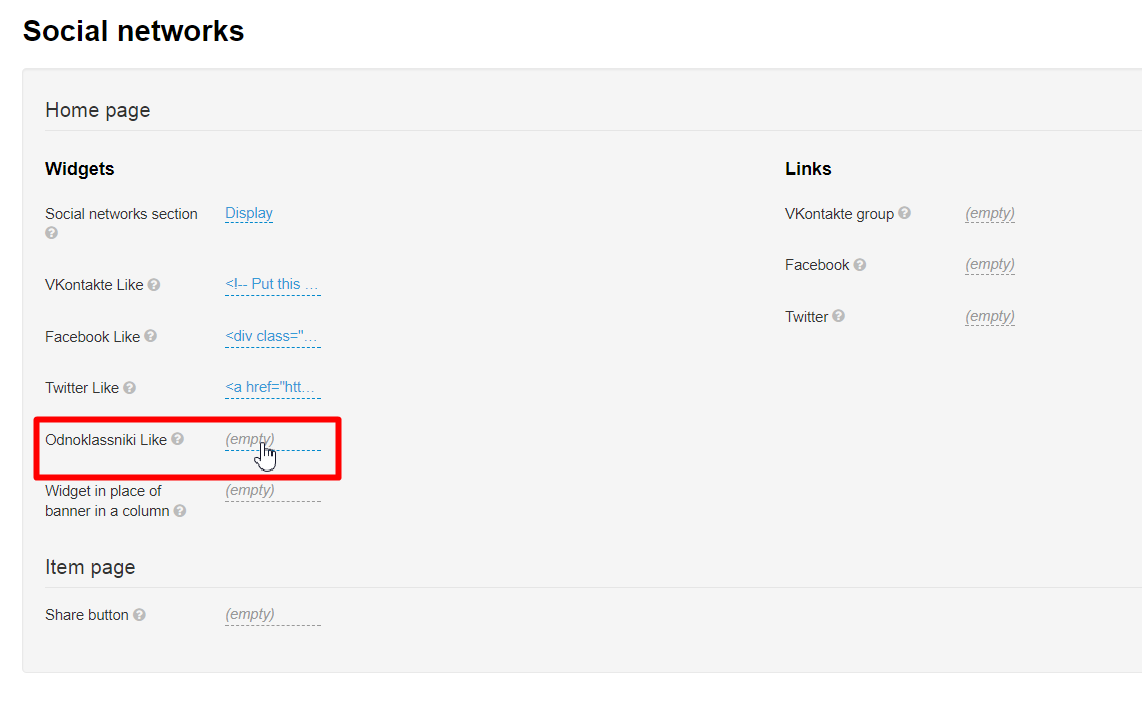
Paste the code you’ve copied when creating the button in the textbox field that appears:
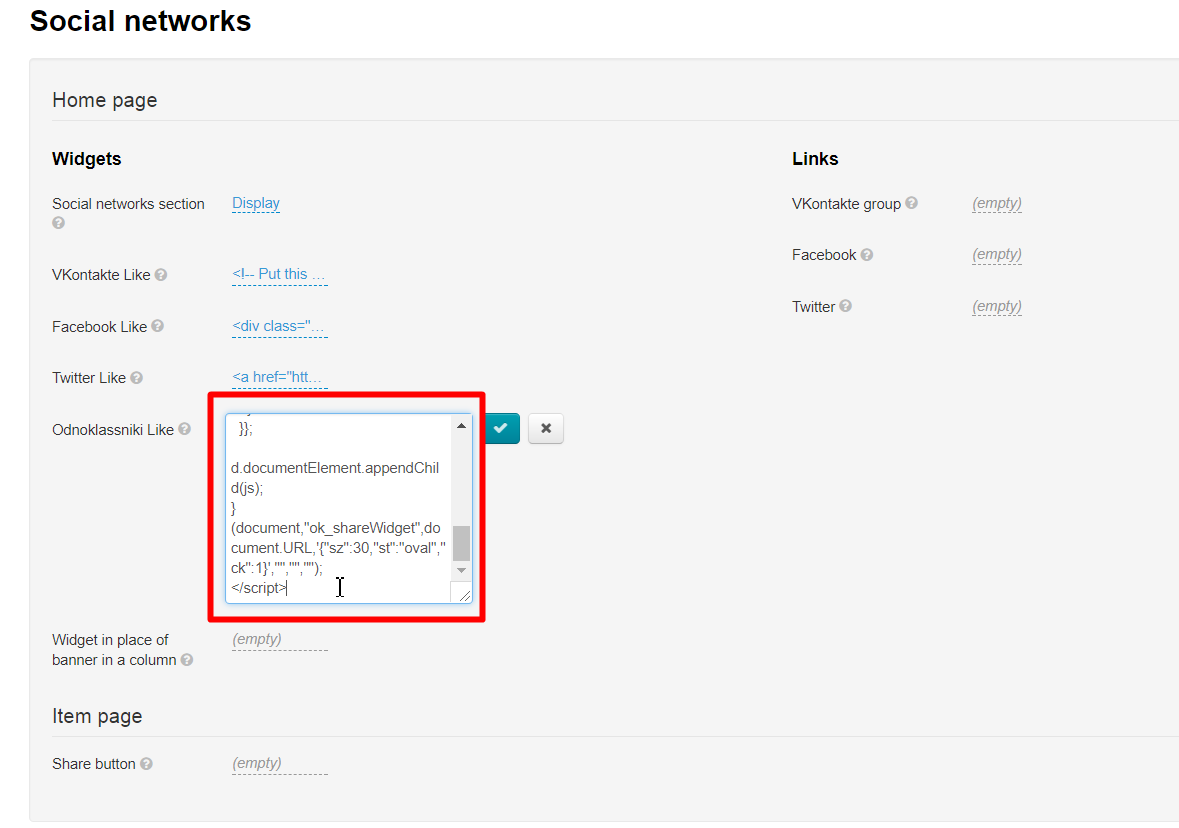
Be sure to click check mark button to save your changes.
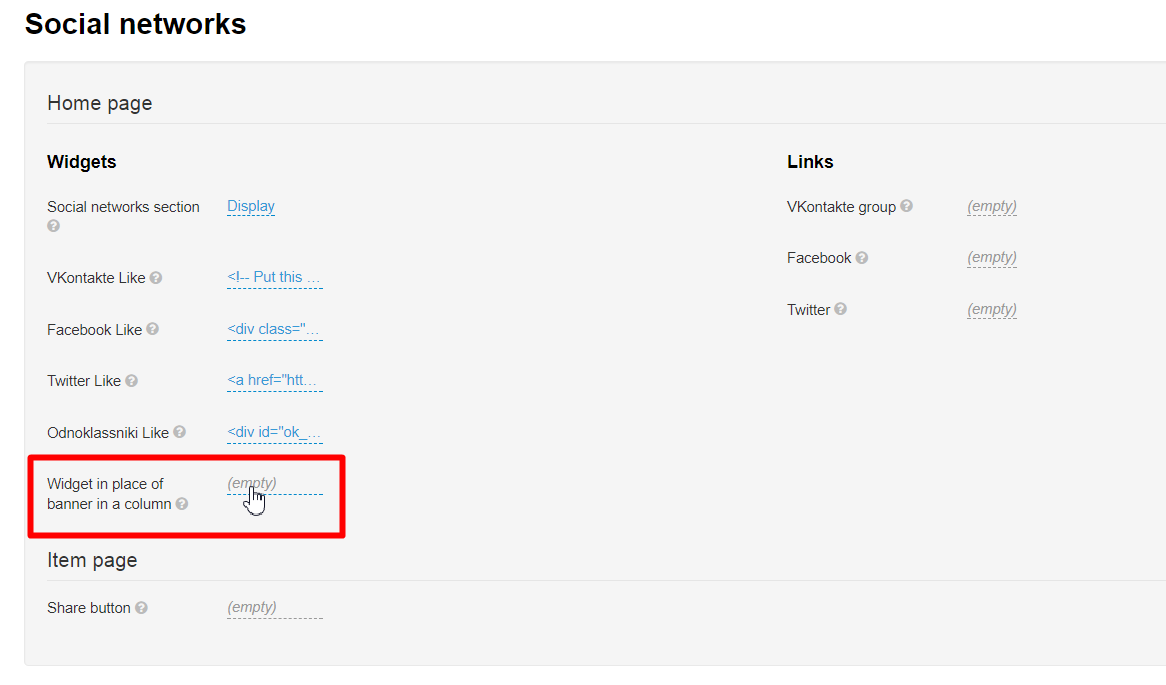
Widget in place of banner in a column
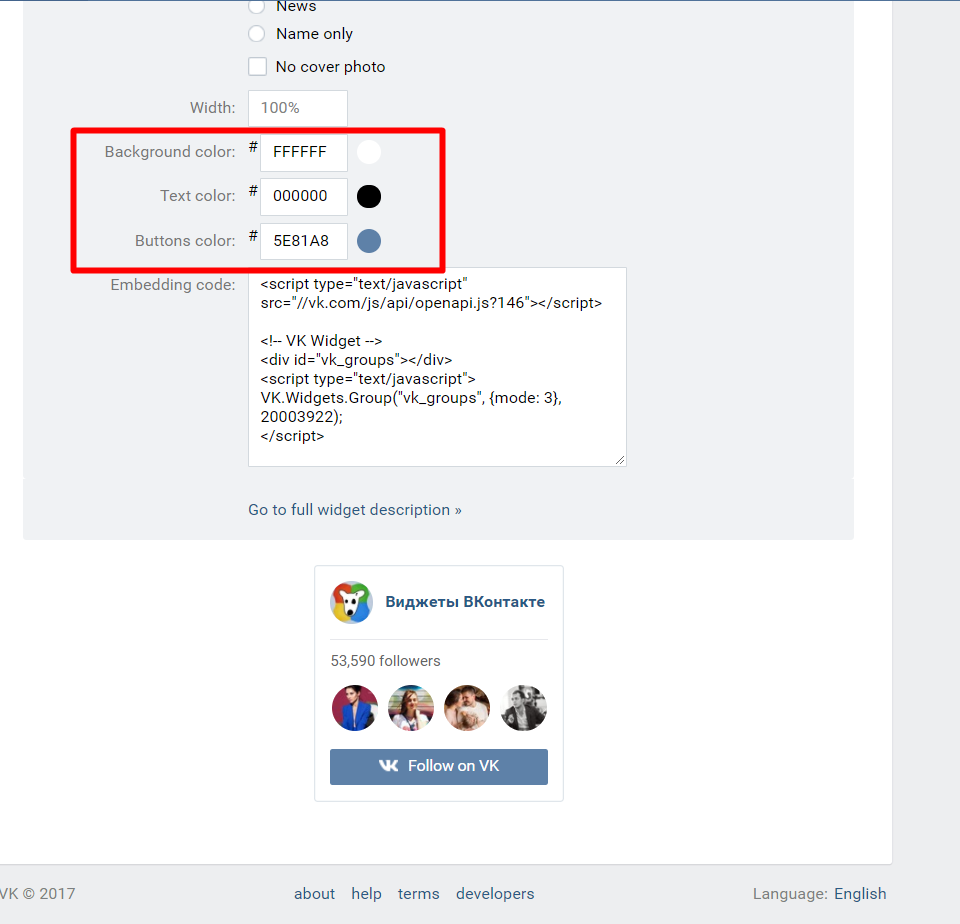
In order to get the code for your widget you should navigate to the page for developers on VKontakte website (https://vk.com/dev/Community). Please fill out the form that shows up carefully.
- Replace the default link with the link to your VKontakte’s group.
- Select layout.
- Specify the widget width and colors.
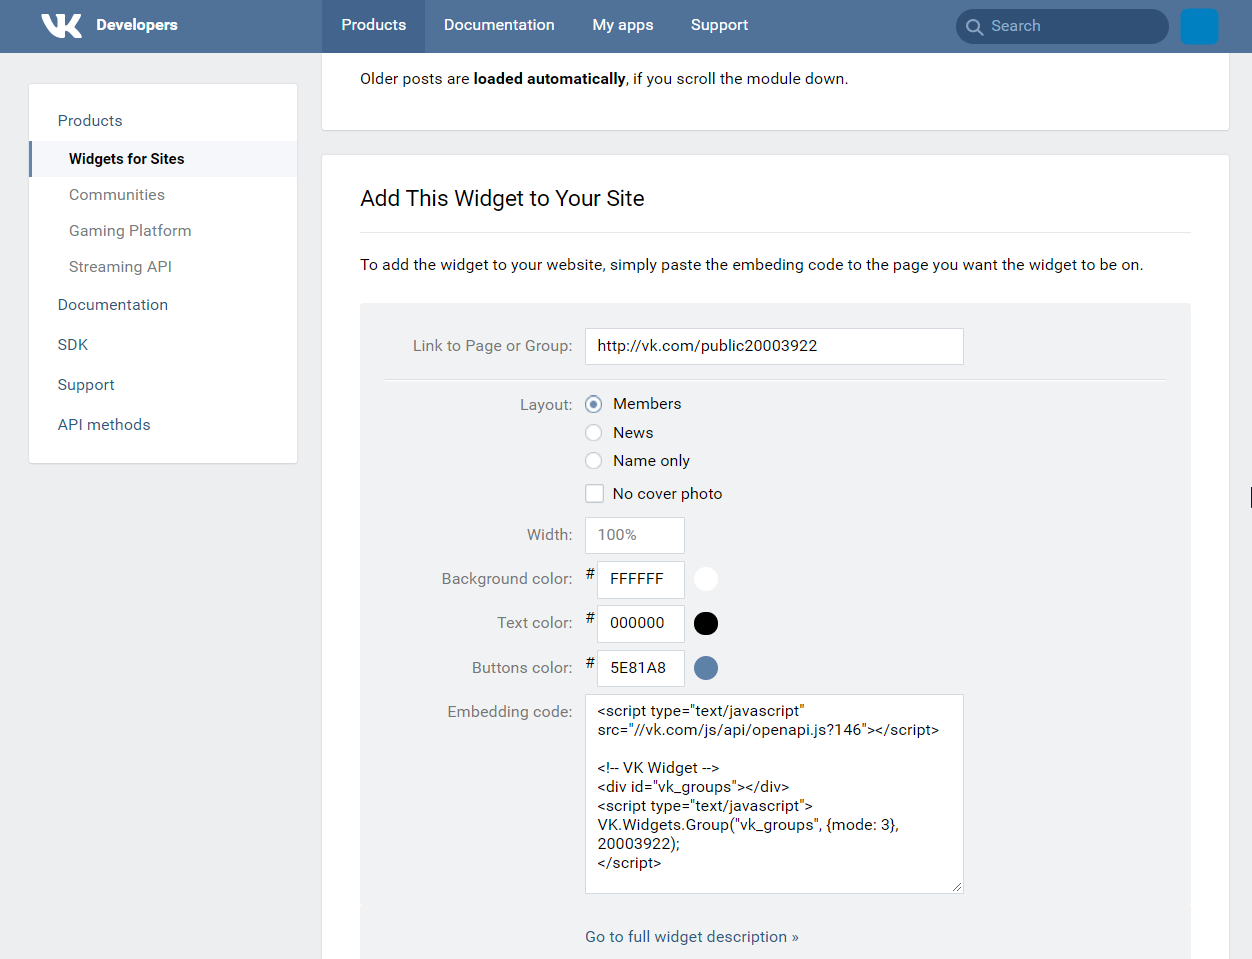
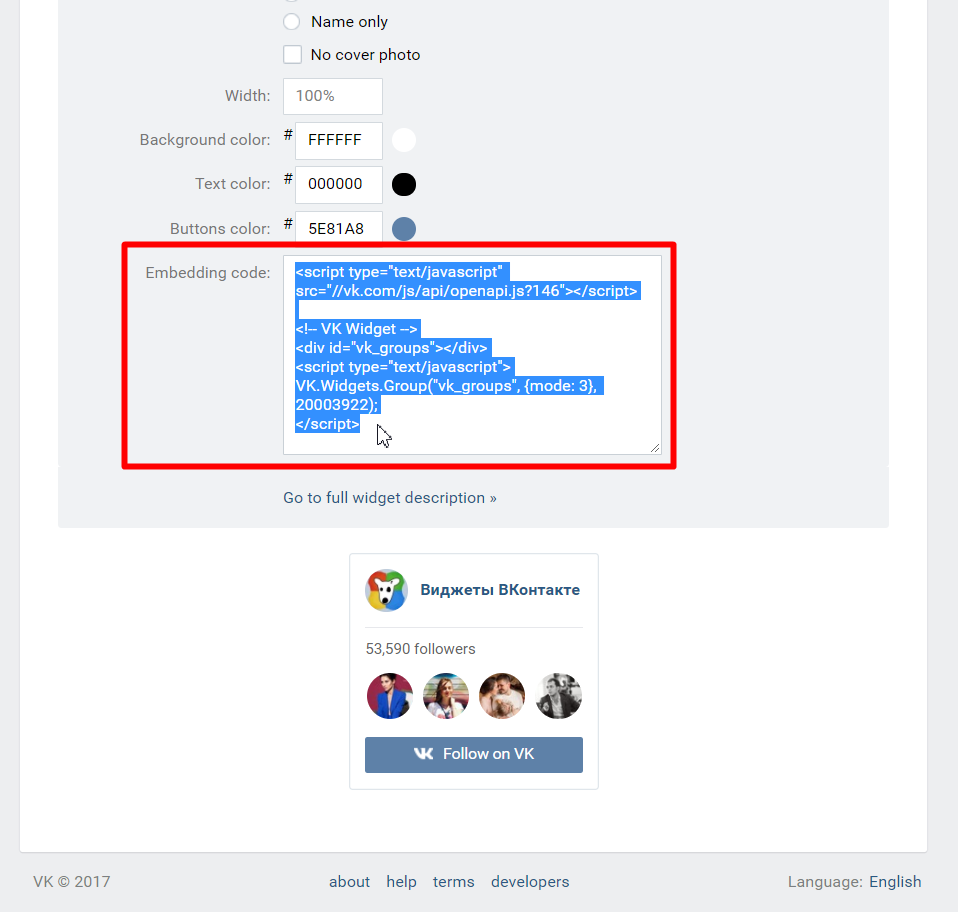
Preview is available at page bottom.
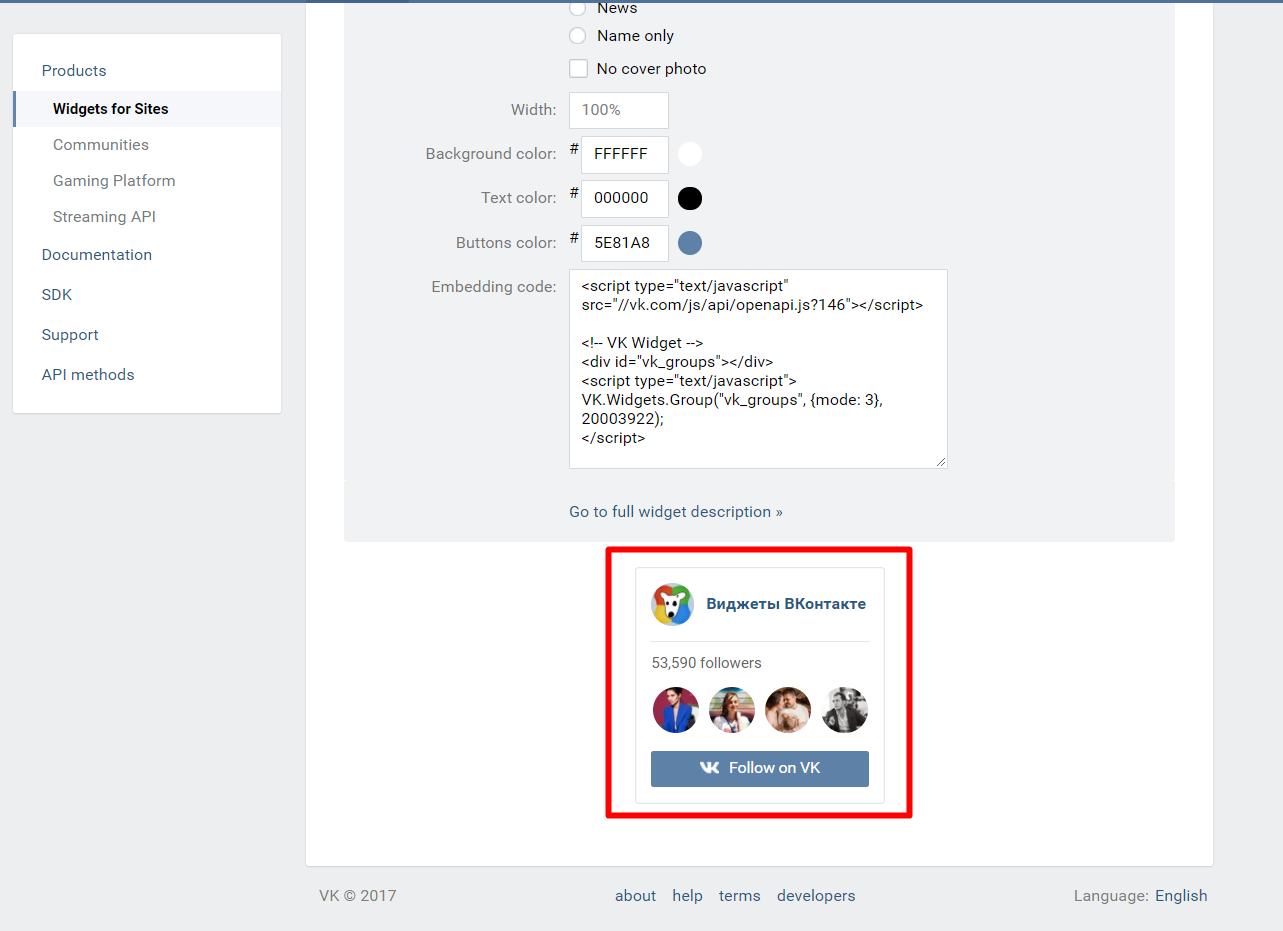
We do not recommend changing colors even in case they don’t match your website design – everyone gets accustomed to such look and any changes made can cause confusion.
Next, you should copy the generated code.
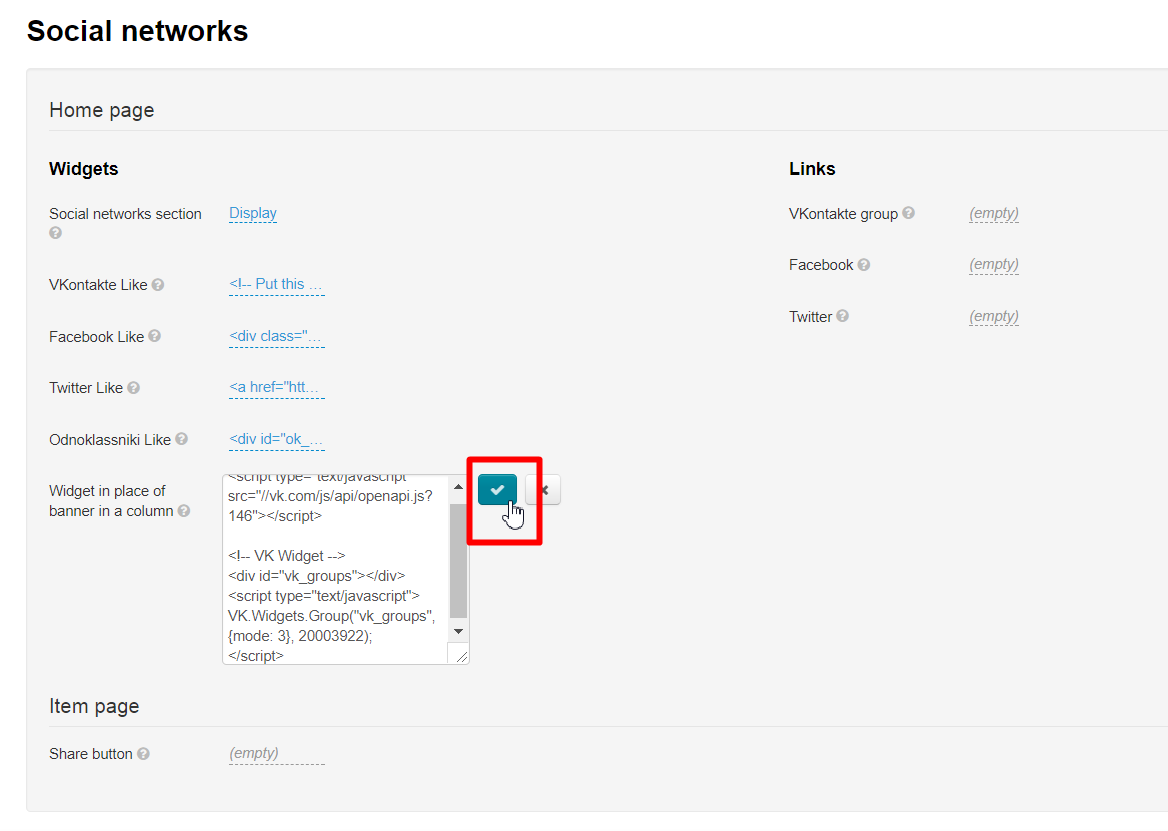
Click dashed grey underlined text “Empty” in admin panel.
Paste the code you’ve copied when creating the button in the textbox field that appears:
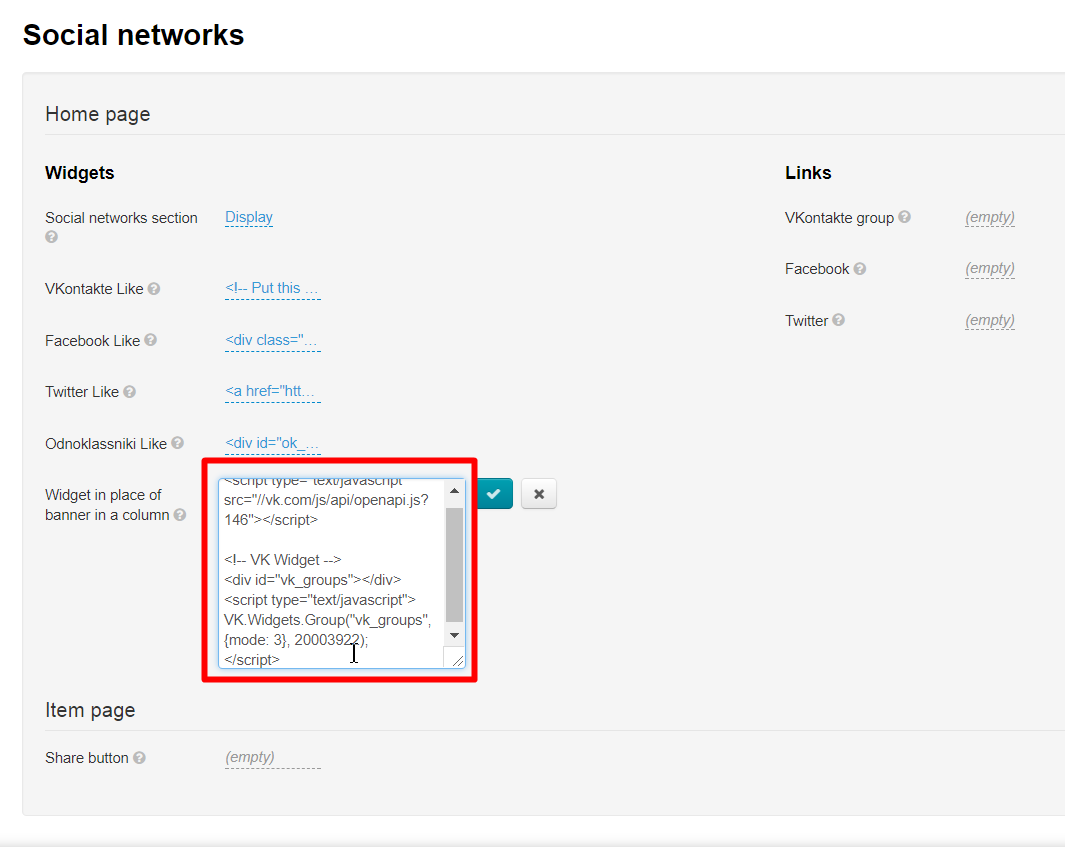
Be sure to click check mark button to save your changes.
Links
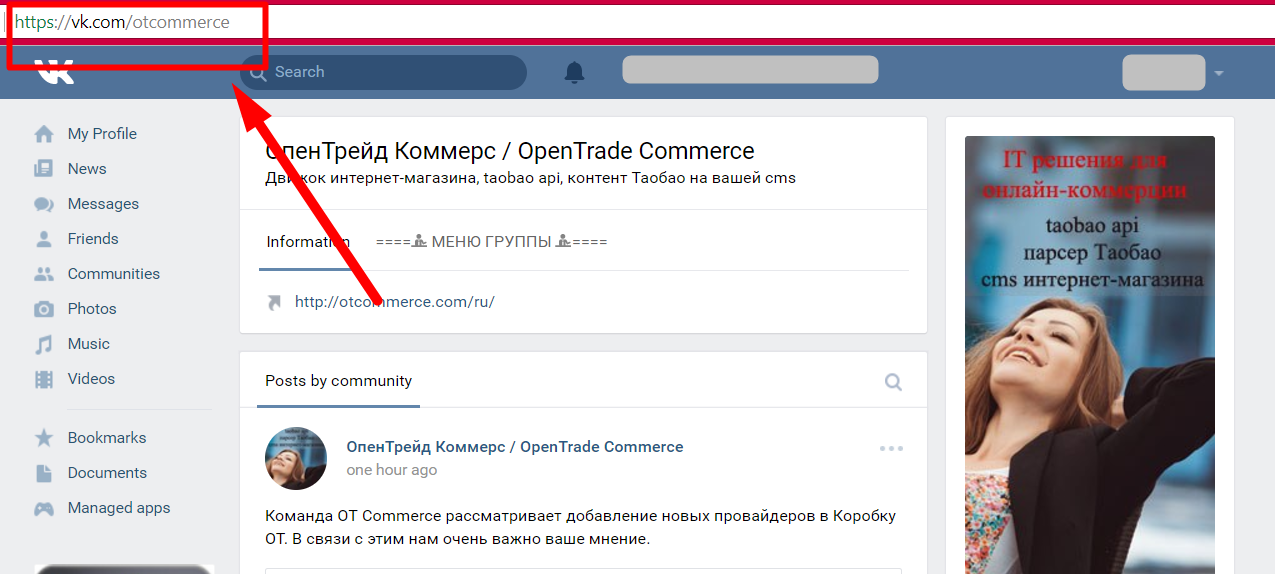
Vkontakte group
First, you should open your page (group) on VKontakte website and copy the URL in address bar.
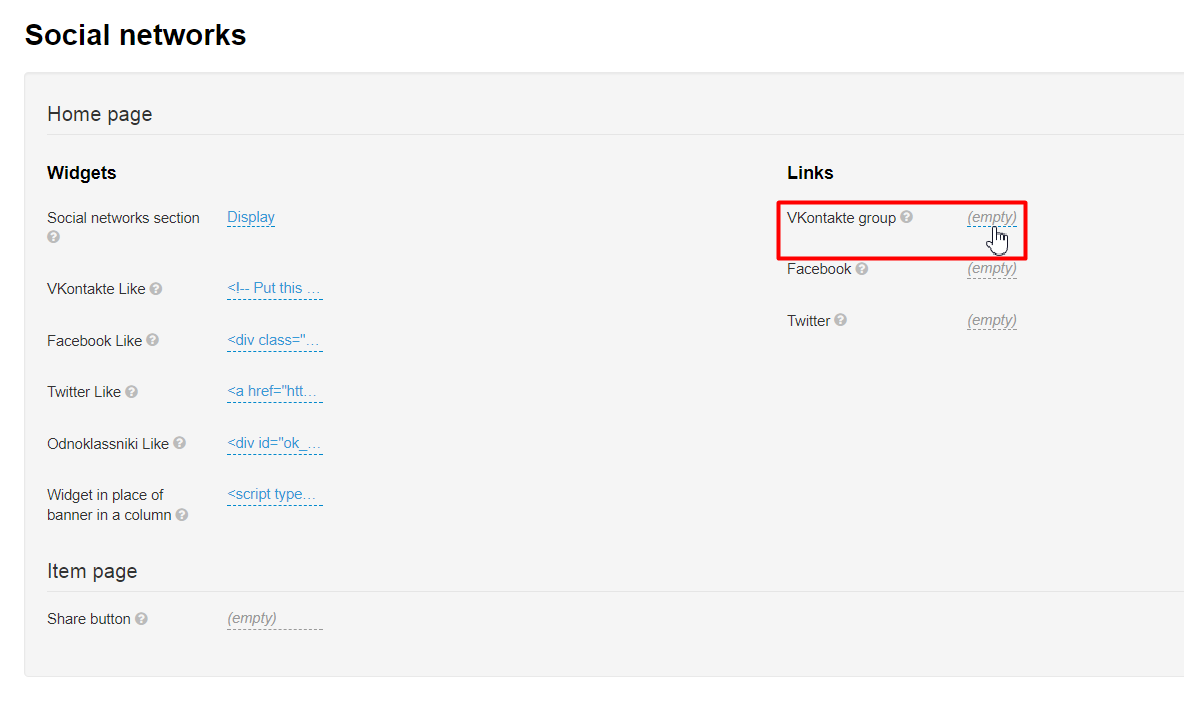
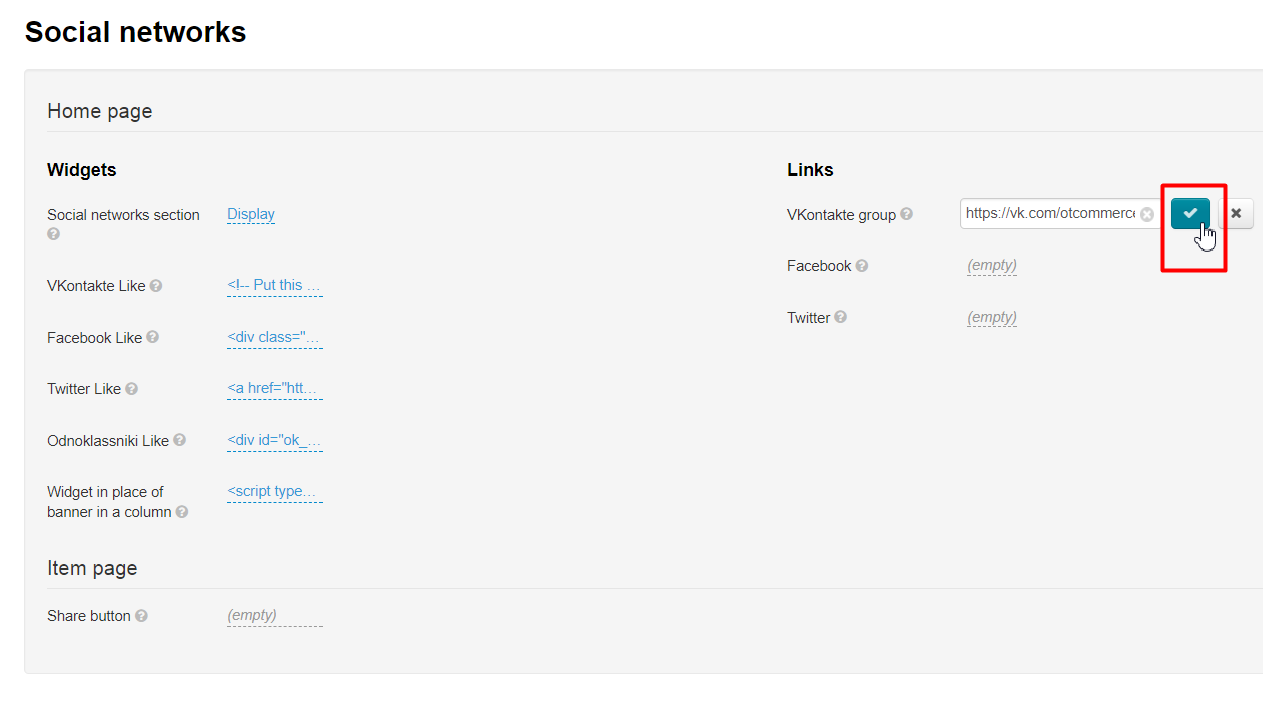
Next, click dashed grey underlined text “Empty” in admin panel.
Paste the URL you’ve copied in textbox field that appears:
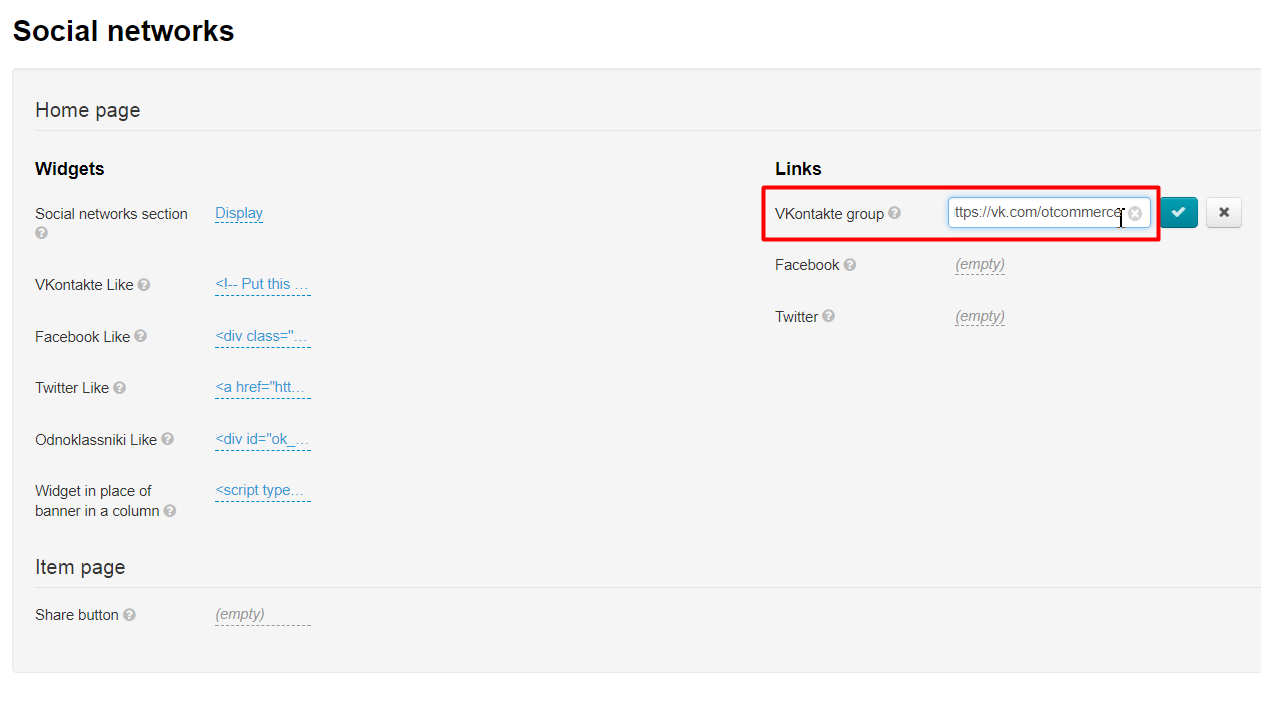
Be sure to click check mark button to save your changes.
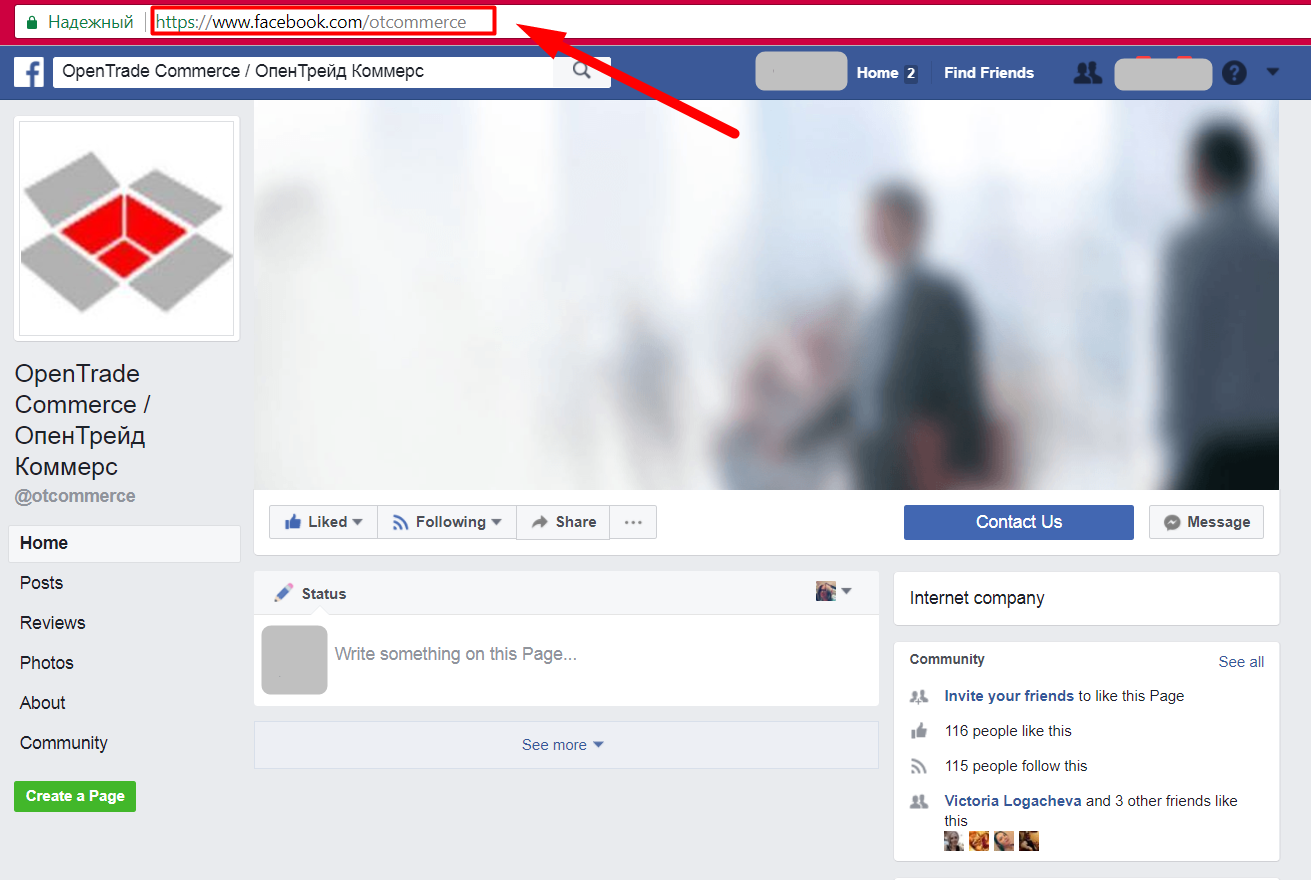
First, you should open your page (group) on Facebook website and copy the URL in the address bar.
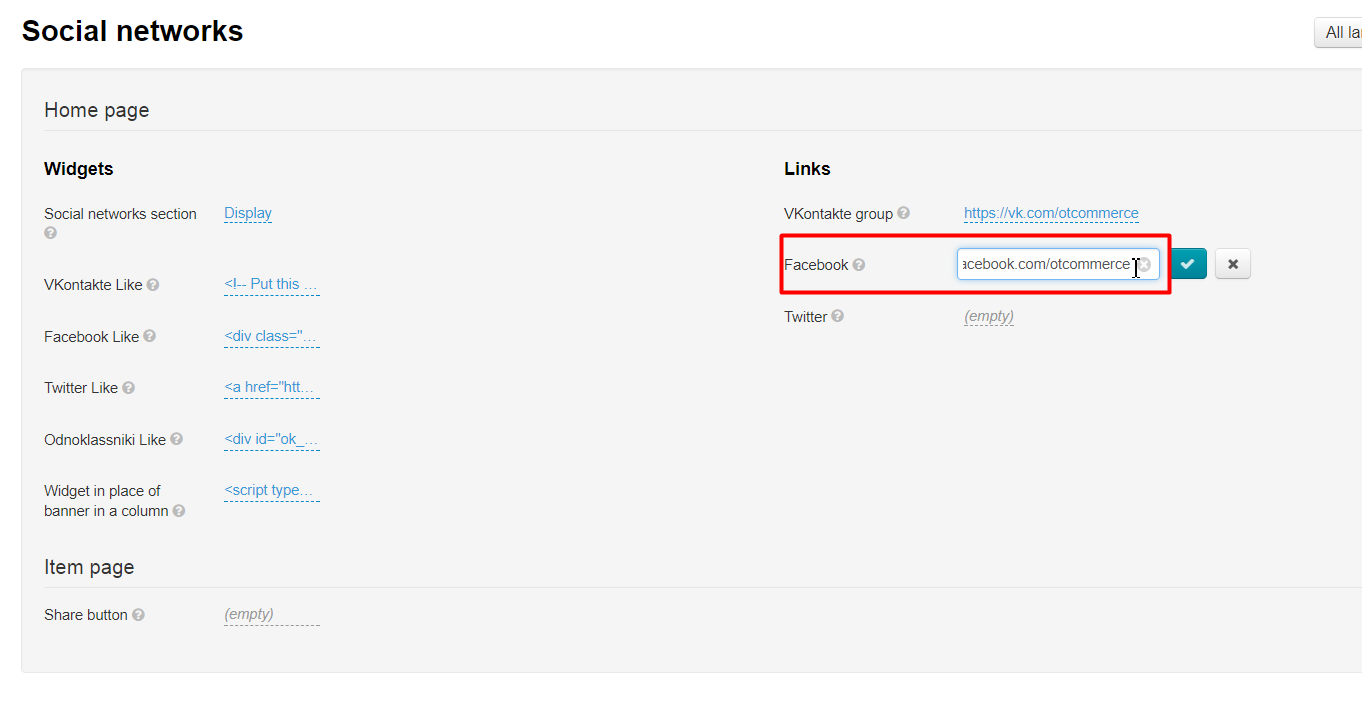
Next, click dashed grey underlined text “Empty” in admin panel.

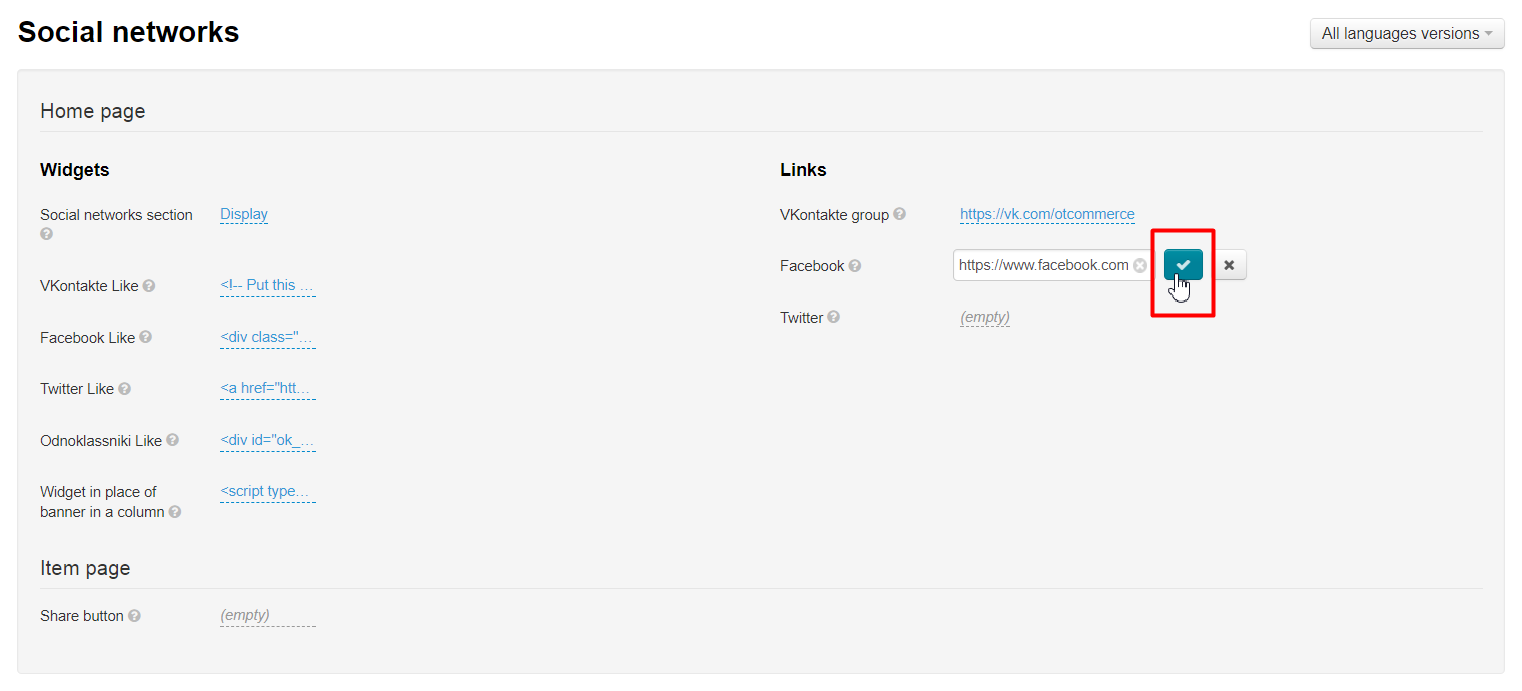
Paste the URL you’ve copied in the textbox field that appears:
Be sure to click check mark button to save your changes.
First, you should open your page on the Twitter website and copy the URL in the address bar.
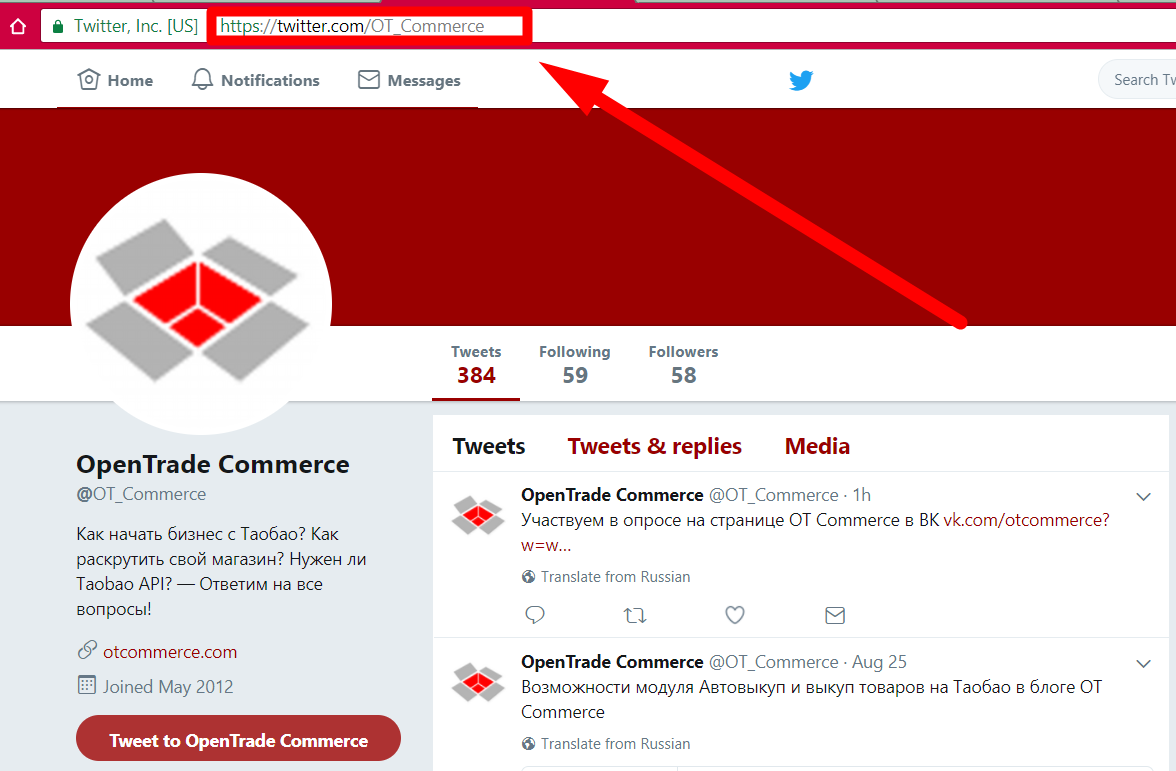
Next, click dashed grey underlined text “Empty” in admin panel.
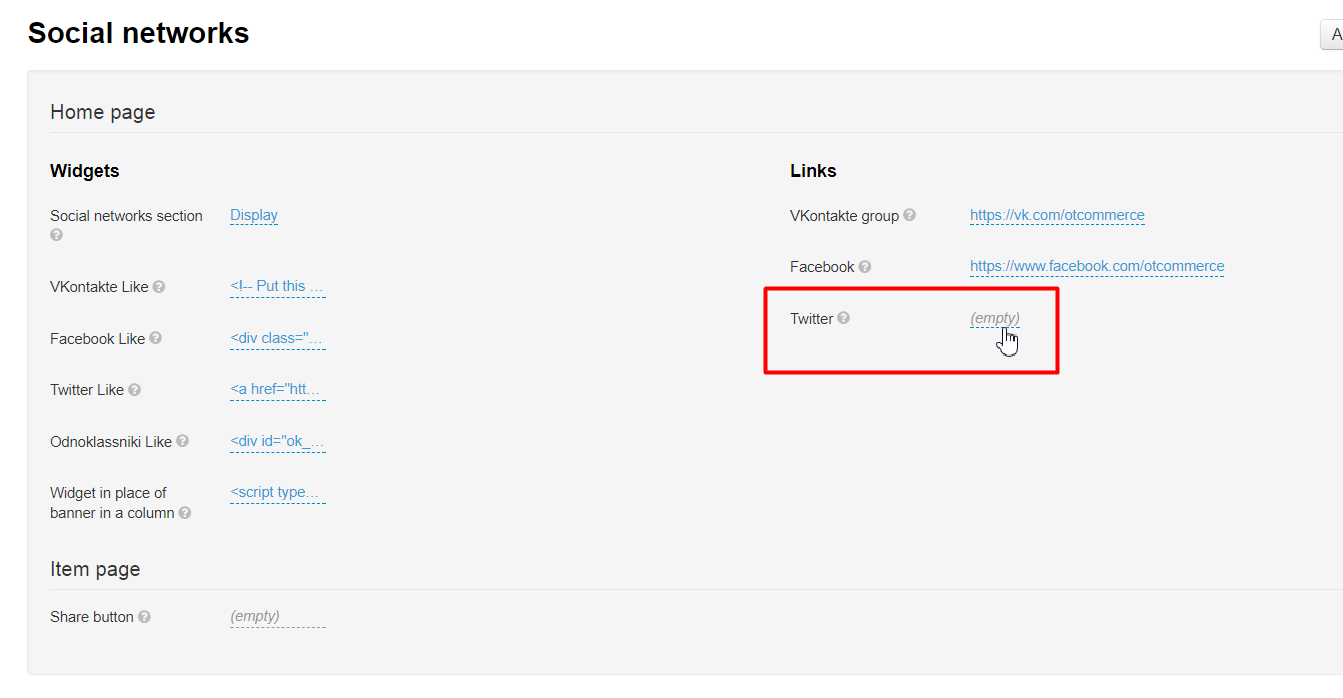
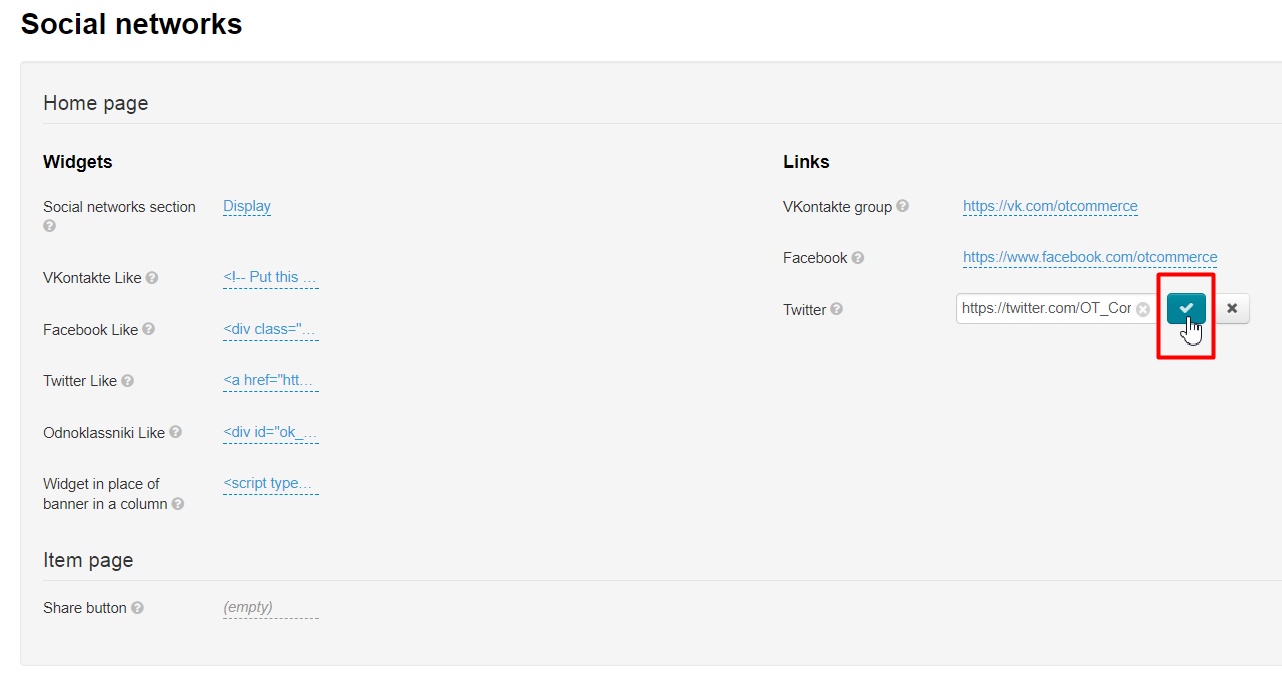
Paste the URL you’ve copied in the textbox field that appears:
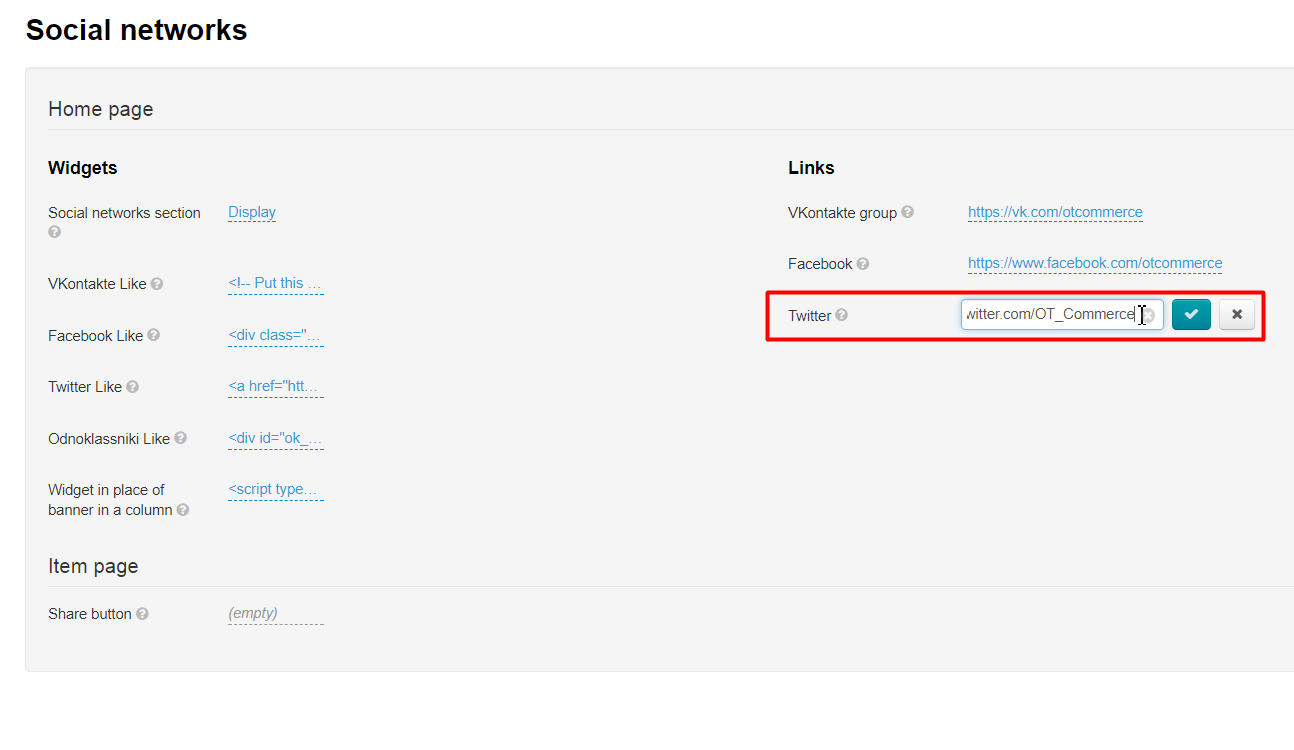
Be sure to click check mark button to save your changes.
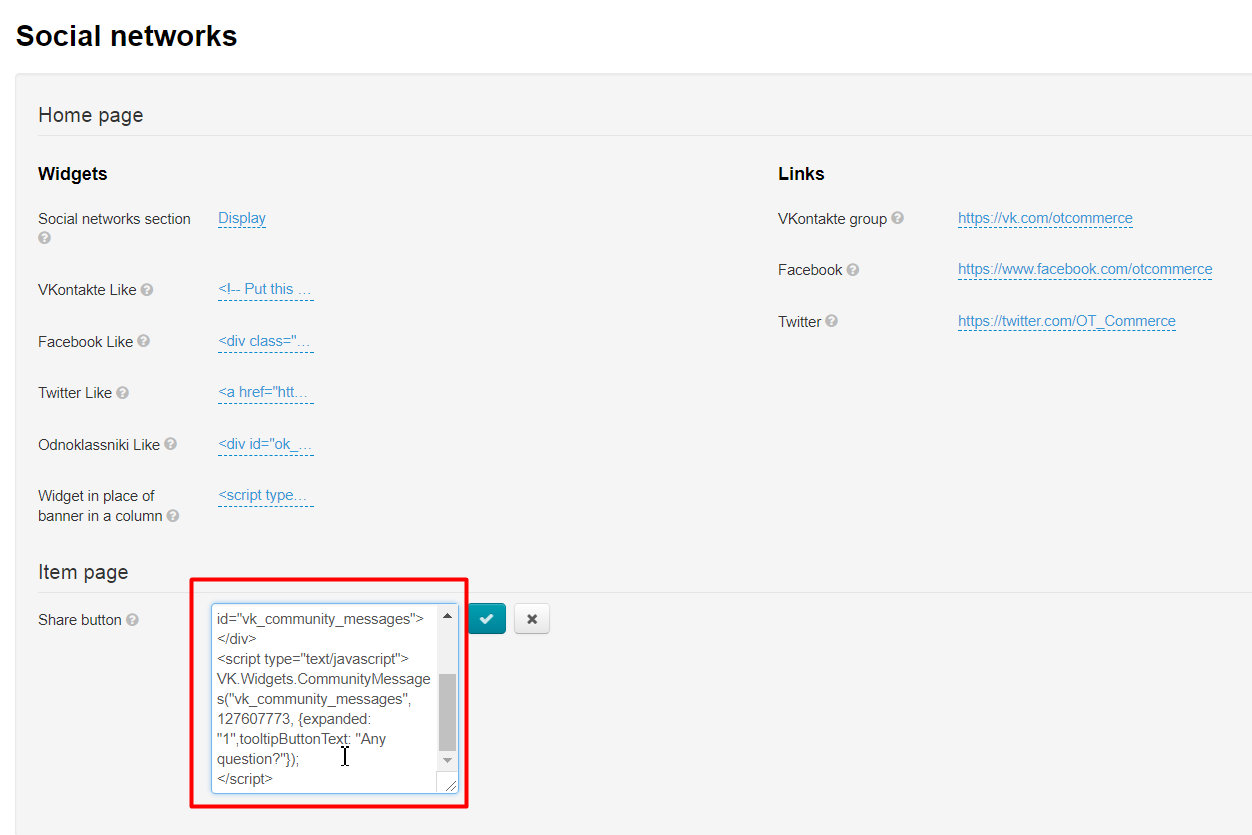
Item page
You need to navigate to VKontakte website to place “Share” button on the item page:
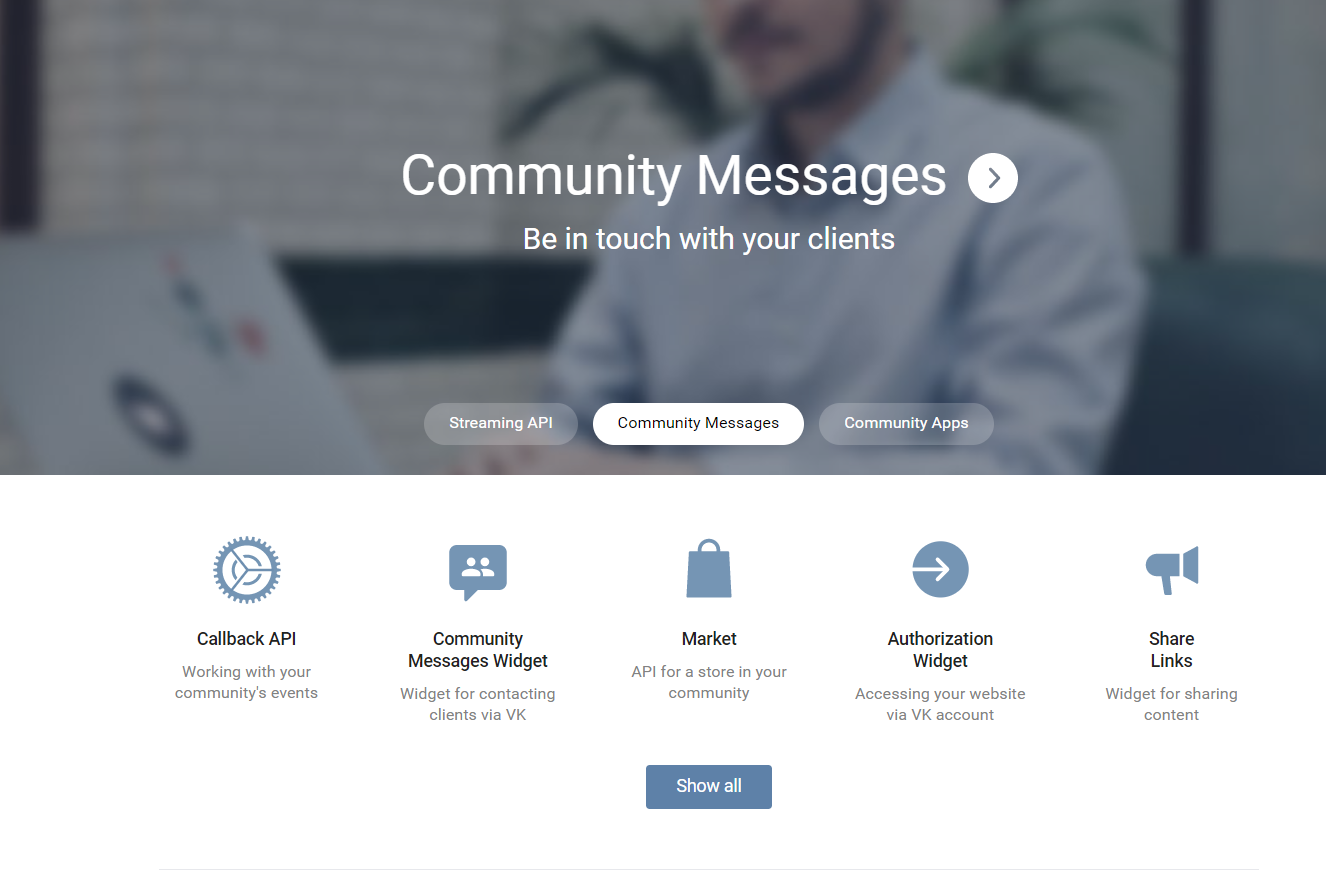
- Go to https://vk.com/dev.
- Click “Community Messages Widget” link at page.
...
Настройка виджетов соцсетей, как для страниц сайта, так и для аутентификации (войти или зарегистрироваться с помощью доступной соцсети).
| Информация |
|---|
Виджет — иконка социальной сети, кликнув по которой покупатель может авторизоваться у вас на сайте, поделиться информацией с друзьями или перейти на вашу страницу в соцсетях |
Расположение в админке: Promotion → Social networks
Где в дизайне сайта иконки соцсетей?
| Информация |
|---|
Расположение иконок (виджетов) зависит от выбранного дизайна сайта. Что делать, если у вас свой дизайн (кастом), будет рассказано отдельно |
На примере дизайна Elastic

Как выбрать дизайн сайта рассказано в статье “General” (Configuration → System → General)
Как редактировать дизайн рассказано в статье «Тема дизайна» (Конфигурация → Конструкция → Глобальный шаблон → Тема дизайна)
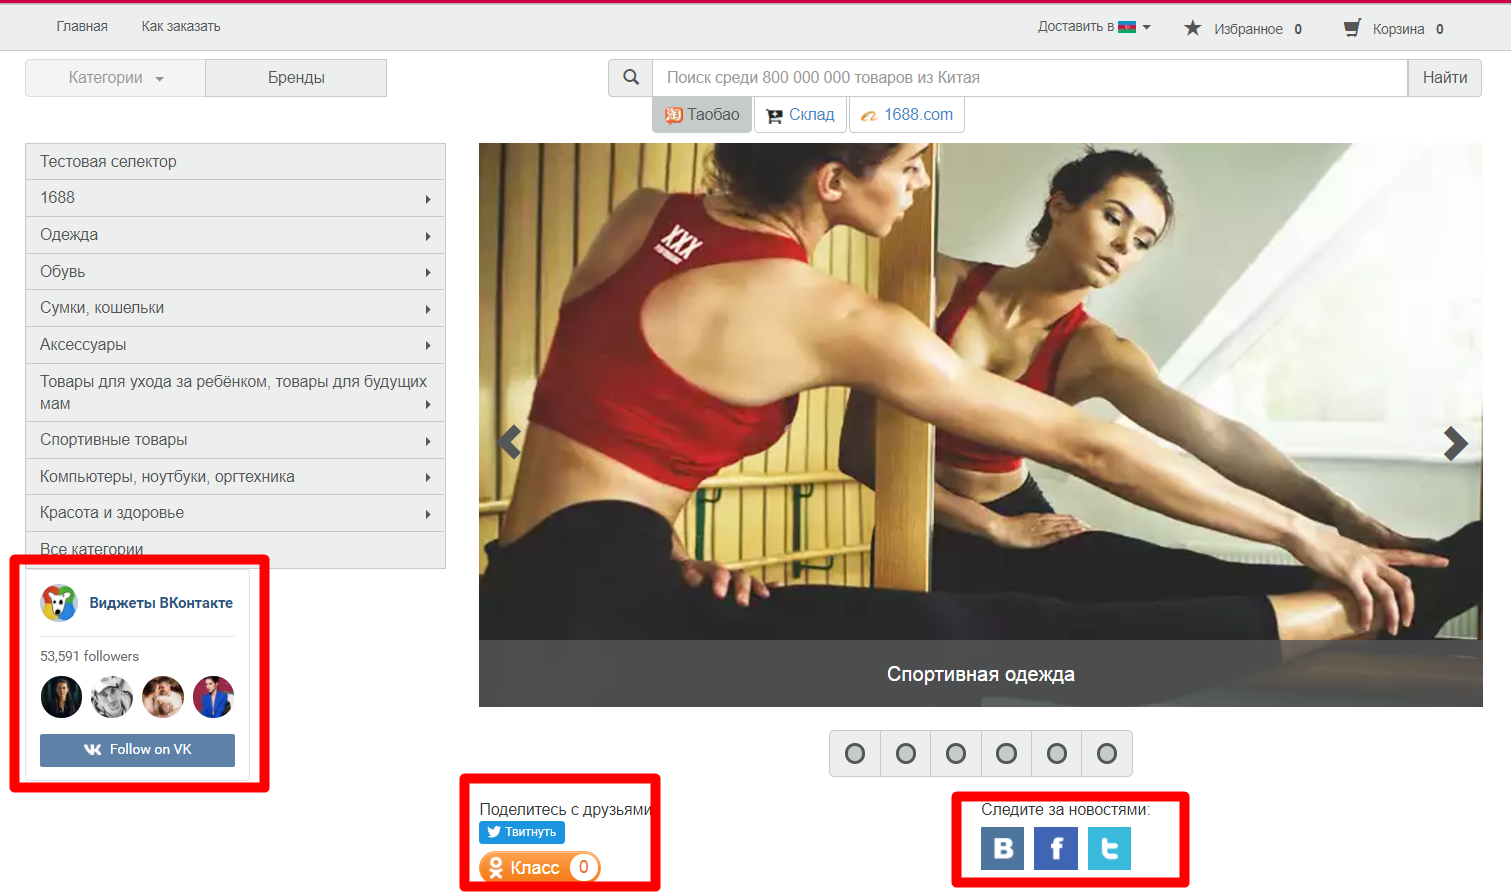
На всех страницах сайта в подвале (в самом низу)
Покупатель кликнет по иконке и в новом окне откроется ваша страница/группа в соцсети
Во время регистрации и авторизации
Покупатель может кликнуть по соцсети «Войти с помощью» и не заполнять поля для авторизации и регистрации
На странице с товаром
Покупатель может сделать репост страницы с товаром (иконки находятся после кнопки «Добавить в корзину»)
Для «Быстрого просмотра» это тоже работает
Языковая версия: разные виджеты для выбранных языков
Для каждой языковой версии сайта можно настроить свои виджеты.
Настройка языковых версий в разделе «Мультиязычность» (Конфигурация → Языки → Мультиязычность)
Чтобы выбрать языковую версию, открываем «Социальные сети» в разделе продвижение
Справа будет кнопка со списком доступных языковых версий
Выбираем из списка нужную языковую версию кликом мышки и настраиваем по инструкциям ниже
Настройка по типам приложения: если нужна кастомизация
Чтобы добавить соцсети в кастомизированный сайт, открываем «Социальные сети» в разделе продвижение
В блоке «Настройки по типам приложений кликаем по надписи «Стандартный»
Выбираем в списке «Кастомный»
Нажимаем кнопку «Сохранить»
Окошко для написания кода стало активным и теперь можно использовать свой код для виджетов соцсетей
Настройка виджетов для всех страниц сайта
Чтобы настроить виджеты, открываем «Социальные сети» в разделе продвижение
В каждой соцсети есть несколько вариантов взаимодействия:
- Перейти
- Нравится
- Поделиться
- Подписаться
| Информация |
|---|
Отображение виджетов зависит от клиентского сайта или приложения, а так же его темы. Не все виджеты могут быть отображены |
На вкладке каждой доступной соцсети есть 4 блока для заполнения
Все виджеты можно получить на сайтах соцсетей или по запросу в Google или Яндекс: «виджет ВК», «виджет одноклассники» и тп
Для удобства можно кликать по ссылкам из таблицы:
| Иконка | Соцсеть | Ссылка на настройку виджетов |
|---|---|---|
| Одноклассники | https://apiok.ru/ext/group (все виджеты в меню слева) | |
| ВКонтакте | https://vk.com/dev/widgets_for_sites | |
Твитнуть https://help.twitter.com/ru/using-twitter/add-twitter-share-button Кнопки https://help.twitter.com/ru/using-twitter/twitter-buttons | ||
| https://developers.google.com/identity/sign-in/android/sign-in-identity | ||
| https://developers.facebook.com/docs/plugins (все виджеты в меню слева) | ||
| Apple | https://developer.apple.com/sign-in-with-apple/ |
Чтобы настроить конкретную соцсеть, выбираем слева кликом мышки по названию
Под надписью «Ссылка» вставляем ссылку на вашу группу или страницу
Нажимаем «Сохранить»
Далее, в каждое окошко виджета вставляем соответствующий код (все окошки подписаны)
Когда код будет вставлен, нажимаем кнопку «Сохранить»
Таким образом настраиваются все соцсети, которые вам необходимы
Система аутентификации: выбираем соцсети для пользователей
Чтобы сделать авторизацию и регистрацию с помощью виджетов, открываем «Социальные сети» в разделе продвижение
Прокручиваем мышкой страницу в самый низ к блоку «Внешняя система аутентификации
Из списка справа кликом мышки выбираем нужные соцсети
Нажимаем кнопку Добавить
Выбранные соцсети перейдут в список слева
Можно менять местами порядок соц сетей
Рядом с соцсетью слева зажимаем иконку перемещения (крест со стрелками)
Создаем нужный нам порядок
Сохраняем все изменения
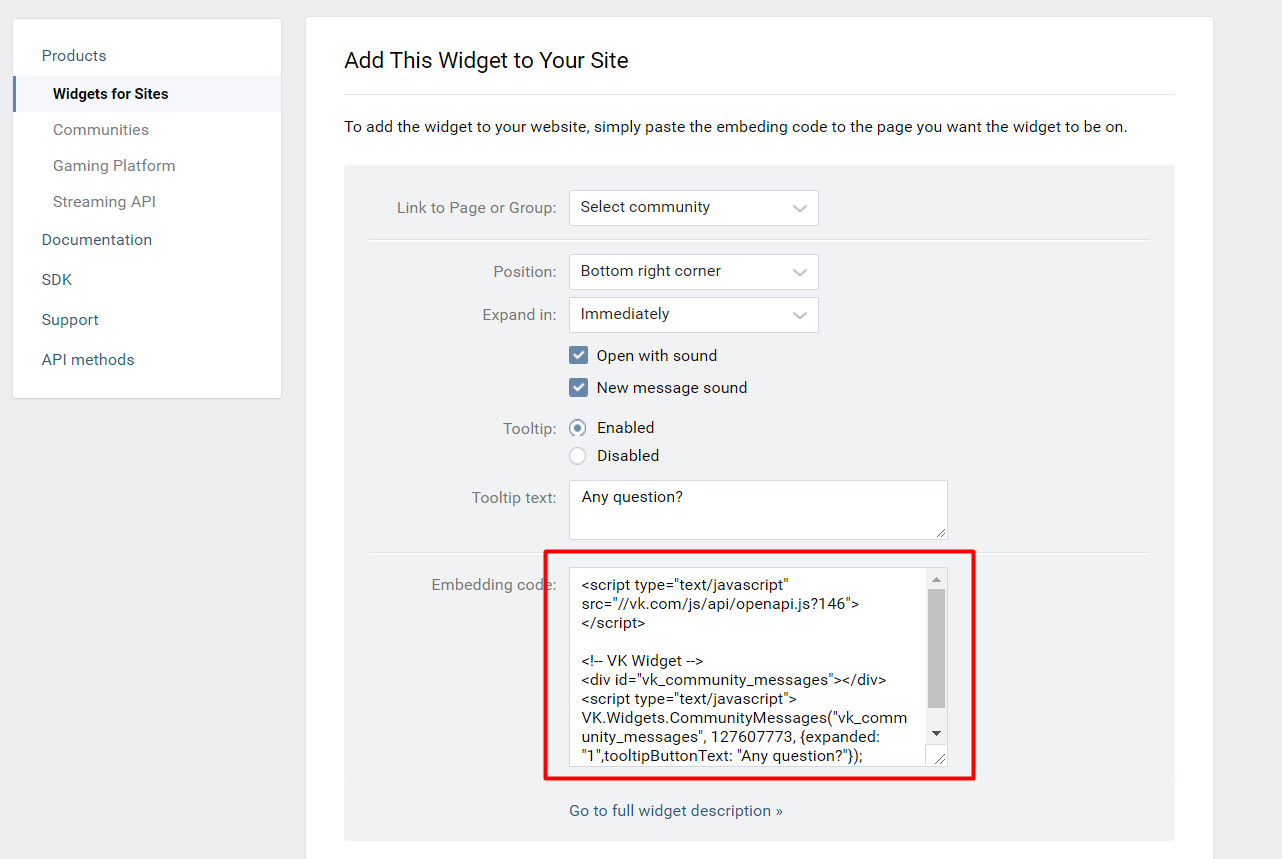
Copy embedding code.
Click dashed grey underlined text “Empty” in admin panel.
Paste the code you’ve copied when creating the button in the textbox field that appears:
Be sure to click check mark button to save your changes.
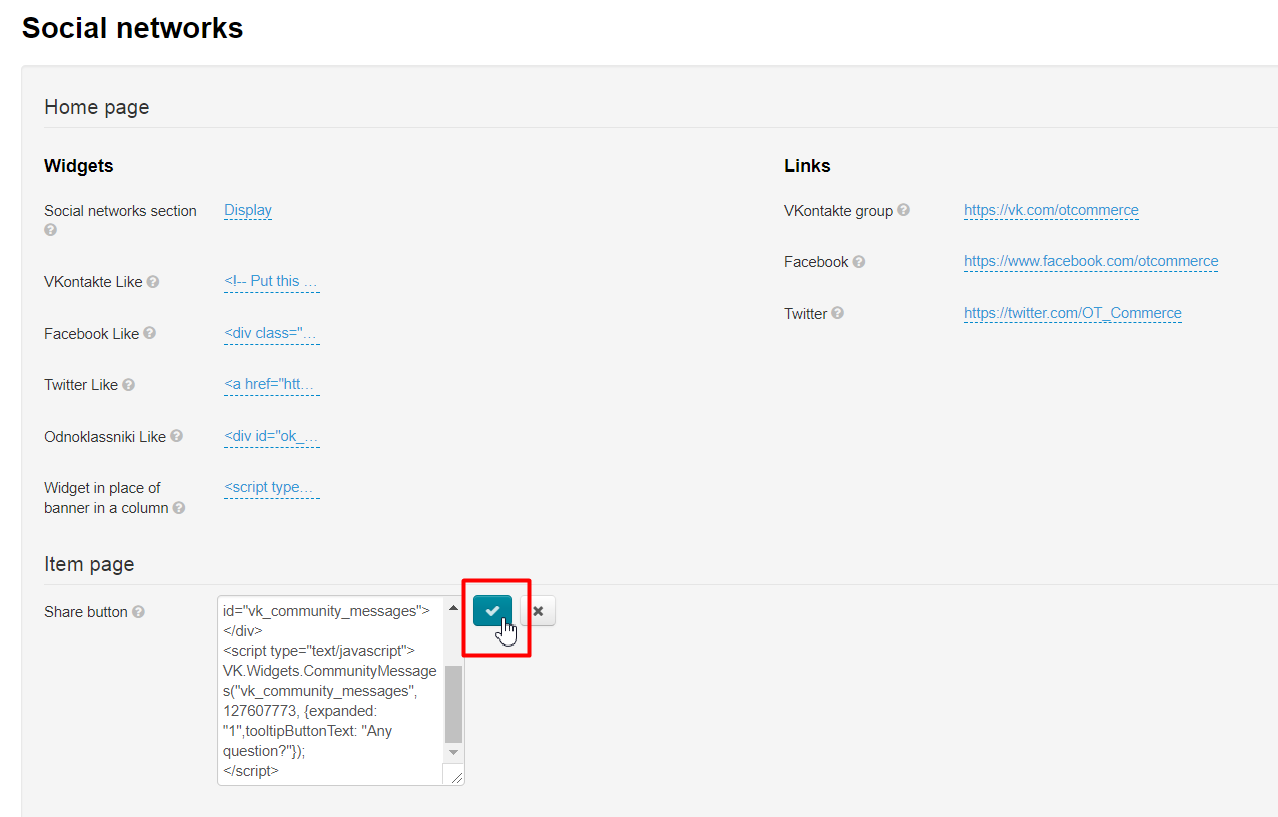
Button will appear on the item page after saving.