...
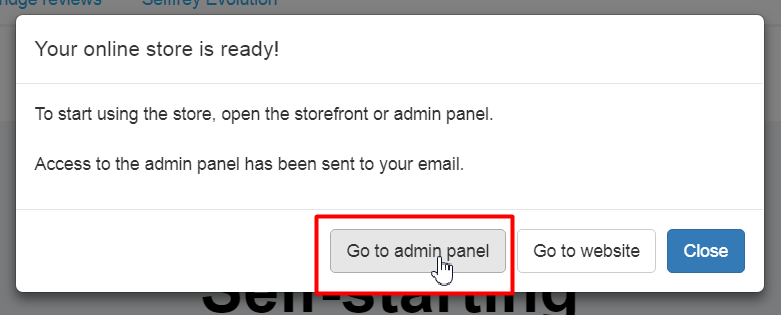
Once your Sellfree has been created a window will show up.
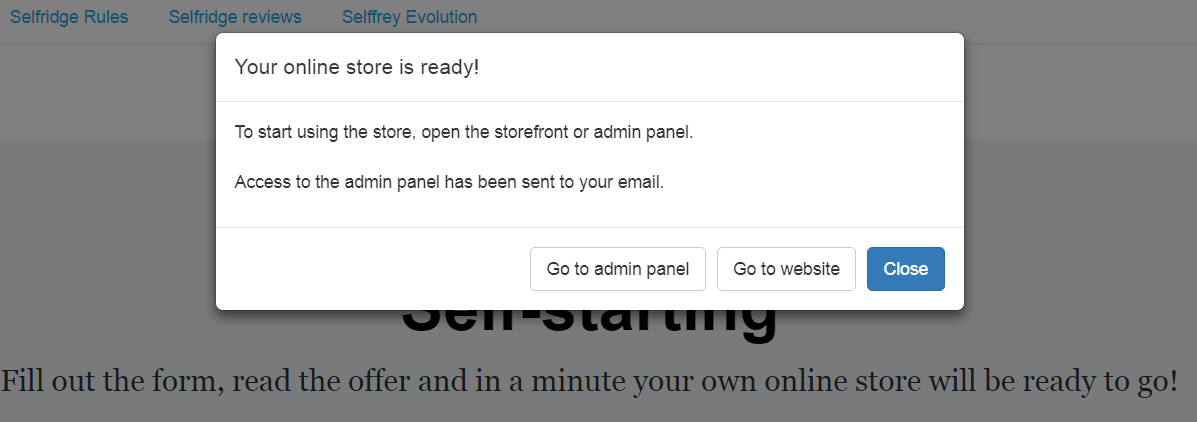
So you can immediately go to the admin panel or view the website.
You can also close the window as your Sellfree login or password will be sent to your e-mail address.
...
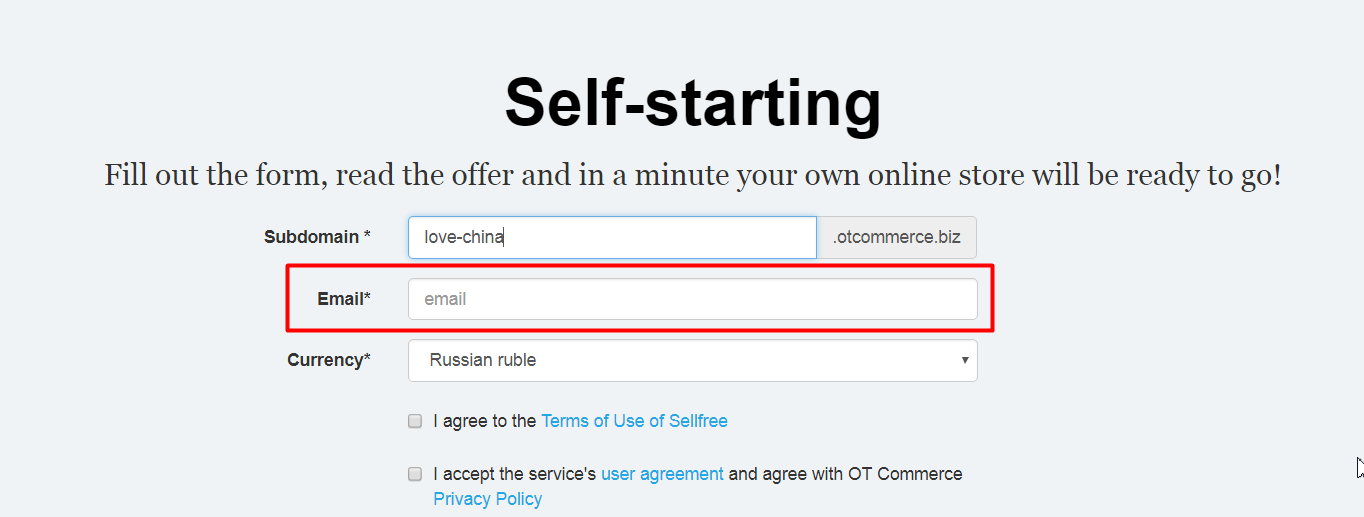
You specified your e-mail address while purchasing.
This is the e-mail address that the login and password were sent to. With this login and password , you can access the admin area
...
This will bring up a window that allows you to enter the login and password from the email.
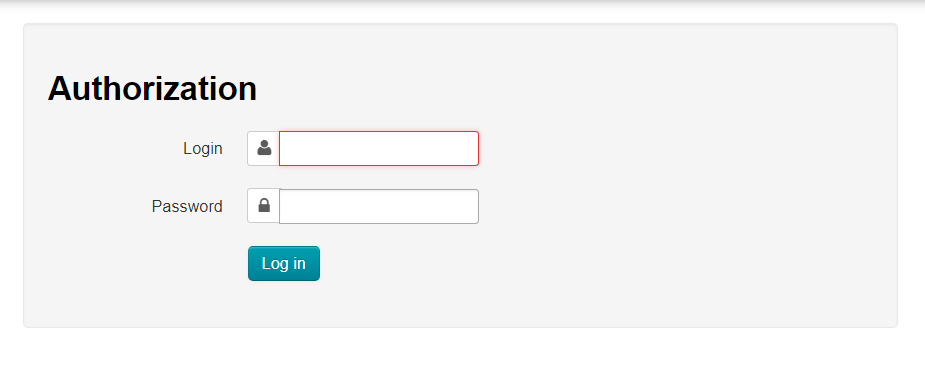
Once all the fields are completed click the “Log in” button.
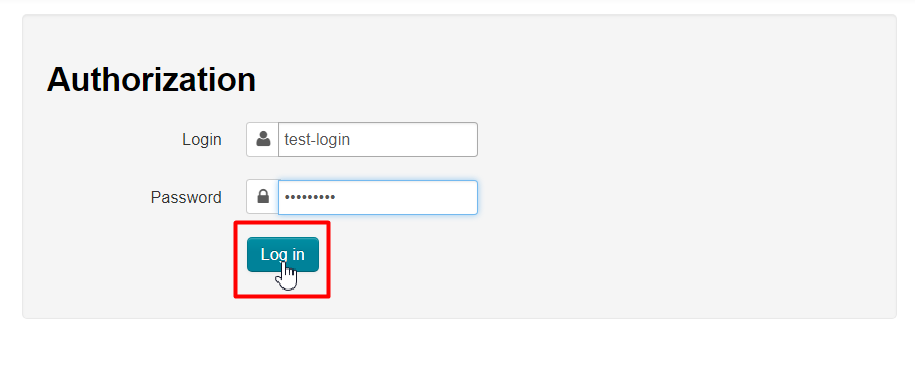
Great! You’ve logged in to the admin area and are able to start working.
...
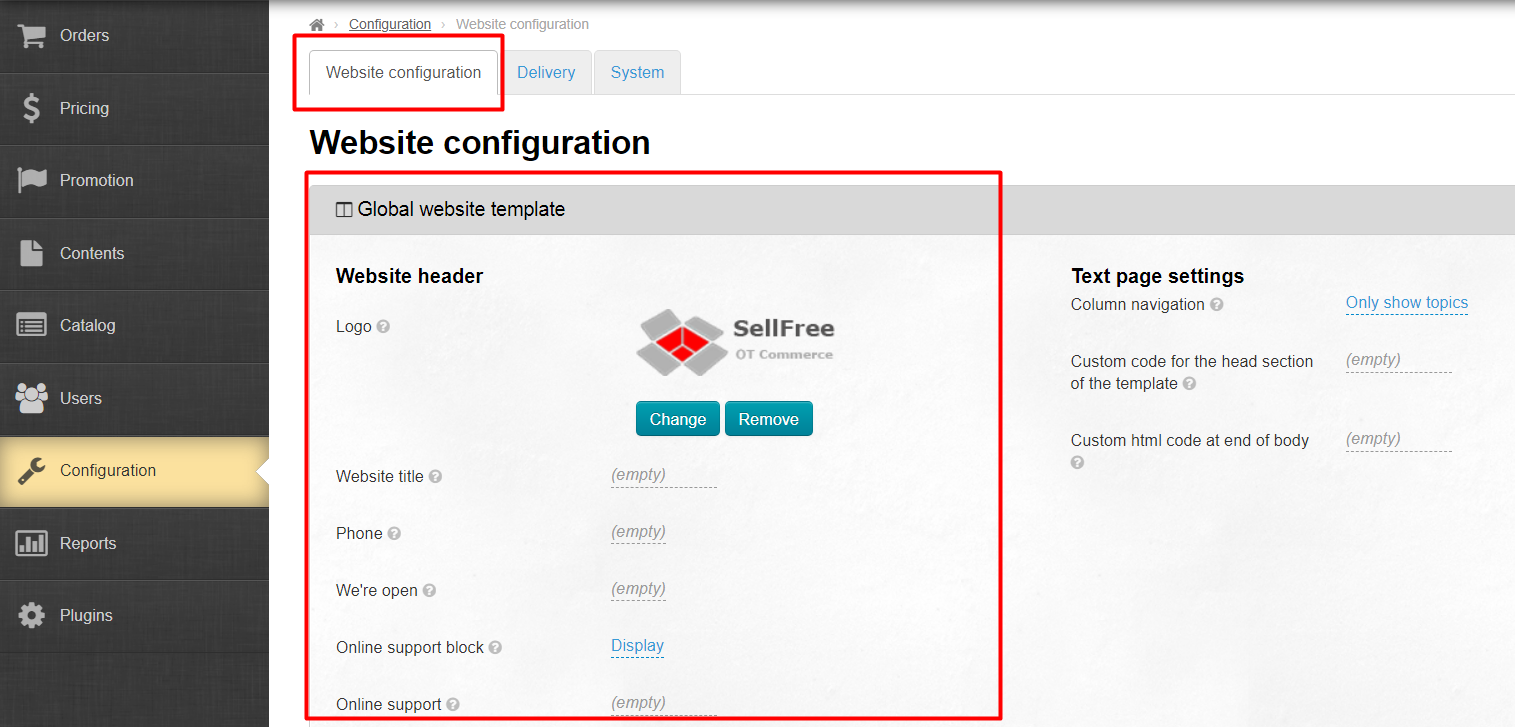
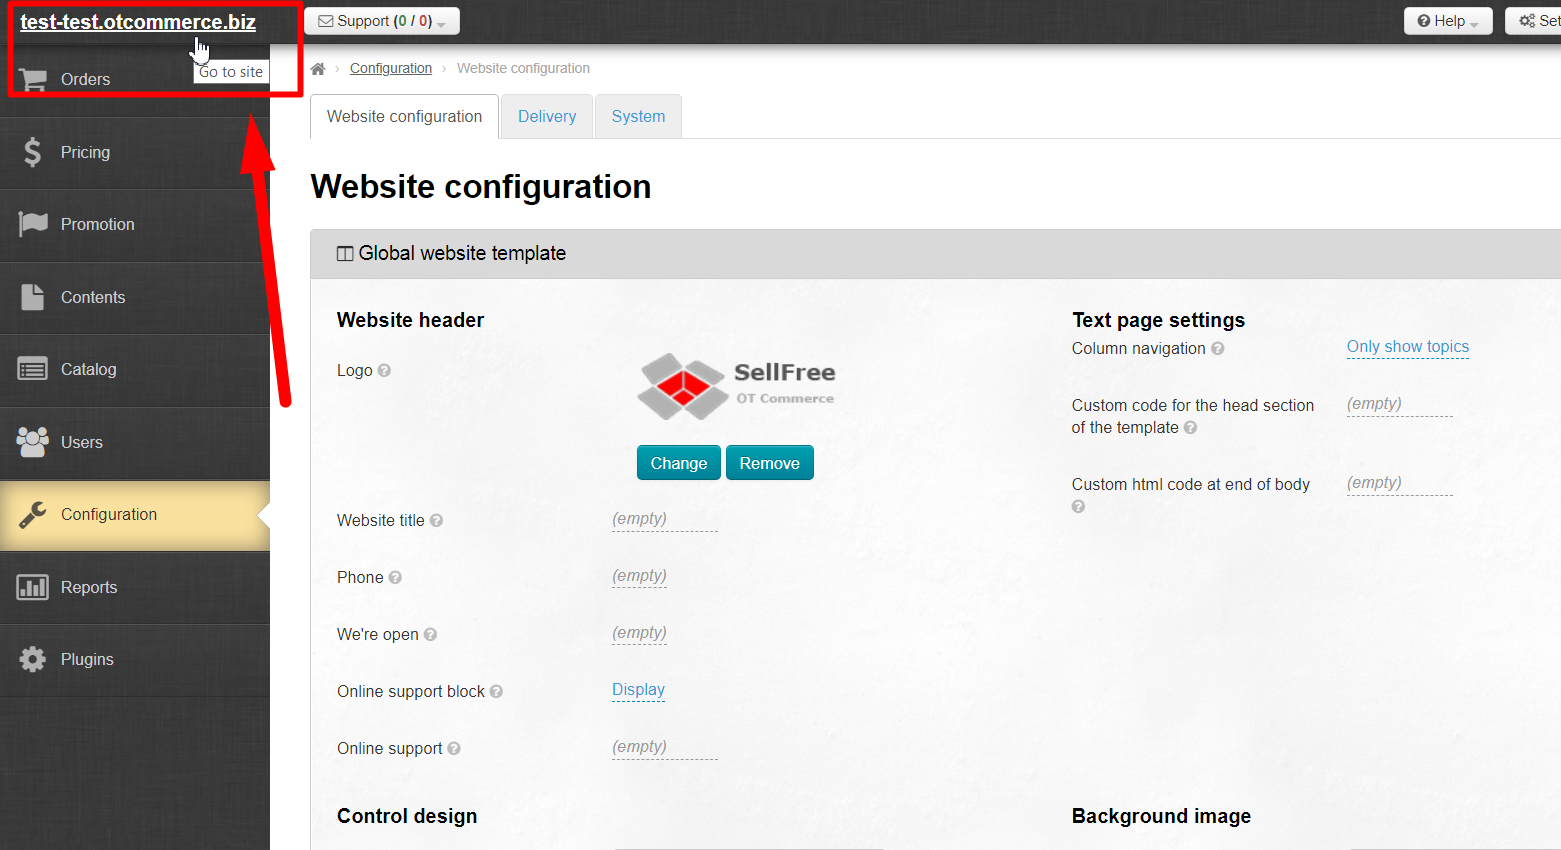
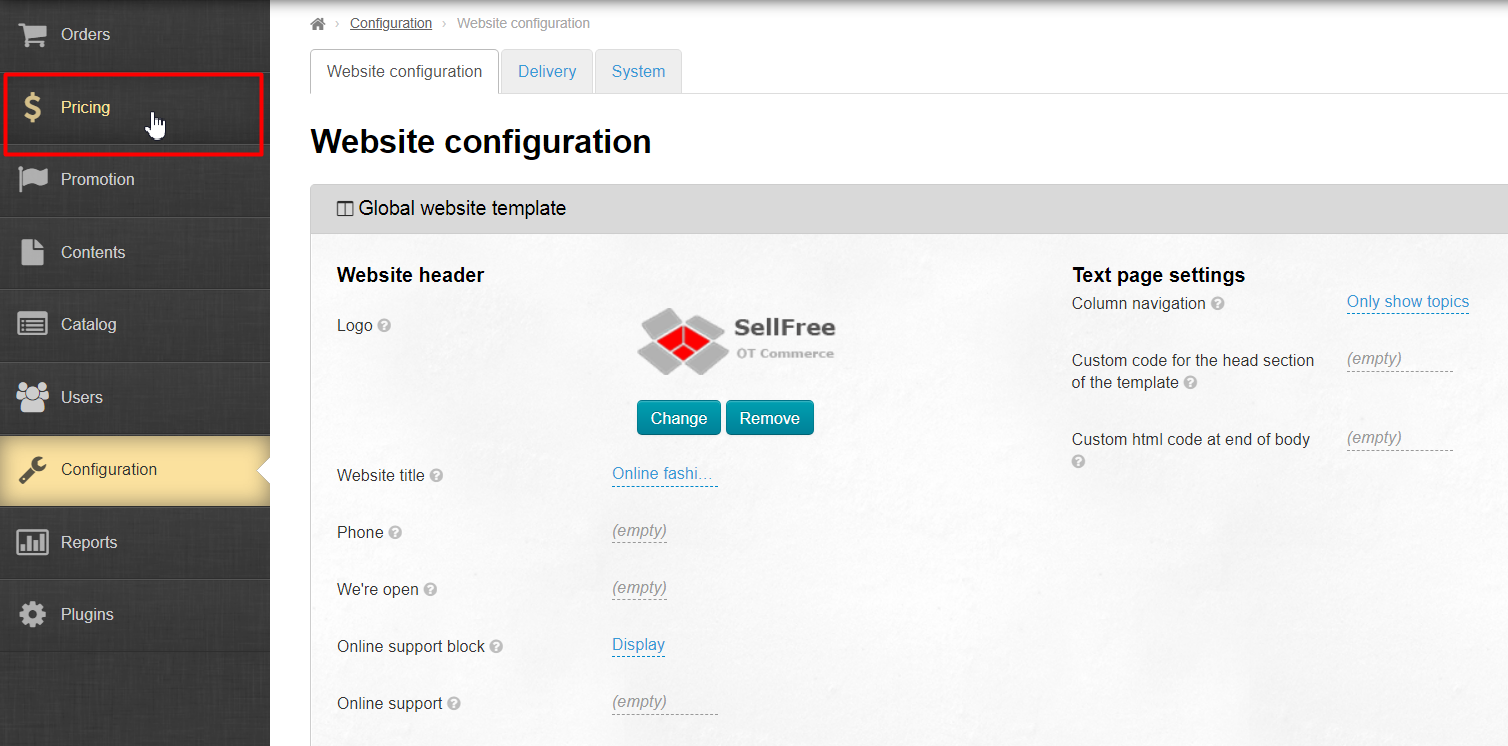
When preparations are made, please select the “Configuration” section in the left-hand menu in the admin area.
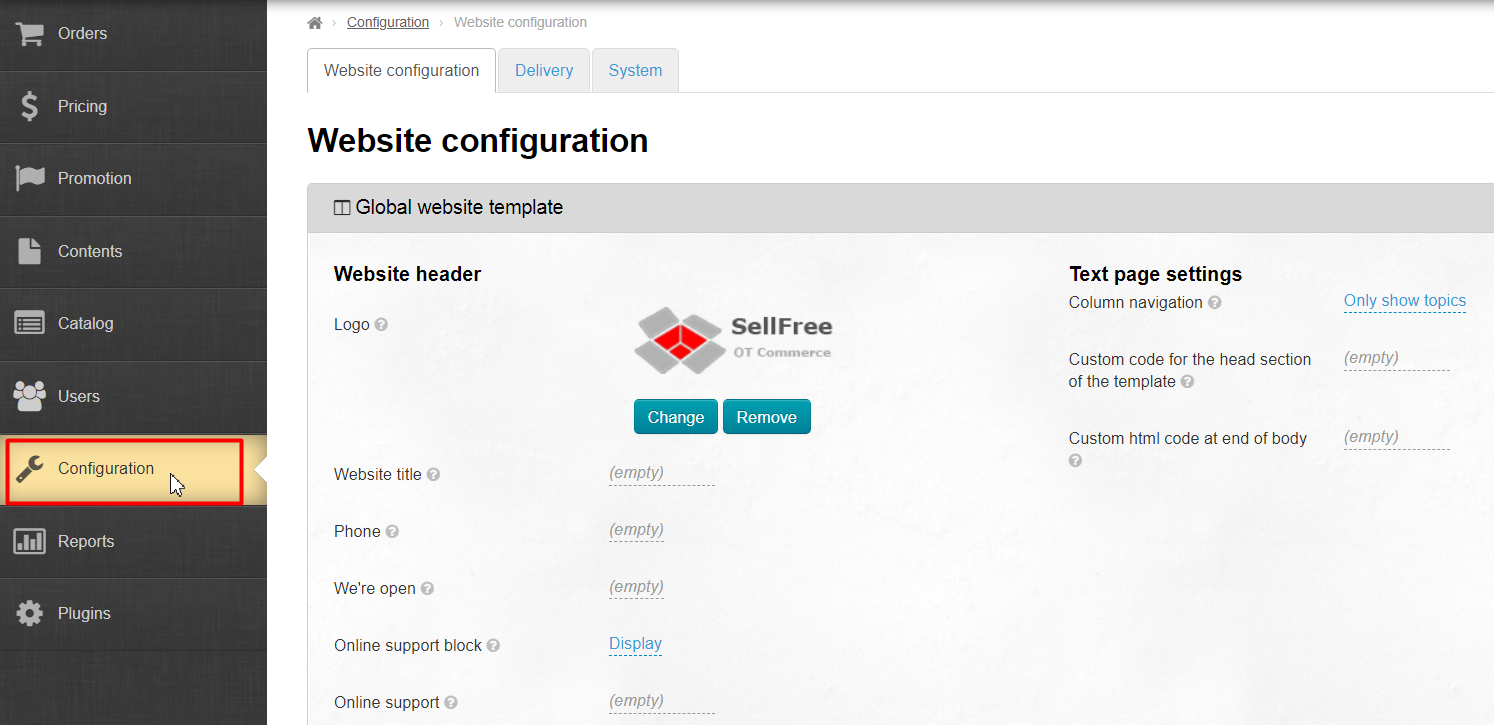
Look for the following section: “Website configuration – Global Website Template”.
Change the logo to a new one. Click the “Change” button.
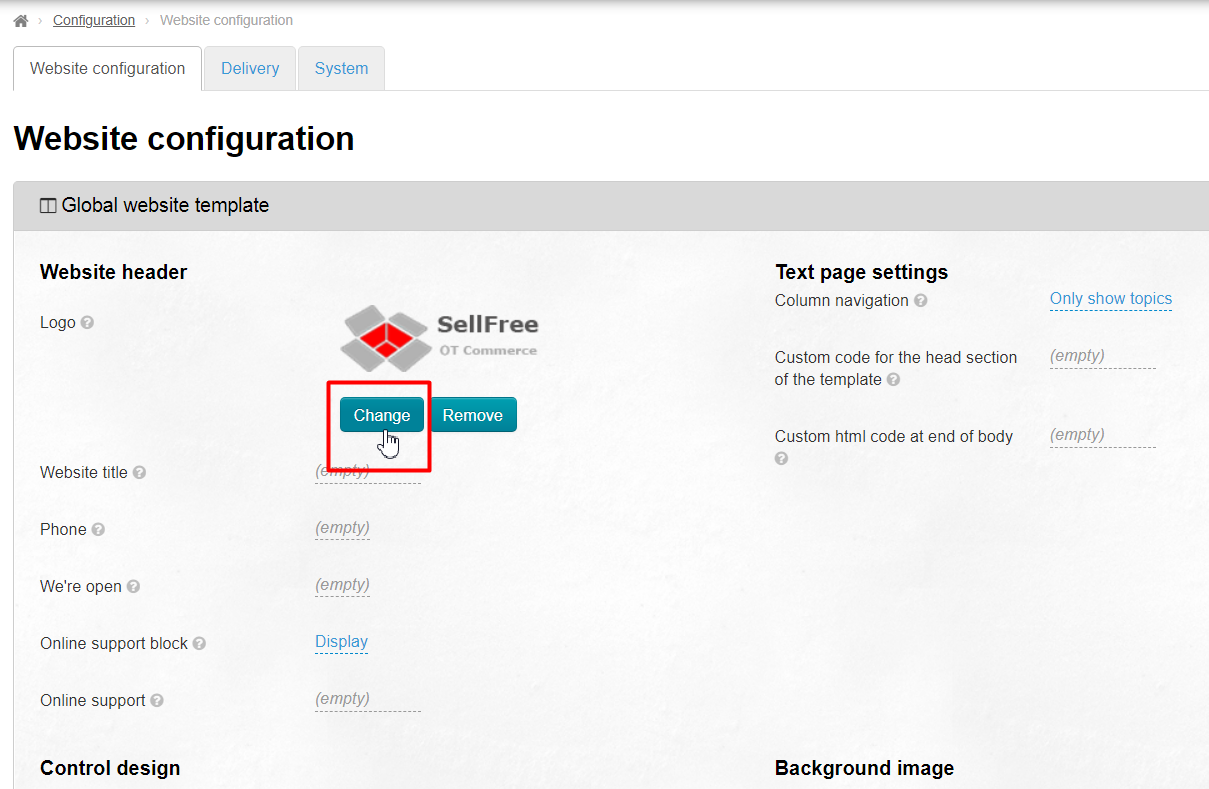
Select the desired logo image on your computer. The logo will be saved automatically.
The selected logo will appear on the website shortly after you’ve saved it. Just go to the website by clicking on the link in the left-hand corner of the admin area.
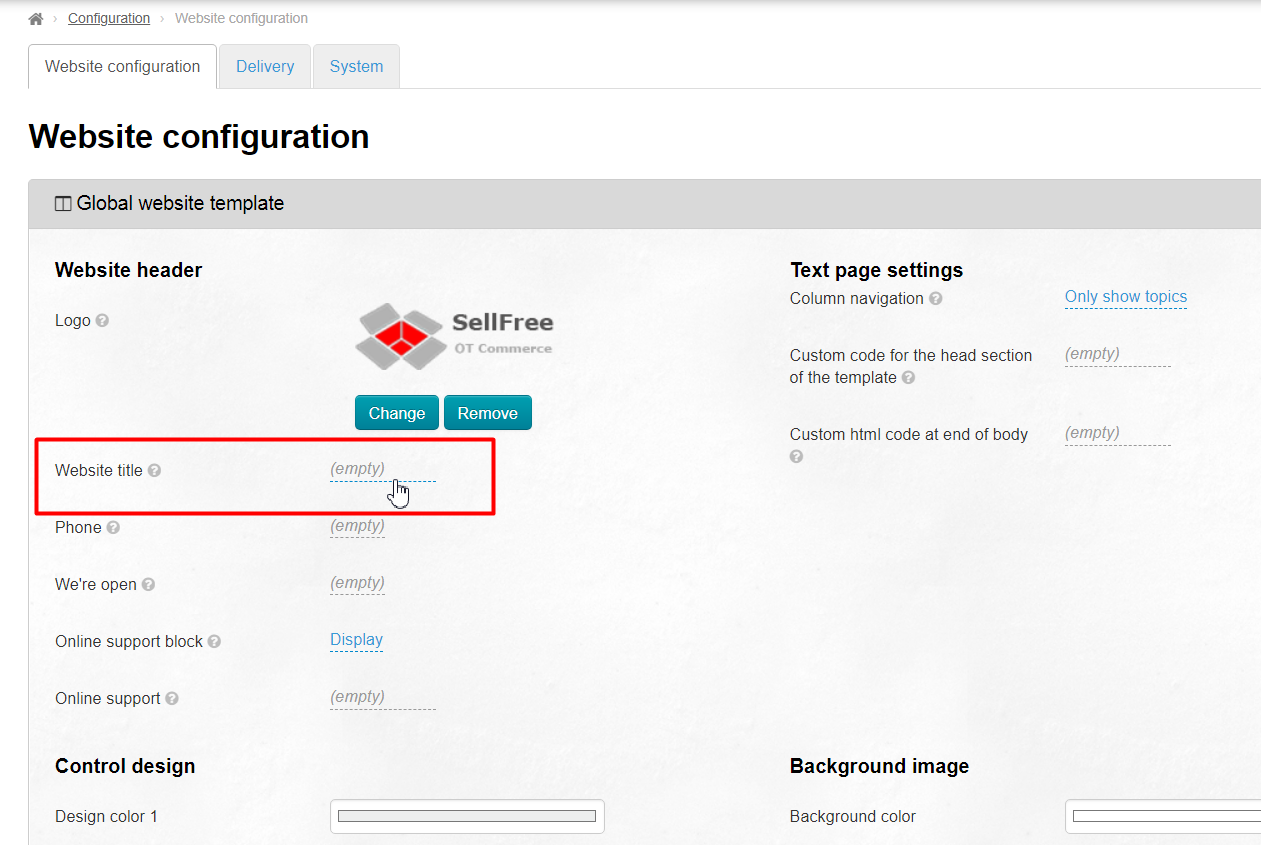
Next, a website title needs to be specified. Change the default text in the Sellfree header. To do this, select the ”Website title” option and click on the blue dashed underlined text.
Type a desired slogan in the text field that appears.
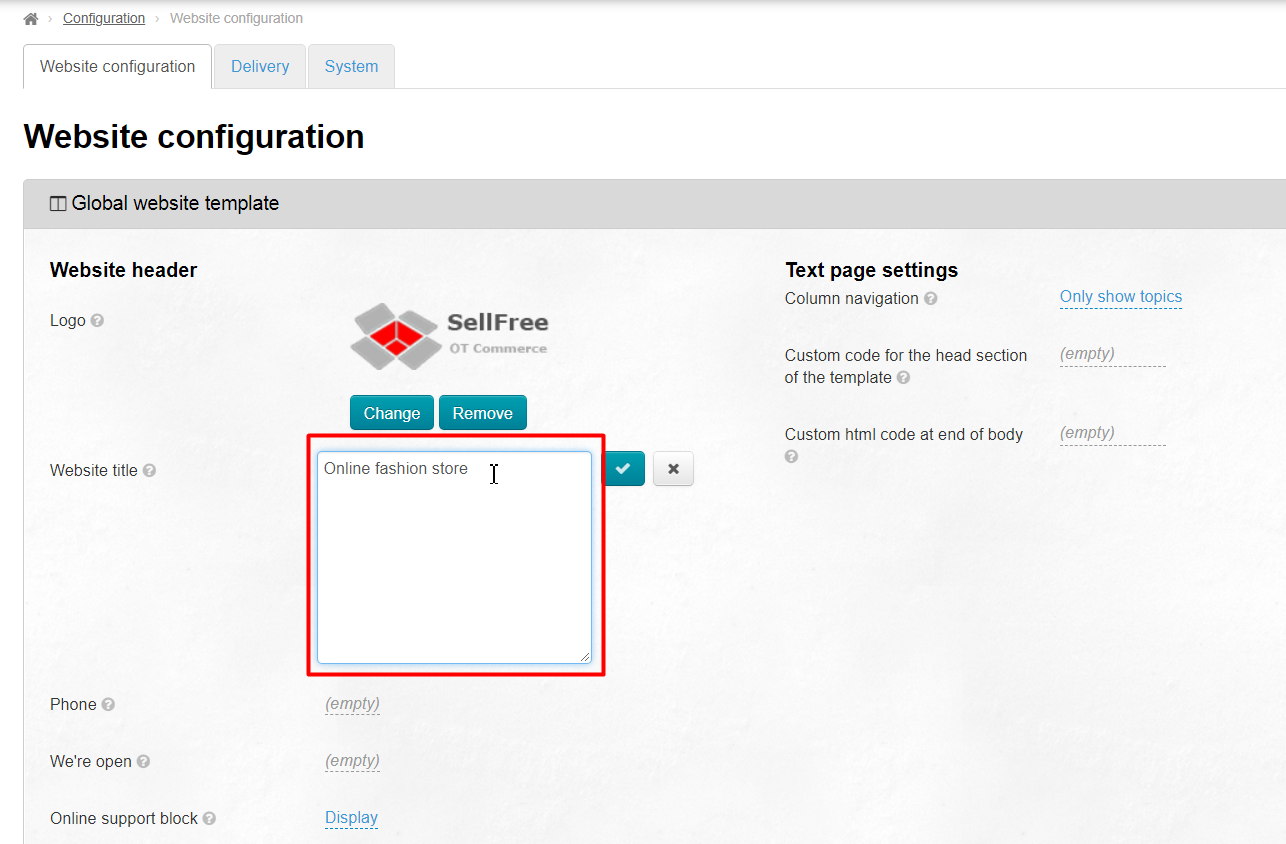
Click on the checkmark button to save the text.
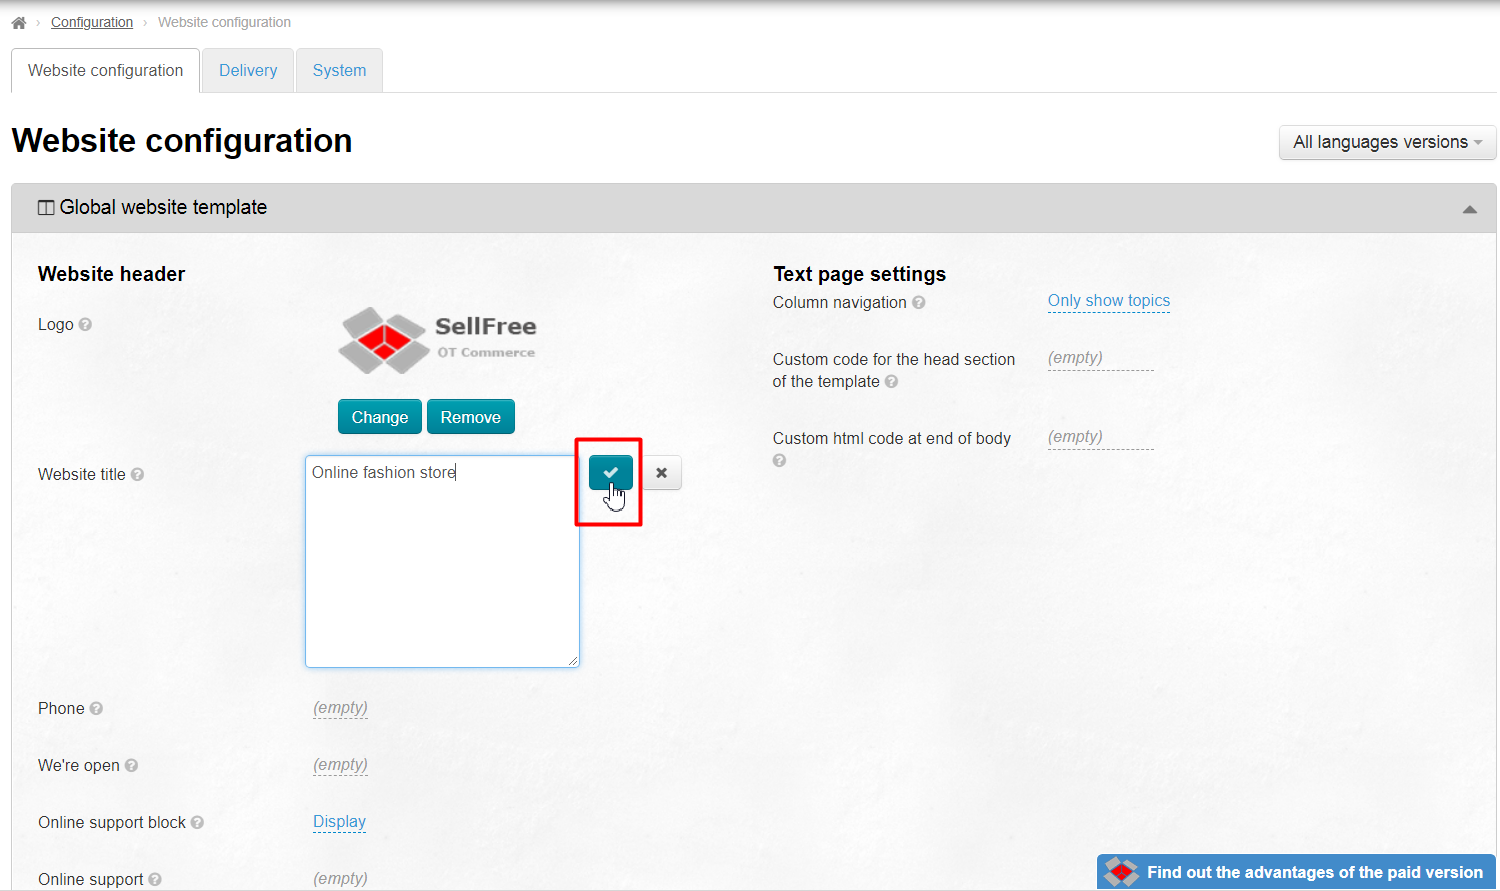
You can immediately see how your Sellfree header changed! To do so, just press F5 when you are on a web page or click on the link in the left corner of the admin area to open your site.
...
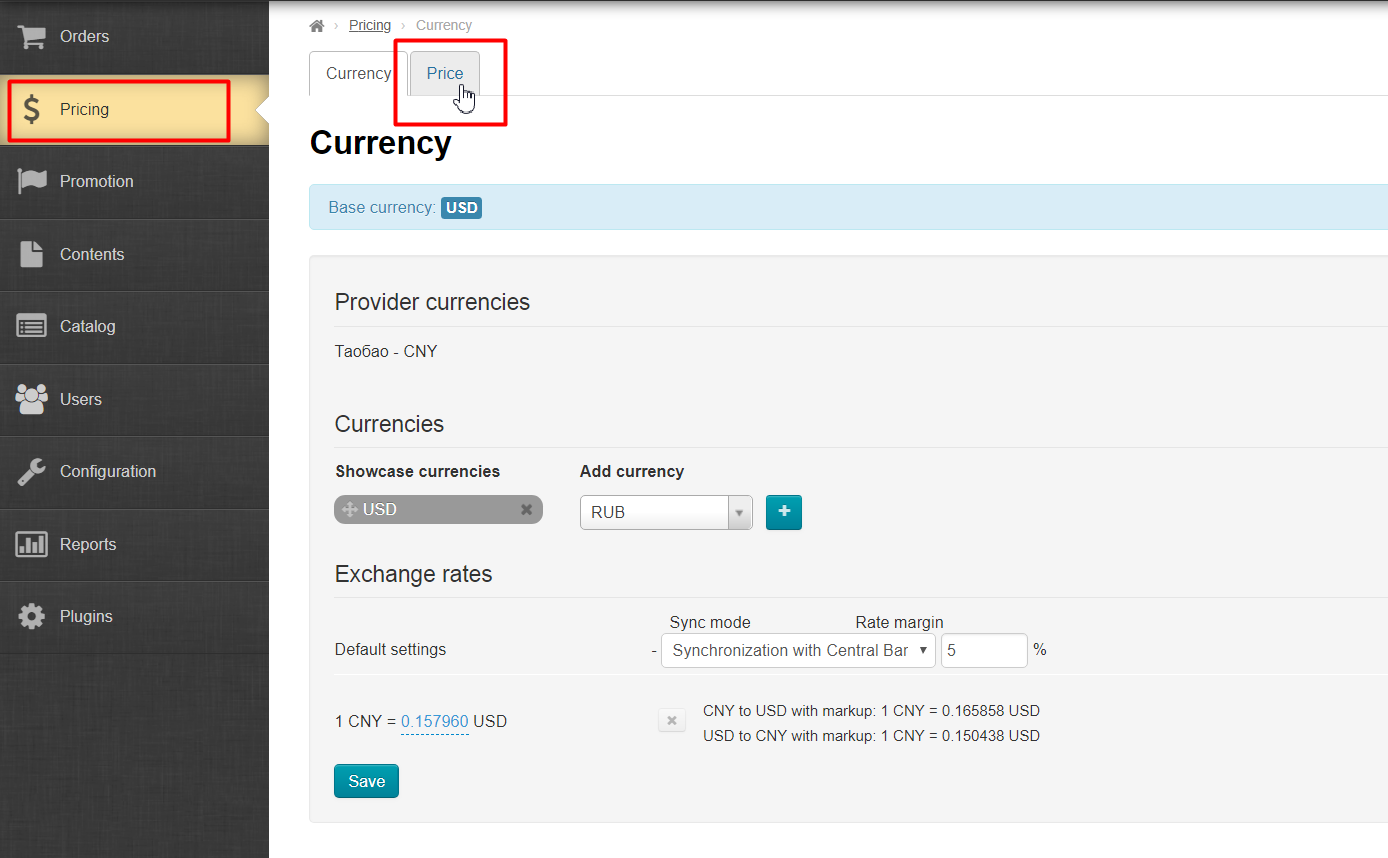
Now you can set your own prices. To do this, select the “Pricing” option in the left-hand menu:
Clicking this option will open the “Pricing” section.
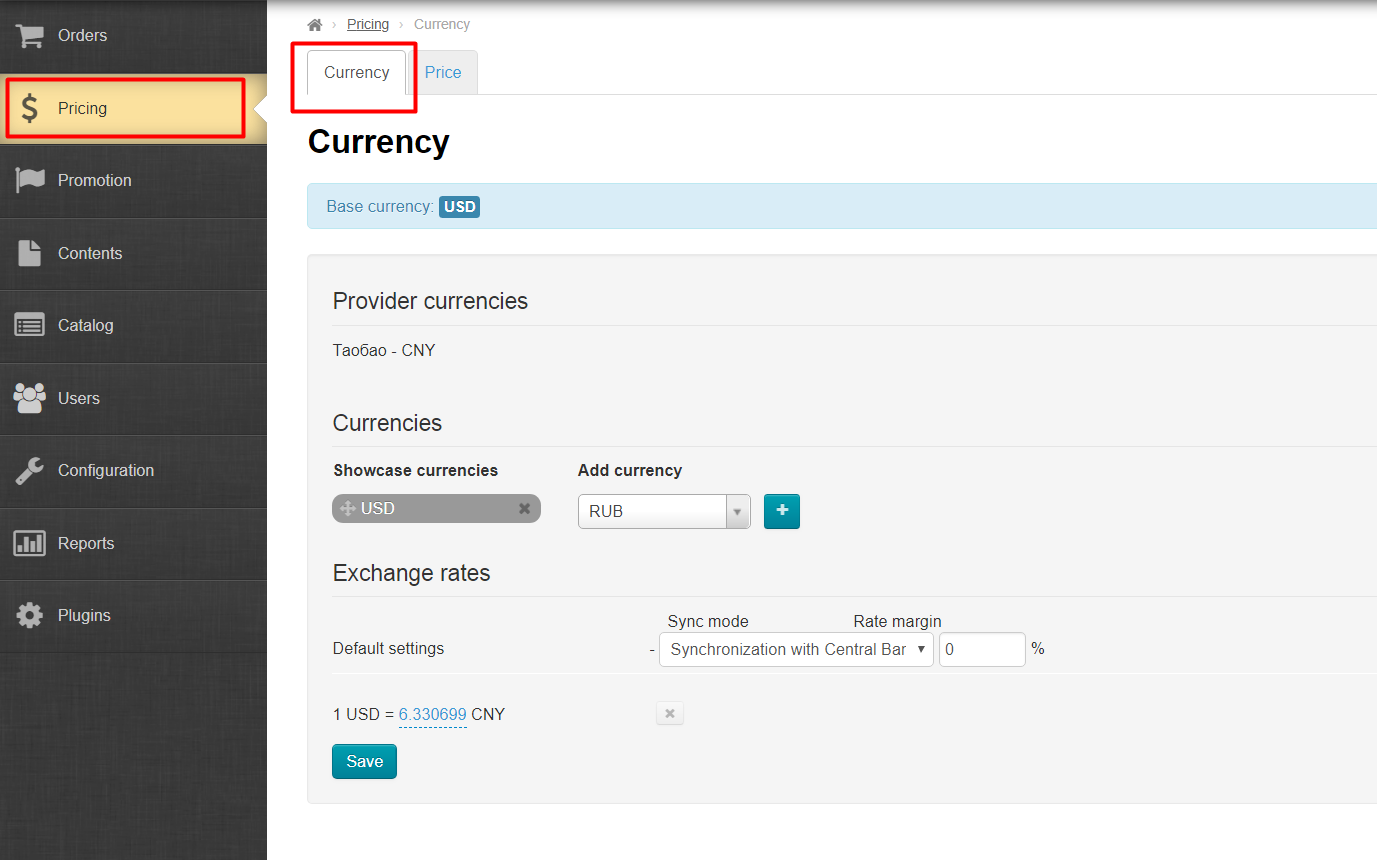
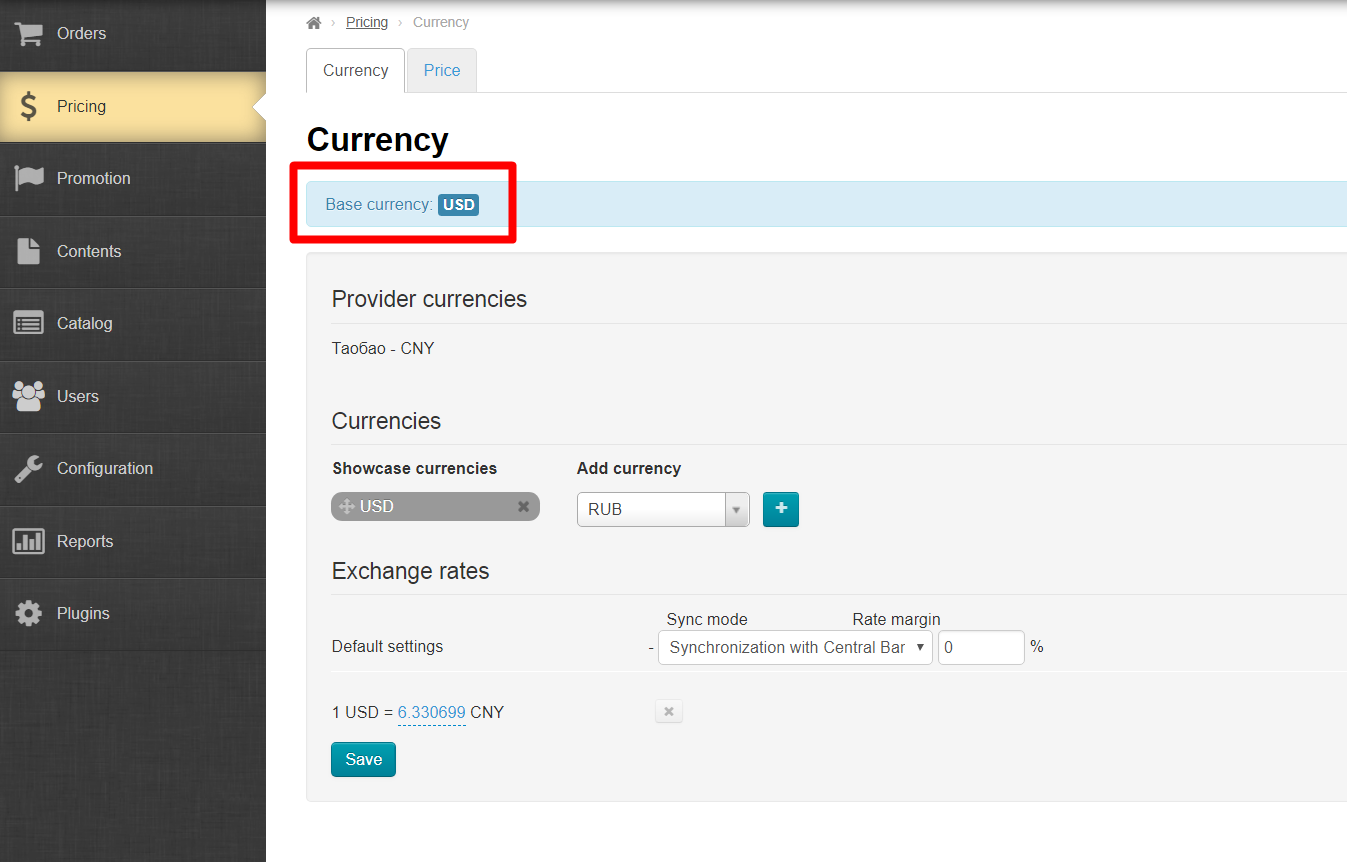
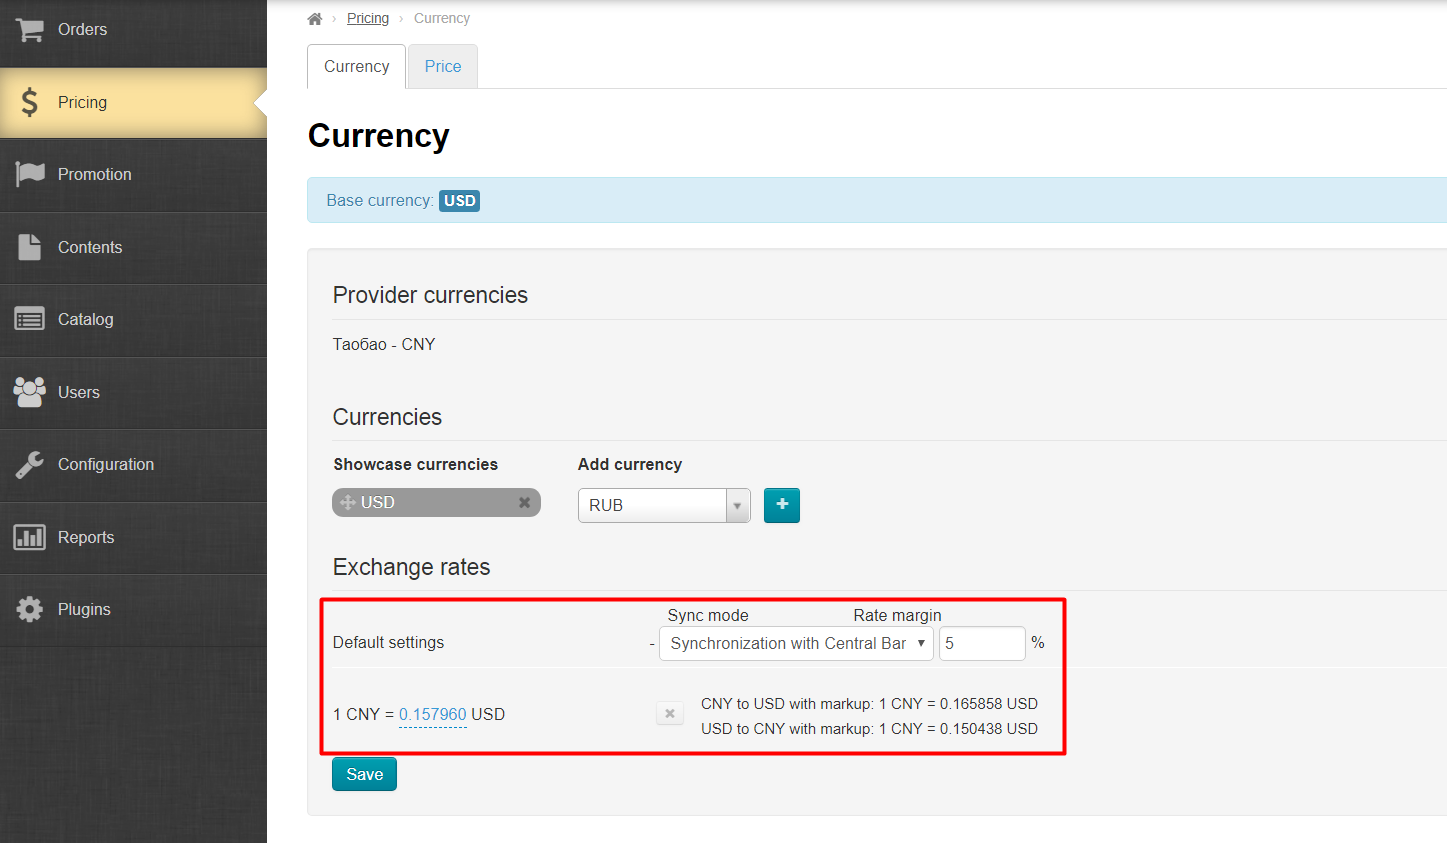
By default, the storefront currency will be the currency that the user provided during registration (base currency).
Besides, currency exchange rate (i.e. how much it costs to exchange CNY for currency you specified ) is synced with the Central Bank of the Russian Federation:
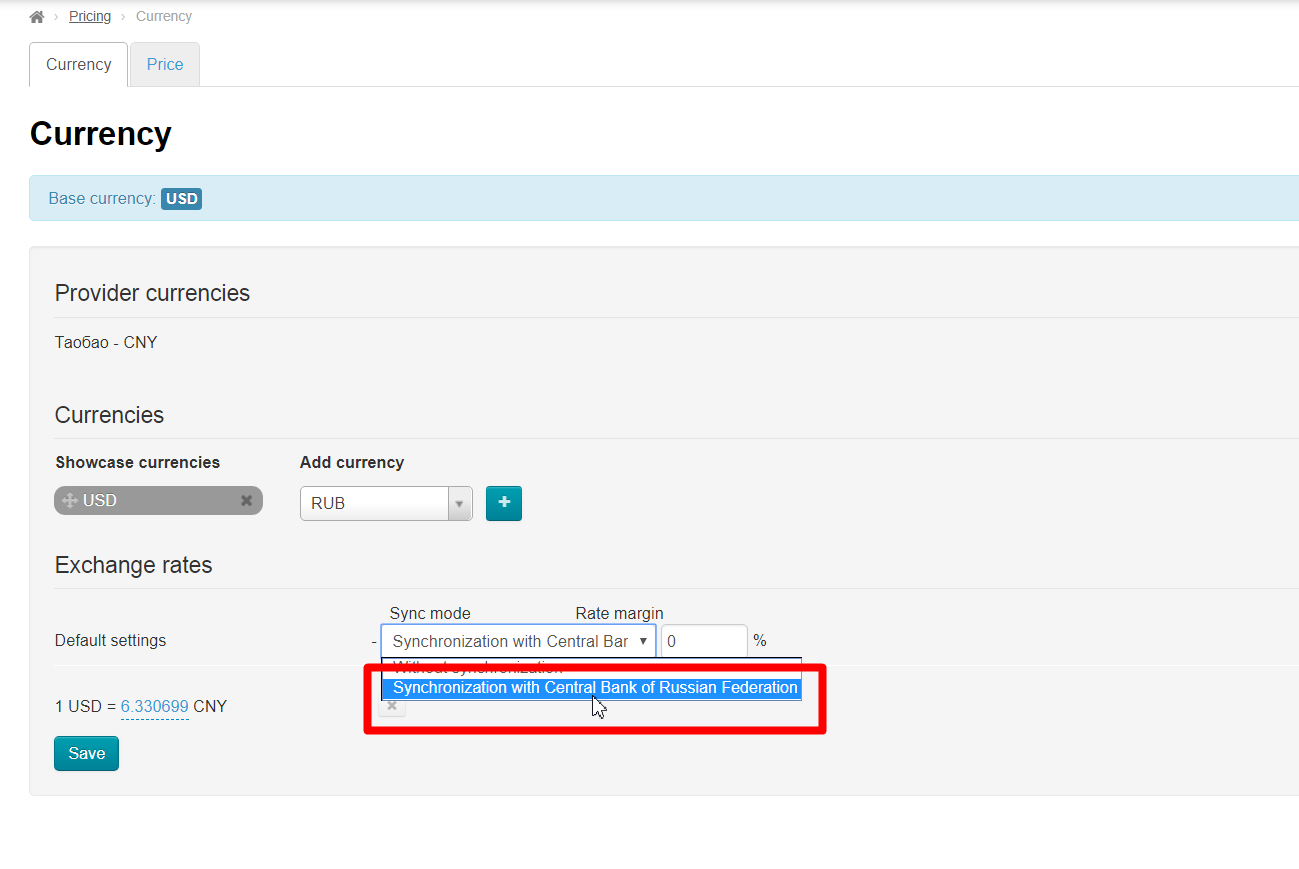
You can specify a margin percentage on the Central Bank exchange rate (it is recommended that the margin should not exceed 15%).
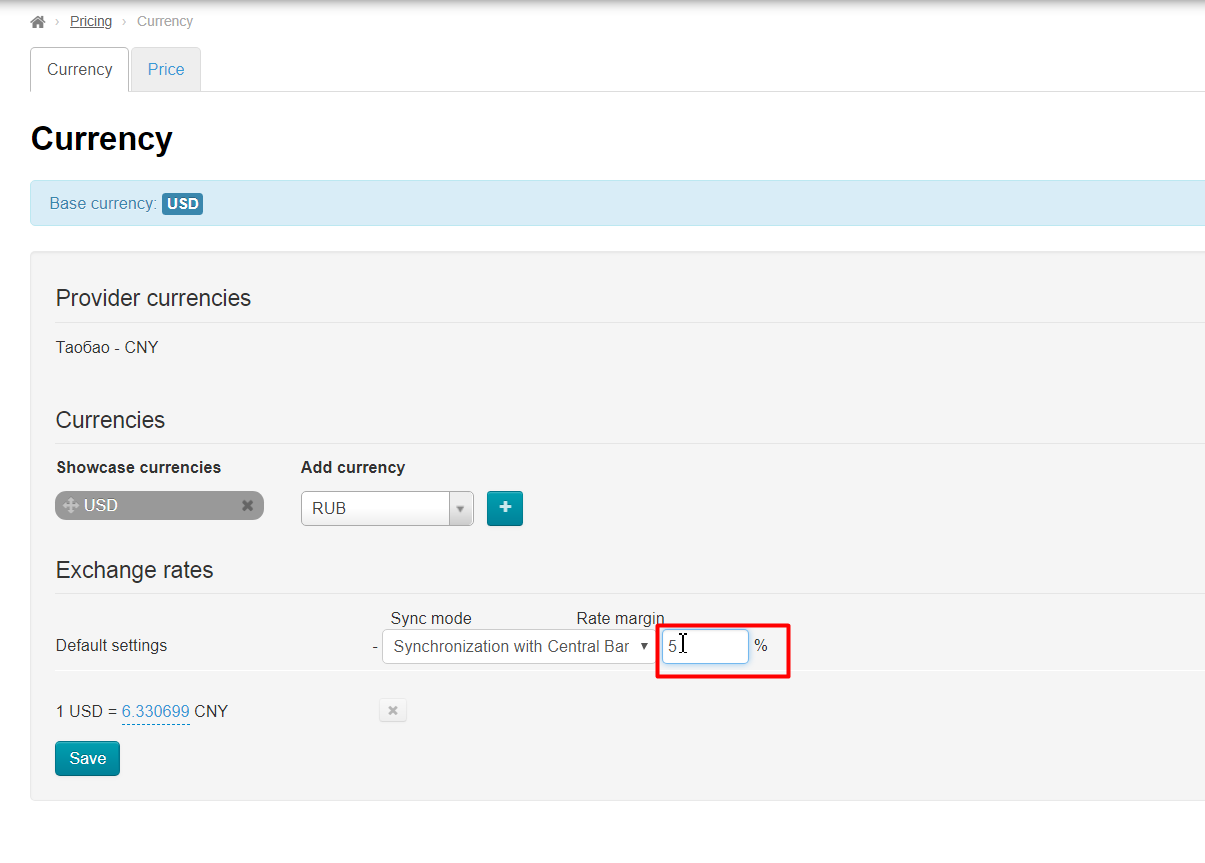
This setting is optional. Below we will show you how to set a specific margin on goods.
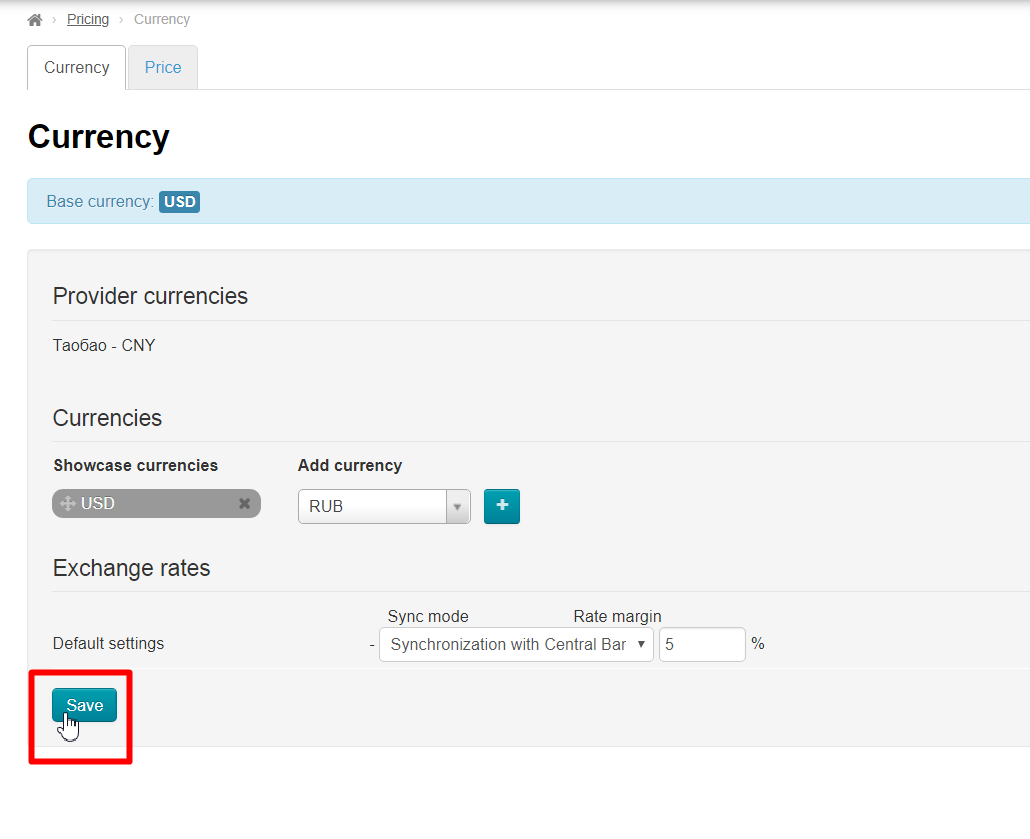
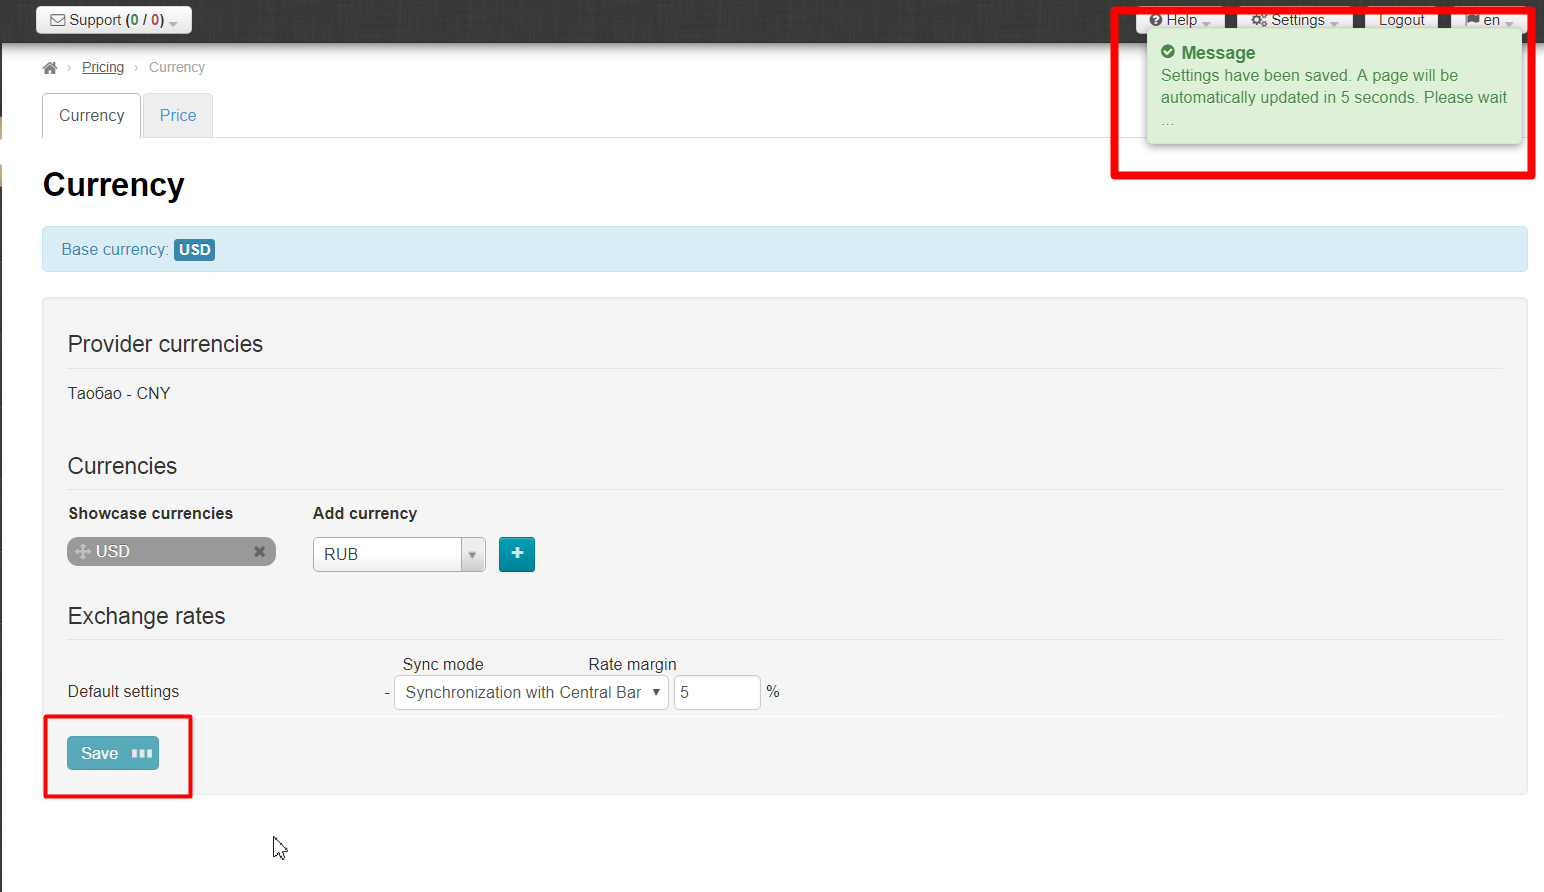
Once the margin is set click the “Save” button.
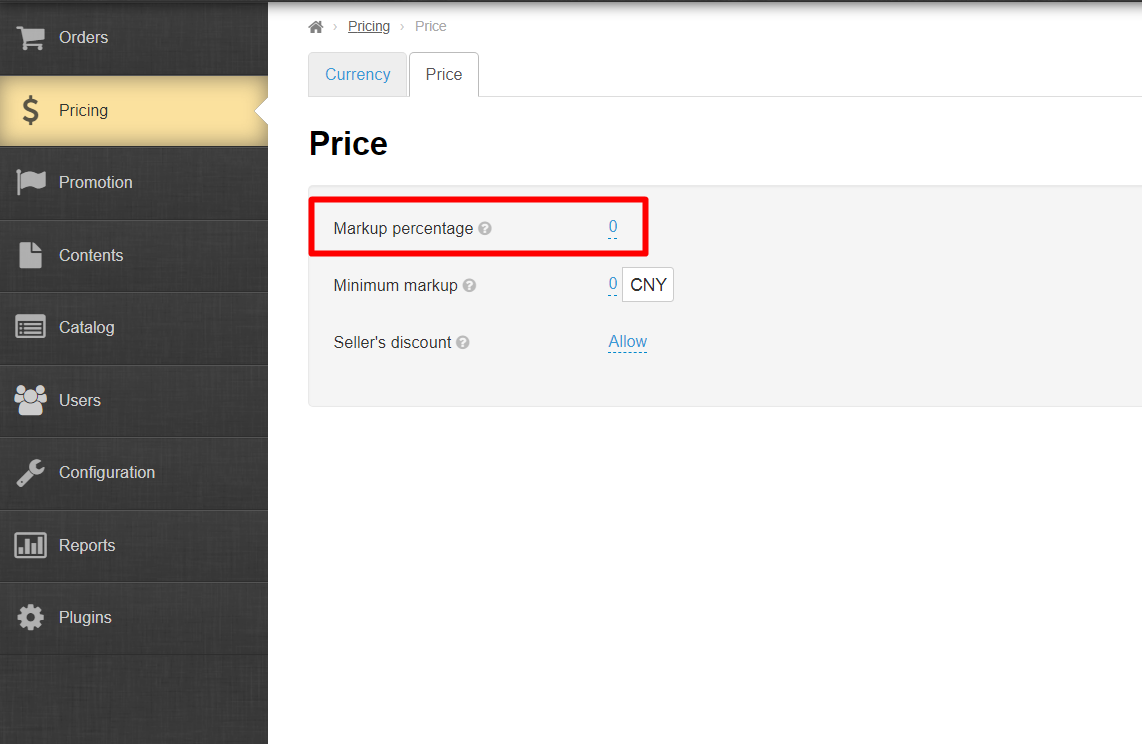
Setting a margin
We now proceed to setting a margin. First, click on the adjacent tab (“Price”) of the “Pricing” section.
Select the “Margin percentage” field in the “Price” tab.
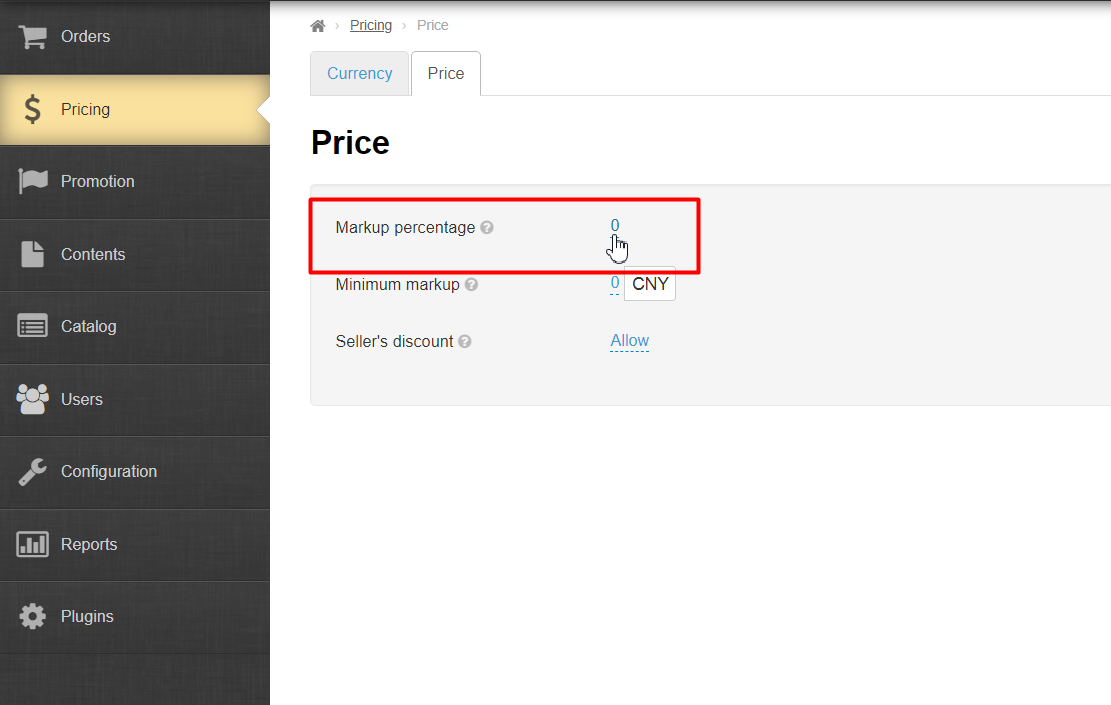
Then click on the dashed blue underline and enter a desired margin percentage.

Click on the checkmark button to save the setting.
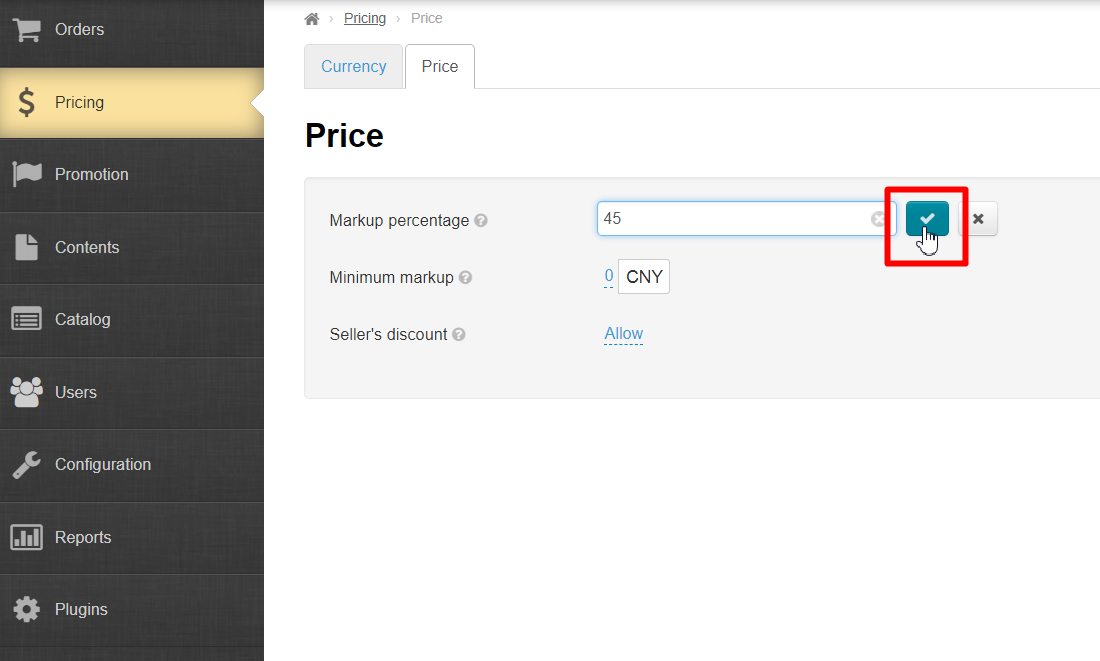
The margin on your Sellfree goods has been set!
...
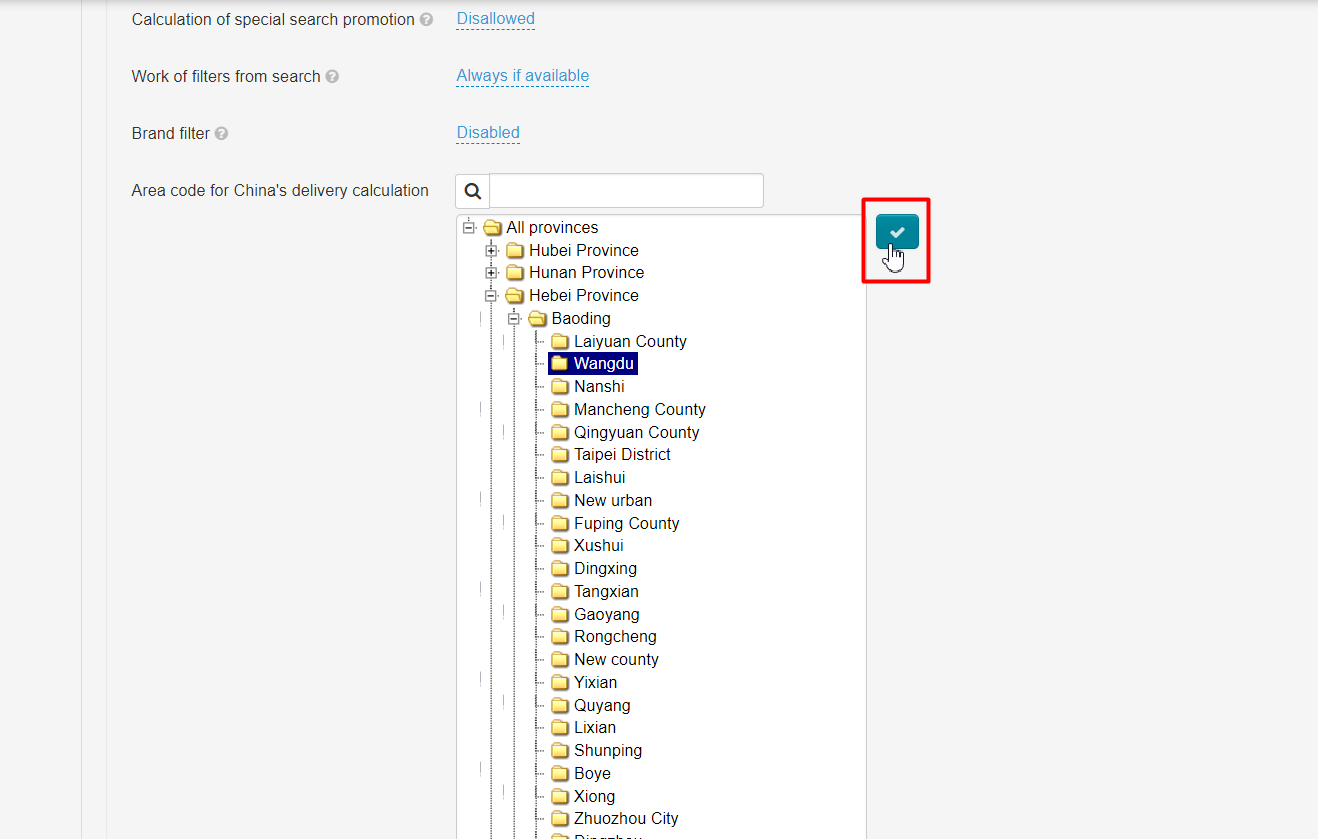
The last but very important step is to specify a vendor region. Select the “Configuration” option in the left-hand menu and then click on the ”Delivery” tab.
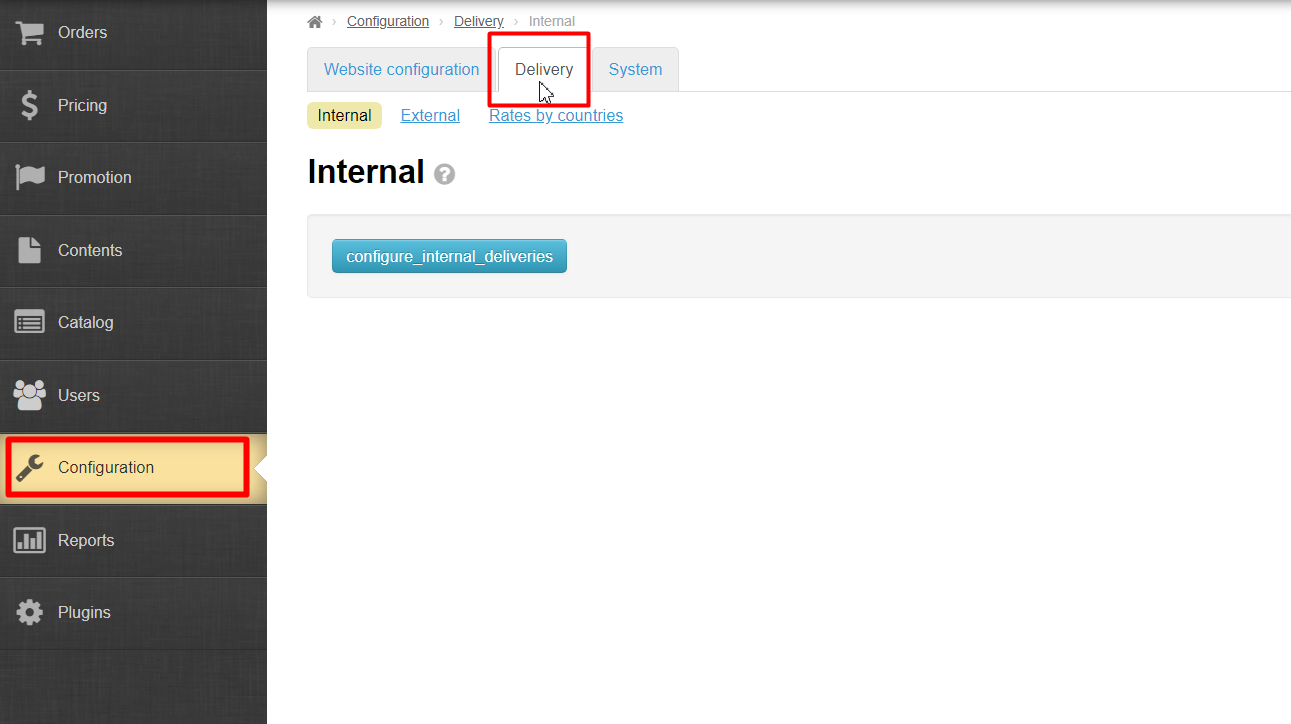
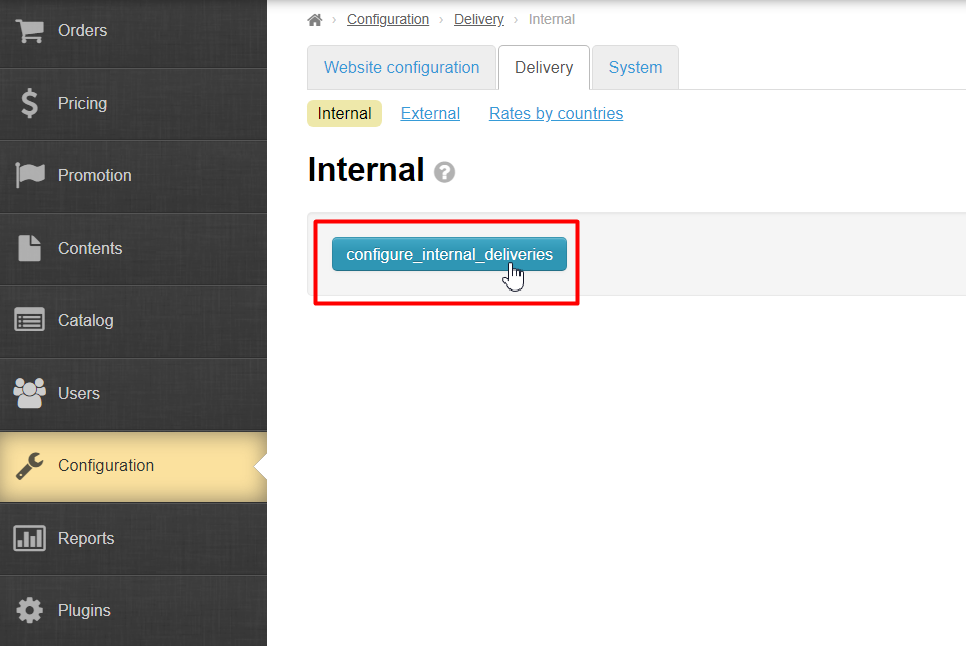
Look for the “Vendor region” section.

Upon clicking on the plus, a list displays in which you need to select your vendor region.
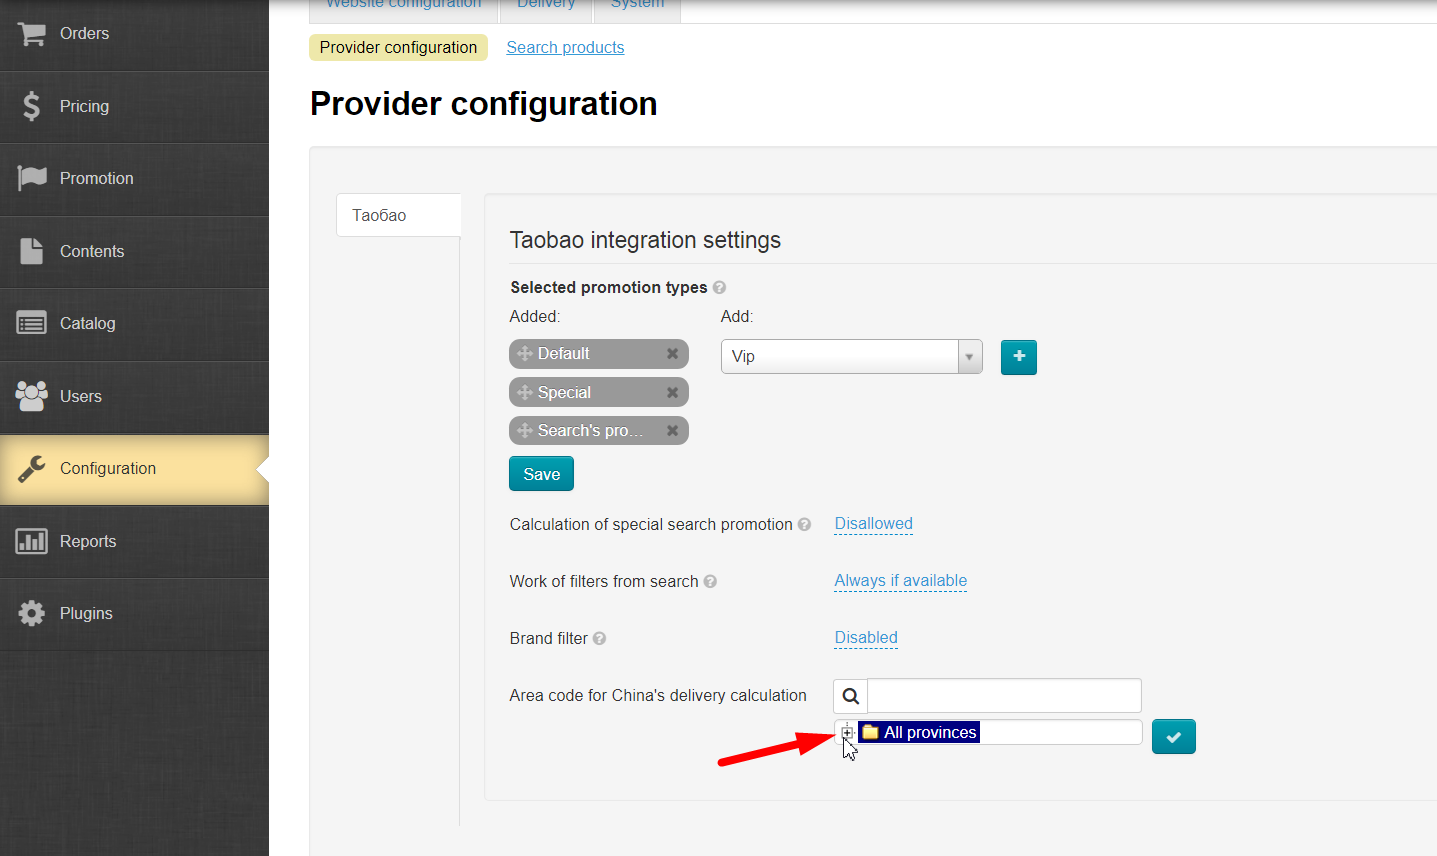
Clicking on the plus sign on the left of a region name will display an additional list of regions and the minus sign on the left side.
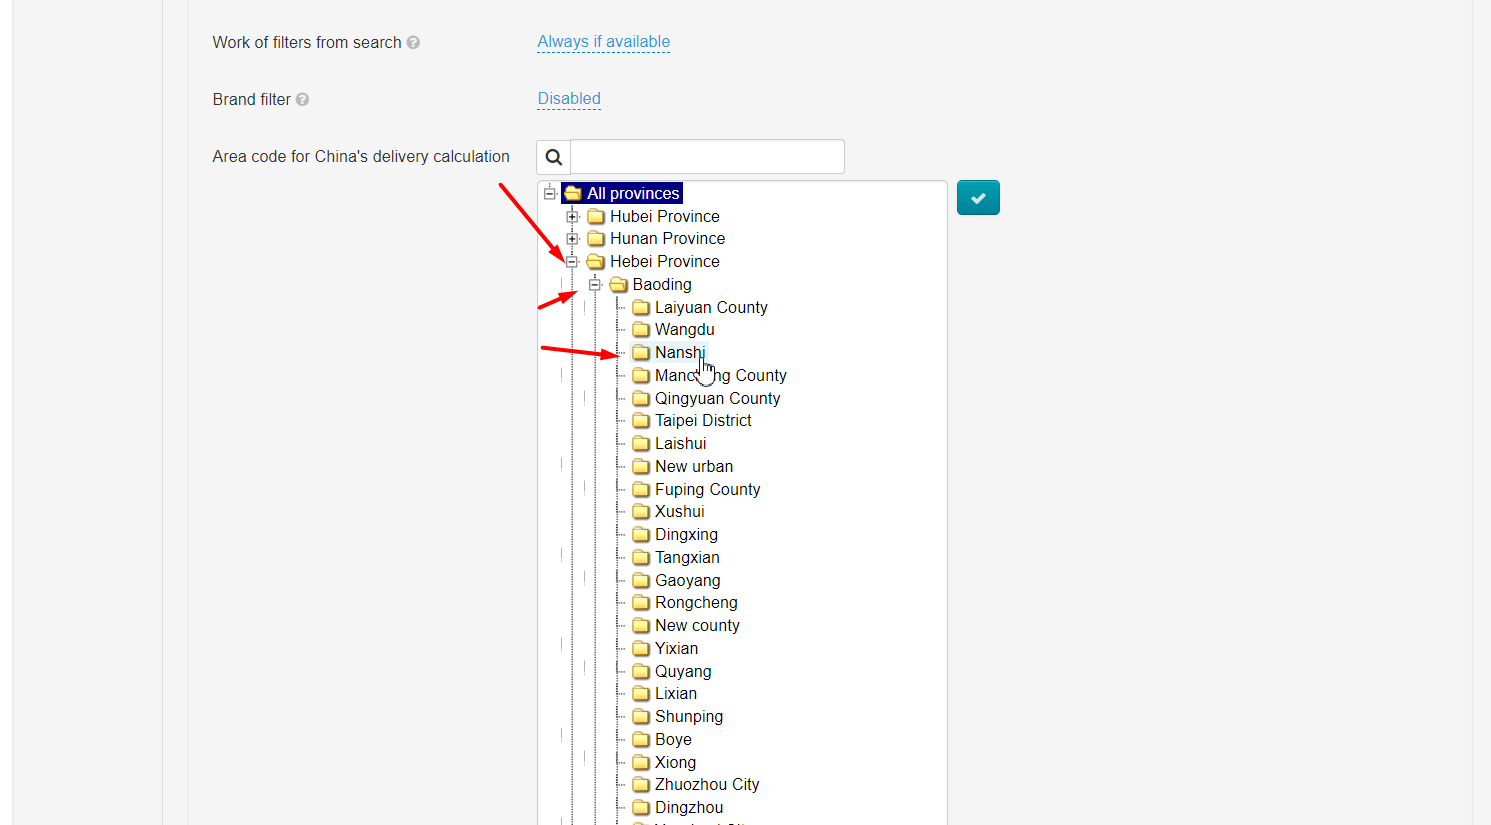
Select a preferred region .
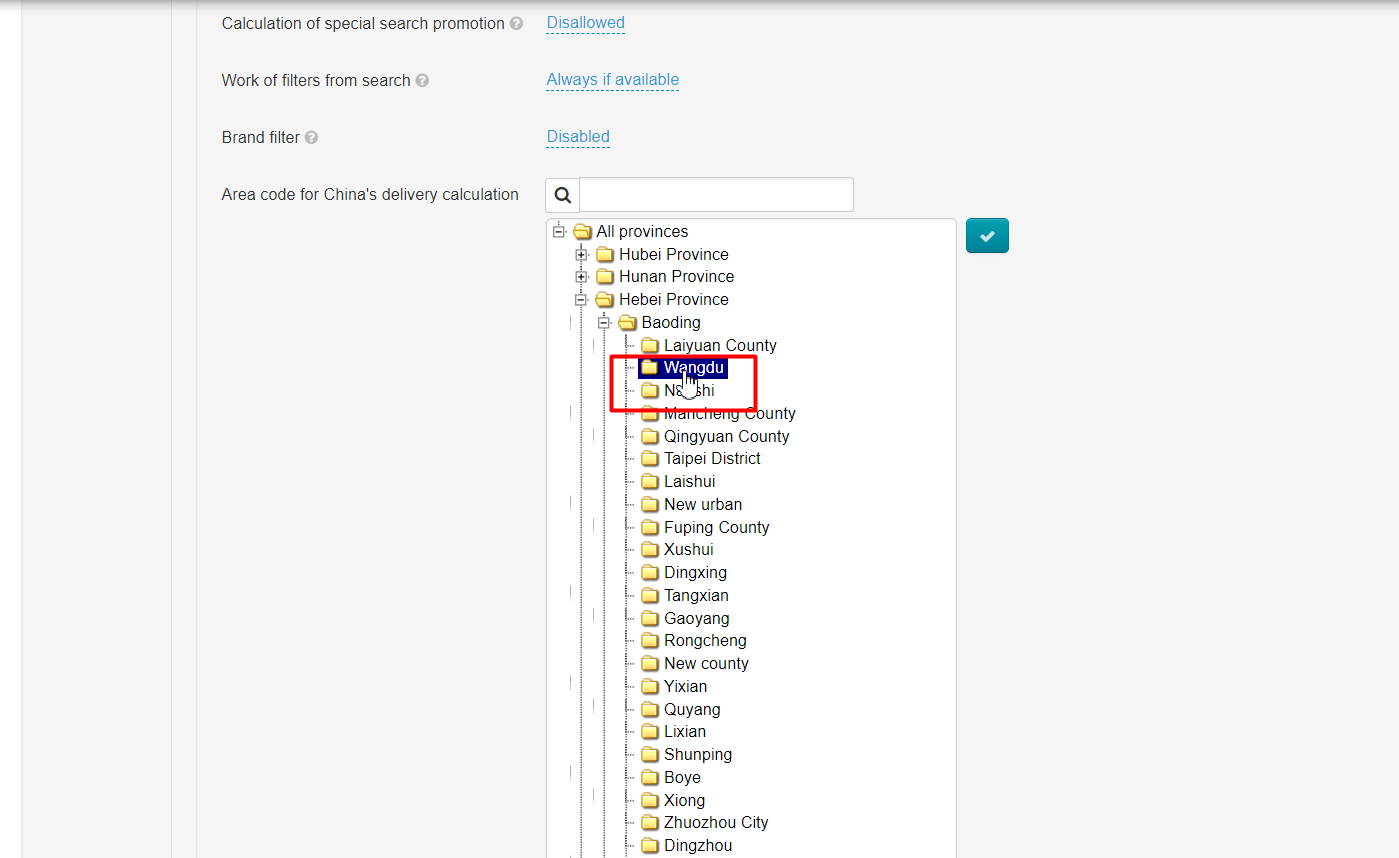
After that, the selection window closes automatically. All you have to do now is click on the “Save” button.
All done! Now your Sellfree is ready for visitors. Congratulations!
...