...
Navigate to: Catalog > Collations in the administrative area.
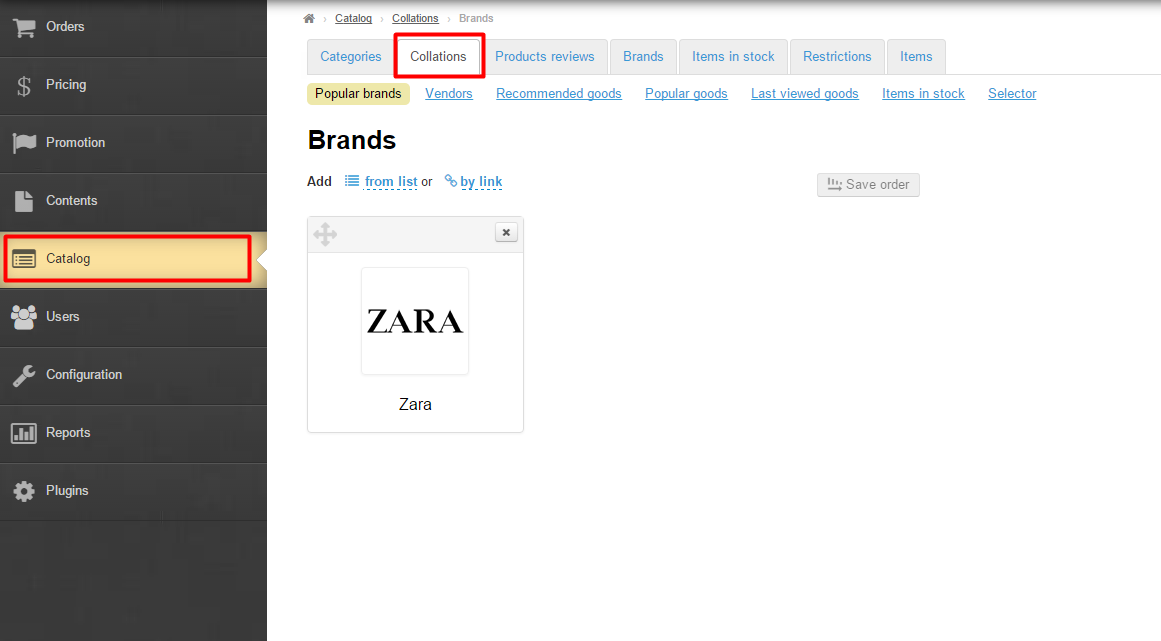
Collections are used to show customers what you have for sale and help them find products without having to click through your whole catalog.
...
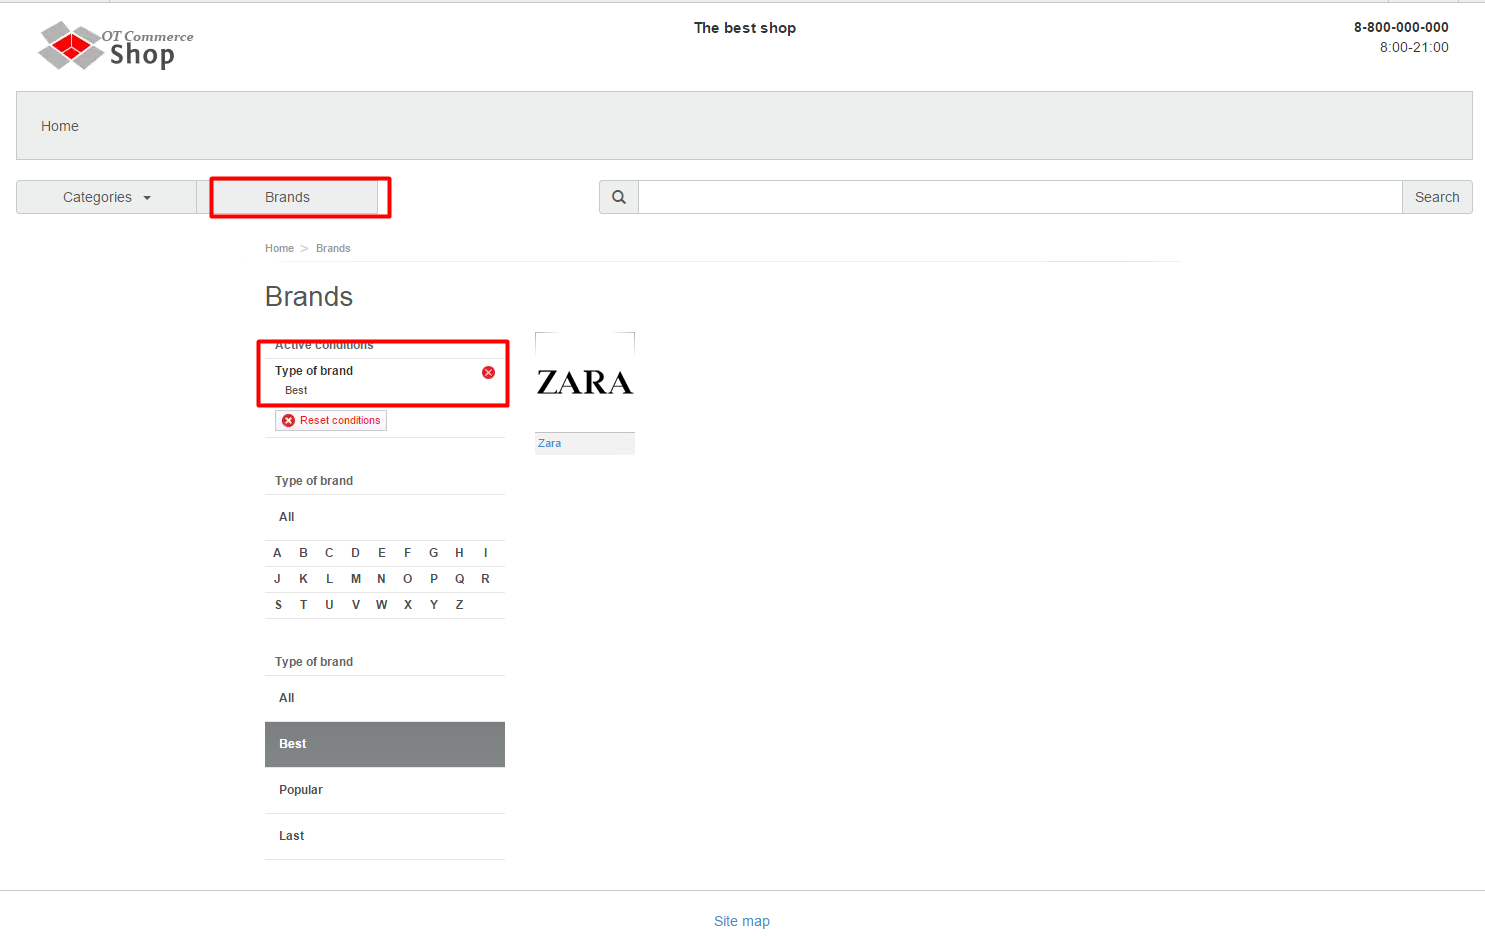
Brands collections can be viewed in the “Best brands” subsection of the “Brands” section.
And also on the homepage:
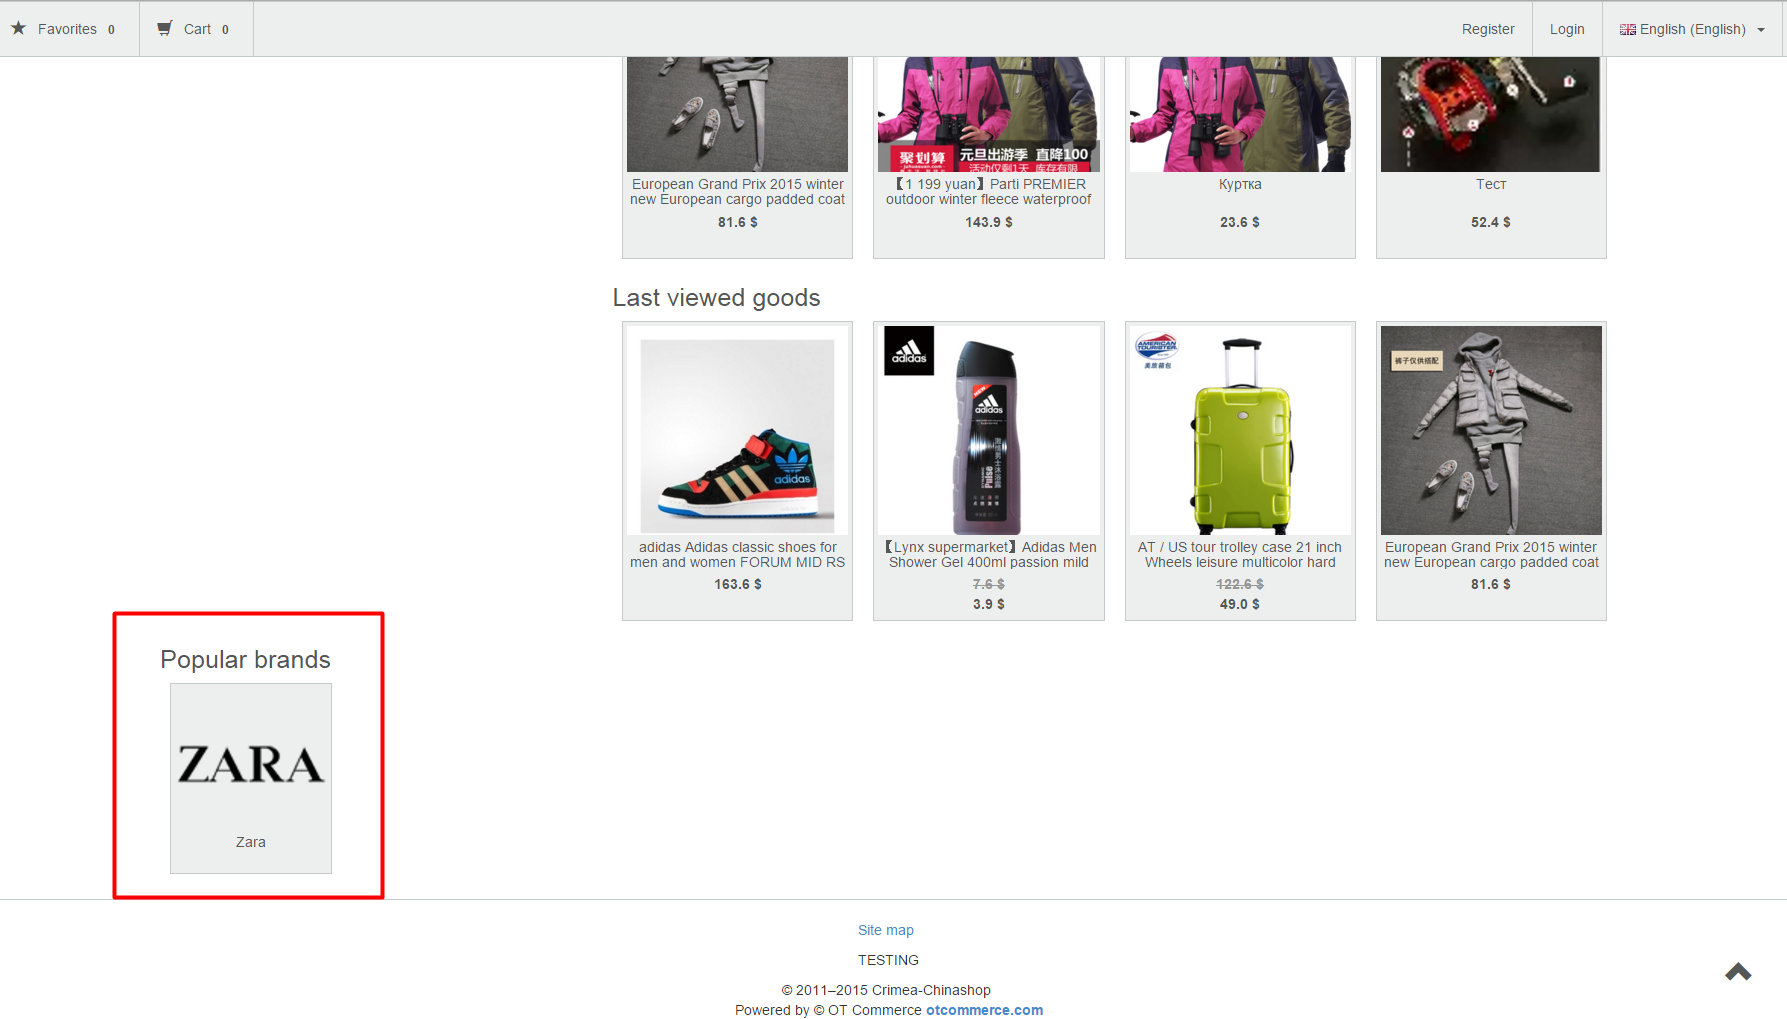
To configure the collections to be displayed on the homepage please follow the instructions given in the “Homepage configuration” section.
...
To add a brand you need to click on the blue dashed underlined text “From list”

In the list that appears select a brand that interests you.

Put a mark in the check box next to the desired brand and click the “Add” button.

After doing so, the brand will be added to the list in the administrative area:

And to the “Best brands” section on your website.

Brands can also be added using a link. To do this:
Click on the blue dashed underlined text “by link”.

This will show up the form where you should enter the brand’s ID or the link to it on the website.

After adding the link, please click the “Add” button.

Once you’ve added it, one more brand will appear in the appropriate list in the administrative area.

And in the “Best brands” section on the website.

Where can you get a link?
Go to your website and click the “By brands” tab.

Select “All”.

Select the desired brand from the list of brands.

Copy the link from the address bar:

If you are shown the following message (“All brands are already in collection”):

And you want to add some more brands it is necessary to add them using the “Brands” tab.

Reorder
To change the existing arrangement of brands in the “Best brands” list click the Move icon (the four-headed arrow) on the left-hand side of the brand:

Without releasing the mouse button drag the desired brand to a new position (indicated by yellow on the screenshot):

When you release the button the page will take a required position. To save a new arrangement of brands click the “Save order” button.

After you click on the button, the new arrangement of brands will be saved in the administrative area and on the website.
...
In order to delete a brand from the “Best brands” list you need to click on the X icon on the right-hand side of the brand:

Clicking on the “Yes” button will confirm your choice.
...
After doing so, the brand will be deleted from the “Best brands” list in the administrative area:

And from the “Best brands” section on the website.
...
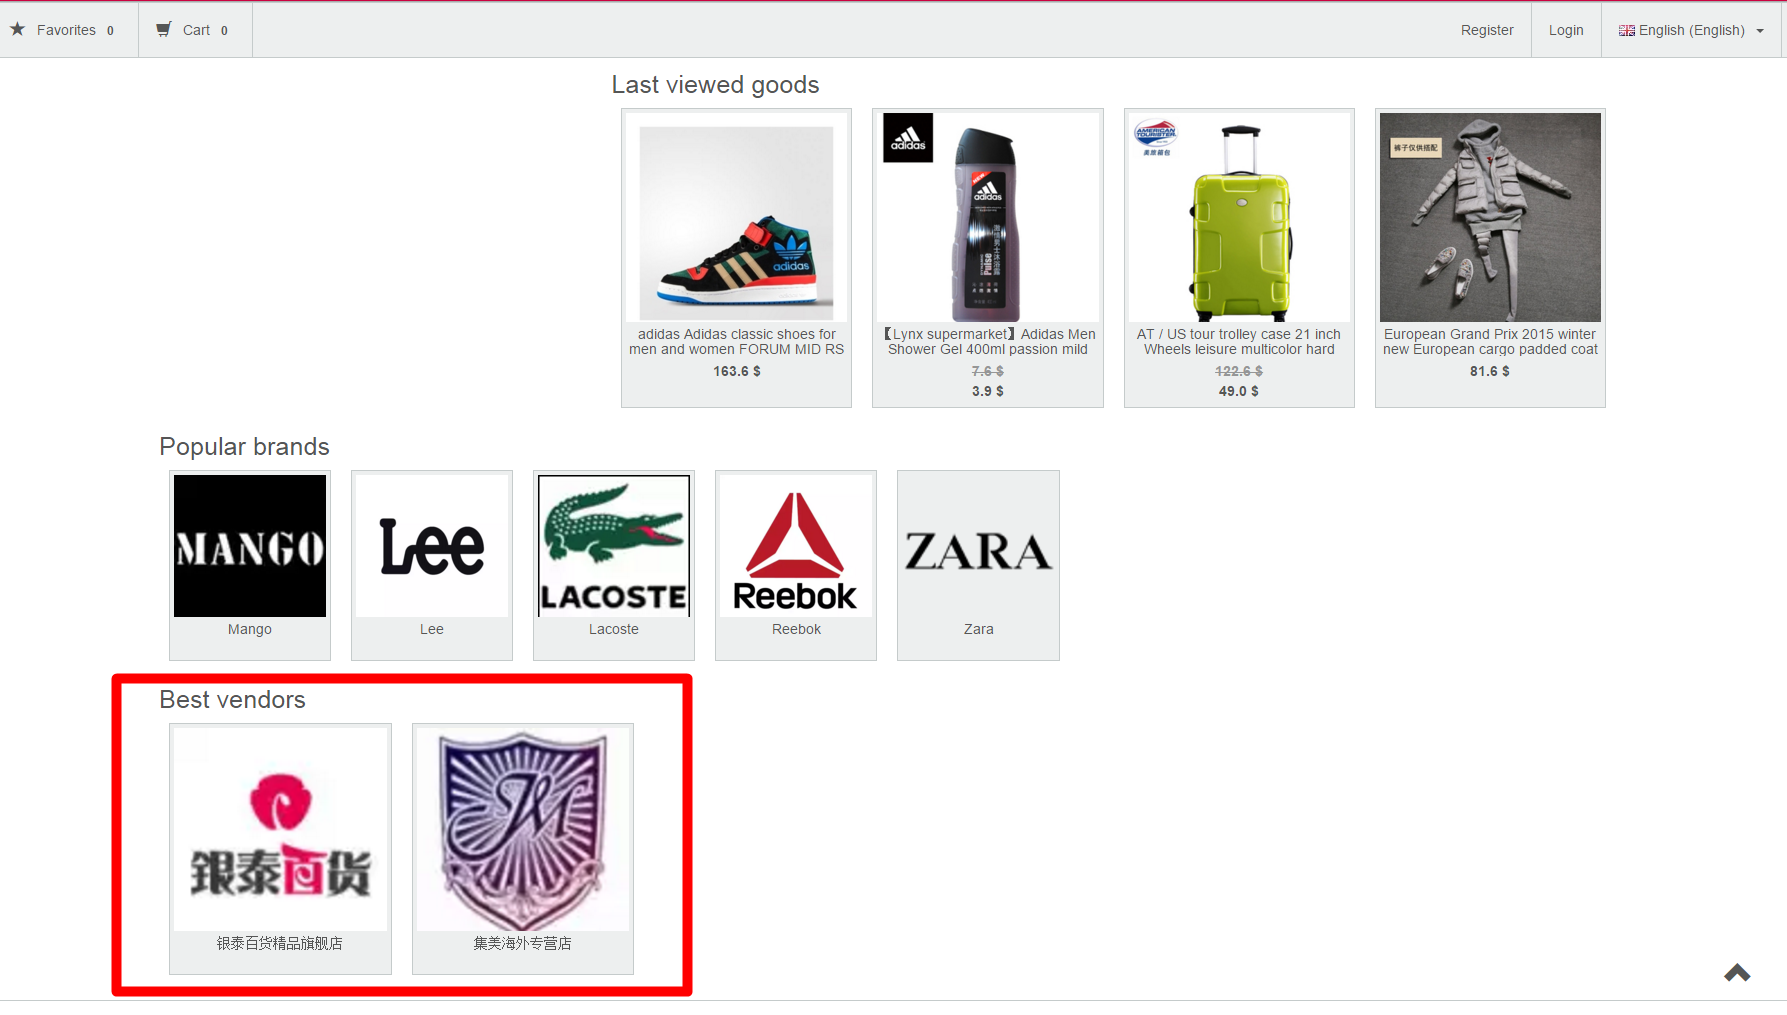
Collections of sellers are available for viewing at the bottom of the homepage on your website. The instructions for configuring the collections to be displayed on the homepage are given in the “Homepage configuration” section.
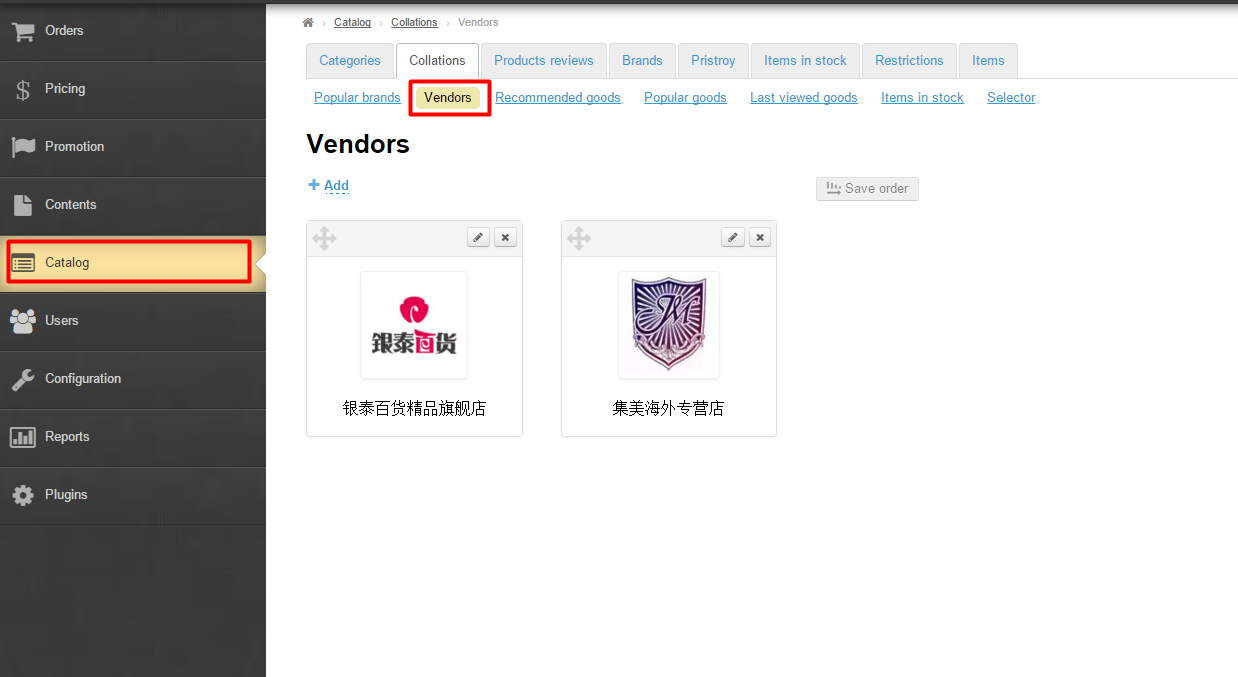
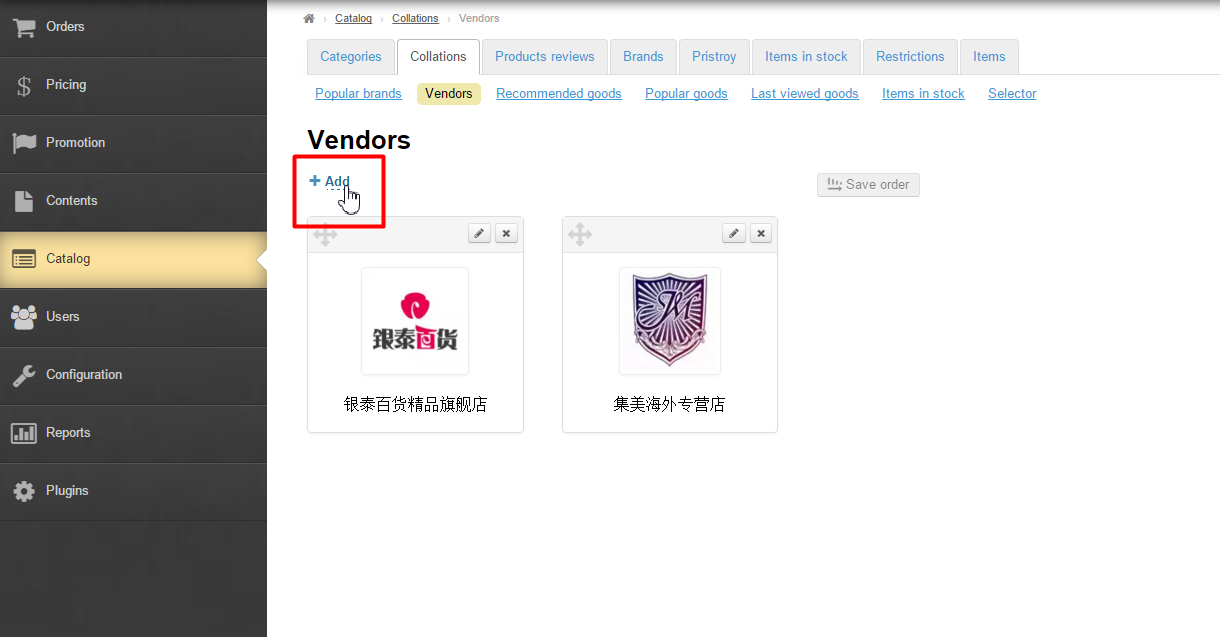
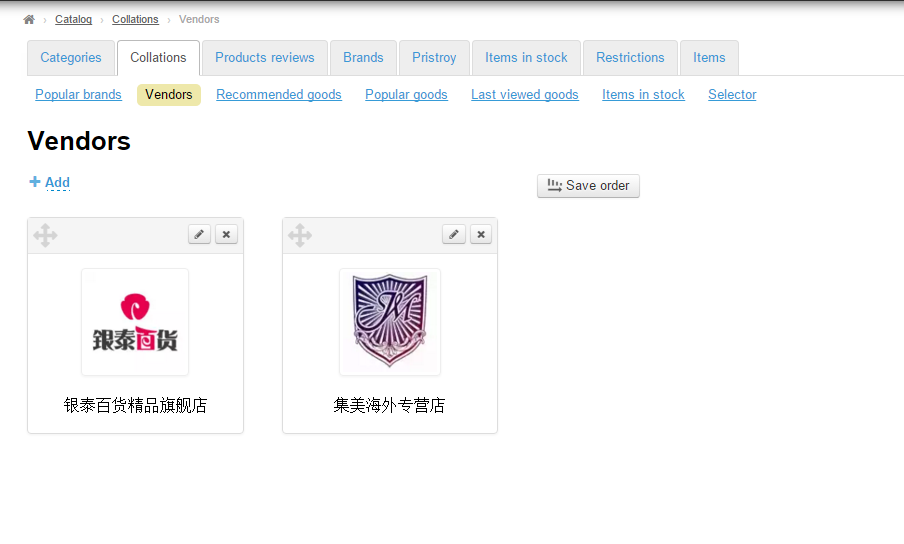
To specify sellers for this section you need to go to the “Sellers” section of the “Collections” tab.
Add
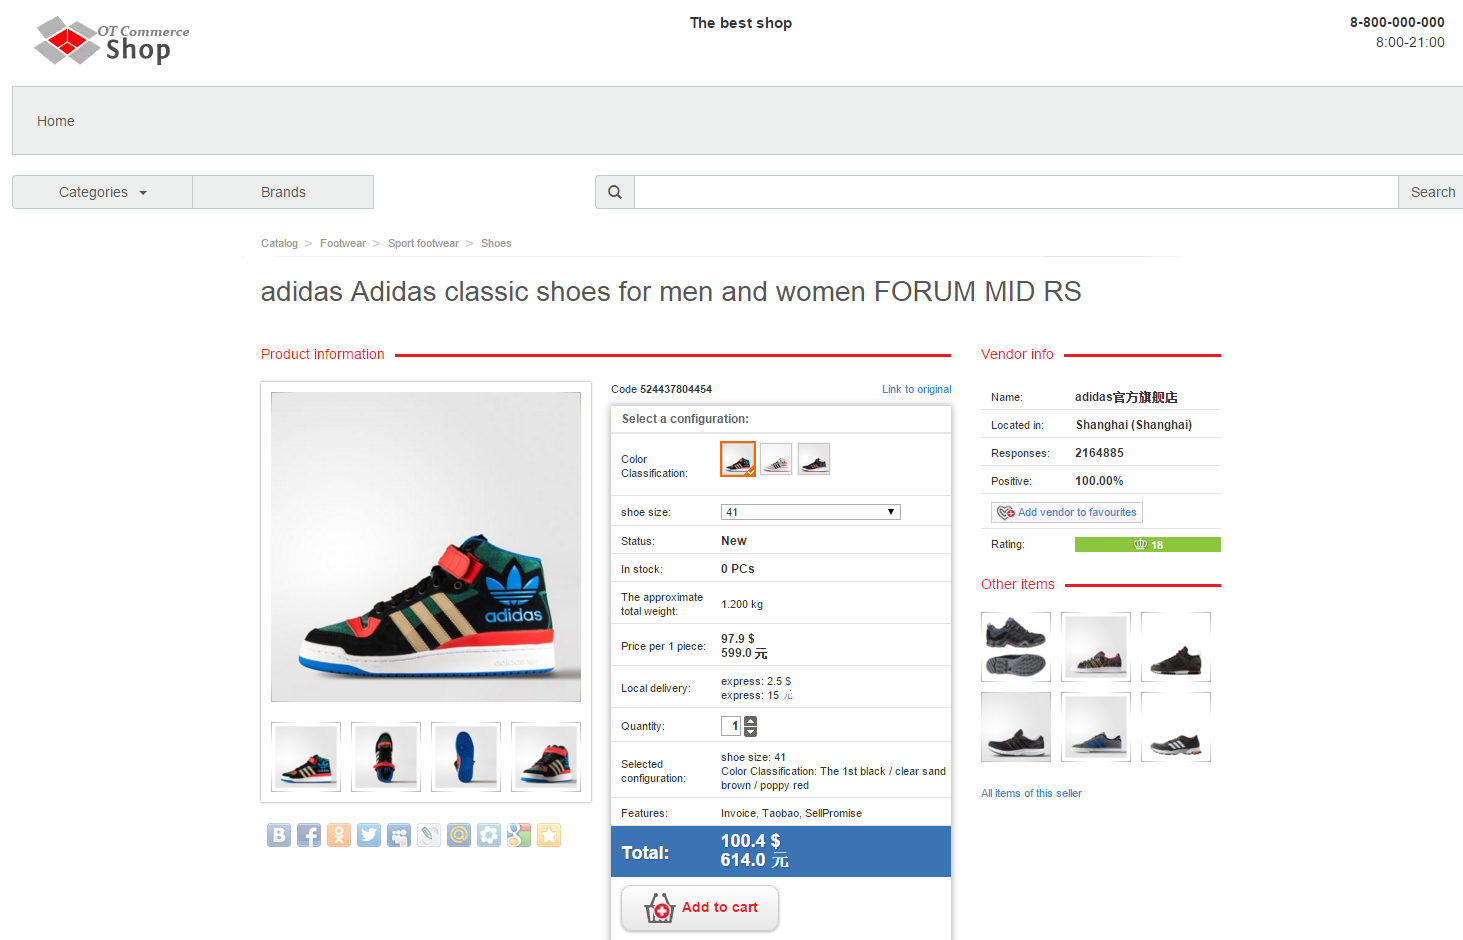
In order to add a new seller to the list you should first find the seller on your website:
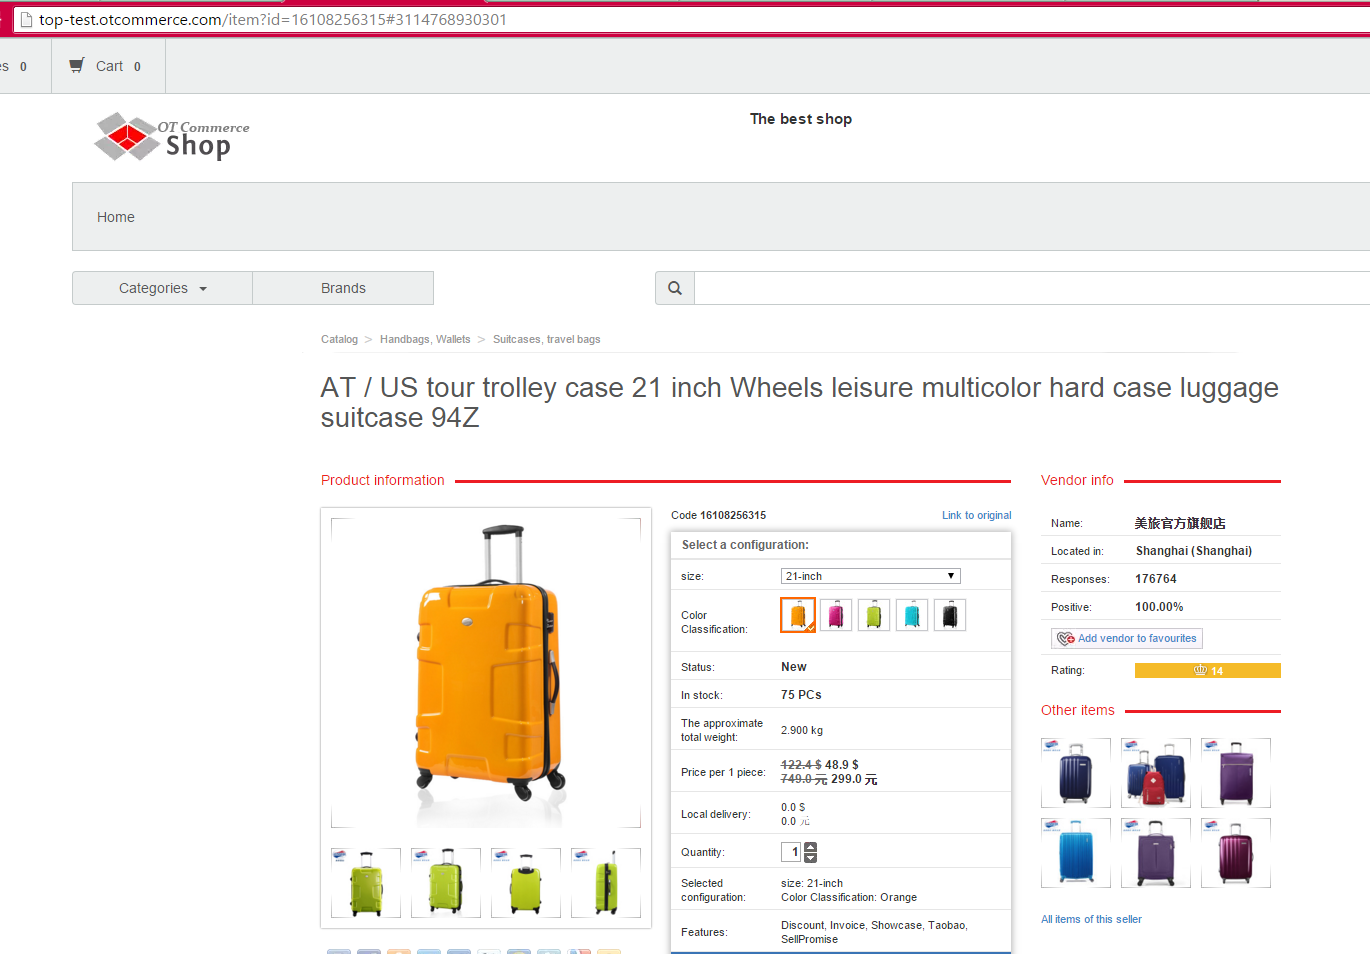
Look for an item on the website (for example, a product is in fashion this season or you know that this product is sold by a reliable seller who is convenient to work with):
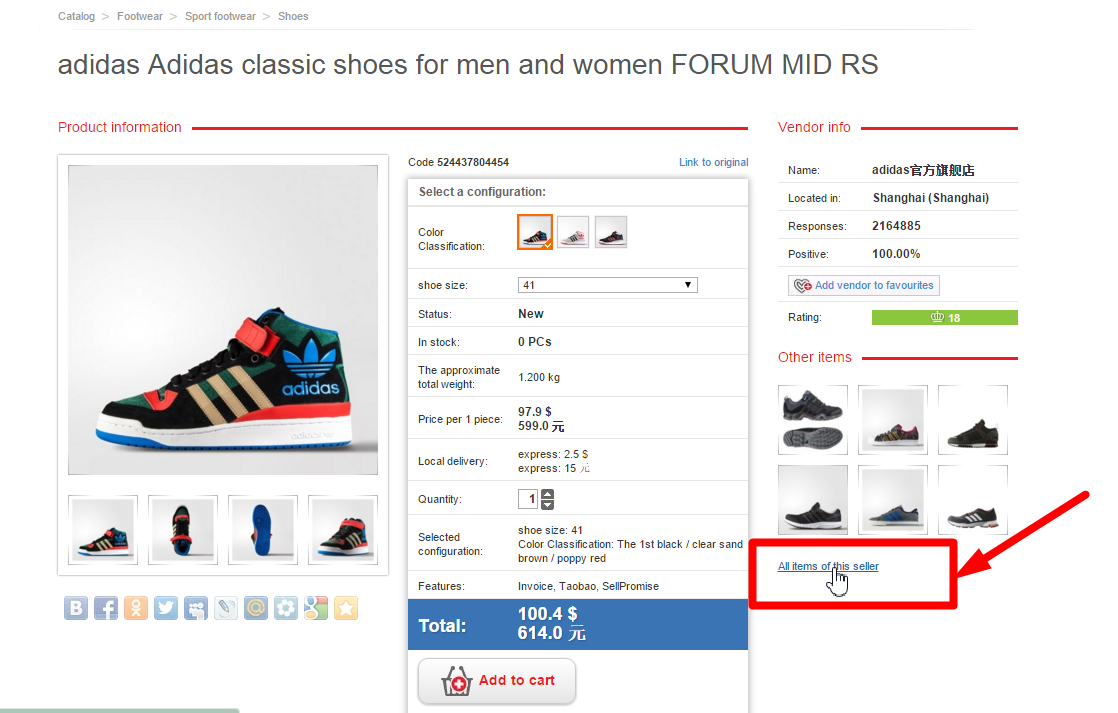
To start viewing all items of this seller you need to click on the link “All goods of this seller”.
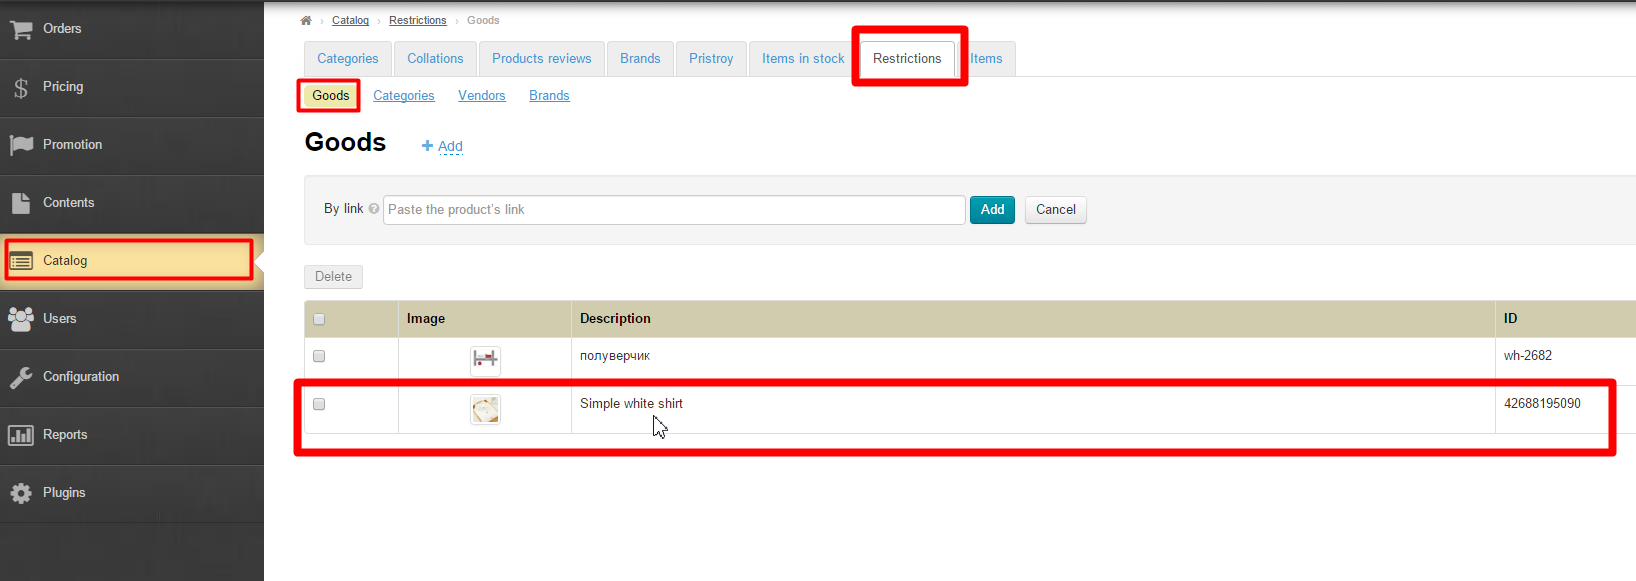
You need to find the following information on the item page: a seller name, a link and seller’s ID.
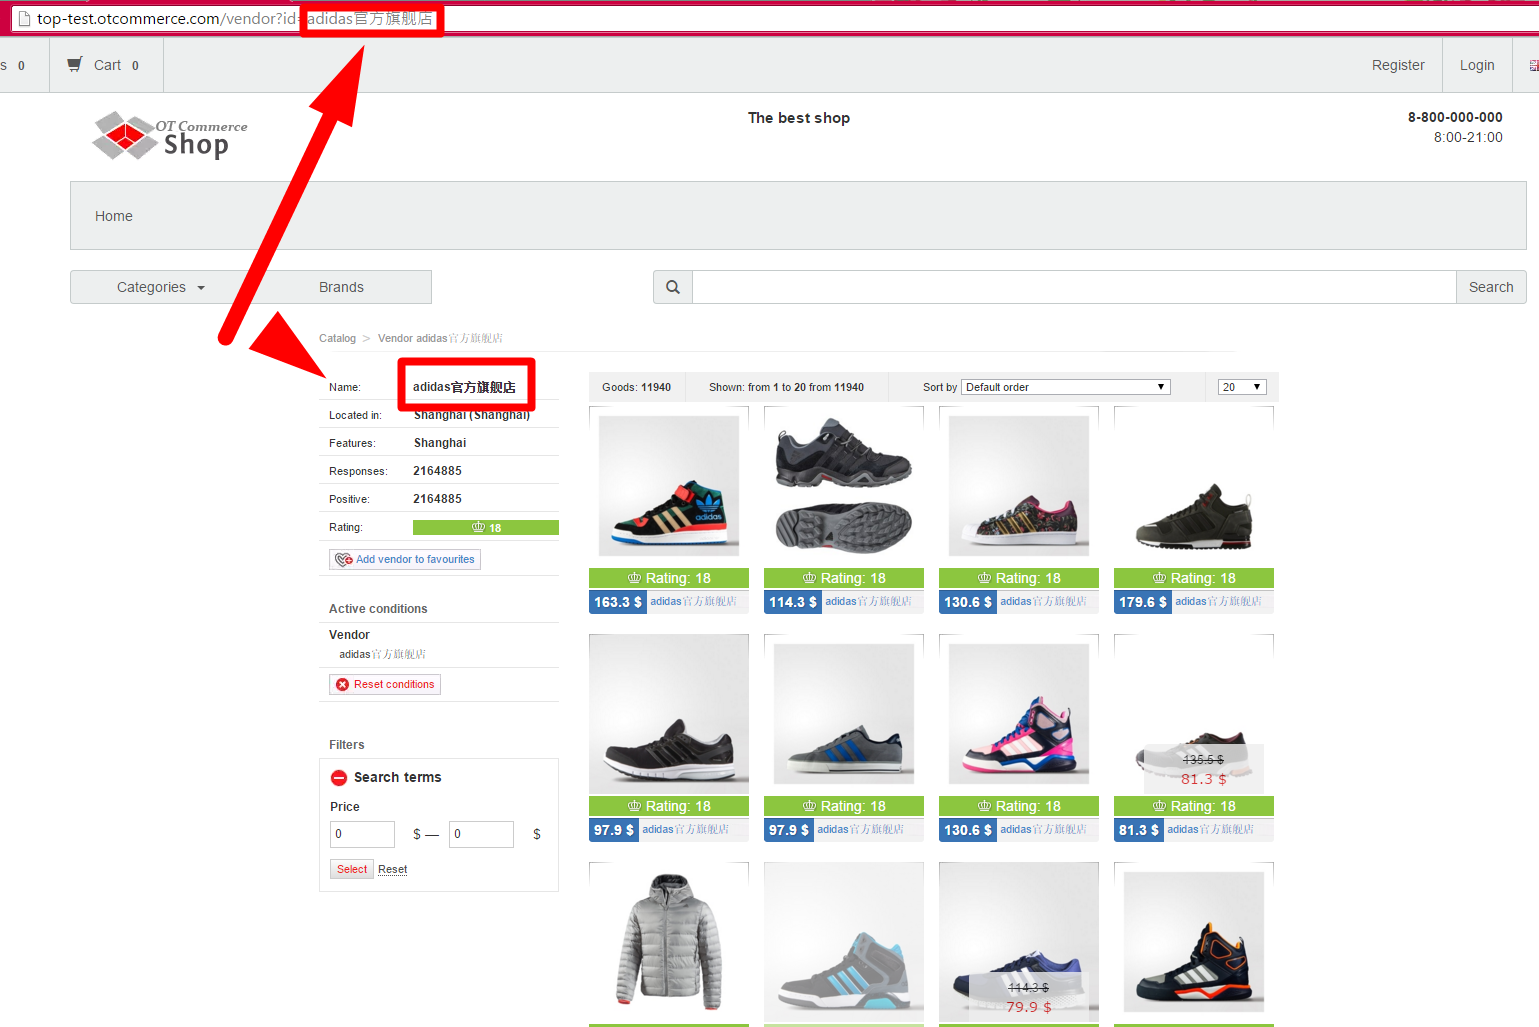
With all these data at hand, you can add a seller:
Click on the blue dashed underlined text “Add”.
You will see the form to be filled in:
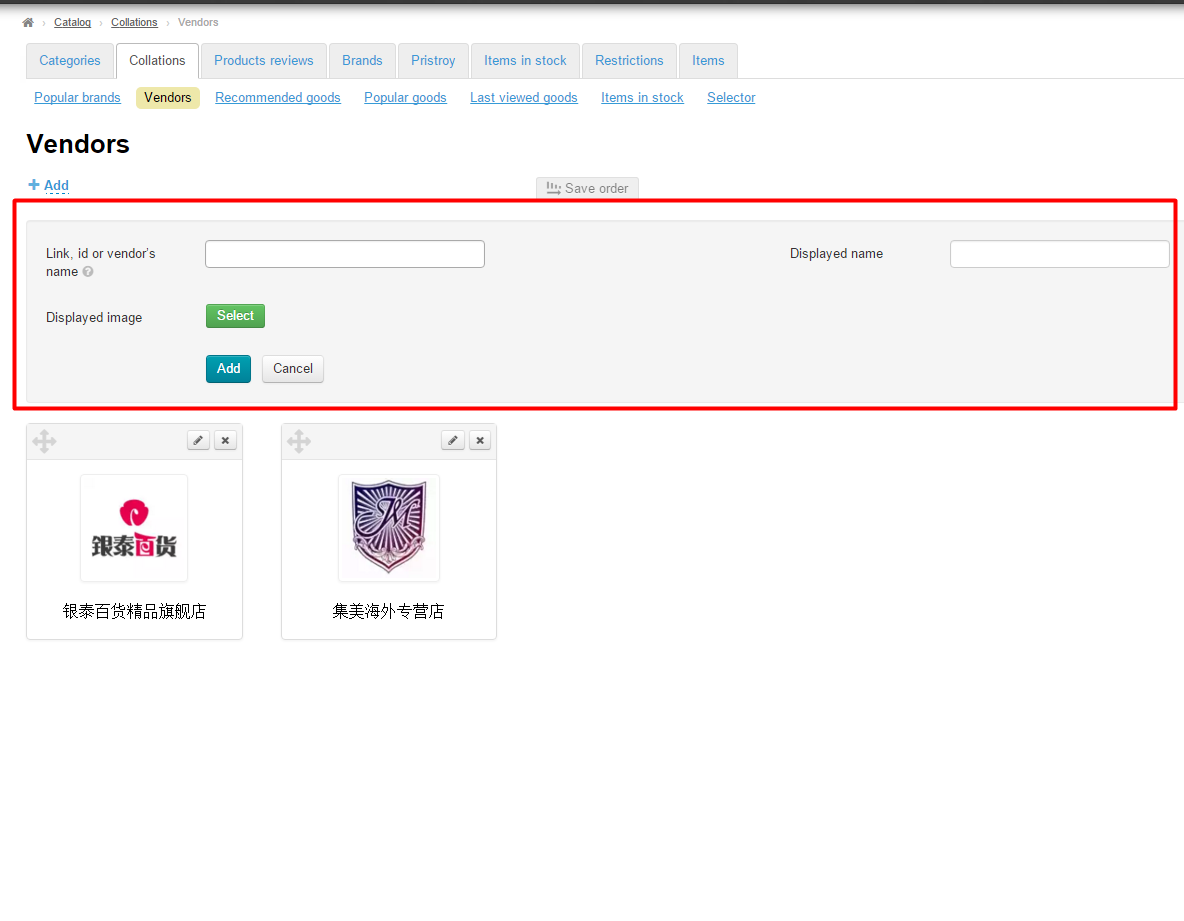
Fill in the first field of the form.
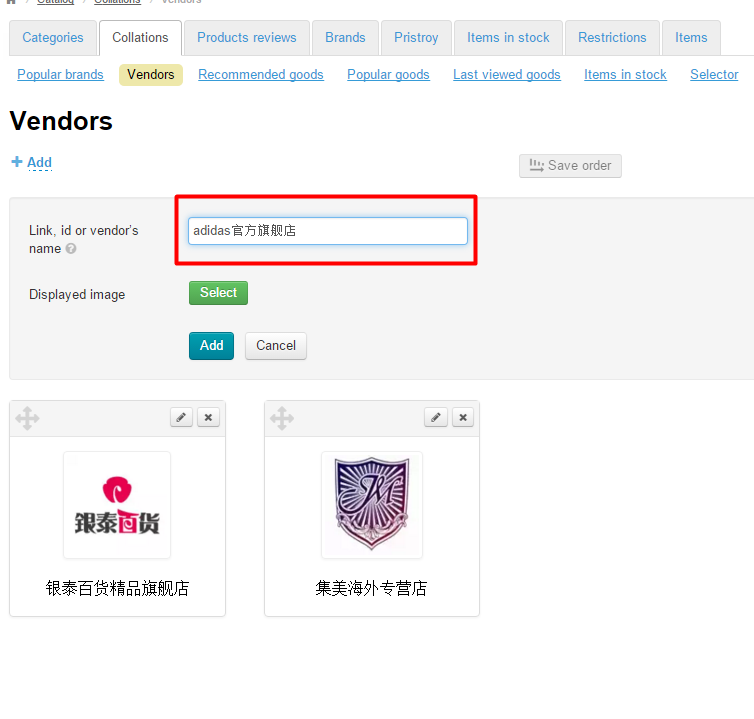
The form requires the following data:
...
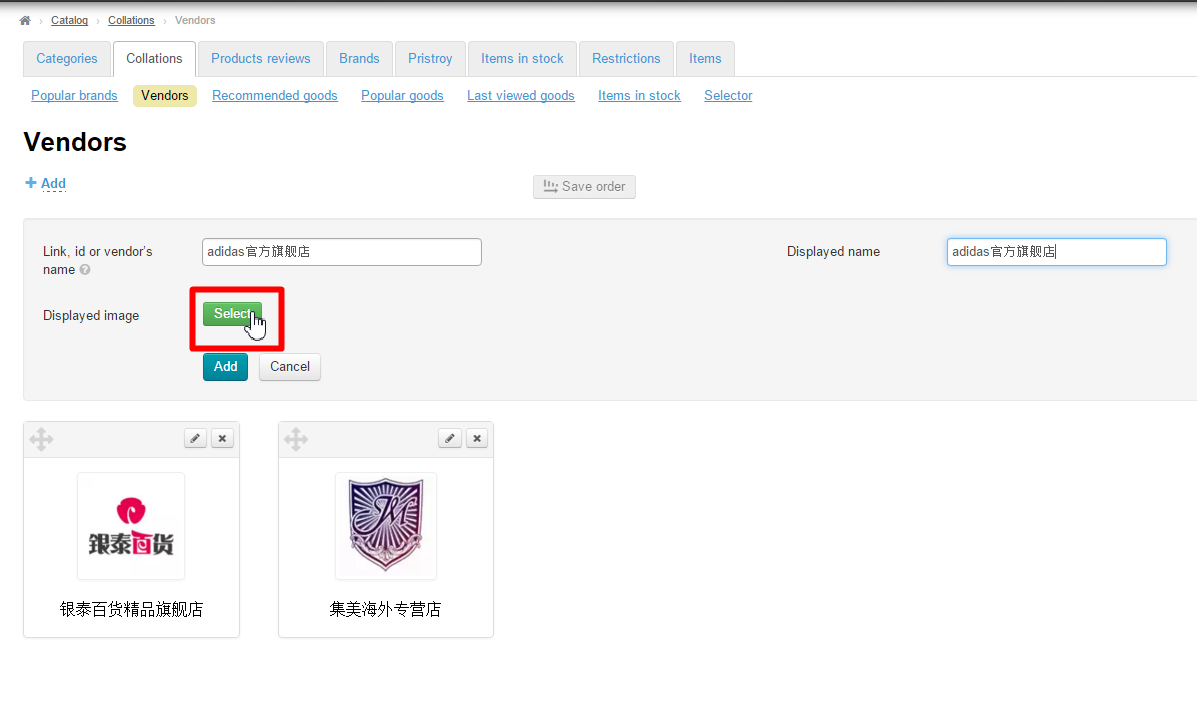
Fill in the next field “Displayed name” Here you can enter both a seller name specified on the website and its version in any language.

For each seller an image can be chosen and uploaded from your computer.
Once added, the displayed name and the image can be edited.
If there is no need to upload an image for the moment you should add the seller by clicking the “Add” button.
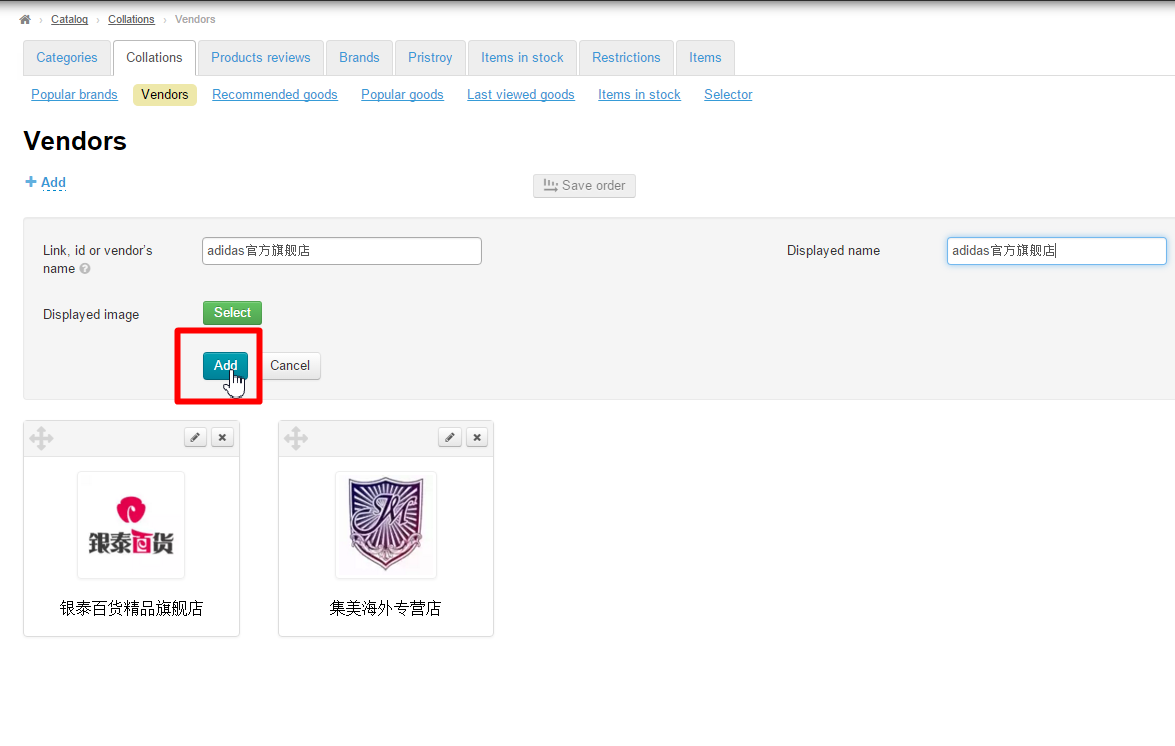
The new seller will appear in the administrative area of the website.
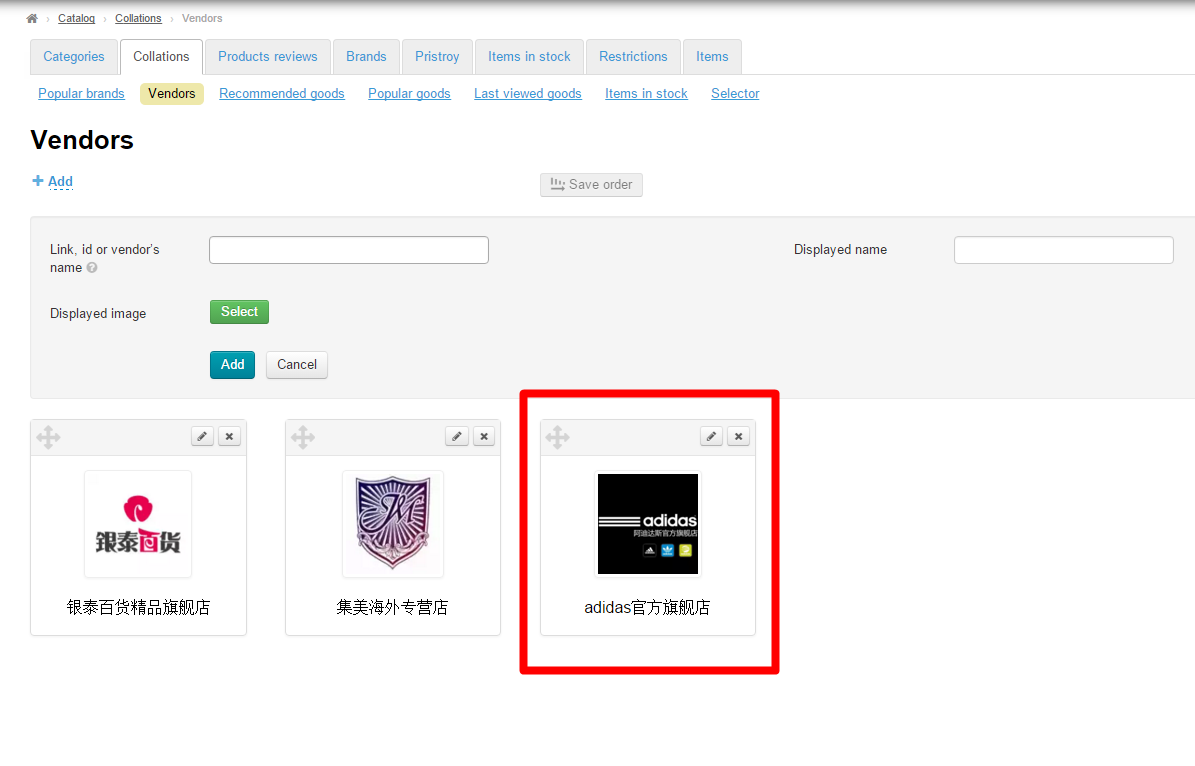
The changes will be visible on the homepage of the website as well.
...
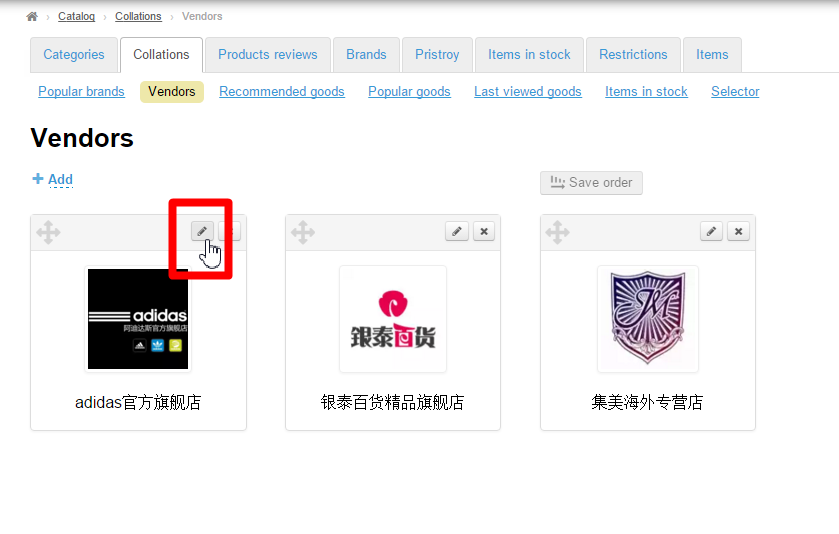
To edit the seller, click the Edit (the pencil icon) button next to the item.
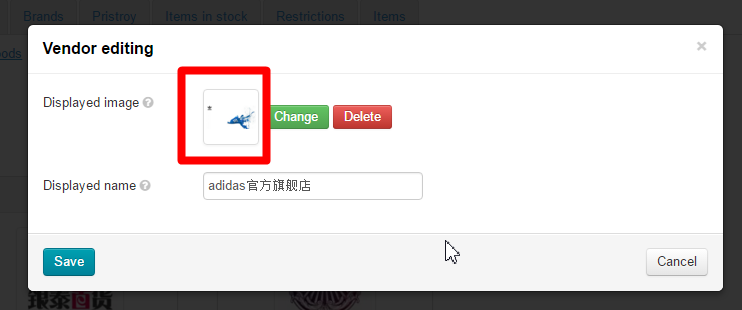
In the form that appears you can change an image.
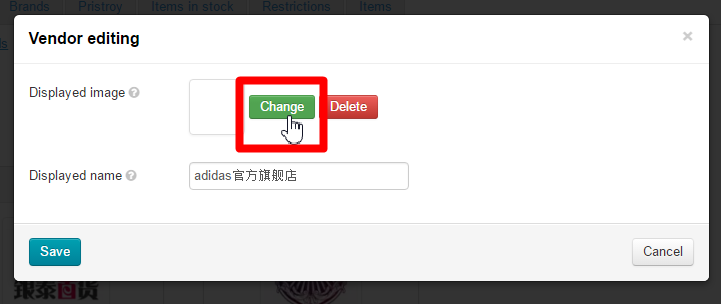
Clicking the “Change” button will open the window where you can select an image from your computer. Select it and it will be automatically inserted into the form below.
Next, you can change
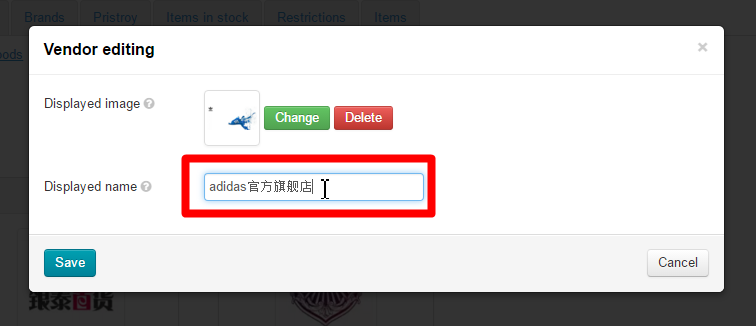
Click the “Save” button to preserve your changes.
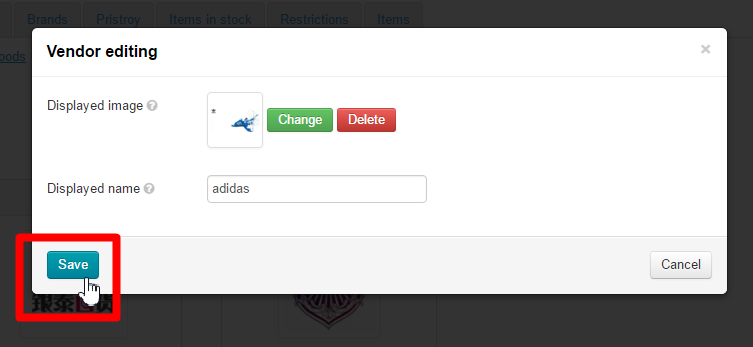
After saving, the information will be updated (refreshed) both in the administrative area and on the website.
...
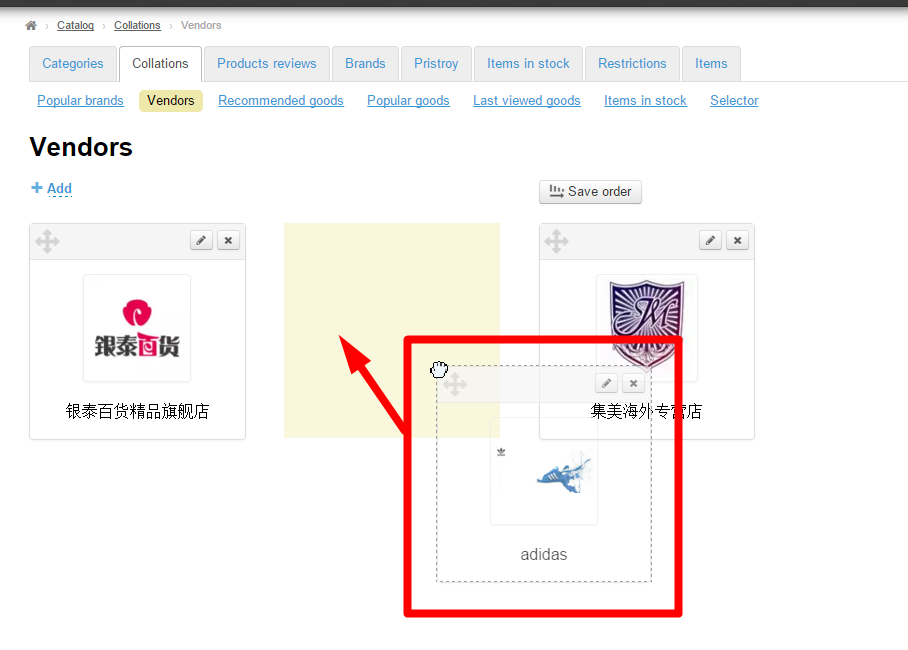
To change the existing arrangement of sellers in a collection click the Move icon (the four-headed arrow) to the left of the seller:
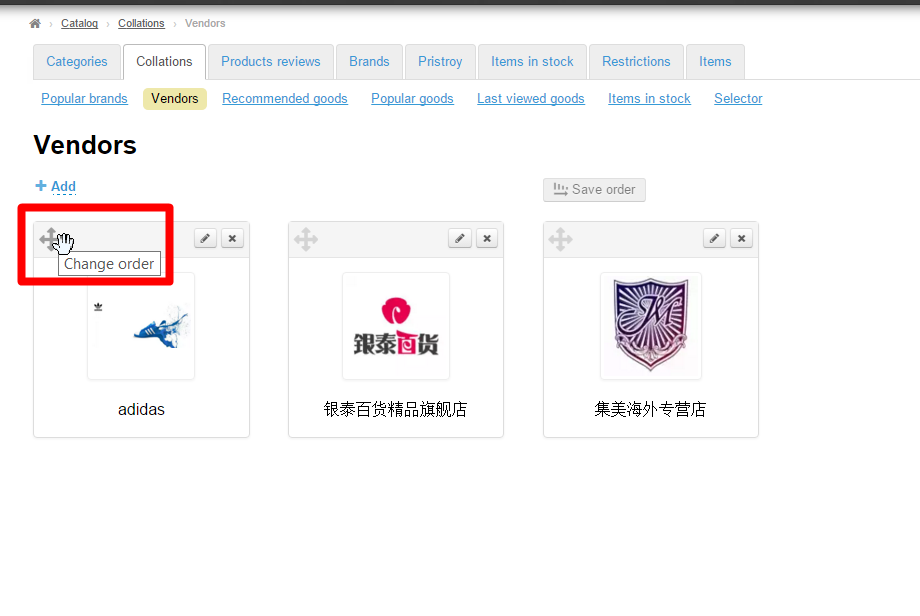
Without releasing the mouse button drag the desired seller to a new position (indicated by yellow on the screenshot):
When you release the button the seller will take a required position. To save a new arrangement of sellers click the “Save order” button.
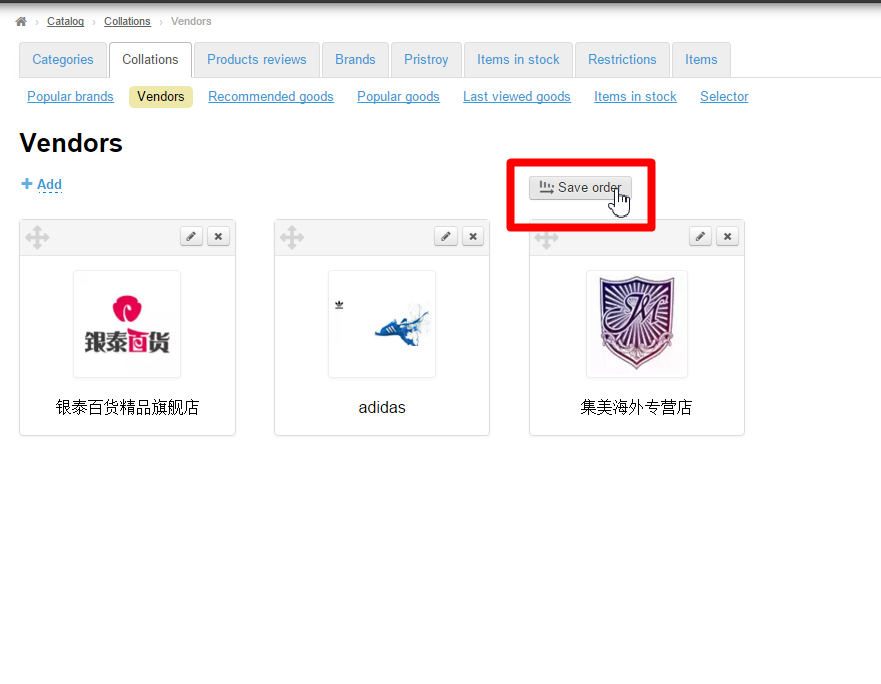
After you click on the button, the new arrangement of sellers will be saved in the administrative area and on the website.
...
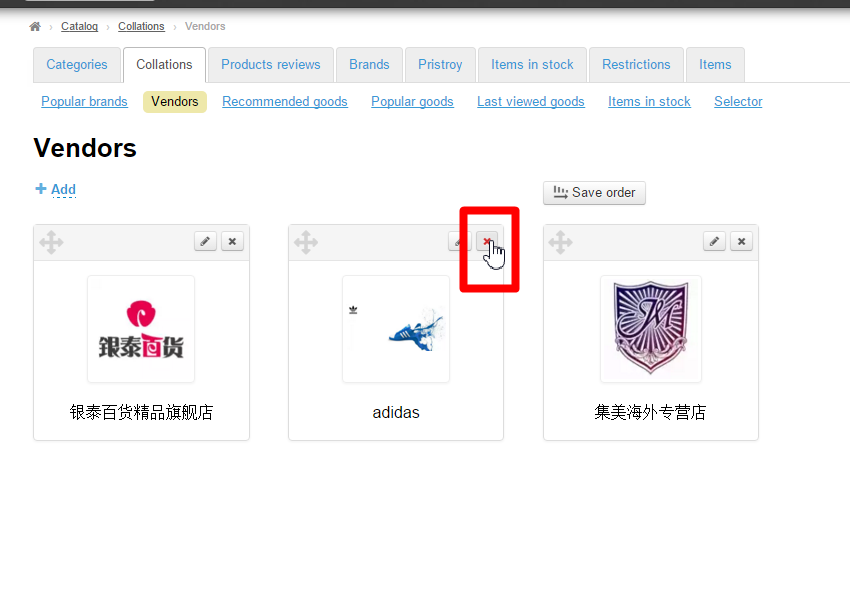
In order to delete a seller from the list you need to click on the X icon on the right-hand side of the seller:
Clicking on the “Yes” button will confirm your choice.
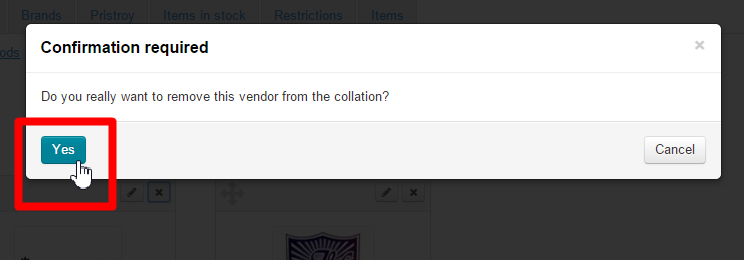
After doing so, the seller will be deleted from the collection in the administrative area:
The seller can be easily recovered using the “Add” button.
...
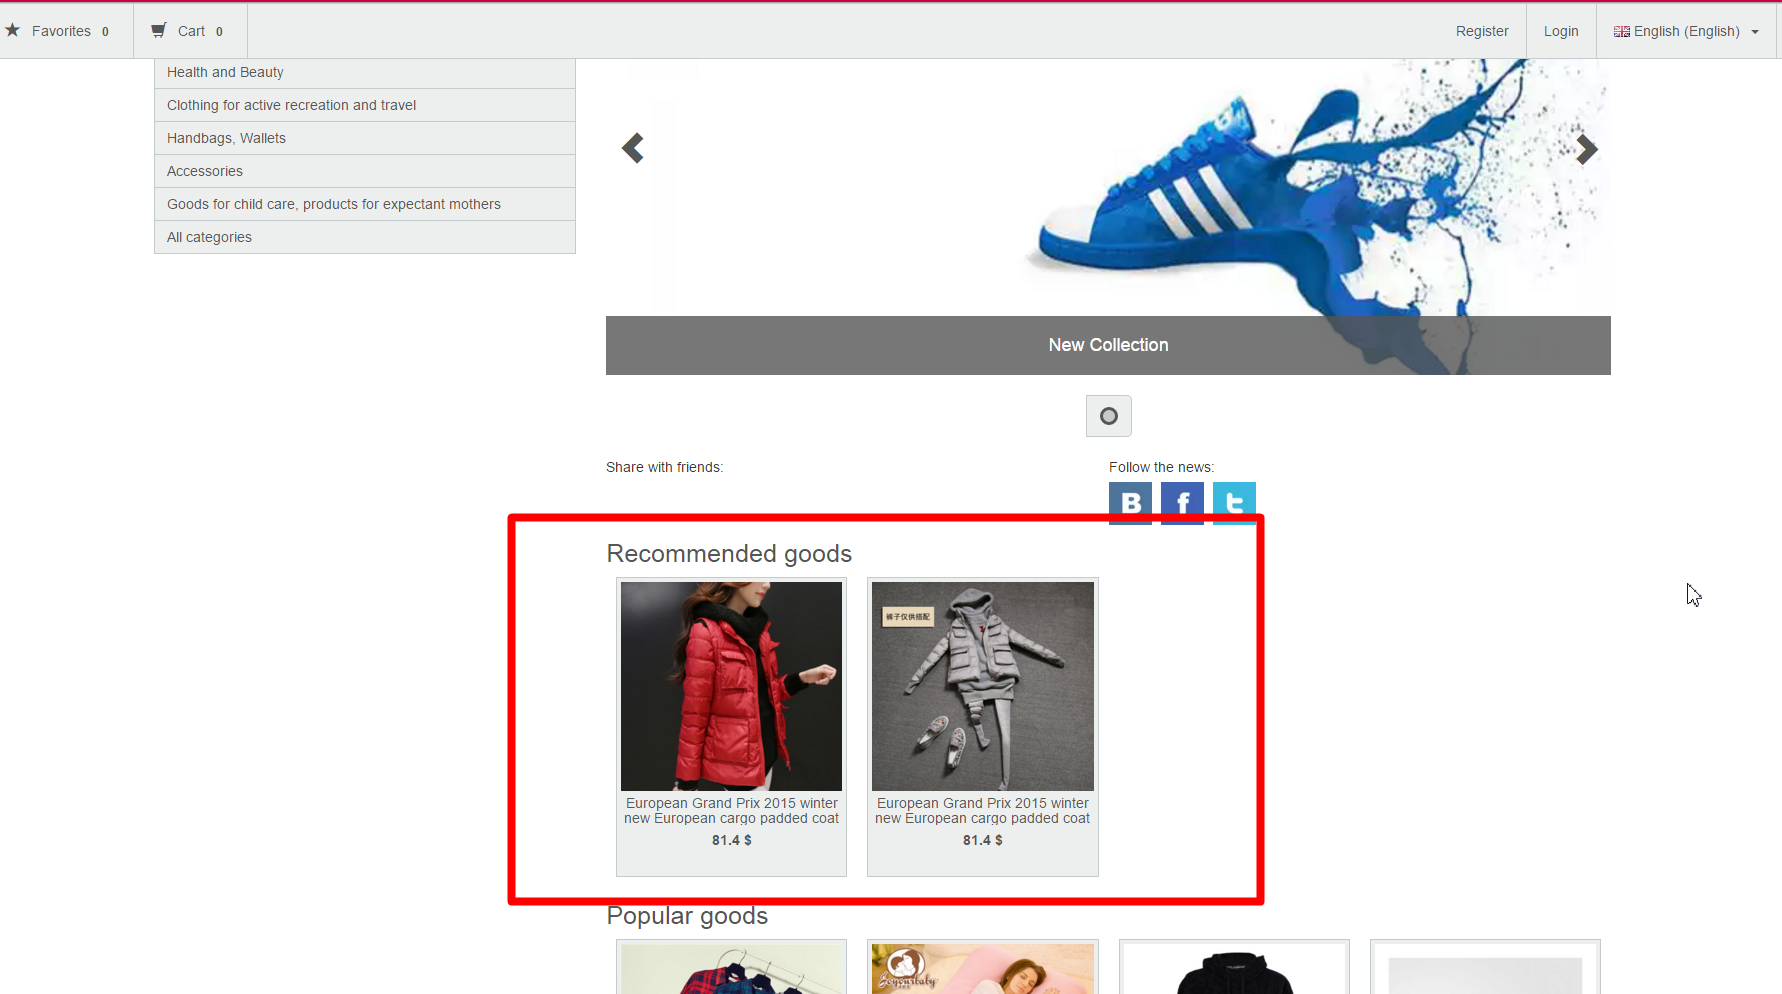
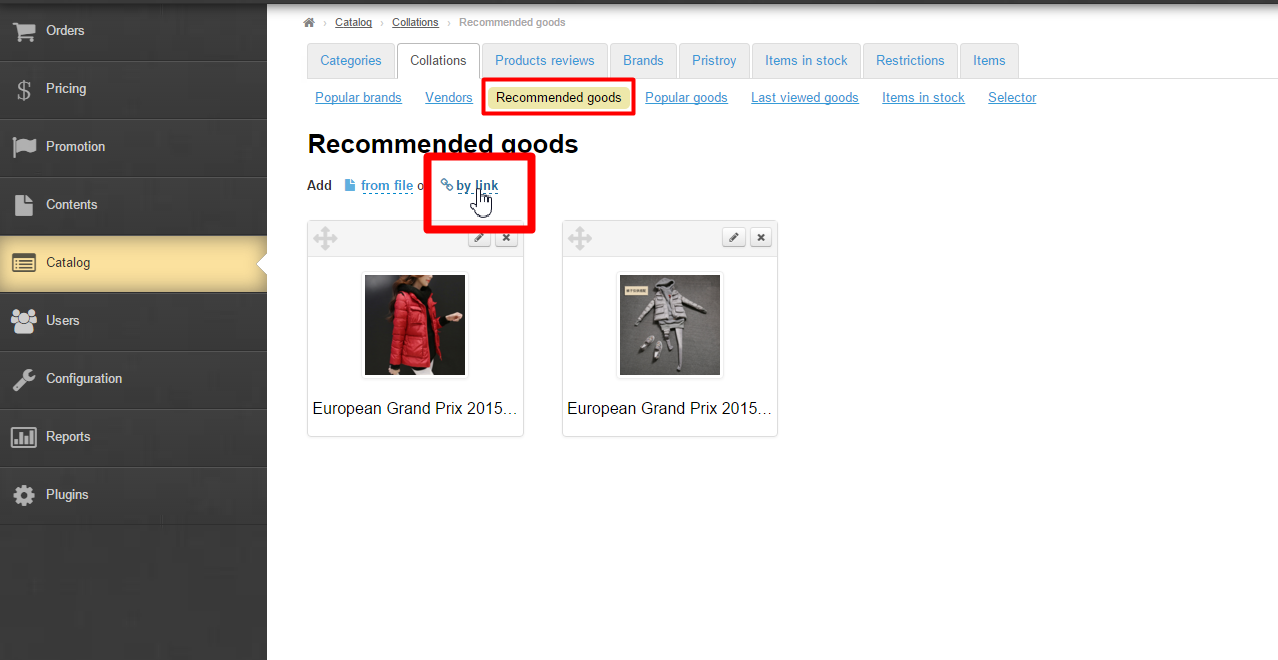
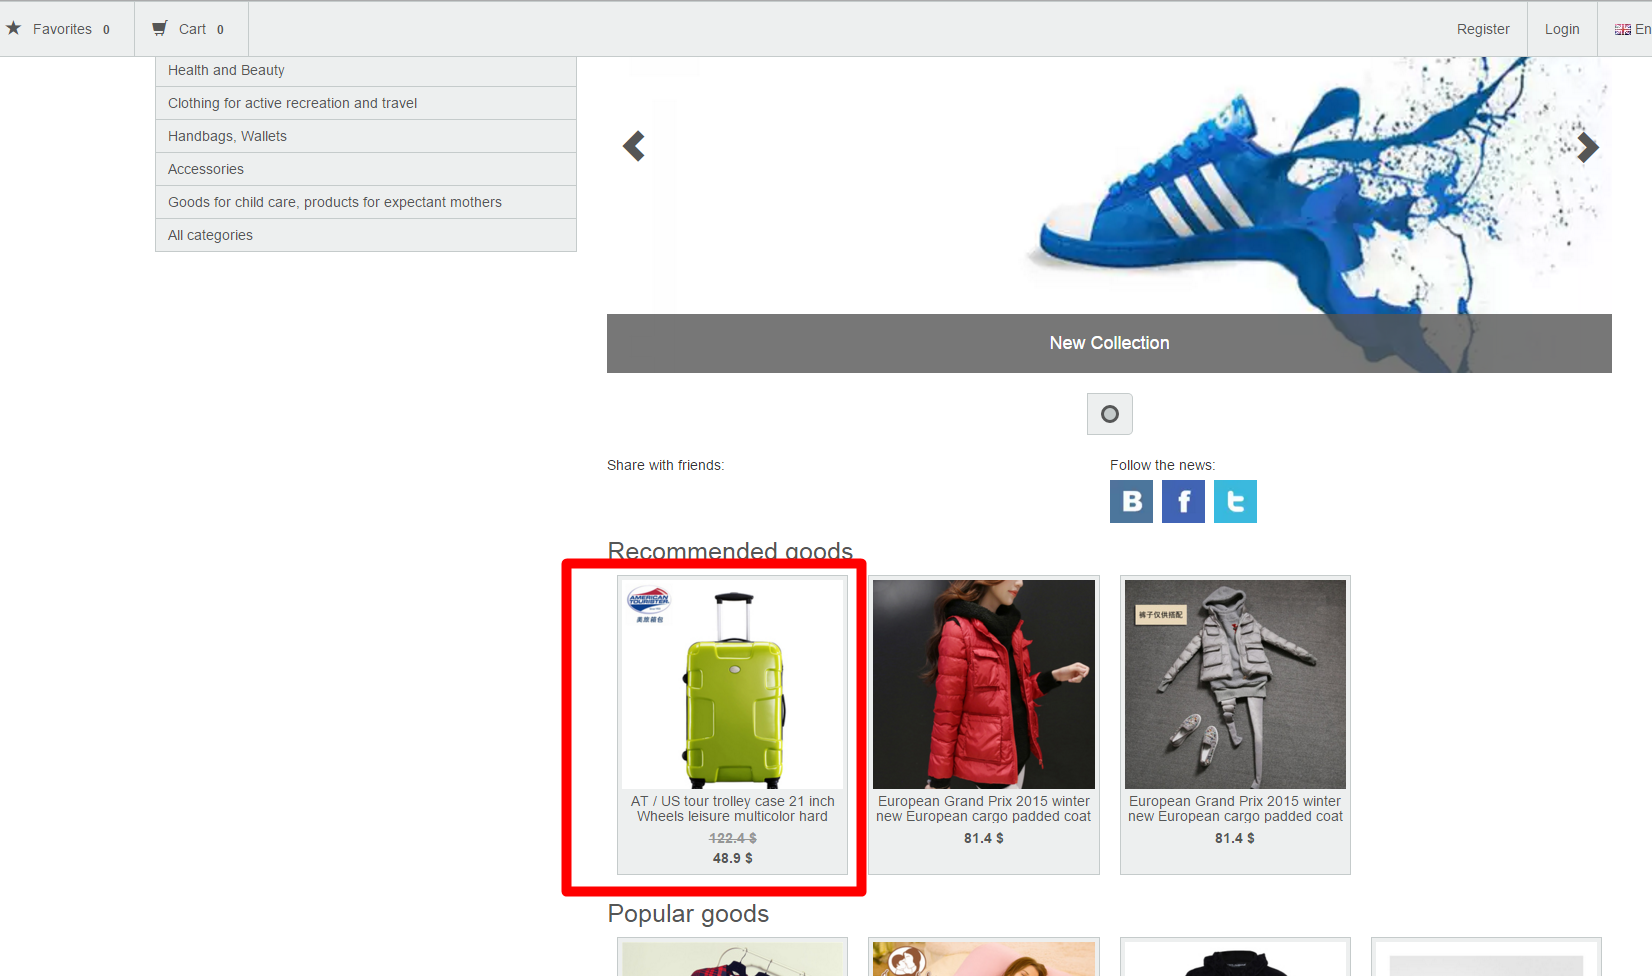
Recommended goods are displayed on the homepage of your website.
The instructions on how to configure the featured products to be displayed on the homepage are given in the “Homepage configuration” section.
...
Select items on your website:
Copy a link to the item from the address bar:
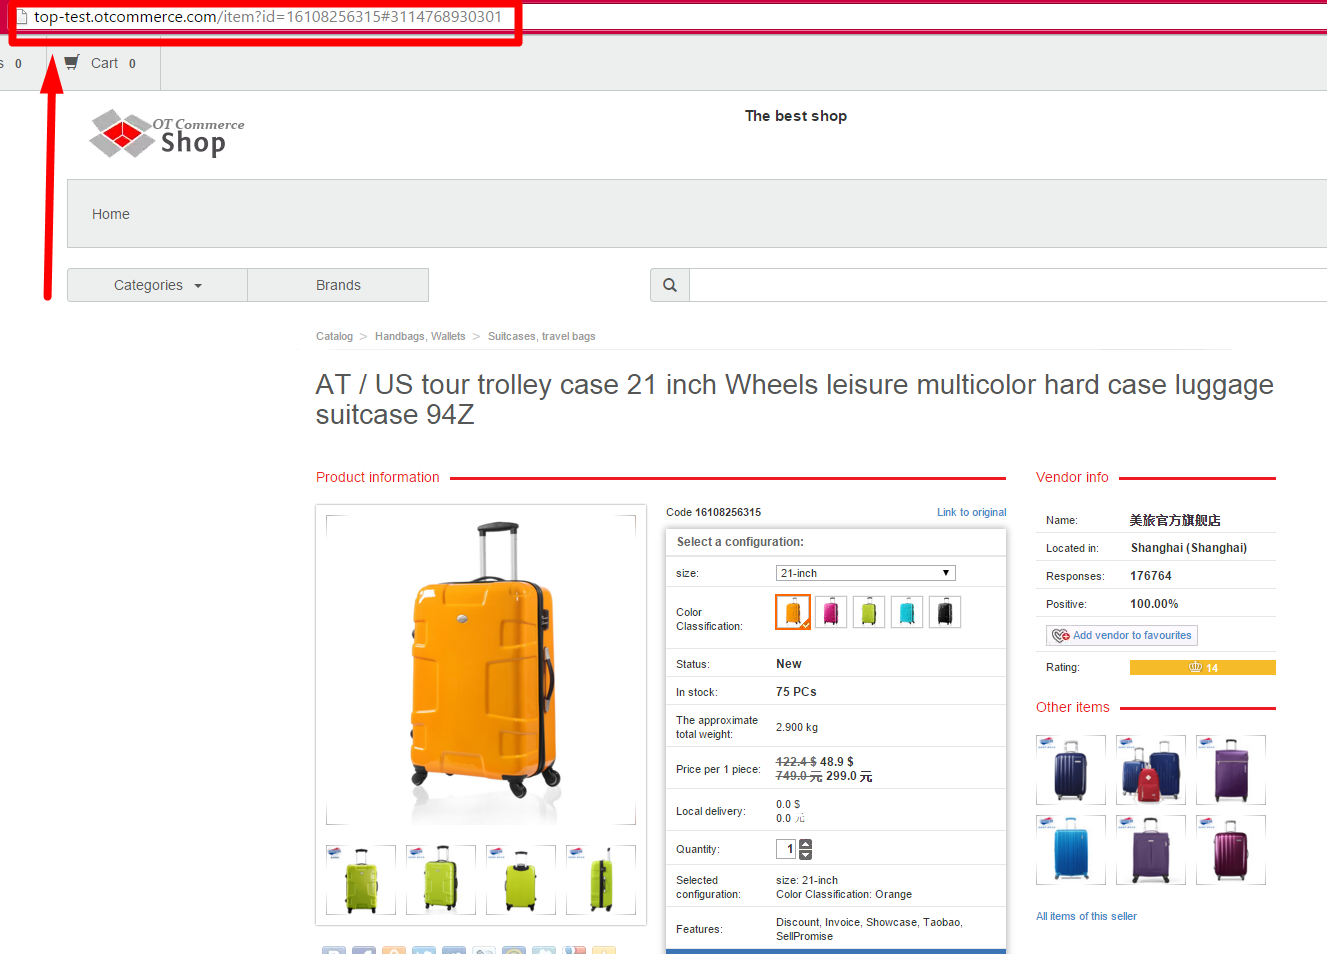
Now you’ve got the link to the item.
...
Click on the blue dashed underlined text “by link”.
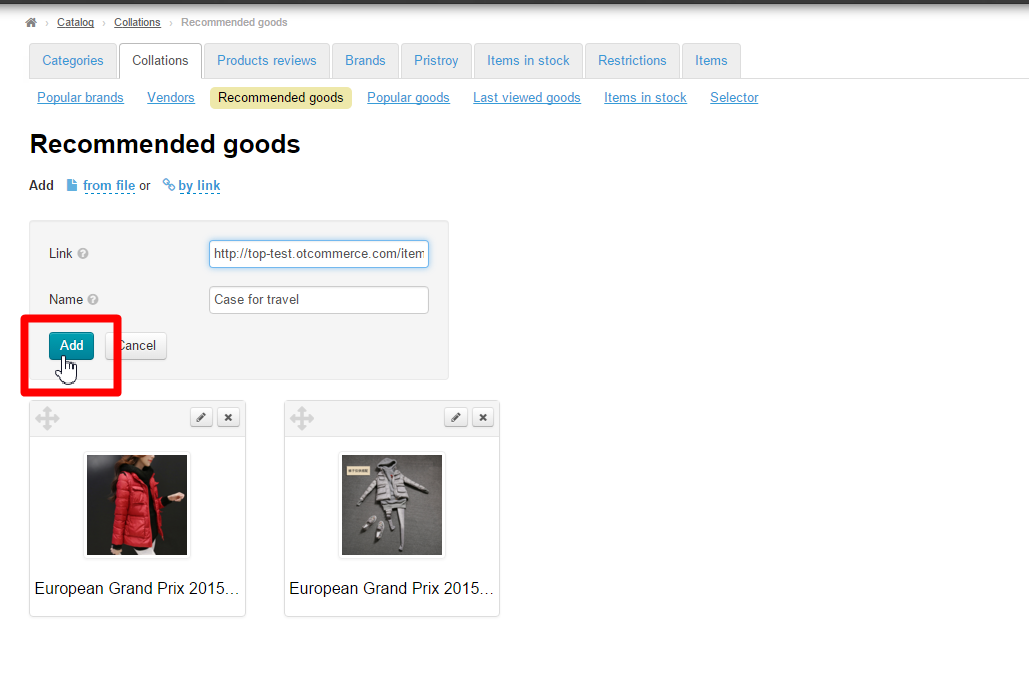
This will show up the form where you should enter the link you got according to the instructions above:
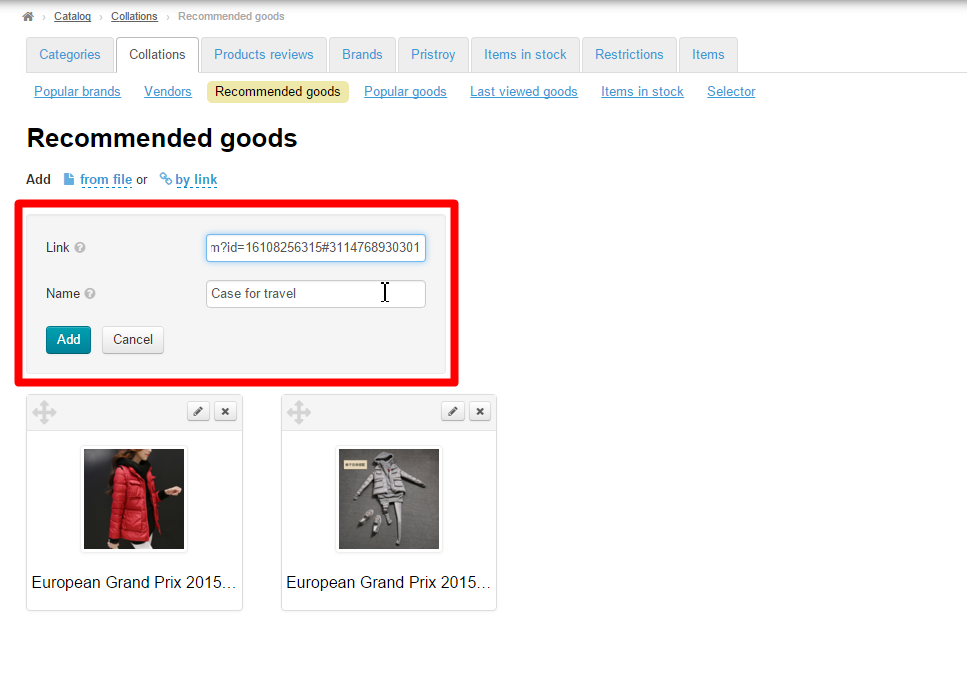
Once you’ve added the link to the form, it is necessary to add the item to a collection: click the “Add” button.
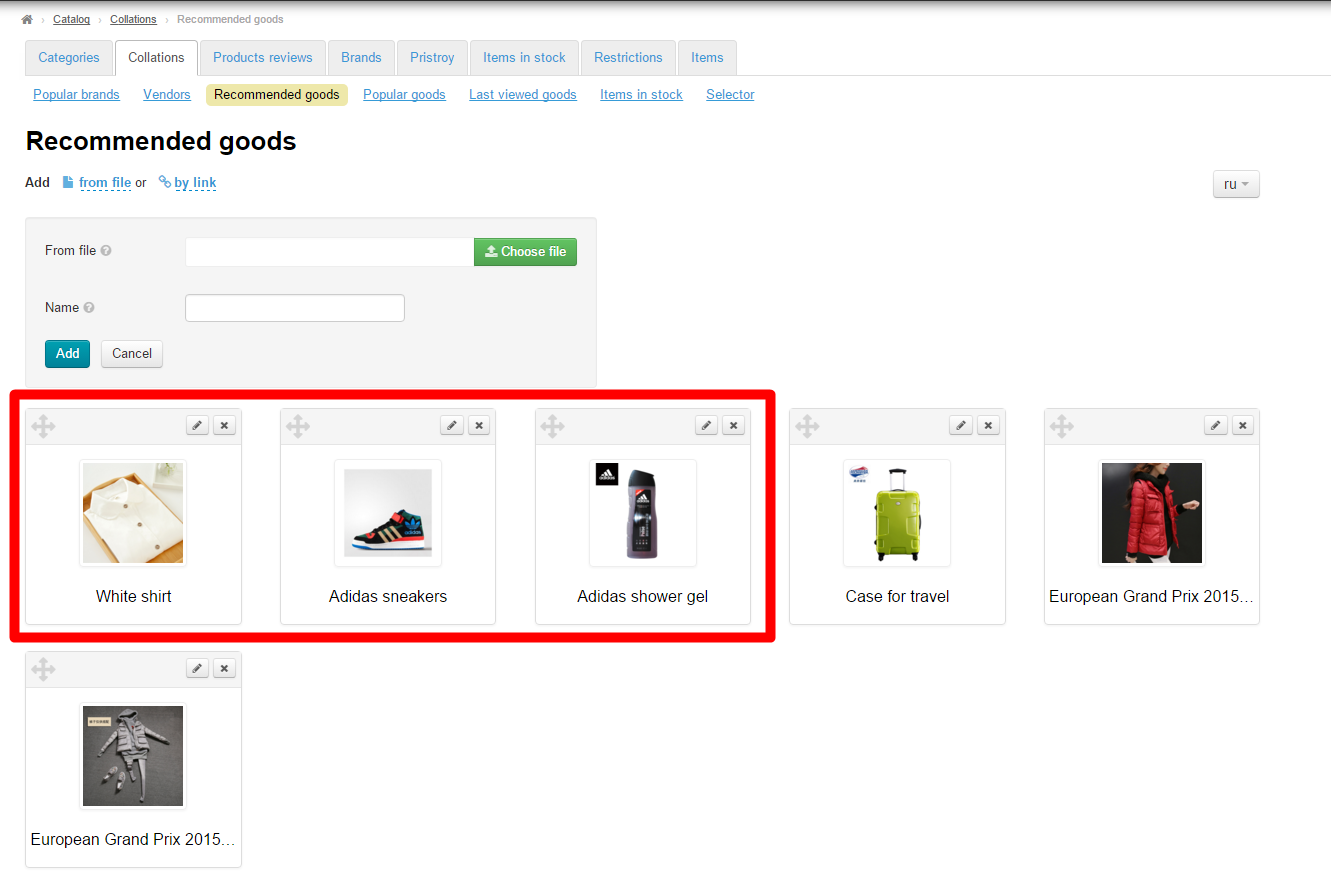
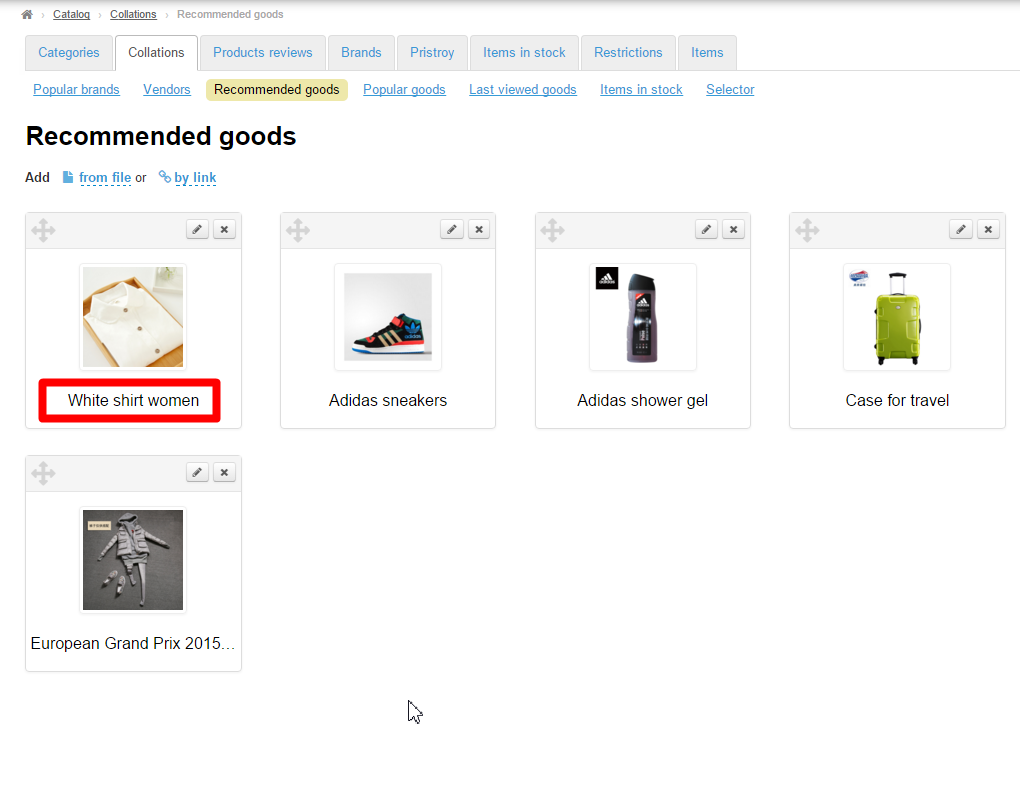
Once you’ve done this, the new item will appear in a collection in the administrative area:
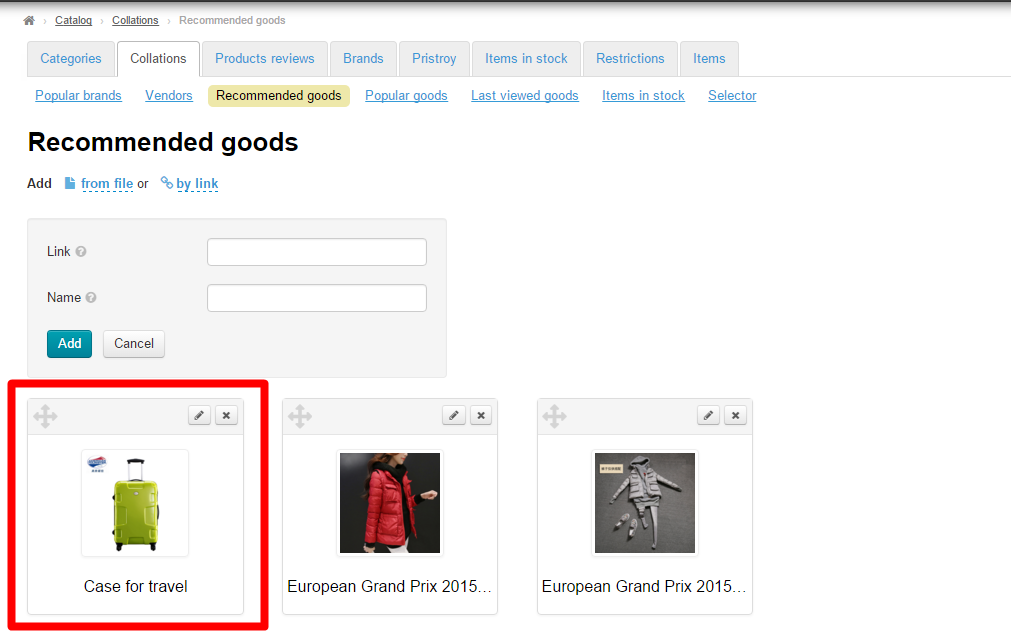
And on the homepage of the website:
How to add items from the file
...
Important! Each link must start at the beginning of a new line
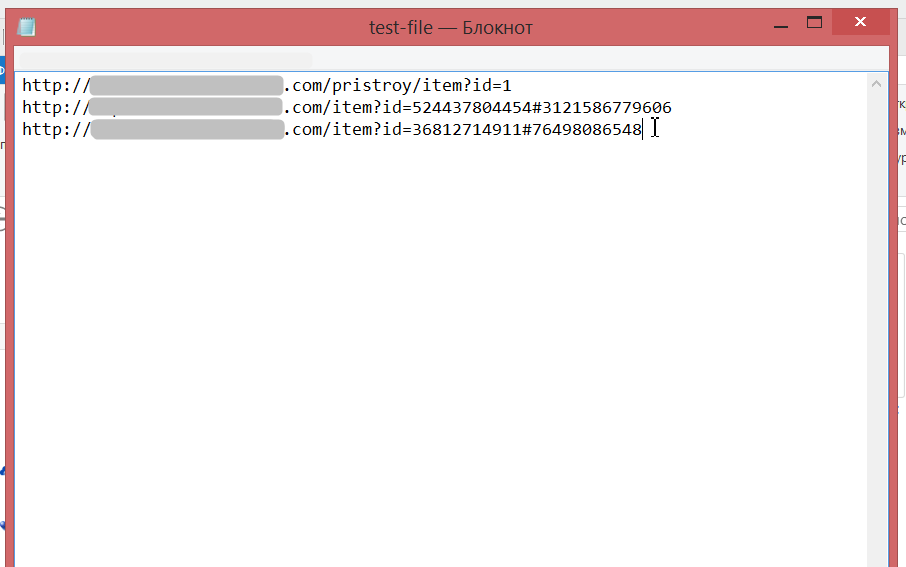
After saving the file, you need to upload it to collections:
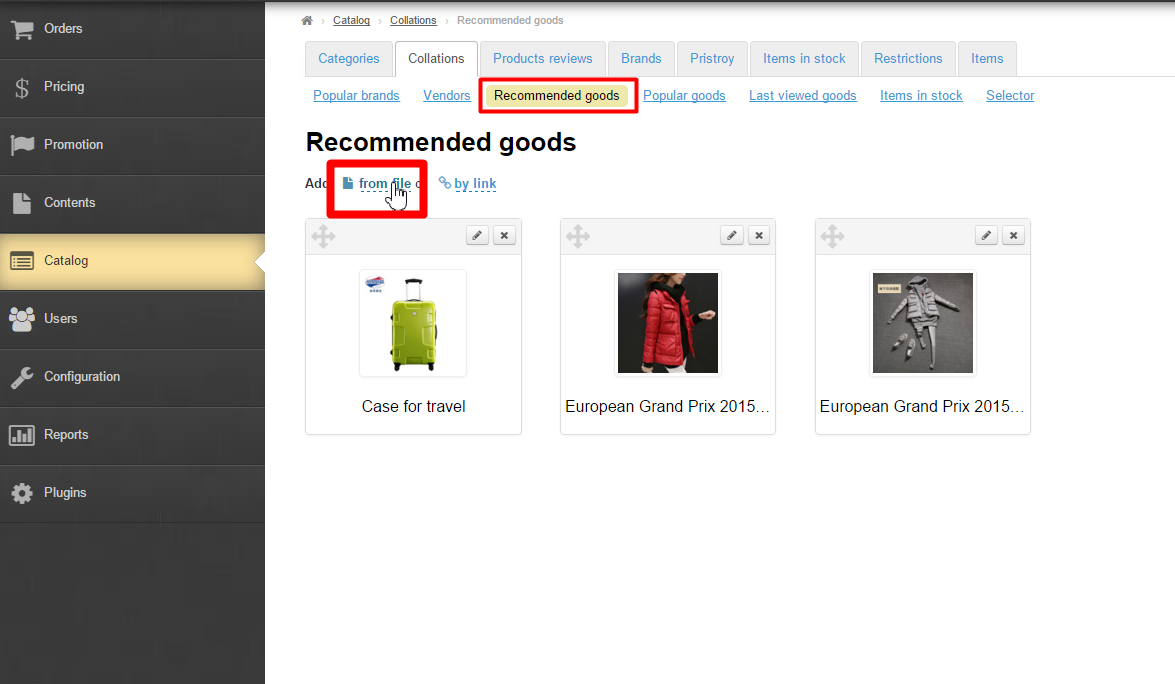
Click on the blue dashed underlined text “From file”:
Click the “Select file” button and select the newly created file:
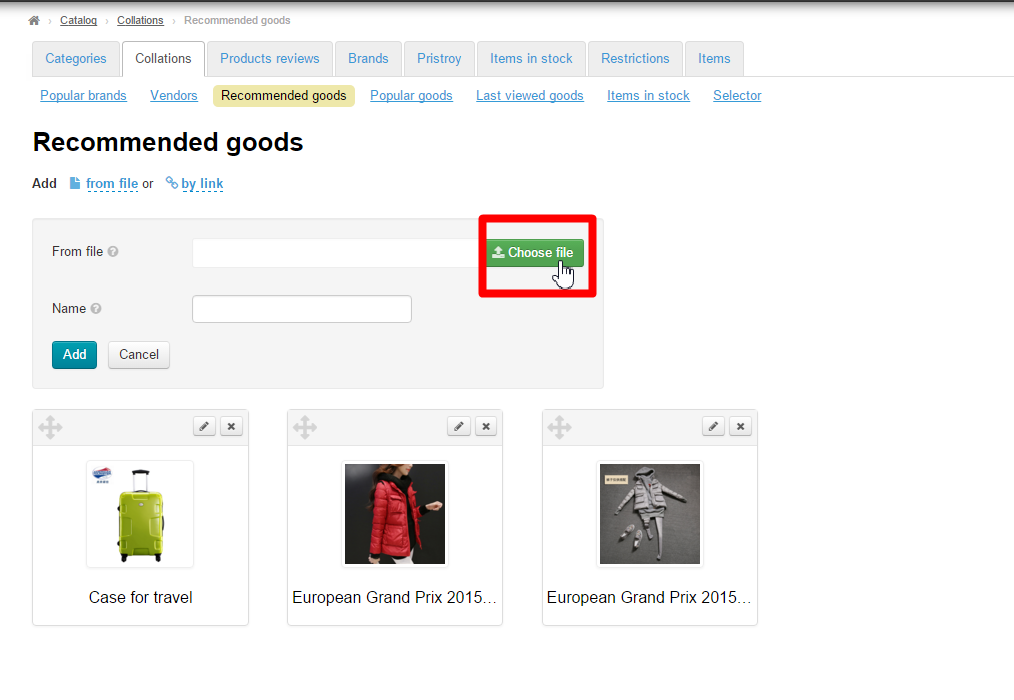
After doing this, click the “Add” button.

The items stated in the file will be added to the collection.
Edit
In order to edit the item’s name and its description you should click the “Edit” (the pencil icon) button next to an item.
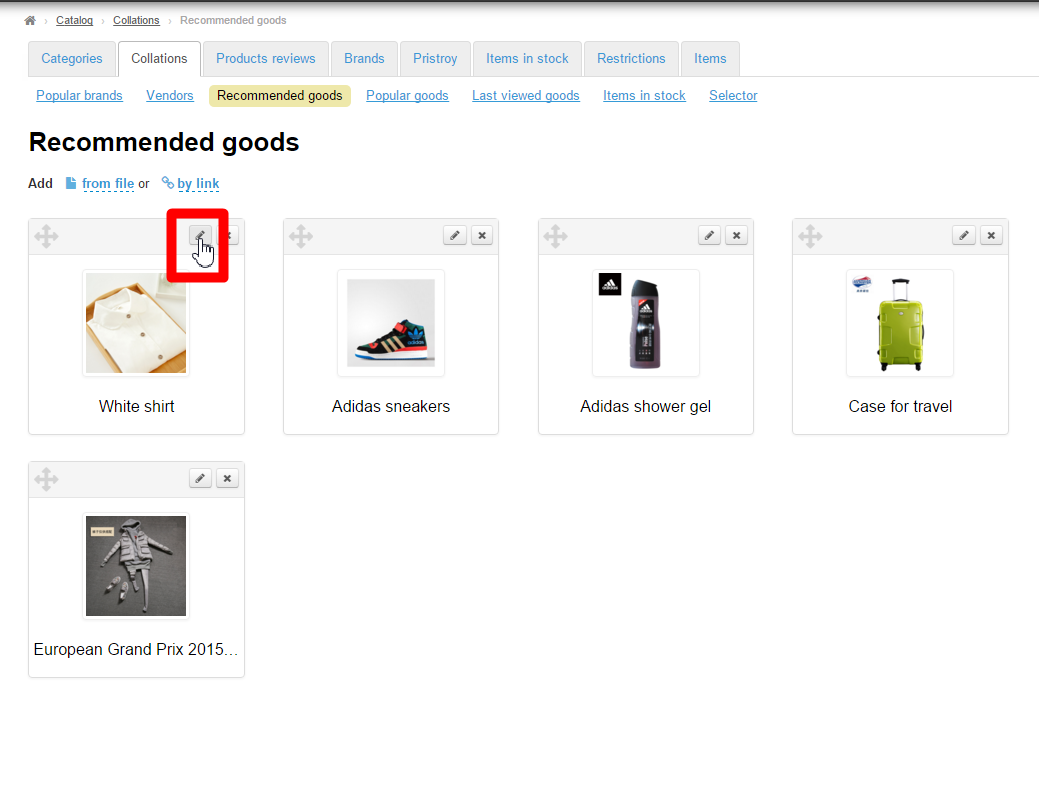
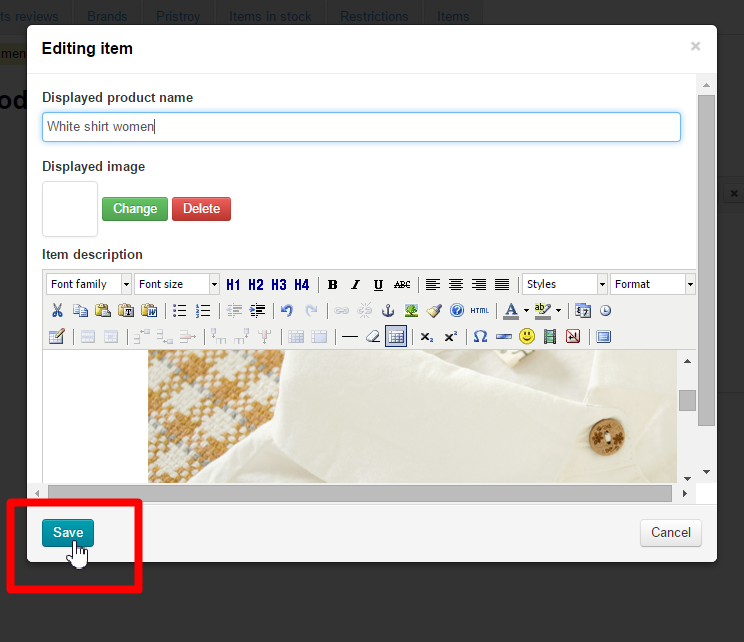
This will bring up a form where you can modify the item’s name and description.
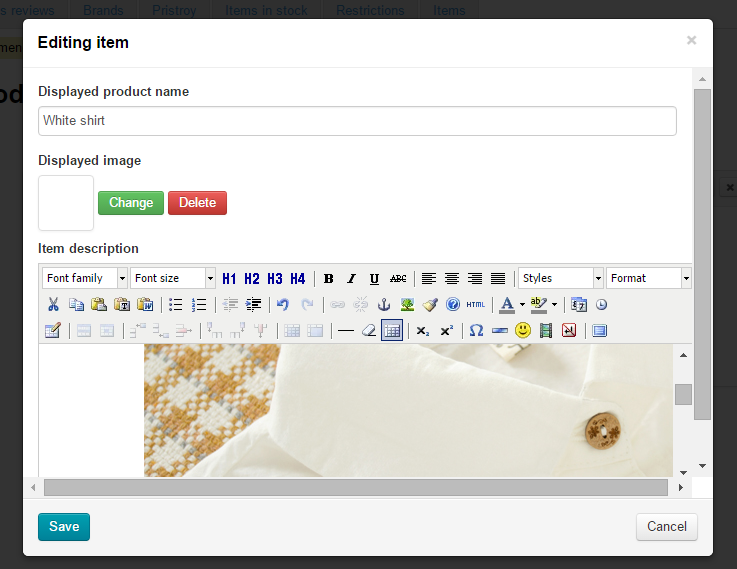
Make all necessary changes:
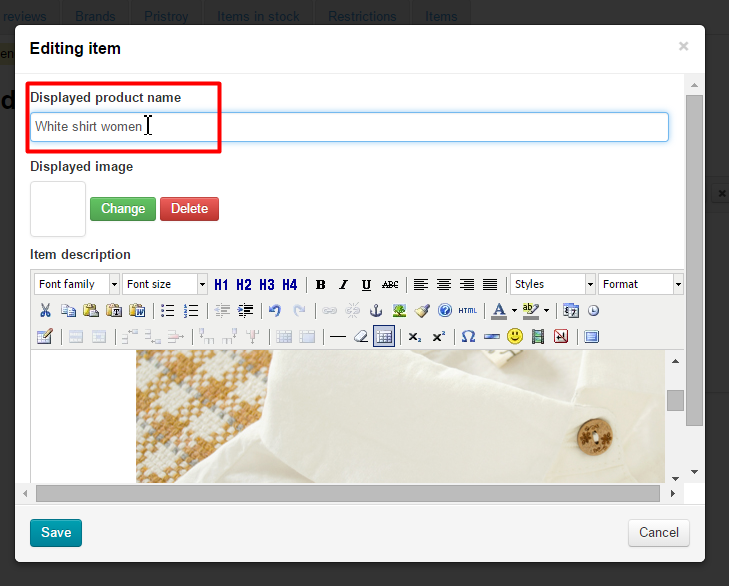
Click the “Save” button to preserve your changes.
The changes will be saved in the administrative area:
The changes will appear on the item’s page on the website.
...
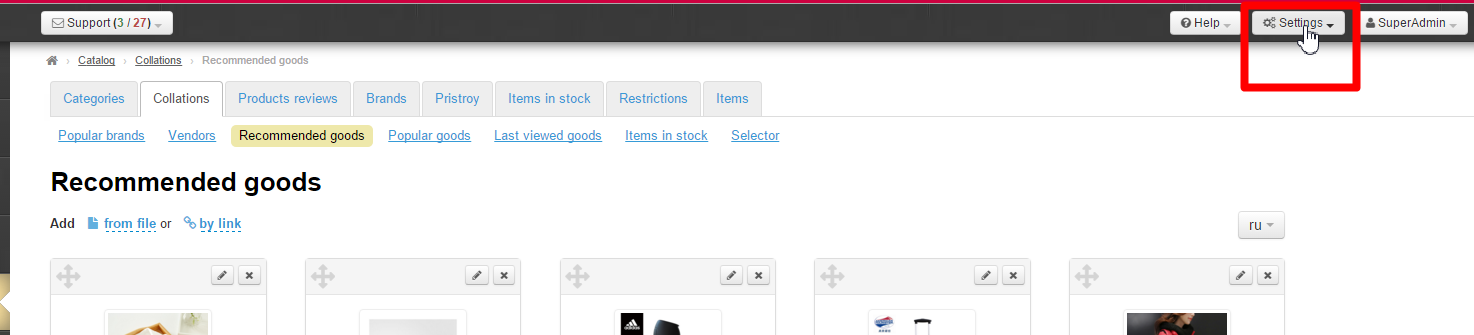
Click the “Settings” button in the header of the administrative section.
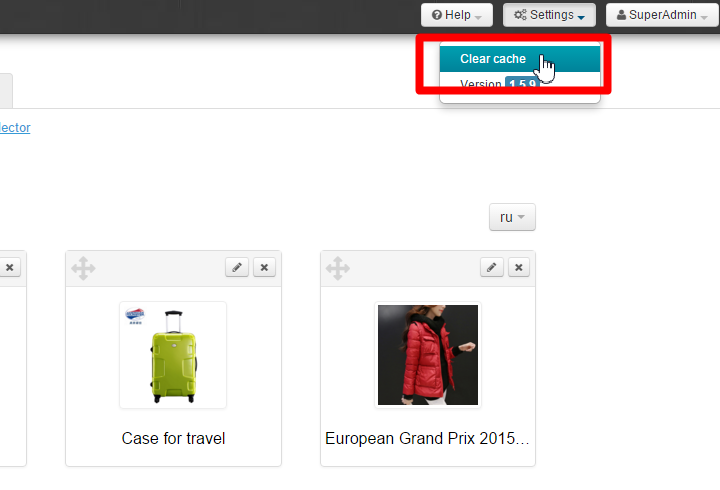
Select the “Clear cache” button from the dropdown menu.
Reorder
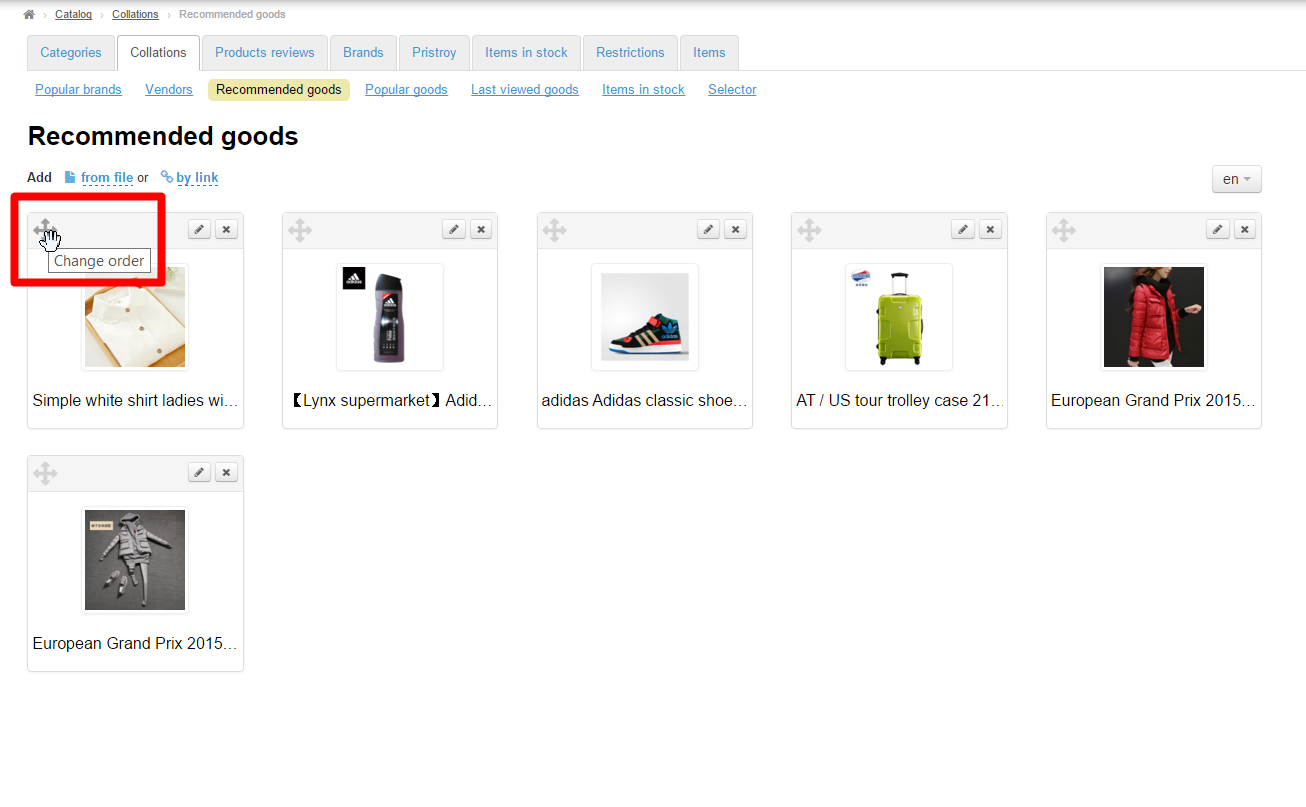
To change the existing arrangement of items in a collection click the Move icon (the four-headed arrow) to the left of the item:
Without releasing the mouse button drag the desired item to a new position (indicated by yellow on the screenshot):
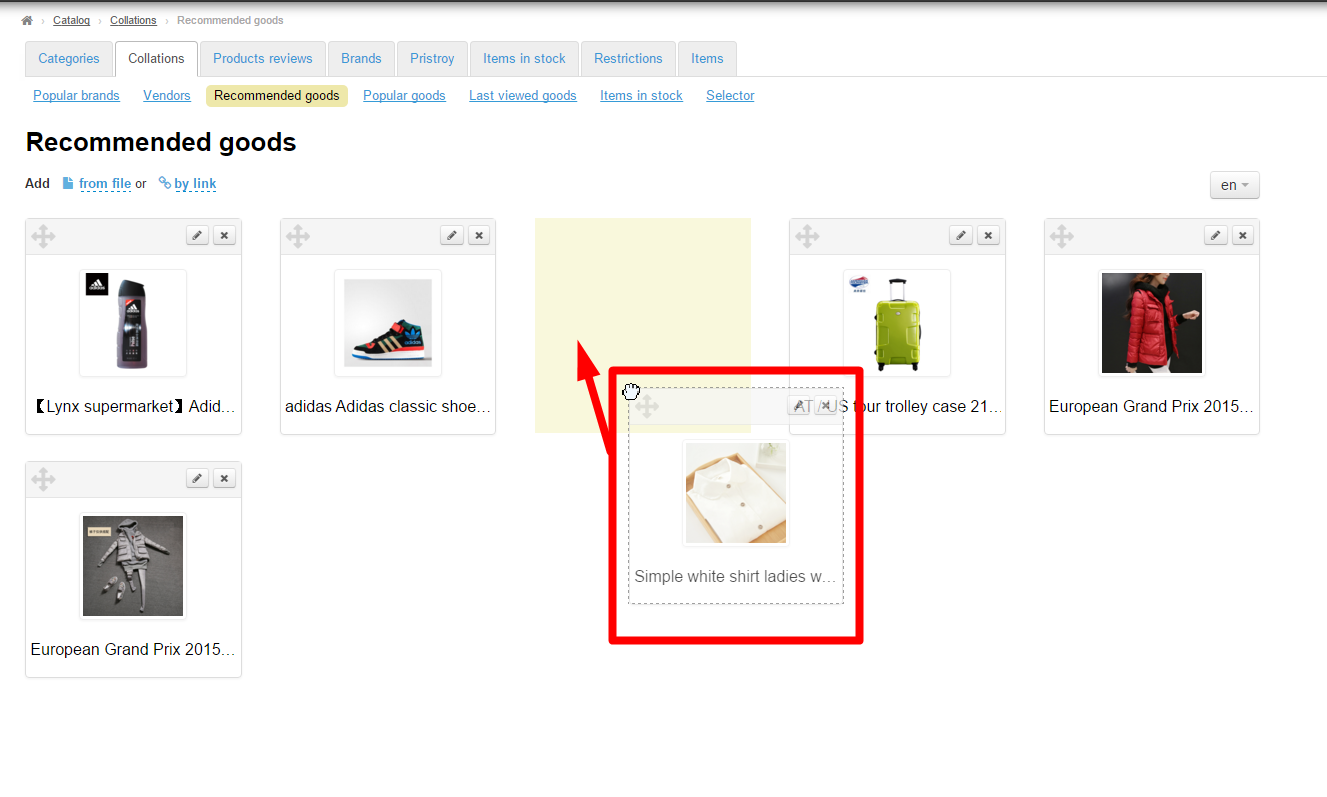
When you release the button the item will take a required position.
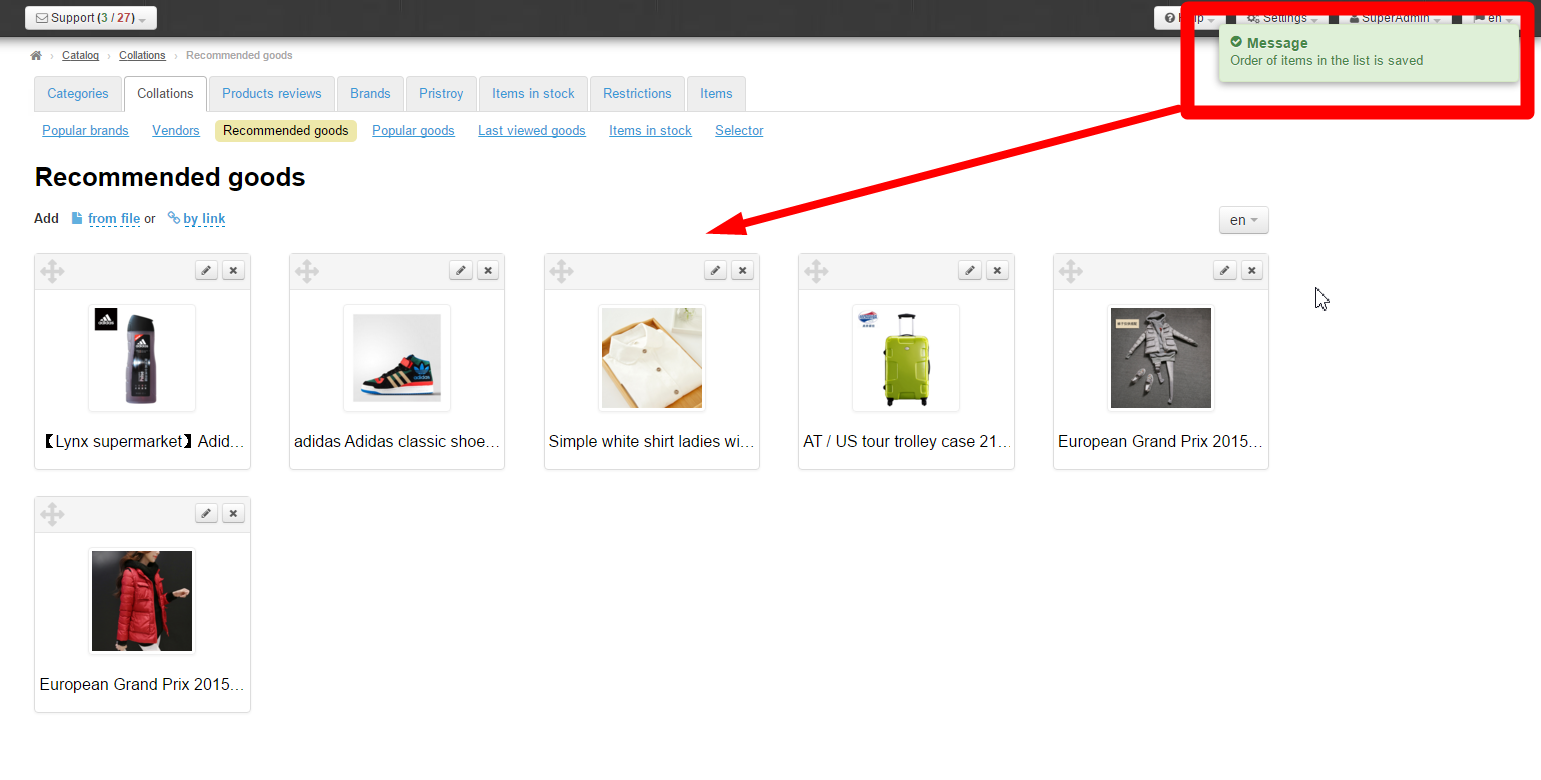
The new arrangement of items will be saved in the administrative area and on the website.
...
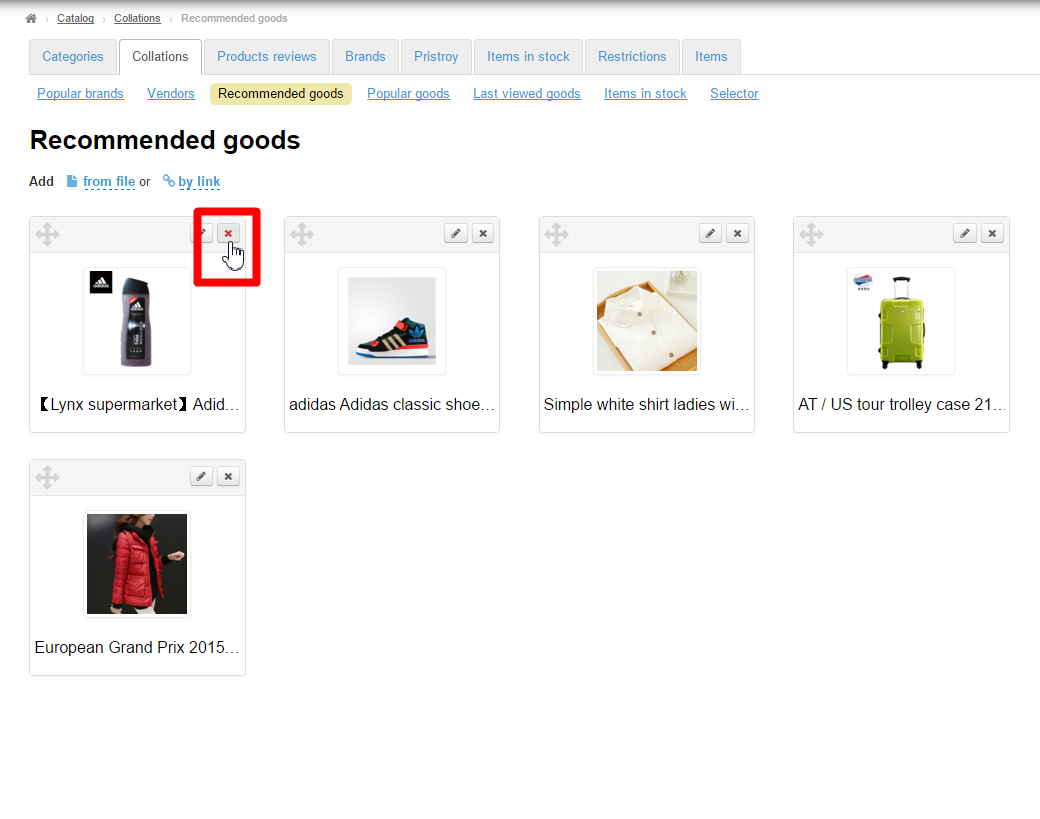
In order to delete an item from the collection you need to click on the X icon on the right-hand side of the item:
Clicking on the “Yes” button will confirm your choice.
...
After doing so, the item will be deleted from the collection in the administrative area:
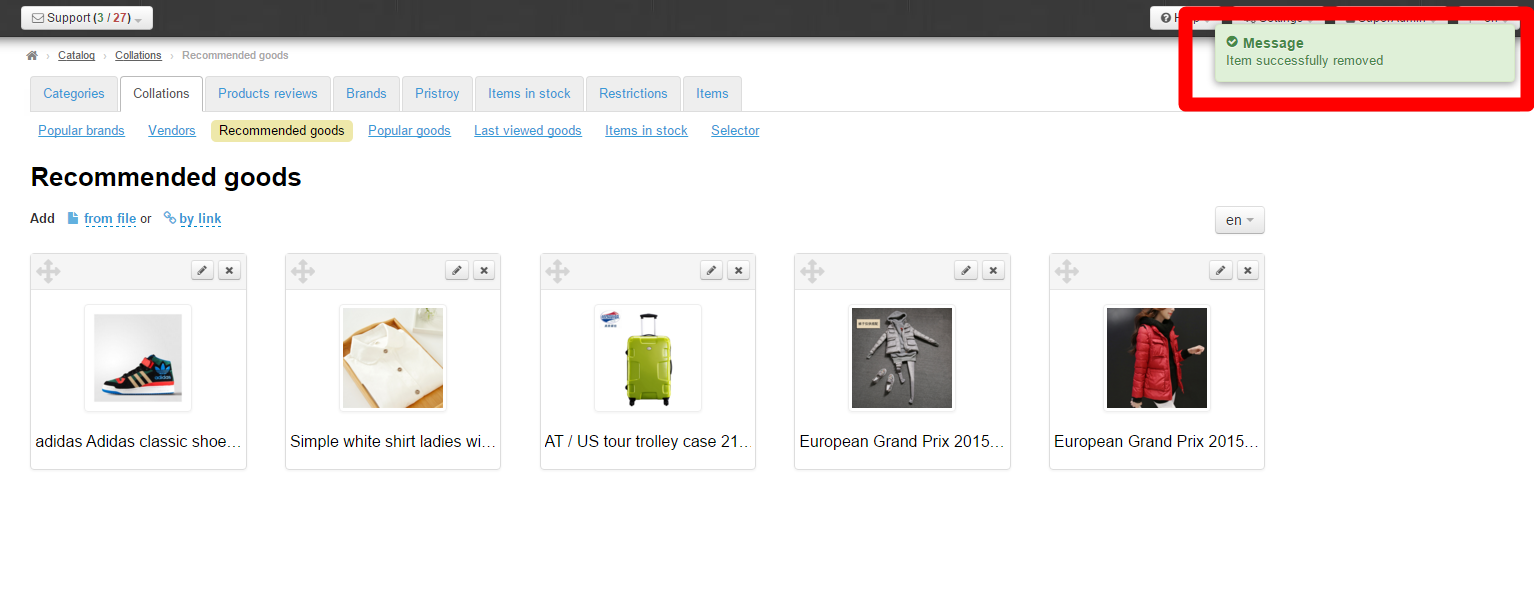
The item can be easily recovered using the “Add” button.
...
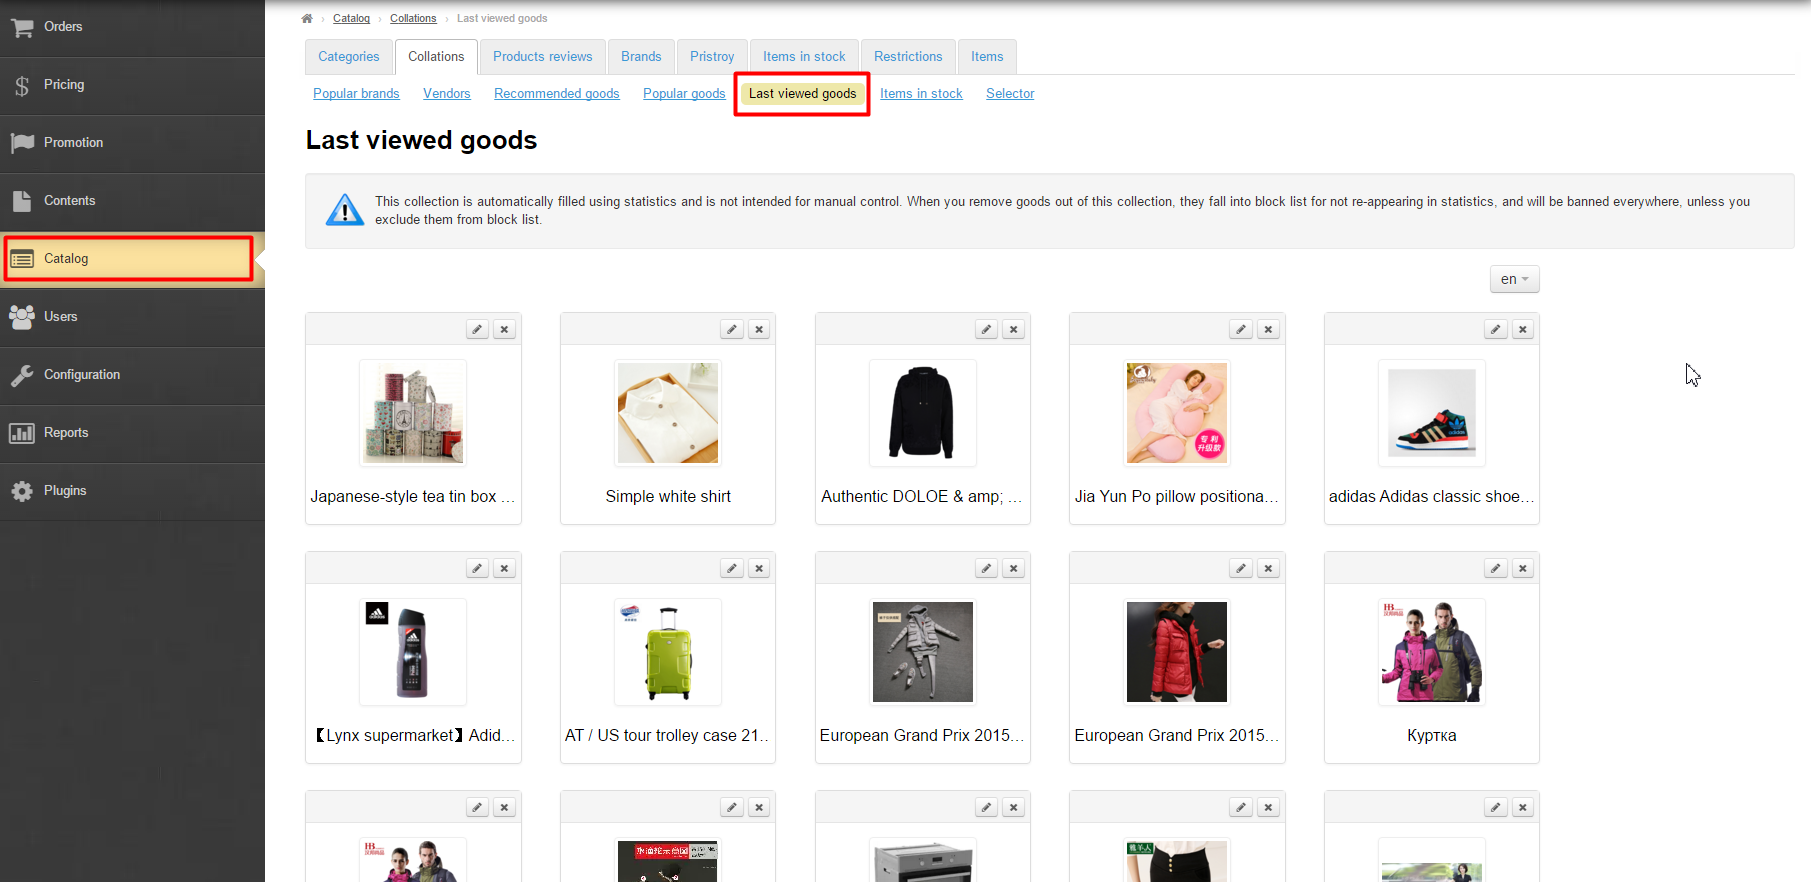
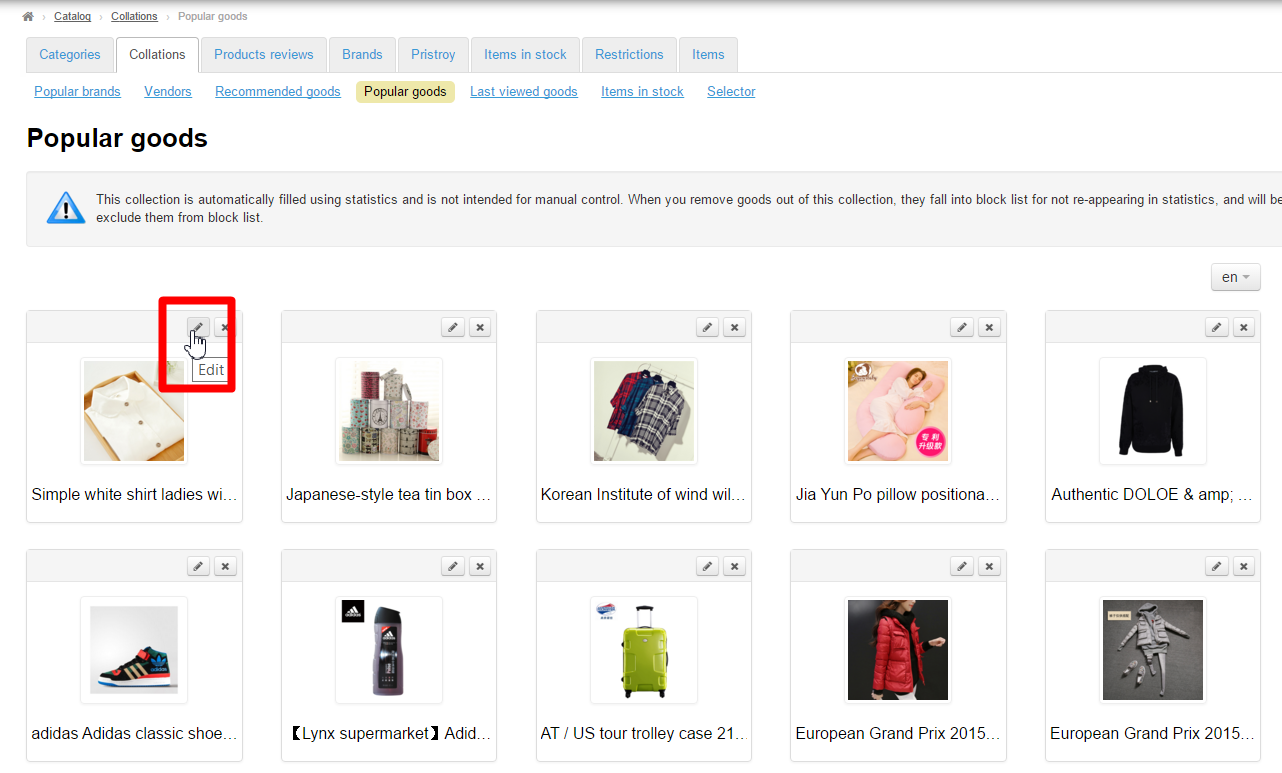
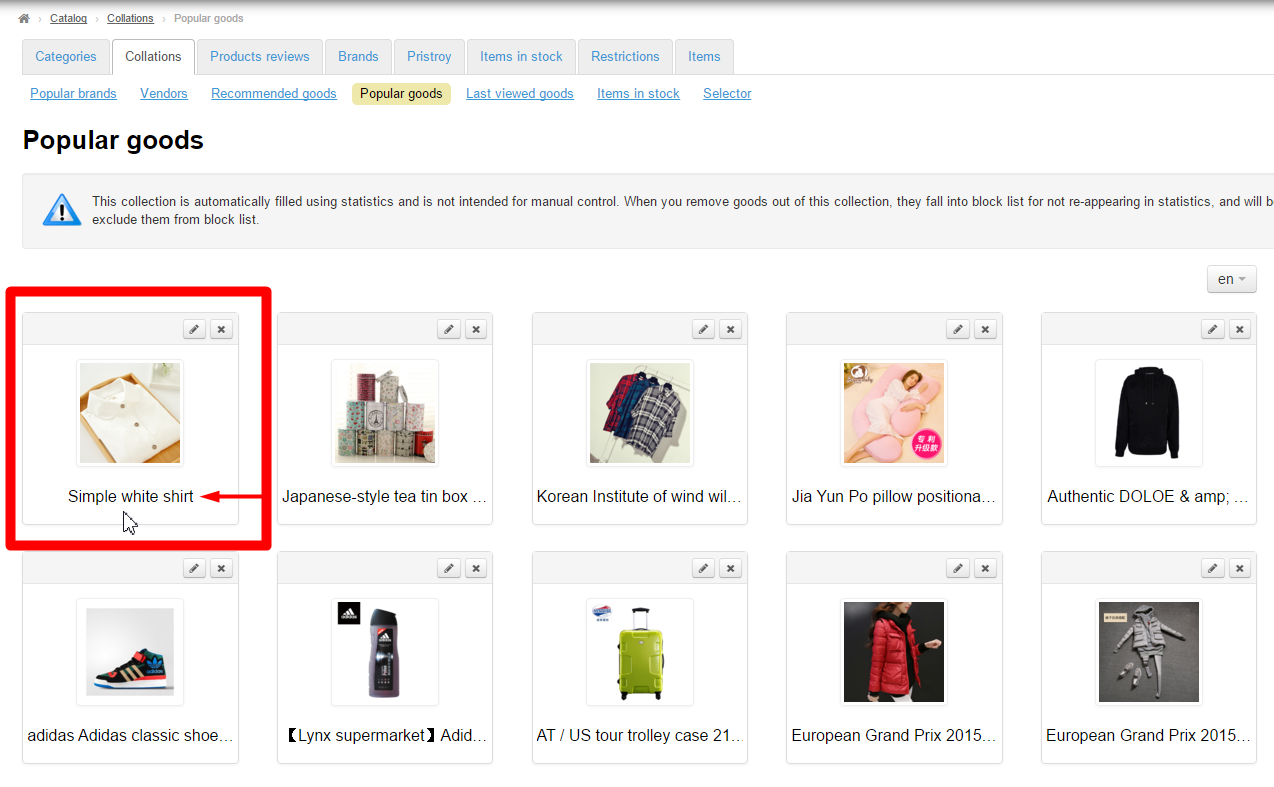
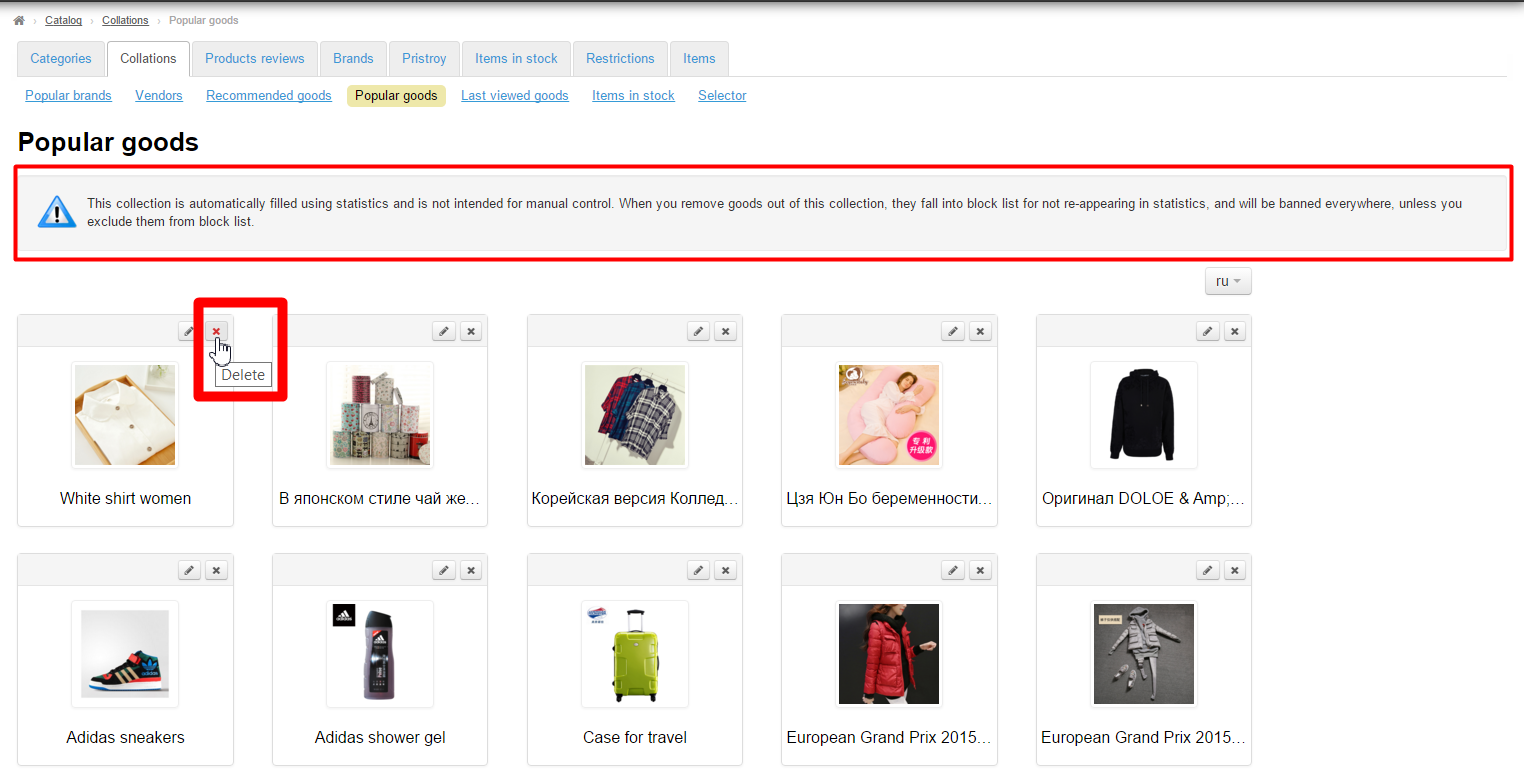
This collection is automatically filled using statistics and is not intended for manual control. When you remove goods out of this collection, they fall into block list for not re-appearing in statistics, and will be banned everywhere, unless you exclude them from block list.

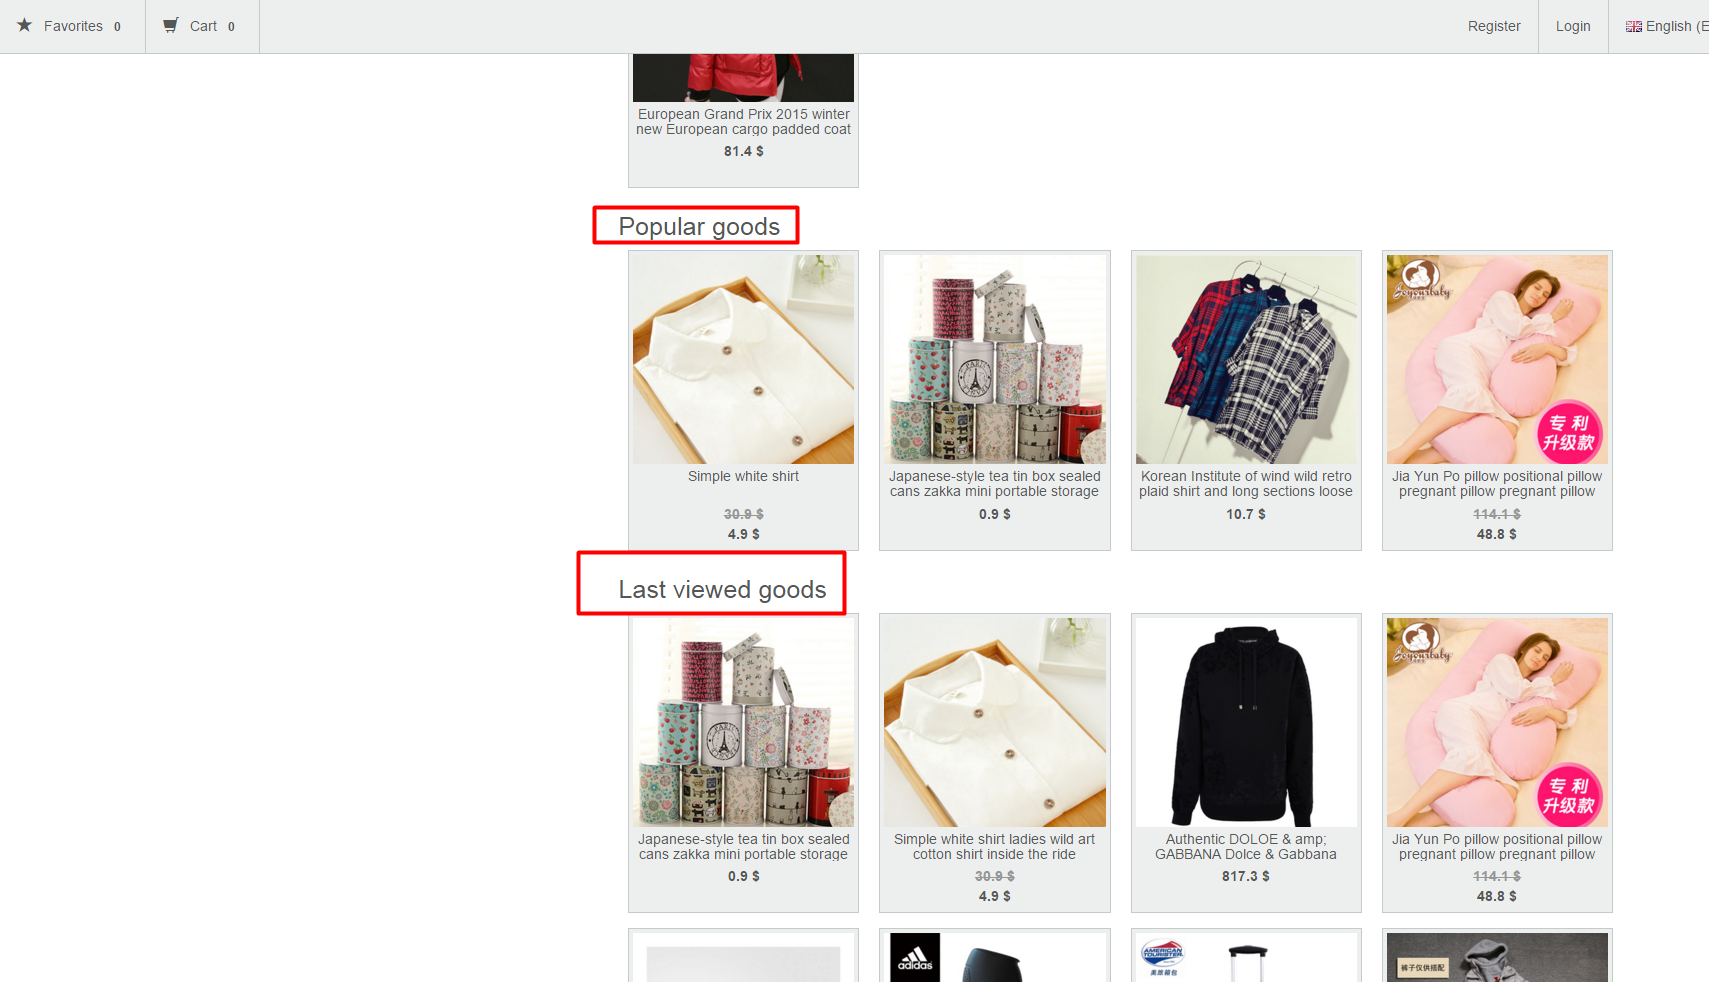
Goods are those items which are most commonly viewed by customers on your website. The number of items to be displayed on the homepage is specified in the “Homepage configuration” section.
Goods are displayed on the homepage:
Even though popular items cannot be added to a collection, they can de reordered, removed (temporarily) or edited.
...
In order to edit the item’s name and its description you should click the “Edit” (the pencil icon) button next to an item.
This will bring up a form where you can modify the item’s name and description.
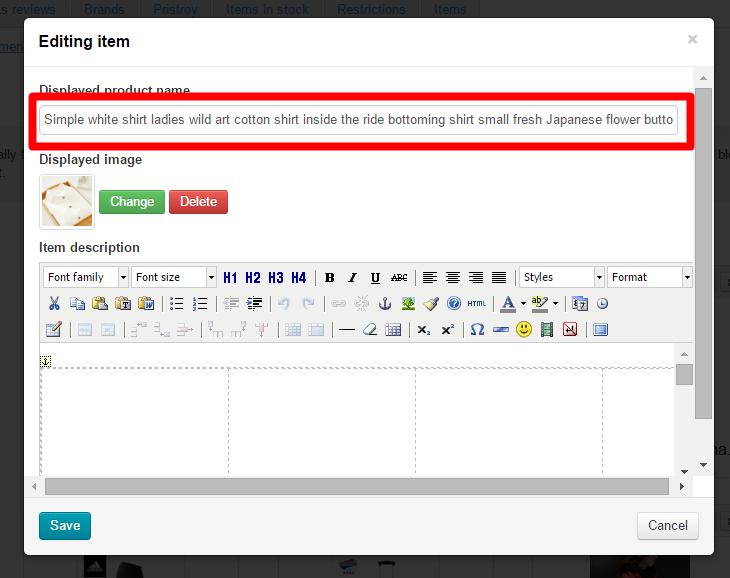
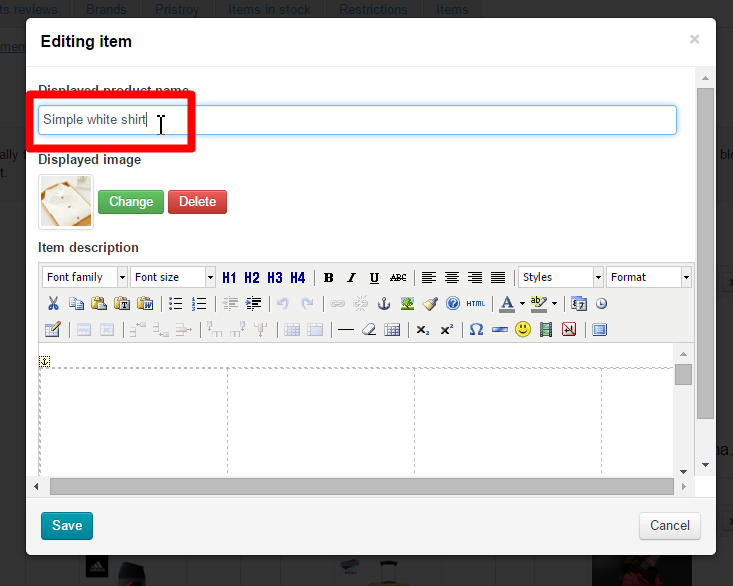
Make all necessary changes:
Click the “Save” button to preserve your changes.
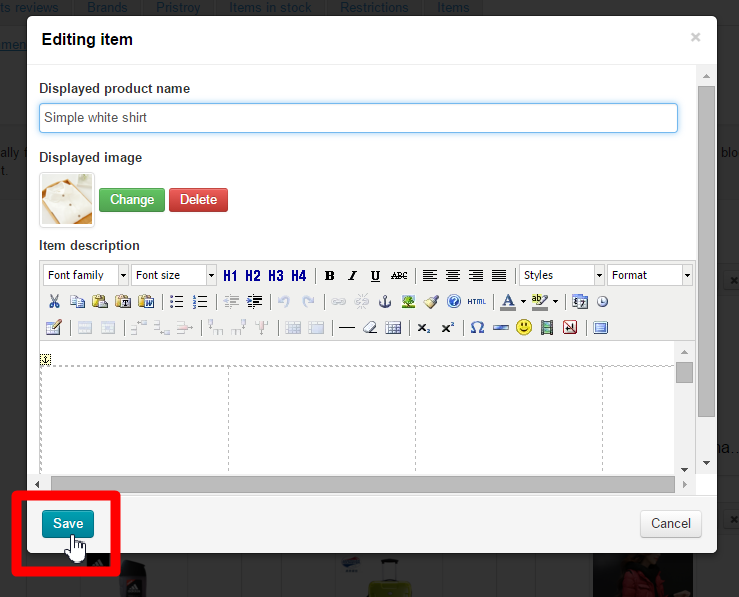
The changes will be saved in the administrative area:
The changes will appear on the item’s page on the website.
...
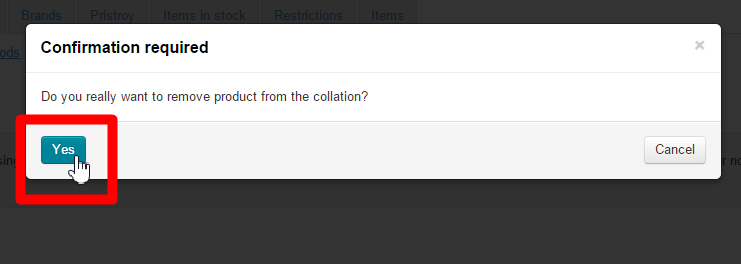
In order to delete an item from the collection you need to click on the X icon on the right-hand side of the item:
Once you have clicked the X icon you should confirm your choice .Click the “Yes” button if you are sure you want to delete the item from the collection.
After doing so, the item will be deleted from the collection and won’t be shown on the homepage.
Warehouse items
Warehouse items are displayed if the "Warehouse items” module is enabled. For further information please refer to http://en.otcommerce.com/prices-and-promo
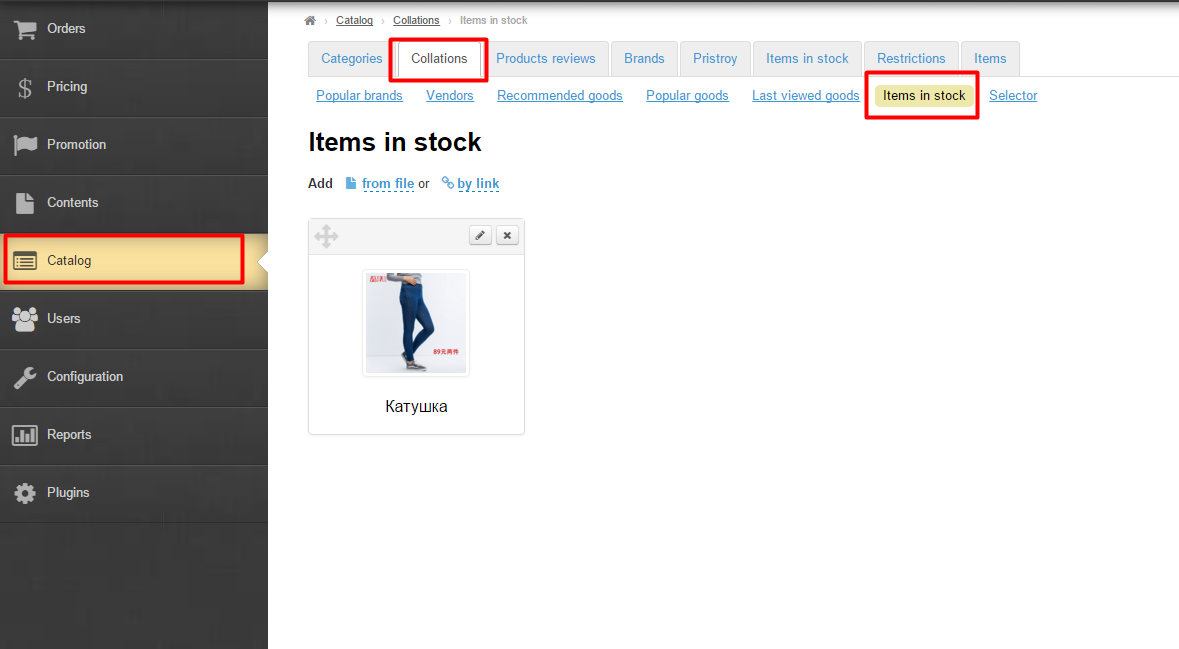
A collection of items available from the "Warehouse items” module to display on the homepage
...
Go to the “Warehouse items” category and select items to be displayed on the homepage:
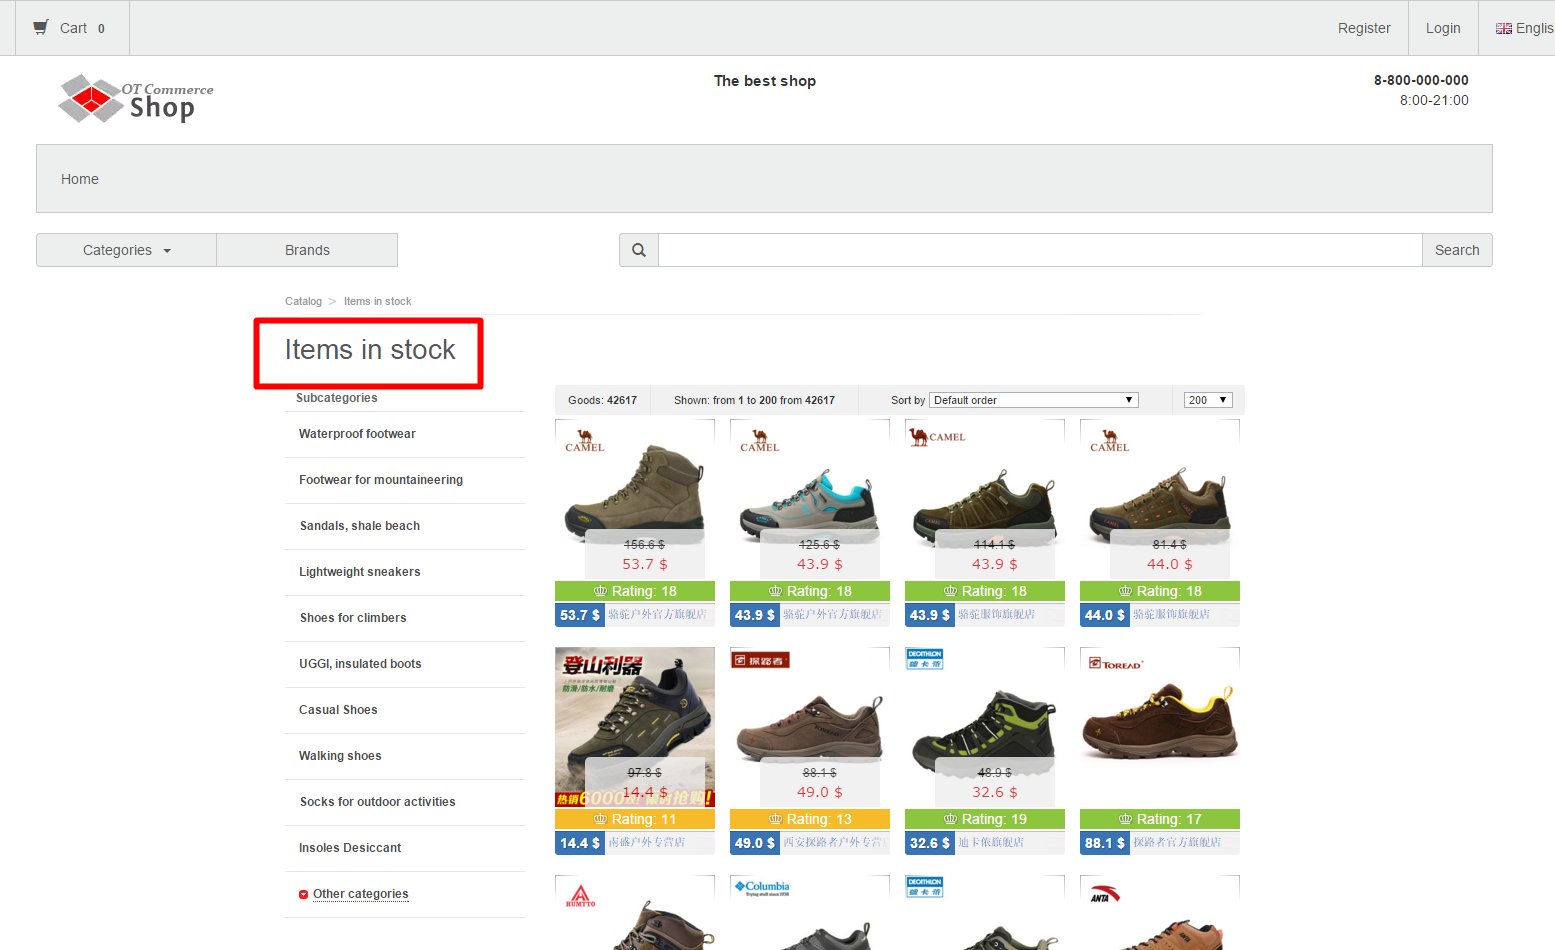
Select the item that interests you and copy a link to the item from the address bar:

Now you’ve got the link to the item.
...
Click on the blue dashed underlined text “by link”.
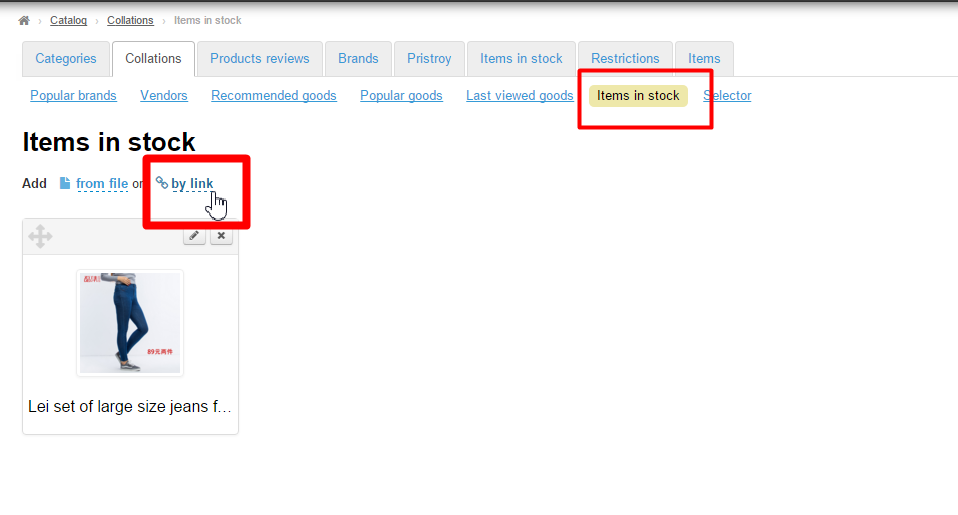
This will show up the form where you should enter the link you got according to the instructions above:
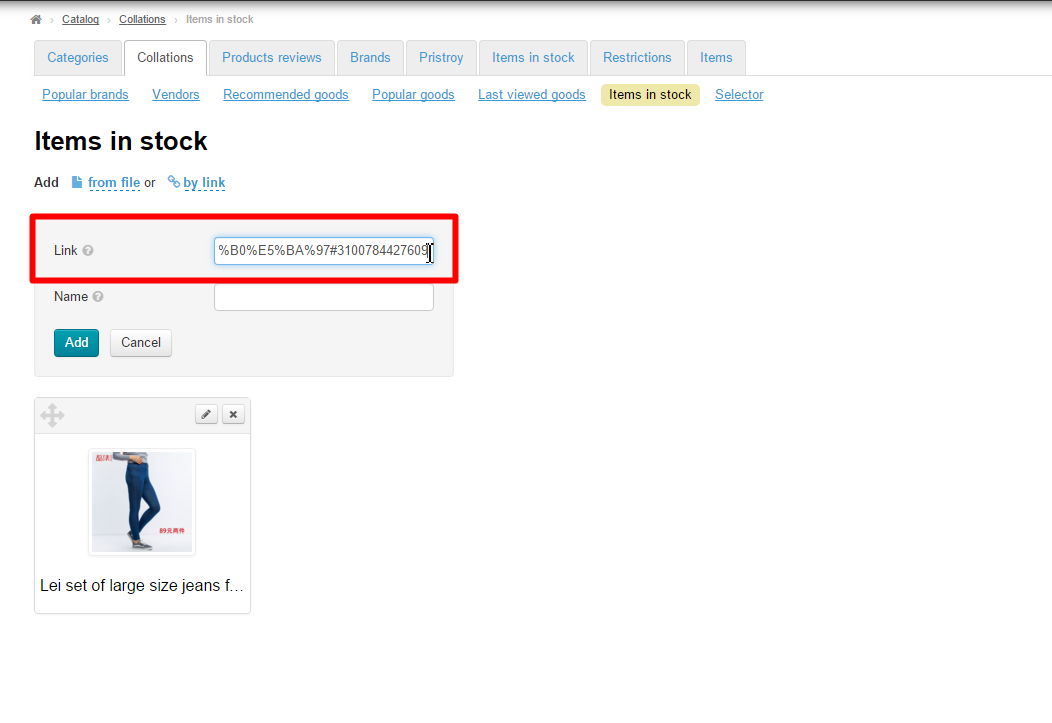
Once you’ve added the link to the form, it is necessary to add the item to a collection: click the “Add” button.
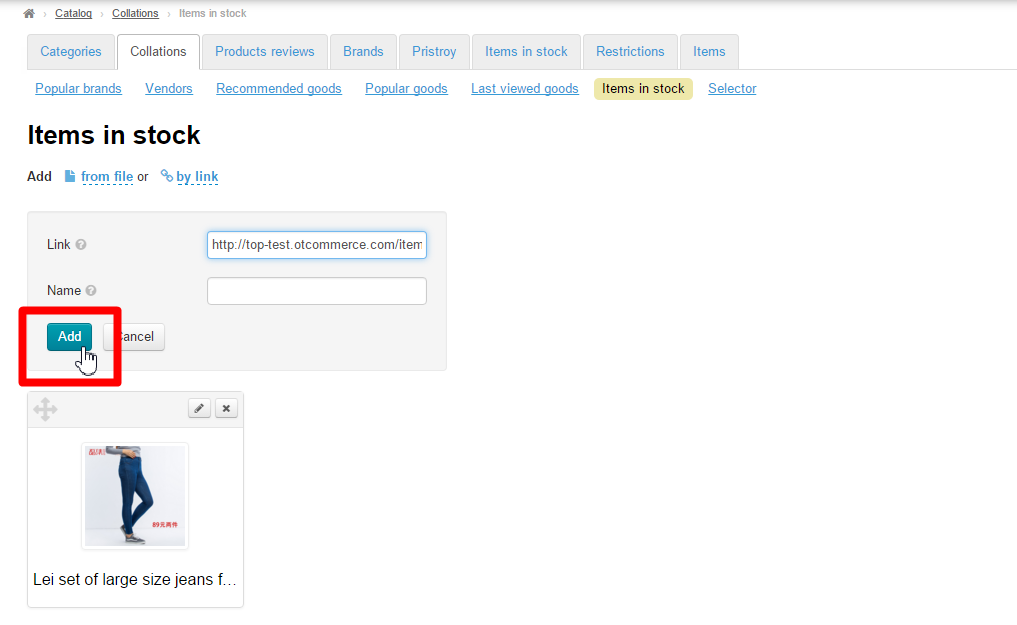
Once you’ve done this, the new item will appear in a collection in the administrative area:
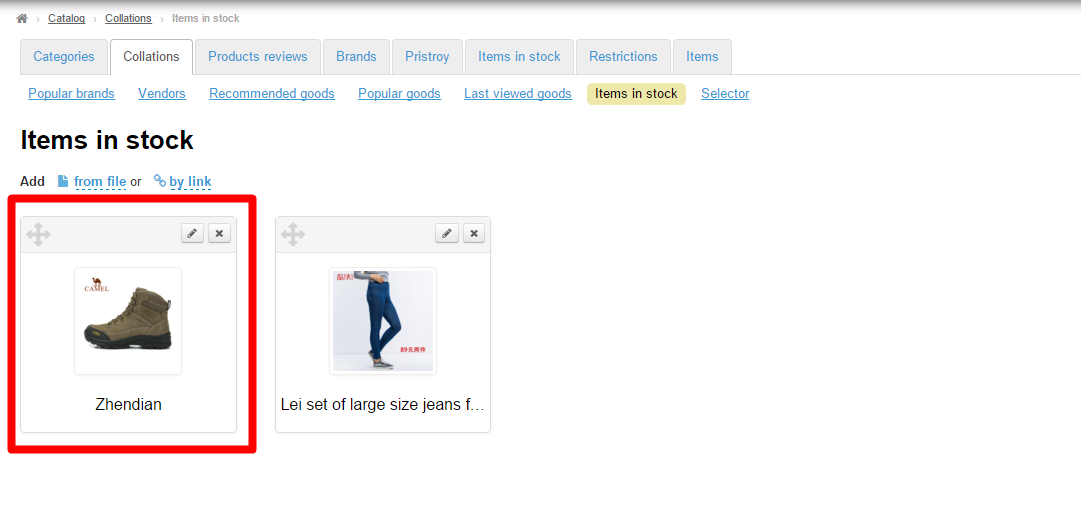
And on the homepage of the website.
...
Important! Each link must start at the beginning of a new line .
After saving the file, you need to upload it to collections
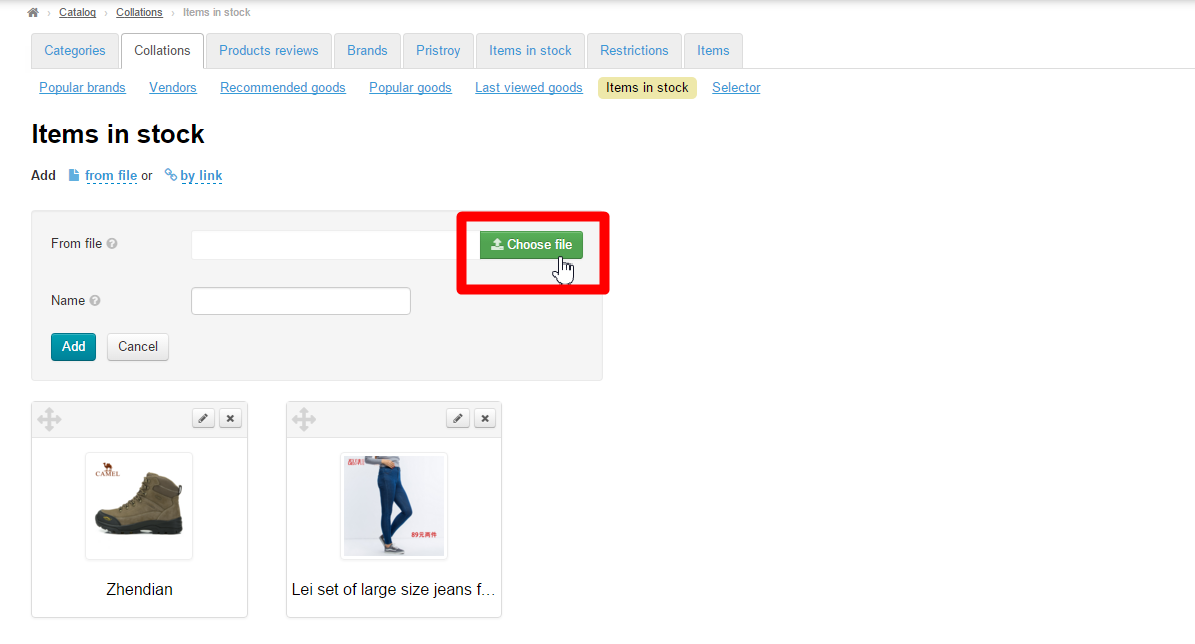
Click on the blue dashed underlined text “From file”:

Click the “Select file” button and select the newly created file:
After doing this, click the “Add” button.
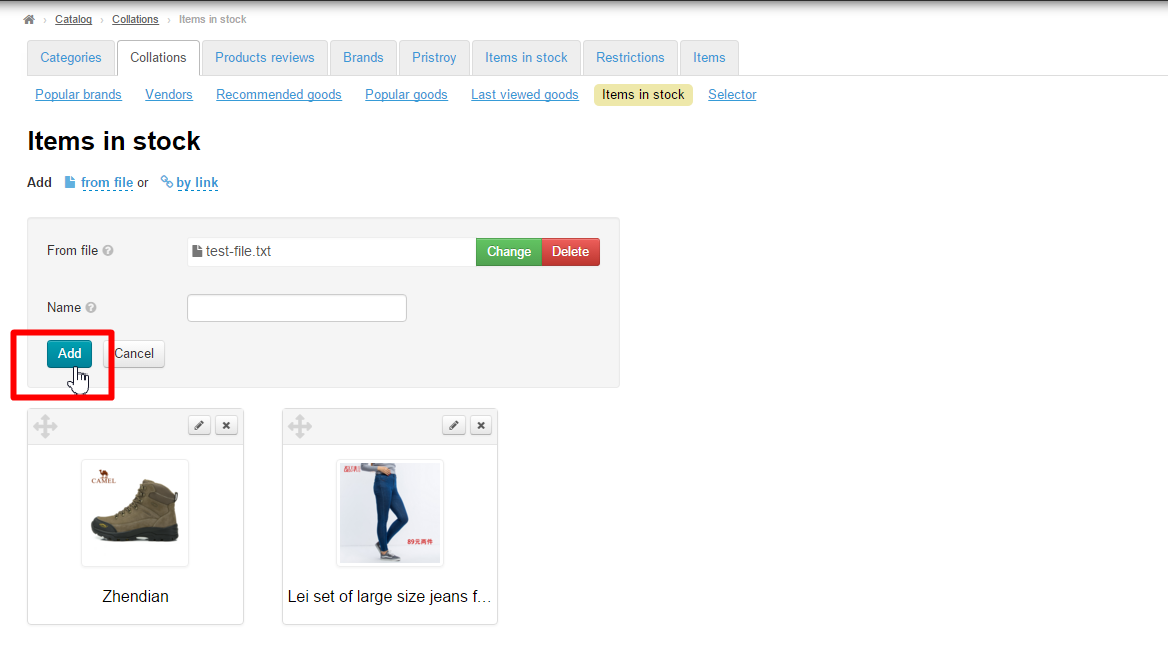
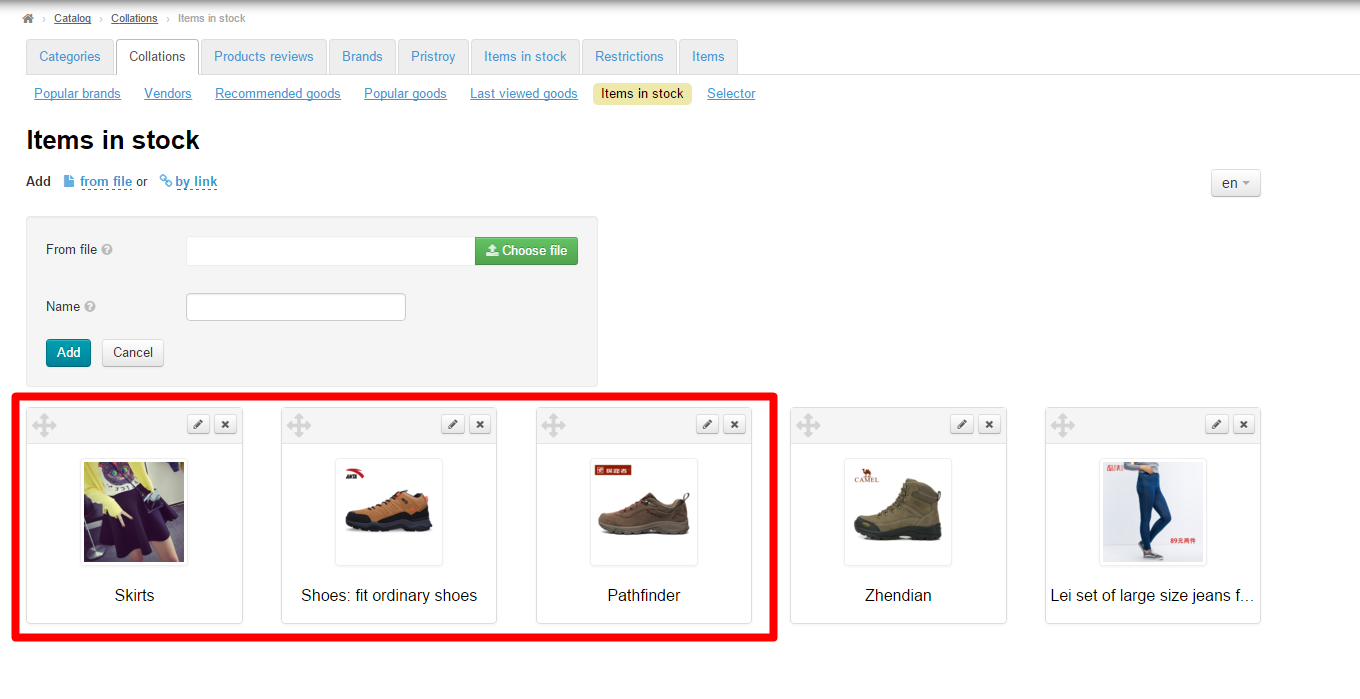
The items stated in the file will be added to a collection.
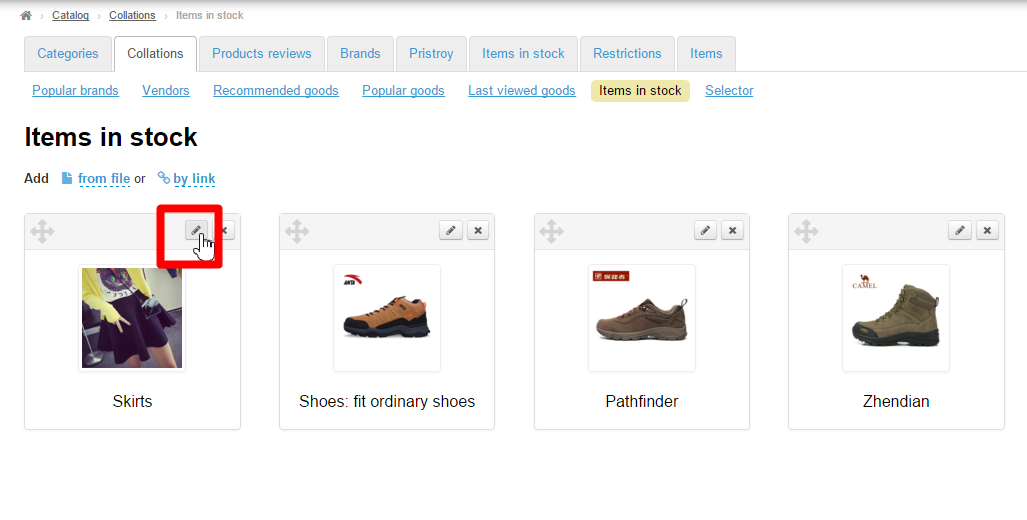
Edit
In order to edit the item’s name and its description you should click the “Edit” (the pencil icon) button next to an item.
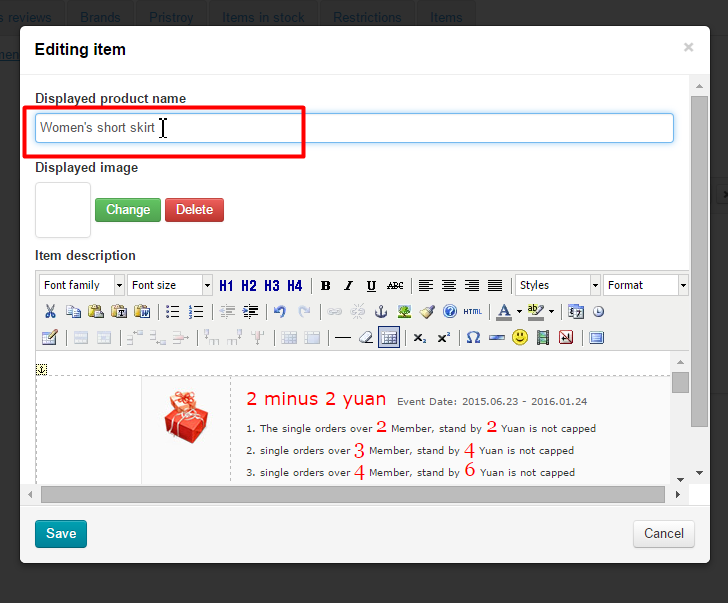
This will bring up a form where you can modify the item’s name and description.
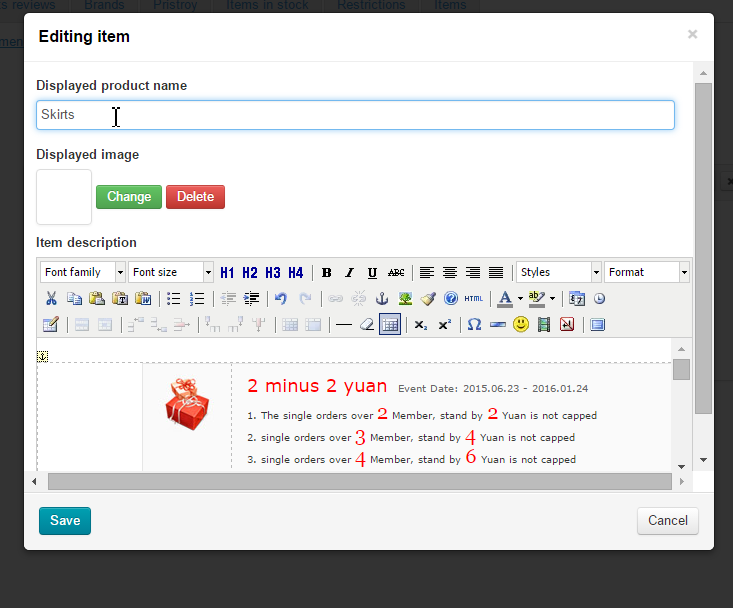
Make all necessary changes:
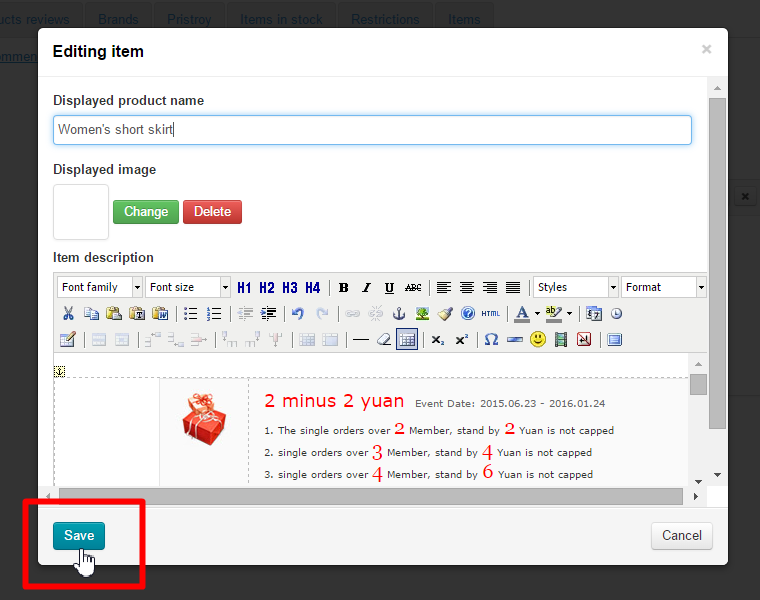
Click the “Save” button to preserve your changes.
After doing so, the changes will be saved in the administrative area:
The changes will appear on the item’s page on the website.
...
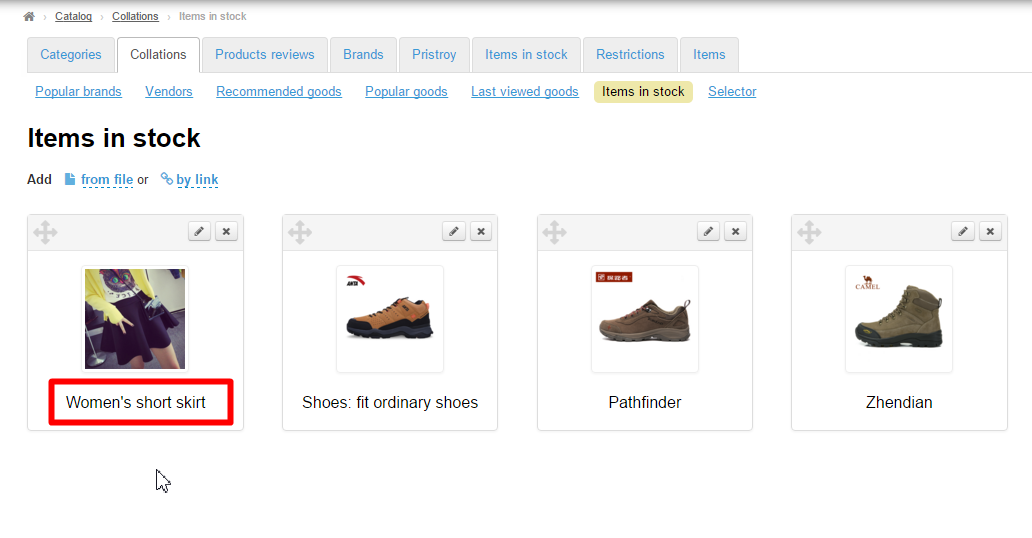
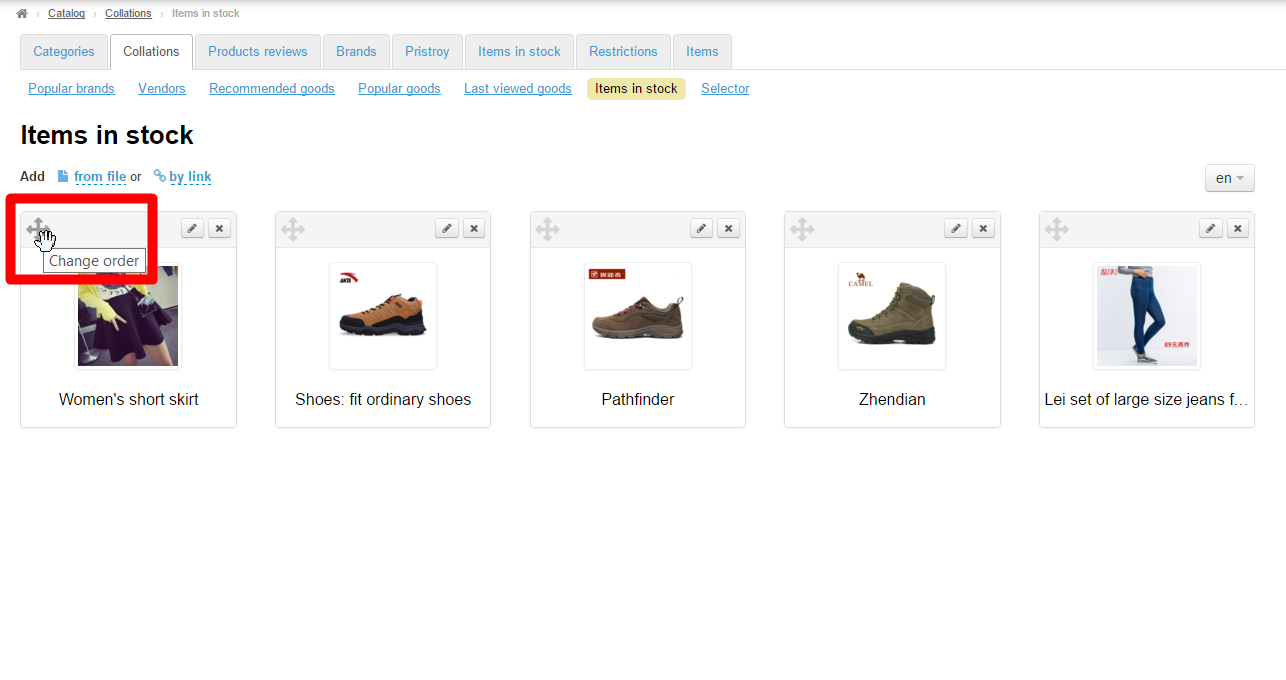
To change the existing arrangement of items in a collection click the “Move” icon (the four-headed arrow) to the left of the item:
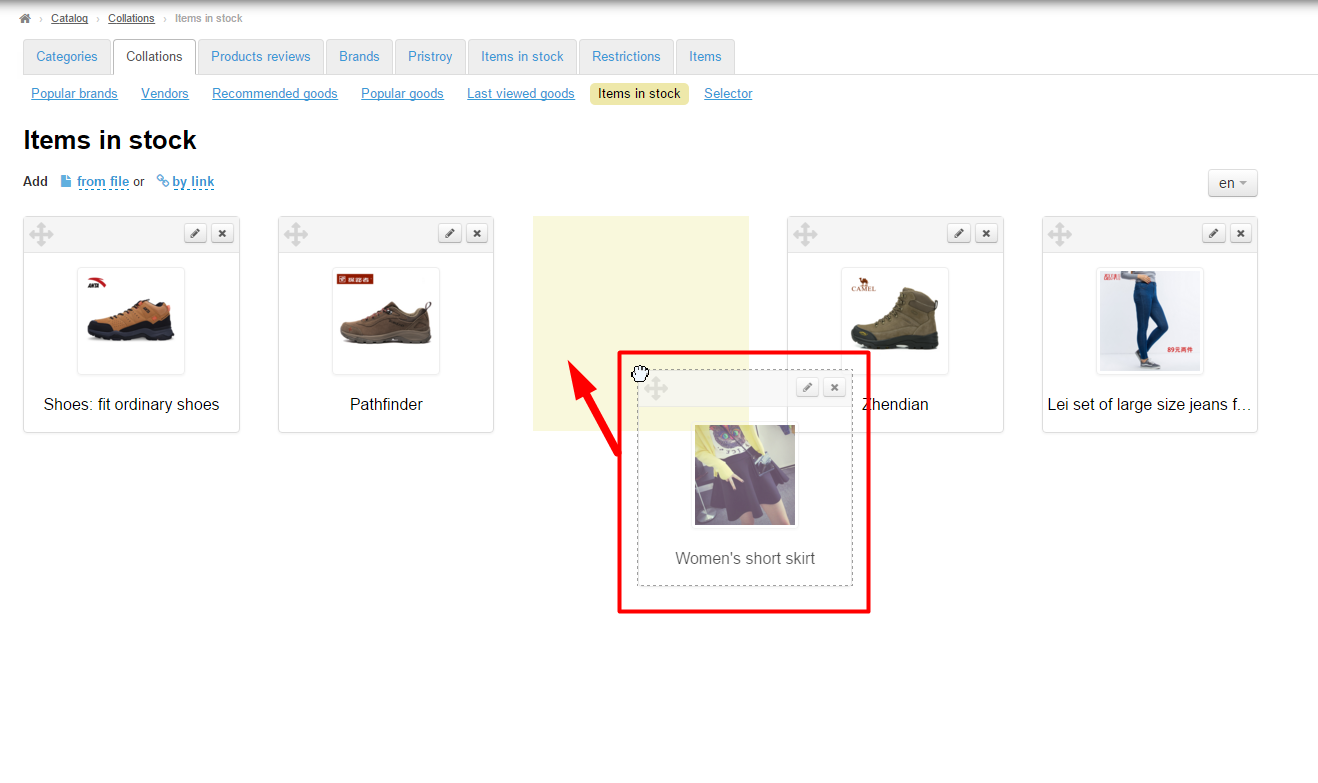
Without releasing the mouse button drag the desired item to a new position (indicated by yellow on the screenshot):
When you release the button the item will take a required position.
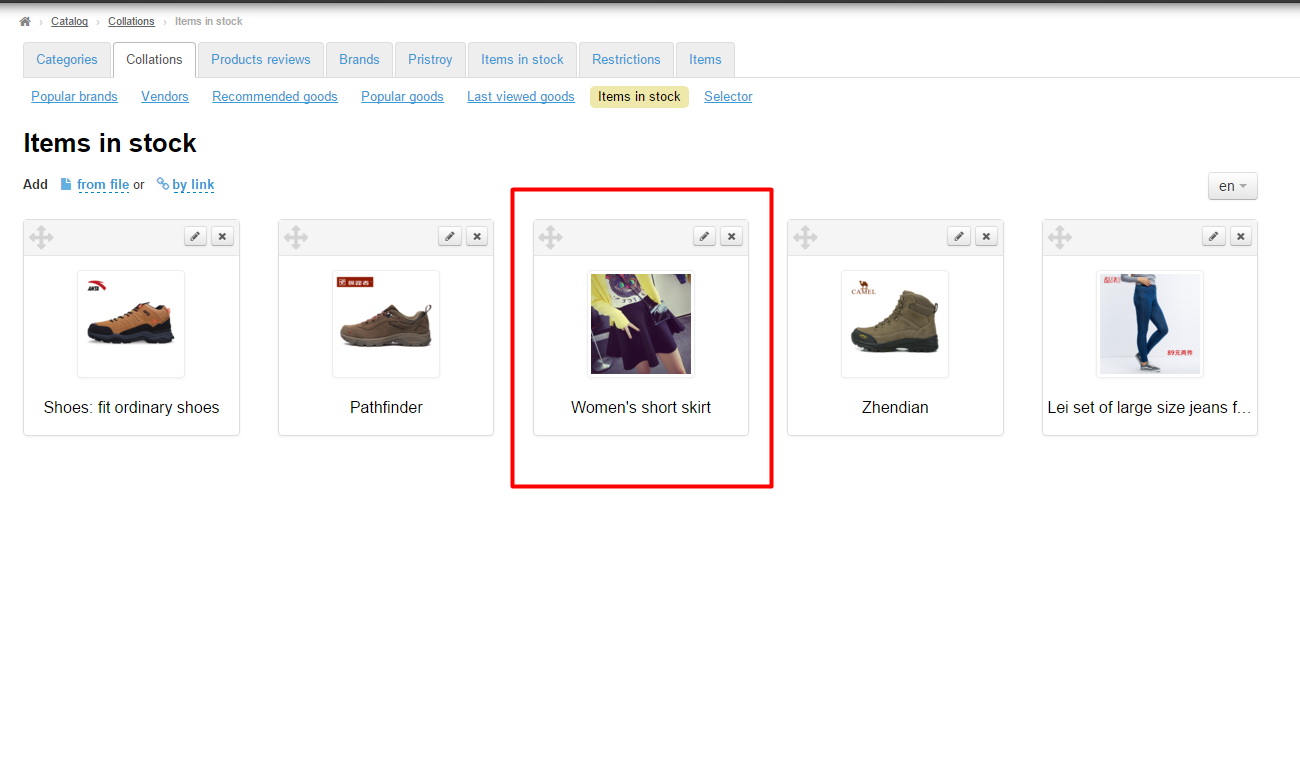
The new arrangement of items will be saved in the administrative area and on the website.
...
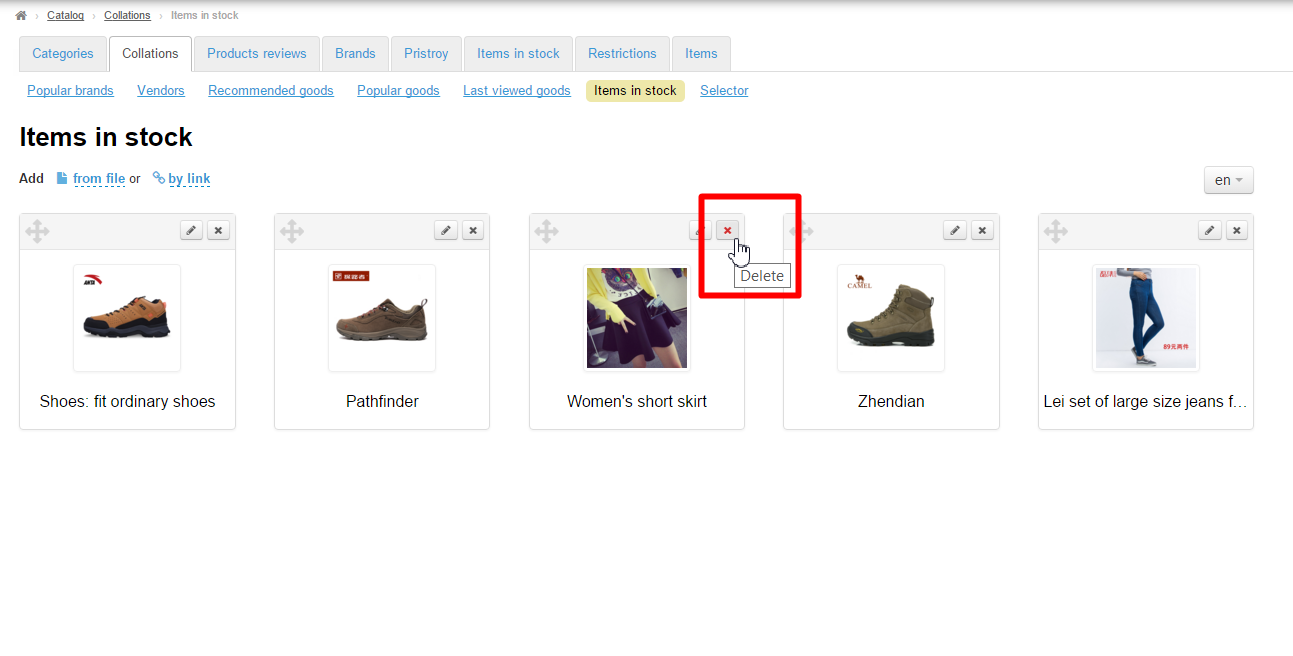
In order to delete an item from the collection you need to click on the X icon on the right-hand side of the item:
Clicking on the “Yes” button will confirm your choice.
...
After doing so, the item will be deleted from the collection:
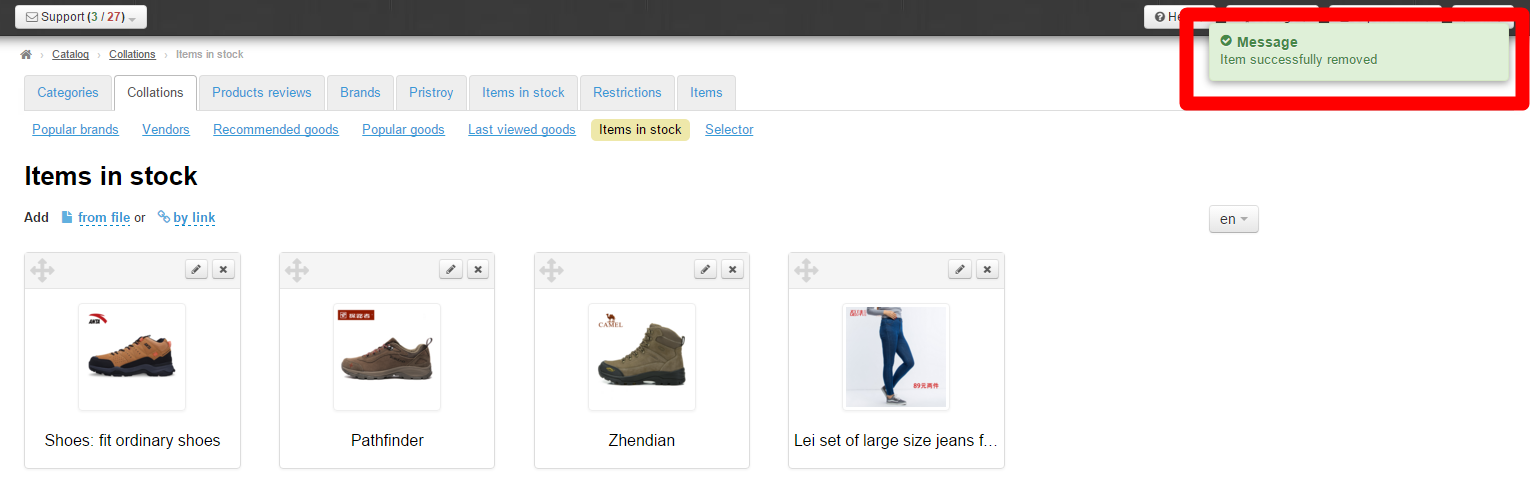
The item can be easily recovered using the “Add” button.