| Оглавление |
|---|
...
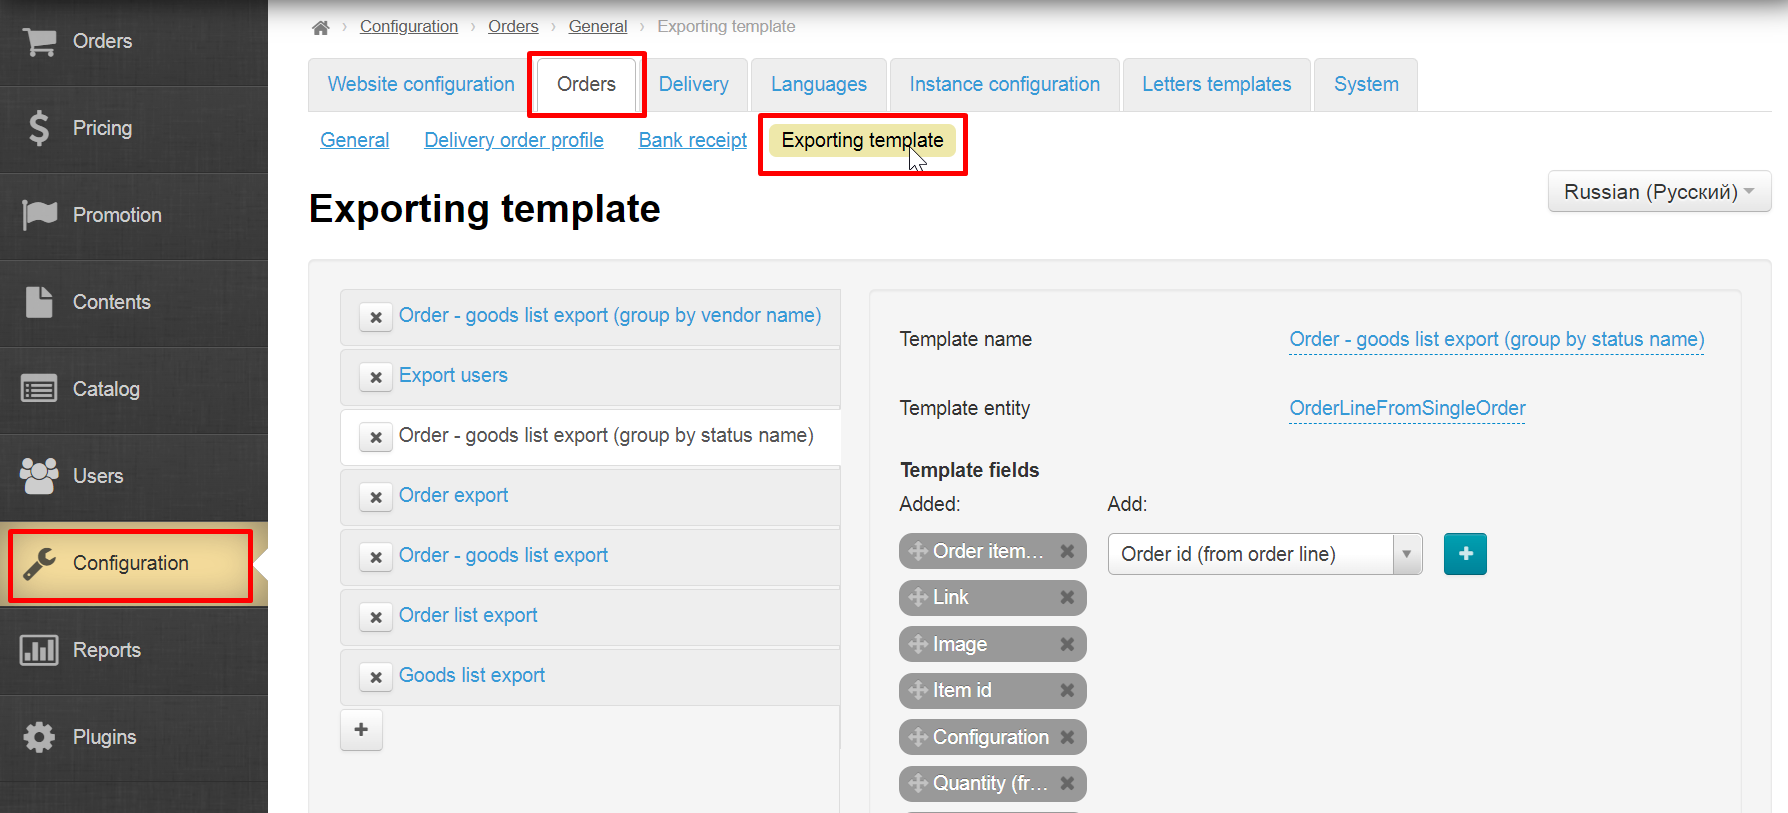
Configuration → Orders → Exporting template
Configuring data for Export
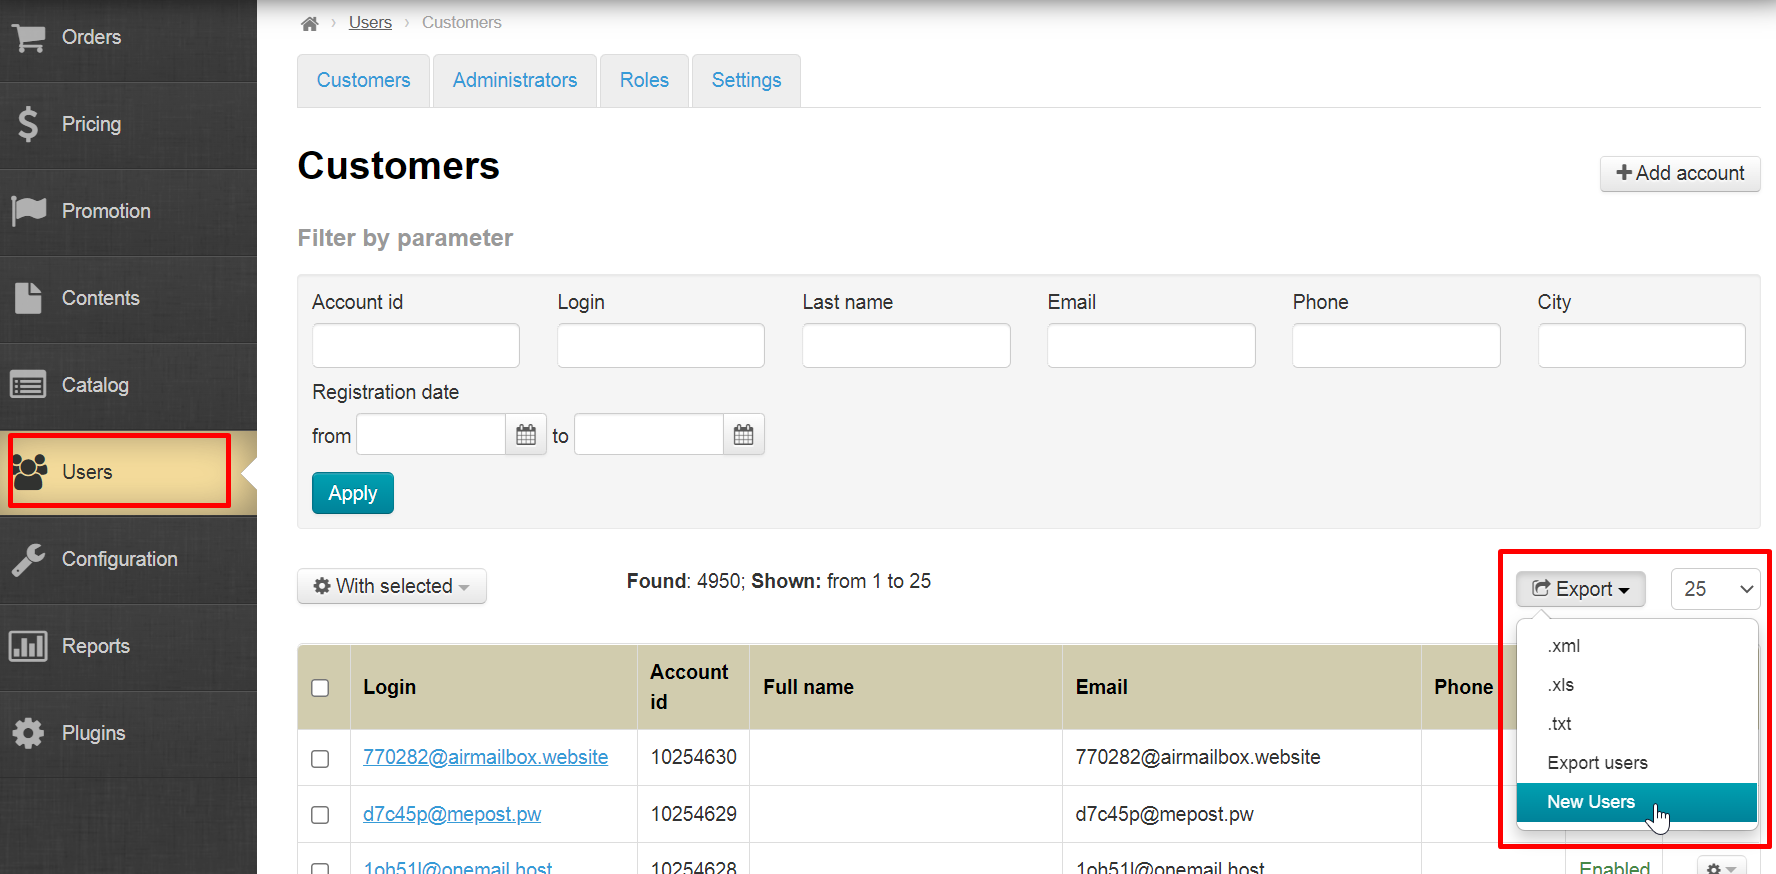
Where will we see these templates?
Clicking "Export" button in all places of admin panel will allow you to choose which export to perform.
Add template
Click "+" (Add) on the left side of the page
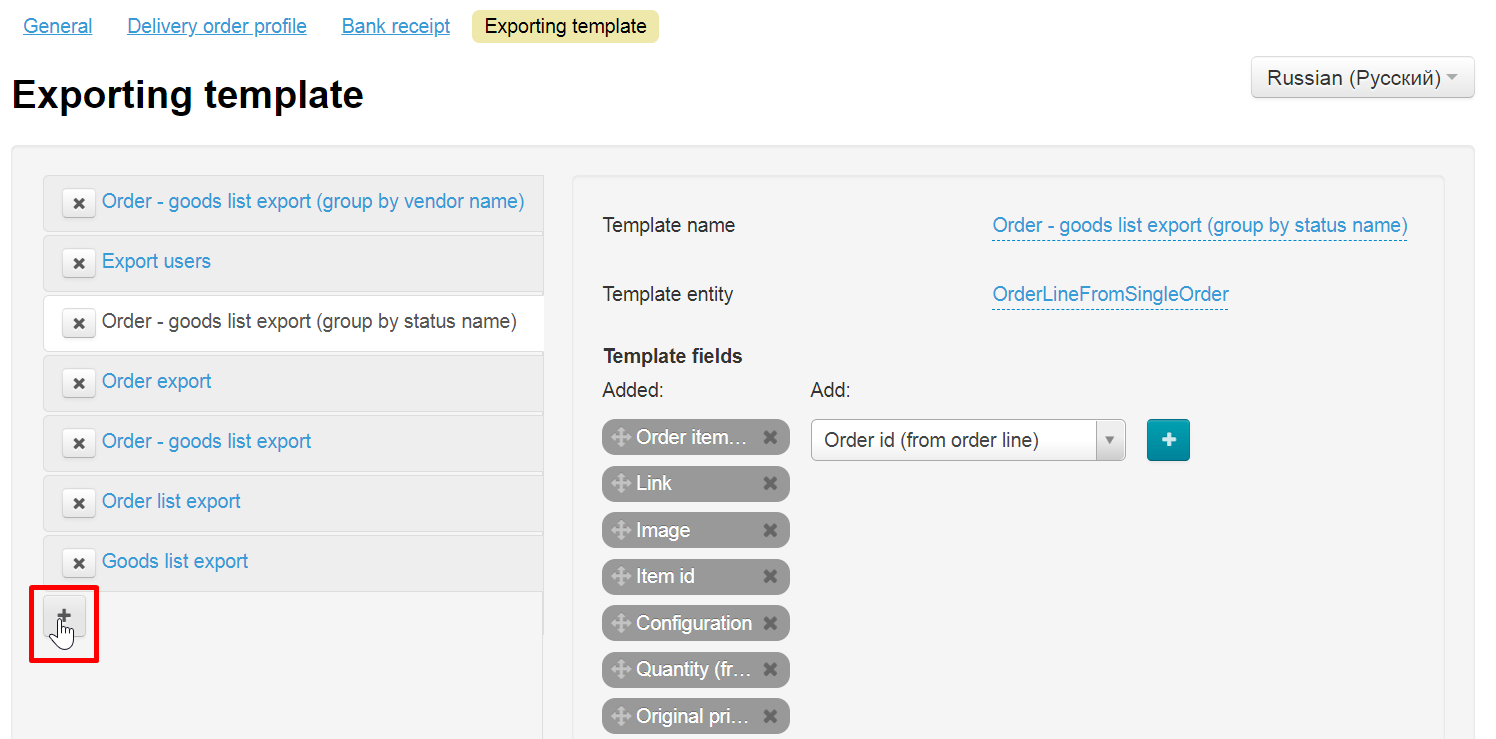
Forms to fill out will appear on the right.
Name
Specify template name (this name can be changed at any time)
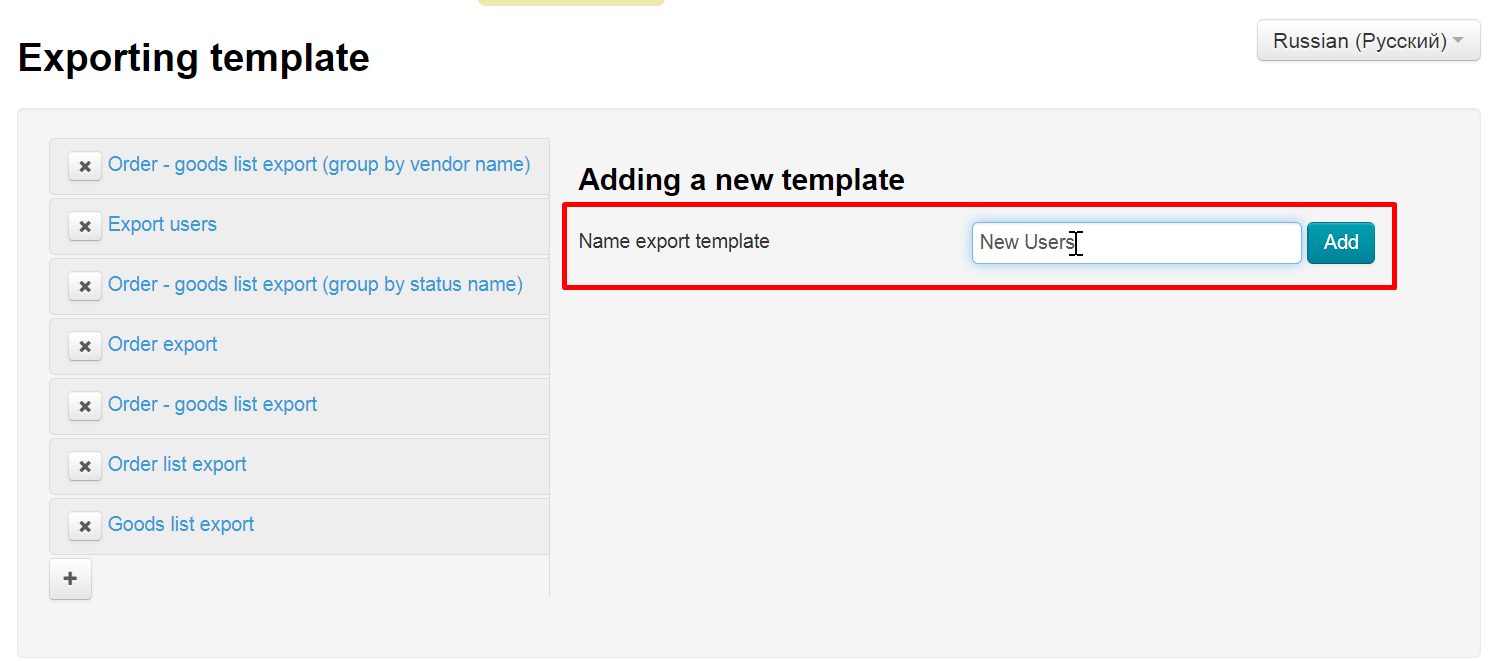
Click "Add" button
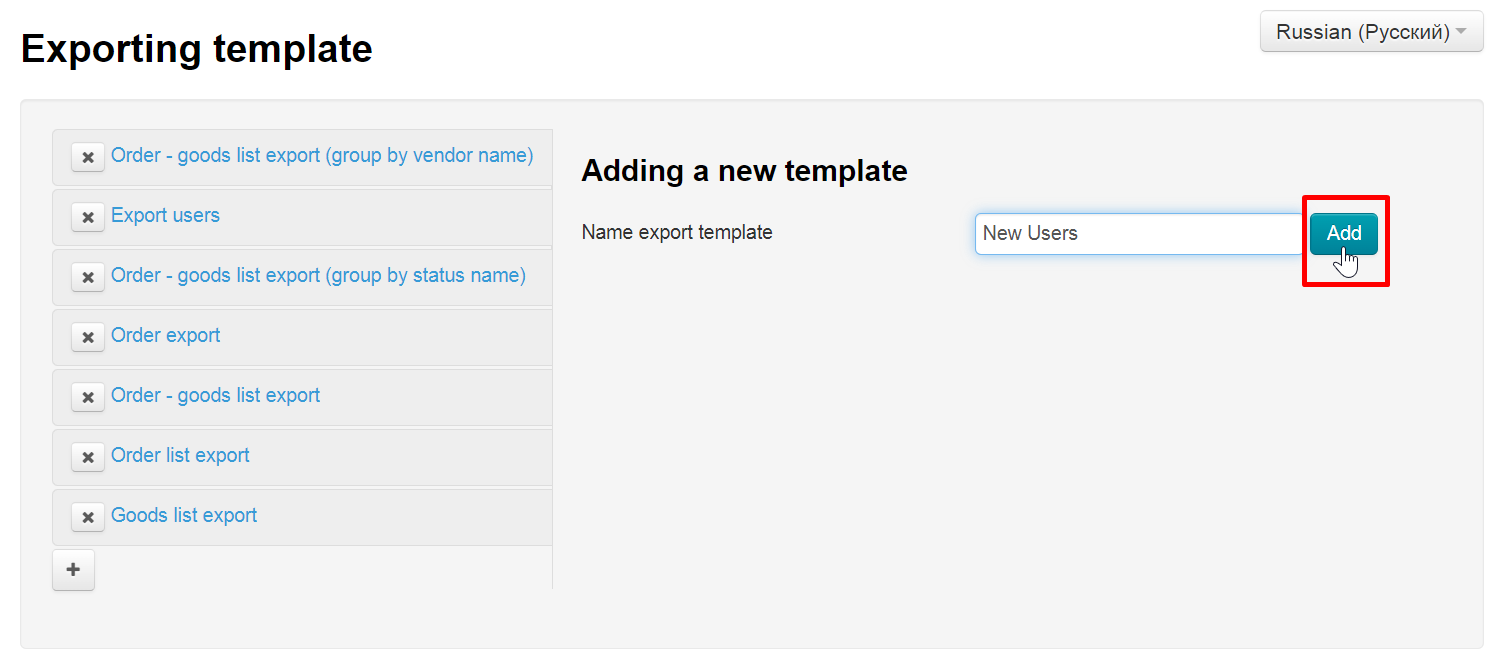
Template was created
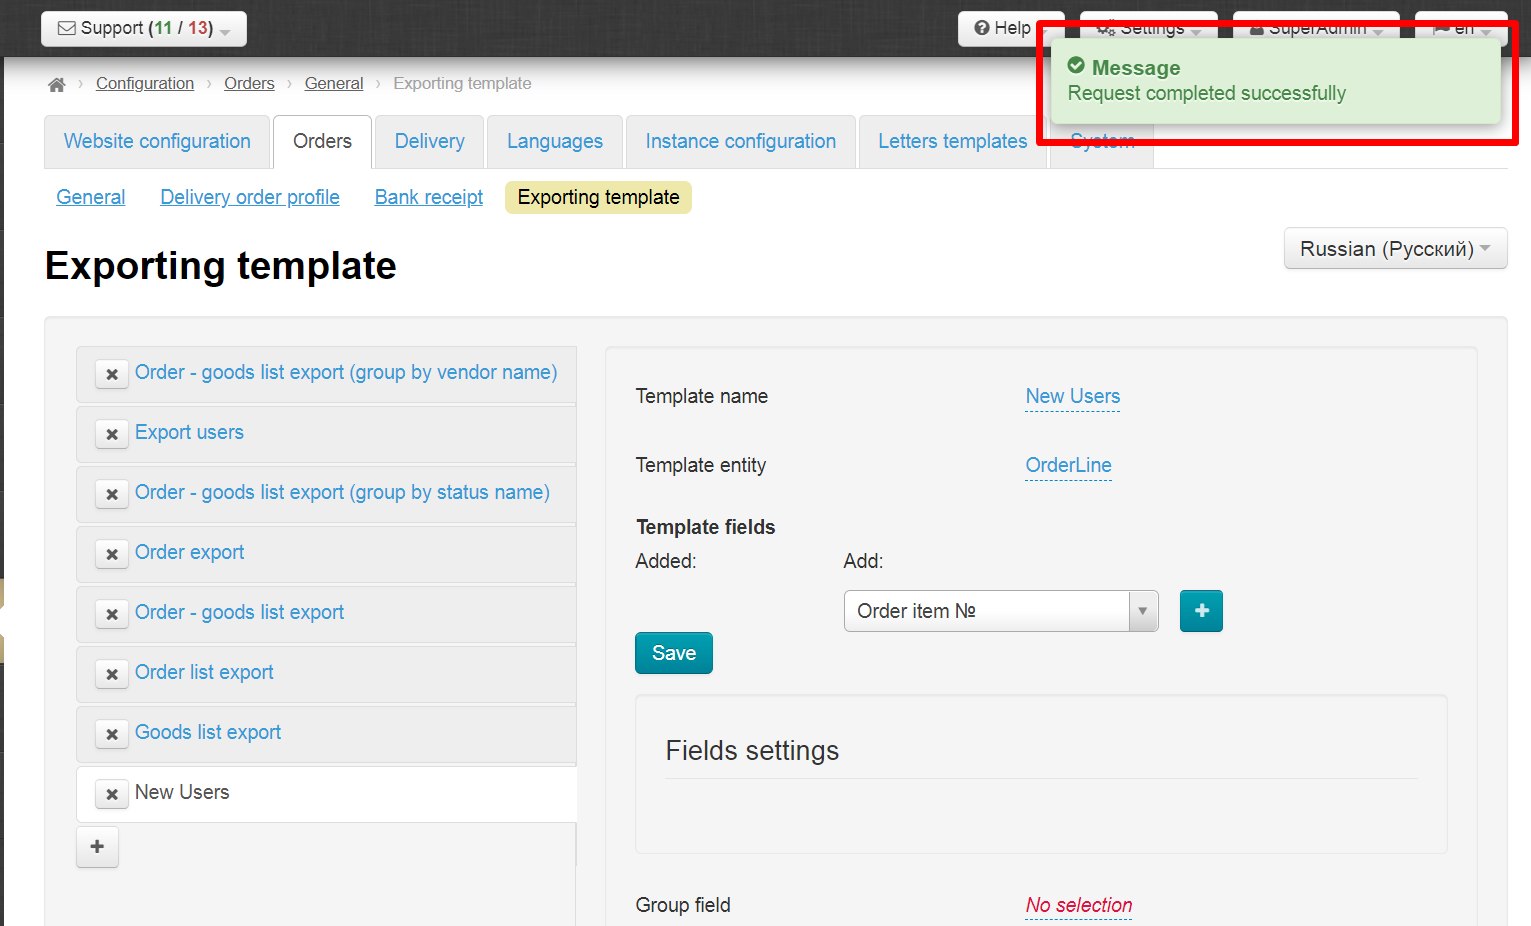
We will configure it now. The point of the setting: select the data fields required for export. You need to select those fields that will help you work with the exported data as efficiently as possible. The more convenient the file is, the faster you can process information.
Pay attention to fields order in the template as well as fields grouping.
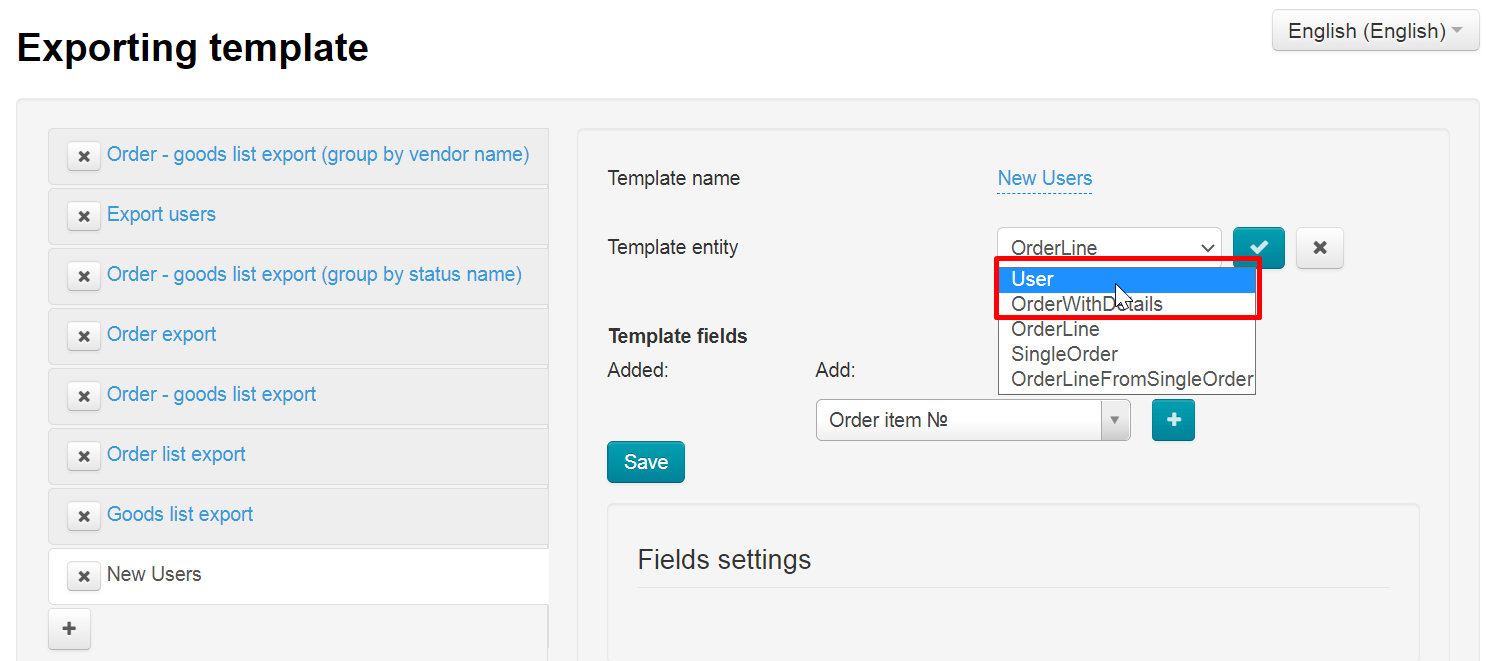
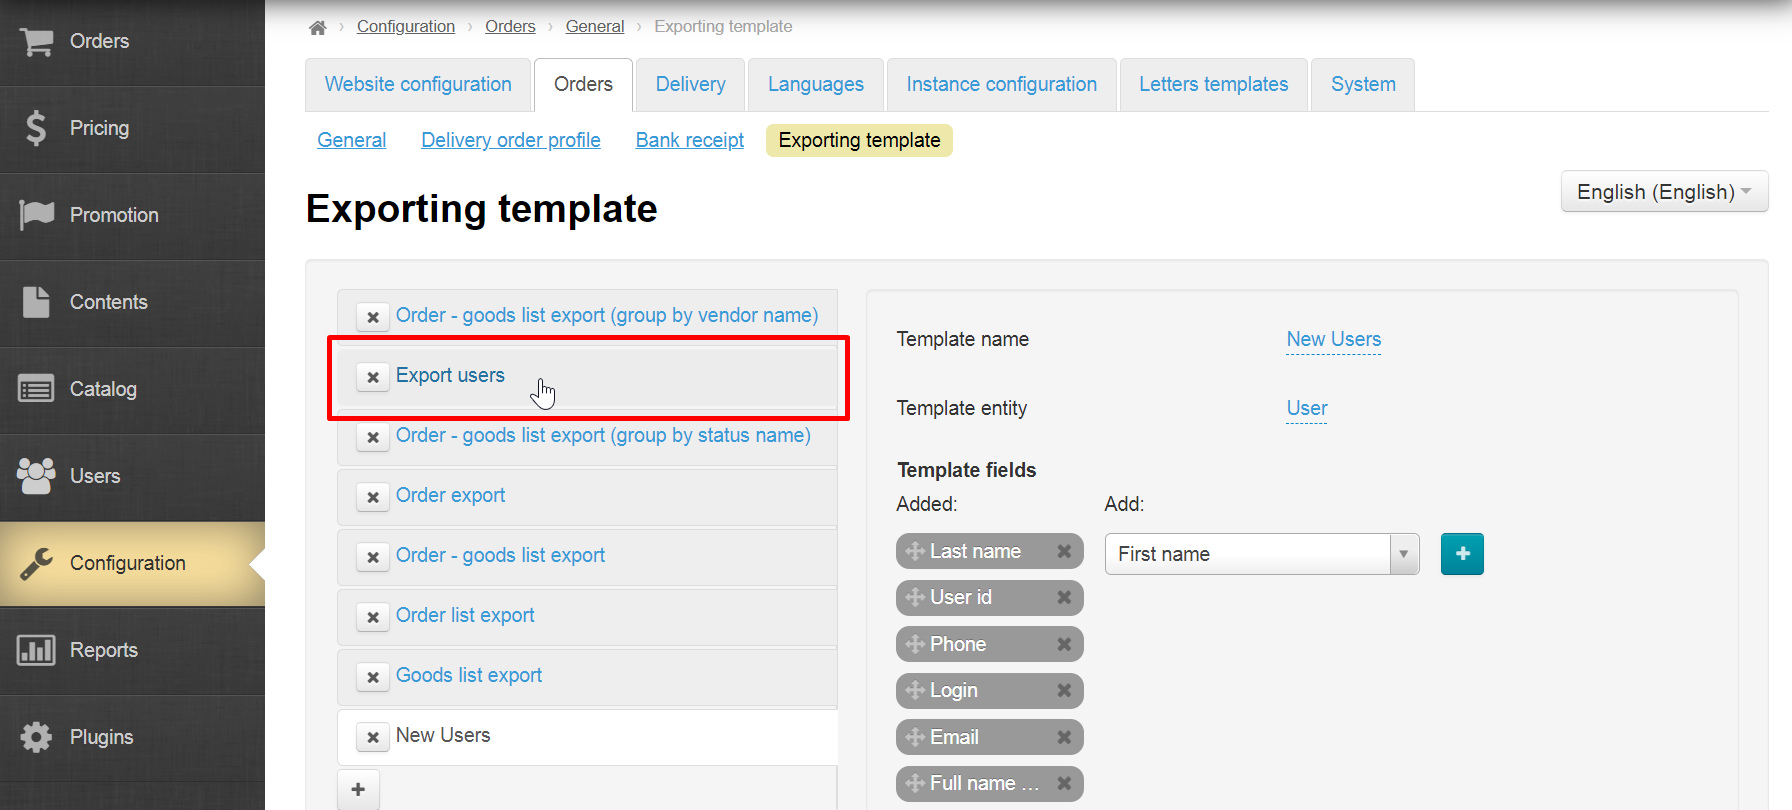
Template entity
Select template entity first. This is "User" in our case. Сlick blue dotted text.
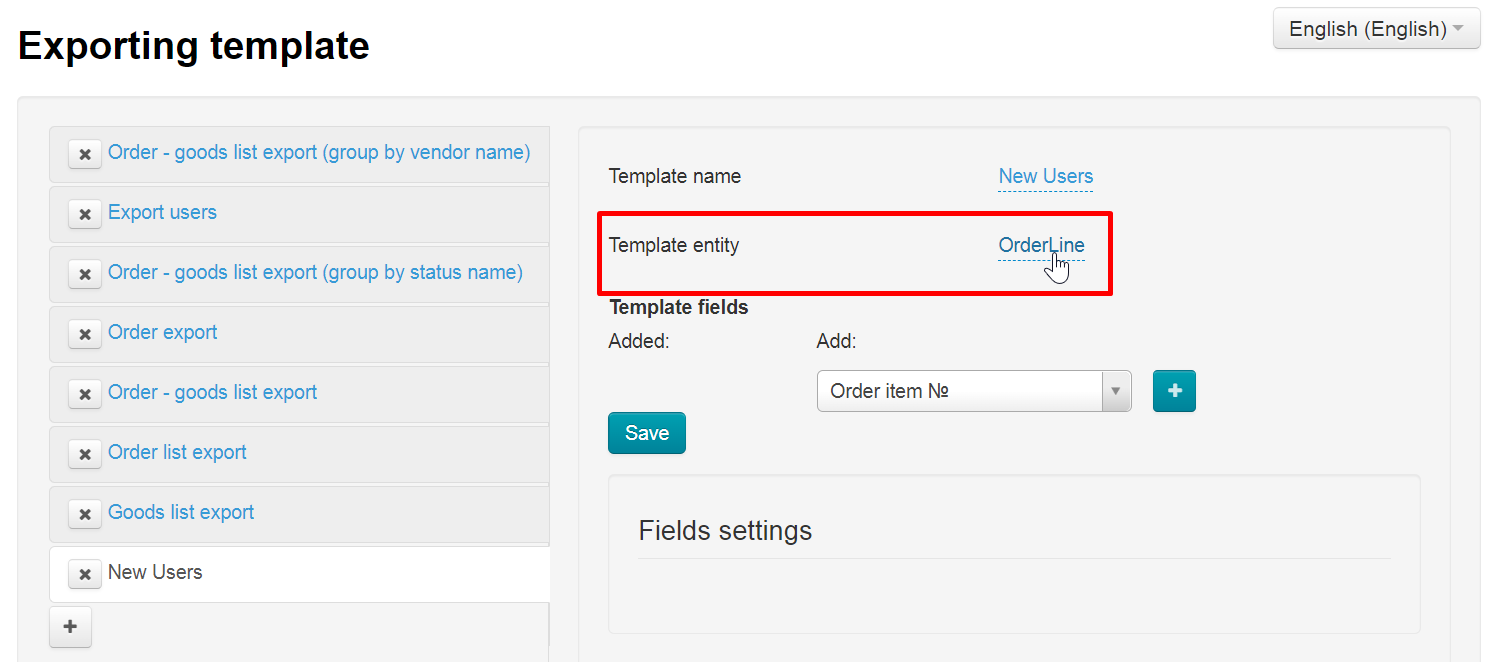
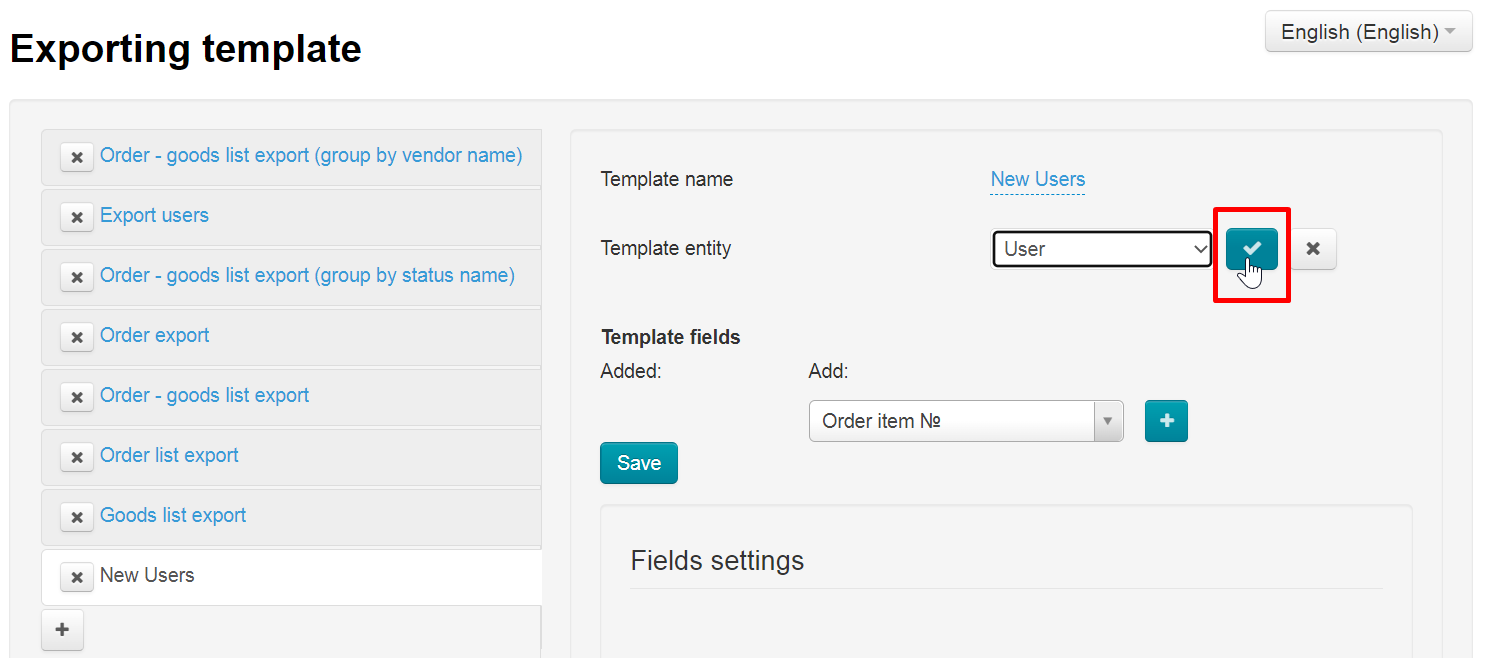
Select appropriate entity in drop-down list. It is necessary to show you all added templates during export. There are 5 places in total where you can export from and all these 5 places are template entities.
Save choice
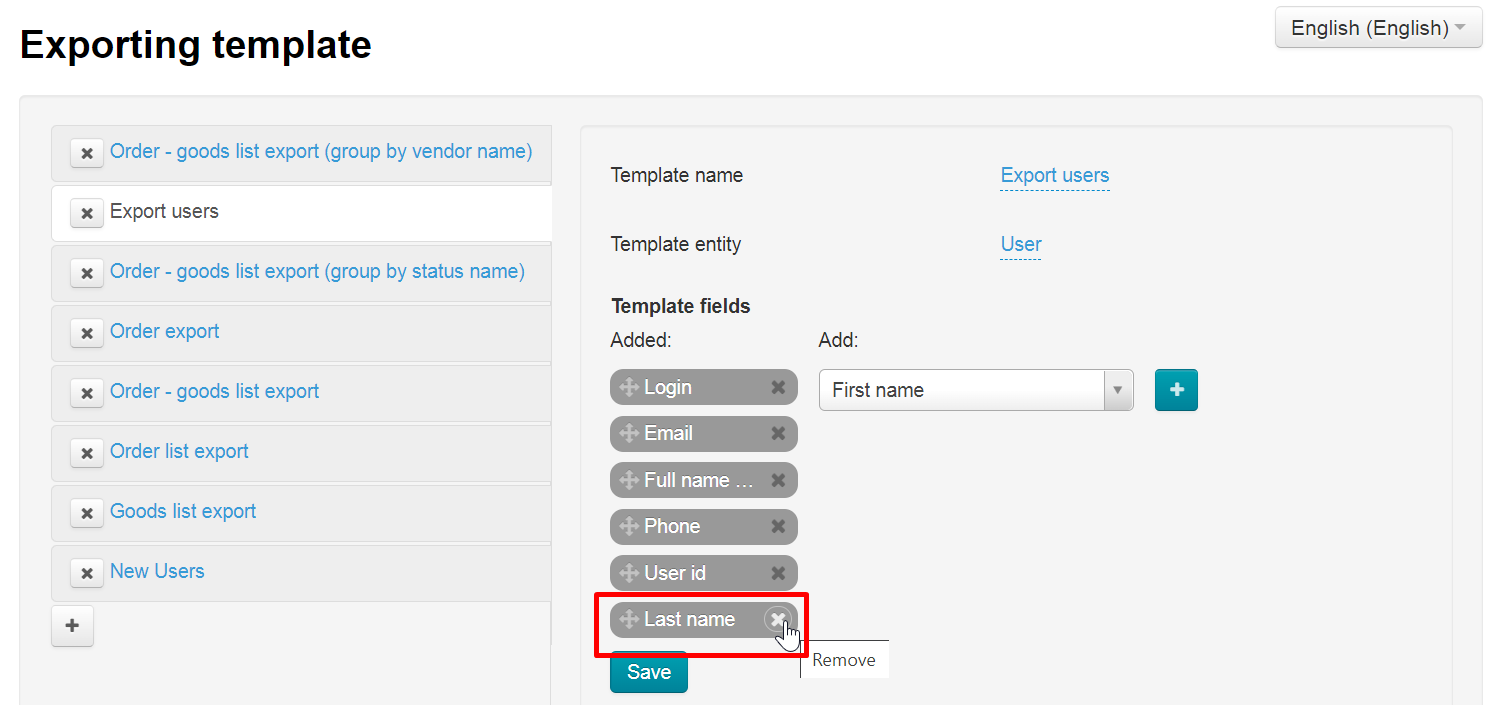
Template fields
Select template fields from the list on the right
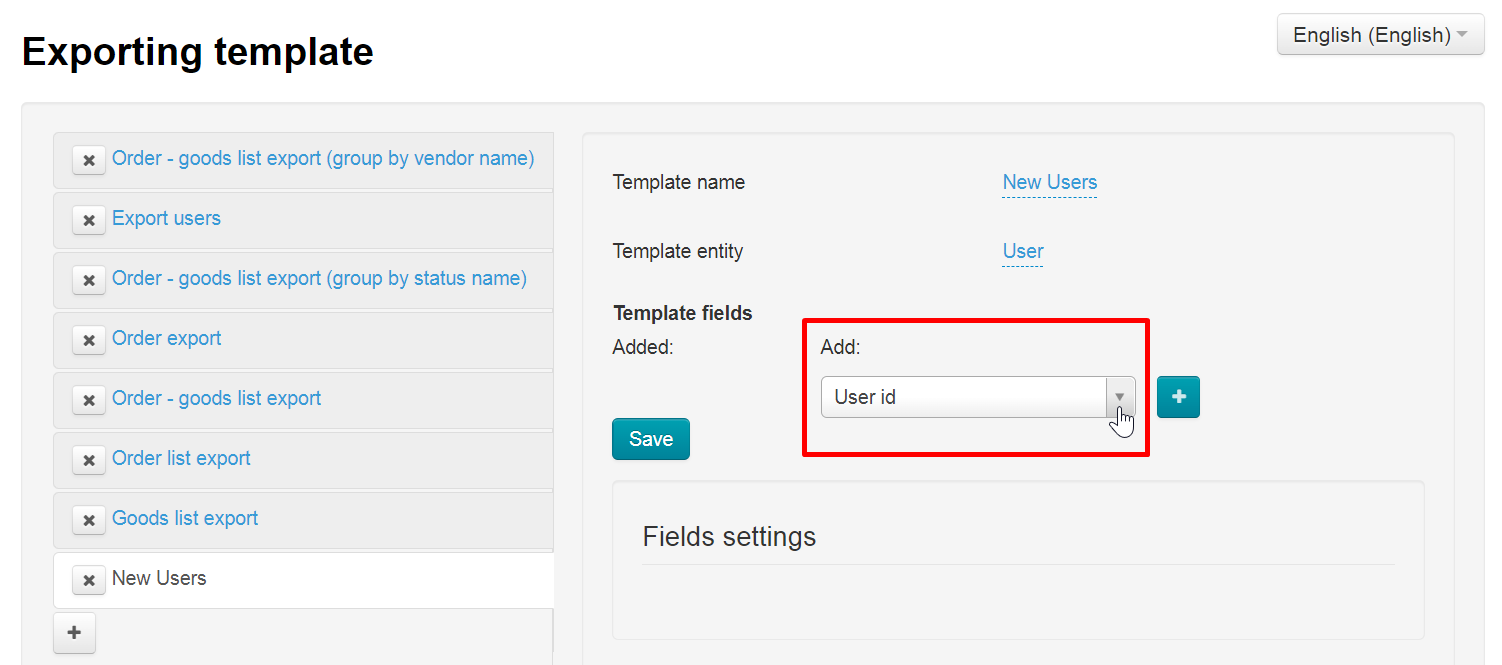
Click field title and press "+" button

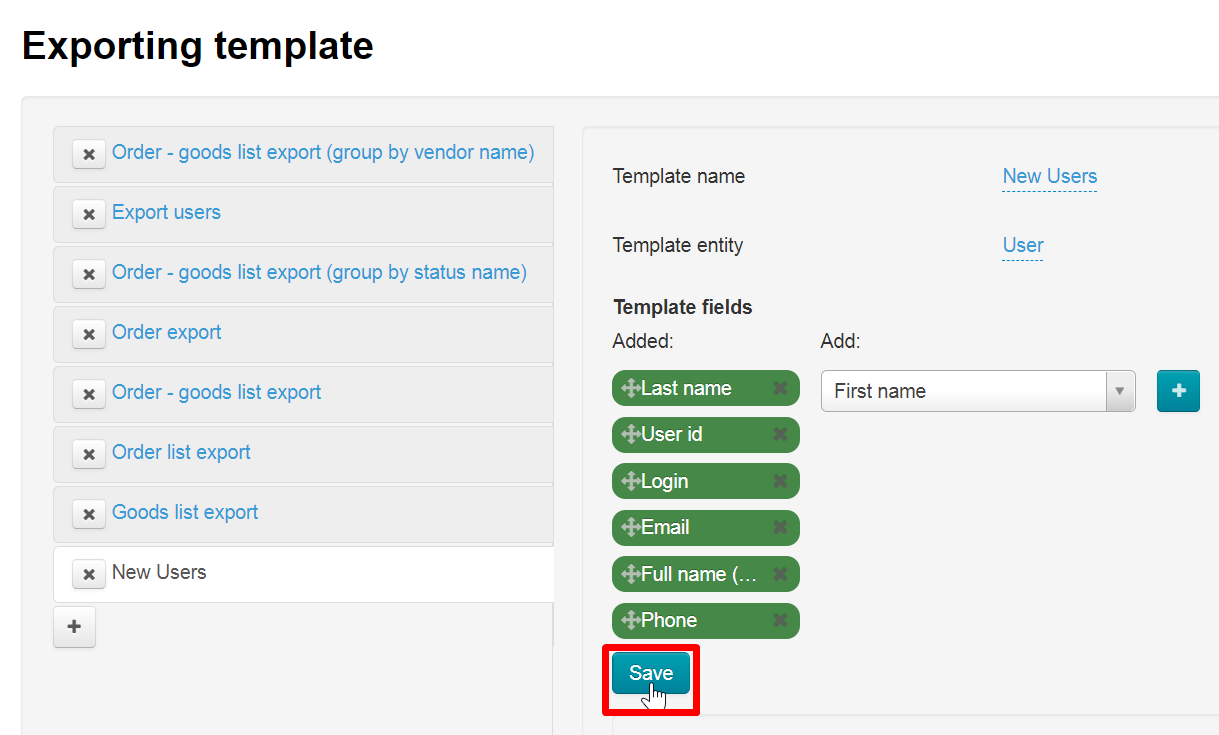
Fields can be swapped. Hold down the cross symbol with arrows to the left of the field name to do it
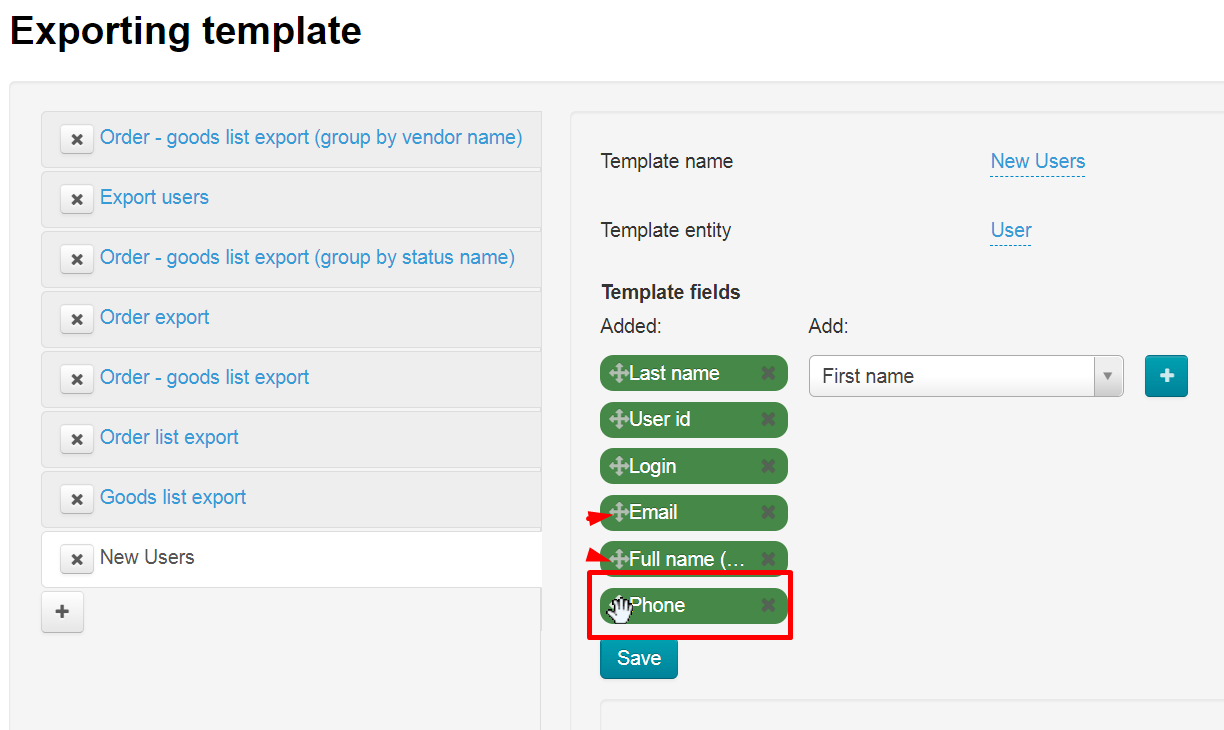
Hold the cross with the mouse and transfer to the right place
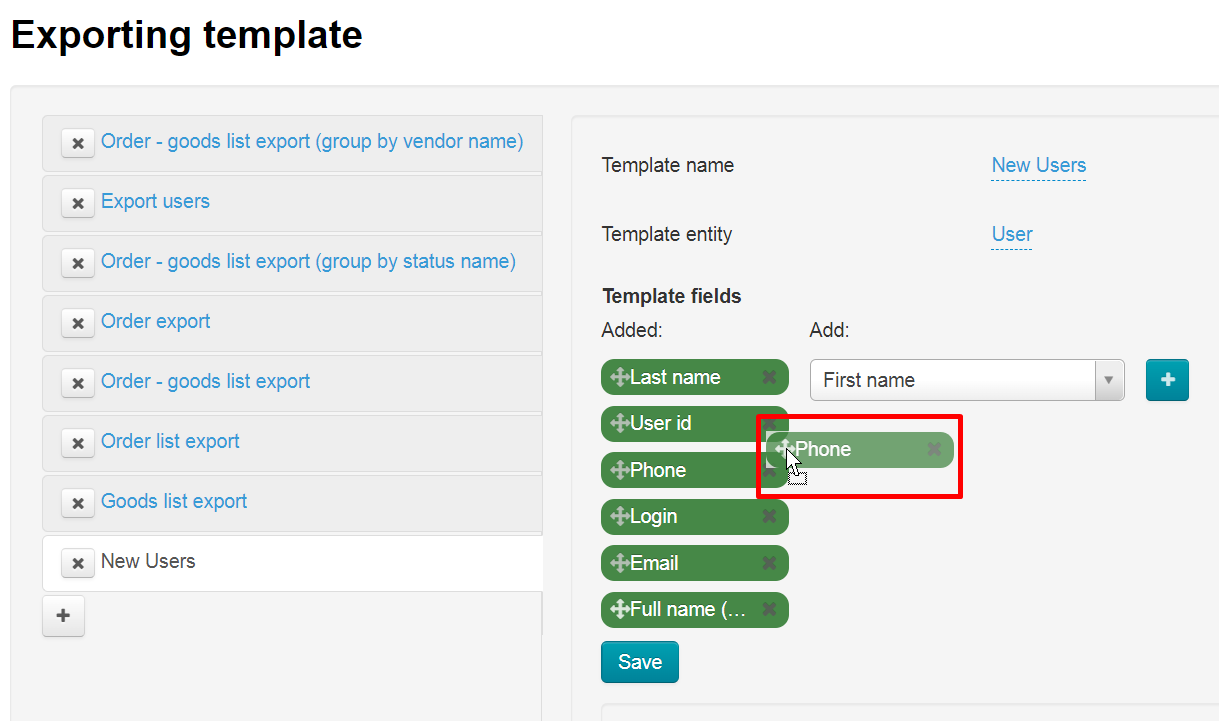
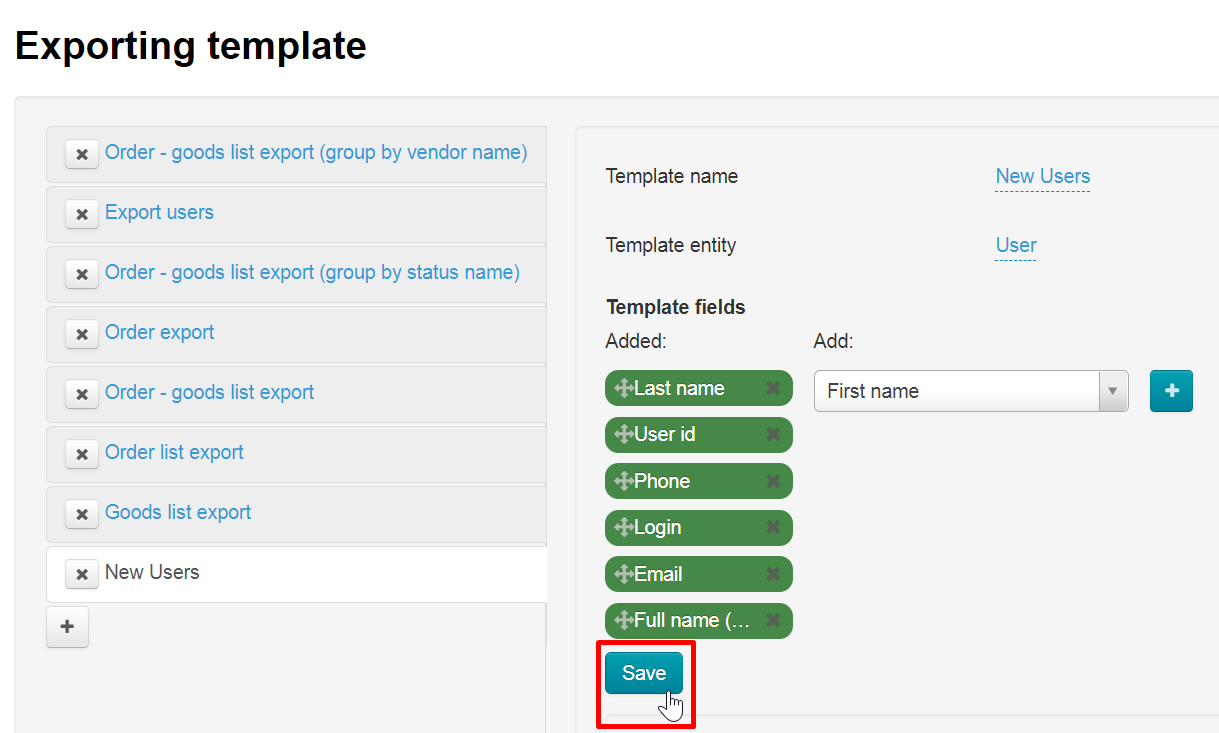
Save changes after that
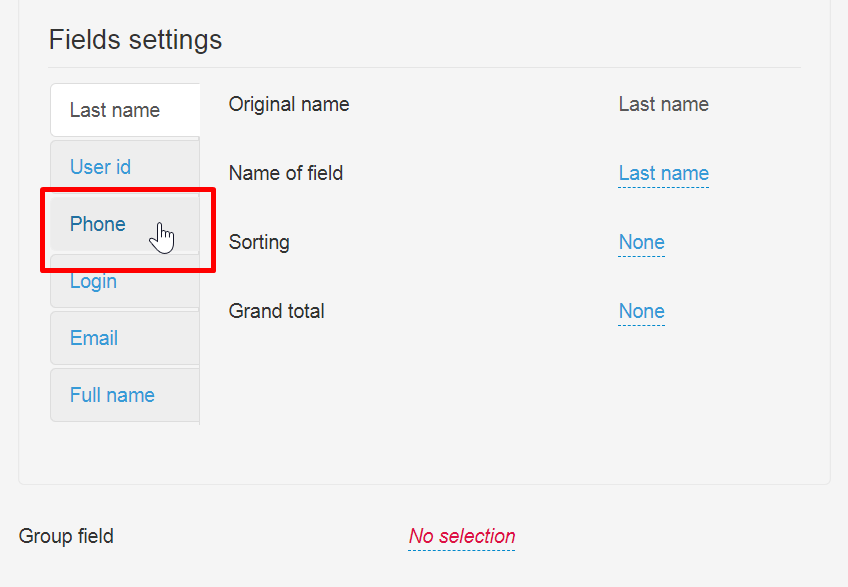
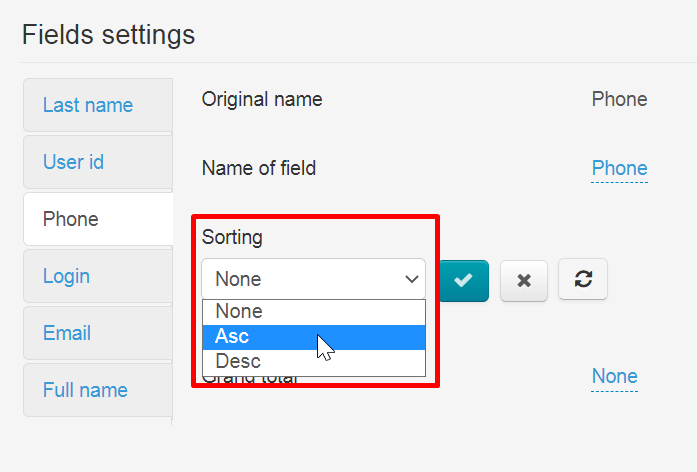
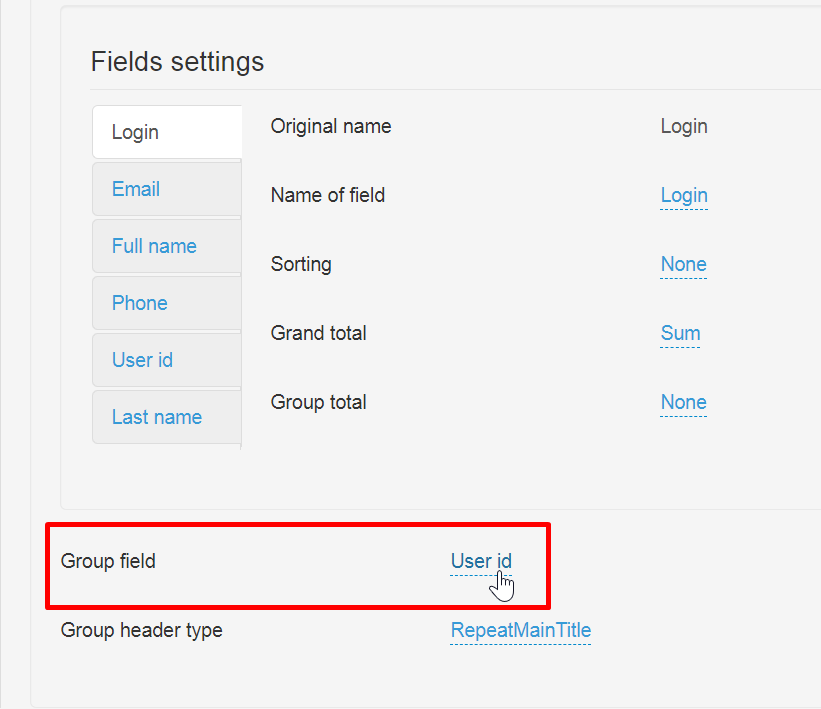
Fields settings
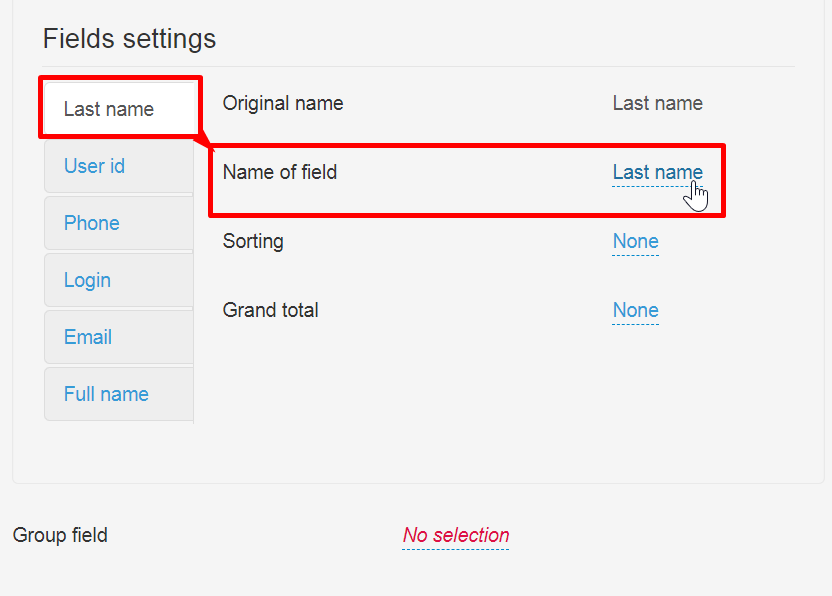
Each field has a separate setting. The set of settings may vary depending on the field type.
Click field names to open the settings
Grouping
It is possible to group data in an export by some attribute. The grouping setting is at the bottom of the page after "Fields settings" block
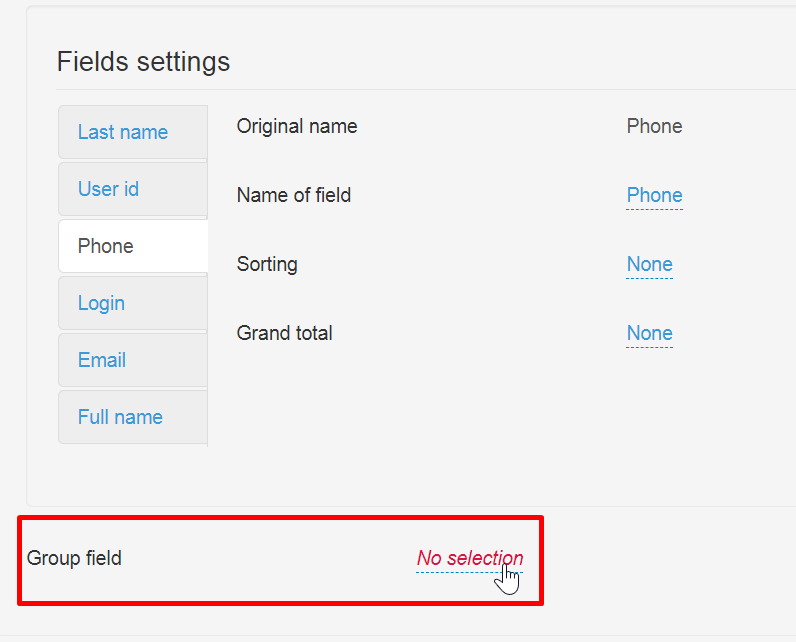
Click "No selection" and select the field by which we want to group data. For example, you can group by Vendor ID (if we are talking about exporting orders) - all orders of each seller will stand side by side, which will simplify document processing
Edit
Select a template and click it to edit
All fields that can be configured will open after clicking. For example, you can add or remove extra fields
Fields can be swapped. Hold down the cross symbol with arrows to the left of the field name to do it
Hold the cross with the mouse and transfer to the right place
Save changes after that
It is possible to change data grouping
Delete
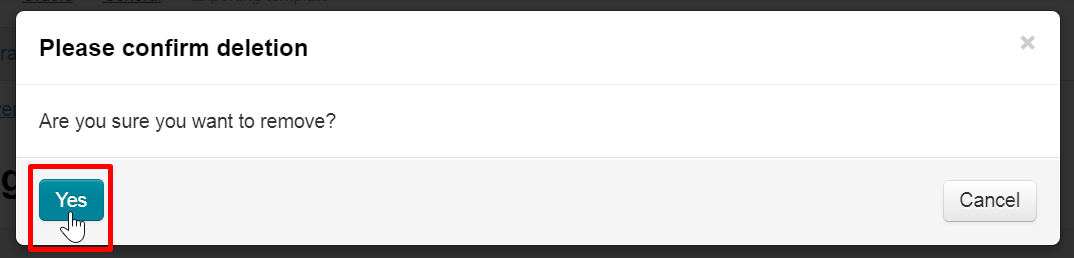
Select unnecessary template from the list and click the cross to the left of the template name

Template is permanently deleted, so you need to confirm the action. Click "Yes" if you are sure that the template is no longer needed