| Оглавление |
|---|
...
This is where the content hierarchy of your website is created. The content hierarchy is defined as sections with subsections which are web pages. Here one can also enter the content of web pages.
Navigate to Content > Pages > Sections in the admin areapanel.

Description
The Sections page Custom pages section is represented as a hierarchy of sections and subsections. This hierarchy is implemented in the form of the table consisting of the following columns:
...
Each section or subsection is a page. The only difference is that the ones (subsections) are subordinates of others (sections). Thus, for clarity sake, we call these pages “sections” and “subsections”.
Menus on
...
website
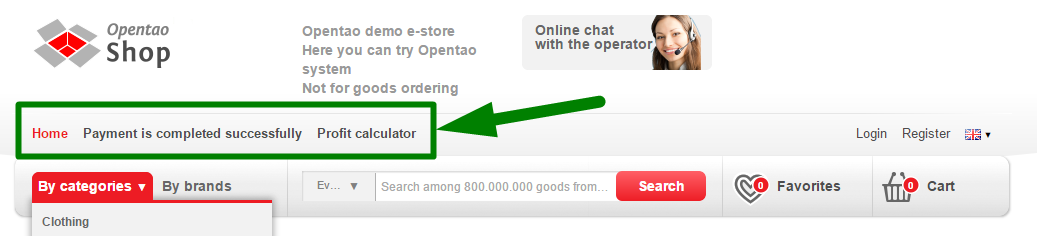
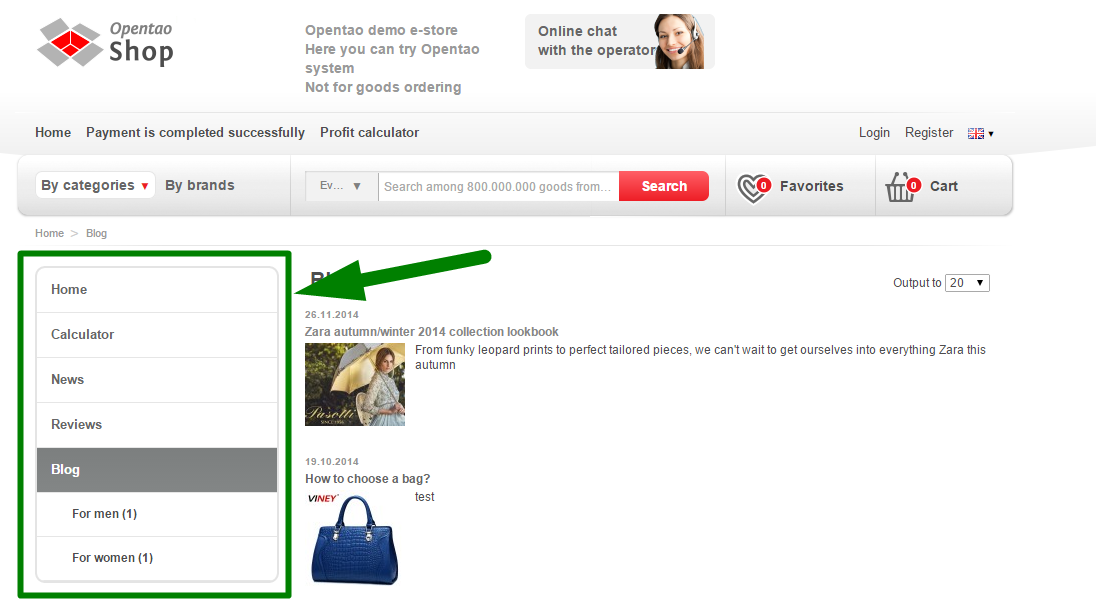
Sections and subsections fall into three different menus.
Menu Location | The way it looks like on the On website |
|---|---|
Top |
|
Sidebar (The menu is visible when a section or subsection created precisely in Content is selected by a user) |
|
Bottom |
|

...
One can choose the pages to display in different menus using the Using Navigation section.
Add
...
section
| Информация | ||
|---|---|---|
| ||
Since sections and subsections are added one after another (a new one is added to the end of the list) you should have a clear understanding of the sequence of sections (and subsections) within different types of menus. One can change the order of sections within a menu in the “Navigation” section. |
To add a Add section you need to click the “Add” button.
...
Can be a section or a subsection;
Can or cannot be added to the menu;
Can be a page in any language available.
Basic
...
data
Enter the name of a page:
...
If the Multilingualism module is enabled you can select a language which the section will be displayed in.

Сontent
This is what a section is created for: information essential for a buyer.
...
Once you’ve done this, the new section will show up in the sections list in the admin areapanel. The section will also appear on the On website – in the menu that it was assigned to upon creation.

Search
...
engine optimization attributes
Completing the Search Engine Optimization Attributesengine optimization attributes form is necessary for website promotion. To open the form for attributes you should click on the blue dashed text line when creating or editing a section.This will bring up the form to be filled in.
Title
A title is important for search engines. For this reason you should enter not just the name of a section, but a search phrase (or a word).
This title will be used by Google or Yandex search engines as well as be displayed in a browser tab (the name of a section in the title and a menu remain unchanged).
Keywords
This field is meant for typing a search query (words or phrases).that potential buyers will be searching on (using search engines like Google or Yandex).
This field is optional and doesn’t show up on the website. It is intended for search engines.
Description
This is a text for promotion that describes a specific page. The text must be unique, short and informative thus giving the summary of what the page is about. Detailed instructions on how to constitute a text can be found in the official Google article at https://support.google.com/webmasters/answer/35624?hl=ru&rd=1#writegooddescriptions.
This field is optional and doesn’t show up on the website. It is used only for search engines.
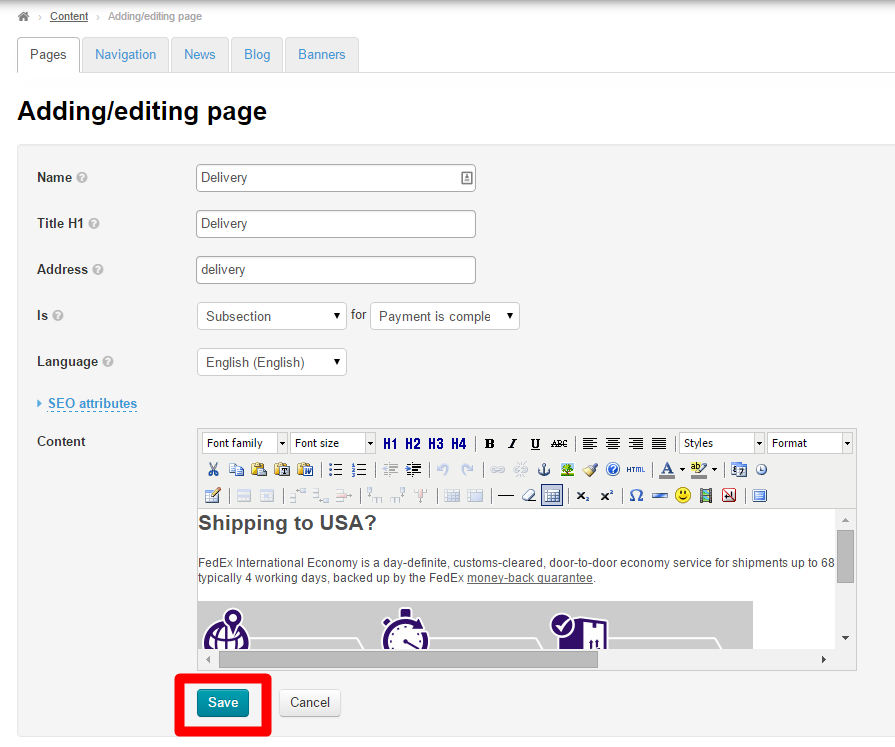
When the field has been completed you need to save changes. Click the “Save” button.
...
For details see Optimizer Module.
Actions with section
Once a section has been created it can be edited or deleted. To do so you need to use the dropdown menu in the “Actions” column.

Edit
In
...
admin
...
panel
Choose a section to edit and click the gear button.

In the dropdown list that appears select Edit.

This will open a page similar to that for adding a section. Fill out the fields in the same manner as you did in the “Add a Section” “Add section” part of the present instructions.
On
...
website
...
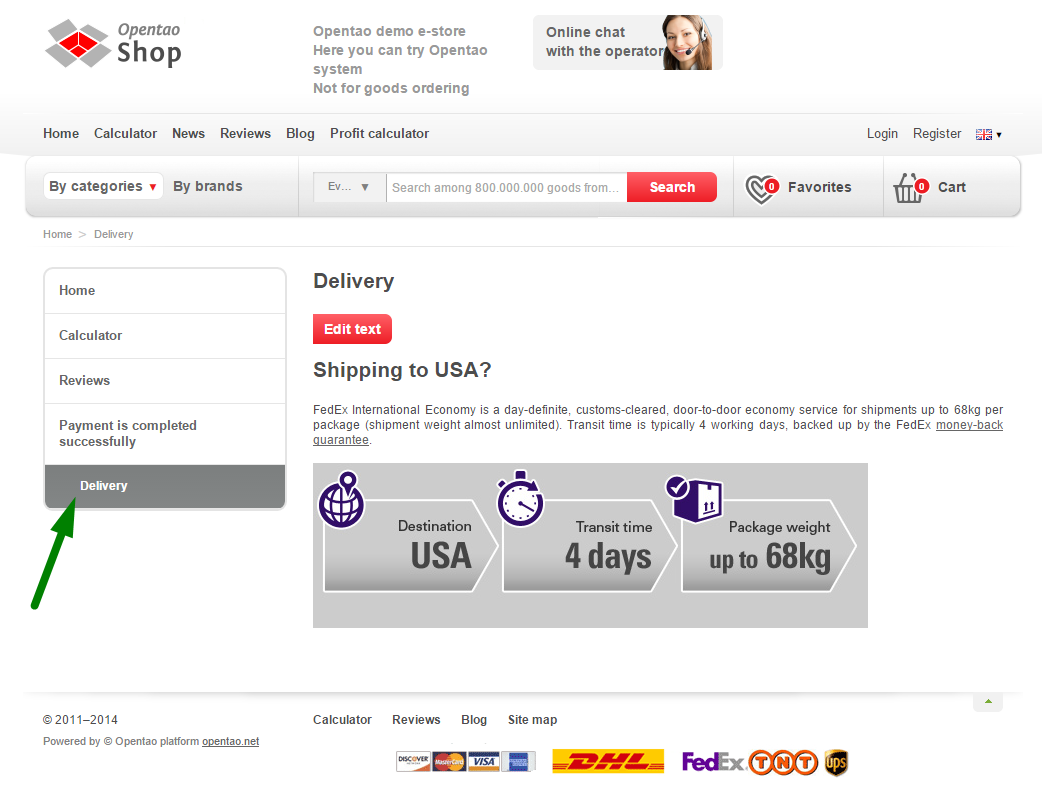
Click on the name of a section in the admin areapanel.

Once you’ve done that the selected section with the “Edit text” button will be opened in a new browser tab.

Click the “Edit” button. This will bring up a text editor (in the same manner as in the “Add Content” “Add Content” part).

Make all necessary modifications and save them by clicking the “Save” clicking “Save” button.

Upon saving all changes will appear on the On website.
Delete
If it is necessary to delete a section one should remember:
A section (with all information) will be permanently deleted.
In case there are subsections in a section they will automatically be subsections of the superior section.
To delete a section
...
Click the gear button in the “Actions” column in the string that contains a section to be deleted.
From the subsequent drop-down list select the “Delete” button.

Once you have clicked the “Delete” button you should confirm the deletion. A confirm screen will appear asking if you are sure you want to delete the section.

Once you click “Yes” the section will be permanently deleted.
If there were subsections in the “How to choose the right size” section they would be subsections of the ”Questions and Answers” section.
Add
...
subsection
There are two ways to add a subsection:
Click the “Add” button
Select the section and add a subsection using the Using “Actions” menu.
Let’s us consider both variants.
By clicking
...
“Add” button
One can add a subsection in the manner as he or she did when adding a section (Please refer to “Add a section” “Add section” part of the present instructions). The only difference lies in the “is a” field.

So then you need to click the “Add” button. This will bring up a form to be completed. Fill in all the fields as you did in the “Add a section” “Add section” part.

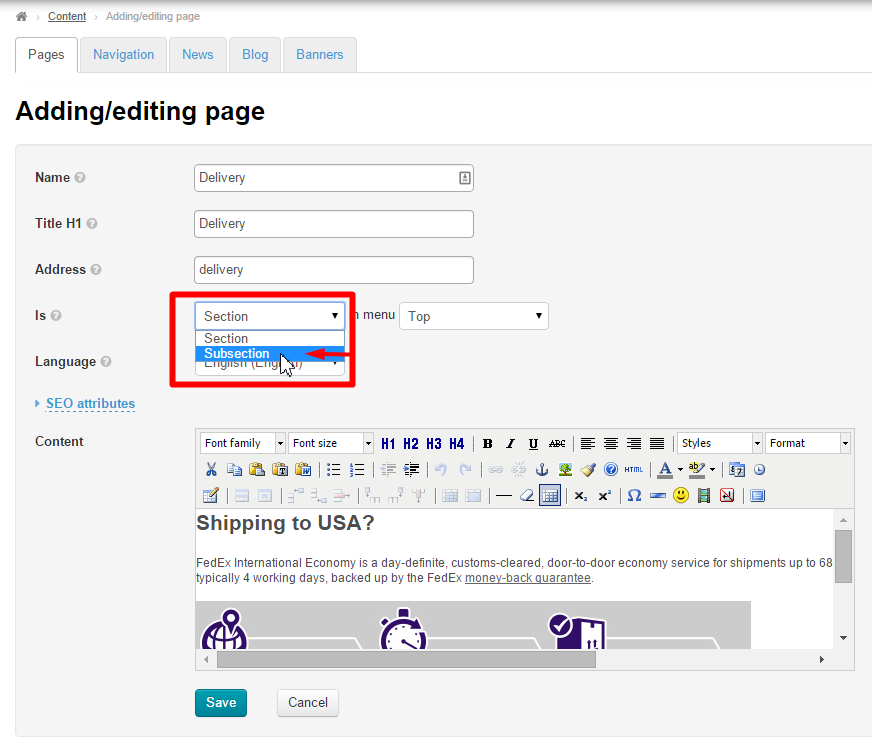
In the “is a” string click the down arrow in the “Section” field.

When the drop down menu shows up click on Click the “Subsection” option.
Once you have done this a new field will appear to select a section which the new subsection is assigned to.
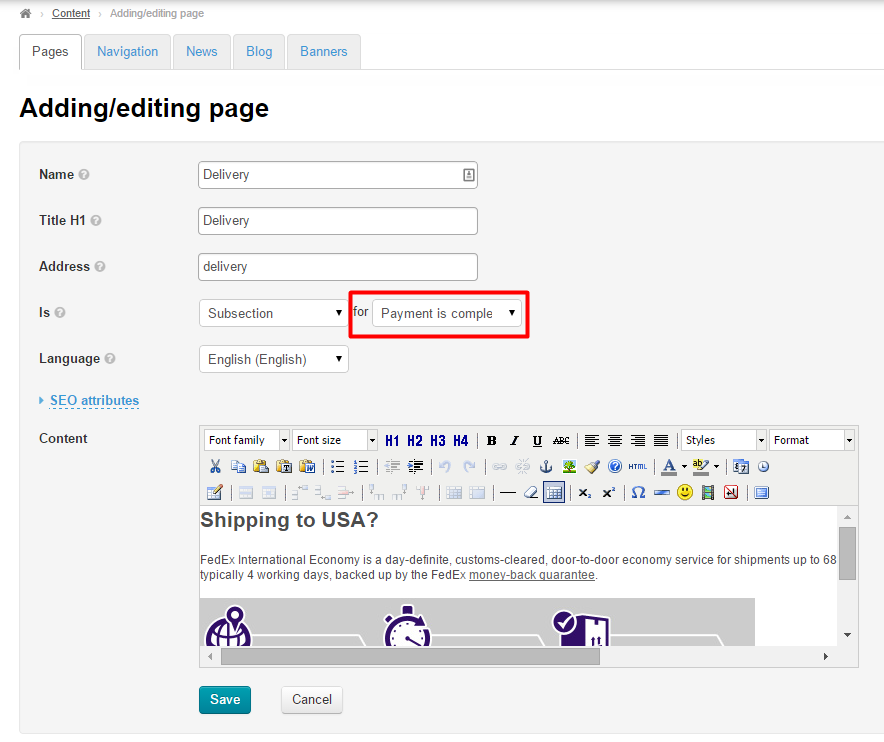
Click on the down arrow to the right of a section name.

You will see a list of options to select the desired section.

To save the settings you need to click the “Save” button.
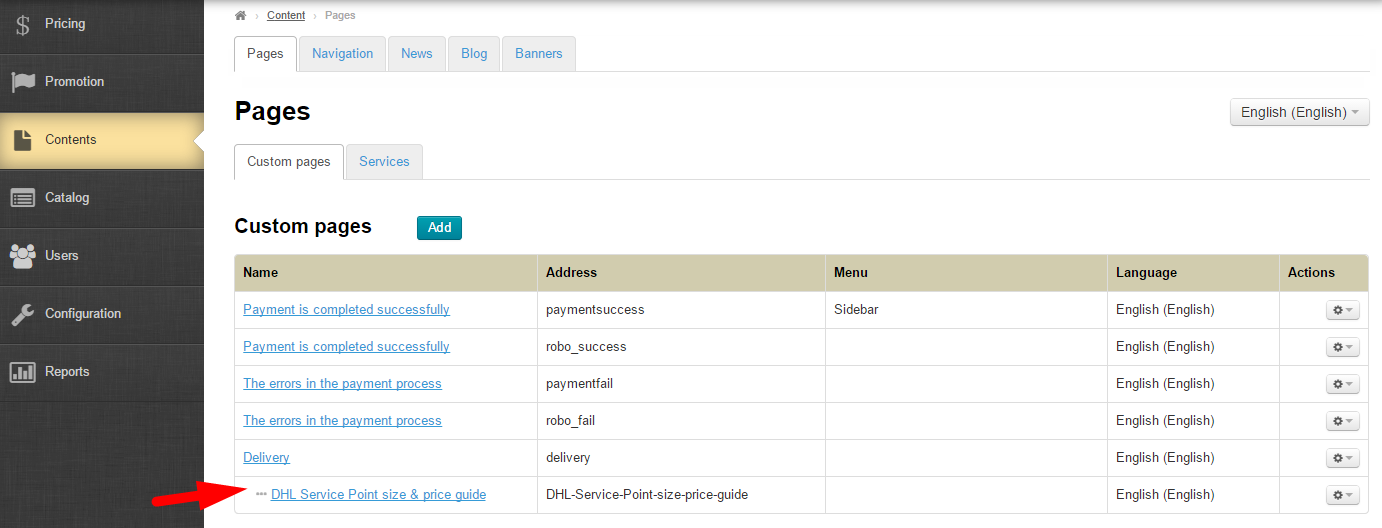
Upon saving the new subsection will be displayed in the admin areapanel.

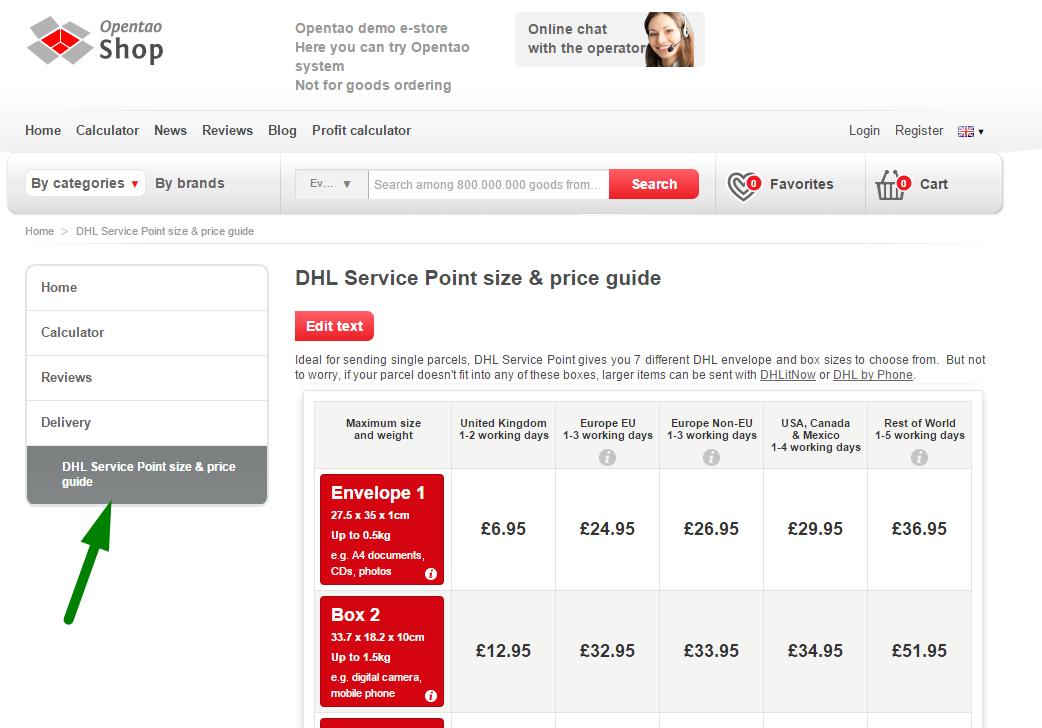
You can also see the new subsection within the chosen section on the On website.
Using
...
“Actions” menu
...
To add a subsection using the Using “Actions” menu you should select the desired section and click the gear button.
This will bring up a dropdown menu with a list of options. Select the “Add a subsection” option.

Next a form for adding a subsection will be opened. This form will show the section this subsection is assigned to.

Fill in all the fields as you did in the “Add a section” “Add section” part of the present instructions and save the changes by By clicking the “Save” button.

After saving a subsection will appear in the admin areapanel.
And on the On website
Actions with
...
subsection
Subsections as well as sections can be edited or deleted.
Edit
There are two ways of editing a subsection:
In the admin area using the in admin panel Using “Actions” menu (please refer to the “Editing “Editing in the admin area” panel” part)
On the subsection page on the On website (please refer to the “Editing on the website” “Editing On website” part)
...
Delete
To delete a subsection you need to click on Click the gear button in the “Actions” column.

In the dropdown list that appears click the “Delete” option.

To delete a subsection you should confirm your choice. If you are sure you want to delete the section click “Yes”.

Once you click “Yes” the section will be deleted.