| Оглавление | ||
|---|---|---|
|
...
Location in admin panel
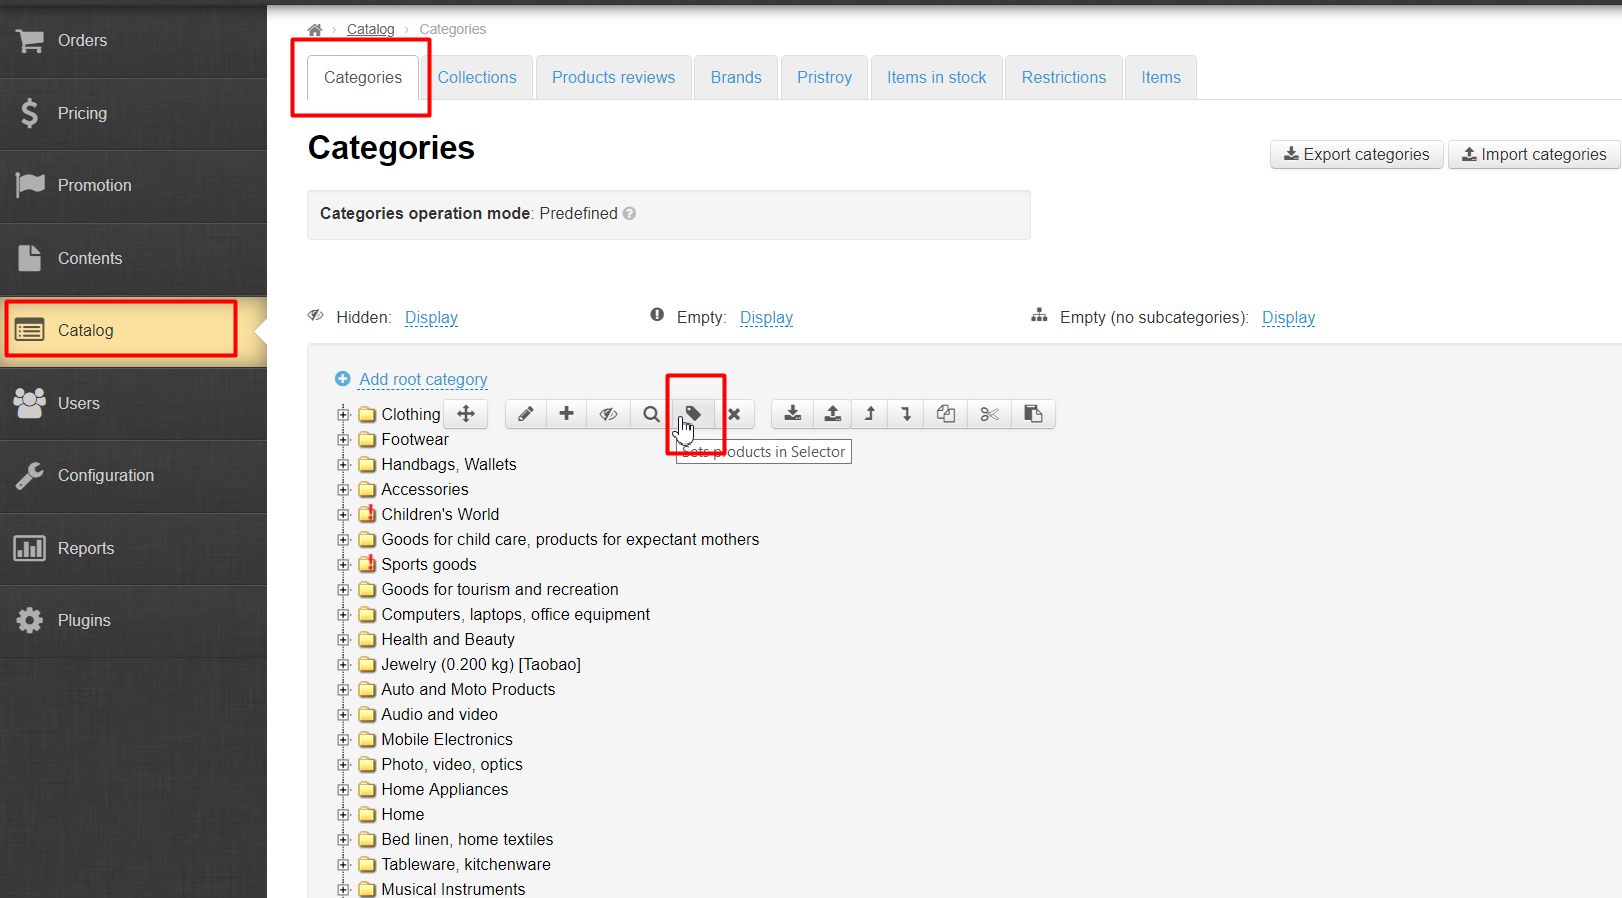
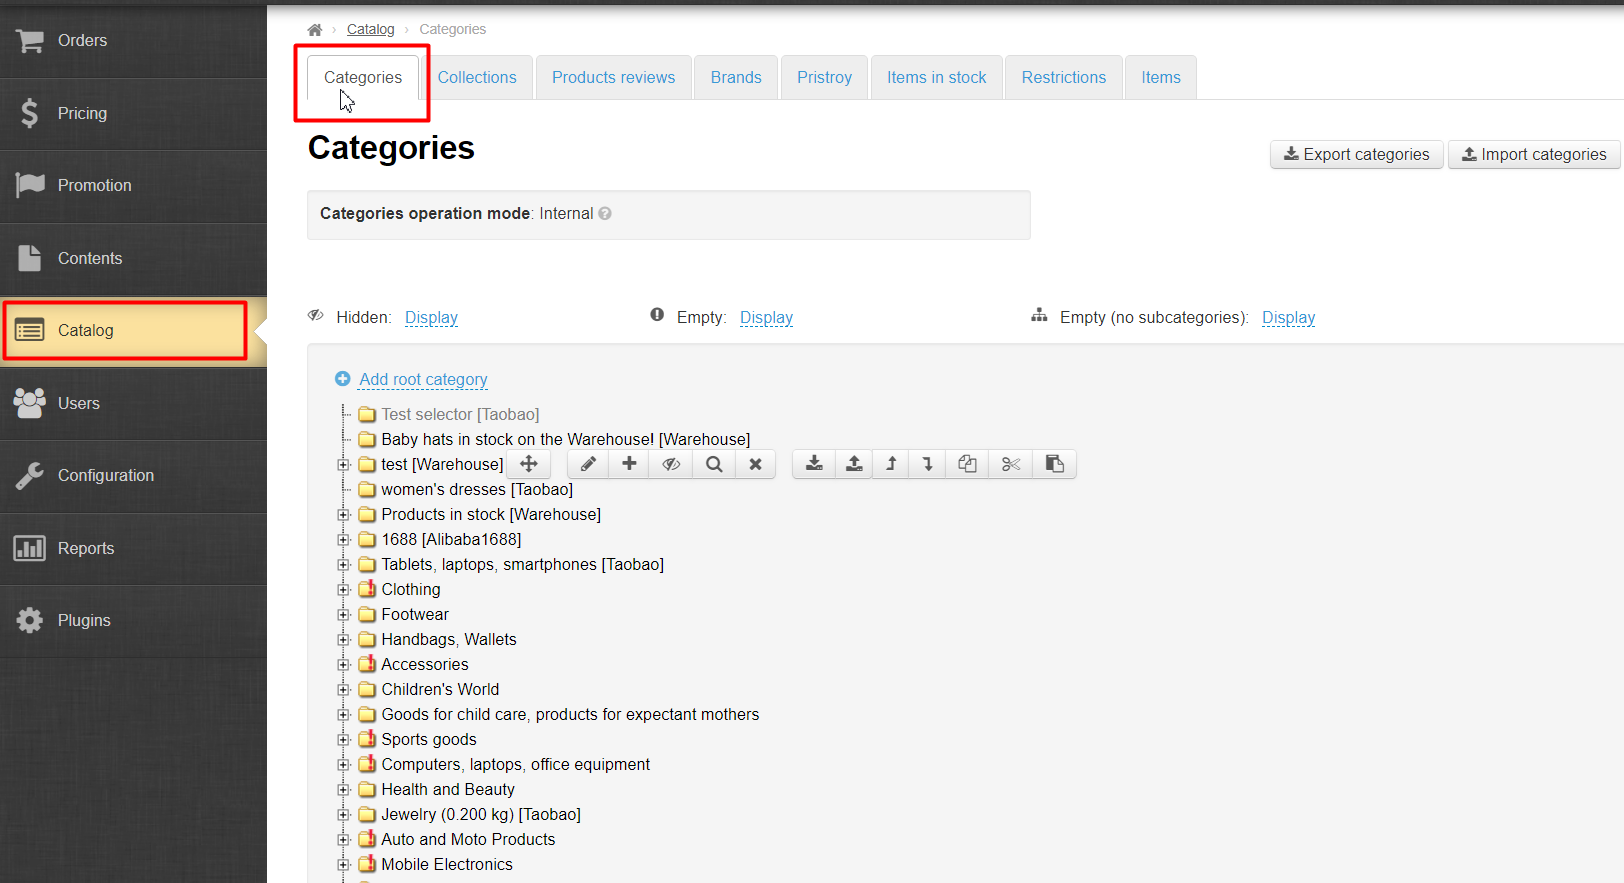
Operation with catalog: Catalog › Categories › (hover menu) «Goods in Selector»
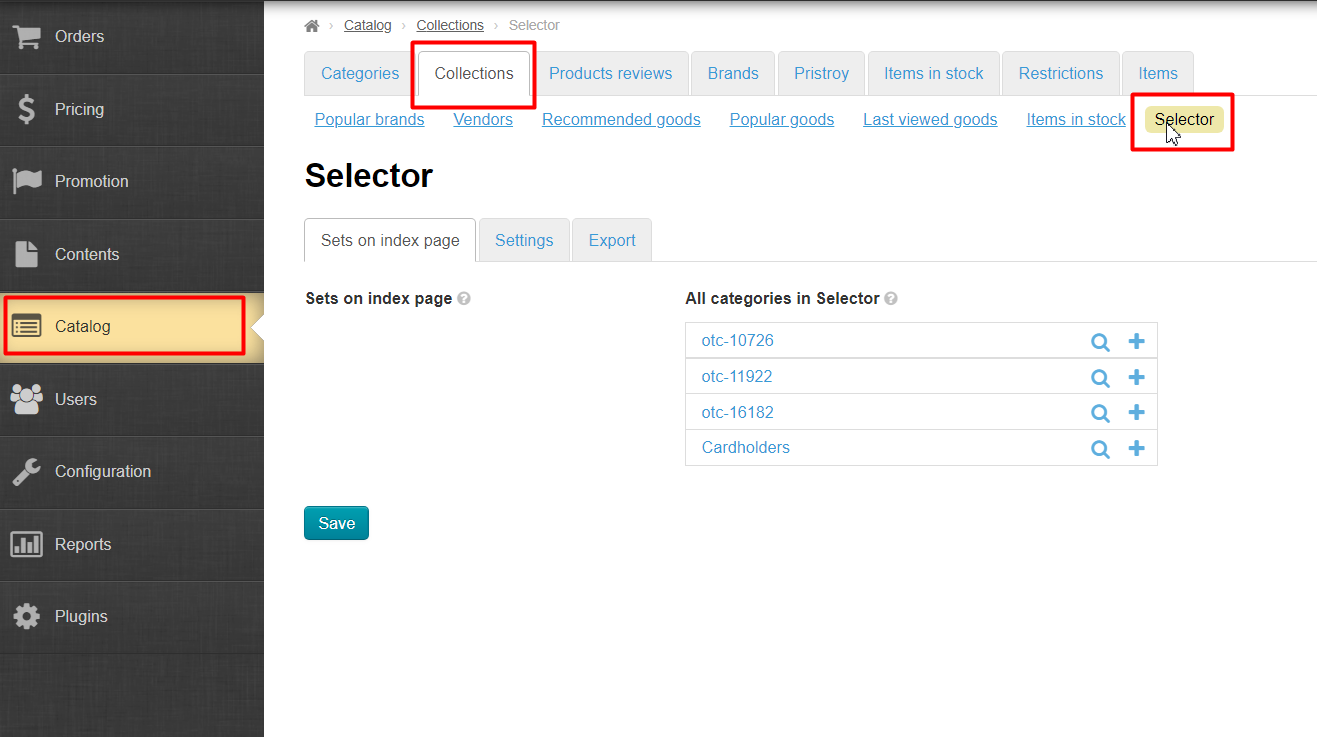
Operation with goods: Catalog › Collections › Selector
Description
"Selector" module allows you to create virtual categories (collections) in catalog and fill them with any goods individually (upload it by link or from file) and show collections on home page. The most obvious example is seasonal offers.
...
Read detailed description of business benefits here: Selector (module description)
How to forbid sale of goods out of Selector?
Add goods into Selector first (read below). Go to Configuration > Orders:
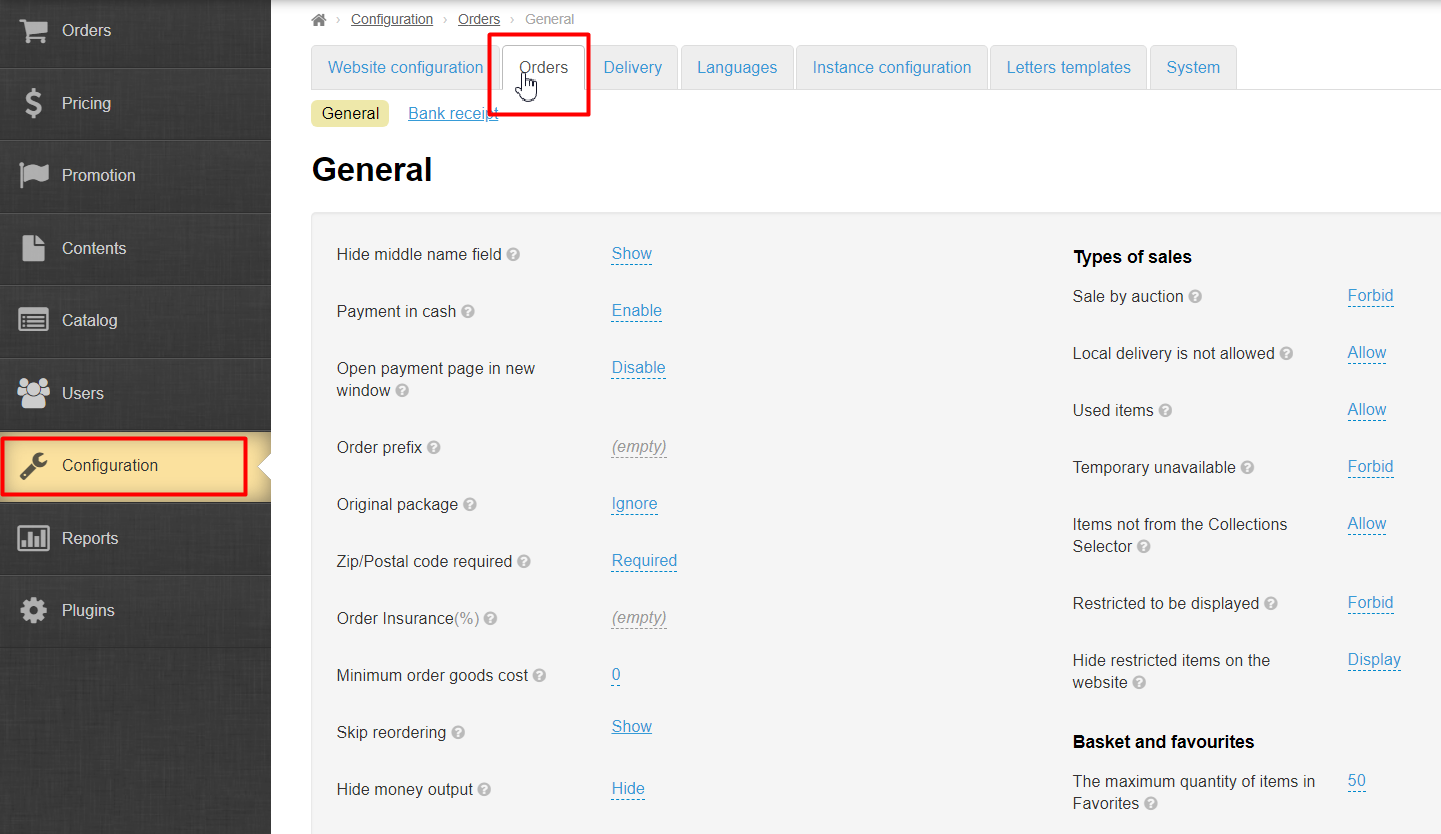
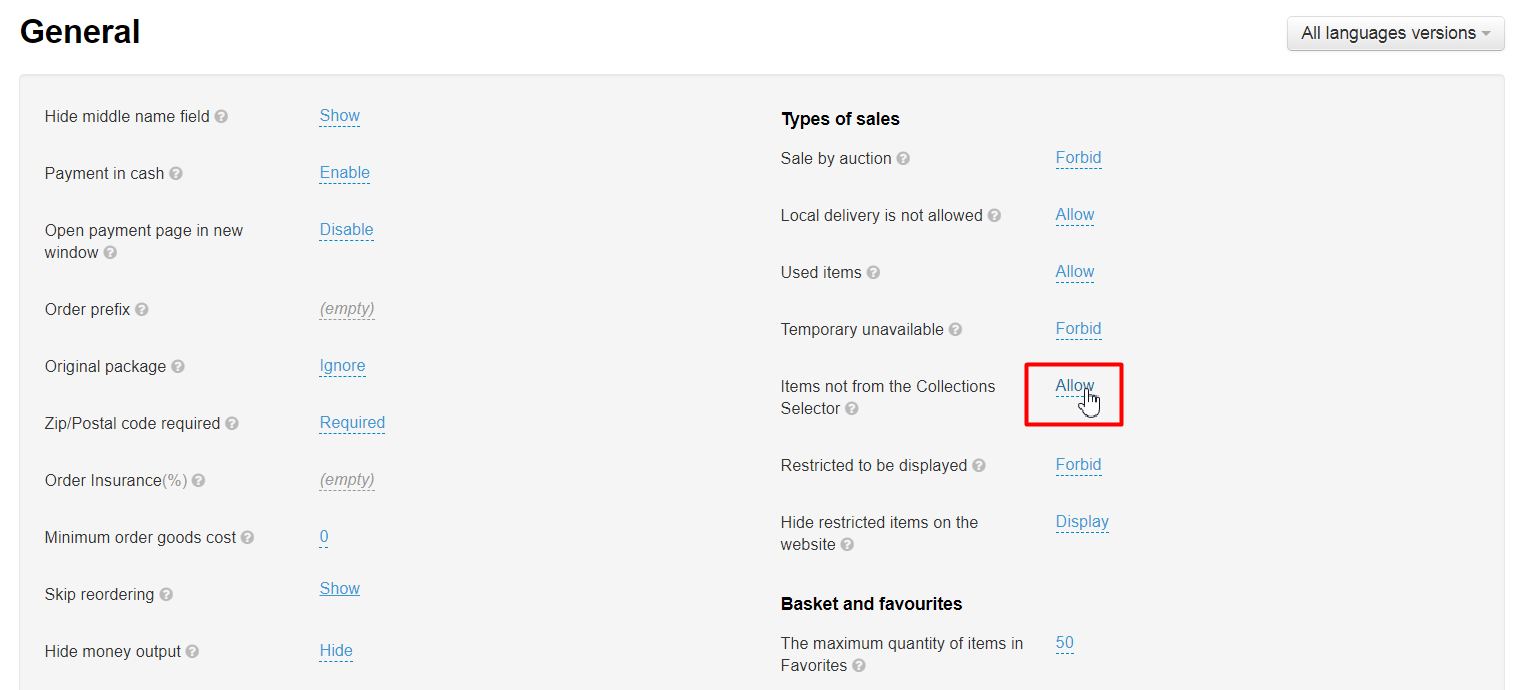
Find "Items not from the Collections Selector":
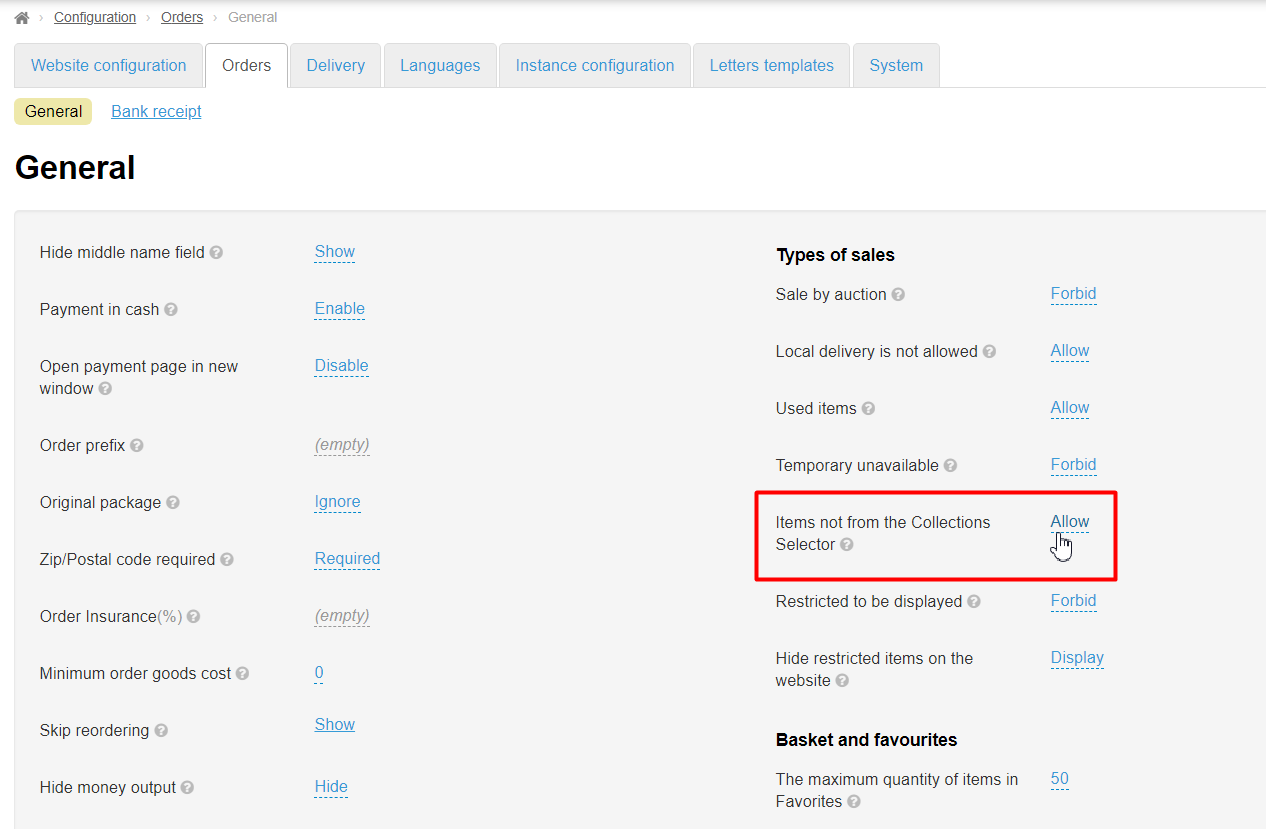
Click "Allow" to forbid sale of goods out of Selector:
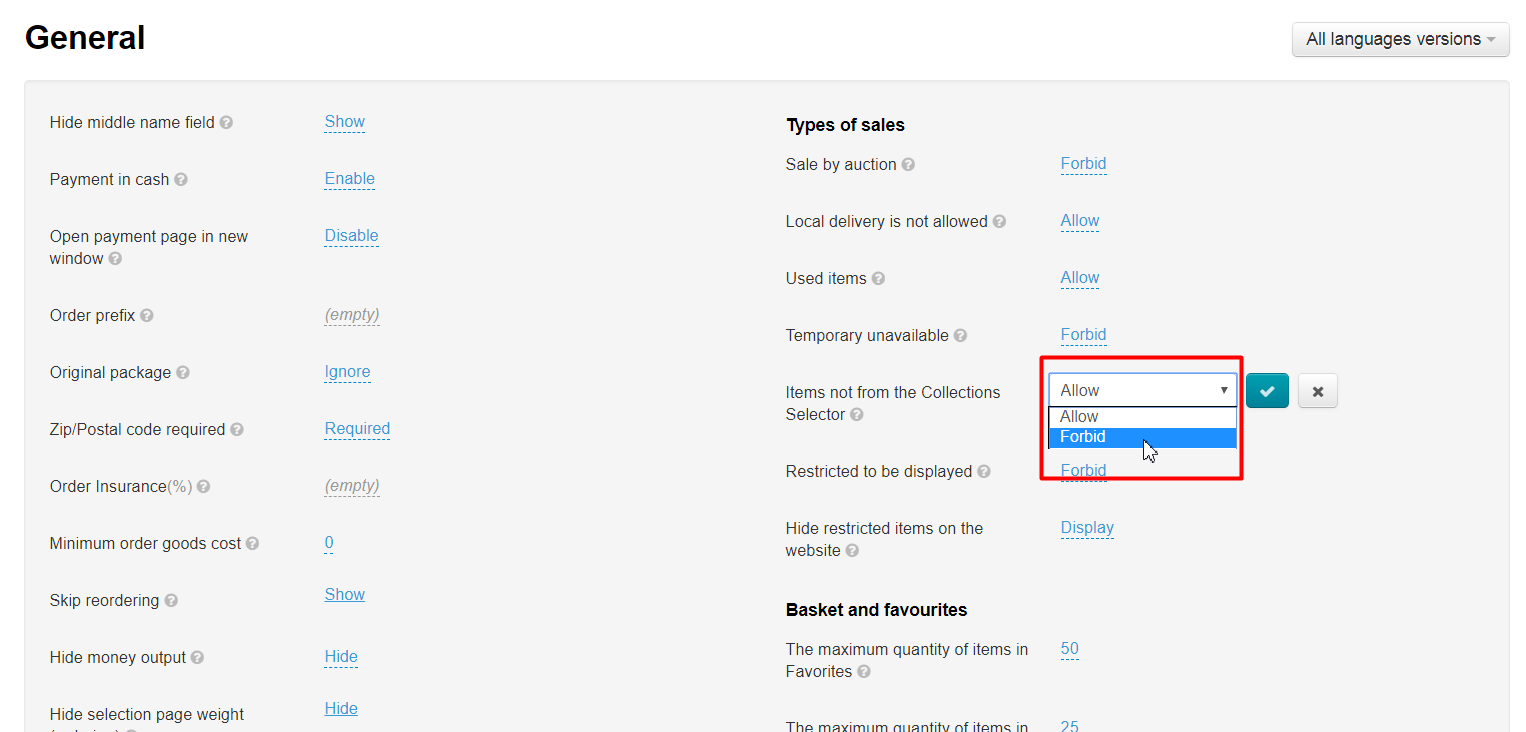
Choose select "Forbid" from drop-down list:
Save by clicking blue arrow on the right:
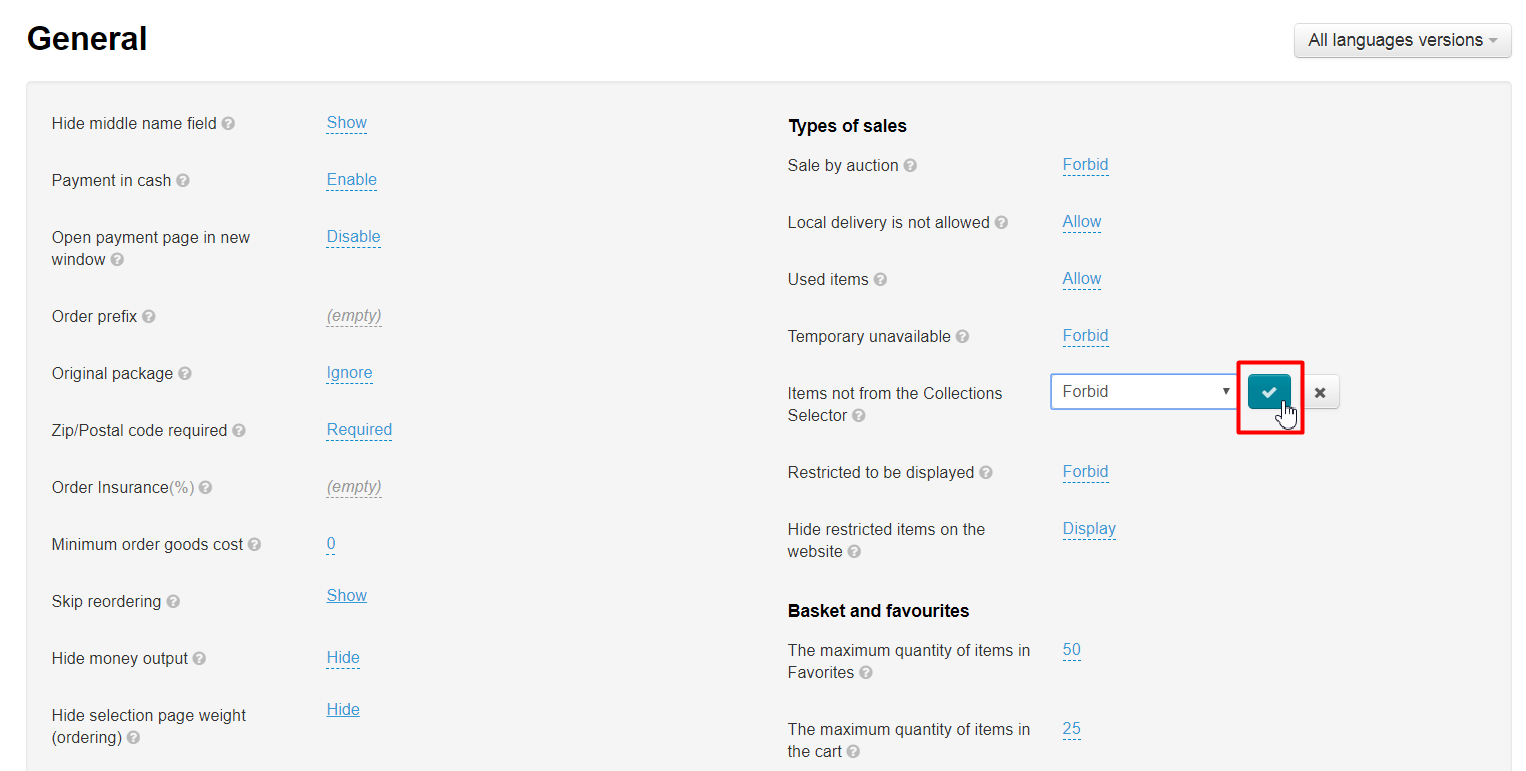
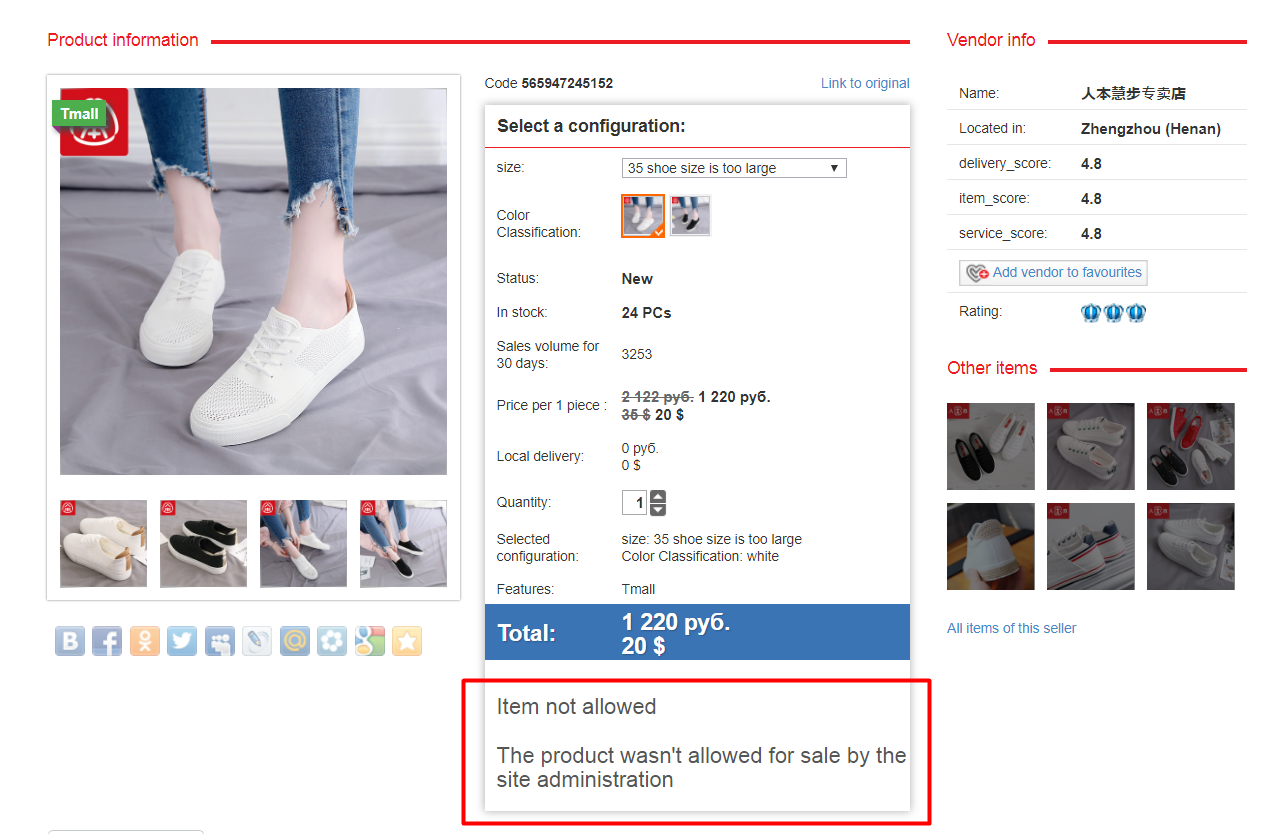
Ready. It will be impossible to buy goods out of Selector.
How to add seasonal offer?
...
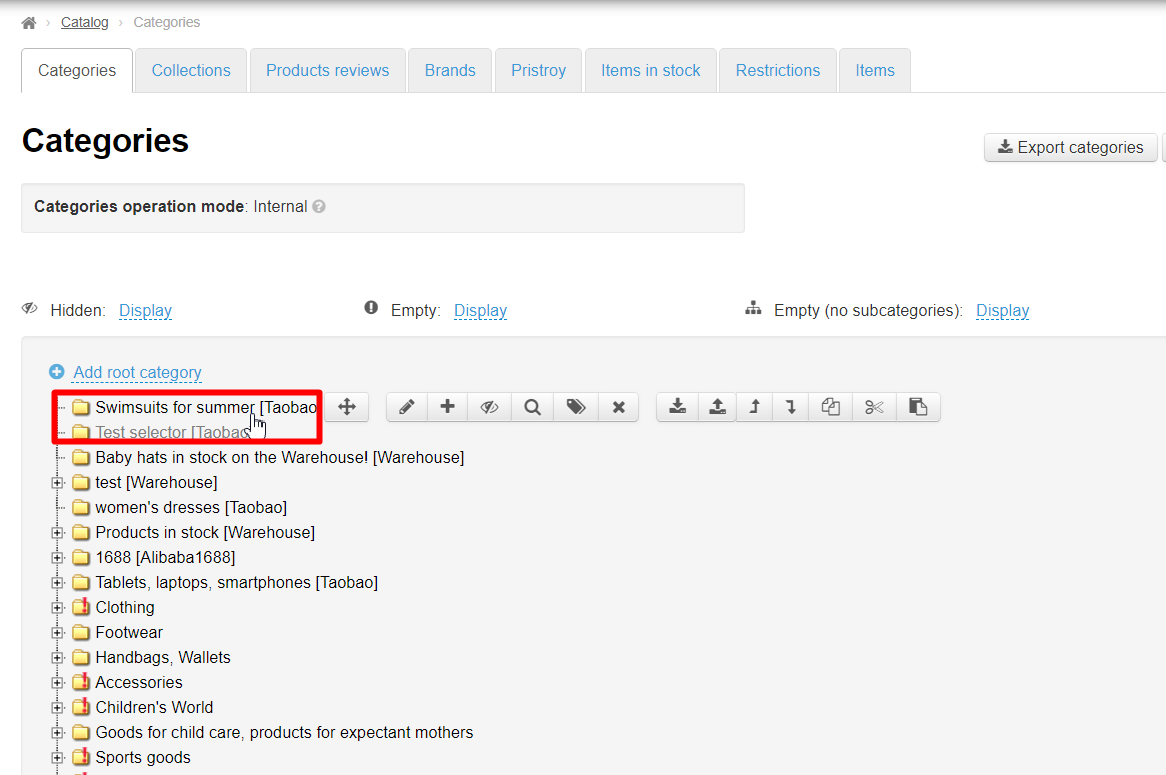
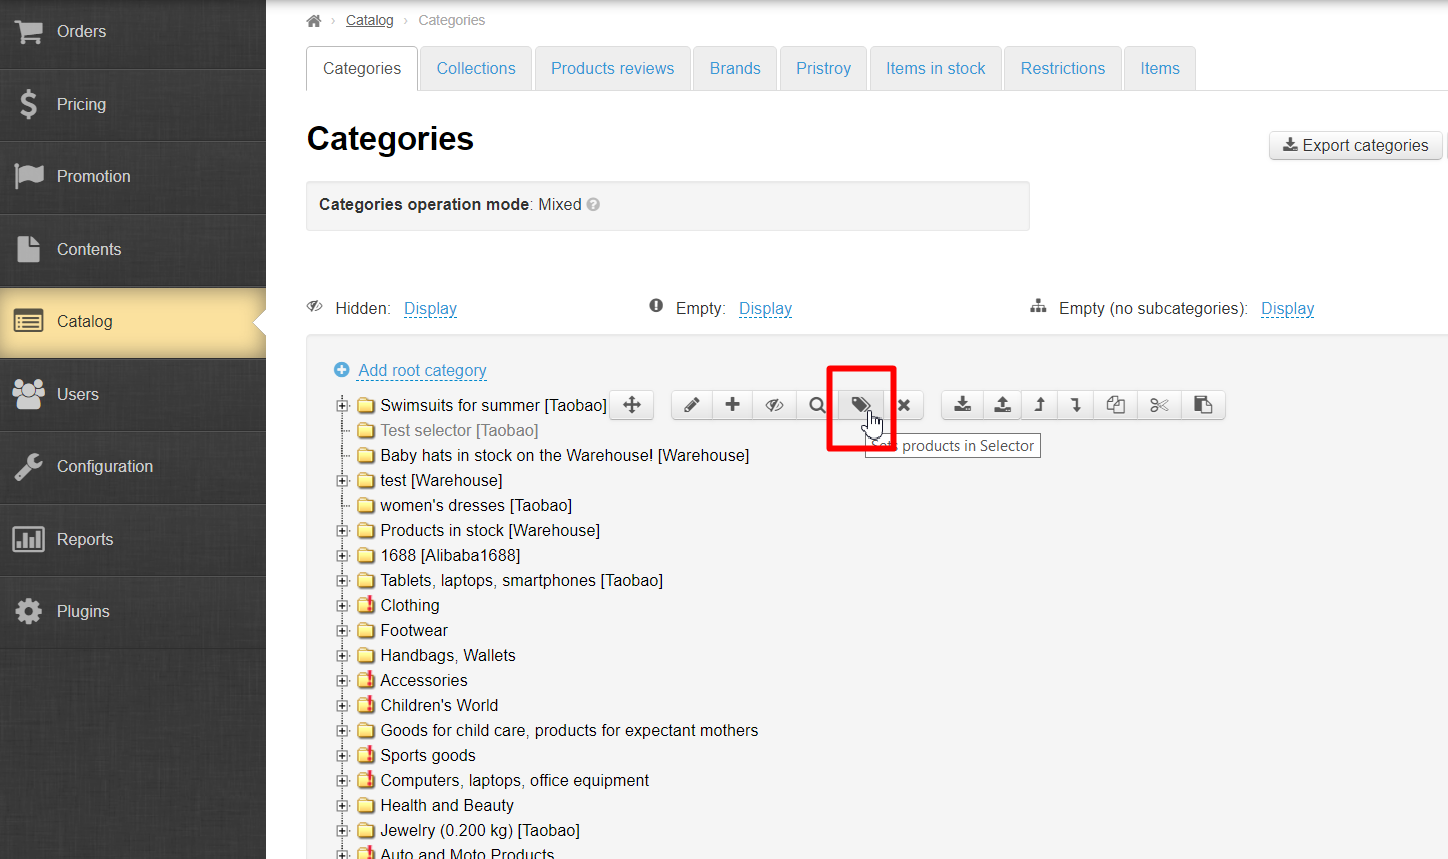
Go to Catalog > Categories section:
Add root category:

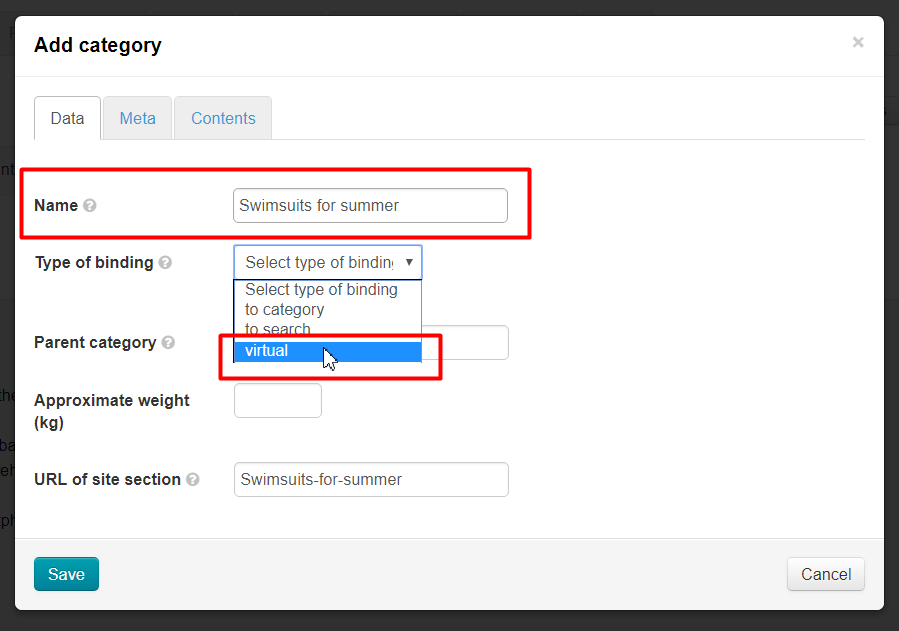
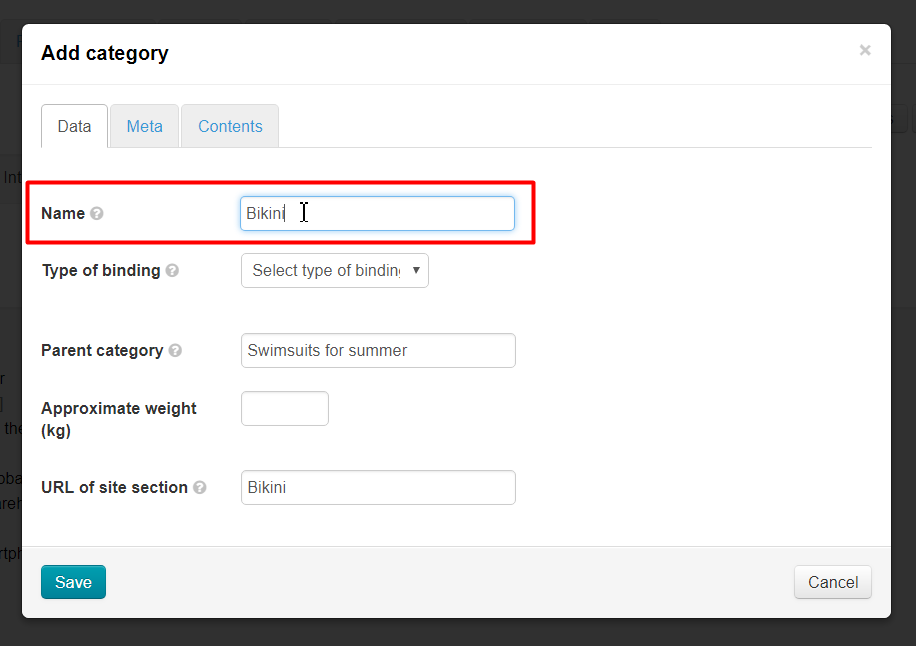
Enter name of this category in catalog and choose select virtual type of binding:
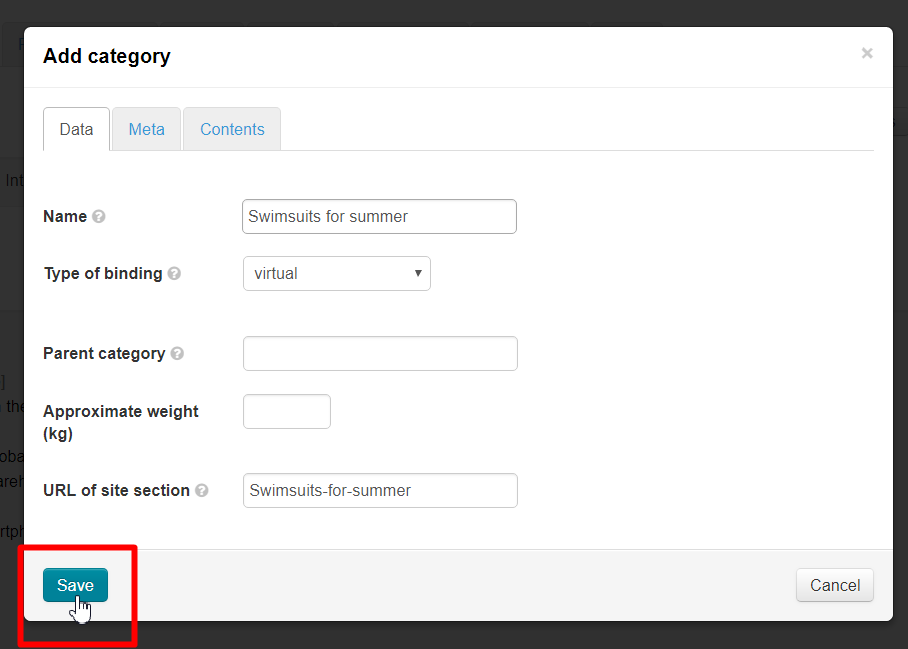
Save.
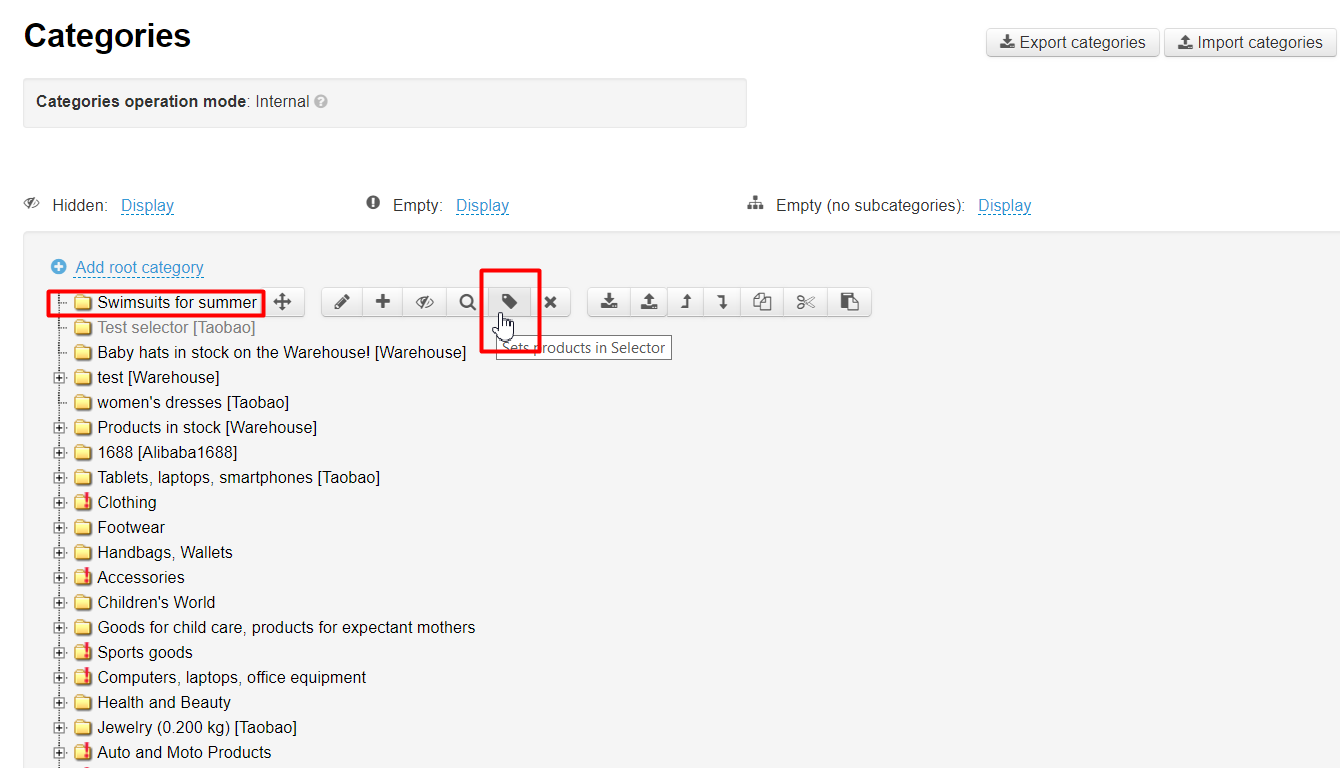
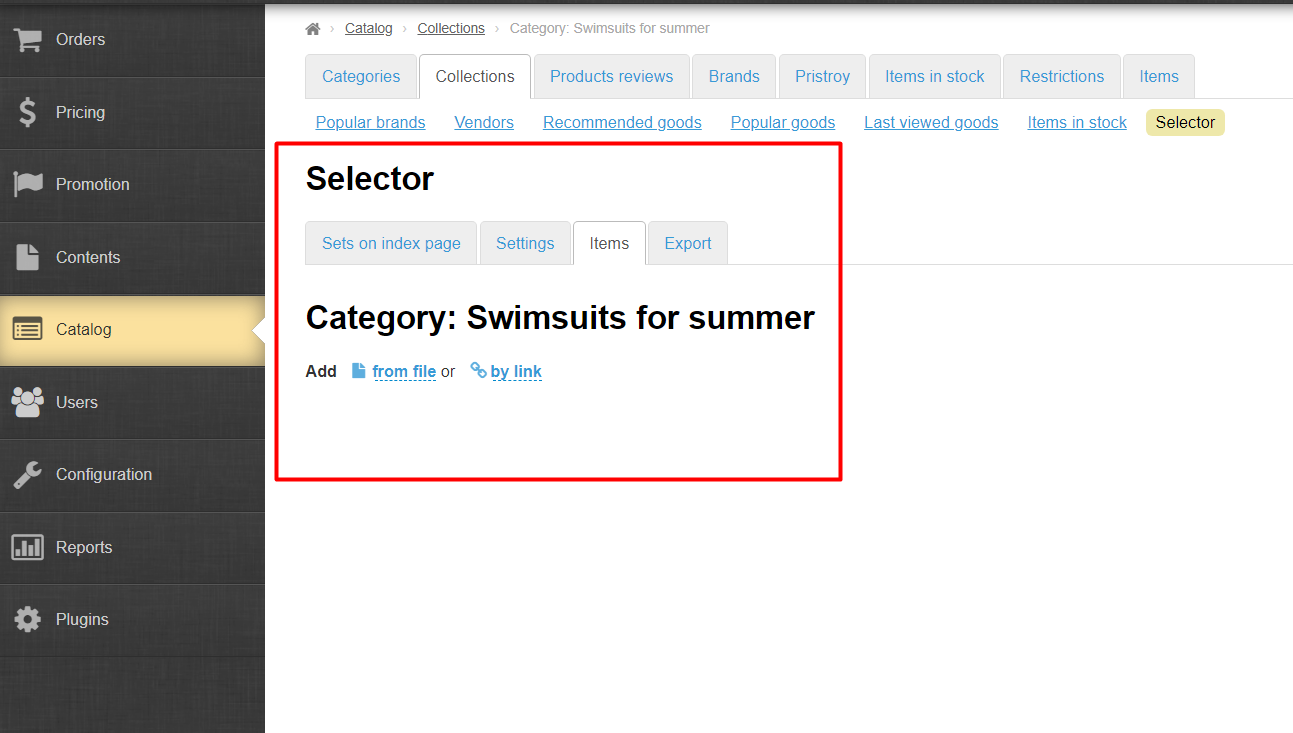
Move mouse over created category and select button with a label (or tag) in appeared menu. When we hover over it we get "Items from the Collections Selector" title.
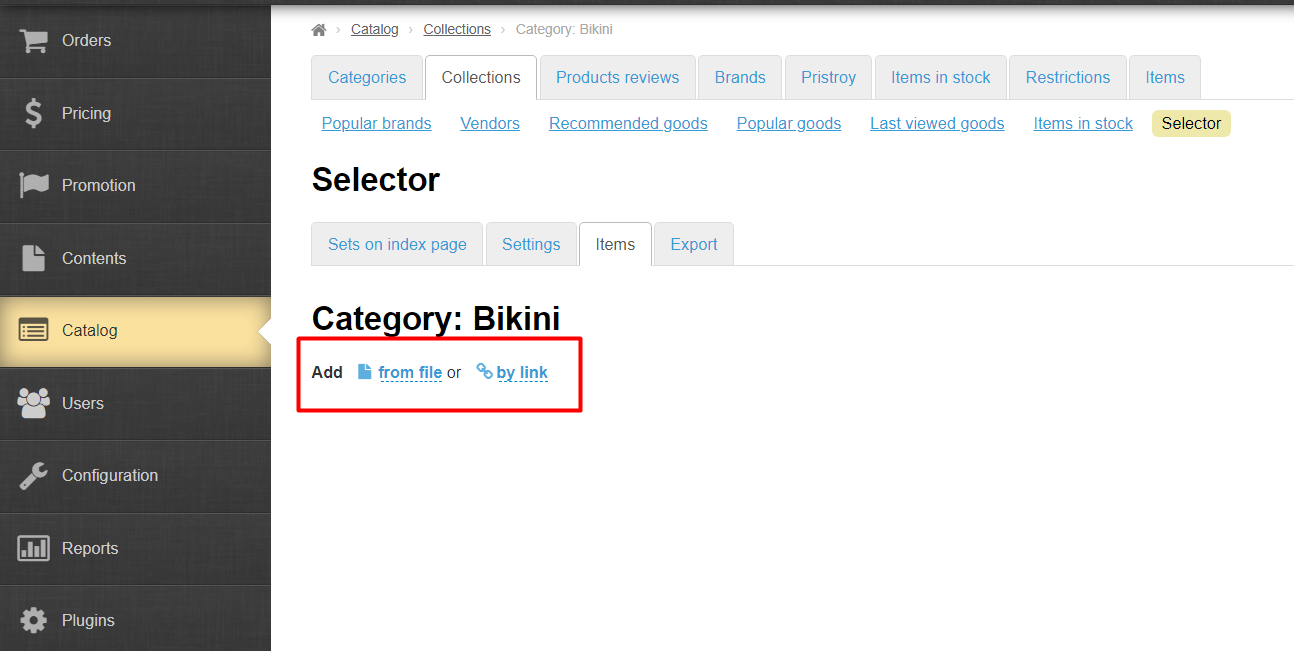
A page to add goods will open after clicking.
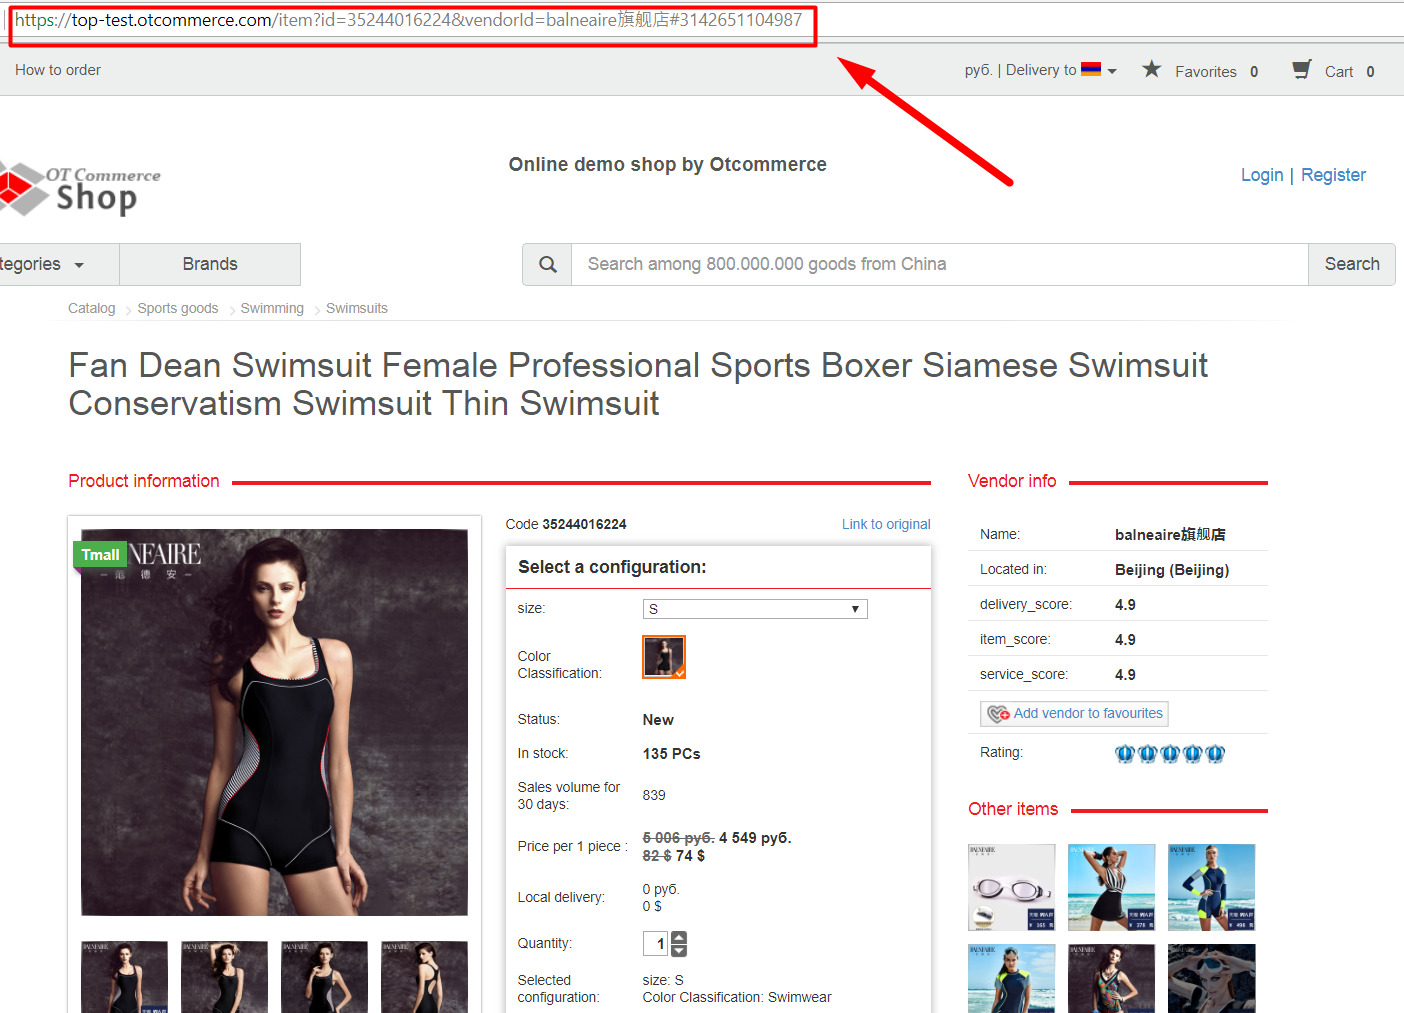
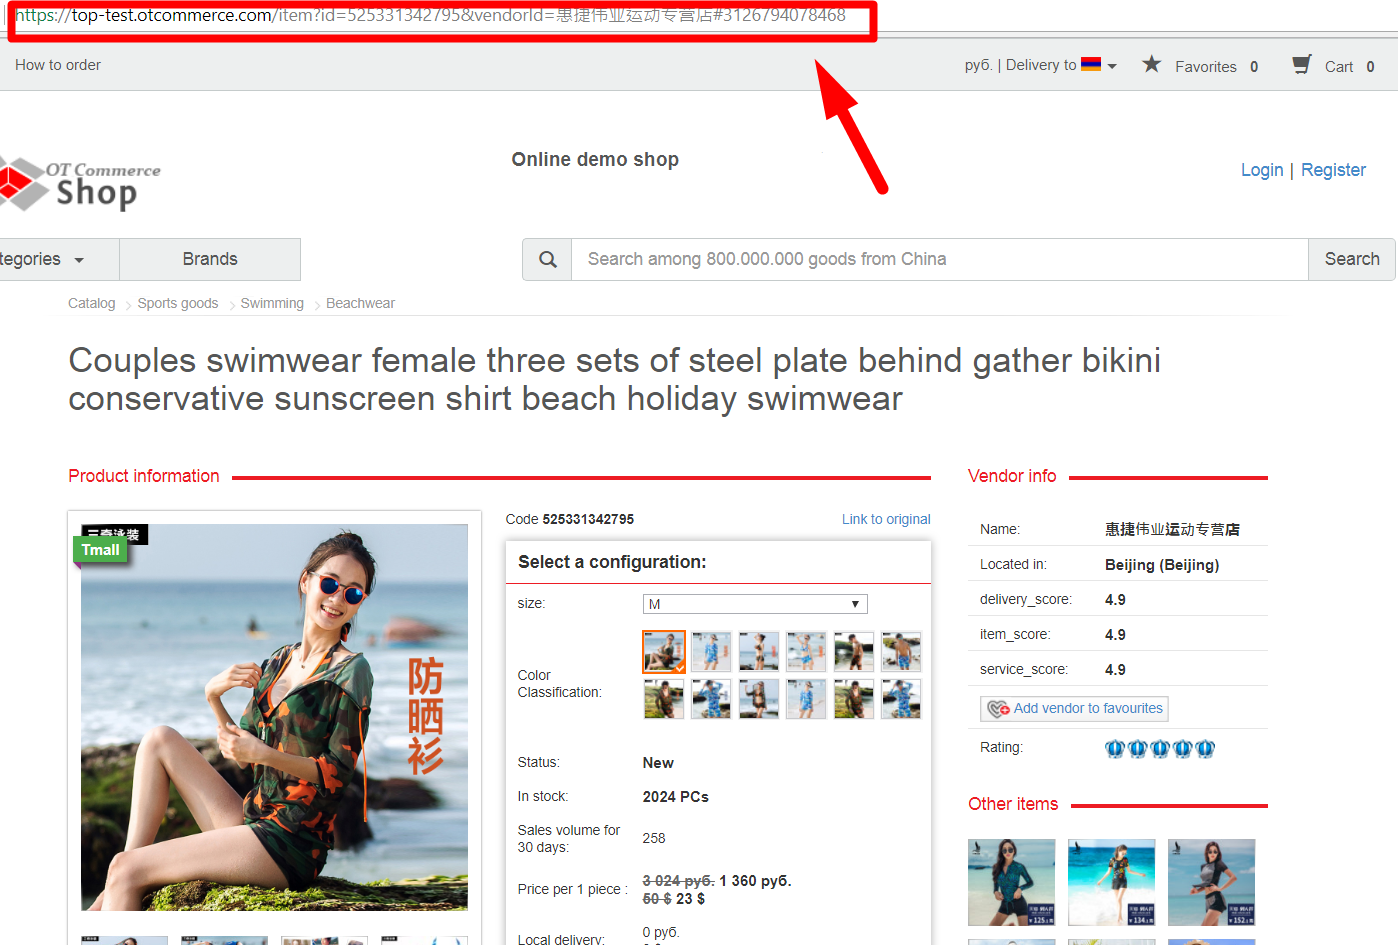
Choose select goods for sale on your site and copy links to these products in browser's address bar:
Create a notepad file on your computer and paste goods links there. Each link should start from new line. Click "Enter" button on a keyboard. You will have something like this:
...
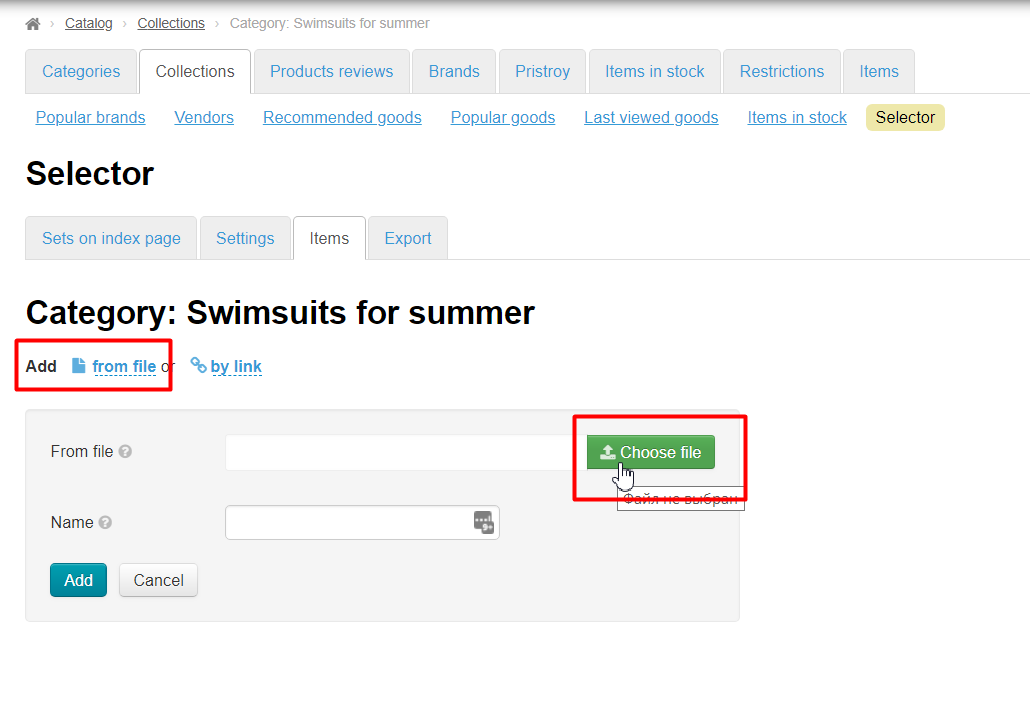
Go back to the page of adding goods again, click "From file" and upload created file:
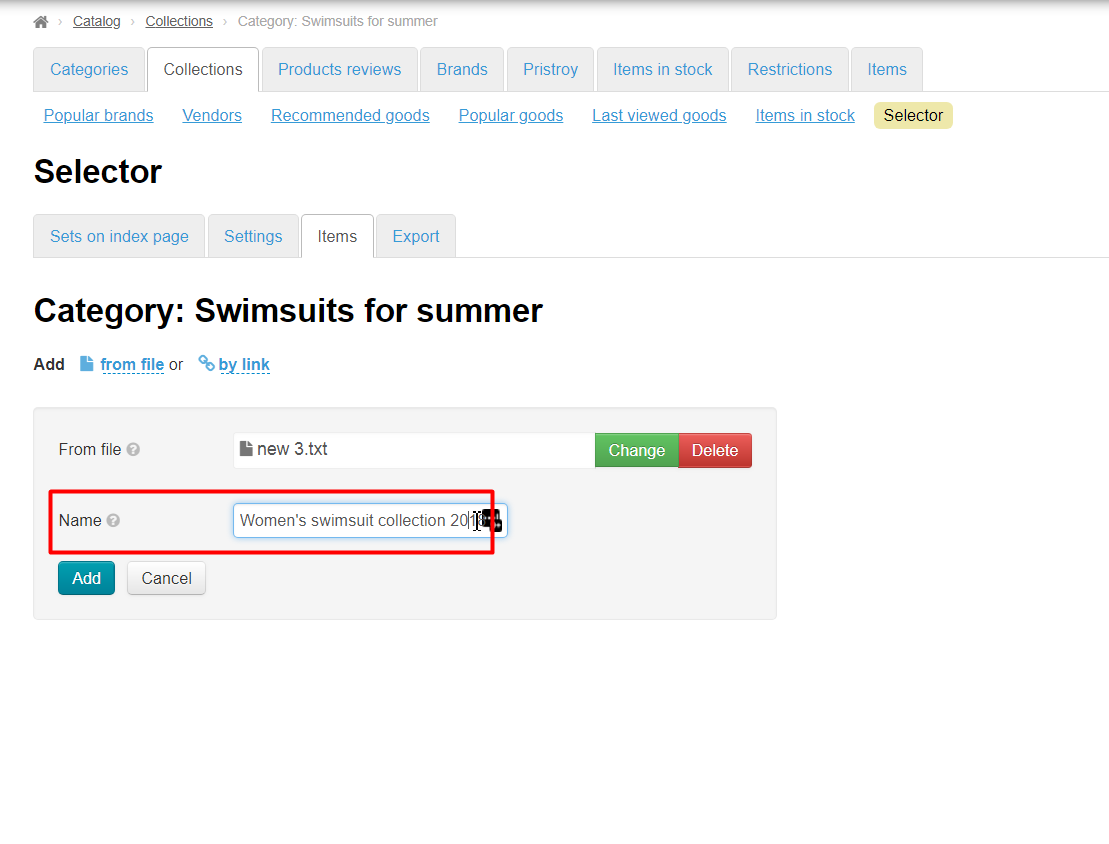
Write joint title, for example, "Swimsuits bikini collection 2017":
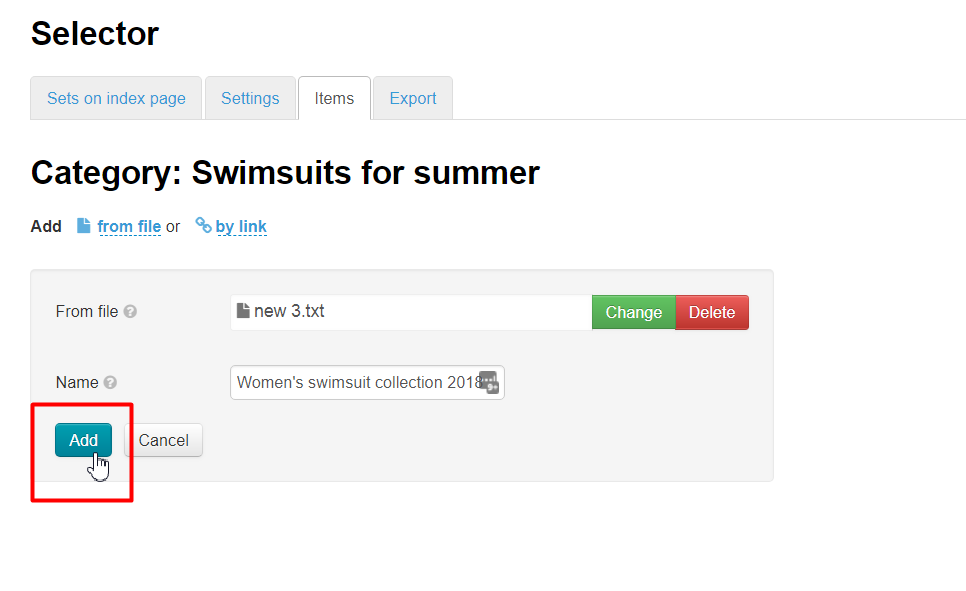
Files will be added into selection after uploading.
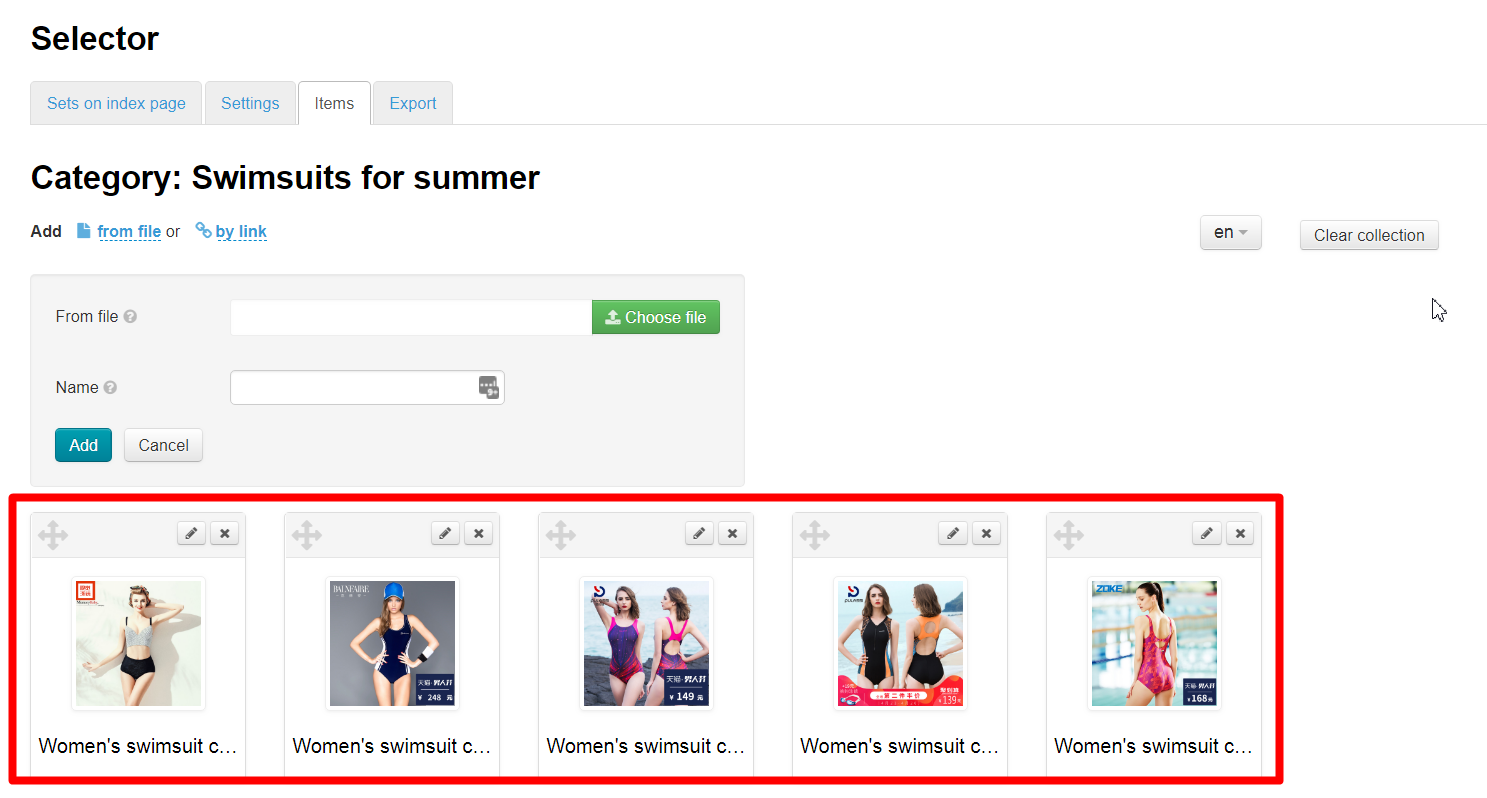
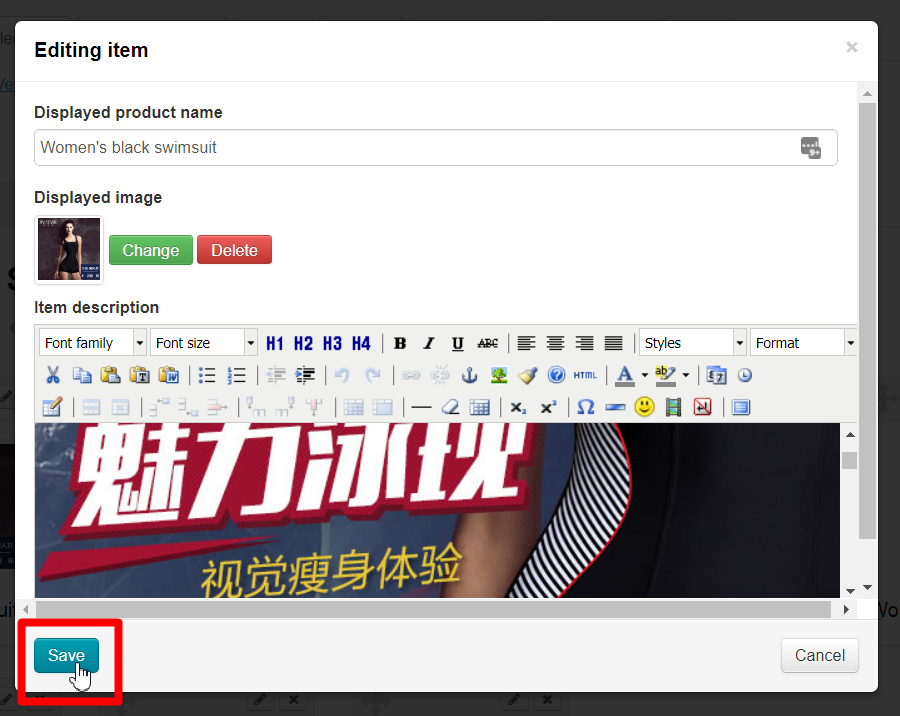
It is possible to edit files titles and main image clicking product button with a pencil:
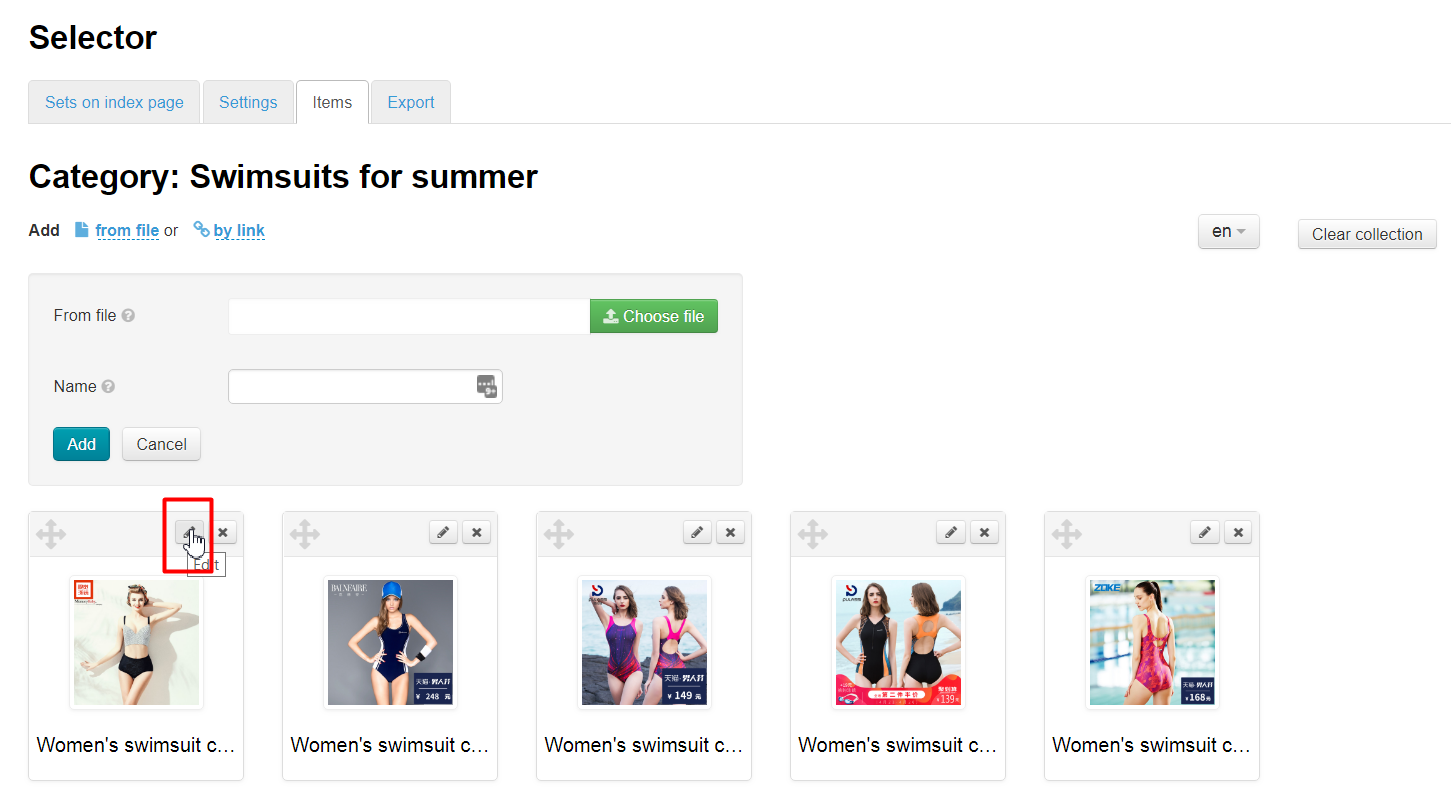
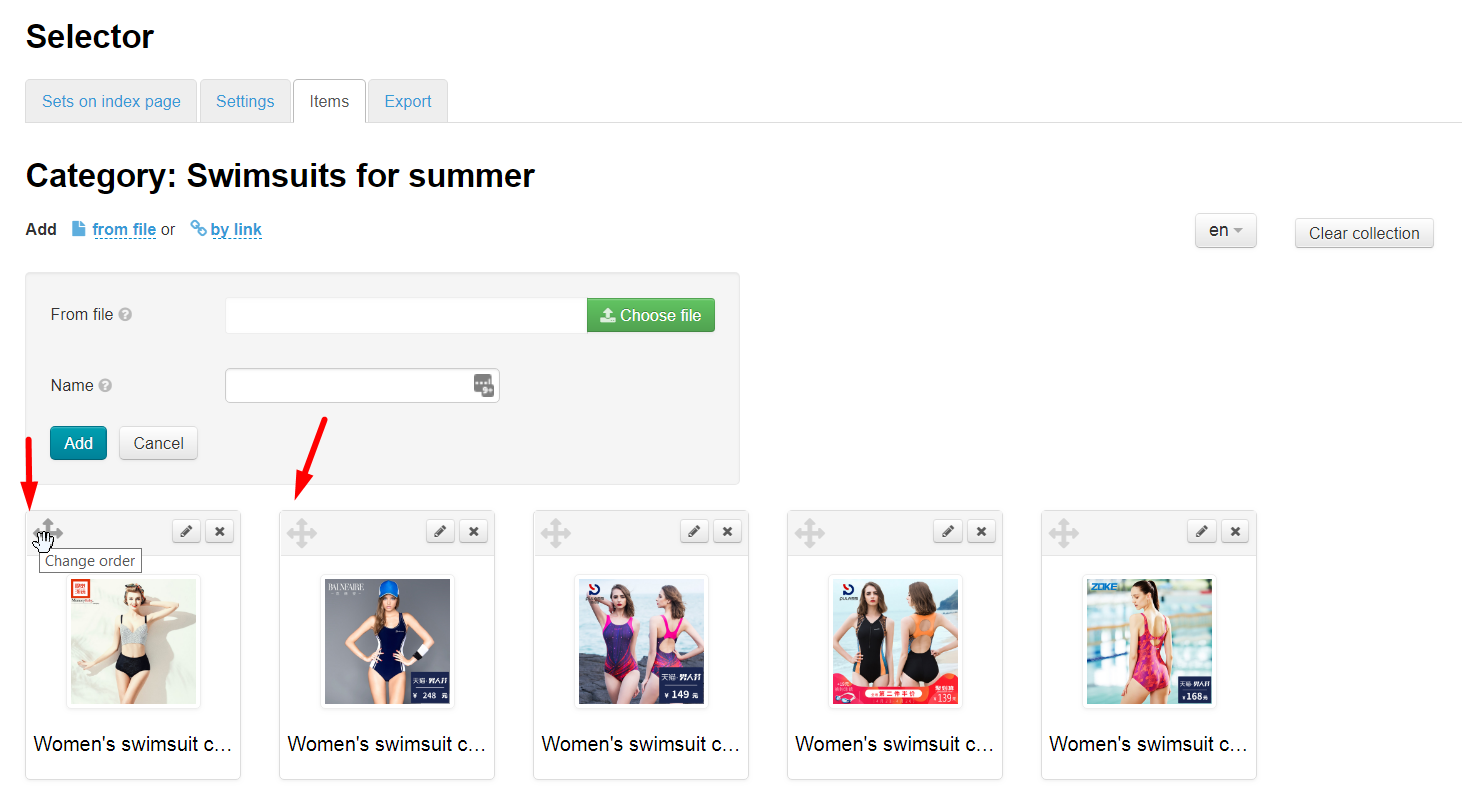
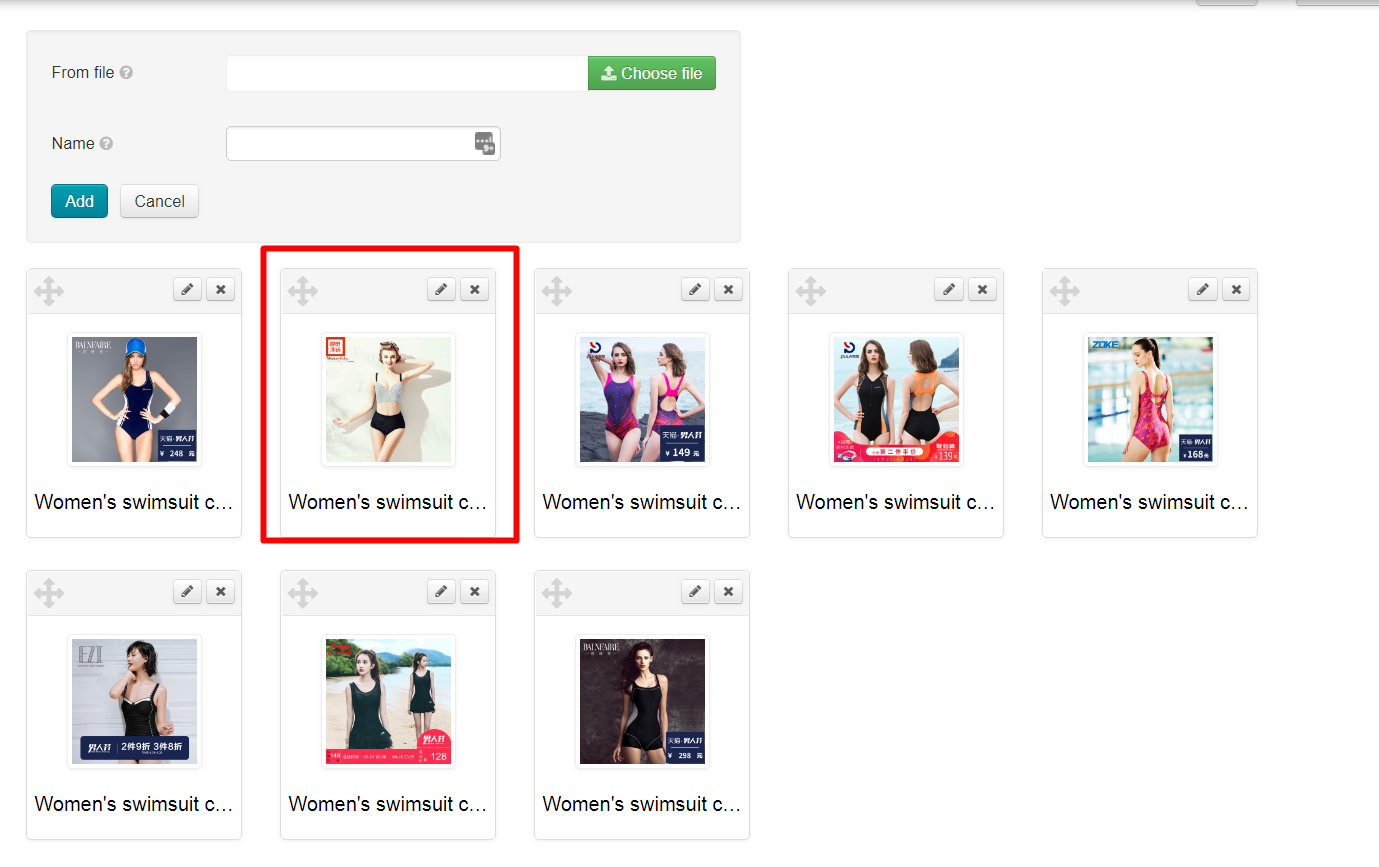
Collection is ready. You can change goods positions now, putting those ones we want to show on the home page to the first place. Drag goods holding transfer icon:
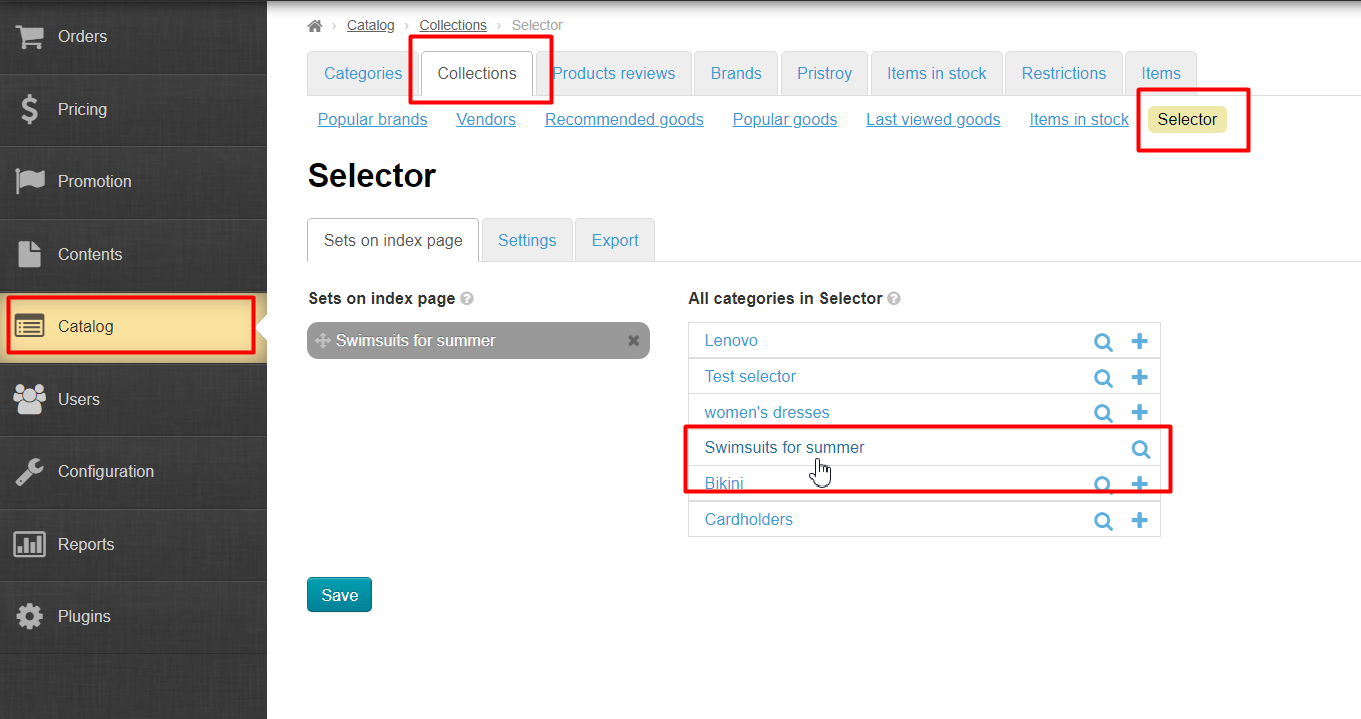
Open "Collections" section to display goods on home page:
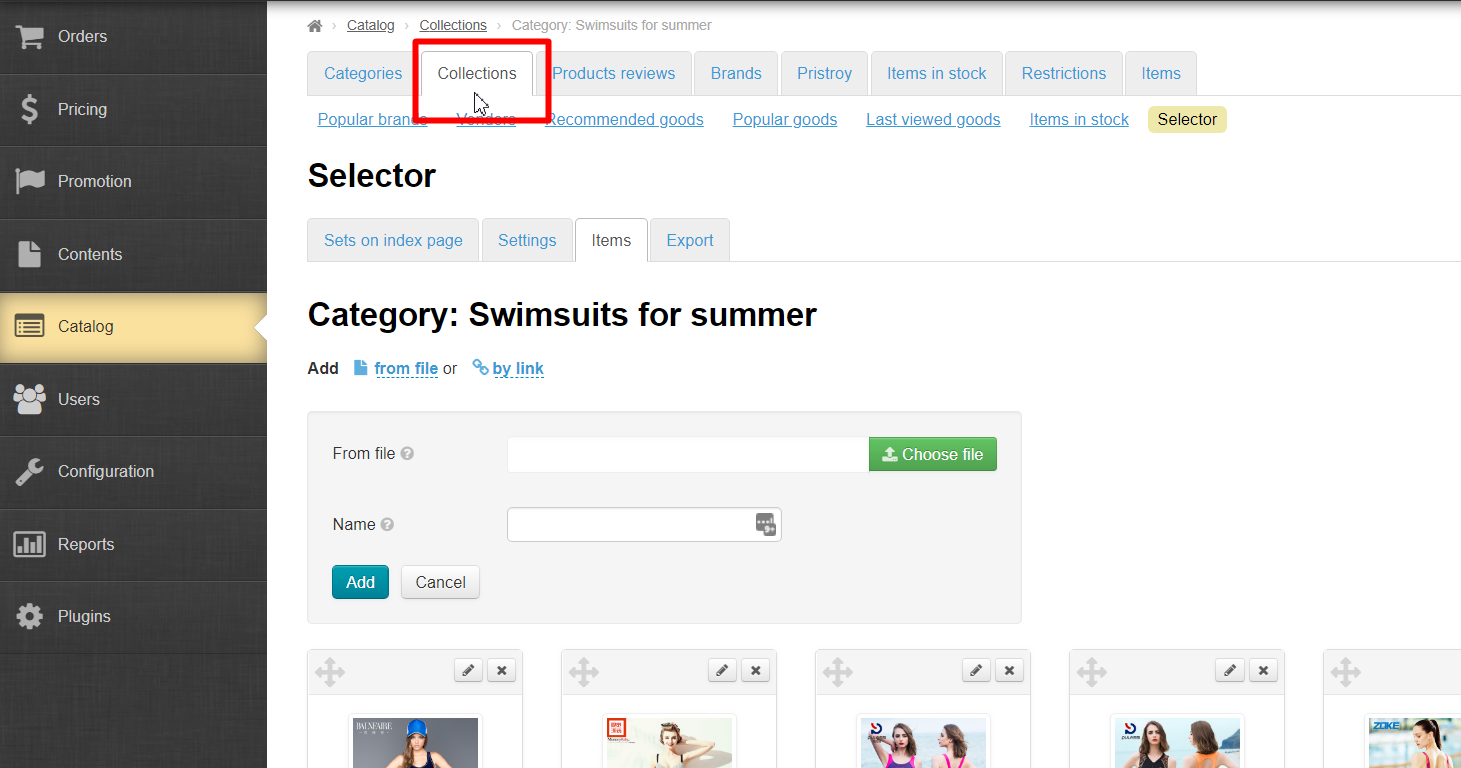
Click "Selector":
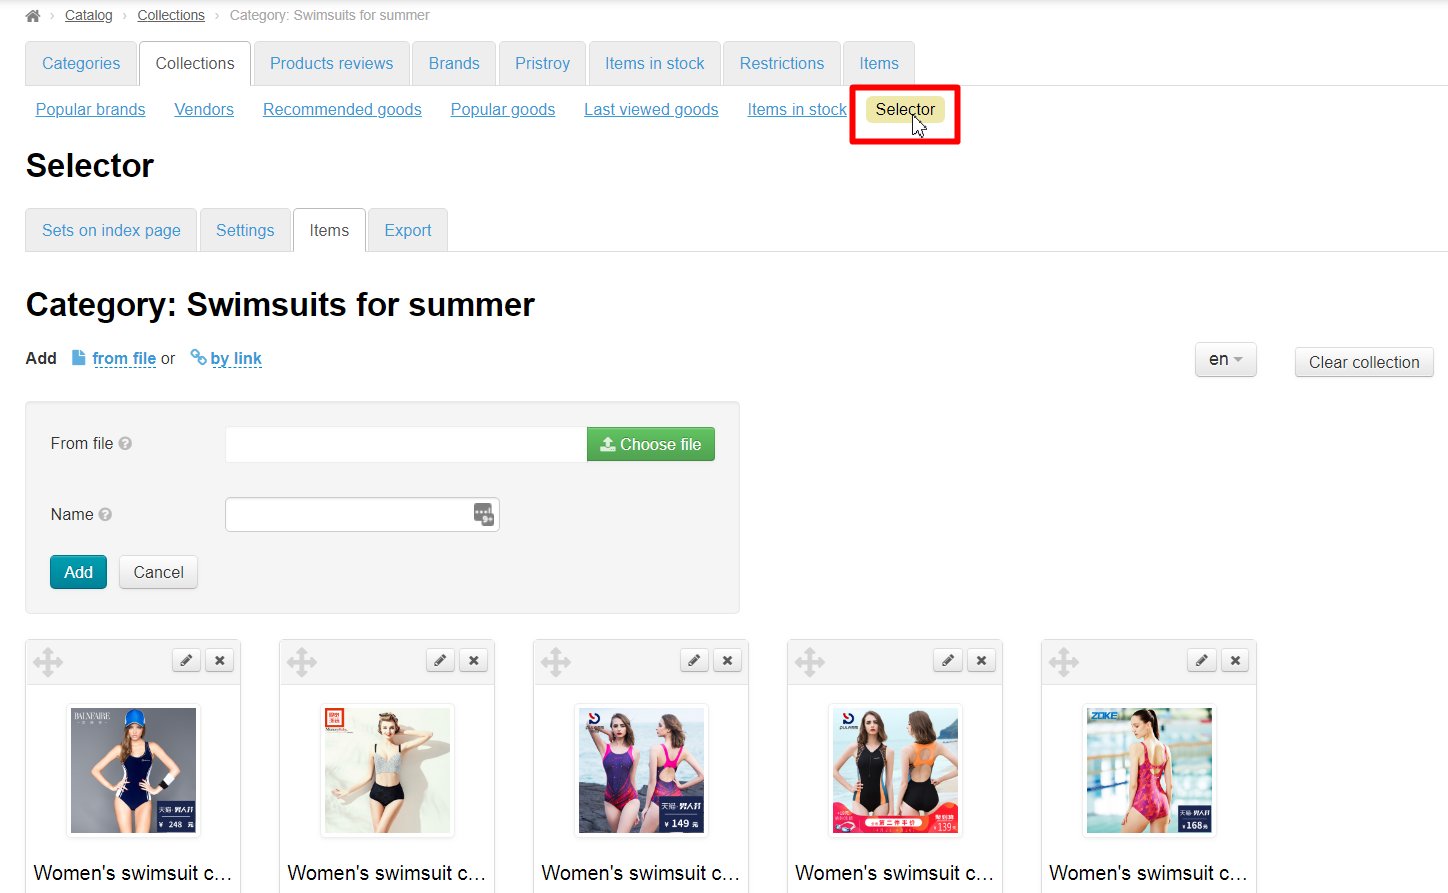
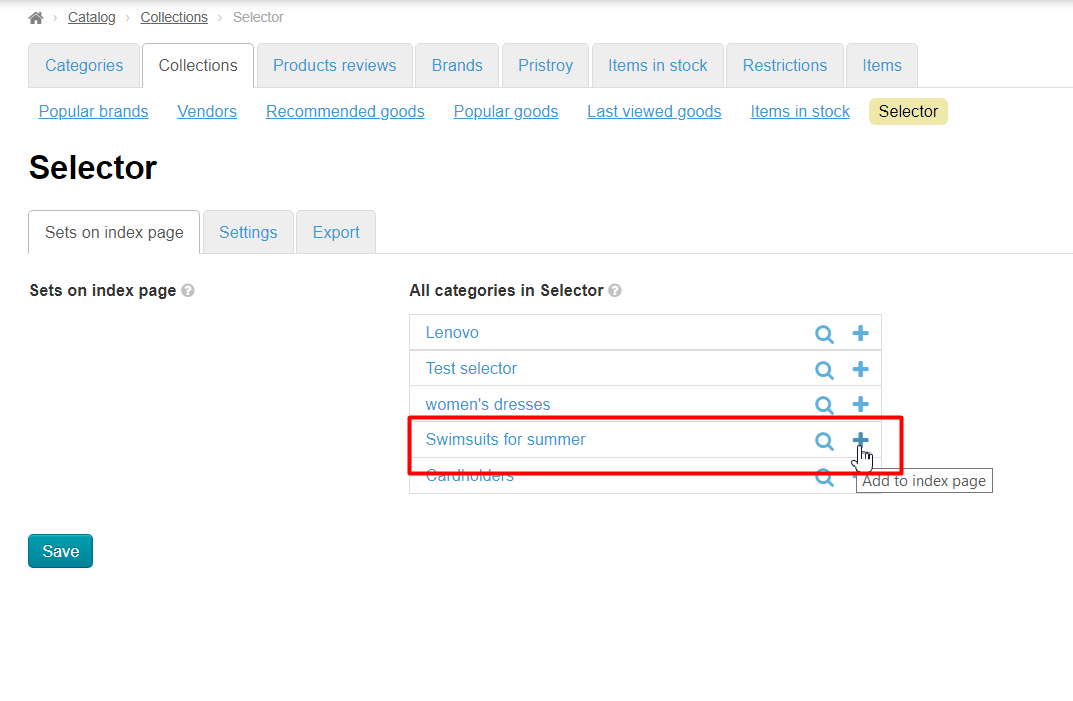
Find created category on the right:

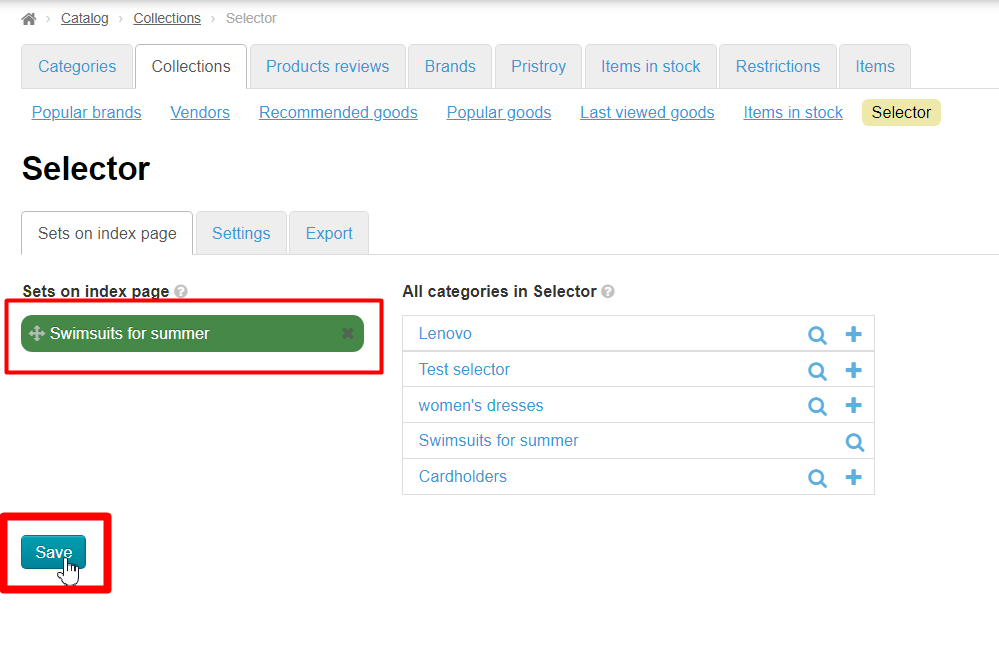
Add it to the column on the left by clicking plus sign:
Save.
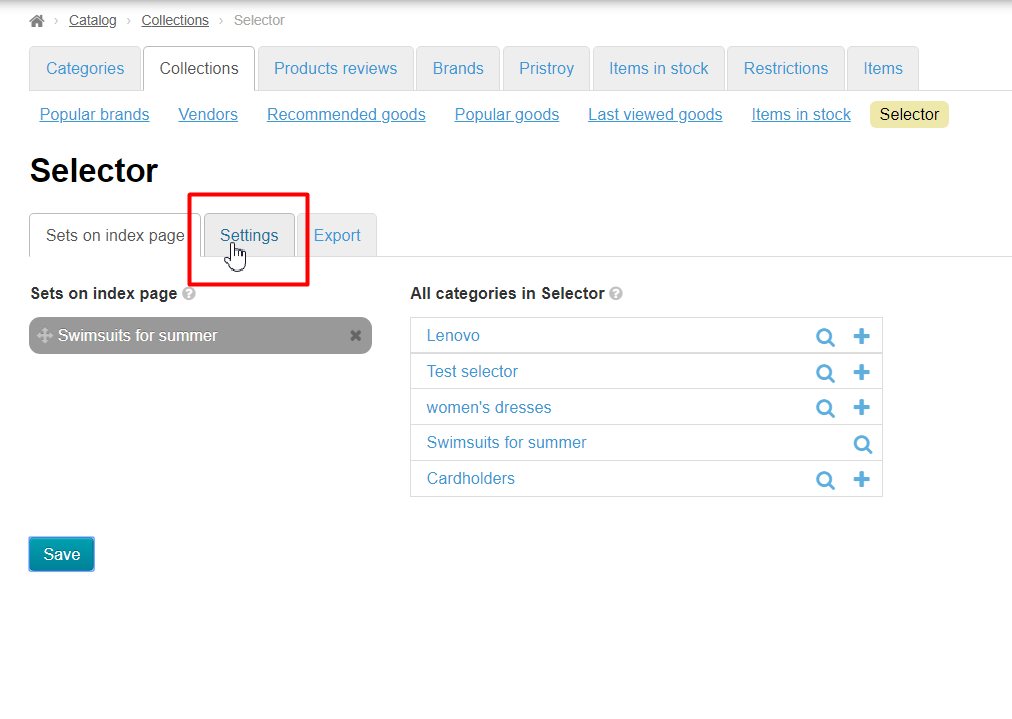
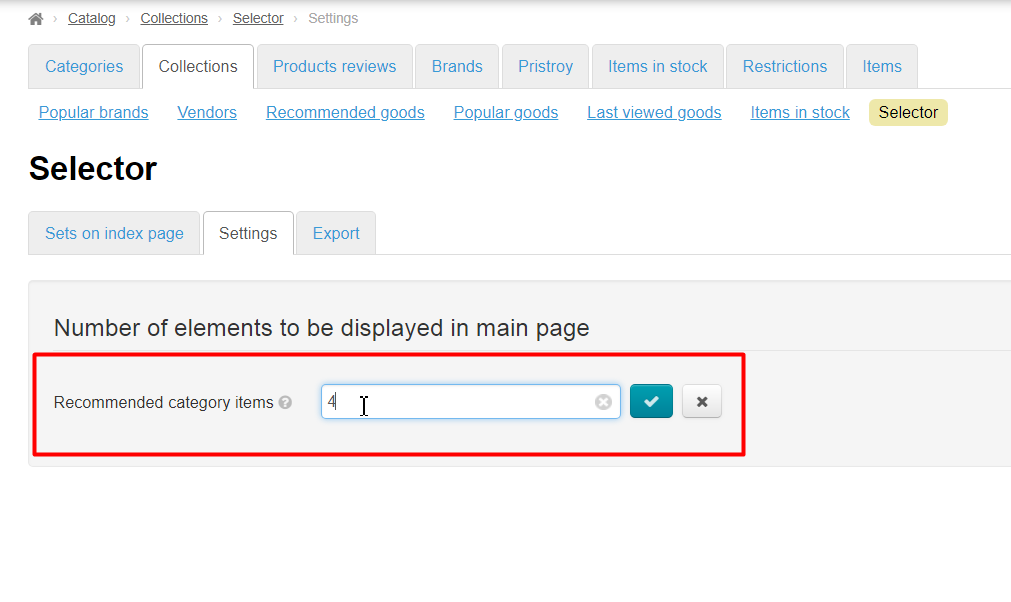
Open "Settings" tab:
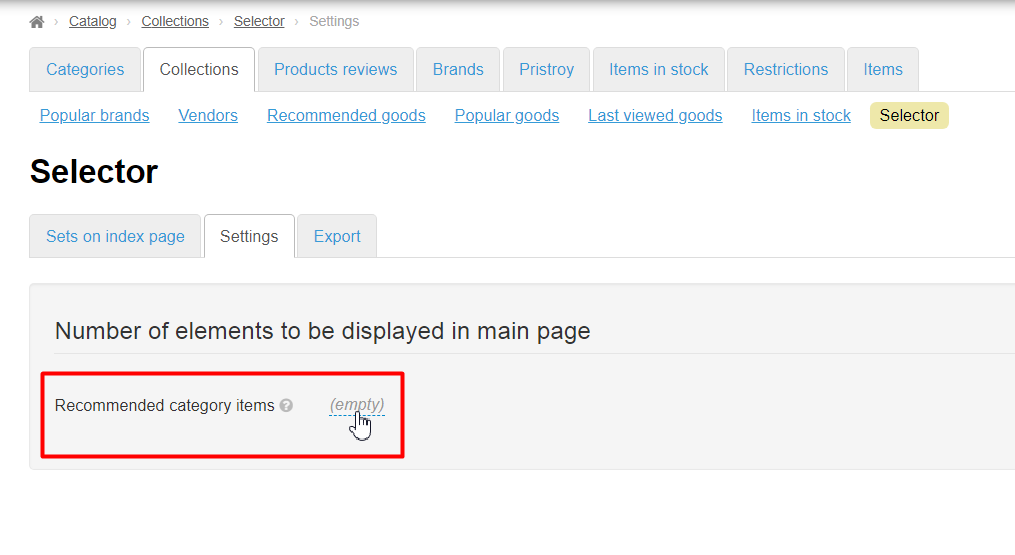
Set number of goods you want to show on home page (or leave 8 by default):
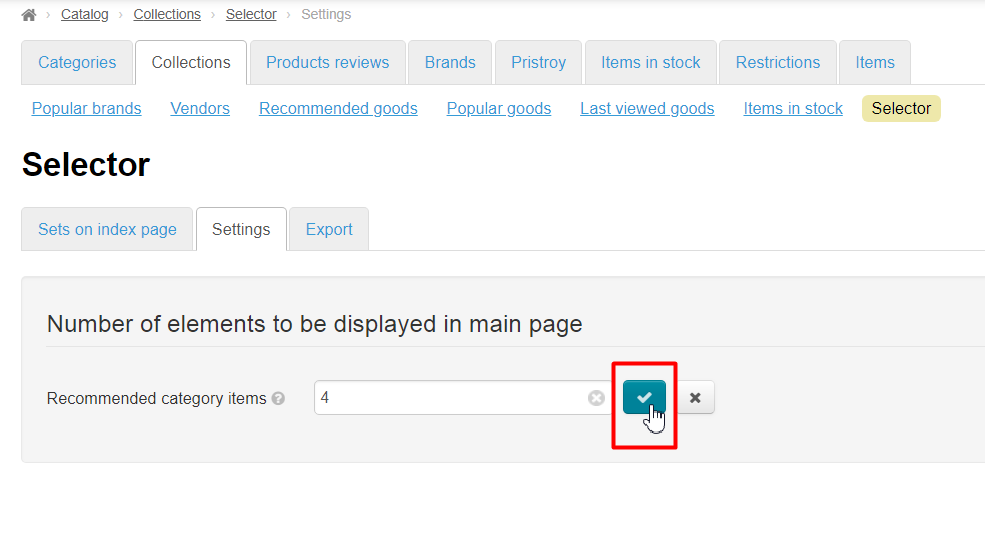
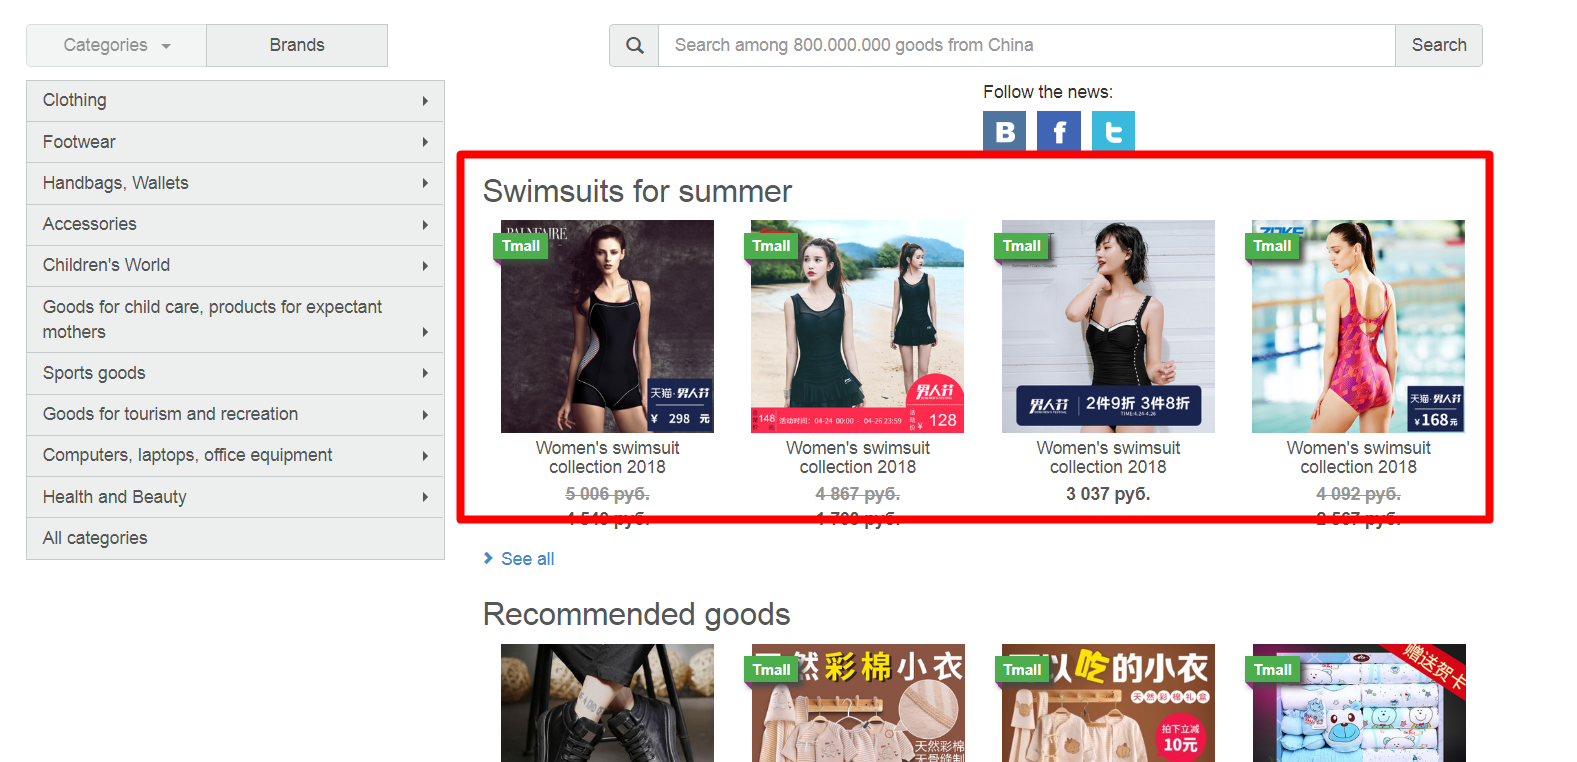
Ready:
"PRODelivery" module along with "Selector" module successfully complements seasonal offers. It is possible to make "free delivery" of goods with its help. Contact OT managers in your Skype chat to purchase this module.
...
You can add selected goods into existing category of catalog if you already have a list of links to goods. You can do it in "Catalog" section:
It is important to remember that it is possible to display either goods selected manually or those "transferred" directly from Taobao.
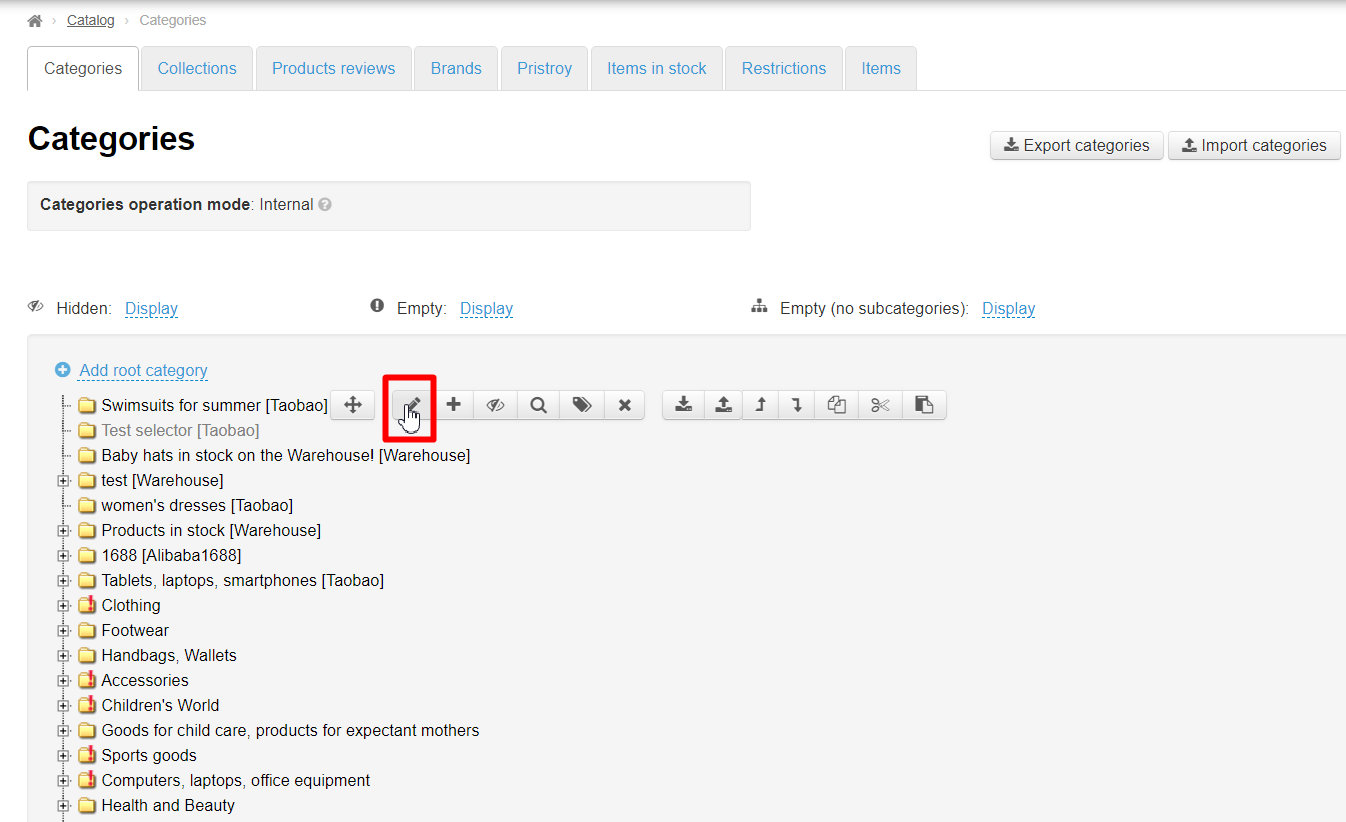
Find category in catalog where we want to add goods:
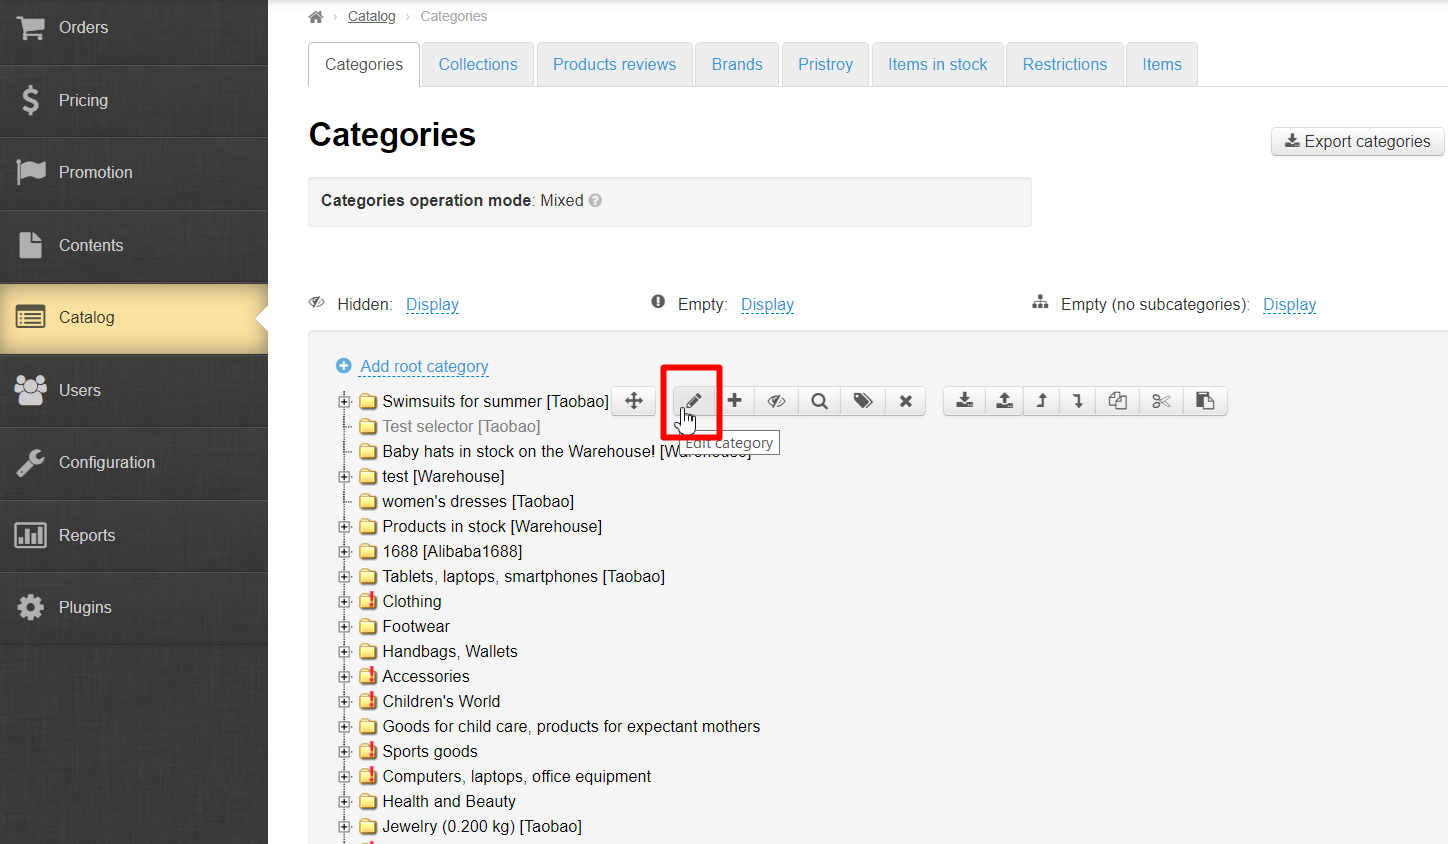
Menu appears on the right when you hover. Look for an icon with a pencil and click:
Check binding type:
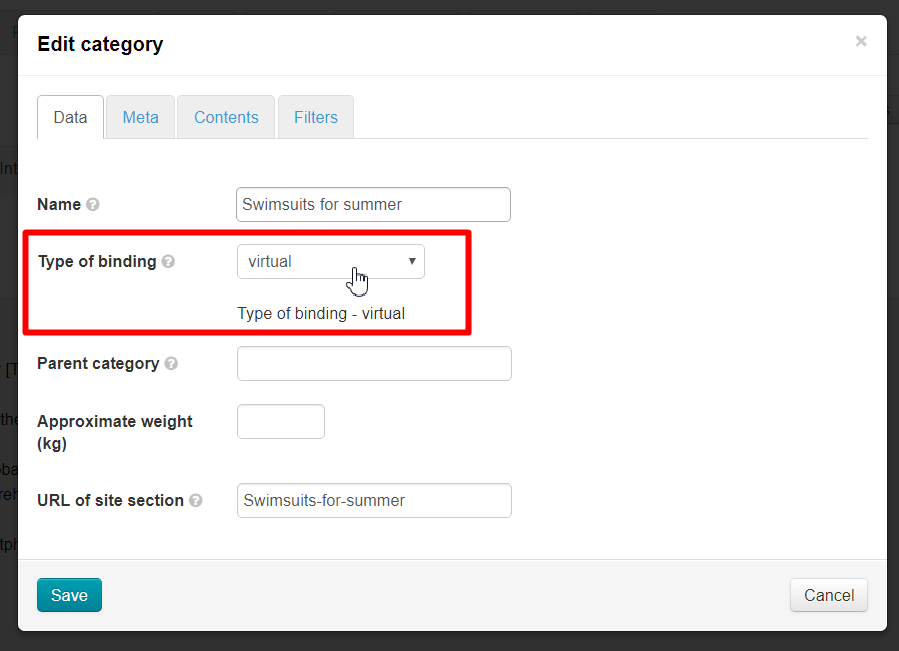
Close category if type of binding is virtual. It suits us. Change it to virtual if any other is set:

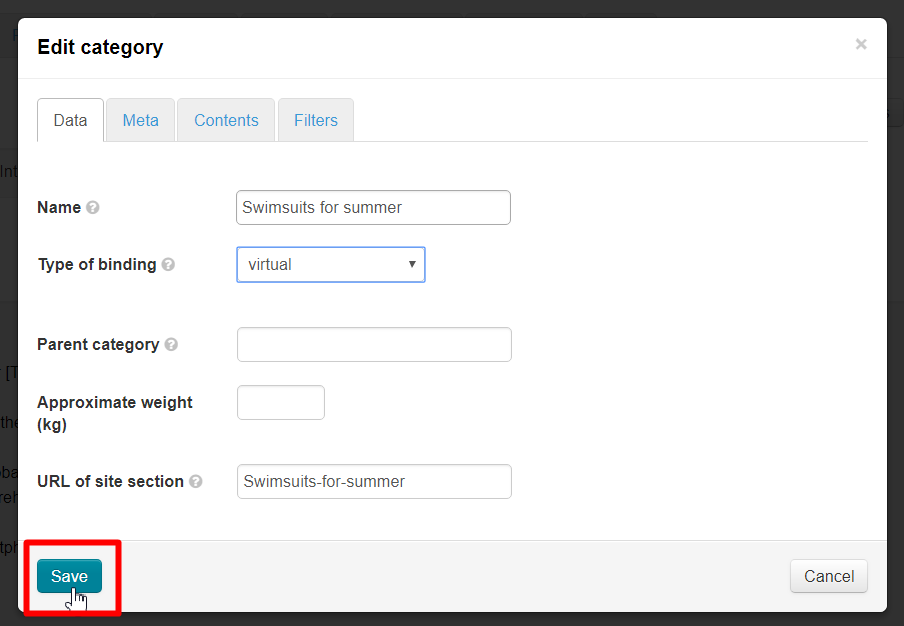
Click "Save":
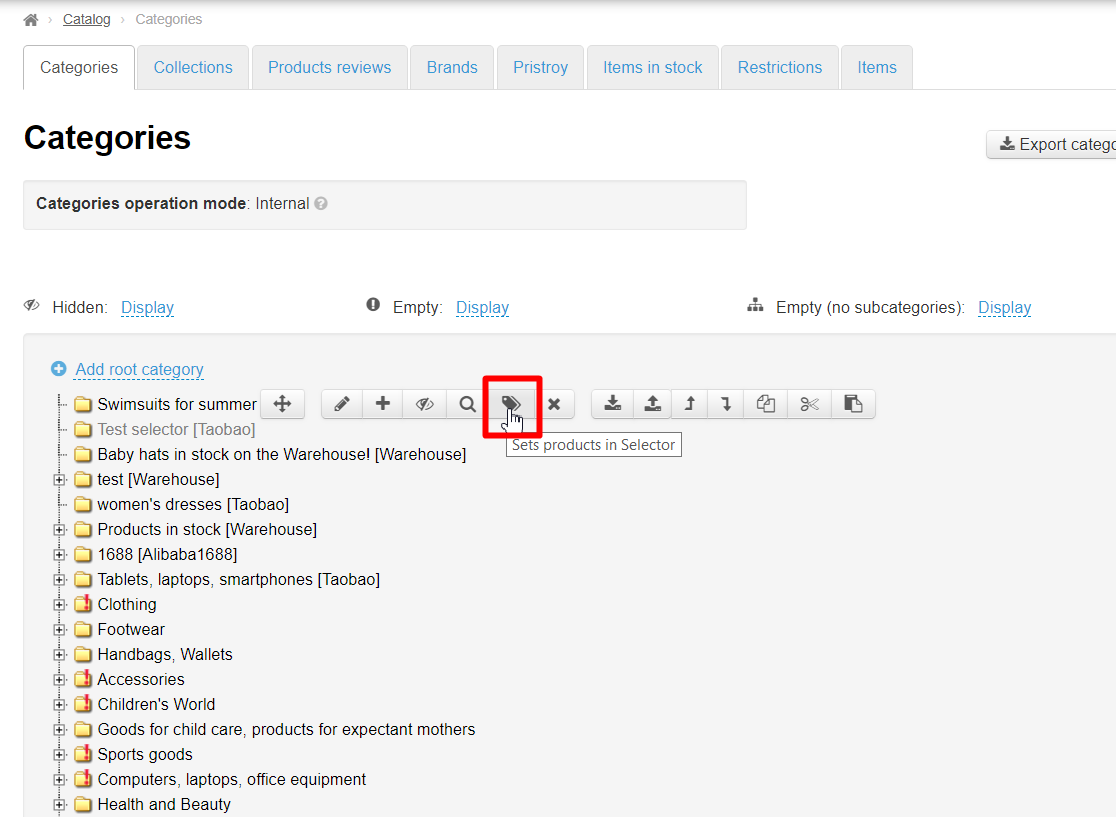
Move mouse over created category and select button with a label (or tag) in appeared menu. When we hover over it we get "Items from the Collections Selector" title.
A page to add goods will open. Click "From file" and upload created file:
Write joint title, for example, "Swimsuits bikini collection 2017":
Files will be added into selection after uploading.
It is possible to edit files titles and main image clicking product button with a pencil:
Selection is ready.
...
It is better to make separate files if you plan several types of goods (for example, swimsuits solid, bikini and swimming trunks). Then you will be able to set a joint name for each group of goods for uploading and save time on renaming.
Choose select goods for sale on your site and copy links to these products in browser's address bar:
Create a notepad file on your computer and paste goods links there. Each link should start from new line. Click "Enter" button on a keyboard. You will have something like this:
...
Find category in catalog where it's necessary to add goods with identical titles:
Move mouse over created category and select button with a label (or tag) in appeared menu. When we hover over it we get "Items from the Collections Selector" title.
A page to add goods will open. Click "From file" and upload created file:
Write joint title, for example, "Swimsuits bikini collection 2017":
Files will be added into selection after uploading.
Unfortunately it's impossible to rename all uploaded goods at once but it's possible to delete them, upload again (by one file) and rename them on uploading phase.
...
Open Catalog > Categories:
Create category:
Call it "Swimsuits for summer season" and make it virtual:
Save.
Point mouse over created category and select button with plus sign clicking it in menu that appears:
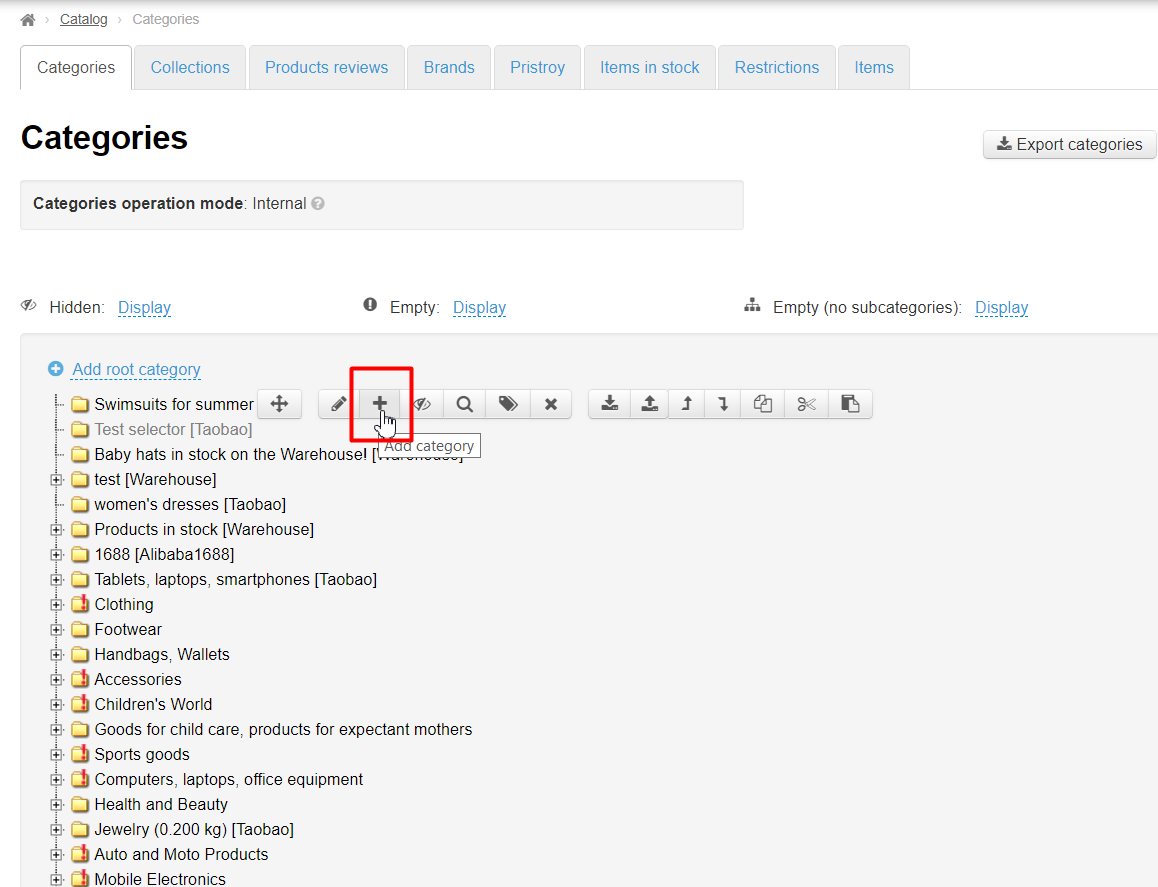
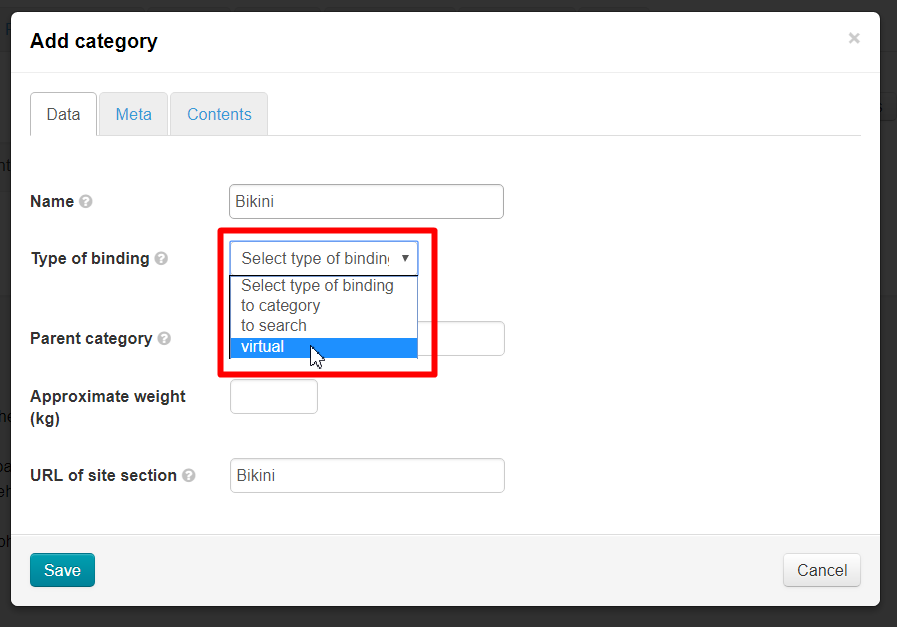
Window to add category will open. Choose select virtual type of binding:
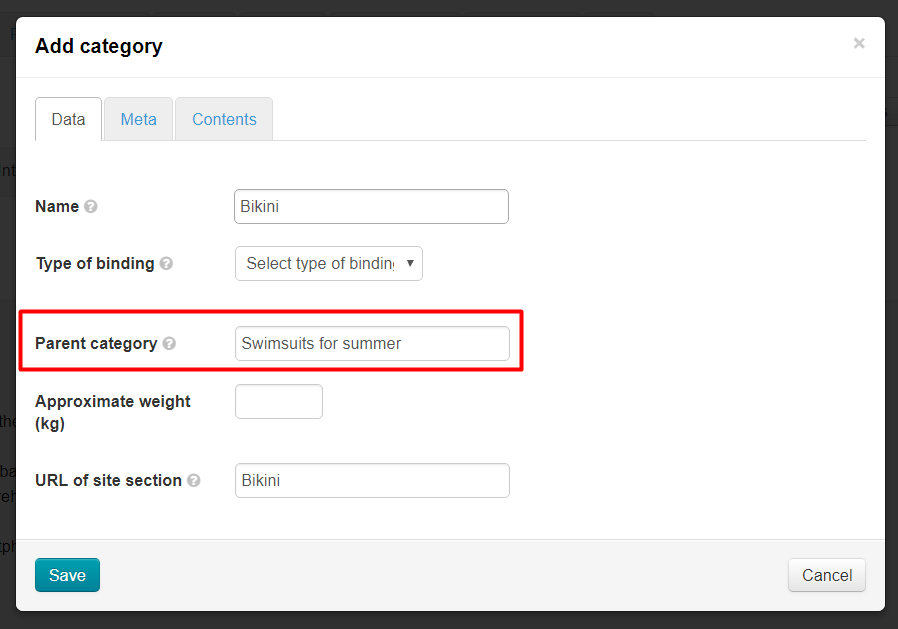
Parent category will show category that was created first:
Save category:
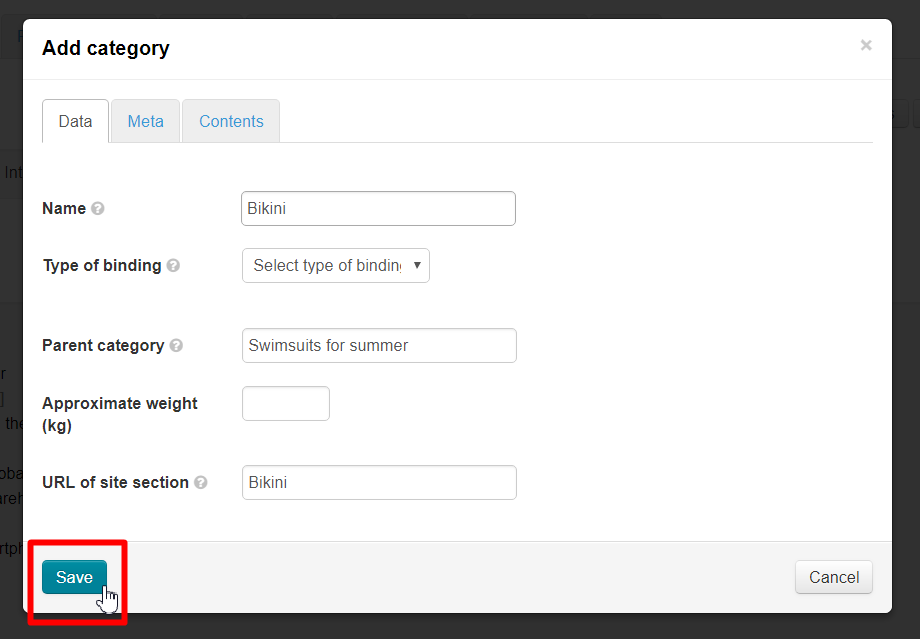
It will become subcategory after saving:
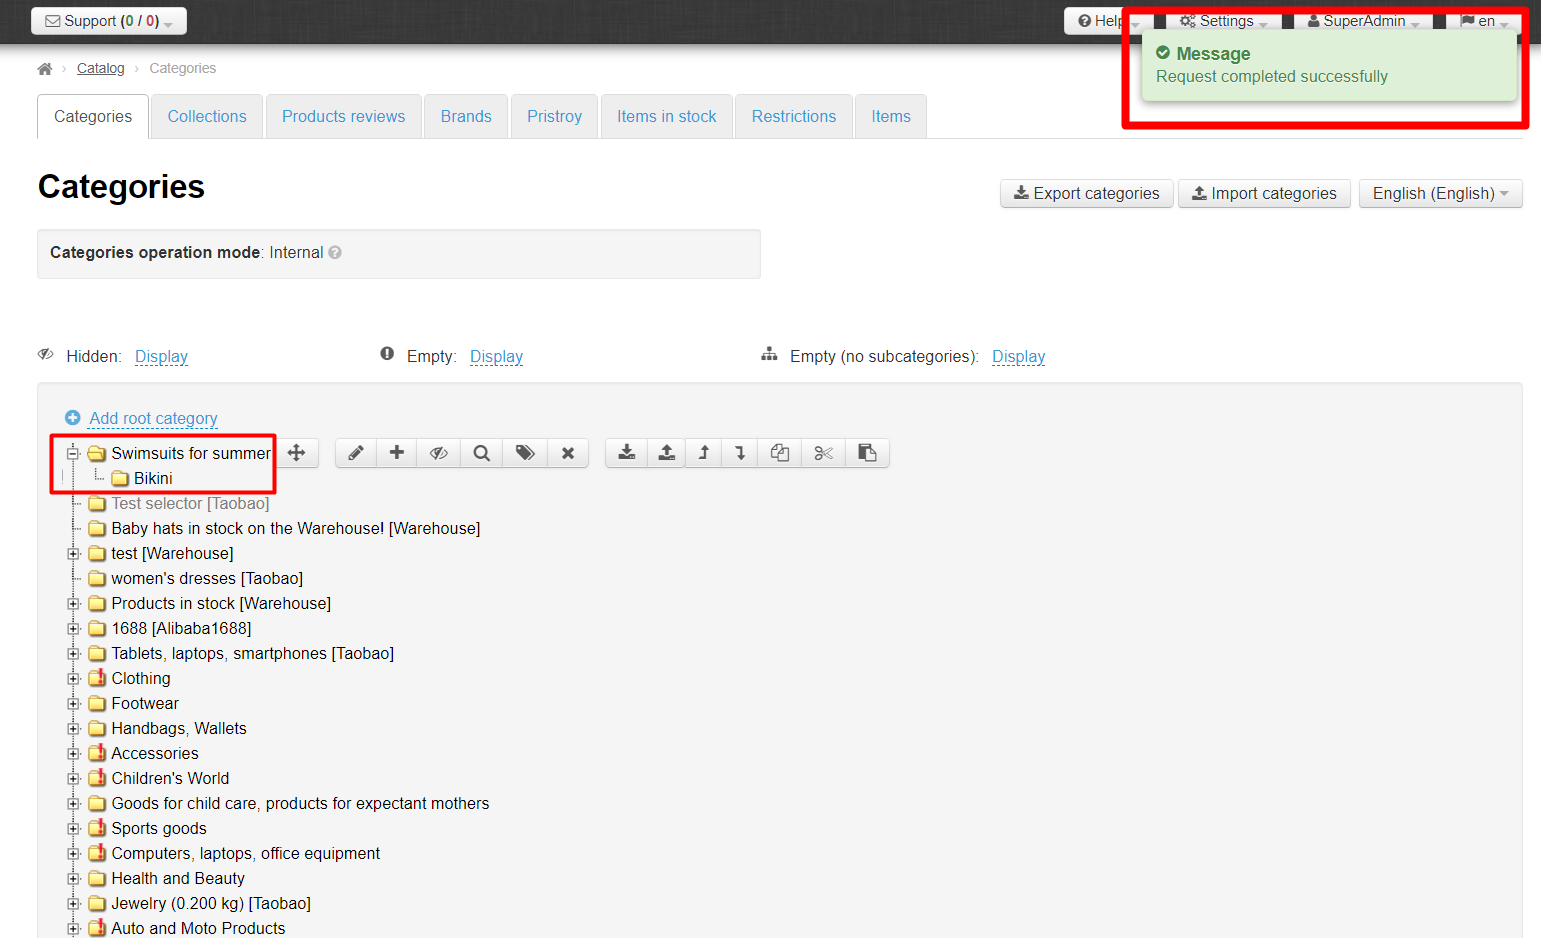
That's how we create a category tree, and then we fill each category separately with goods.
...
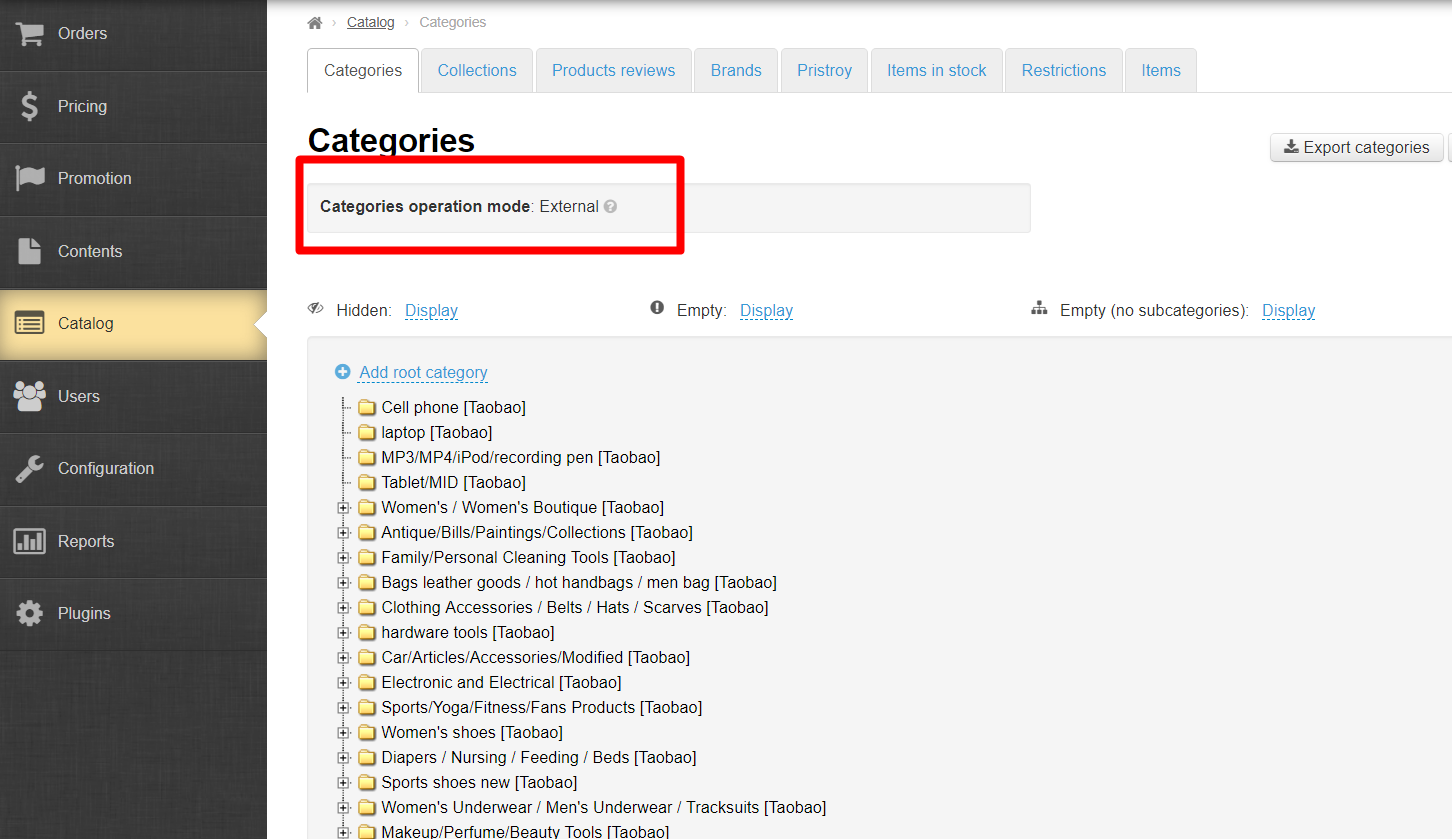
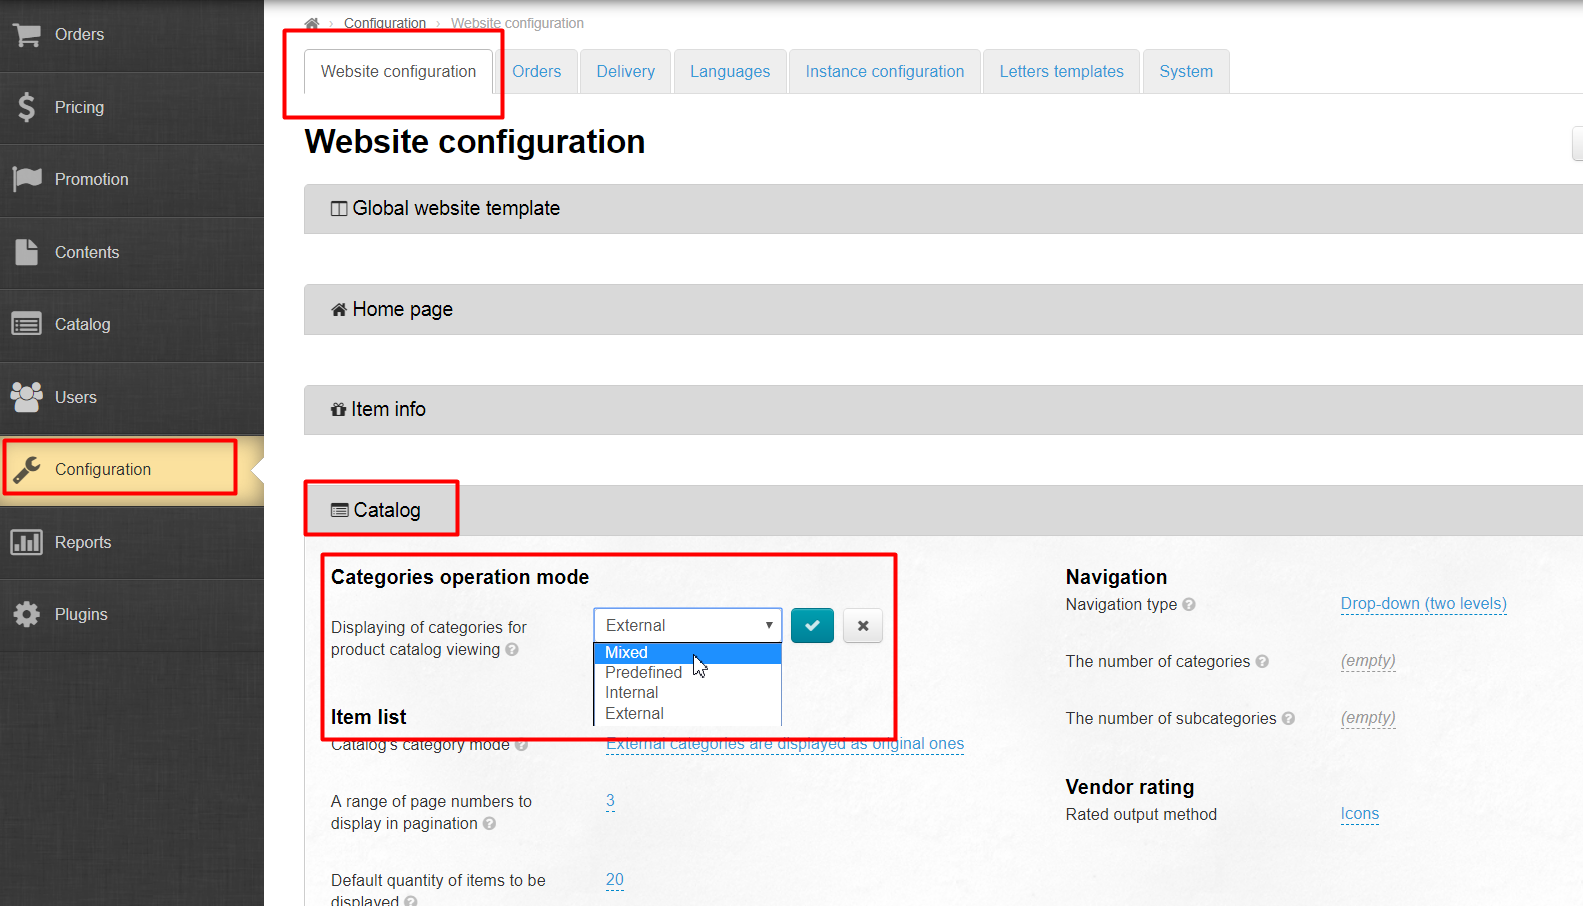
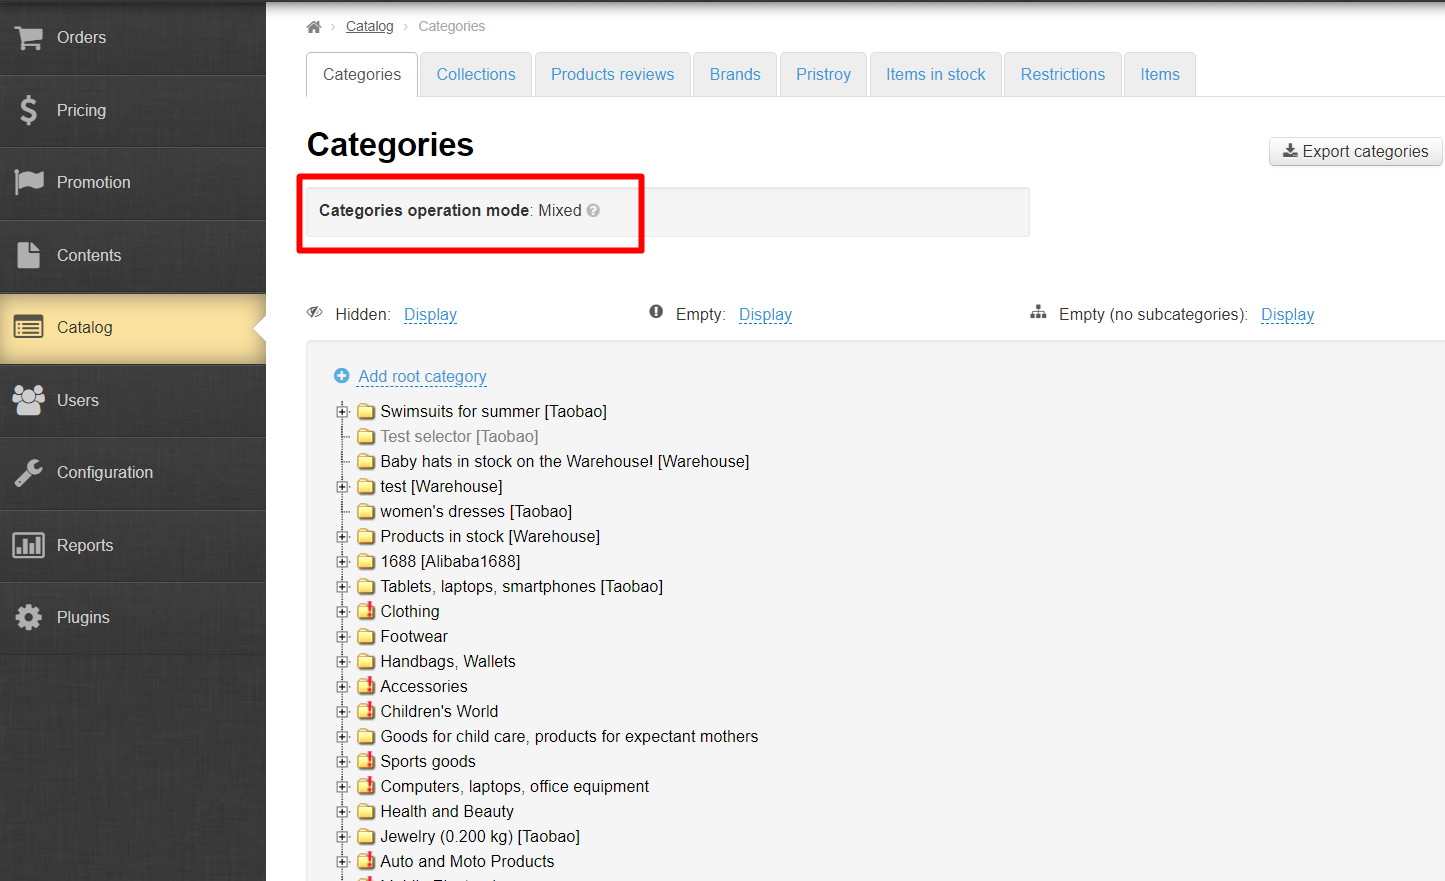
Change categories operation mode to "Mixed" if you use "External" standard catalog:
Read how to change categories operation mode in Catalog (Configuration) instruction.
You will see "Mixed" categories operation mode after change:
Edit original Taobao categories to save (it's not necessary in "Internal" mode) if you have them in "Mixed" mode. In this way these categories do not disappear when creating a virtual category.
...
Enter Catalog > Categories.
Click "Add root category".
Enter category name and choose select virtual type of binding.
Other parameters are filled in if desired (read "Categories: Add root category" instruction" instruction)
Click "Save" button and refresh page
It's also possible to fill in information in Meta and Content tabs for categories (selections) of Selector in a standard way.
Read more in in "Categories: Add root category" instruction instruction.
Delete
| Информация | ||
|---|---|---|
| ||
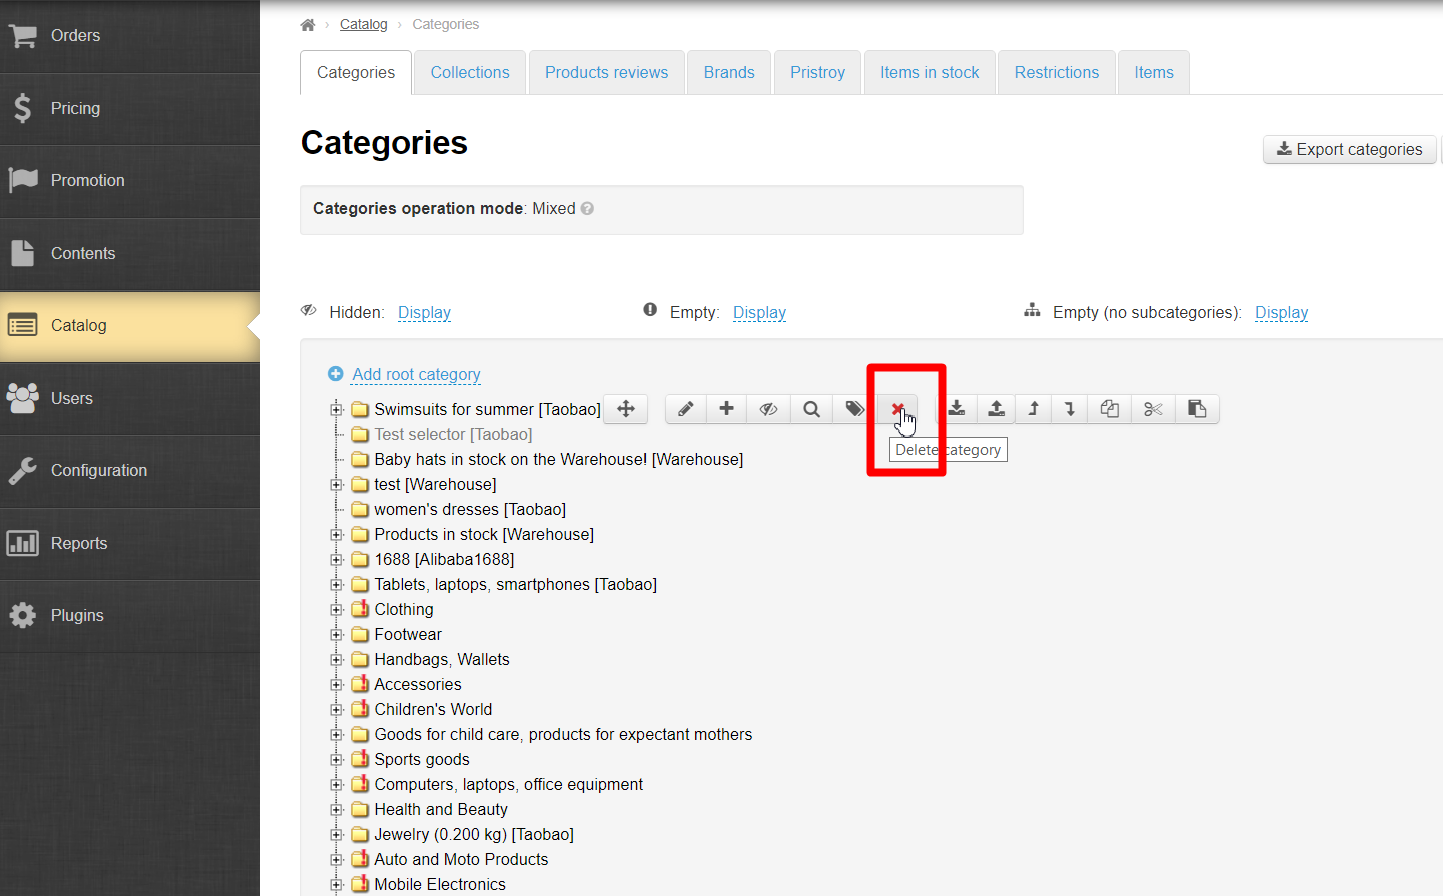
Note that all goods in category (selection) of Selector will be removed after deleting category (selection). |
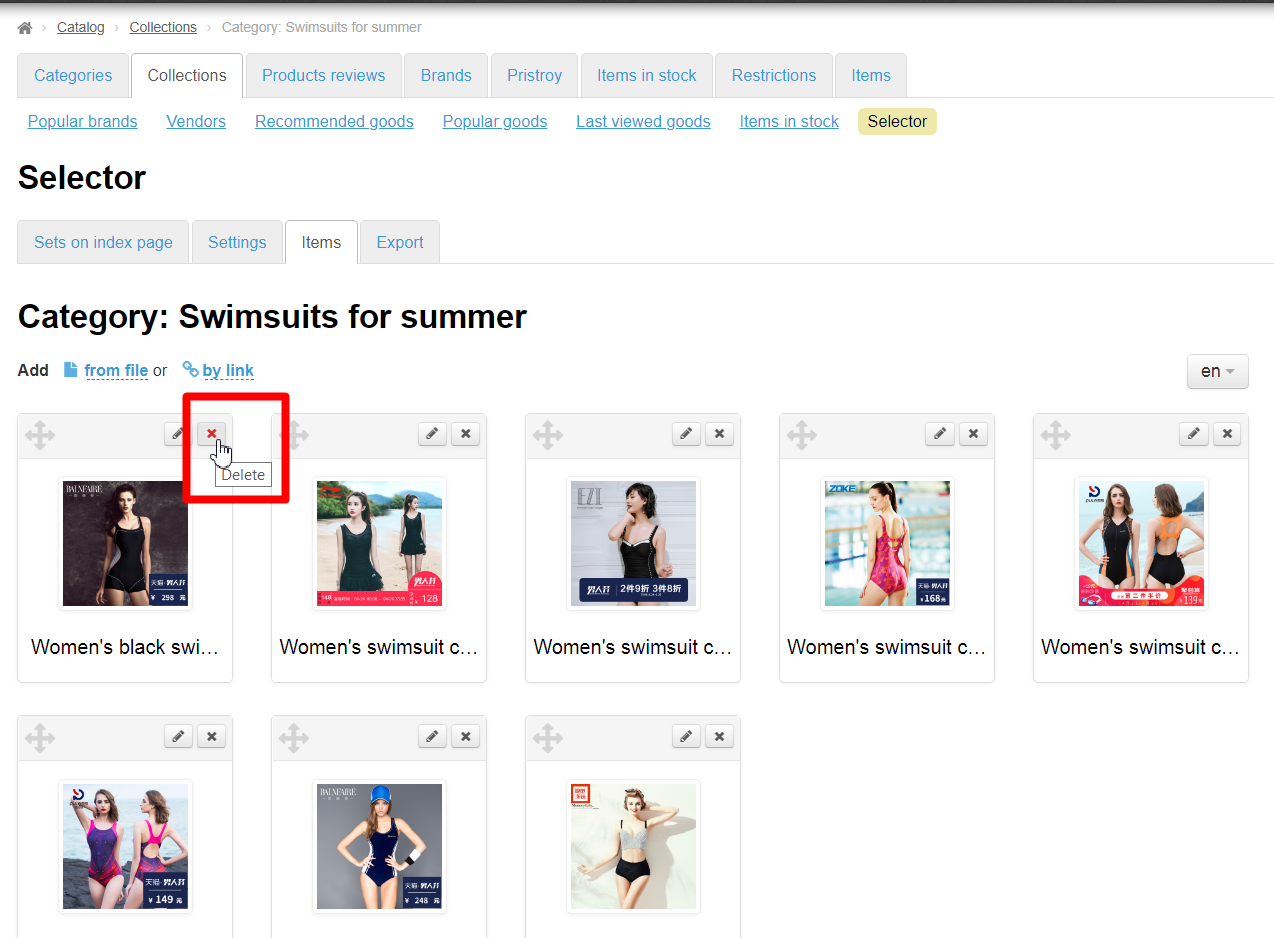
Hover mouse over a category (selection) of Selector and click cross to delete it :
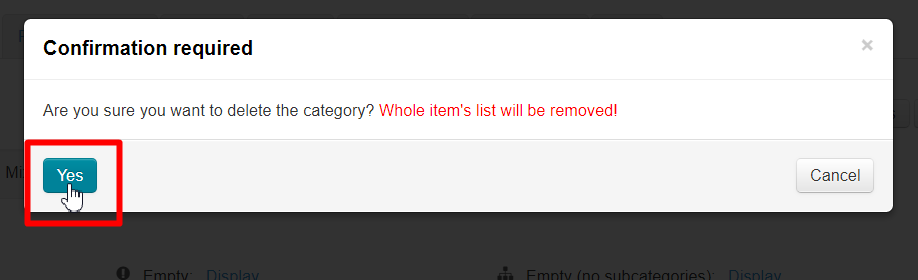
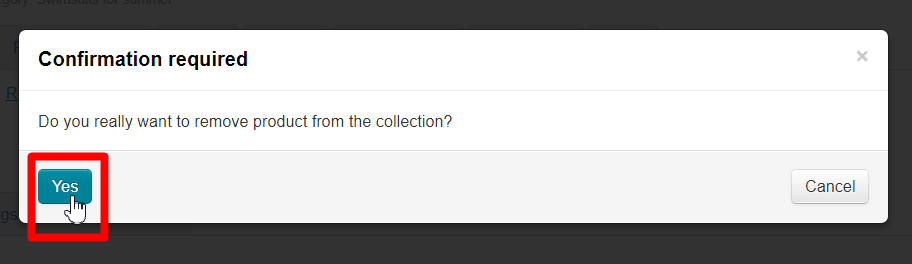
Confirmation is required to completely delete. Click "Yes" button if you are sure you want to delete:
Edit
| Информация | ||
|---|---|---|
| ||
It's impossible to change binding from virtual to another after creating a category (selection) of Selector. In this case, goods will not be displayed! |
Category (selection) of Selector is edited in a standard way. Read more in "Categories: Editing" instruction instruction.
Operation with goods
Hover mouse on category. Click "Items from the Collections Selector" sign.
You will move to "Collections" section (with a new tab in the browser).
...
It's possible to add goods by two ways — by link and from file.
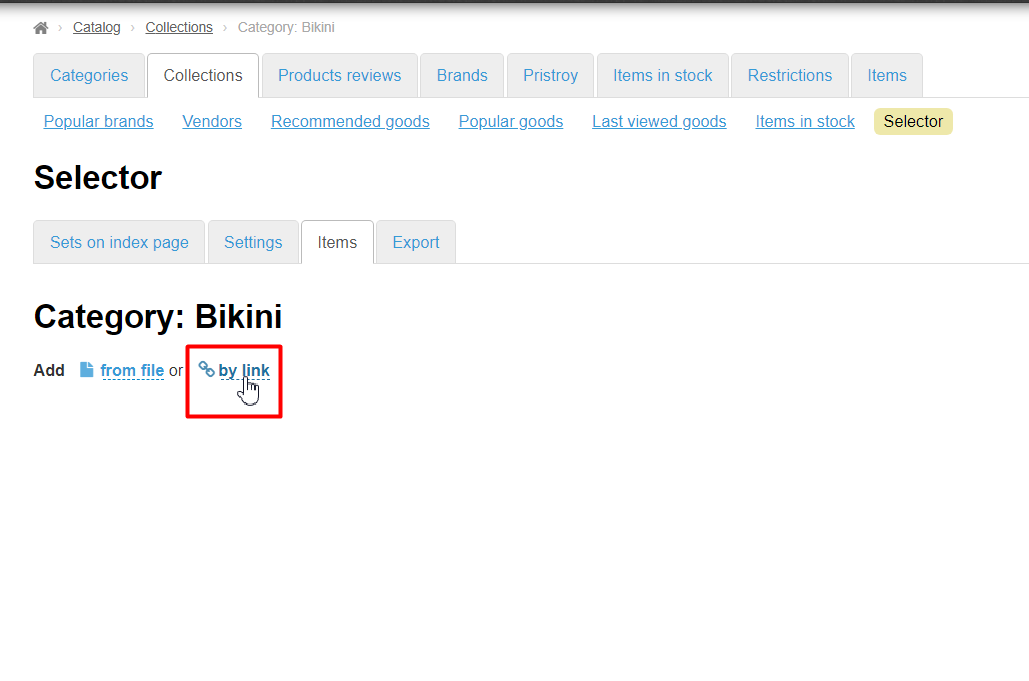
Add goods by link
Copy link to necessary product from browser address bar.
Click "By link" and paste the link into input field. Click "Add" button.
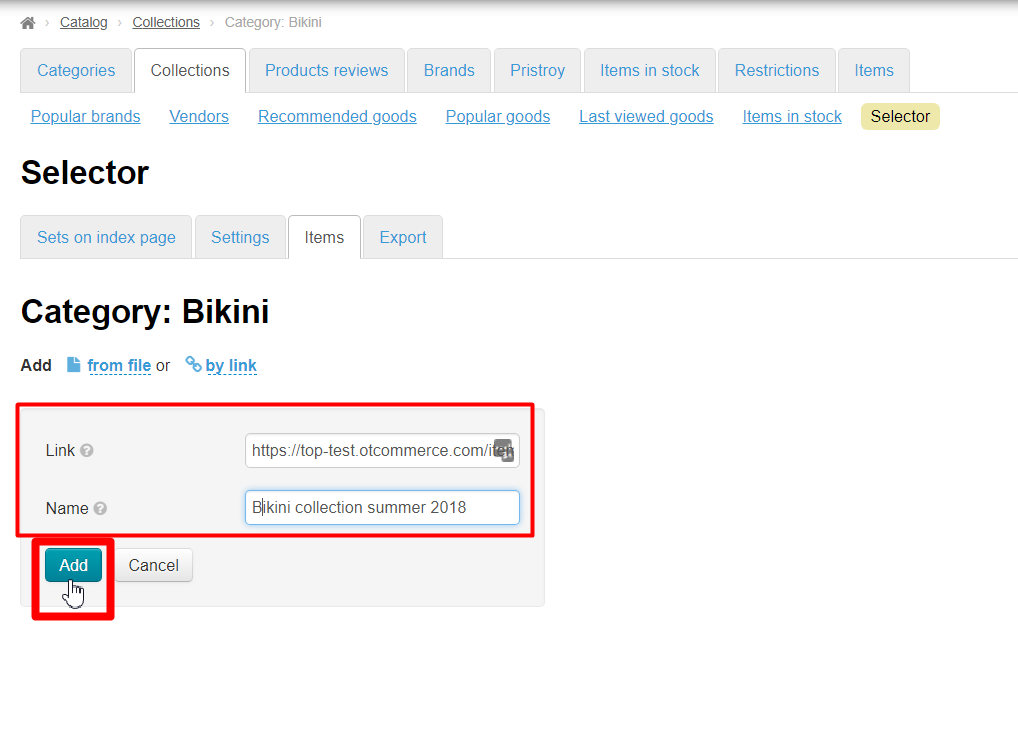
Product will be shown below.
Add goods from file
...
Save file.
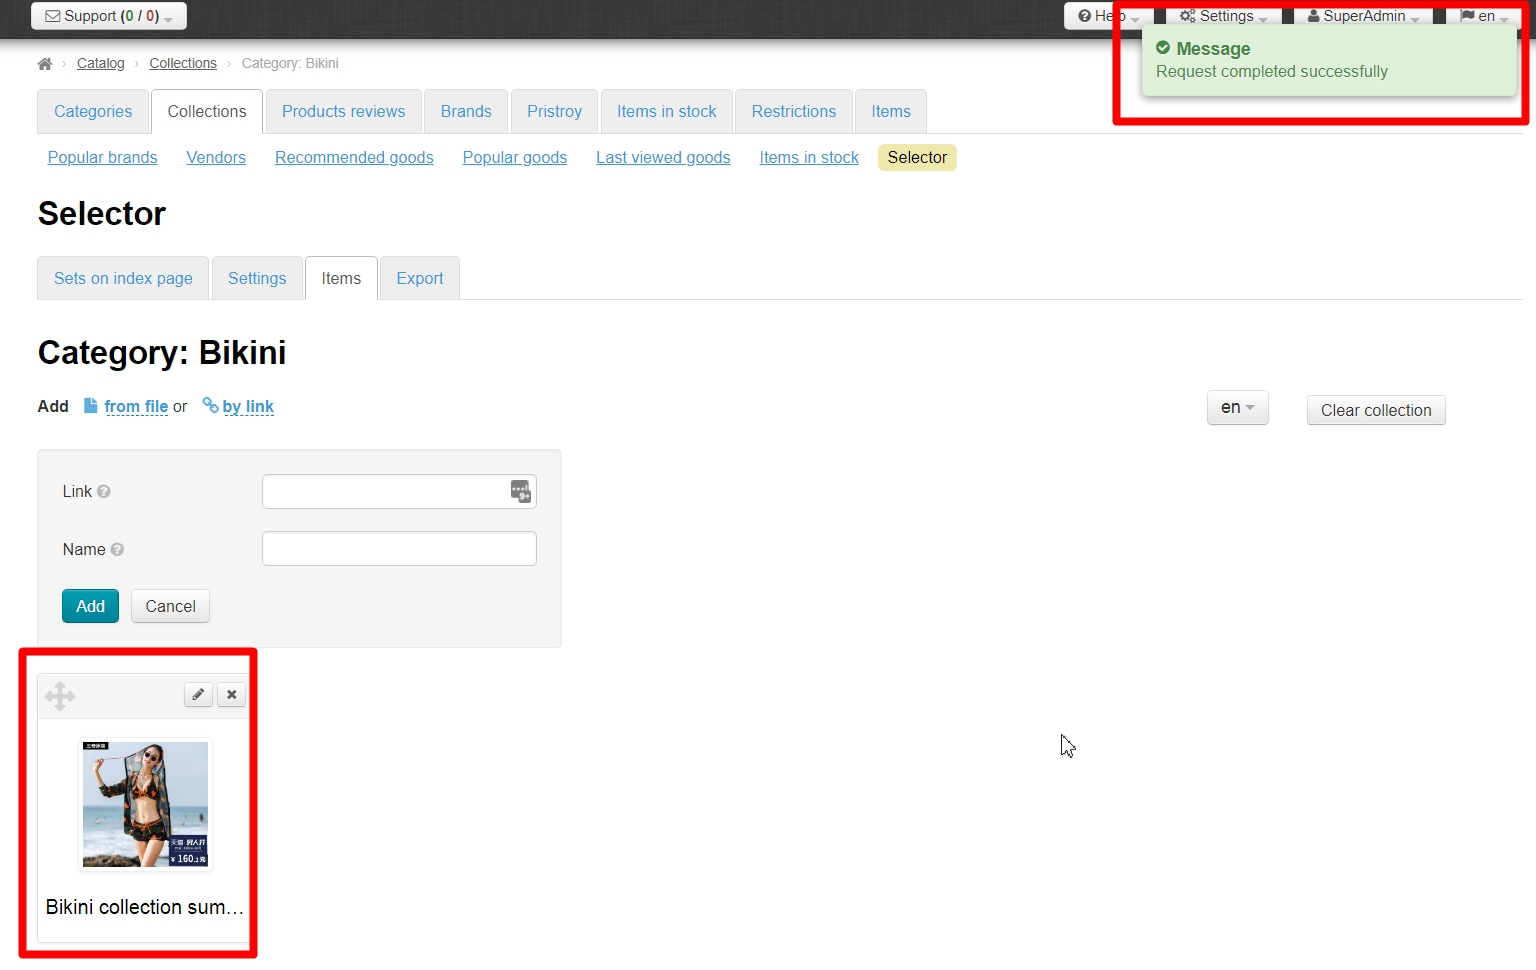
Click "From file", choose select file created on step above and click "Add" button.
All products with these links will be displayed below, as well as when downloading one product.
Edit
Module allows to correct translation, "Photo and description" page and upload your own photo. It only changes the main image if you upload your own photo of product, other images can't be changed by own pictures.
You can move o goods of necessary selection via catalog (read above) or via Catalog > Collections > Selector > Sets on index page > Go to product editing.
Click "Edit" icon.
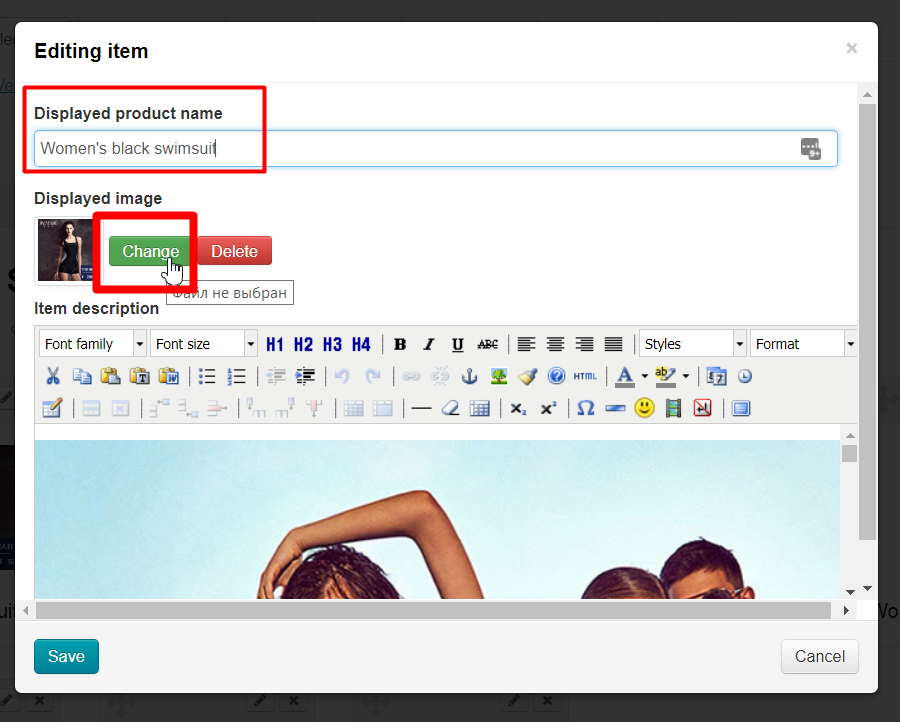
Window to edit product will open.
...
Click square to go to advanced mode, where editor will expand to full screen to edit description. Working with editor is standard. Click Save.
Move
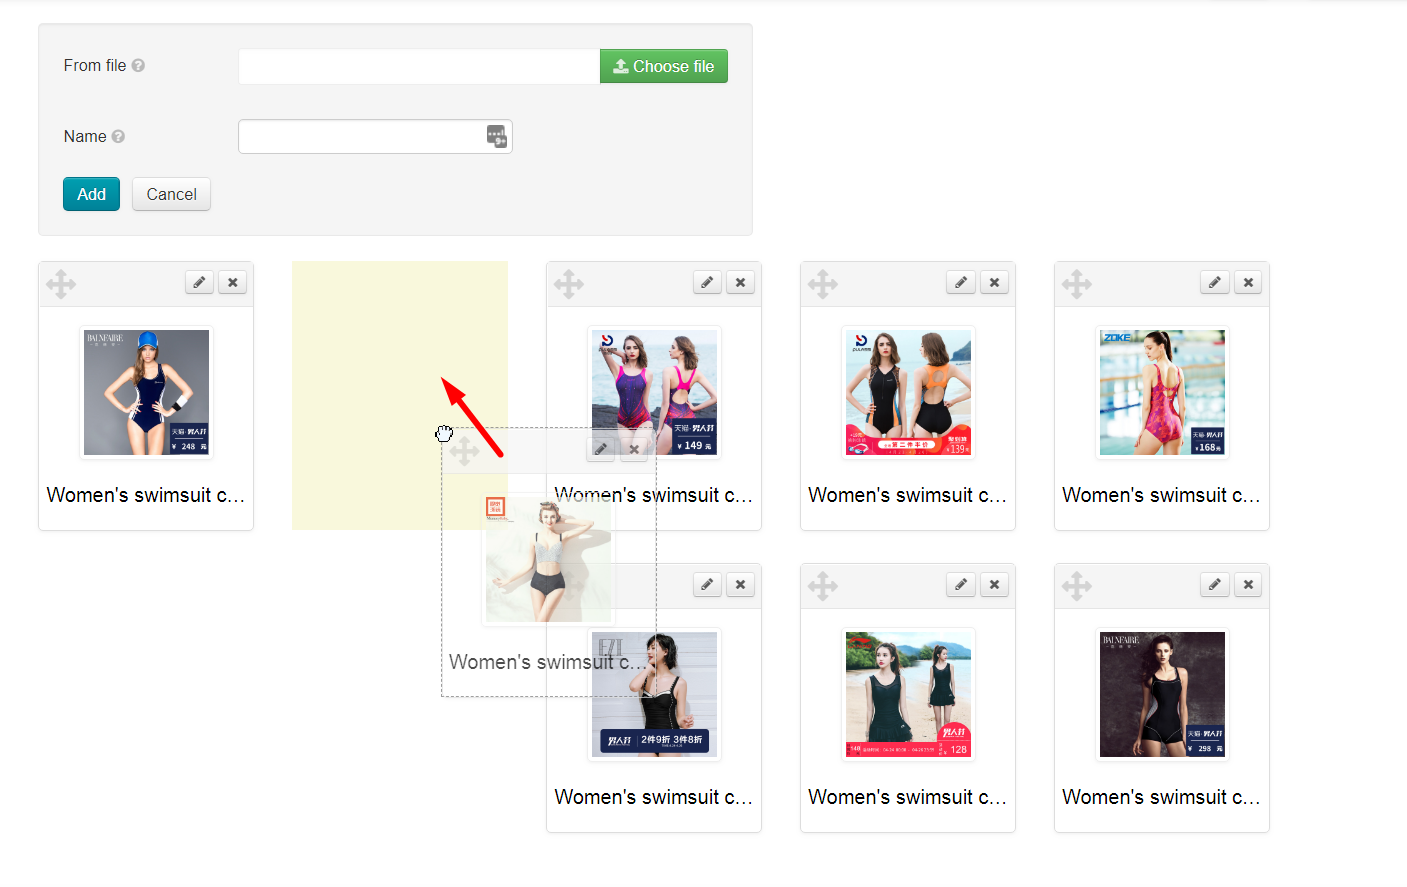
Grab mouse with a special pointer, move into desired direction, make sure that a dotted outline appears on future place of goods, release mouse to move goods. Click "Save Order" button.
Delete
Click cross to delete product.
Confirmation is required after clicking. Click "Yes" button if you really want to remove product from collection:
Product will be deleted from selection and won't be shown on home page.