...
Read detailed instruction in "Price" instruction.
Export into
...
Registration
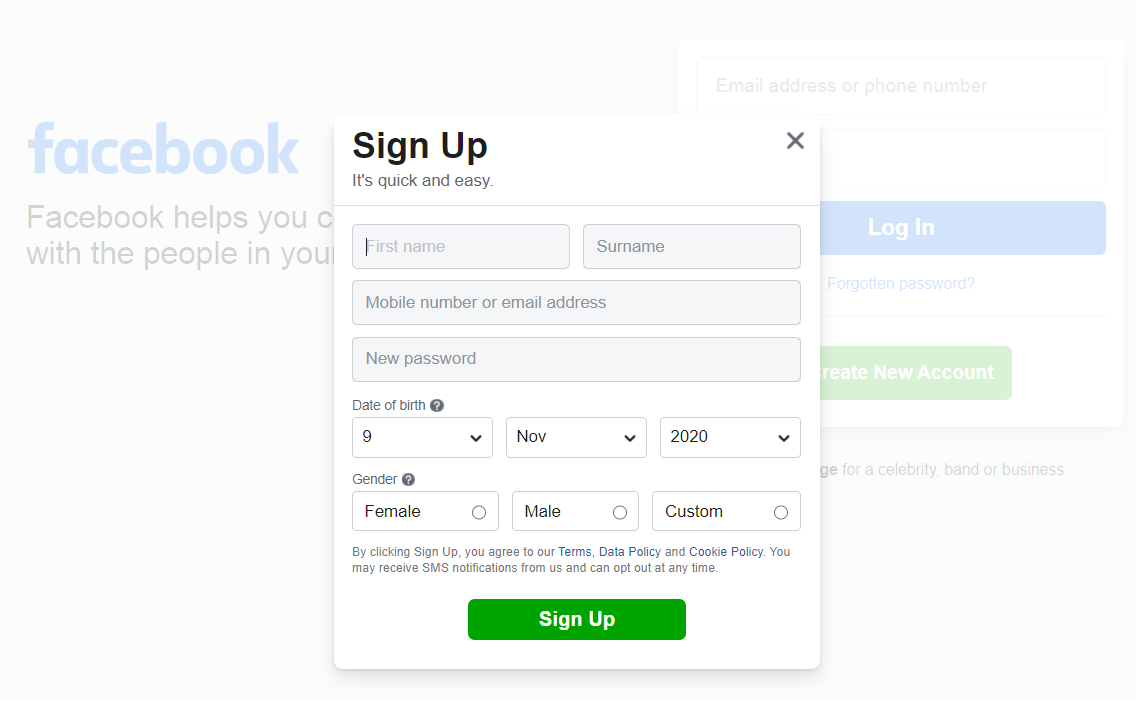
Register account in Facebook. Click "Create New Account" for registration, fill in all fields in sign up form in a new window and click "Sign Up" button.
Log in if you already have an account and proceed to creating a group.
Create page for online shop
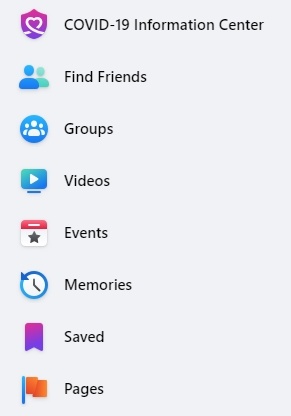
There are several options on the left of the page. Select "Pages" and click it.
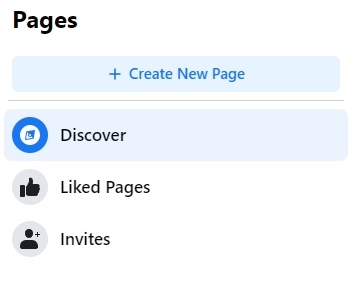
Select "Create New Page" in new window.
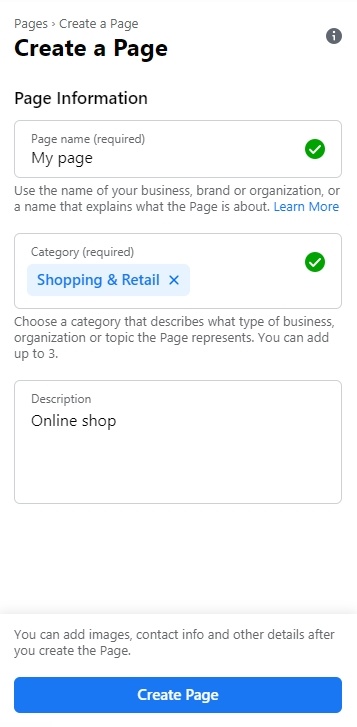
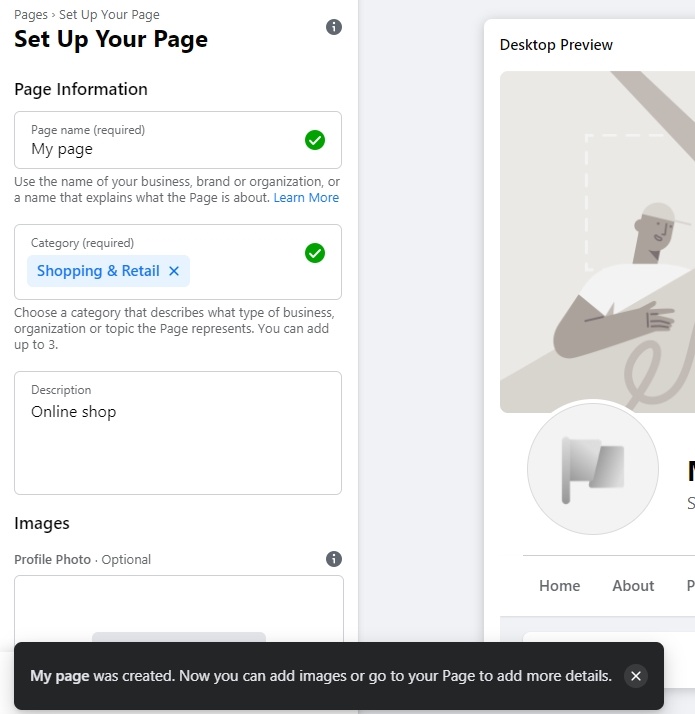
Fill in page Information. Write page name (use the name of your business, brand or organization, or a name that explains what the Page is about).
Choose a category that describes what type of business, organization or topic the Page represents. You can add up to 3.
Add description (write about what your business does, the services you provide, or the purpose of the Page).
Click "Create page" button after you finish settings.
You will see following message in the bottom of the page:
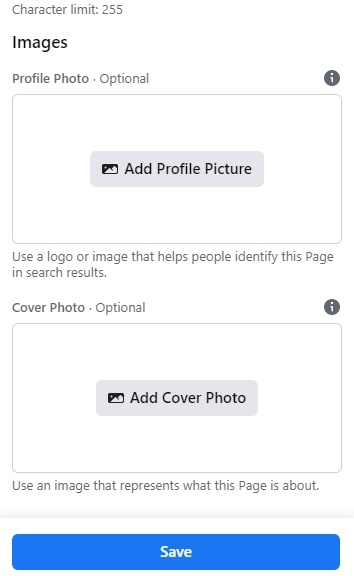
Set Up Your Page adding Profile Photo (Optional) and Cover Photo (Optional).
Use a logo or image for profile photo that helps people identify this Page in search results.
Use an image for cover photo that represents what this Page is about.
Click "Save" button after you finish settings. .
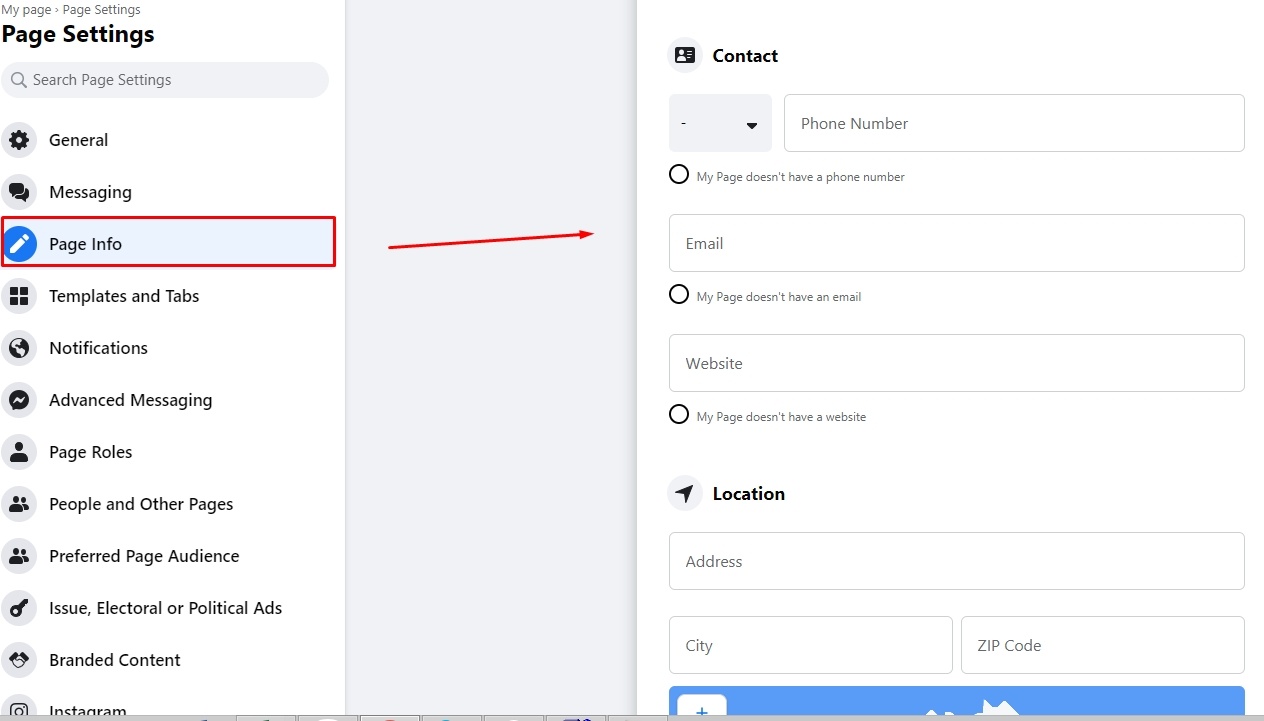
Go to "Page info" and add information about your shop:
You can mark "My Page doesn't have a location" if you don't have offline shop or showroom.
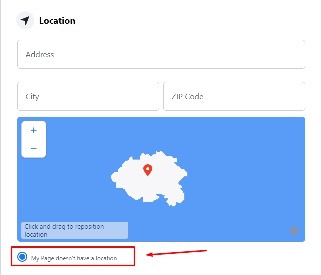
Your changes will be automatically saved.
It's also important to create album with photos of goods.
Click "More" and select "Photos" option.
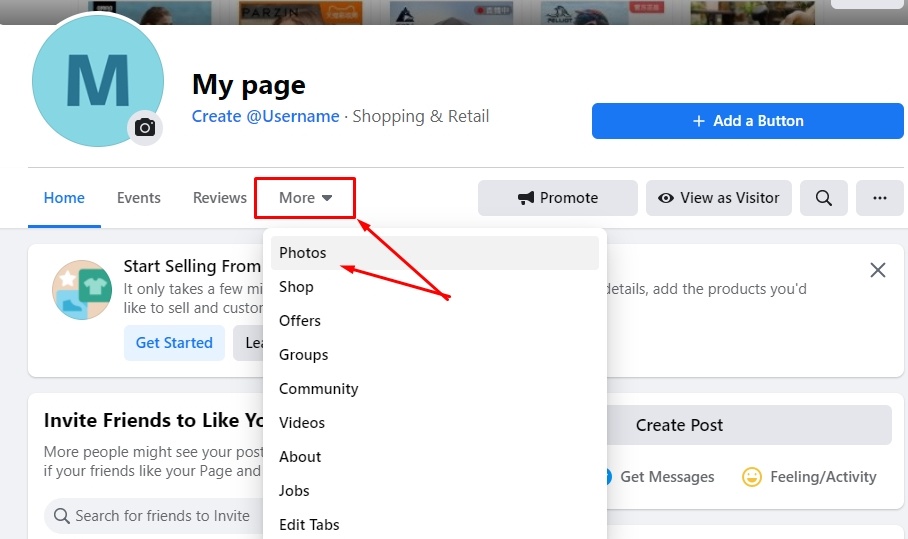
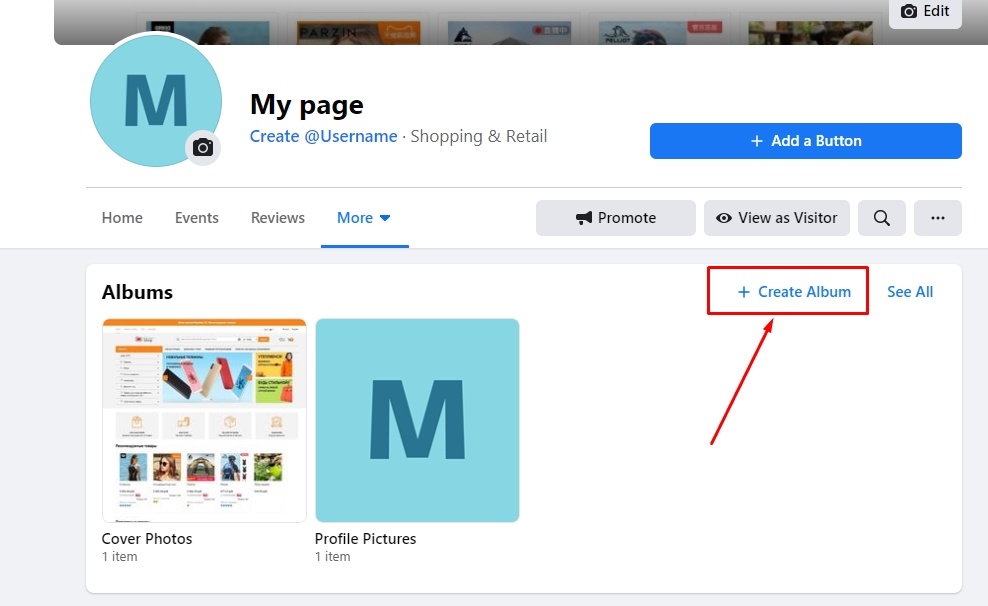
Click "Create album":
Add album name and description (optional). We will need to add this album name and OT Box admin panel. You are also required to upload 1 photo for album cover.
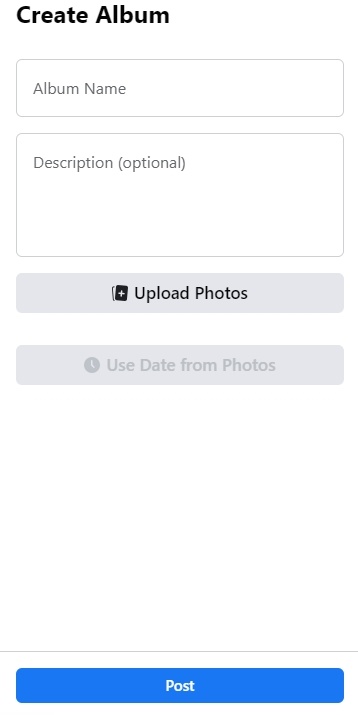
Click "Post" after you finish settings.
Authorization in OT Box
You need to authorize OT Box on Facebook to configure Export, as well as for synchronization.
Your authorization data will NOT be available to anyone, not even OT staff.
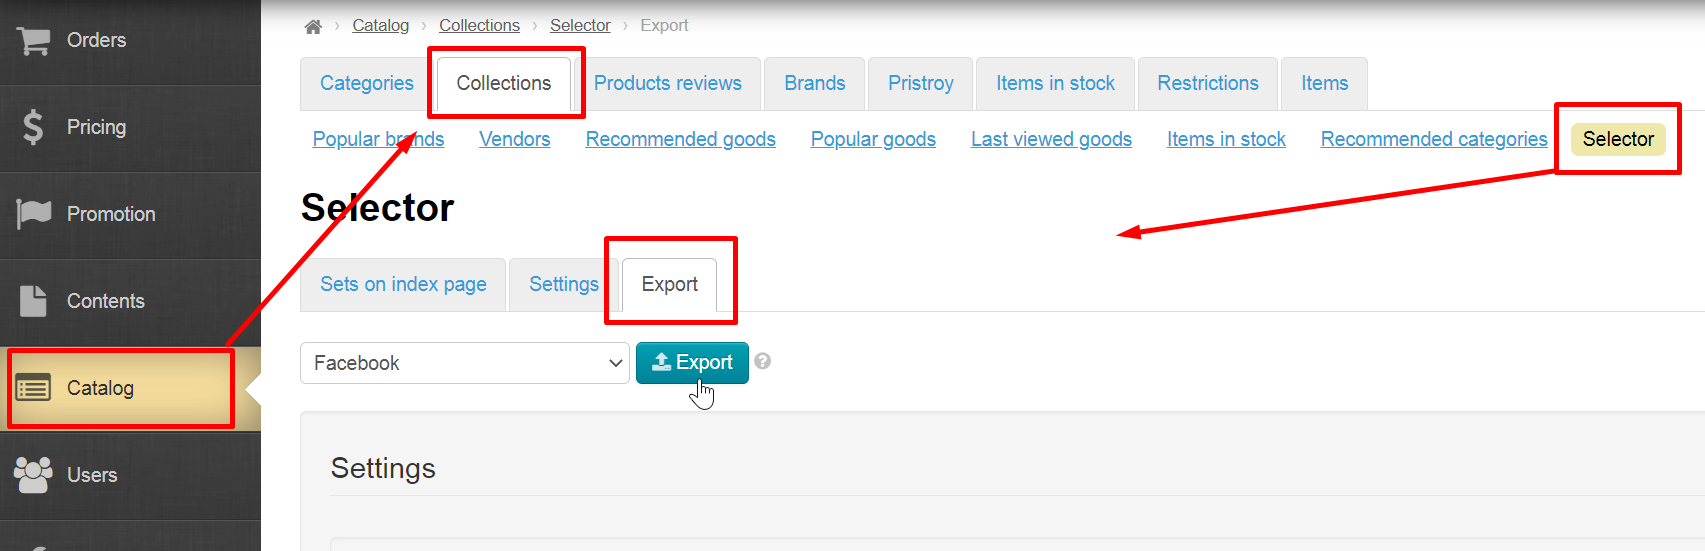
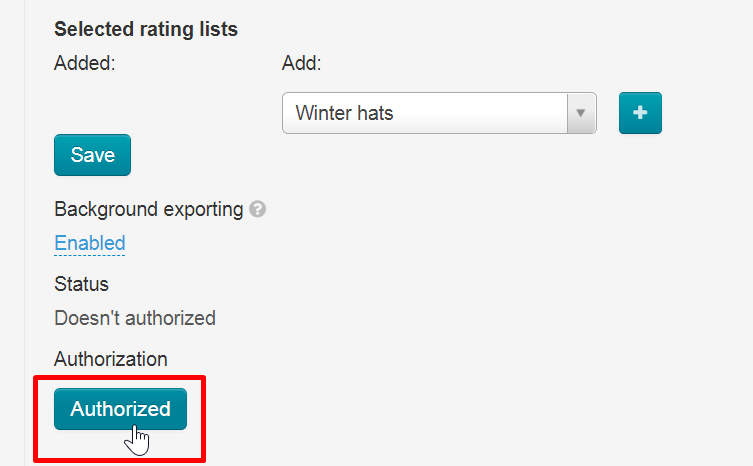
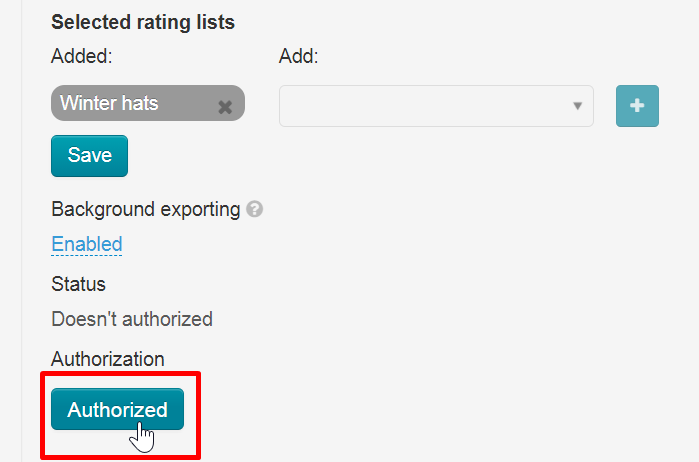
Log into admin panel of OT Box and go to Catalog → Collections → Selector → Export.
Click "Authorized" button.
A window will open in which it is necessary to allow authorization for export from OT Box. Click "Continue as ..." button. Click "Log in to another account" if you are offered a wrong account.

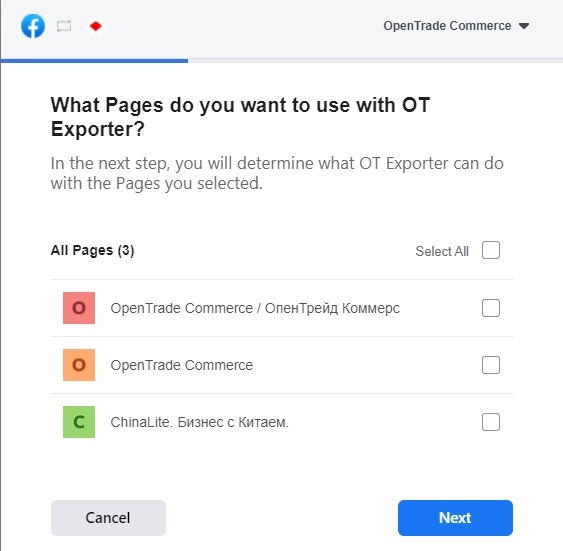
After clicking the button a window will open where you will be asked what pages (if several) you want to use with OT Exporter.
Select pages and click "Next":
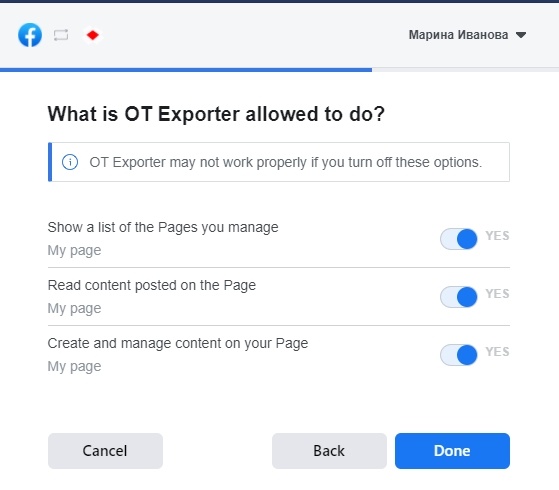
Now you need to select what OT Exporter is allowed to do. It is recommended to select all actions, as this directly affects export process.
You will see a message in new window "You've now linked OT Exporter to Facebook".
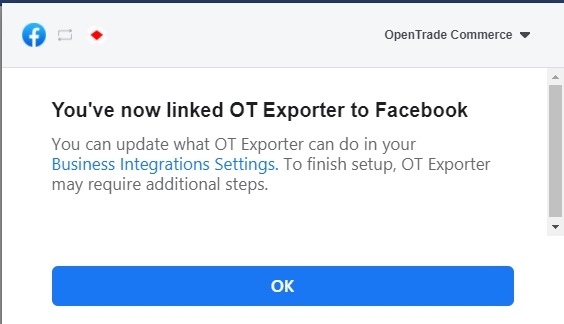
Click "OK".
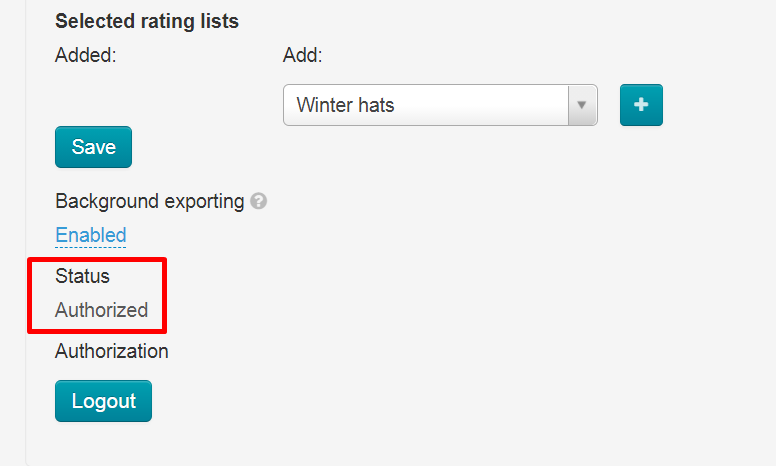
You will have "Authorized" status after reloading OT Box admin page if everything was successful.
Set Facebook integration
Now we rise a little higher and set up where goods will be exported.
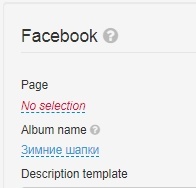
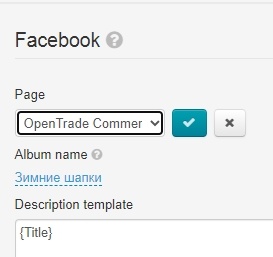
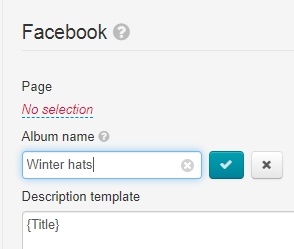
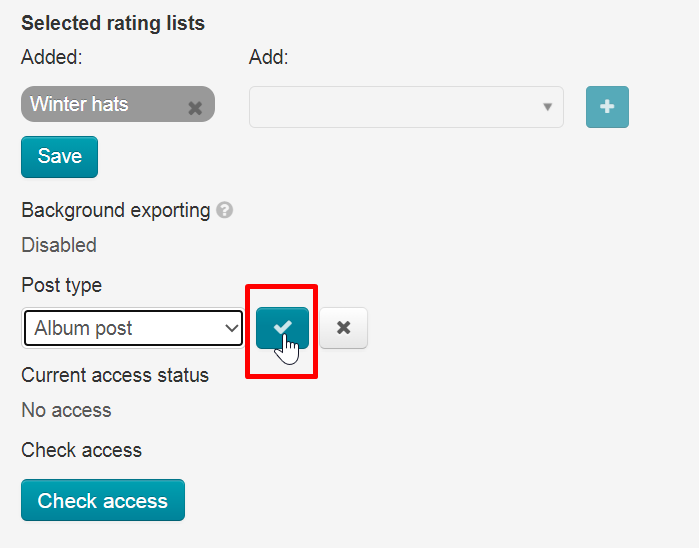
Click "No selection" and select page from the list. Save choice clicking checkmark button on the right.
Add Album name for goods. Save name clicking checkmark button on the right.
Description template allows to specify what data will be displayed in the product card.
Click red labels in admin panel and they will appear in the text field. We recommend you to write each value on a new line. Then in the product card, these fields will be on a new line. Or you can mark it with an empty line for convenience.
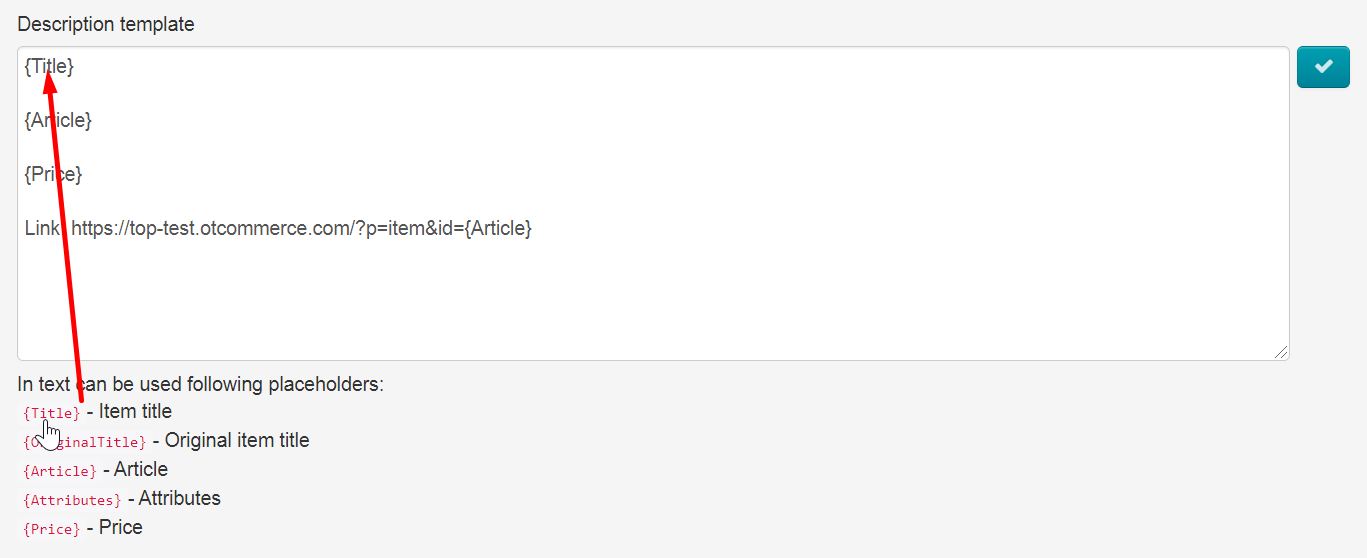
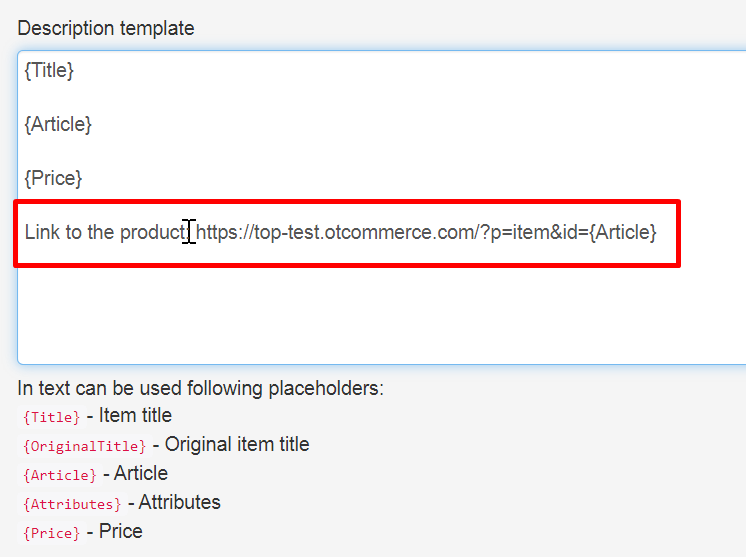
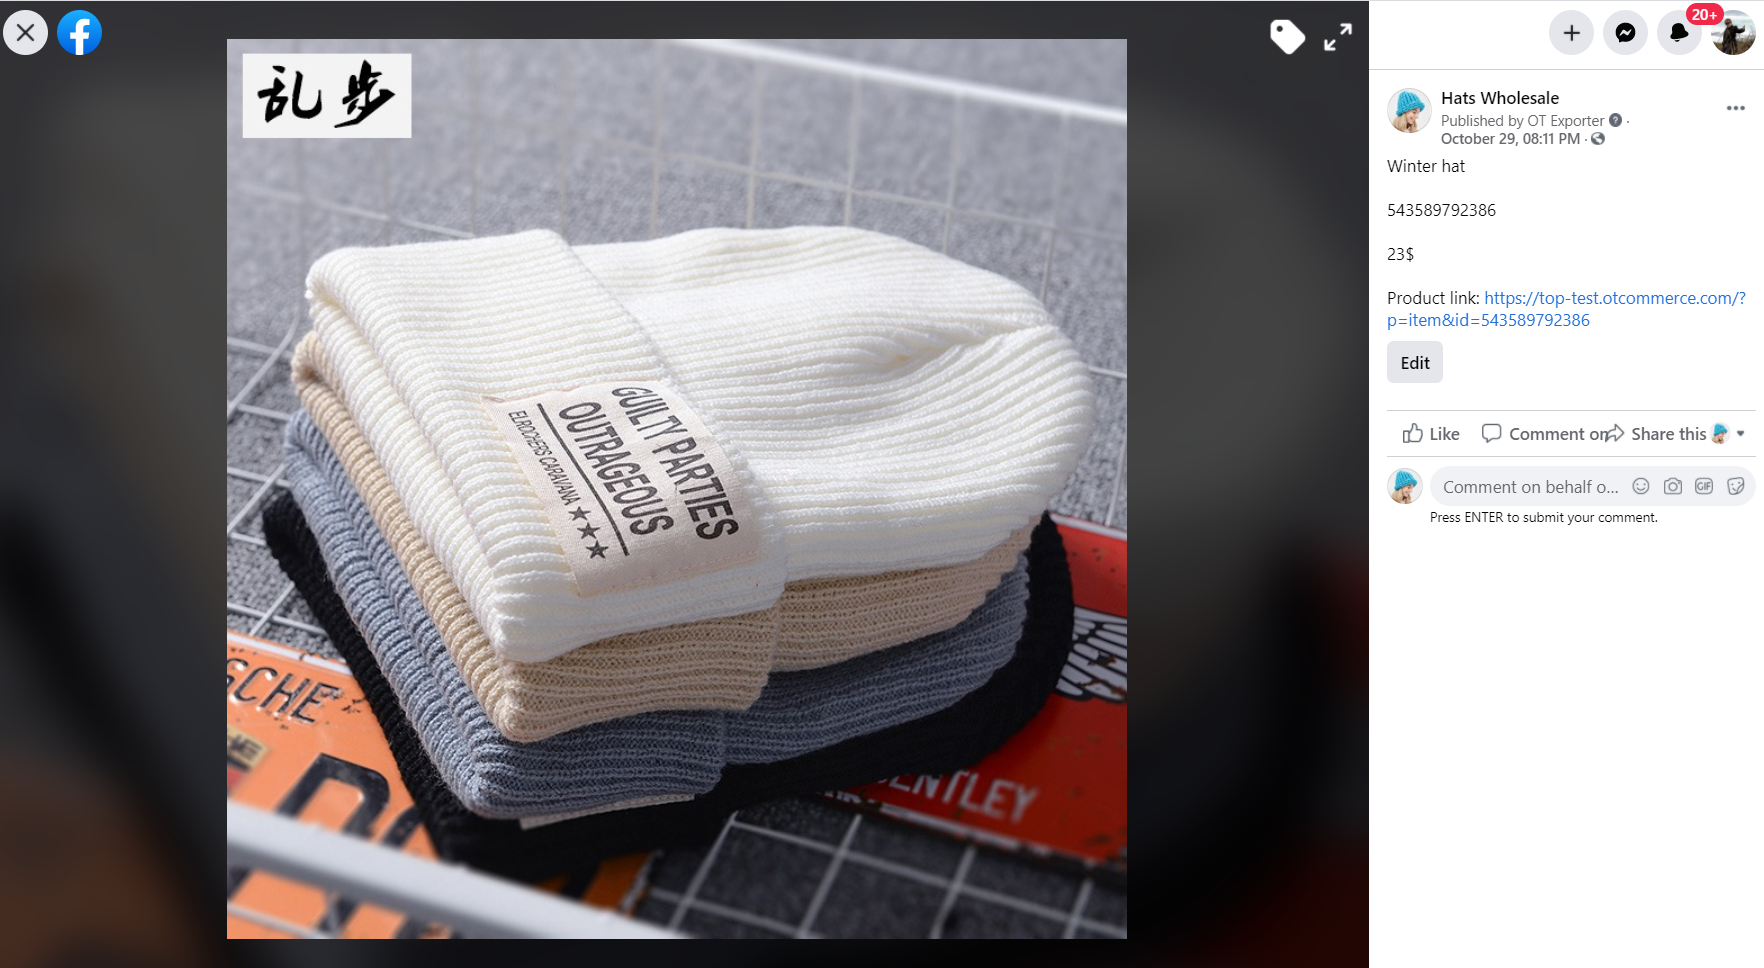
Write the following in "Description Template" field in order your group could have a link to this product on your website when viewing a product:
http://yourwebsite/?p=item&id={Article}
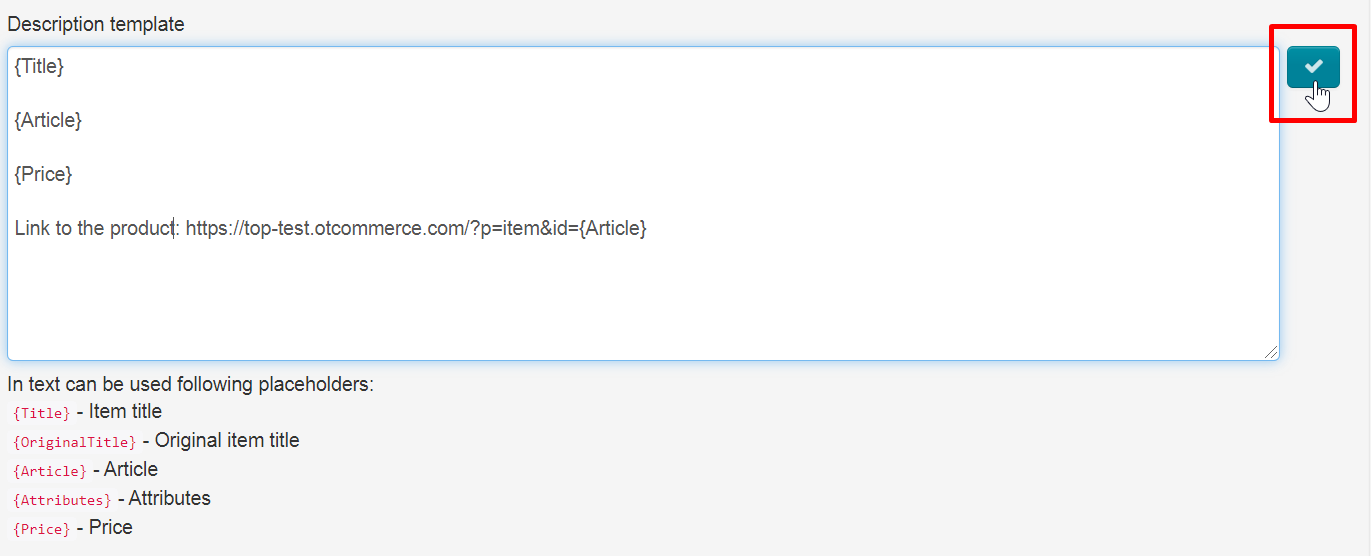
Save all changes clicking checkmark button on the right.
Product description will be shown in the following way:

Select categories for export. If you do not have this block, then Selector categories are empty and must be filled with products.
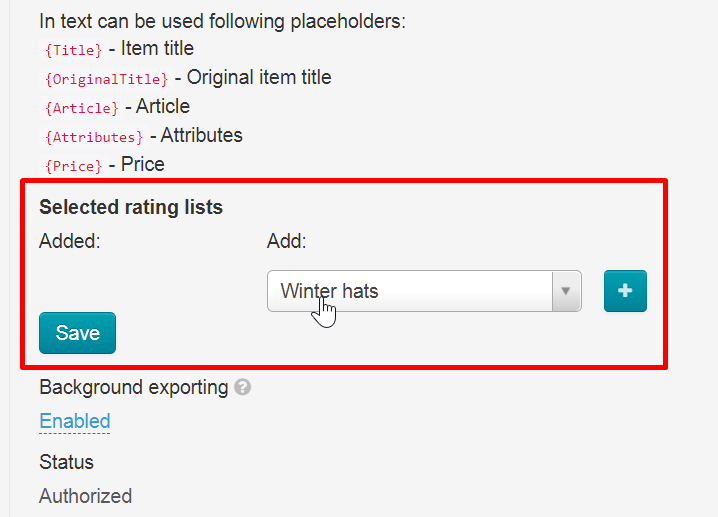
Click + and "Save" when all the necessary categories are in the left column.
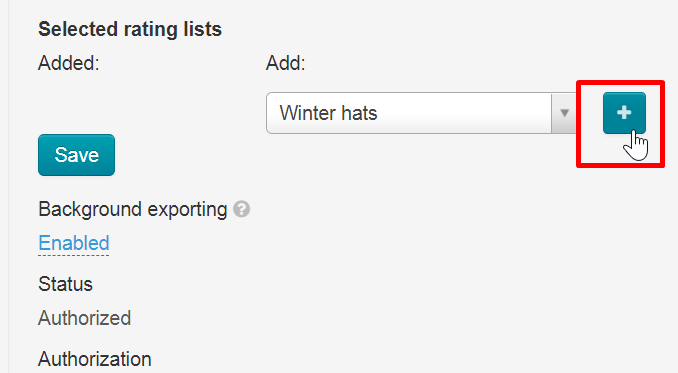

Thus, we have chosen which categories of Selector will be exported to the album page on Facebook.
Export goods
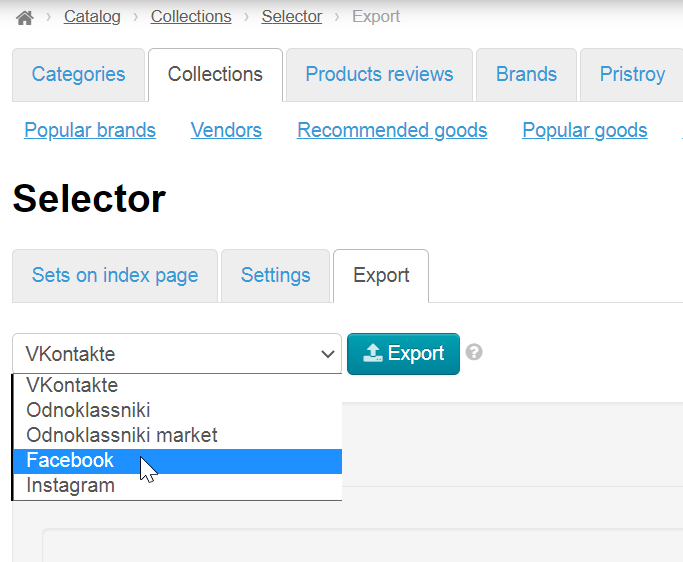
Open Catalog → Collections → Selector → Export in OT Box admin panel.
Select "Facebook" in the list of social networks for export.
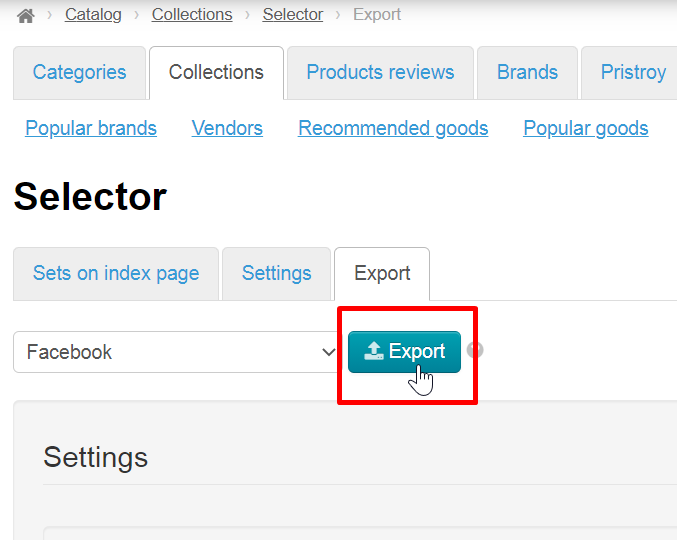
Click "Export" button.
A window with download progress will open in admin panel when Export starts.
Wait for status "Finished" and close the window.
Export error
You need to re-authorize in OT Box admin panel if such an error occurs.
Scroll page to authorization block and click "Logout" button.
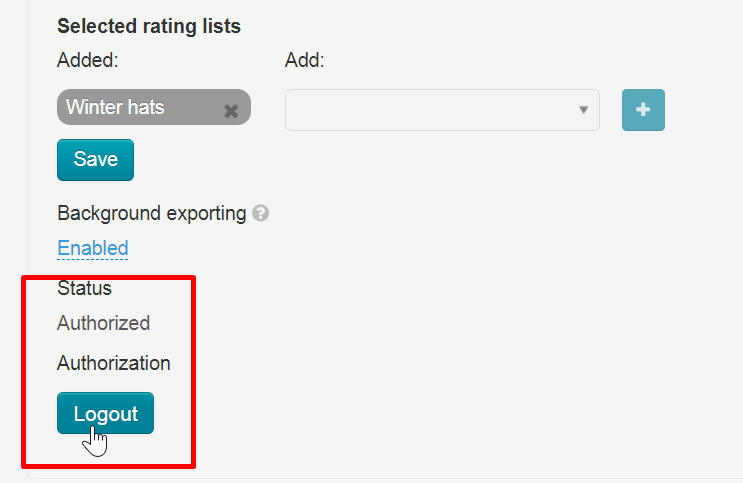
Click "Authorized" button after page automatically refreshes.
You can start export again.
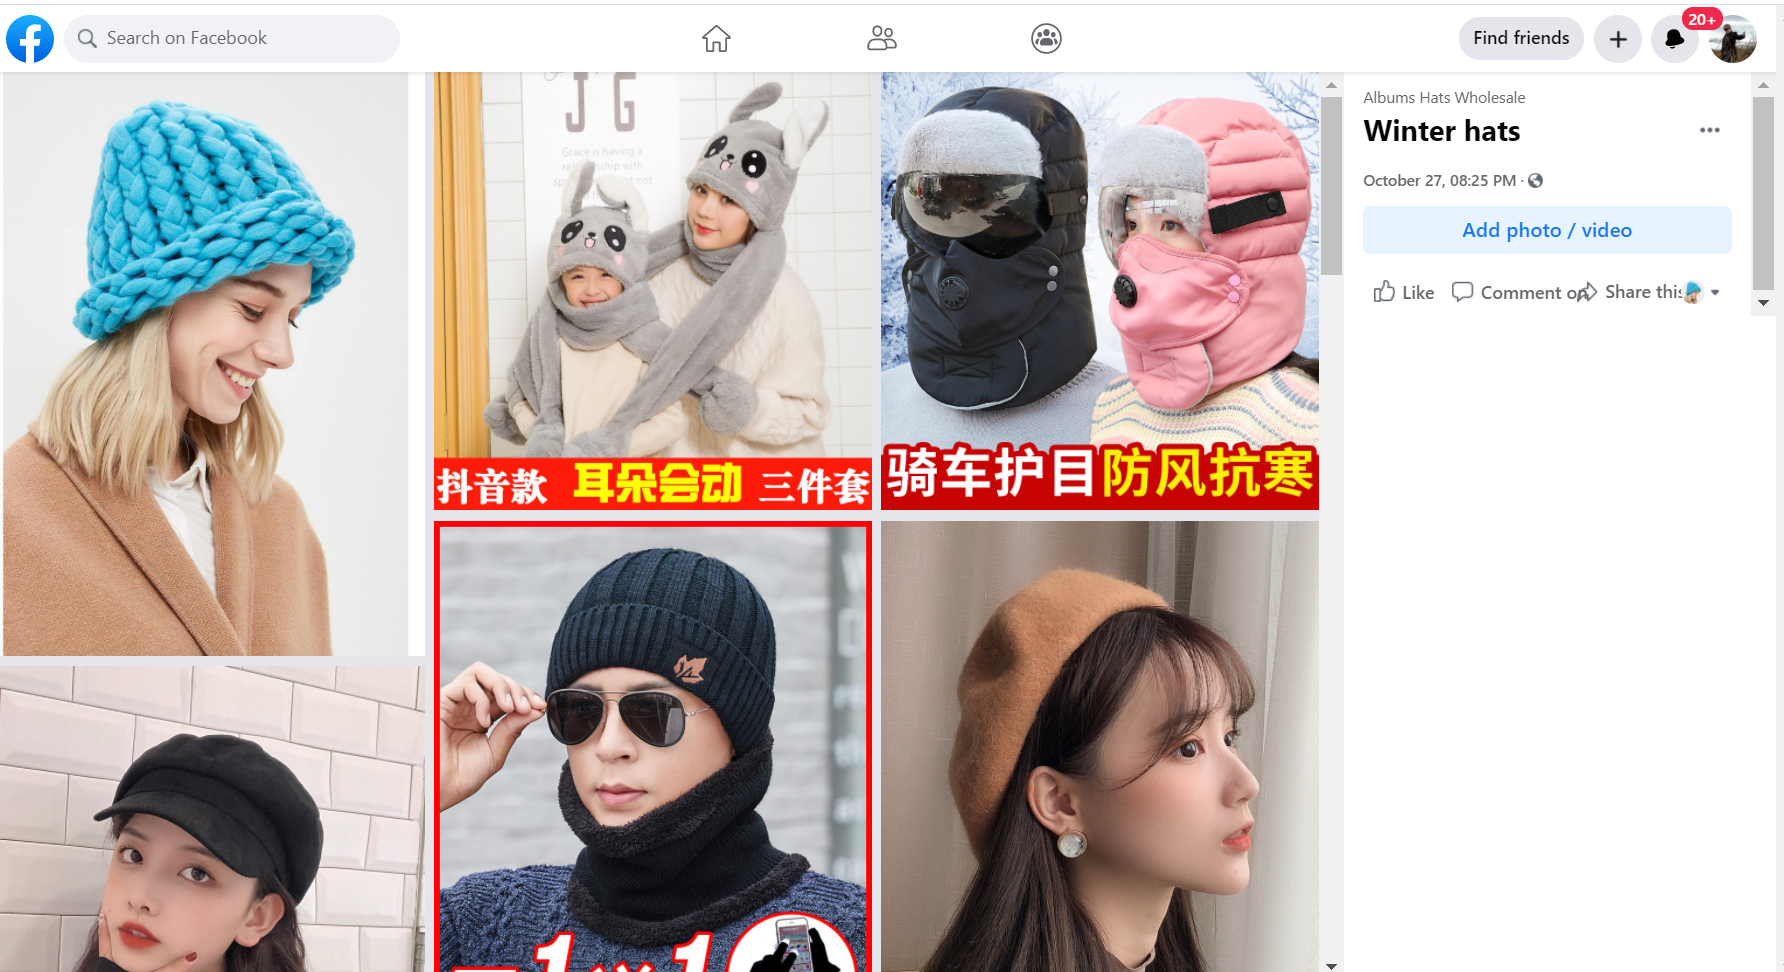
Export results will be shown on Facebook page.
Synchronization
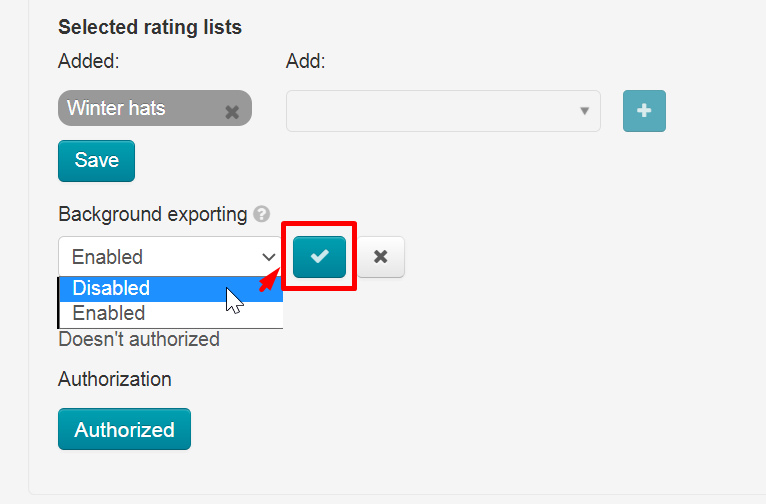
You need to enable "Background exporting" to synchronize products once a day.
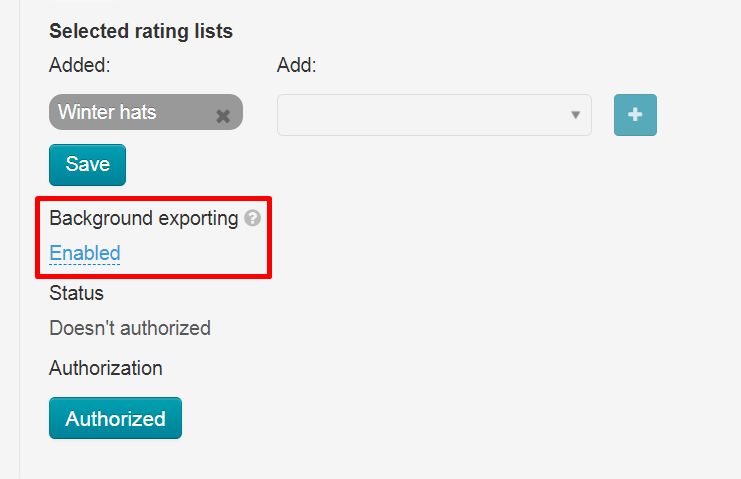
Click "Disabled", select "Enabled" and save choice clicking checkmark button on the right.
Export into Instagram
Registration
Register account in Instagram using "Register now" button. If you have an account, log in and skip registration.
...
Save changes clicking checkmark button on the right.
Authorization in OT Box
You need to authorize OT Box in Instagram to configure export, as well as for synchronization.
...
You will have "Authorized" status after reloading OT Box admin panel if everything was successful.
Export goods
Select "Instagram" in the list of social networks for export.
...
Wait for status "Finished" and close the window.
Export error
You need to re-authorize in OT Box admin panel if such an error occurs.
...
Click "Authorized" button after page automatically refreshes.
Synchronization
You need to enable "Background exporting" to synchronize products once a day.
...