| Оглавление |
|---|
...
Items in stock — is website own database of items updated from the admin panel. These goods are visible in their separate categories on the showcase, they can be added to the cart, ordered, etc.
| Информация |
|---|
“Items in stock” tab of collection is available if “Goods from stock” module is enabled. Full description of the module and benefits for business development is described in the article “Goods from Stock (module description)” |
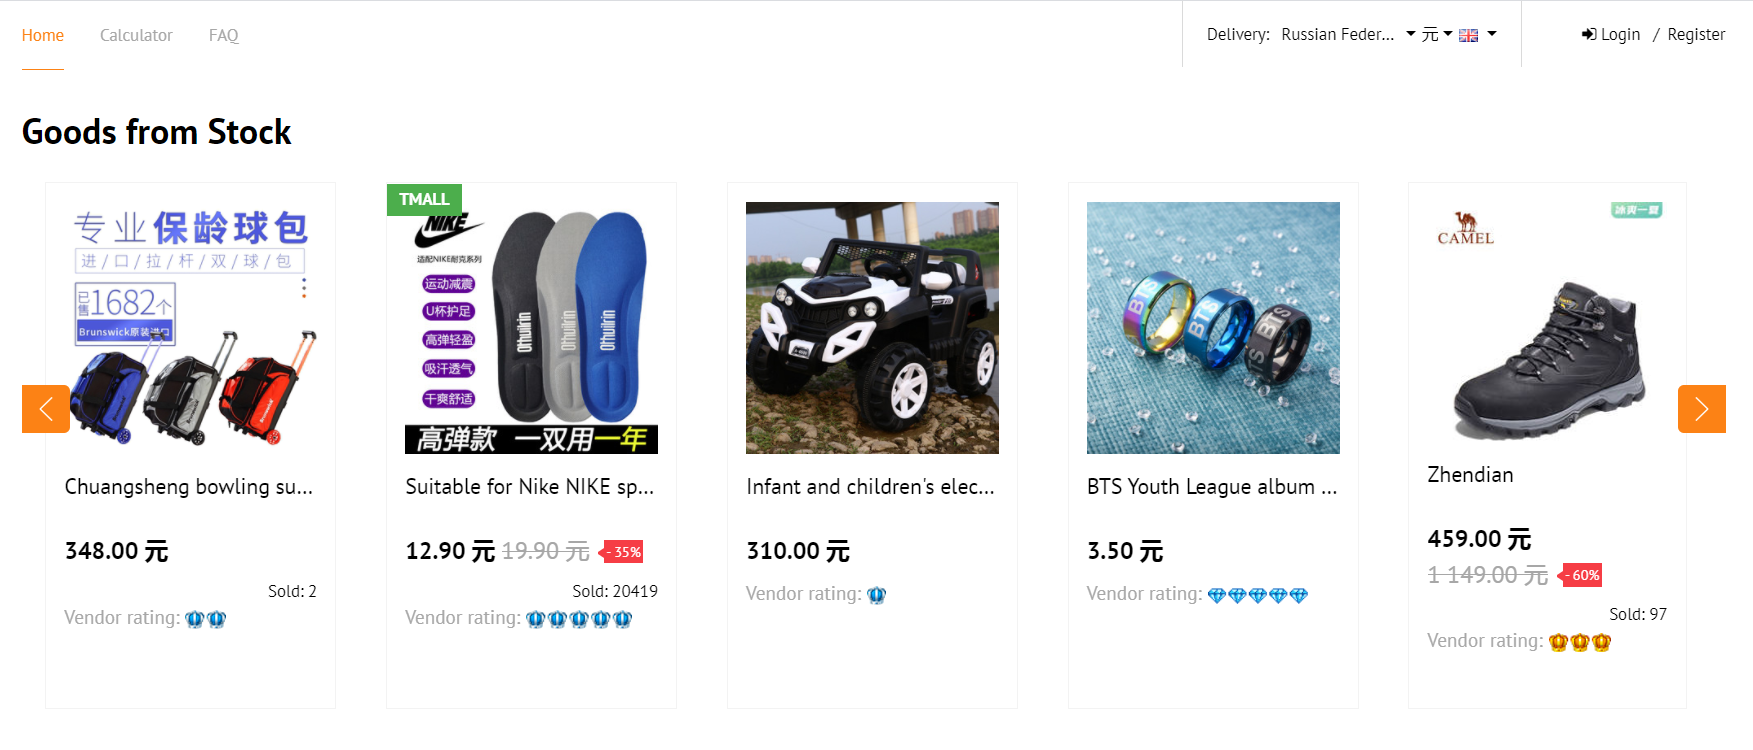
“Items in stock” collection is required to display on the home page those items that will be of interest to your customers.
Language version of collection
Goods collection is in its own language for each language version.
Language versions are configured in Configuration → Languages → Multilingualism section:
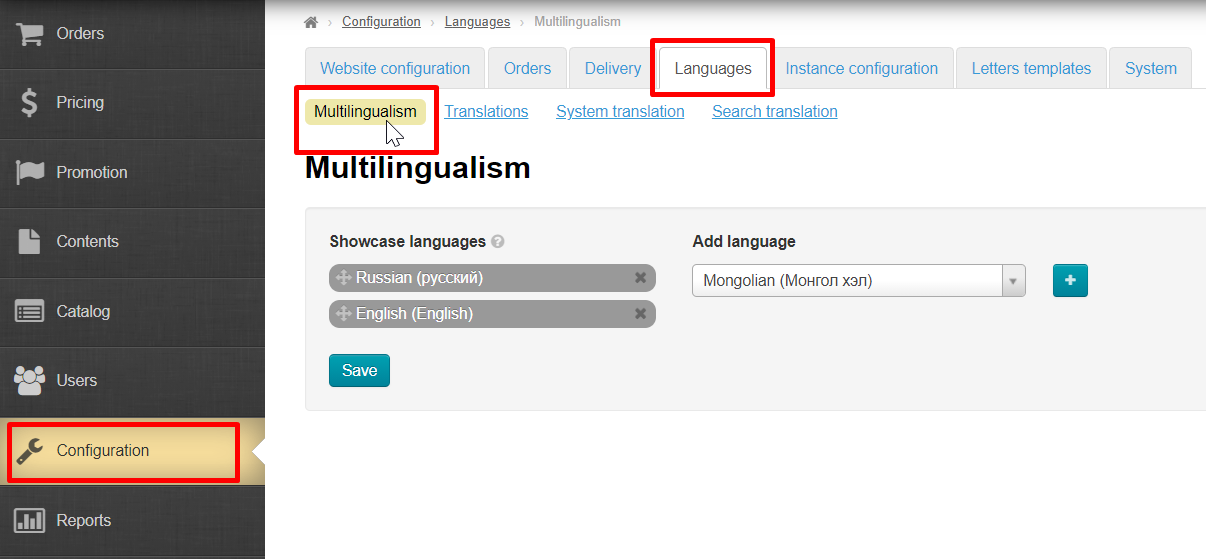
You need to select website language on the left to work with collections of different language versions.
Display “Items in stock” on the home page
You can set number of goods for the home page in Configuration → Website configuration → Home page section
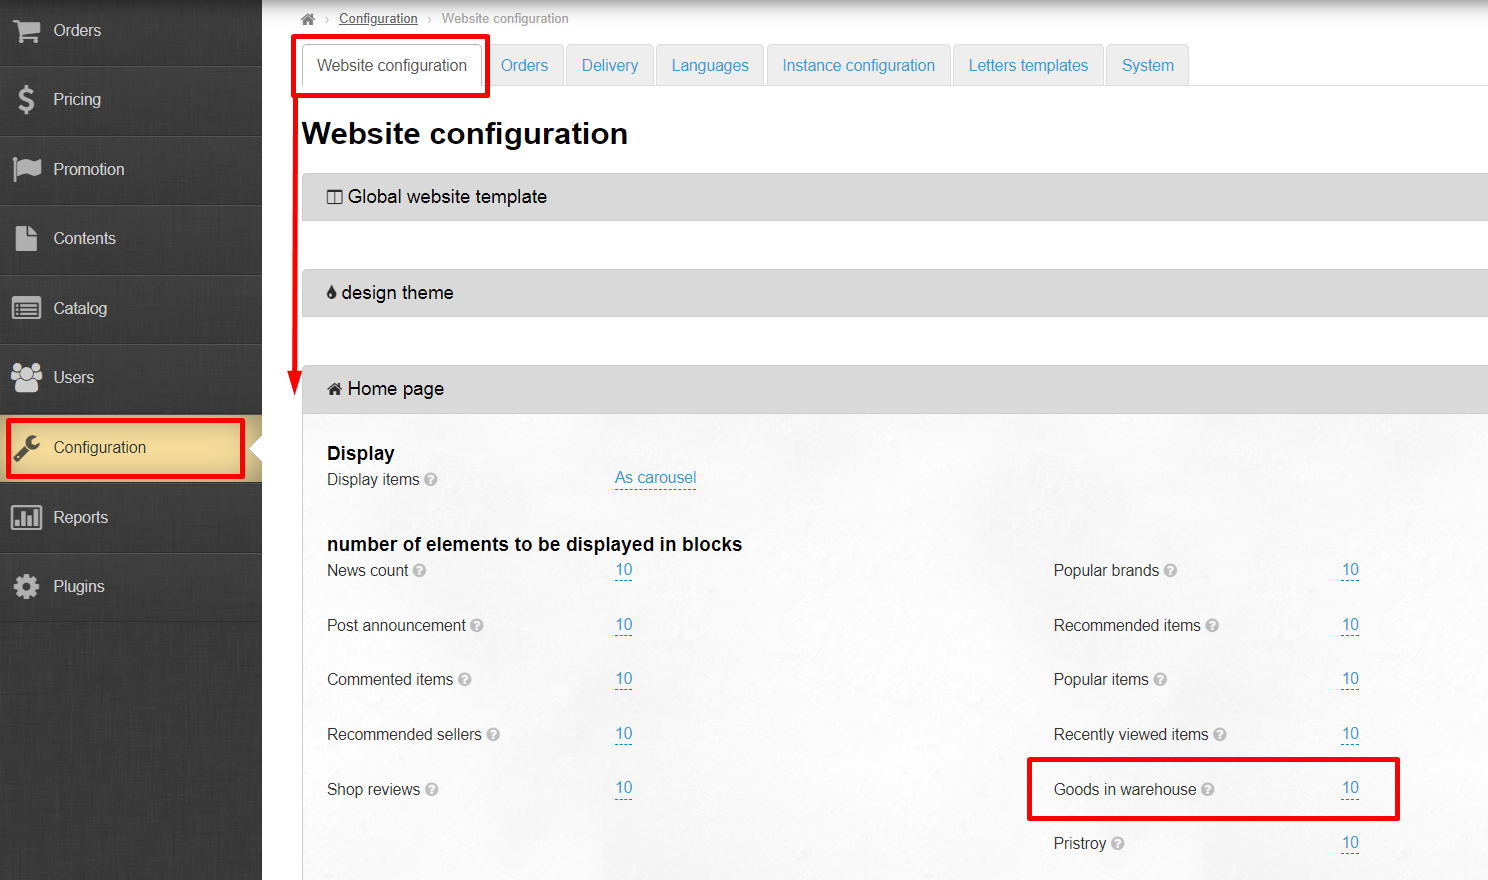
You can set any number of items; by default, these are 8 items.
Collection layout and location on the home page depends on website design.
Add goods to collection
You can add items to collection in two ways: from
Warehouse items
Warehouse items are displayed if the "Warehouse items” module is enabled. For further information please refer to http://en.otcommerce.com/prices-and-promo
A collection of items available from the "Warehouse items” module to display on the homepage
Add
There are two ways to add items in the collection: from the file or by link. The first variant option is applicable for adding multiple items at once while suitable for bulk loading of goods, and the second one is used when it is necessary to add one or two items.
To add an item you should know a link to it on your website. To do this:
suits when you need to add a couple of items.
You need to know the link to the item to add it.
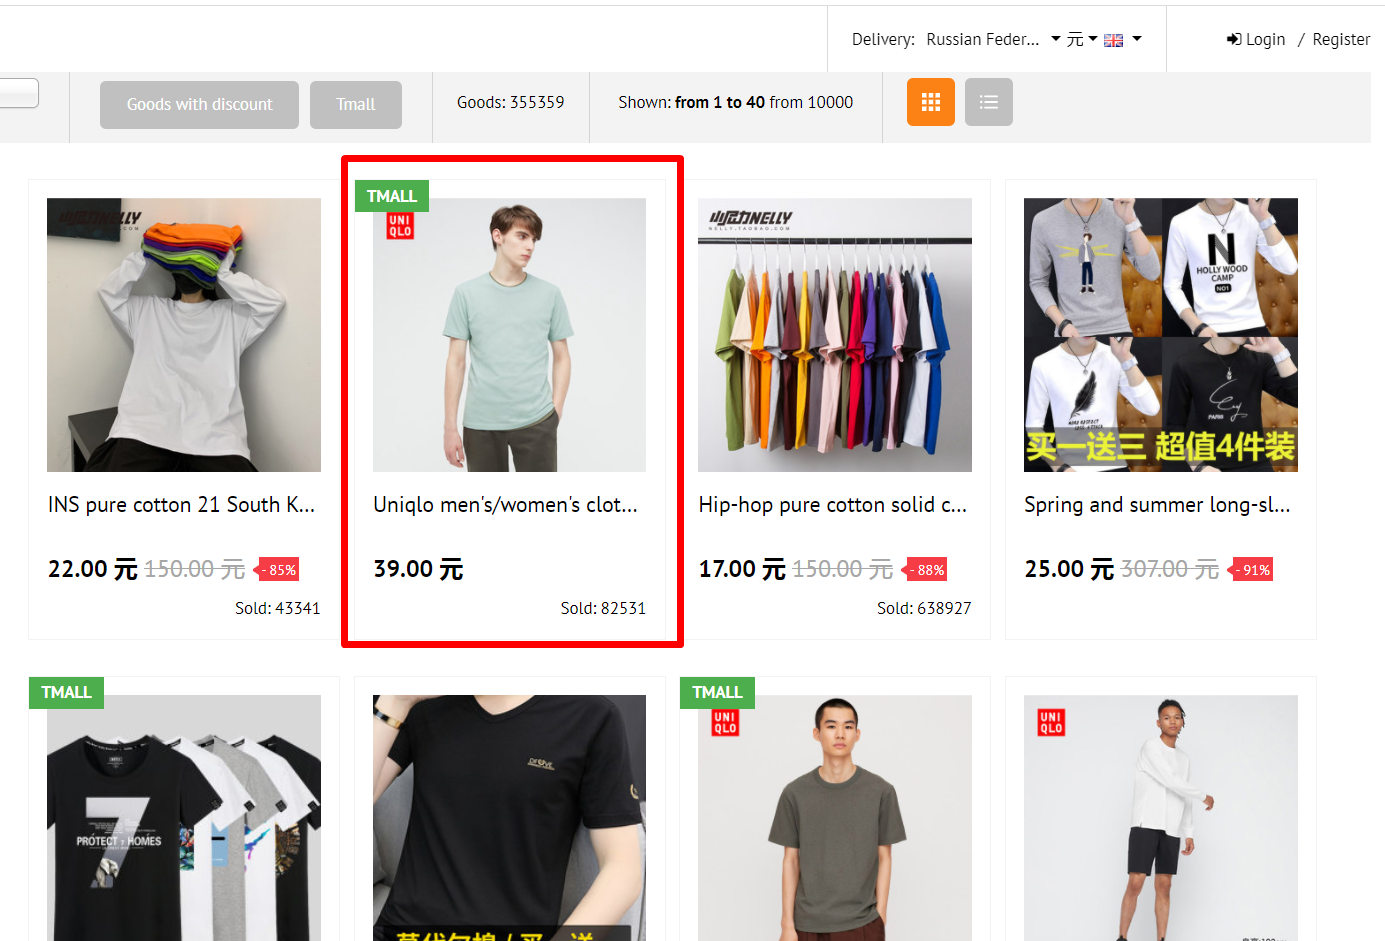
Go to “Items in stock” Go to the “Warehouse items” category and select items you want to be displayed show on the homepage:
home page.
Open item card and copy the link to it Select the item that interests you and copy a link to the item from the address bar:.
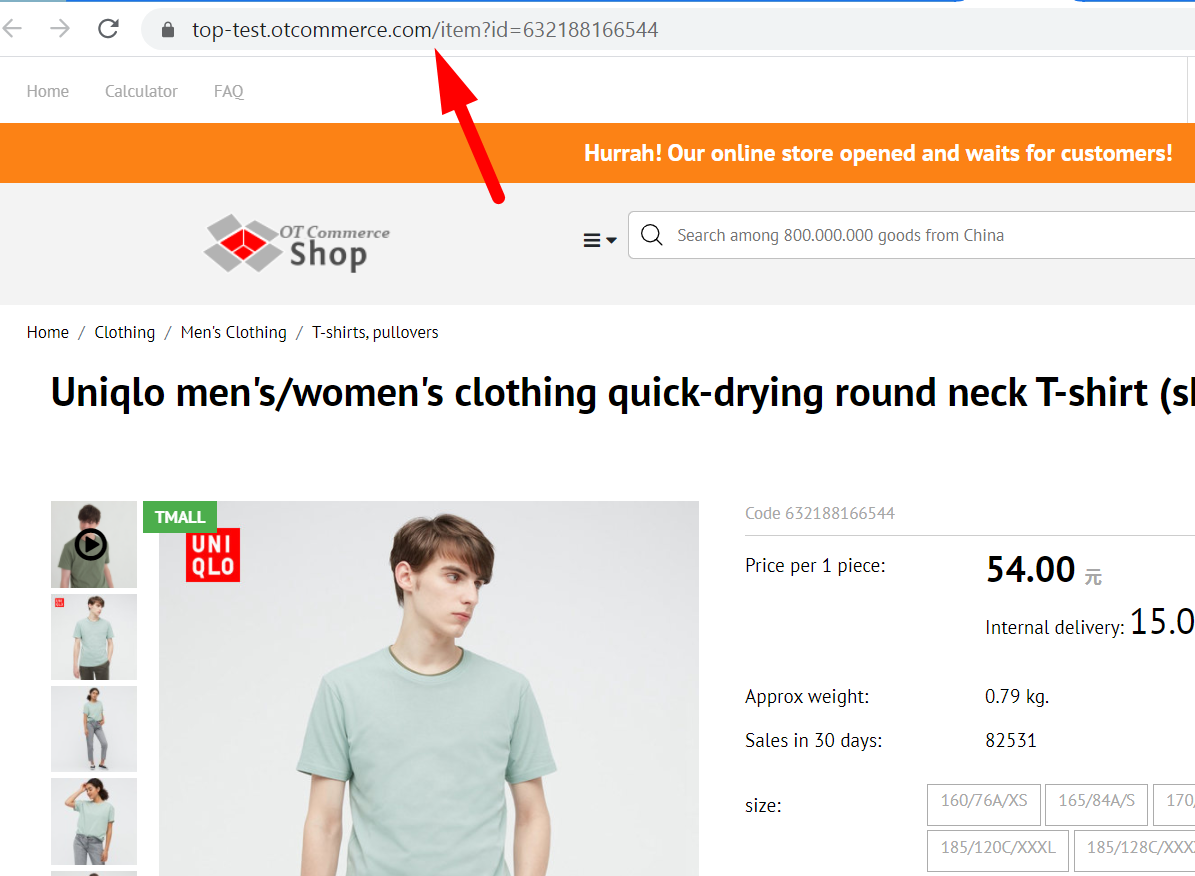
You have a Now you’ve got the link to the item now.
How to add items using a link
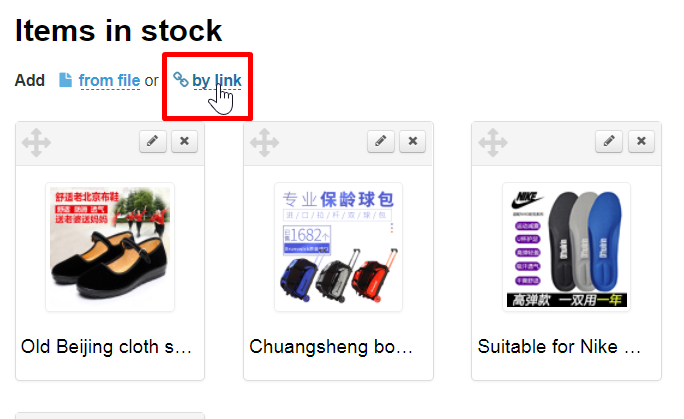
Click on the blue dashed underlined text “by link”.
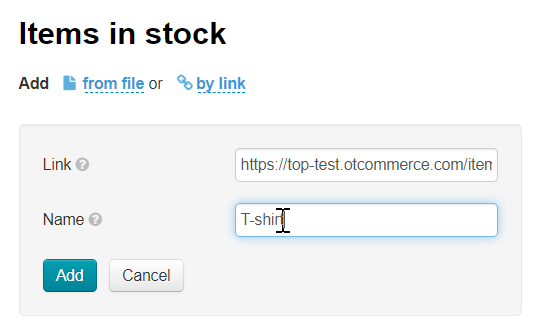
This will show up the form where you should enter the link you got according to the instructions above:
Once you’ve added the link to the form, it is necessary to add the item to a collection: click the “Add” button.
Once you’ve done this, the new item will appear in a collection in the administrative area:
And on the homepage of the website.
How to add items from the file
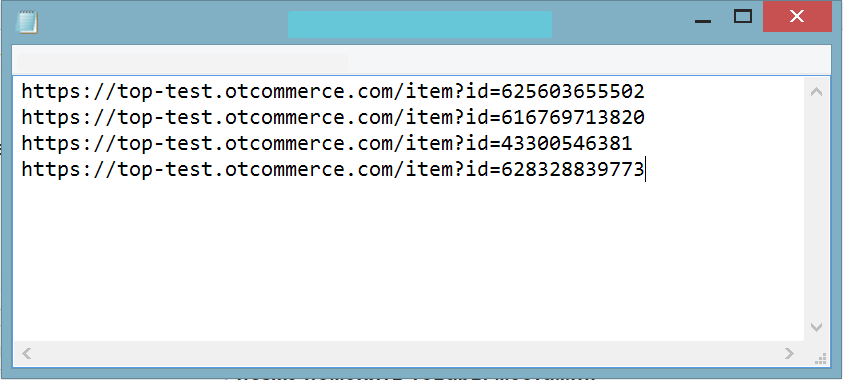
First, it is necessary to create a file. To do this, you need to open the “Notepad” program on your PC and add the links to items there.
Important! Each link must start at the beginning of a new line .
After saving the file, you need to upload it to collections
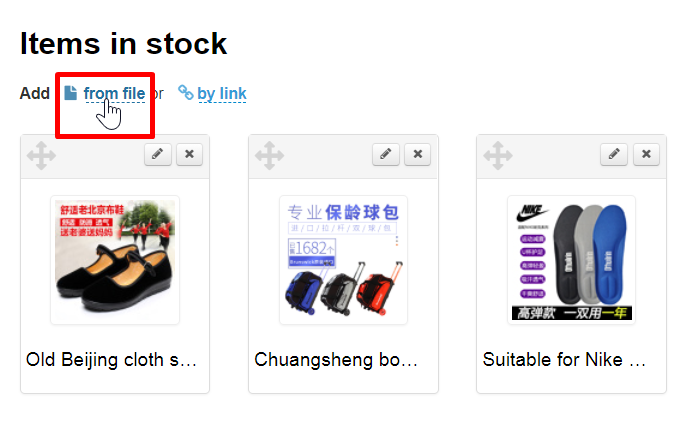
Click on the blue dashed underlined text “From file”:
Click the “Select file” button and select the newly created file:
After doing this, click the “Add” button.
The items stated in the file will be added to a collection.
Edit
In order to edit the item’s name and its description you should click the “Edit” (the pencil icon) button next to an item.
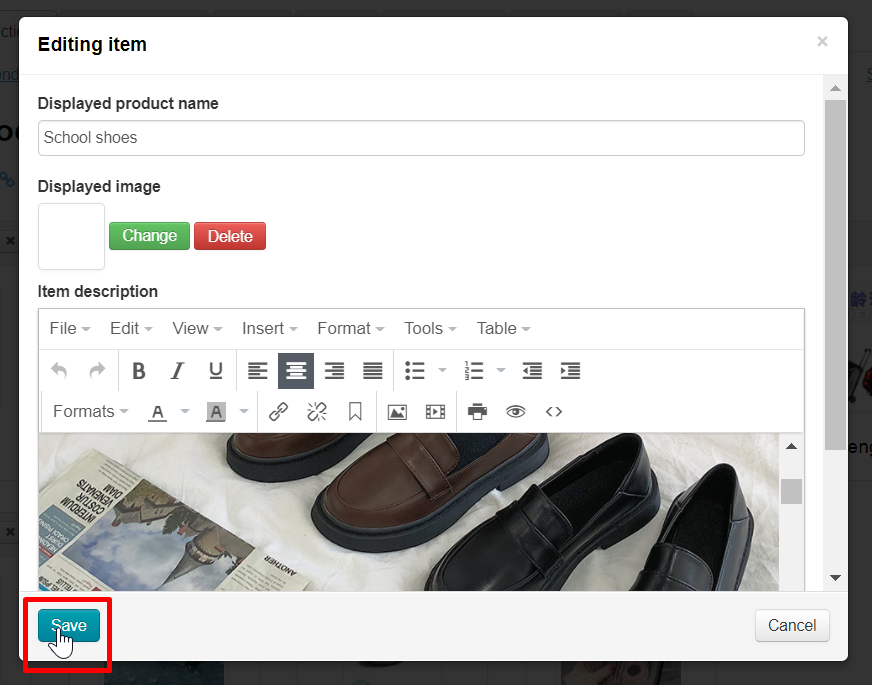
This will bring up a form where you can modify the item’s name and description.
Make all necessary changes:
Click the “Save” button to preserve your changes.
After doing so, the changes will be saved in the administrative area:
The changes will appear on the item’s page on the website.
Reorde
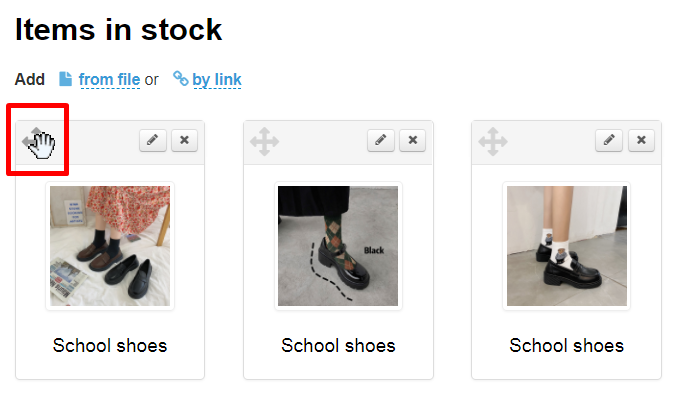
To change the existing arrangement of items in a collection click the “Move” icon (the four-headed arrow) to the left of the item:
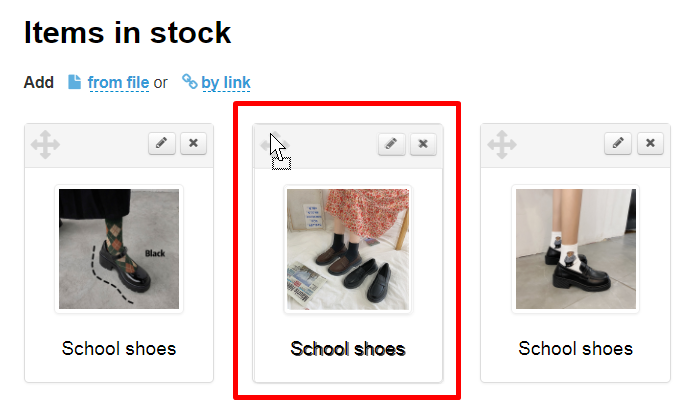
Without releasing the mouse button drag the desired item to a new position (indicated by yellow on the screenshot):
When you release the button the item will take a required position.
The new arrangement of items will be saved in the administrative area and on the website.
Delete
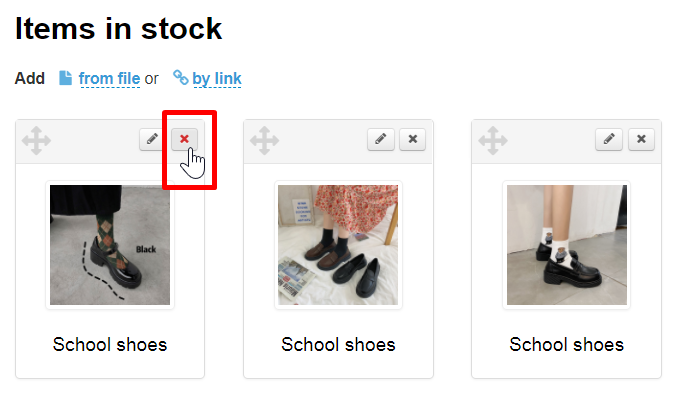
In order to delete an item from the collection you need to click on the X icon on the right-hand side of the item:
Clicking on the “Yes” button will confirm your choice.
After doing so, the item will be deleted from the collection:
Add item by link
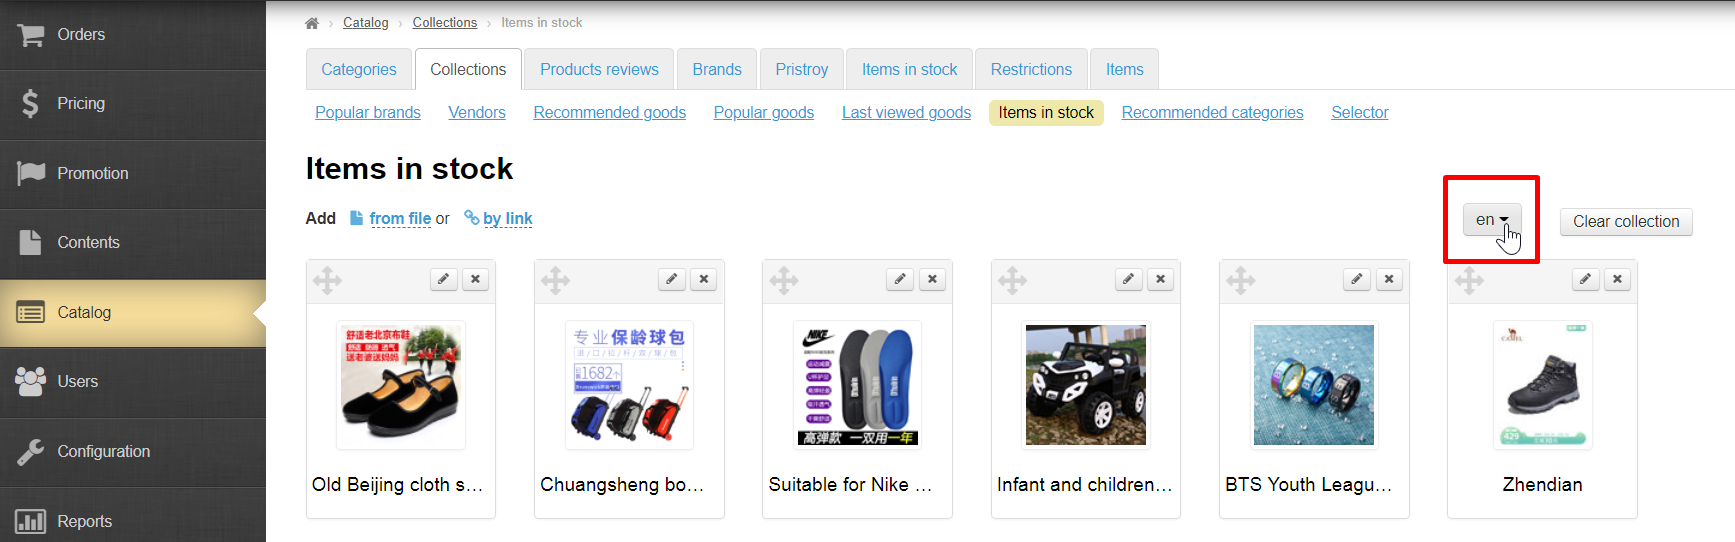
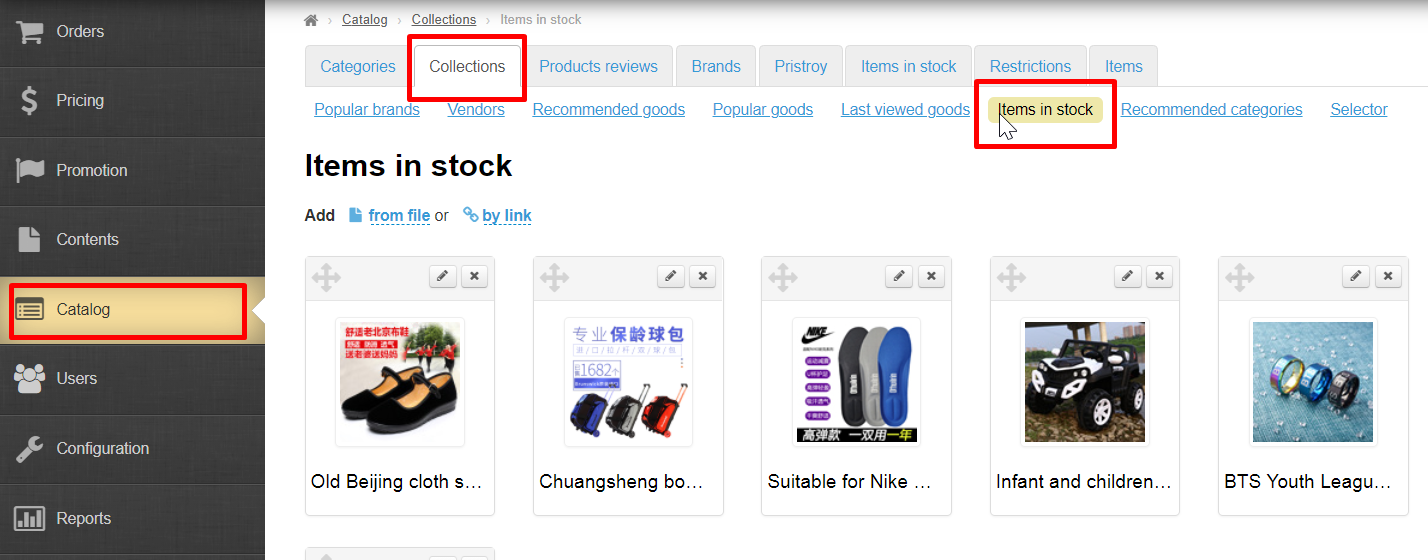
Go to collections: Catalog → Collections → Items in stock
The loading order affects the order of items in collection (you can swap items later).
Click "by link".
Paste a link to the item and also its name in the form (name can be changed later). Default item name will be used if “Name” field is left blank.
Click "Add" button after you added a link to the form.
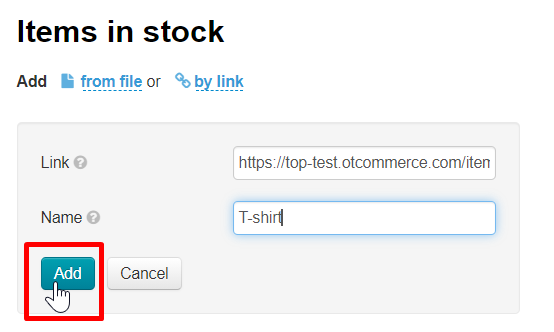
New item will be added to collection after clicking the button.
Add goods from file
Make up a file: open “Notepad” program on your computer and add links to goods there and save file.
Each link should start from new line.
The loading order affects the order of items in collection (you can swap items later).
Download file to collections after saving it.
Go to collections: Catalog → Collections → Items in stock
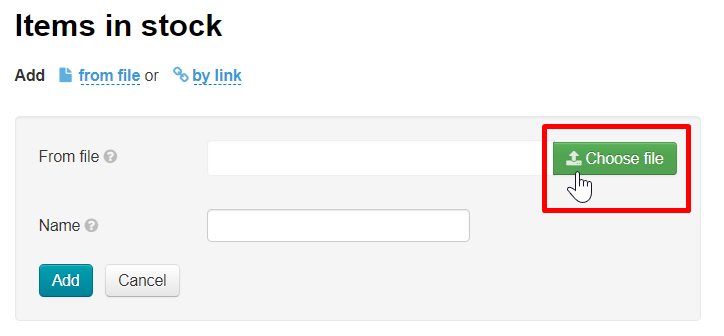
Click "from file".
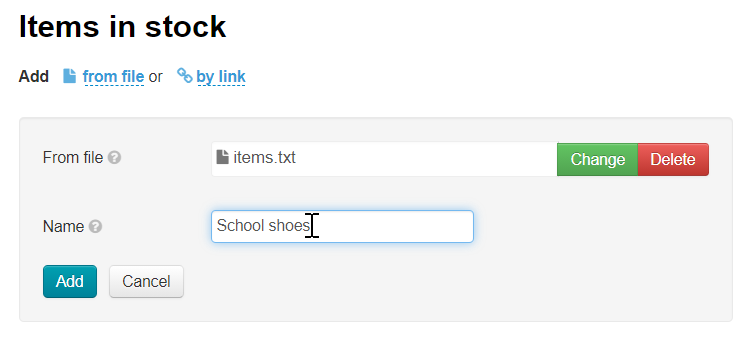
Click "Choose file" button and select the file with the list of links that you created earlier.
Add name if necessary. All uploaded items will have the name of the item that you specify. Name can be edited or added after downloading. The default item name will be used if “Name” field is left blank.
Click "Add" after selecting the file.
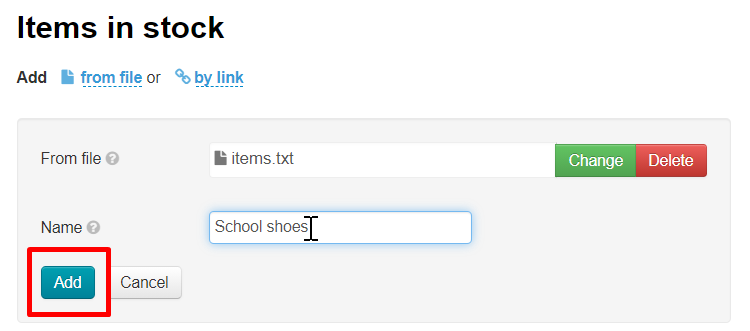
Goods from the file will be added to collection.
Working with collection items
Edit name, description and item photo
Products in collection can be edited - change name, description and also item photo which will be shown on the home page. In this case changes will be visible on the home page, on “Items in stock” showcase page and in the item card.
Open “Items in stock” collection in Catalog → Collections → Items in stock section.
Click "Edit" button (with a pencil image) in the upper right corner above the item.
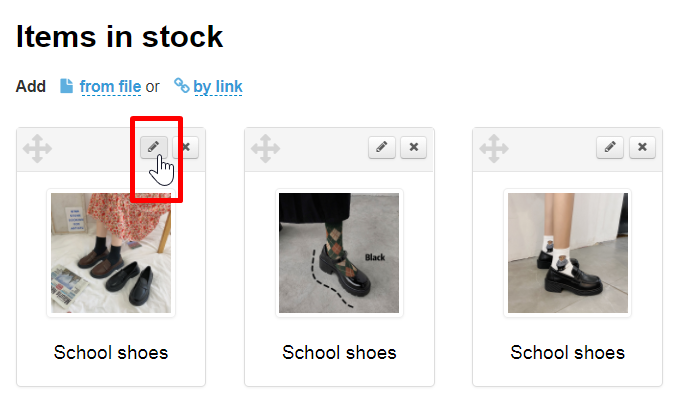
A form will open where you can correct item name, description and also upload another photo which will become the main one.

Make necessary corrections and click "Save" button.
After saving changes will be visible in admin panel and on website in “Items in stock” collection, on "Items in stock" showcase page and item card.
Swap goods
Initially, the order of products in collection is set by download: which product is loaded first, that one will be at the beginning of collection. You can manually change goods order in collection.
Open “Items in stock” collection in Catalog → Collections → Items in stock section.
Click move icon (cross with arrows at the top left of the item) to change the order of goods in collection.
Keep the mouse button pressed and drag selected item to necessary location and release mouse button.
The item has moved. Click "Save Order" button to save changes.
Delete goods from collection
Deleting an item will not affect the item in “Items in stock” catalog in any way. Changes will not be deleted (item name, description and photo will remain) after deletion if the product was edited in collection.
Open “Items in stock” collection in Catalog → Collections → Items in stock section.
Click "Delete" button (cross on the top right of the item).
You must confirm action by clicking "Yes" button:
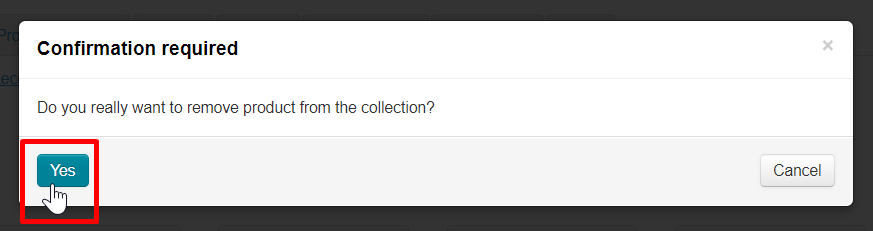
The item is removed from collection after confirming. You can add the item using “Add” function.
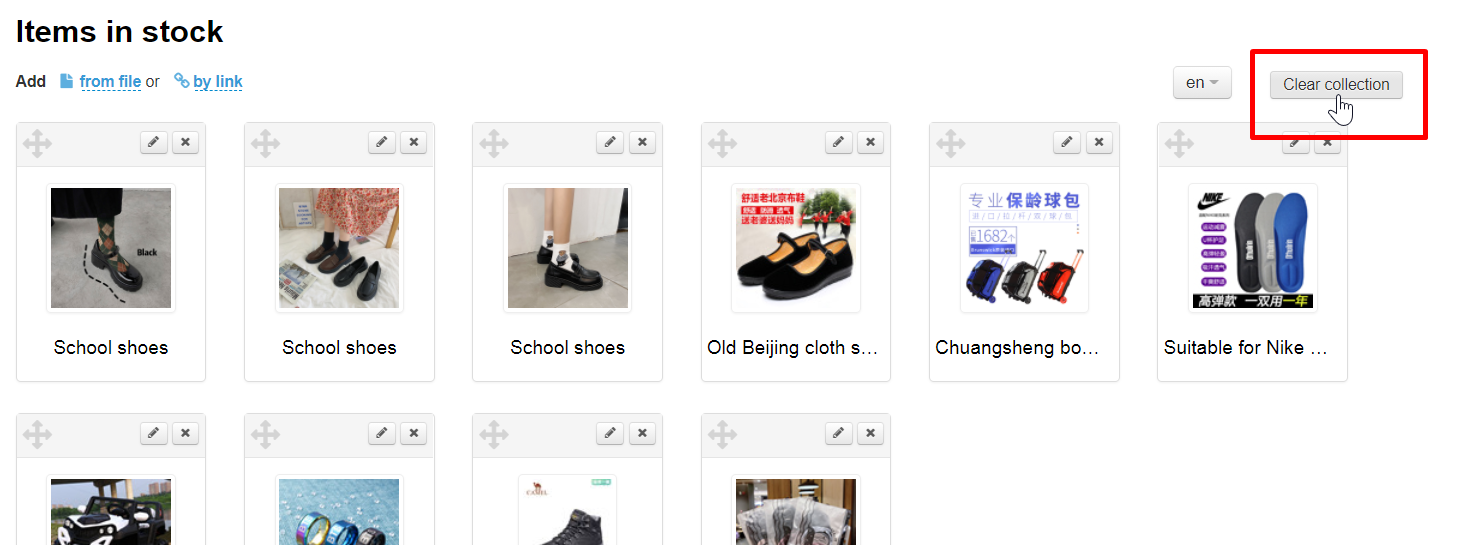
Clear popular goods collection
You can delete all goods from collection with "Clear collection" button. Clearing a collection does not affect items in any way.
Open “Items in stock” collection in Catalog → Collections → Items in stock section:
Click "Clear collection" button.
Since this action is irreversible (it will not be possible to restore the collection after cleaning), you must confirm action by clicking "Yes" button (or "Cancel" button if you change your mind).
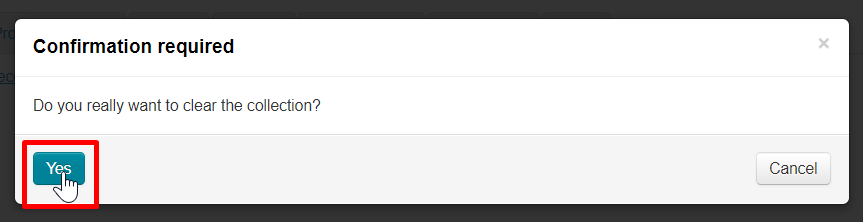
Collection will be empty after clearingThe item can be easily recovered using the “Add” button.