| Оглавление |
|---|
...
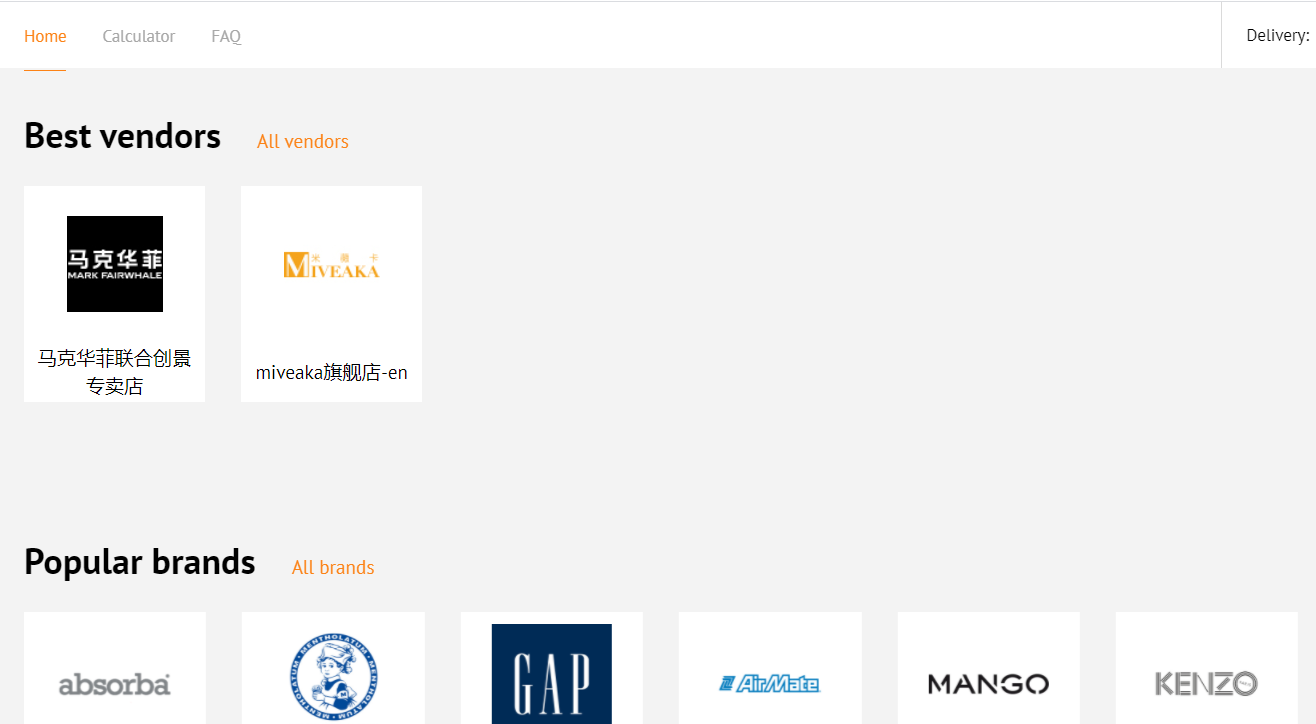
Collections of sellers are Vendors' collection is available for viewing at on the bottom of the homepage on your website. The instructions for configuring the collections to be displayed on the homepage are given in the “Homepage configuration” section.
To specify sellers for this section you need to go to the “Sellers” section of the “Collections” tab.
Add
In order to add a new seller to the list you should first find the seller on your website:
Look for an item on the website (for example, a product is in fashion this season or you know that this product is sold by a reliable seller who is convenient to work with):
To start viewing all items of this seller you need to click on the link “All goods of this seller”.
You need to find the following information on the item page: a seller name, a link and seller’s ID.
With all these data at hand, you can add a seller:
Click on the blue dashed underlined text “Add”.
You will see the form to be filled in:
Fill in the first field of the form.
The form requires the following data:
...
Seller name
...
Link
...
Seller ID
...
home page of website in “Best vendors” block.
Show or hide
It's necessary to configure vendors' display in Homepage (Configuration) section to show them on the home page:

You can restrict Vendors in Catalog → Restrictions → Vendors section

Language version of collection
Select language version before preparing a collection of Vendors. You can make your own collection for each language.
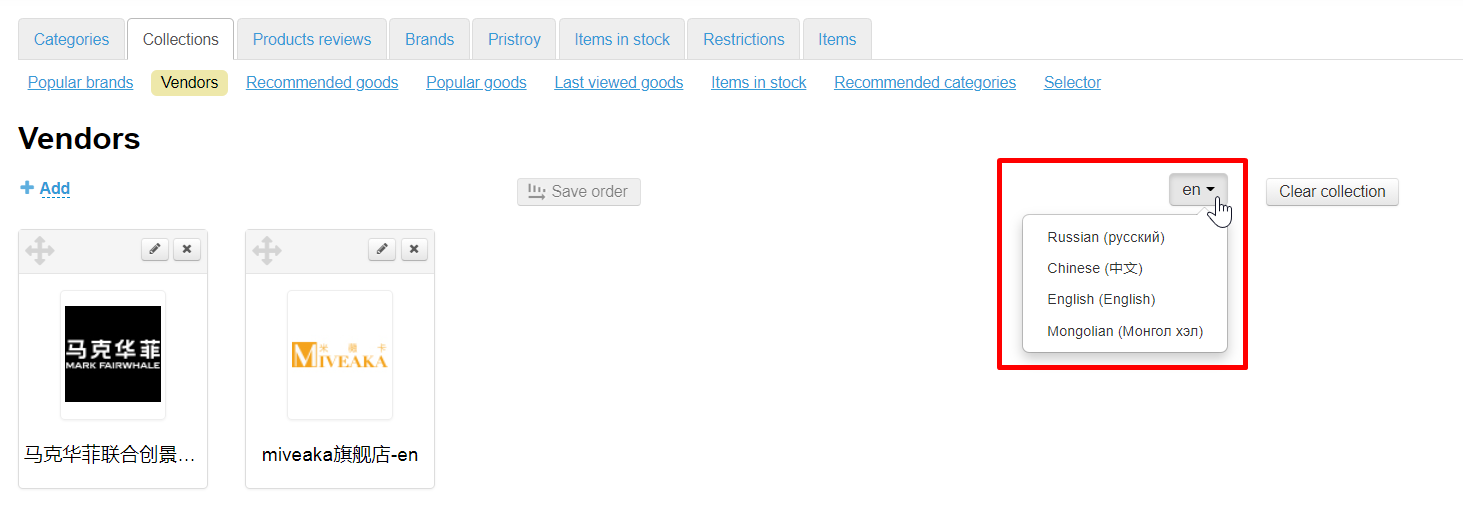
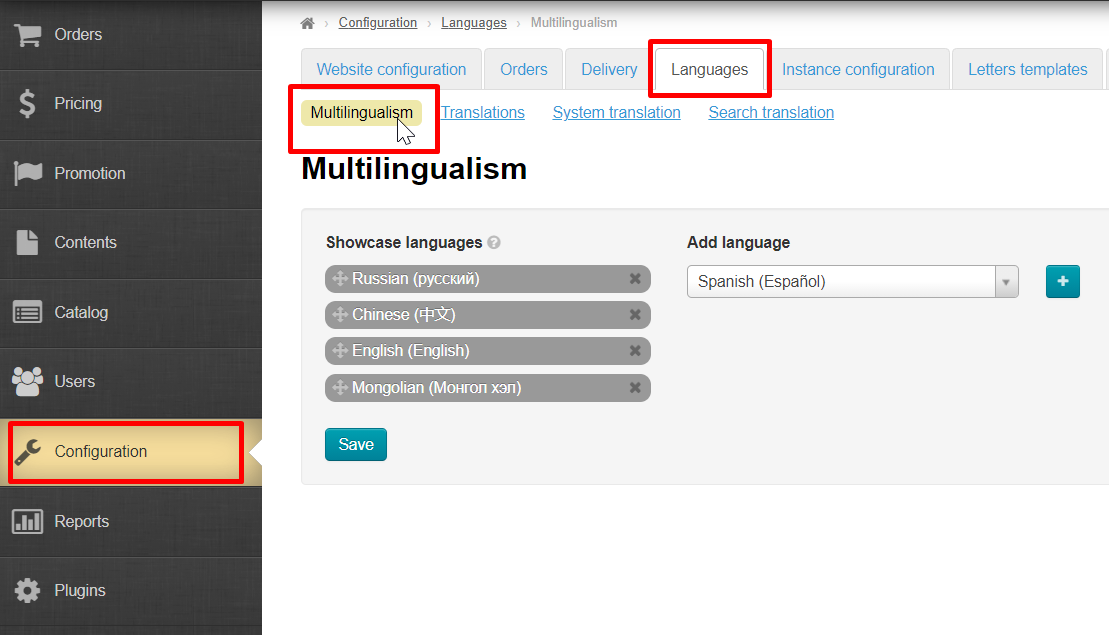
Language version is selected by clicking on the language from the list. You can set the list in Configuration → Languages → Multilingualism section
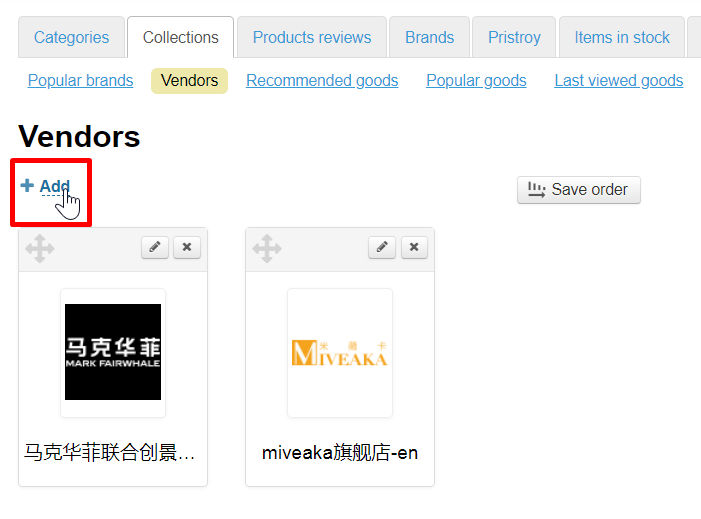
Add vendor to collection
Open Catalog → Collections → Vendors section to show recommended vendors on the home page

Search and select vendor
Search for product on the site. The main collection criteria will be: products on your target audience, number of product sales, positive reviews, your personal experience with a particular vendor.
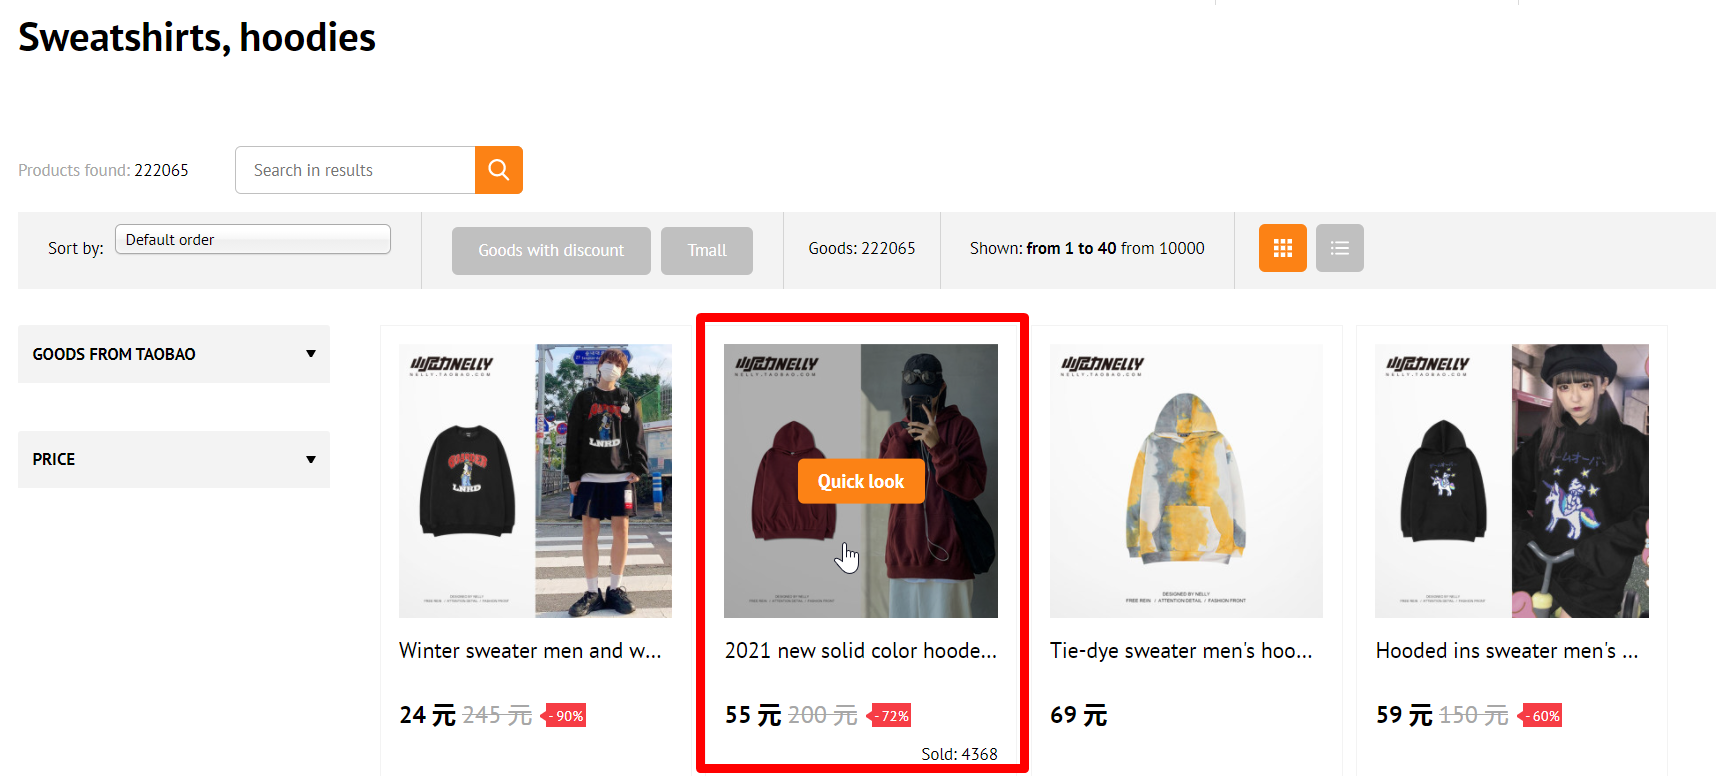
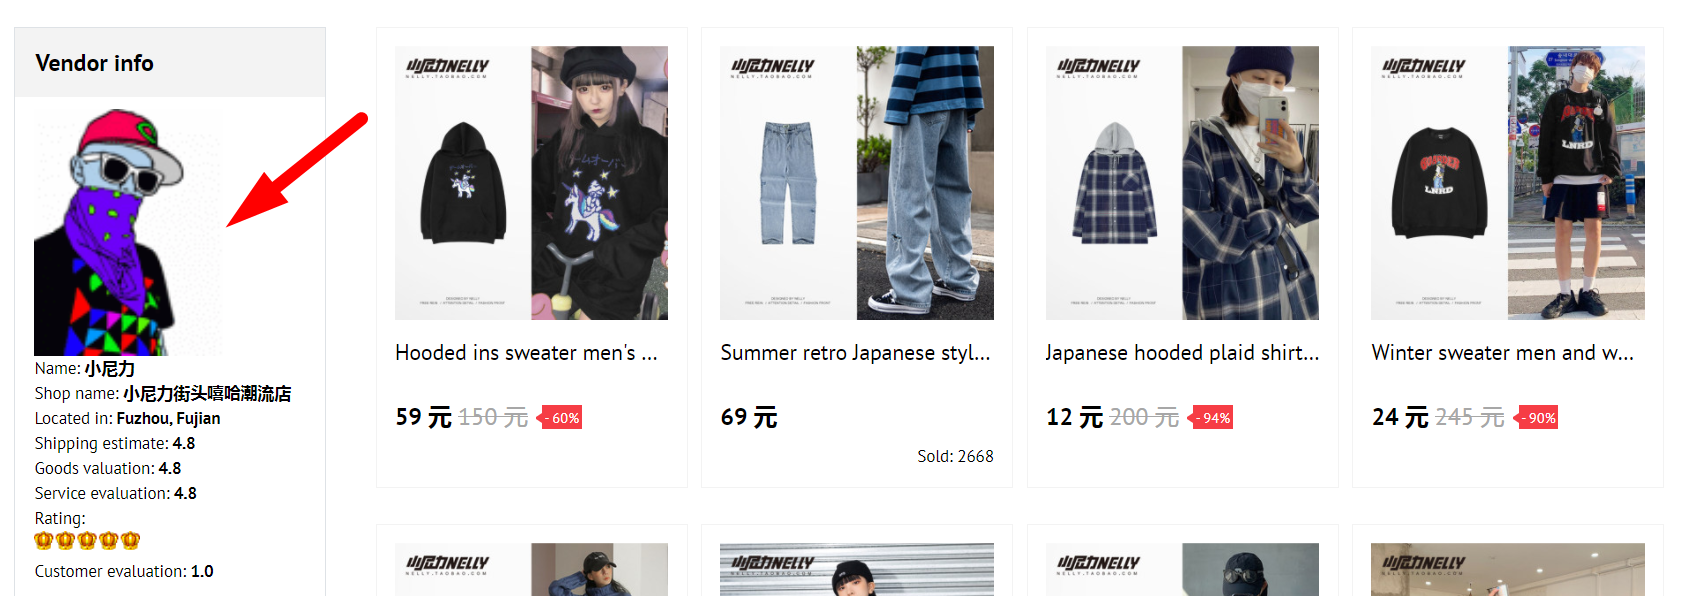
Open product card and find "Vendor info" block (it is available in any product card but it can change its position depending on selected site design).
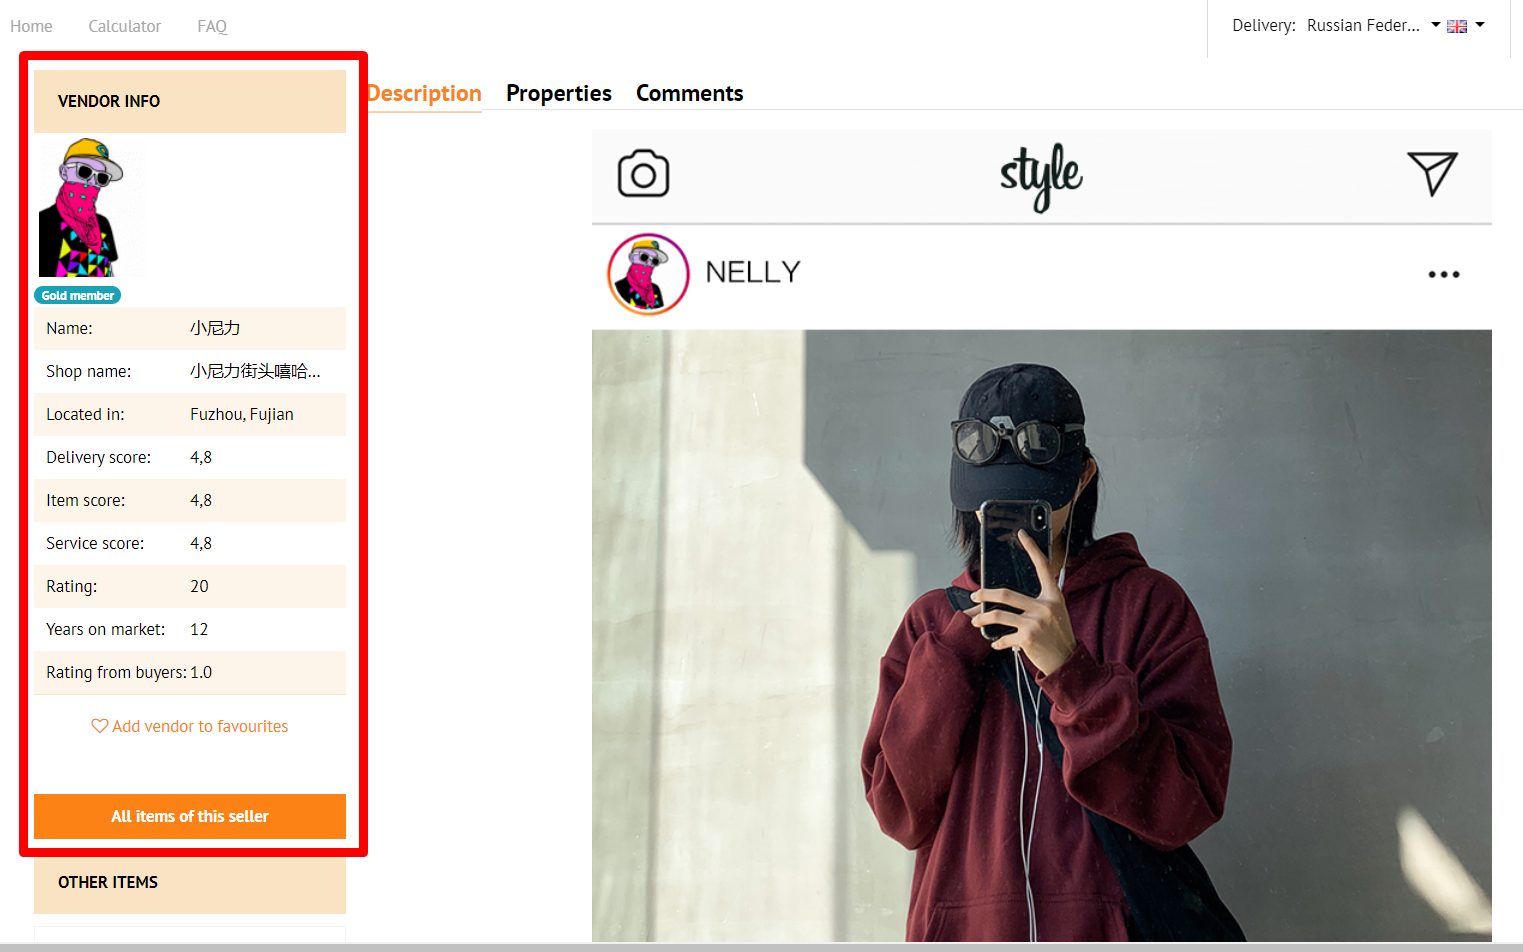
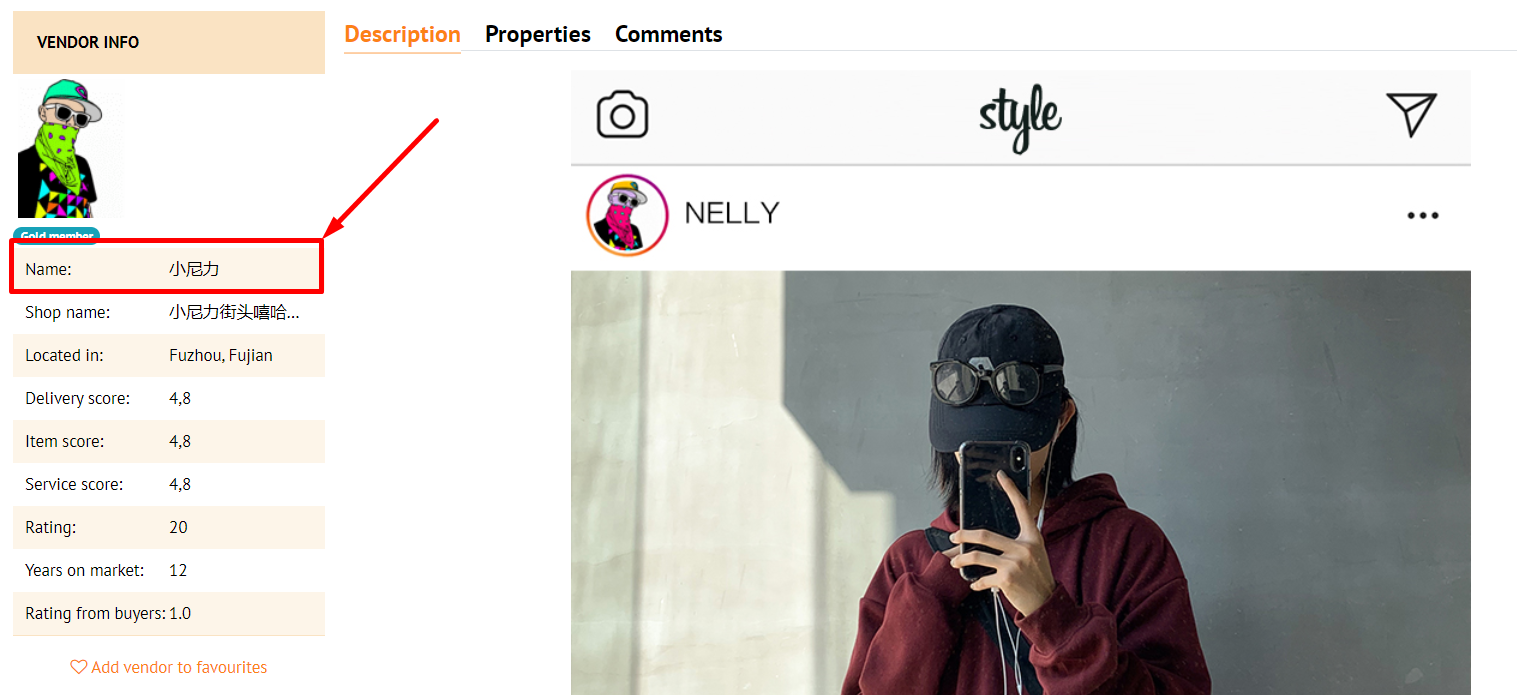
Copy vendor's name and return to the admin panel to fill in the information if the vendor is familiar to us.
| Информация | ||
|---|---|---|
| ||
Only Taobao allows adding vendor by name. Other providers allow only link to vendor or his ID. |
Click "All items of this seller" button if you need to get more info about the seller or find out his id.
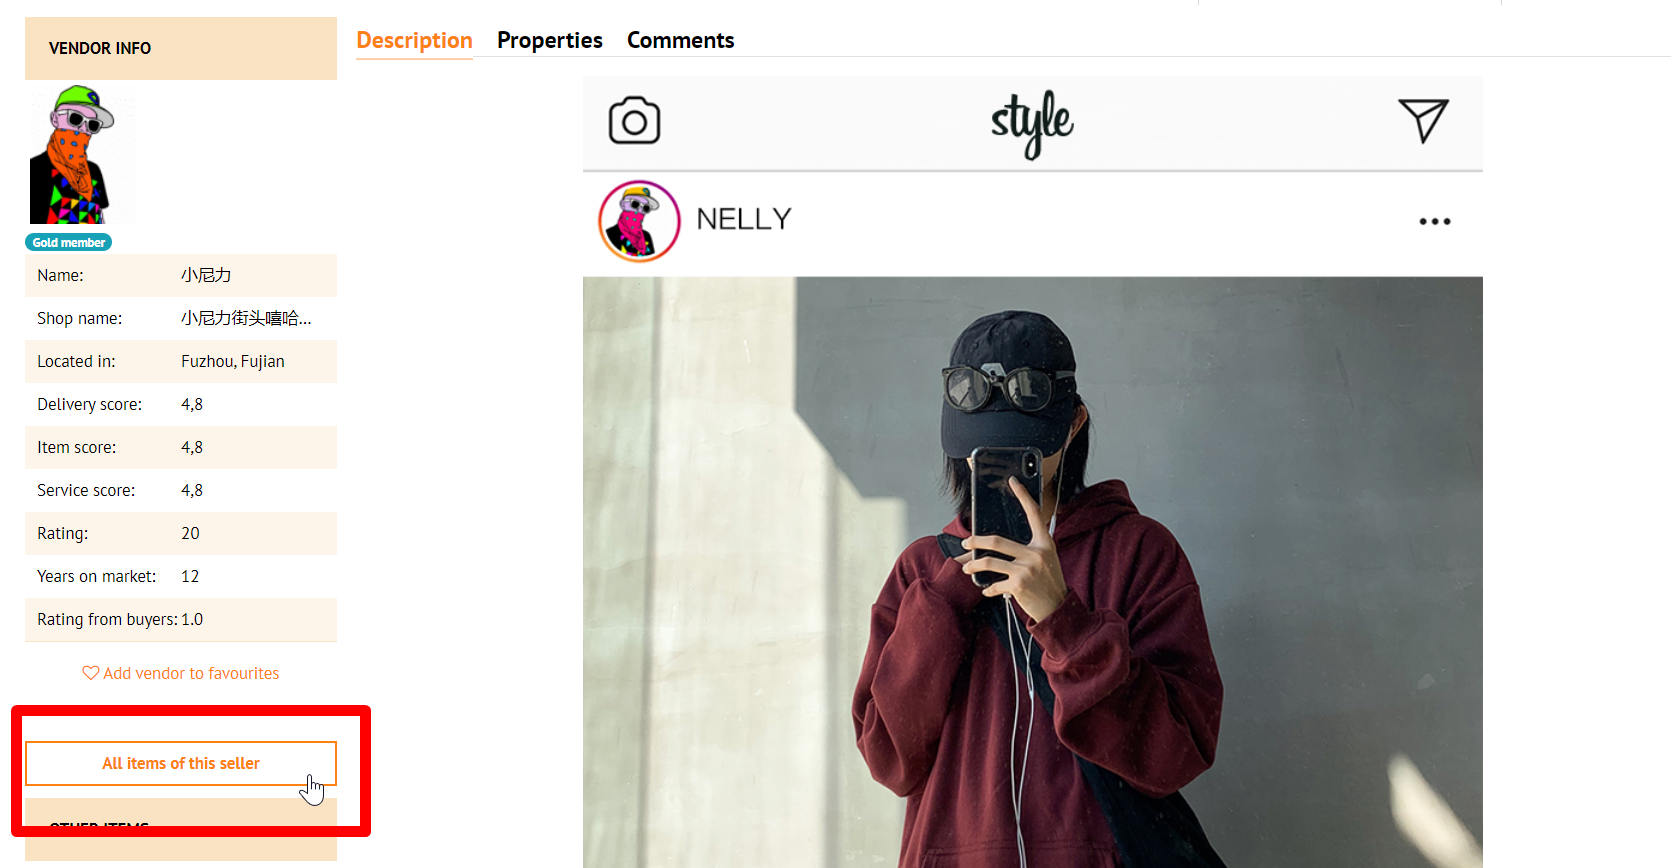
On the product page we will be interested in products relevance to business, quality, vendor rating and product sales.
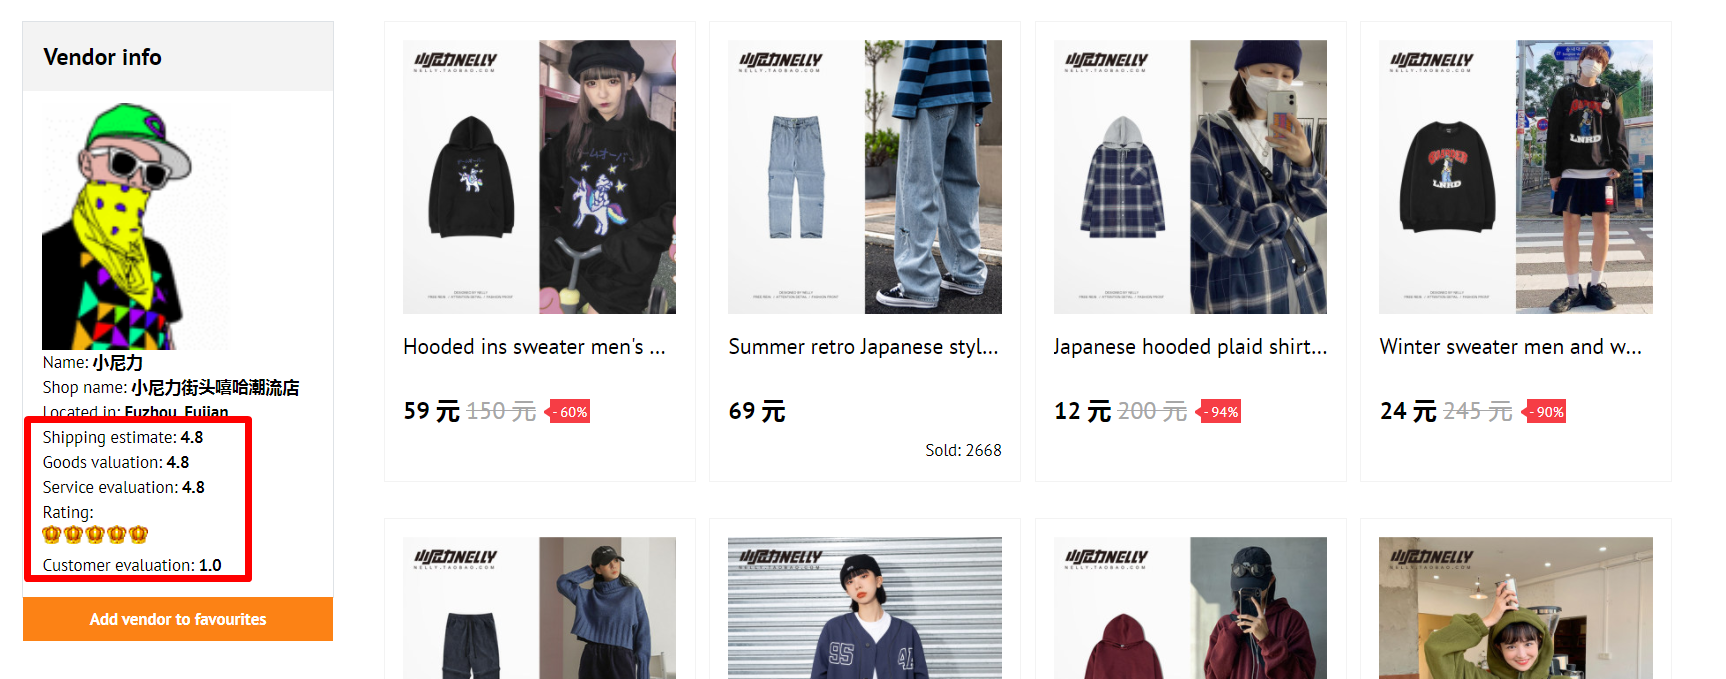
You will need a link (marked red) or vendor's id (marked green) to add him to collection.
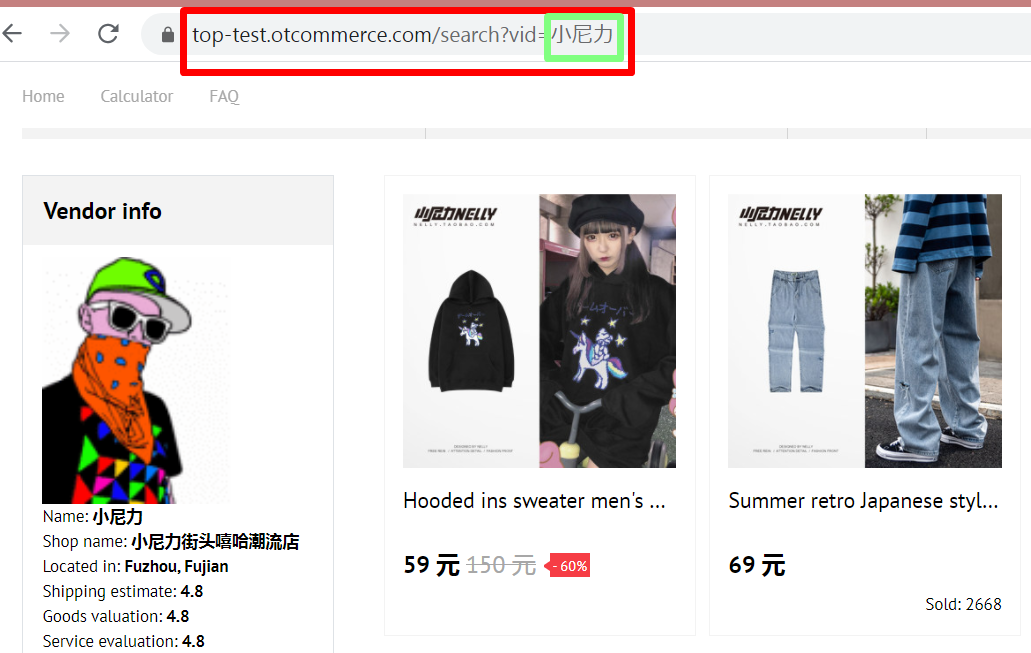
Copy link or id and get back to admin panel.
Add vendor's info in admin panel
A form will open after clicking "+ Add".
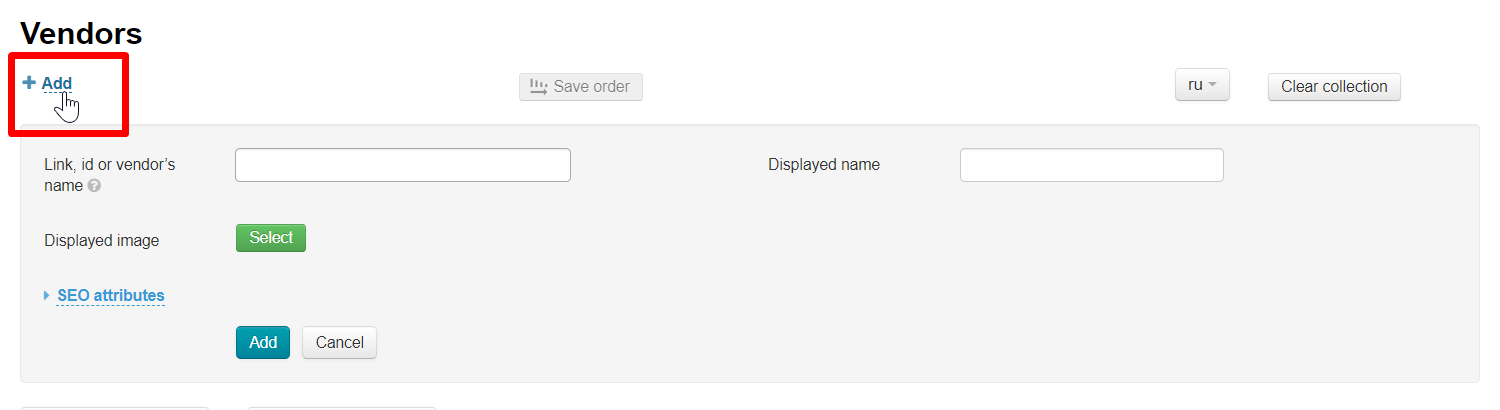
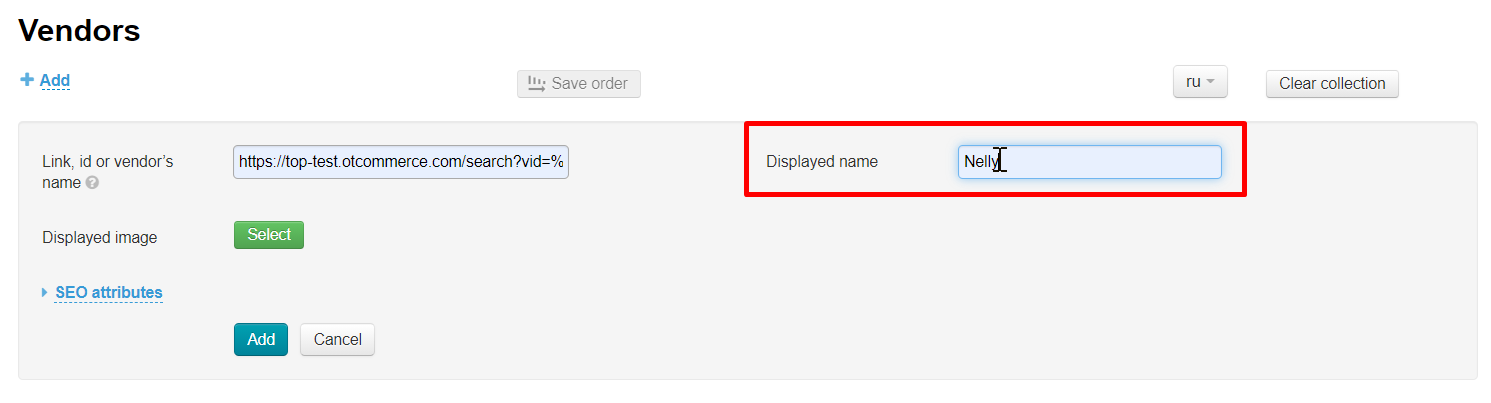
Paste what we copied into the first field “Link, id or vendor's name”.
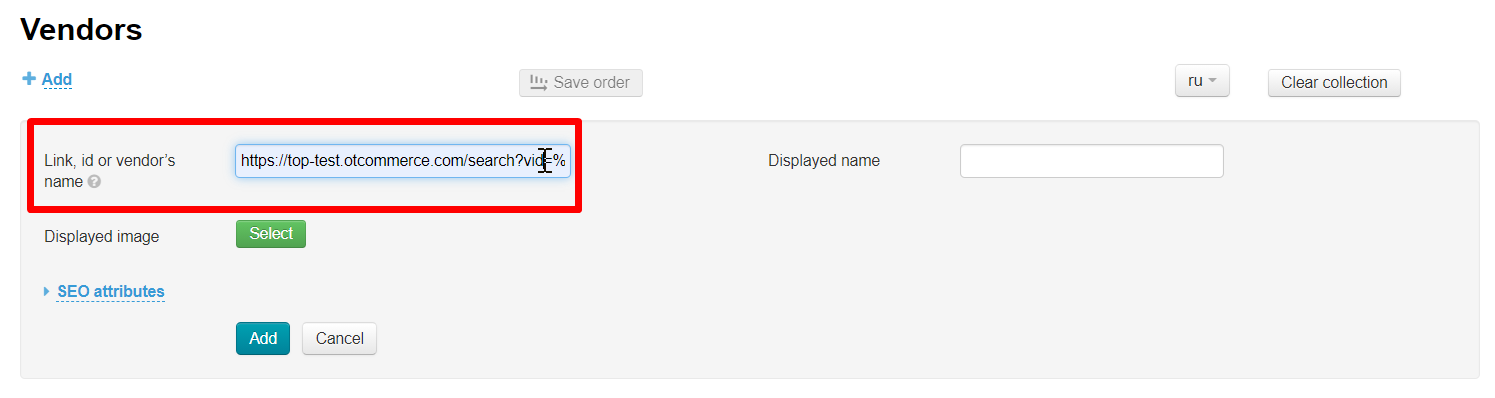
Upload an image (logo or photo) to show on website. We recommend either search by name through Google or leave the field blank. An image from the store page will be used if you do not add an image.
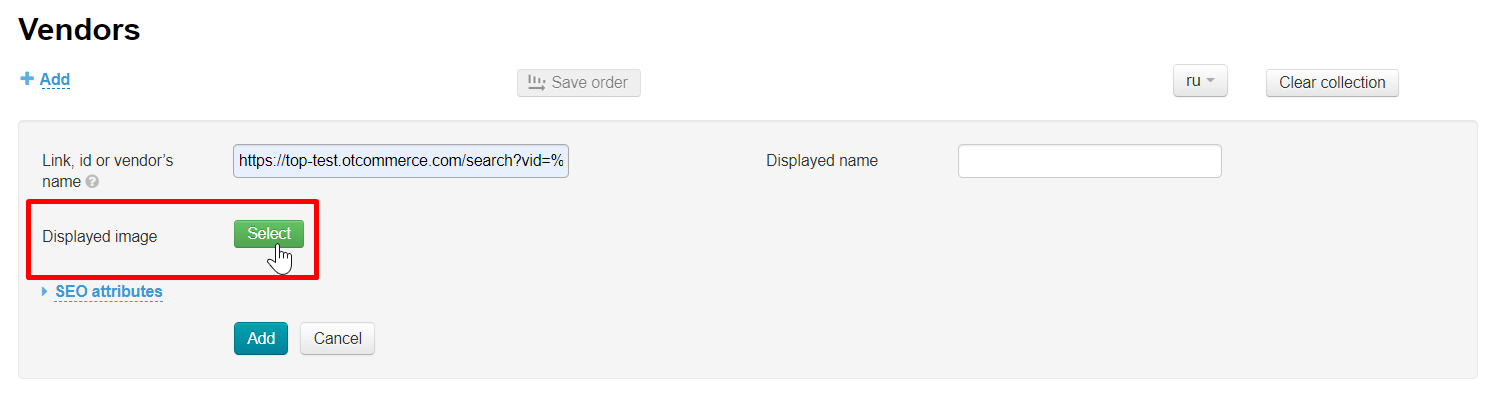
You can change the image while editing.
Fill in "Displayed name" field. Here you can put both vendor's name indicated on the site and write an analogue in any language.
The display name and image used when adding can be edited.
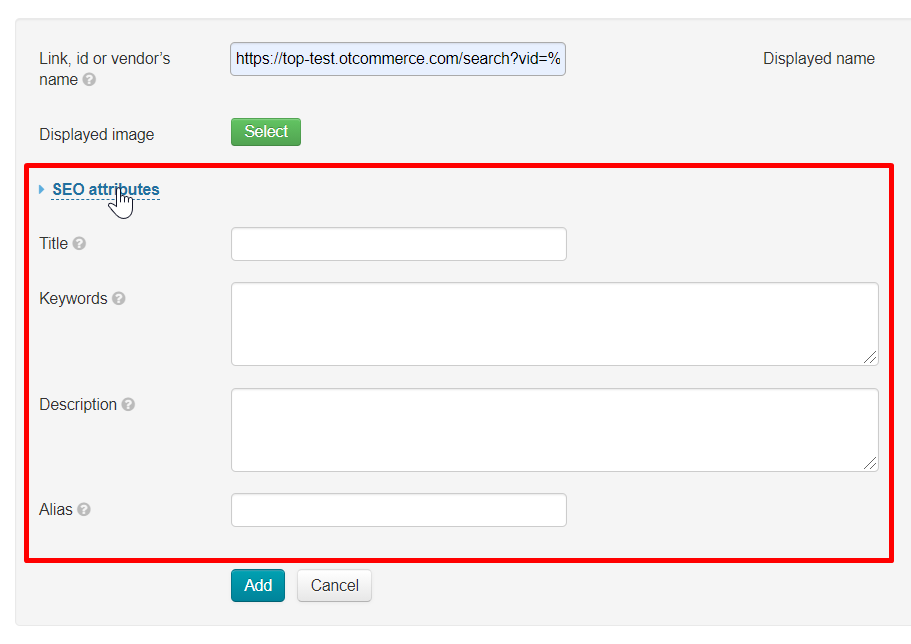
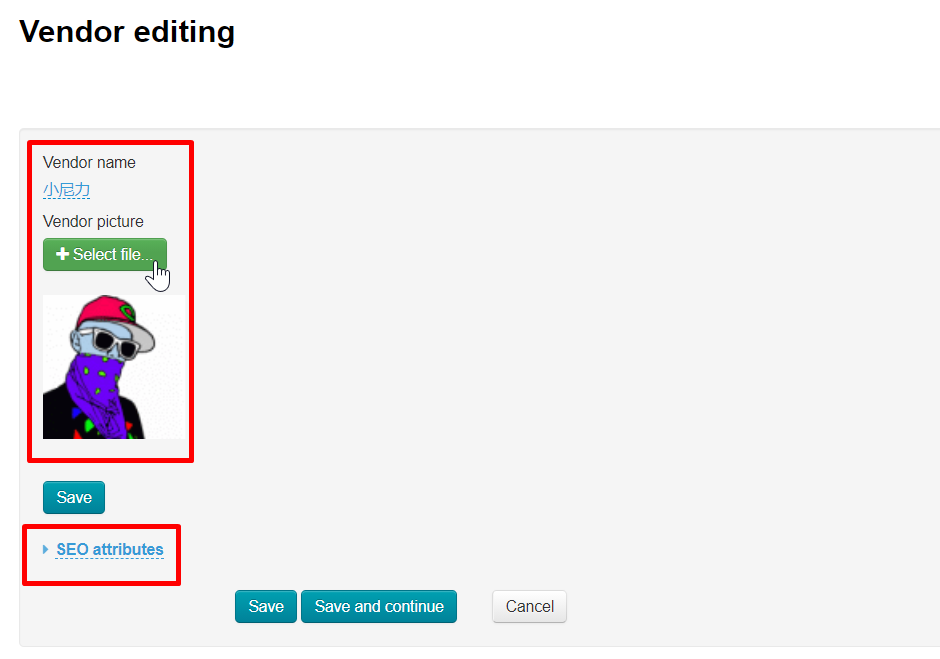
SEO of vendor's page
You can add description, keywords and title for vendor's page that will be used by search engines to promote your site.

You can read what's SEO and why you need it in the article “SEO”.
Click "SEO attributes" and a form will open where you need to fill in the fields for successful website promotion on the Internet.
Click "Add" when all fields are filled in.
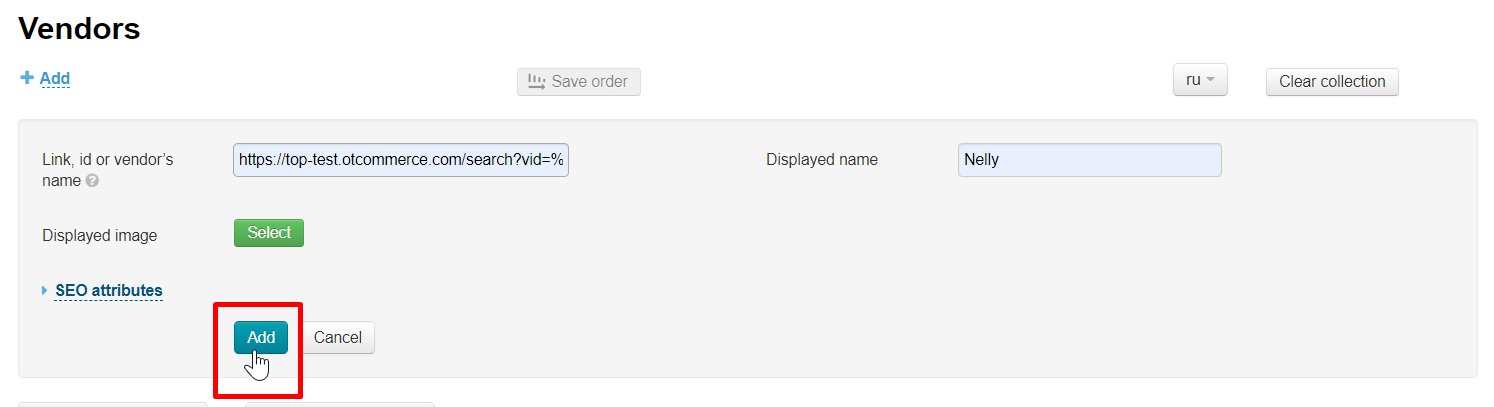
New vendor will be added to the home page and will be shown in "Best vendors" block.
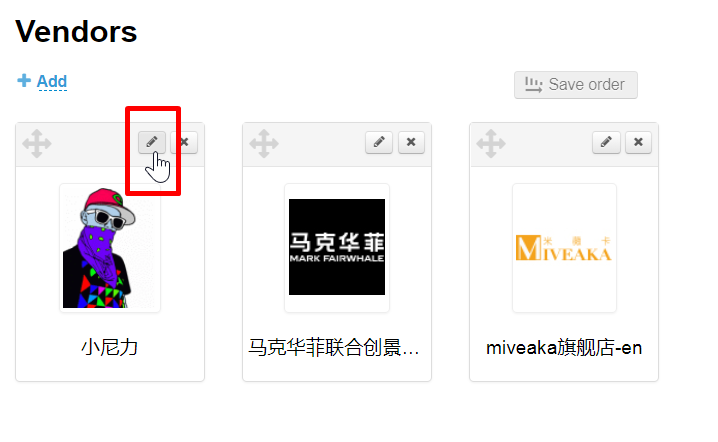
Edit vendor's name and logo
You can edit vendor's name as well as the logo and SEO optimization attributes after adding the vendor to collection.
Click edit button.
Change irrelevant data.
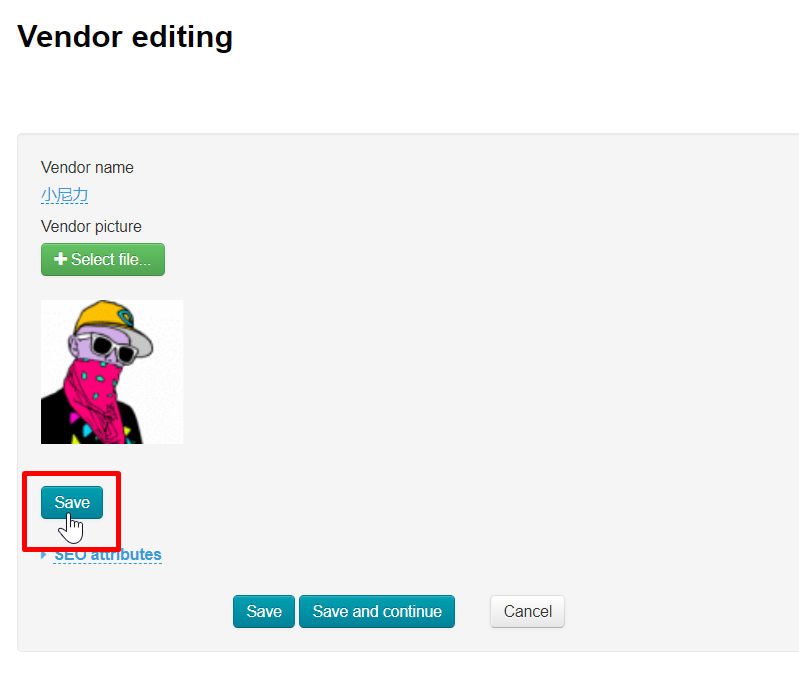
Note that there are several buttons for saving.
The first one saves changed name and logo.
Two buttons below save all changes. If you click "Save", then after saving you will open a page with all the vendors, and if you click "Save and continue", then you will remain in the edit form but your changes will be saved.
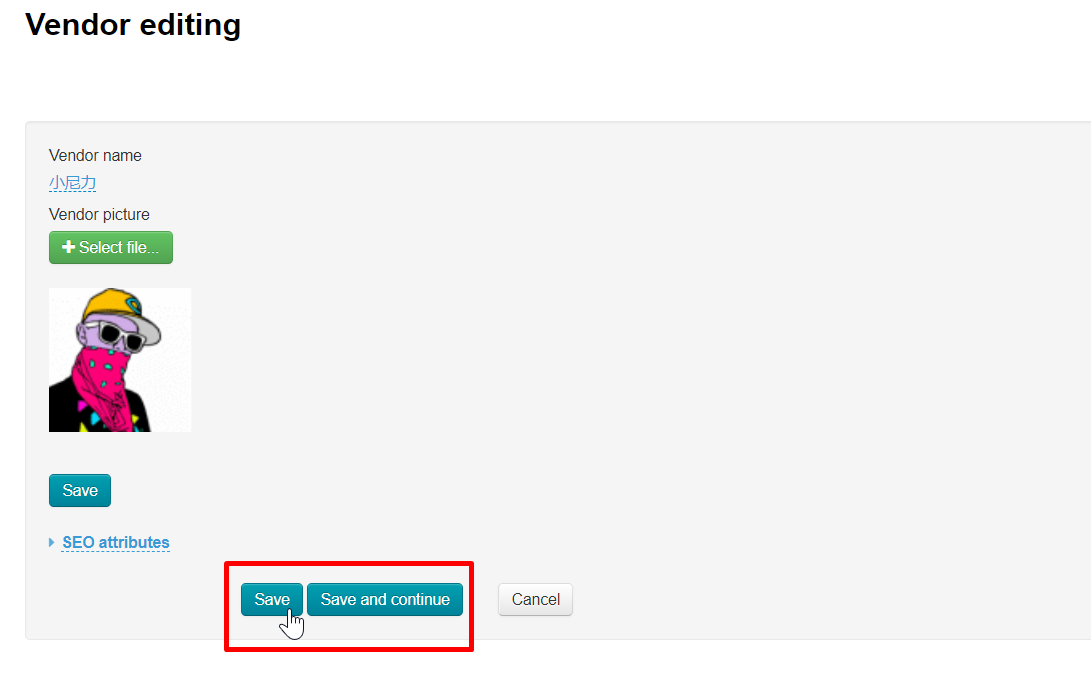
Information will be updated in the admin panel and on the website after saving.
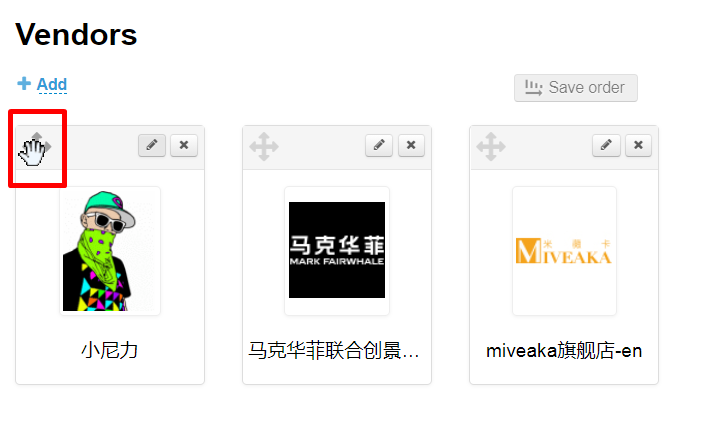
Change order
Click the cross with arrows to the left of the vendor to change vendors' order in collection.
Drag selected vendor to new location without releasing mouse button.
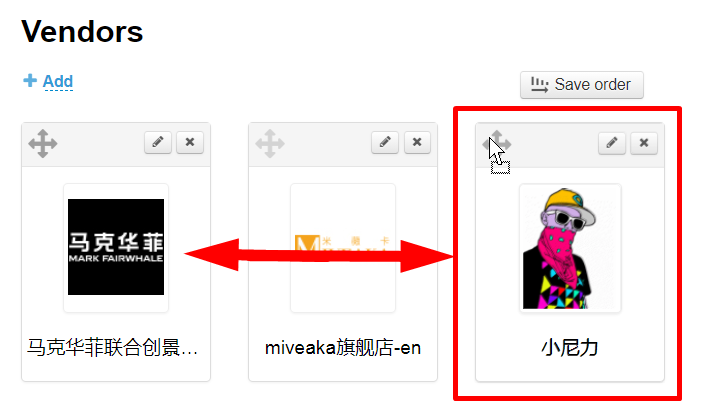
Release mouse button. Vendor changed order. Click "Save order" button to save changes.

Order is saved both in the admin panel and on the site after clicking the button.
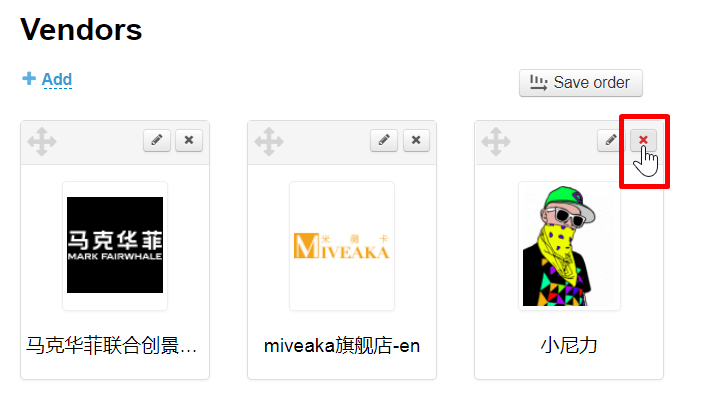
Delete vendor from collection
Click "Delete" (a red cross) button to remove vendor from the list.
Confirm choice by clicking "Yes" button.
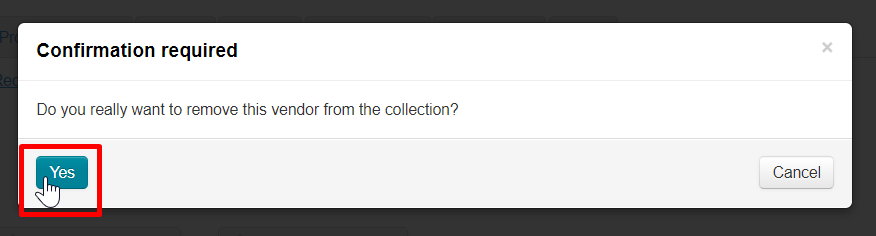
Vendor will be removed from collection after confirmation. You can add vendor clicking "Add" button.
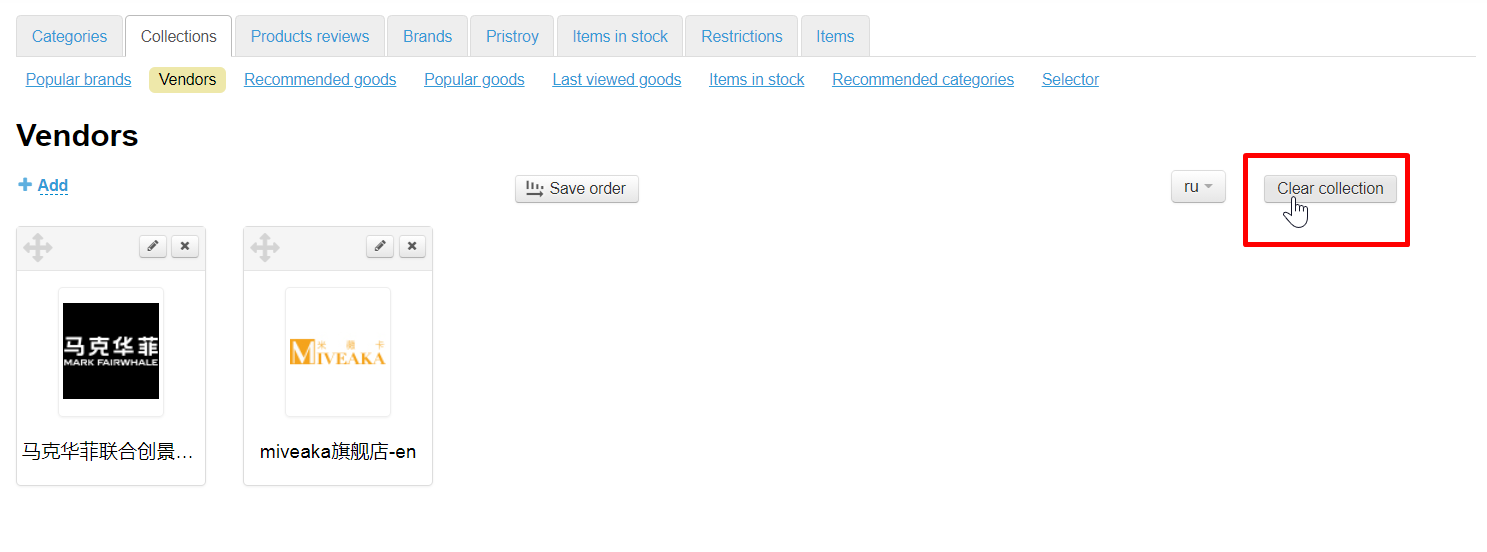
Clear vendors' collection
You can use special button in the right part of the page to clear collection completely.
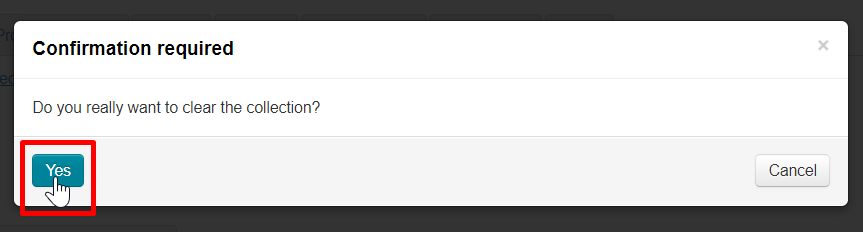
Collection will be completely cleared after clicking if you confirm action and click "Yes" button.
Fill in the next field “Displayed name” Here you can enter both a seller name specified on the website and its version in any language.
For each seller an image can be chosen and uploaded from your computer.
Once added, the displayed name and the image can be edited.
If there is no need to upload an image for the moment you should add the seller by clicking the “Add” button.
The new seller will appear in the administrative area of the website.
The changes will be visible on the homepage of the website as well.
Edit
To edit the seller, click the Edit (the pencil icon) button next to the item.
In the form that appears you can change an image.
Clicking the “Change” button will open the window where you can select an image from your computer. Select it and it will be automatically inserted into the form below.
Next, you can change
Click the “Save” button to preserve your changes.
After saving, the information will be updated (refreshed) both in the administrative area and on the website.
Reorder
To change the existing arrangement of sellers in a collection click the Move icon (the four-headed arrow) to the left of the seller:
Without releasing the mouse button drag the desired seller to a new position (indicated by yellow on the screenshot):
When you release the button the seller will take a required position. To save a new arrangement of sellers click the “Save order” button.
After you click on the button, the new arrangement of sellers will be saved in the administrative area and on the website.
Delete
In order to delete a seller from the list you need to click on the X icon on the right-hand side of the seller:
Clicking on the “Yes” button will confirm your choice.
After doing so, the seller will be deleted from the collection in the administrative area:
The seller can be easily recovered using the “Add” button.