Setting up social networks widgets, both for site pages and for authentication (log in or register using an available social network).
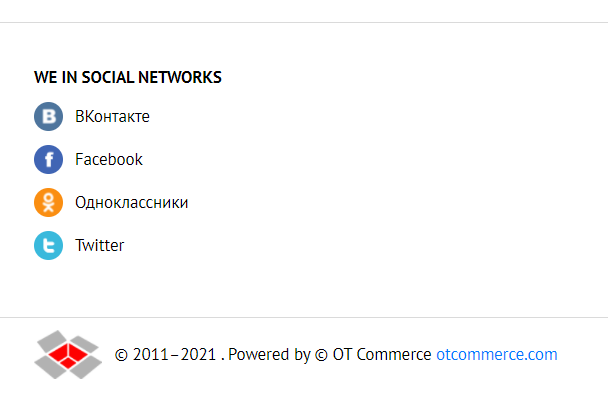
Widget is a social networking icon that buyers can log on to, share information with friends or go to your social networks page.
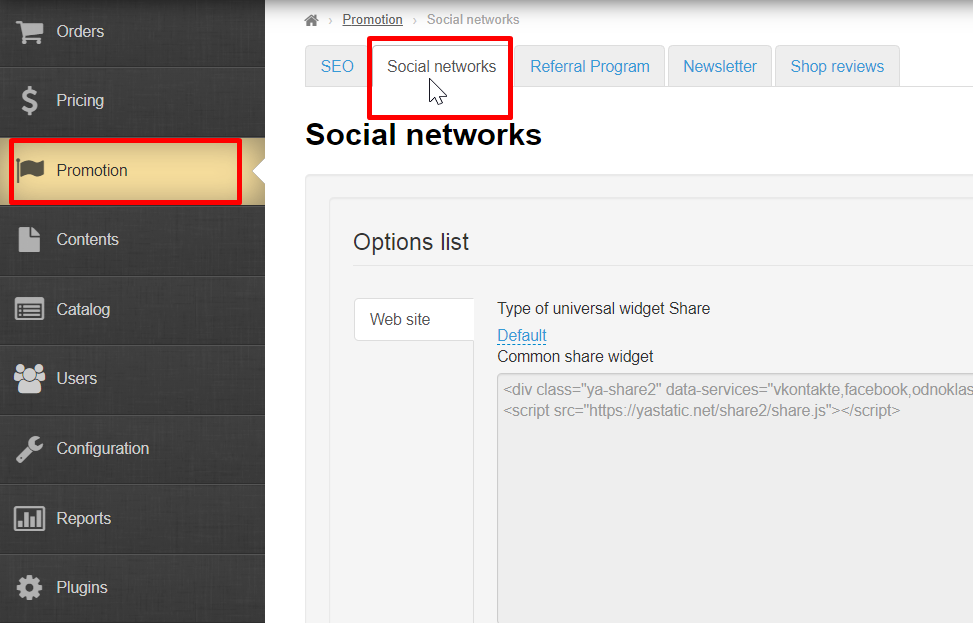
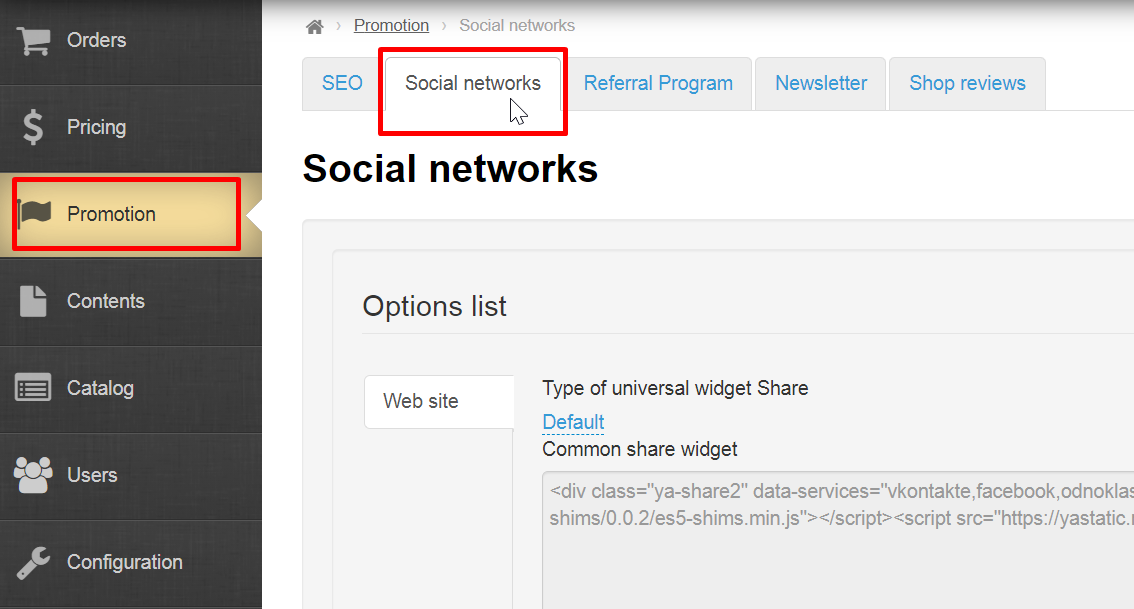
Location in admin panel: Promotion → Social networks
Where are social networks icons located in website design?
Location of icons (widgets) depends on selected website design. We will write separately what to do if you have your own design (customized one).
Using Elastic design theme example

Read “General” (Configuration → System → General) article how to select website design theme
Read “Design template” (Configuration → Website configuration → Design template) article how to edit website design theme
On all pages of website in the footer (at the very bottom)
Customer will click an icon and new window will open your social network page/group
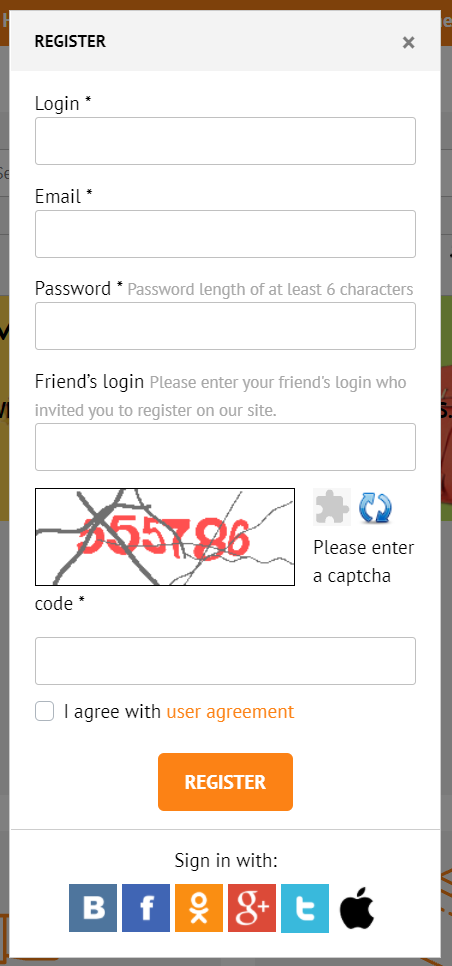
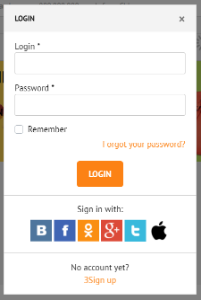
During registration and authorization
Customer can click social network "Sign in with" and skip the fields for authorization and registration
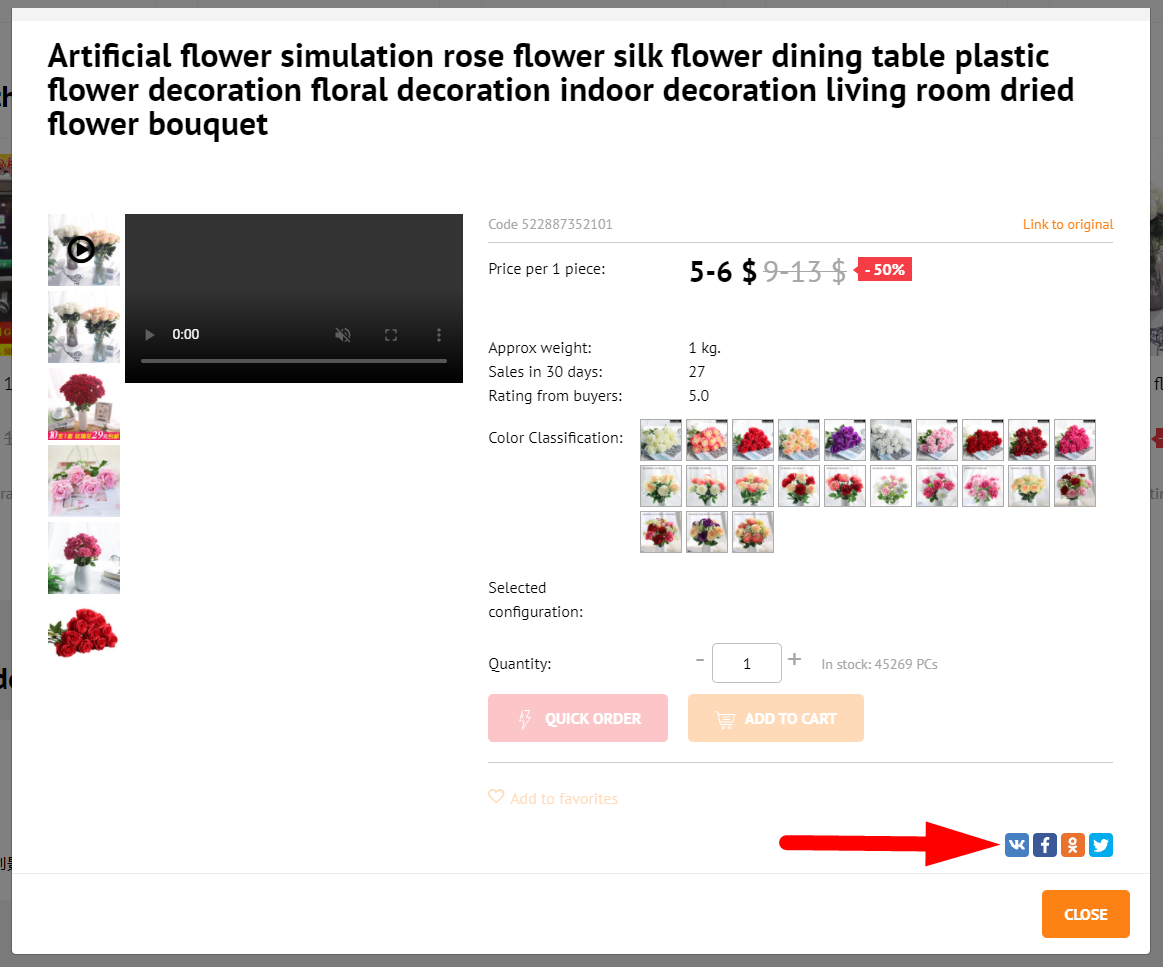
On product page
Customer can make repost of product page (icons are located after "Add to Basket" button)
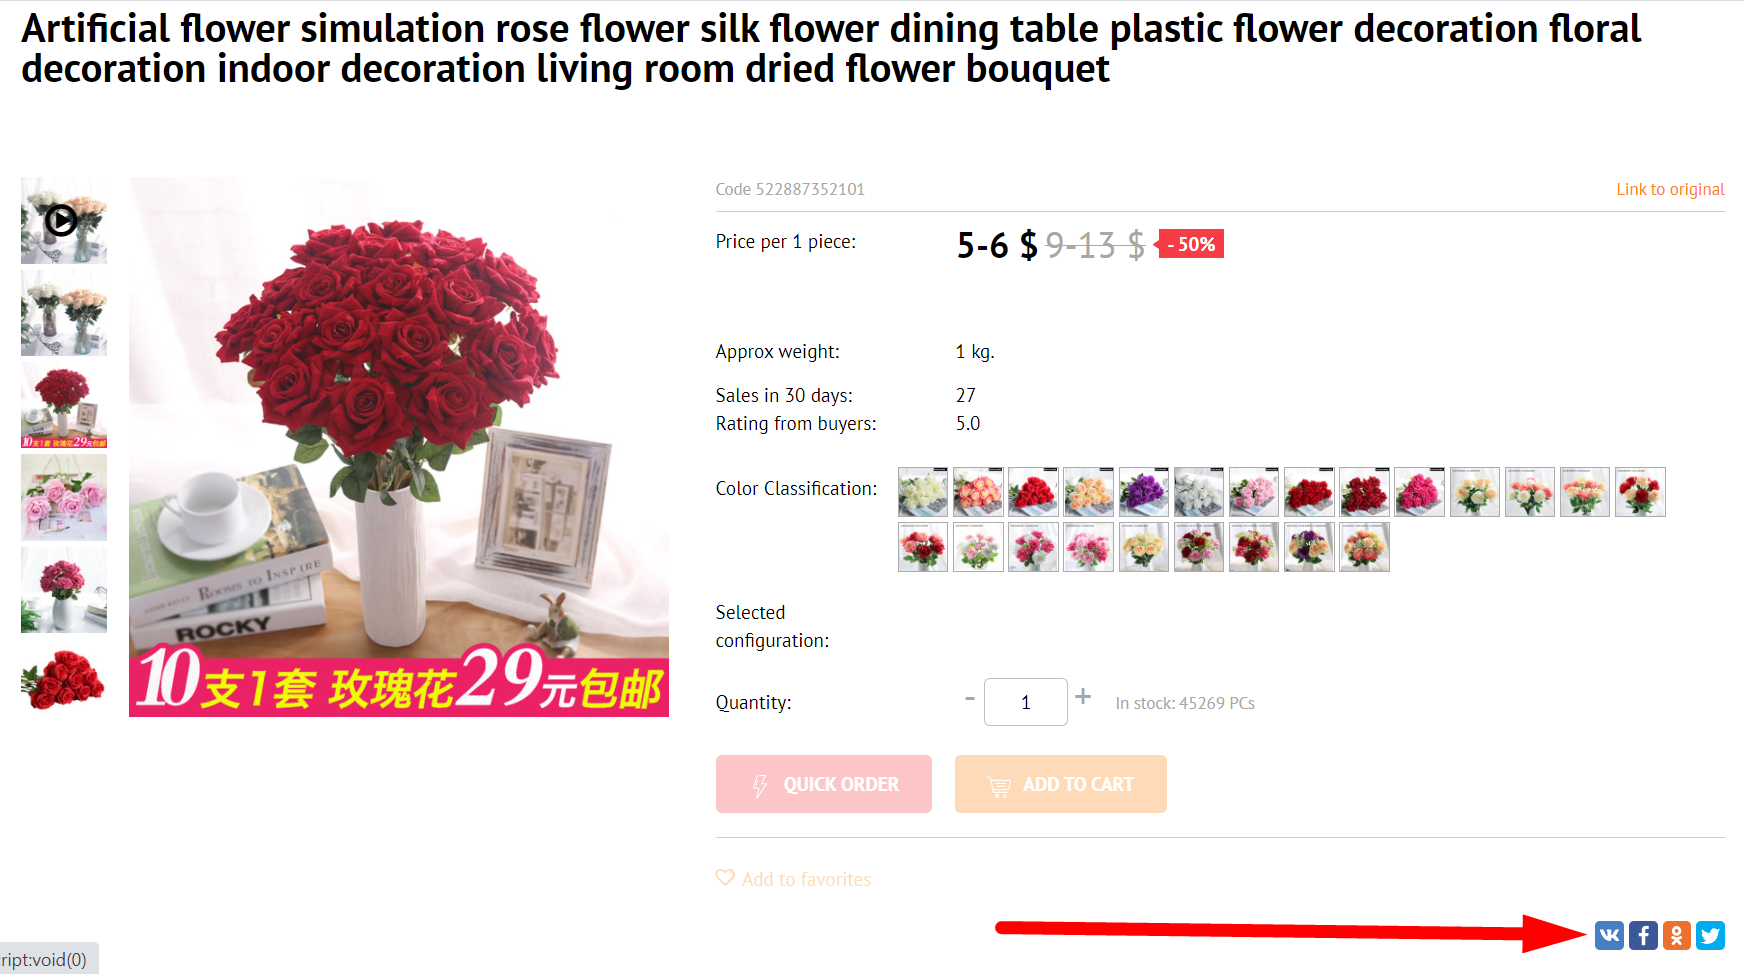
It also works for "Quick order"
Language version: different widgets for selected languages
It's possible to set own widgets for each language version of website.
Read how to set language version in “Multilingualism” article (Configuration → Languages → Multilingualism)
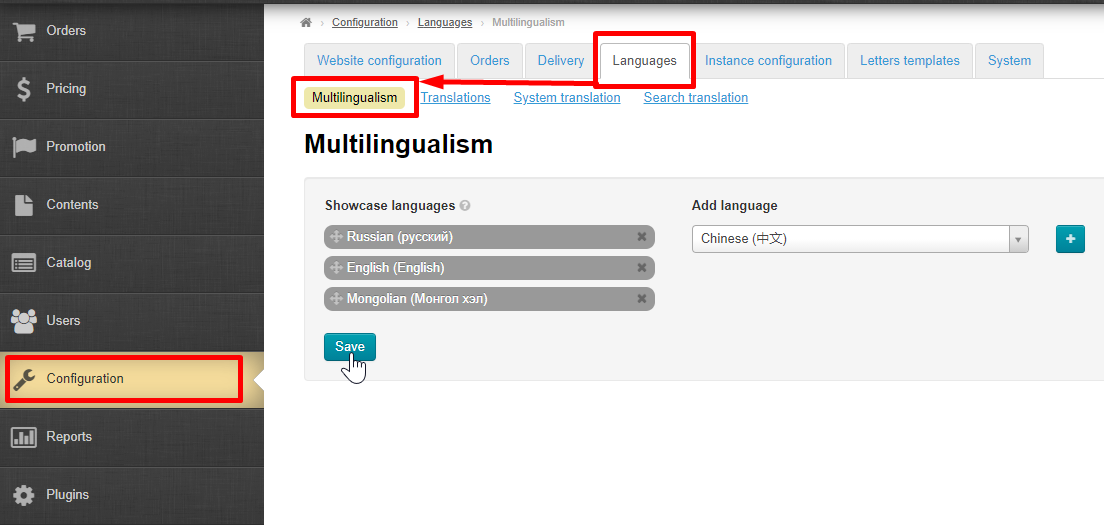
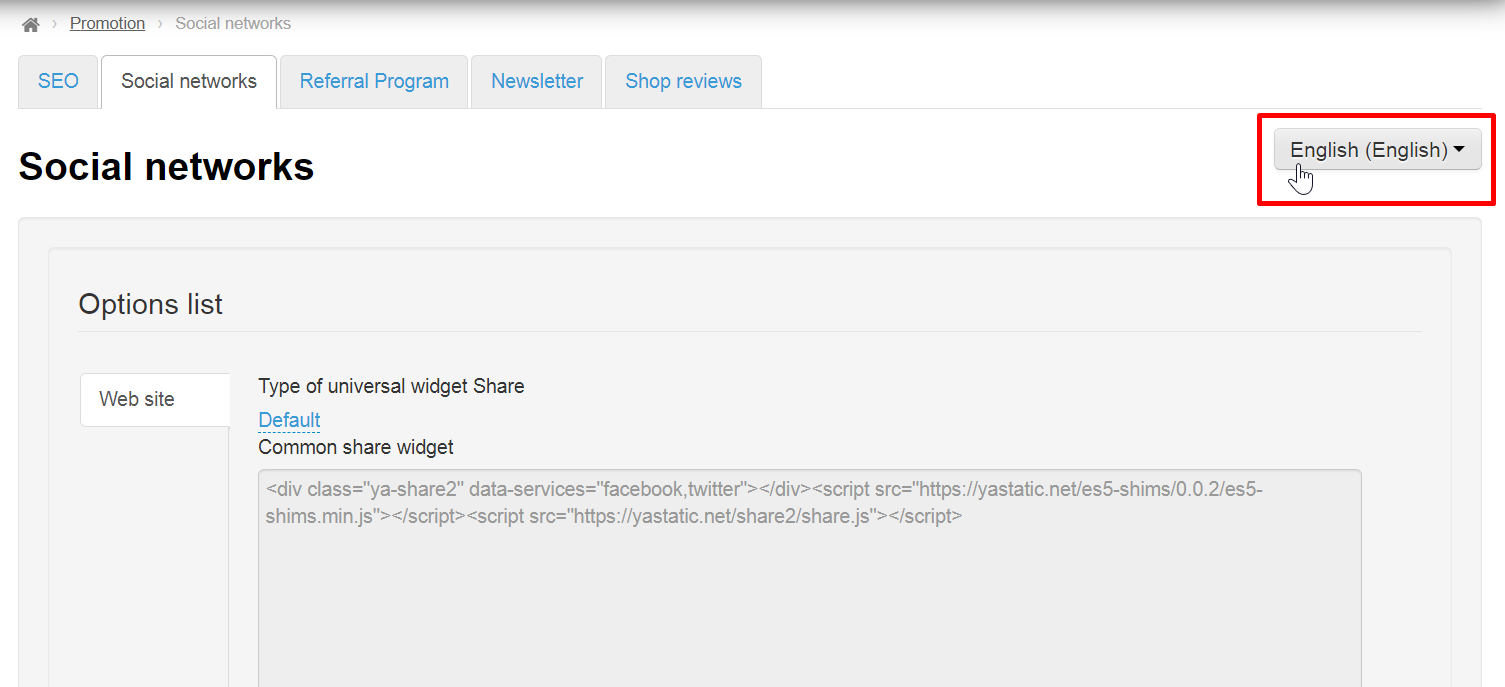
Open "Social networks" tab in "Promotions" section to select language version
A button with a list of available language versions will be on the right
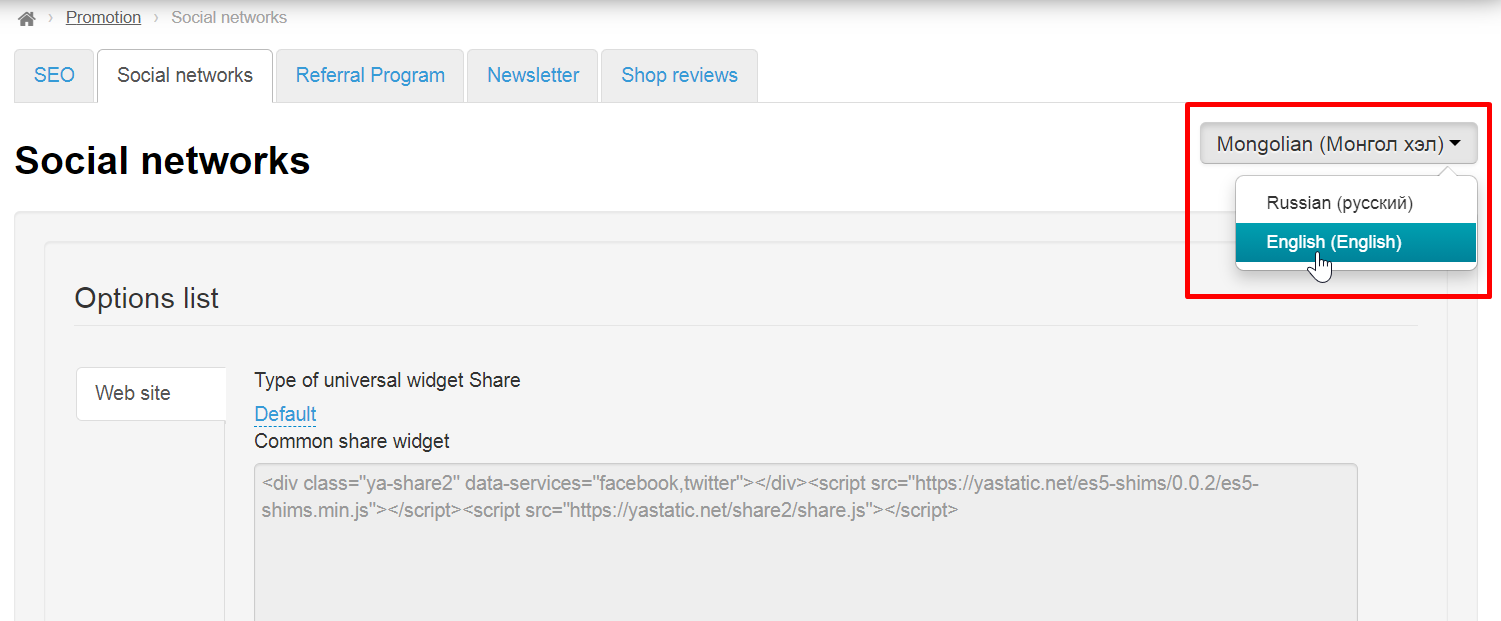
Select necessary language version from the list and set it according to instructions below
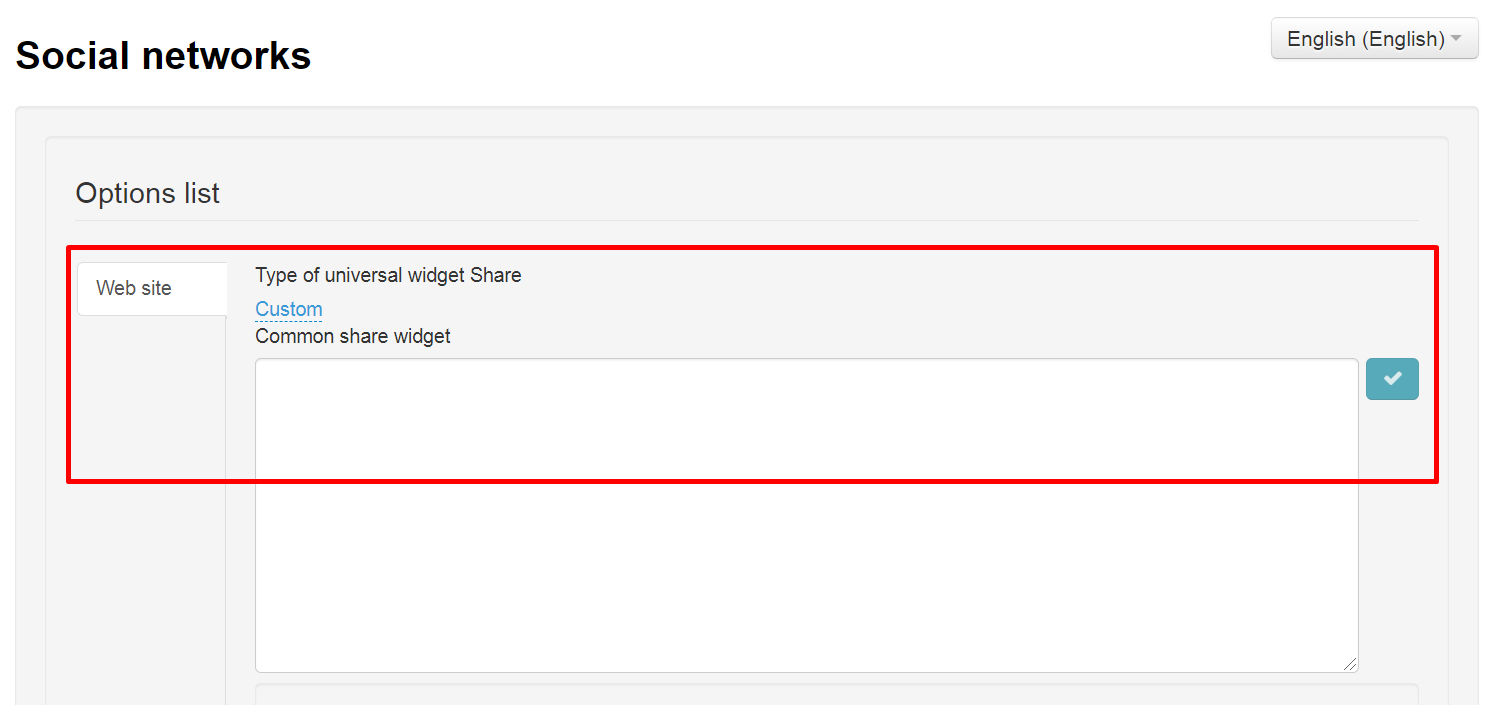
Set up by application type: if you need customization
Open "Social networks" tab in "Promotion" section to add social networks into customized website
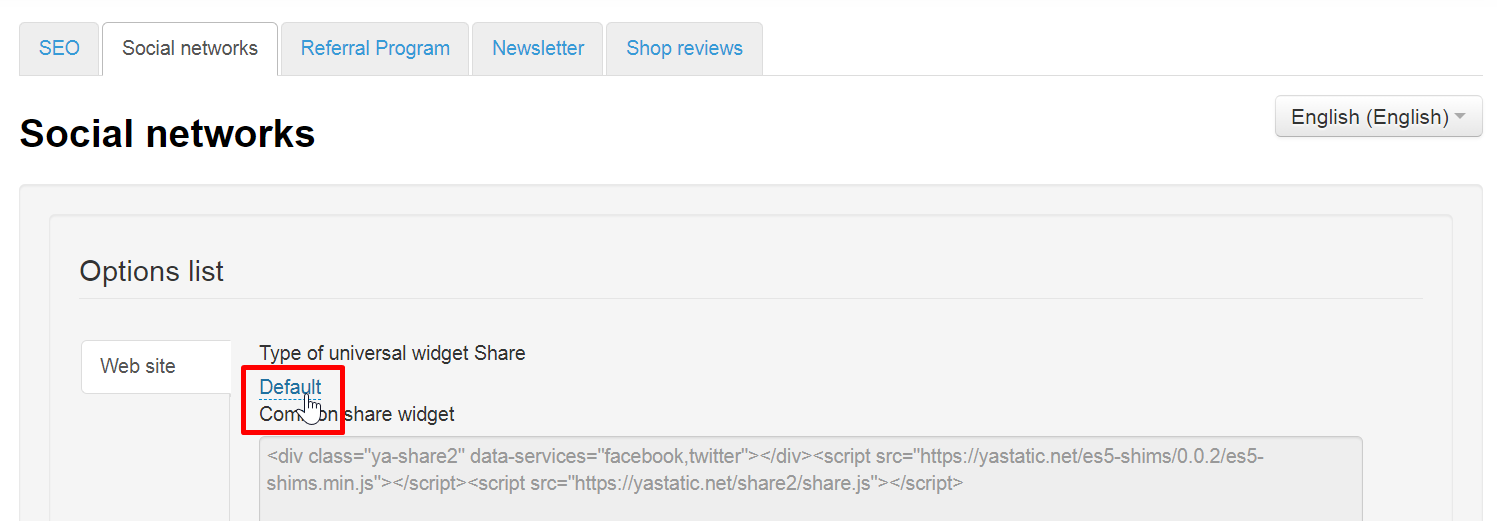
Select "Custom"
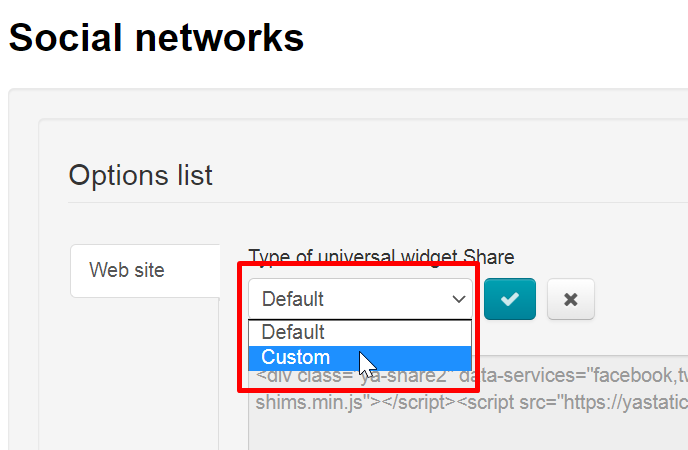
Click checkmark button to save

A window for writing code has become active and now you can use your code for social netwoks widgets
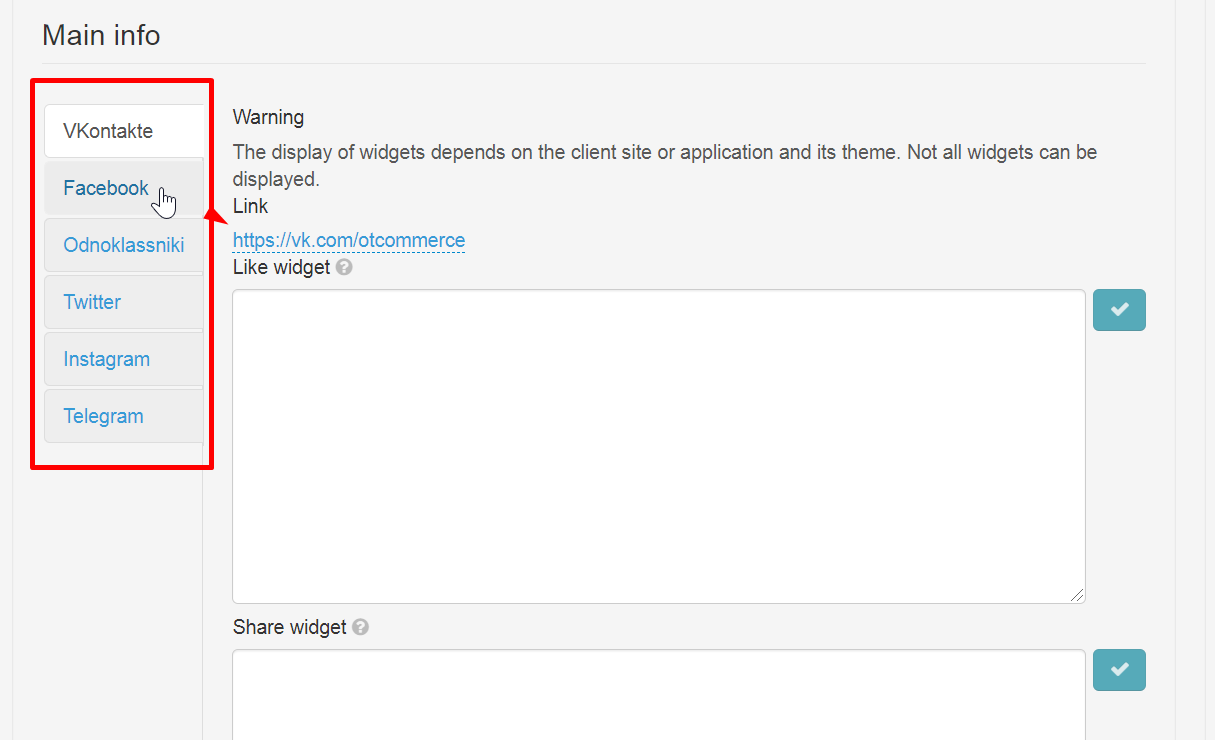
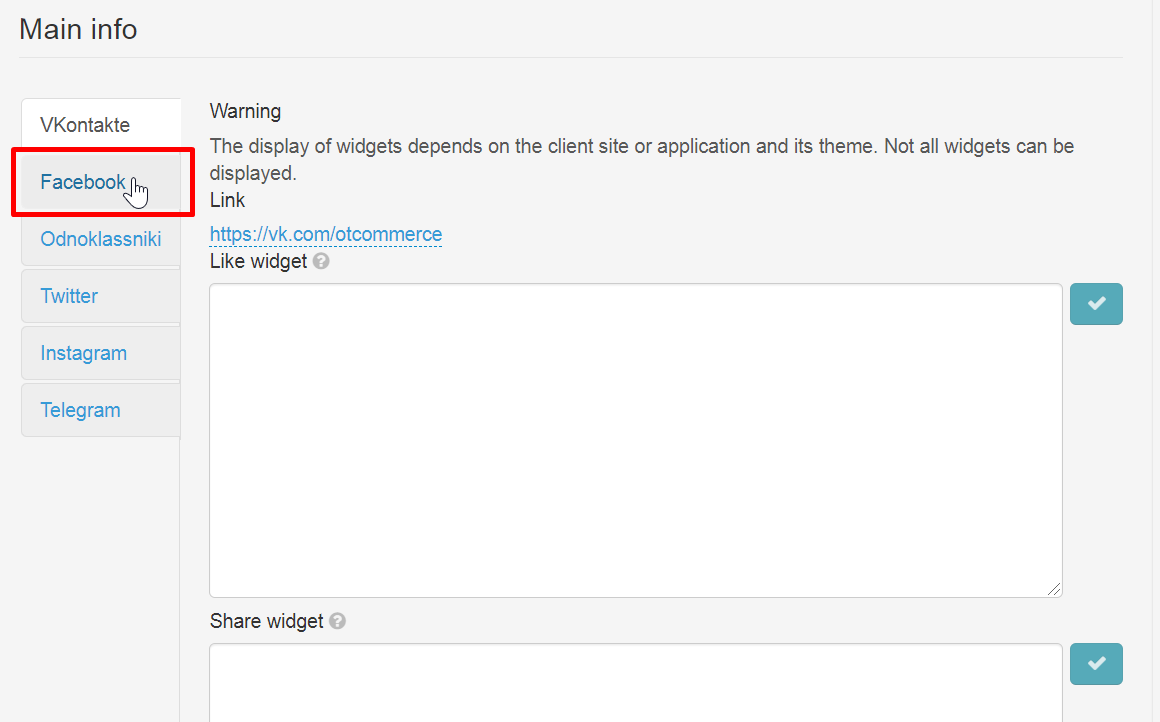
Set up widgets for all pages of the site
Open "Social networks" tab in "Promotion" section to set up widgets
Each social network has several options for interaction:
- Open
- Like
- Share
- Subscribe
Widgets display depends on client site or application, as well as its design theme. Some widgets can't be displayed
There are 4 blocks to fill on the tab of each available social network
You can get all widgets on social media sites or upon request in Google or Yandex: "Twitter widget", "Facebook widget", etc.
You can click the links from the table for convenience:
| Icon | Social network | Link to set up widget |
|---|---|---|
Share https://help.twitter.com/ru/using-twitter/add-twitter-share-button Buttons https://help.twitter.com/ru/using-twitter/twitter-buttons | ||
| https://developers.google.com/identity/sign-in/android/sign-in-identity | ||
| https://developers.facebook.com/docs/plugins (all widgets are located in the menu on the left) | ||
| Apple | https://developer.apple.com/sign-in-with-apple/ |
Click the title of necessary social network on the left to set it up
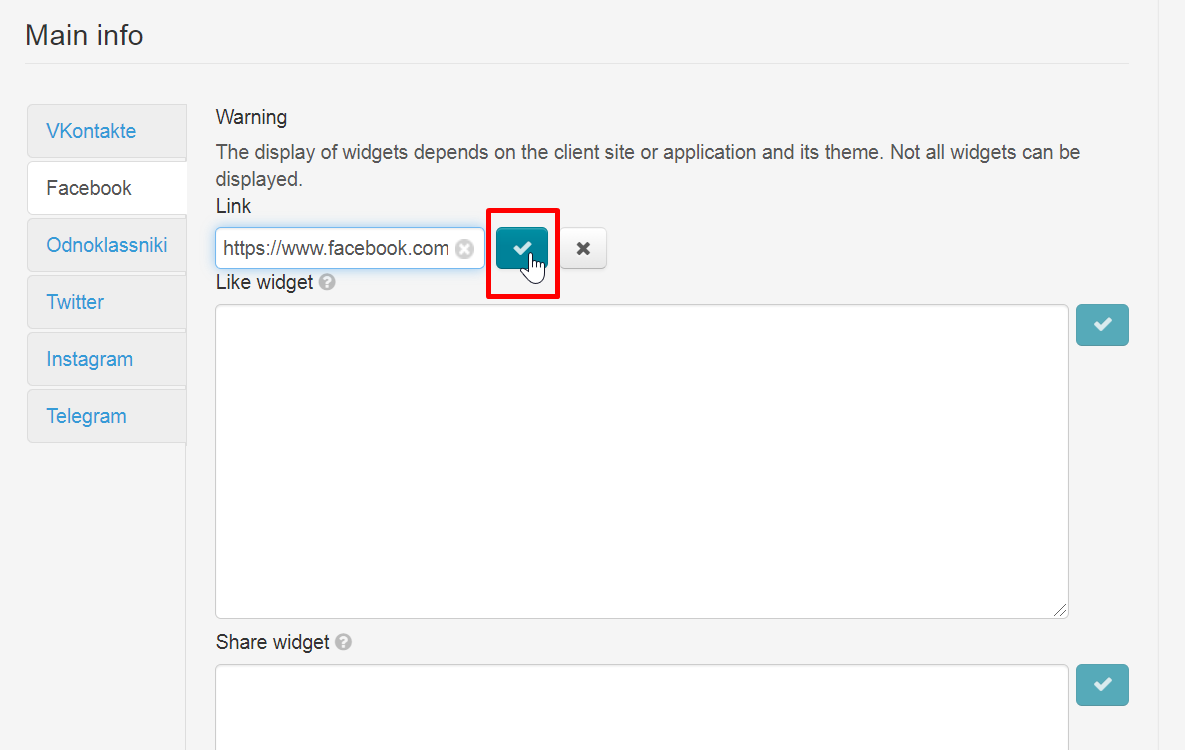
Paste link to your group or page under "Link"
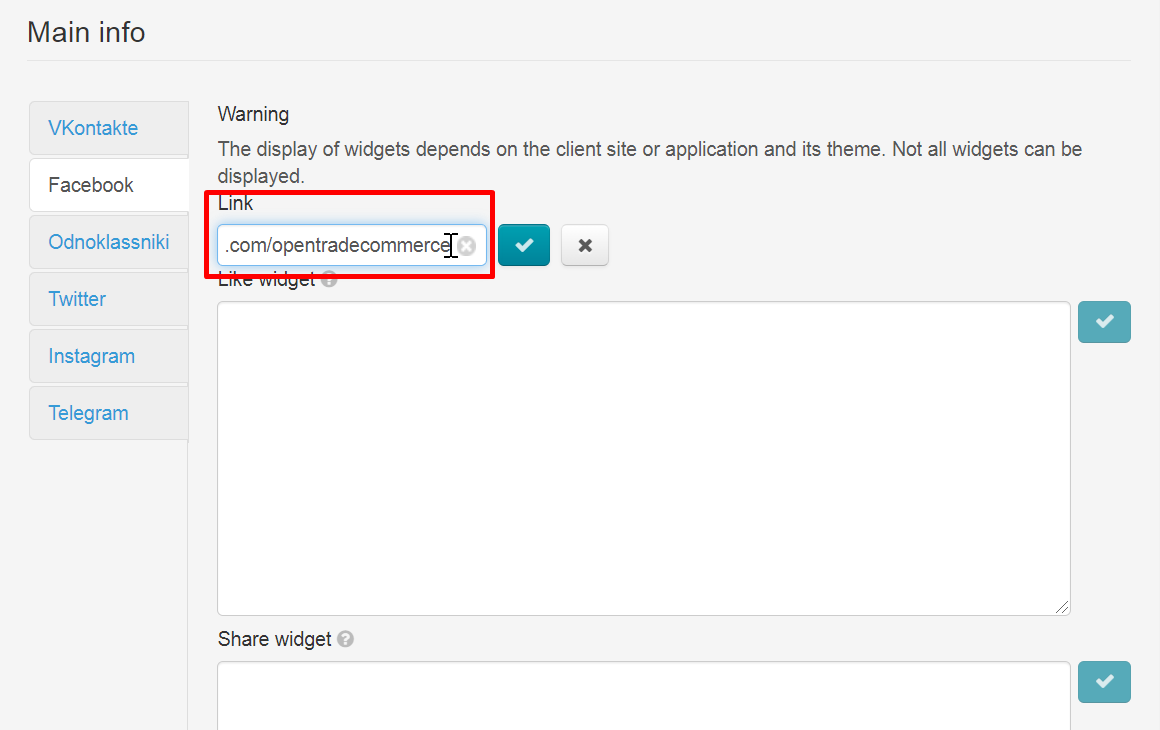
Click checkmark button to save
Next add corresponding code (all windows are signed) in each window of the widget
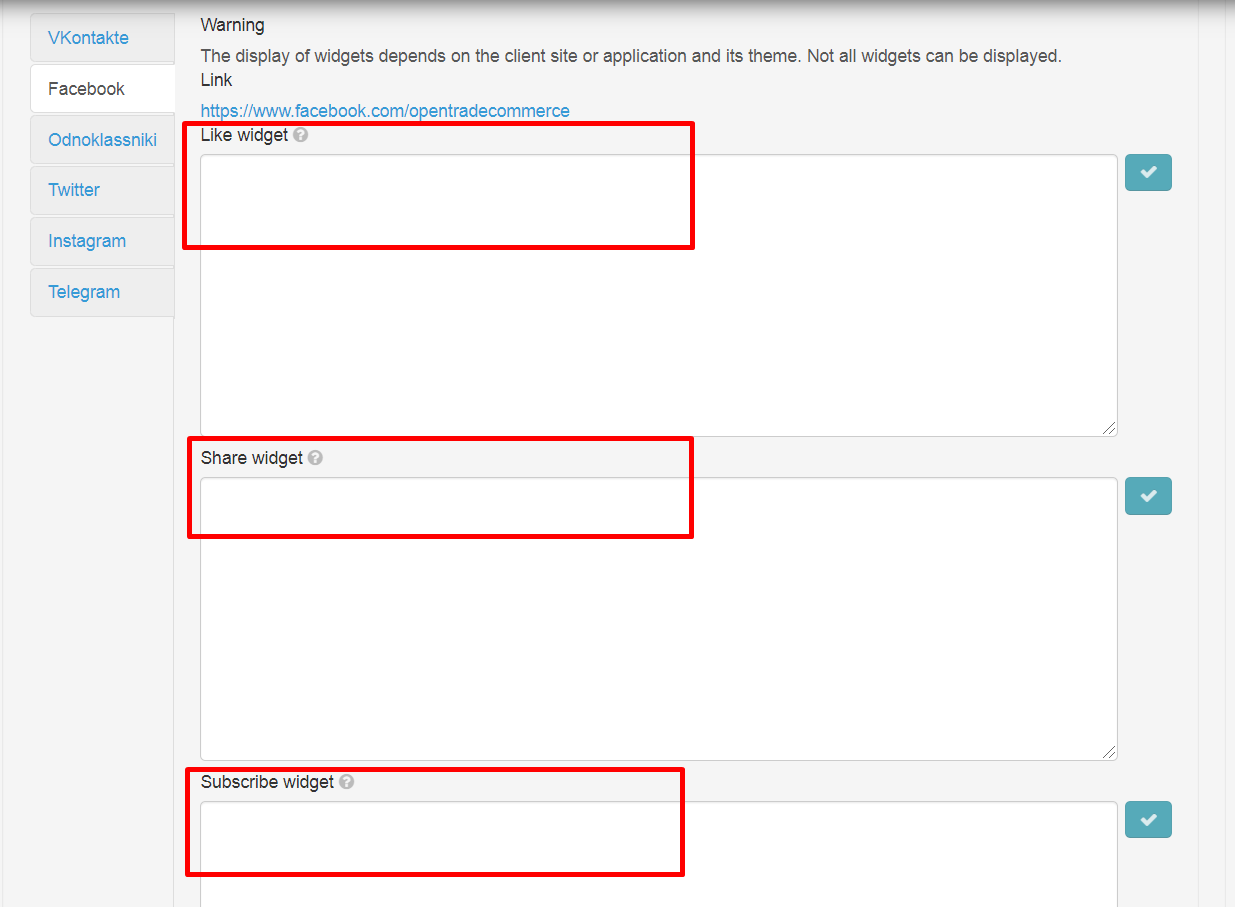
Click checkmark button after pasting the code to save
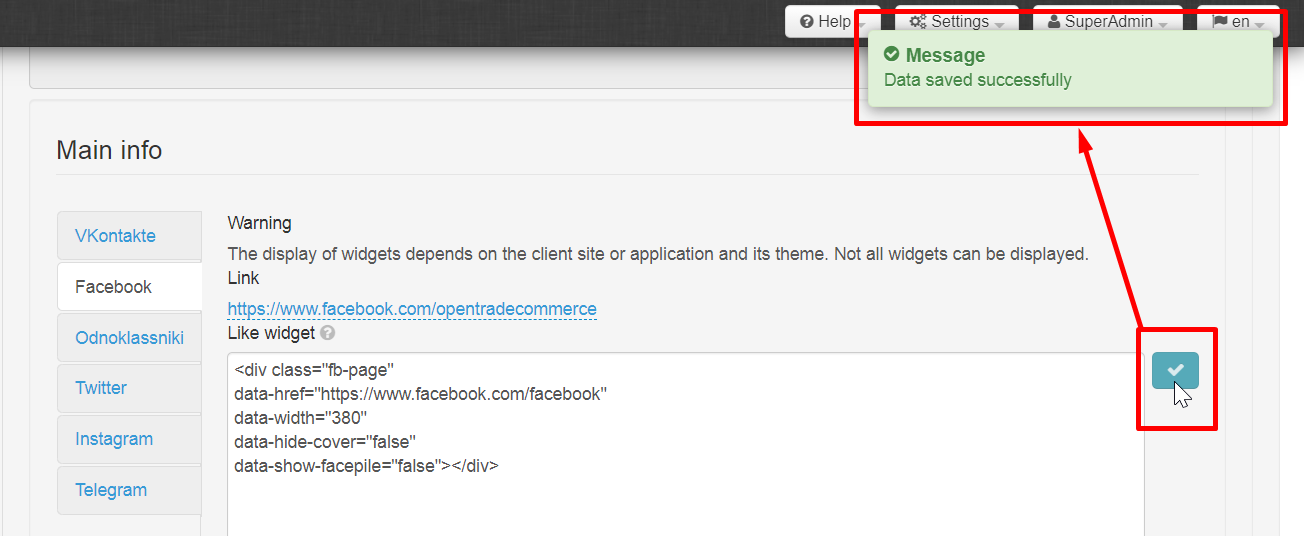
Thus, all necessary social networks are configured.
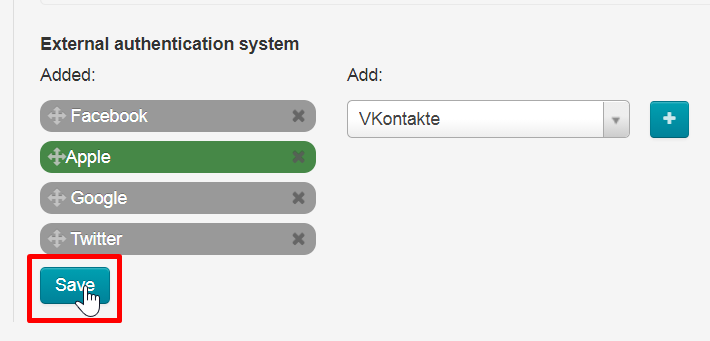
Autentification system: select social networks for users
Open "Social networks" tab in "Promotion" section to set up authorization and registration using widgets
Scroll the page to the bottom to "External authentication system" block
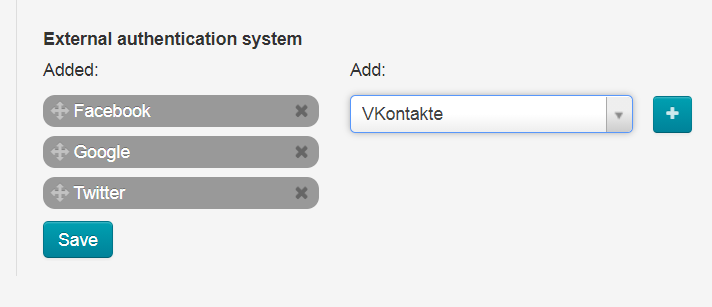
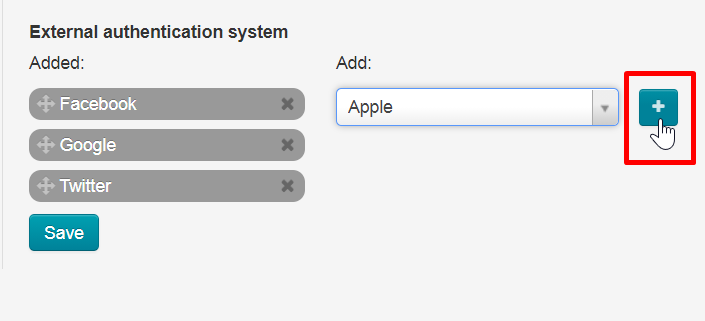
Select necessary social networks from the drop-down list on the right
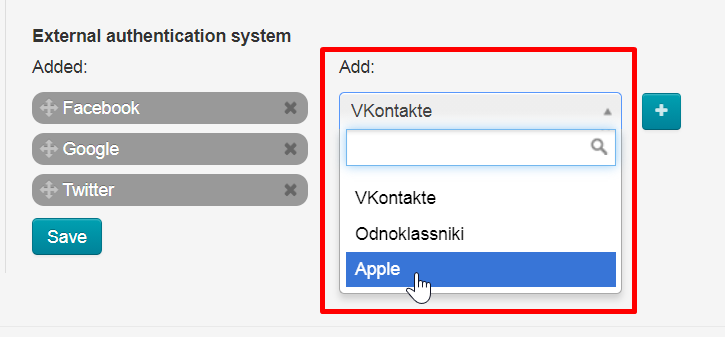
Click a cross button to add
Selected social networks will move to the list on the left
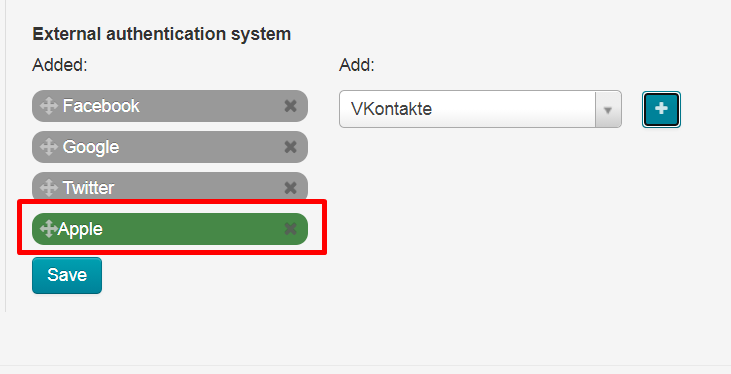
You can swap social networks order
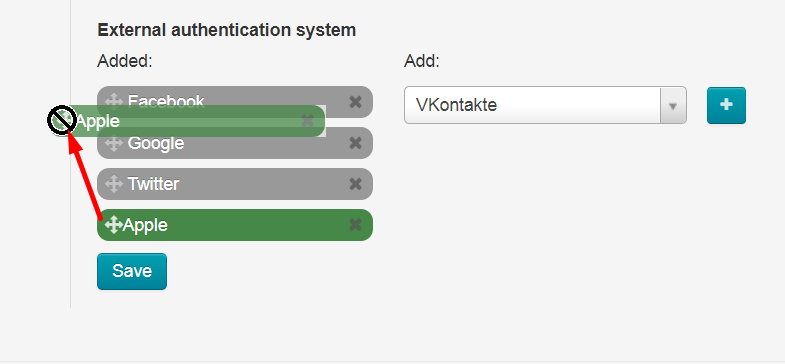
Hold down move icon (cross with arrows) next to the social network on the left
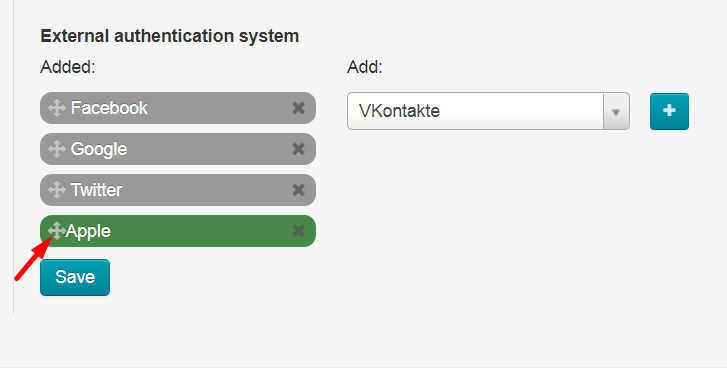
Make necessary order
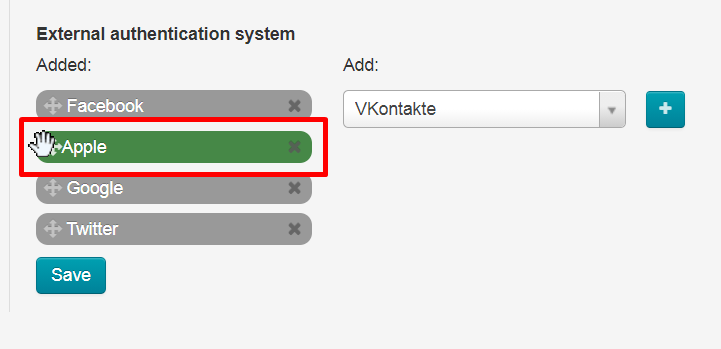
Save all changes