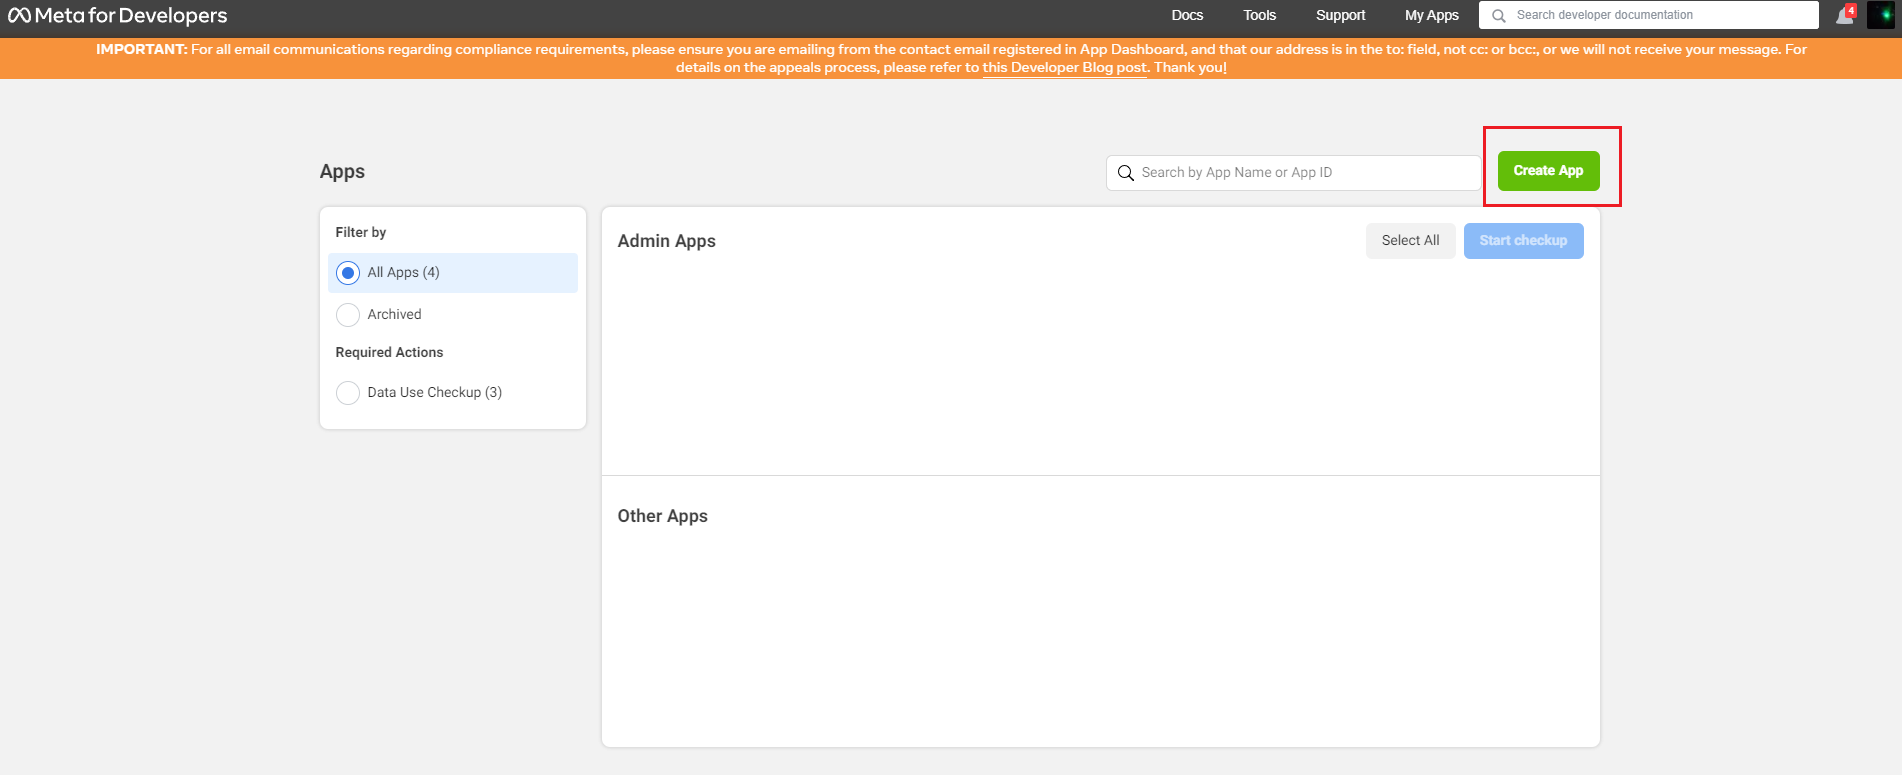
Use the link https://developers.facebook.com/apps/?show_reminder=true to set up and configure application.
Follow the link above to create application, and then click "Create App" which will open the page for creating an application.
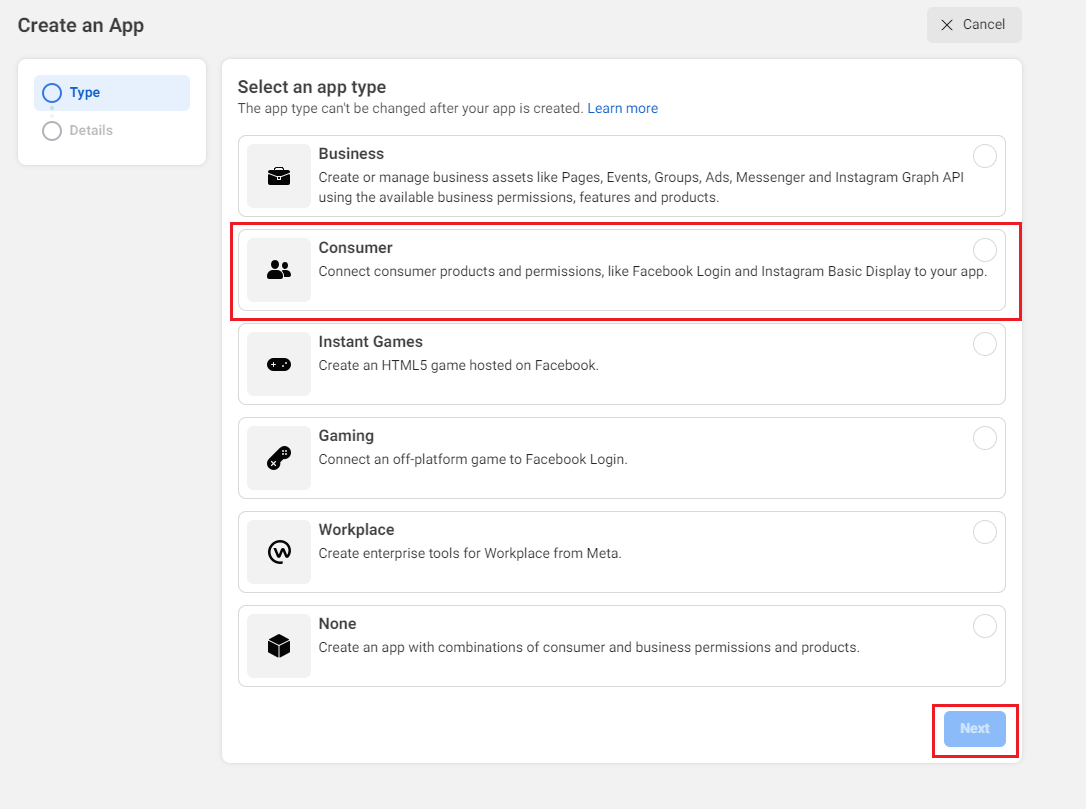
A new page will open where you should select "Consumer" in app type and click "Next".
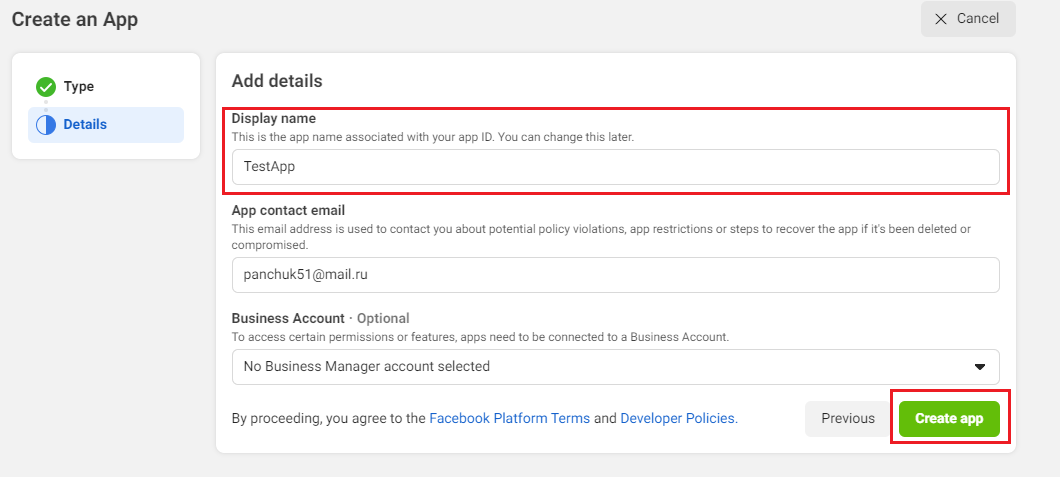
Enter application "Display name" in details window. This name will be displayed at the entrance, then click "Create app".
Application was set up. It is necessary to add "Facebook Login" product which is responsible for entry.
Products list will appear on the screen if you do this immediately after set up. You need to find "Facebook Login" on it and click "Set up". You can get products list by clicking "Add Product" in the left menu шf this is done later. The next steps are similar.
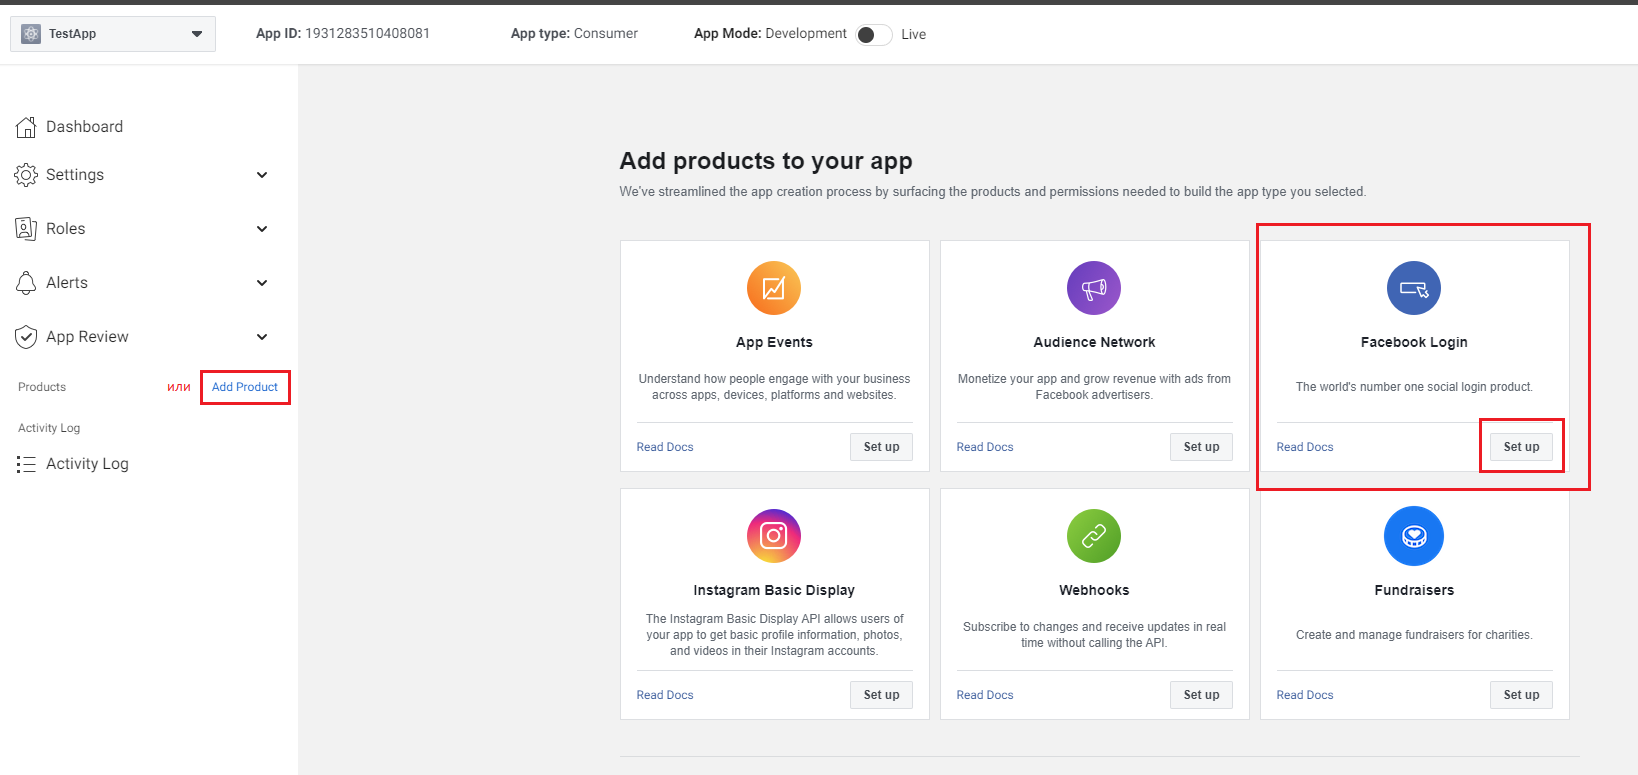
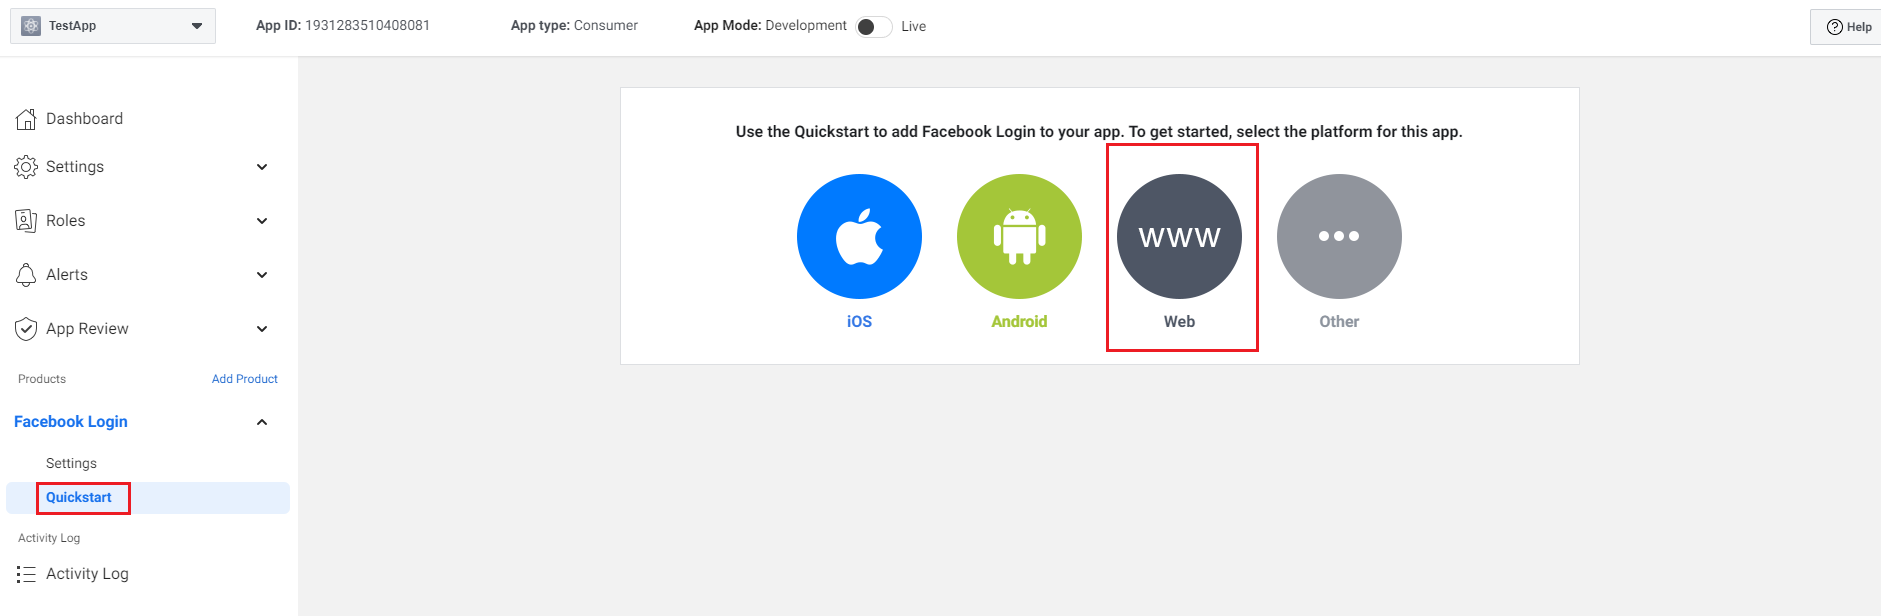
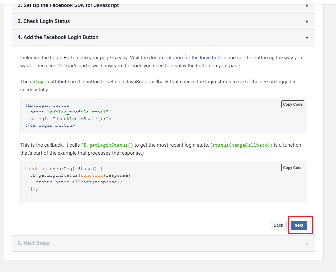
Click "Set up". Use the "Quickstart" to add "Facebook Login" to your app. Select "Web" platform first to get started.
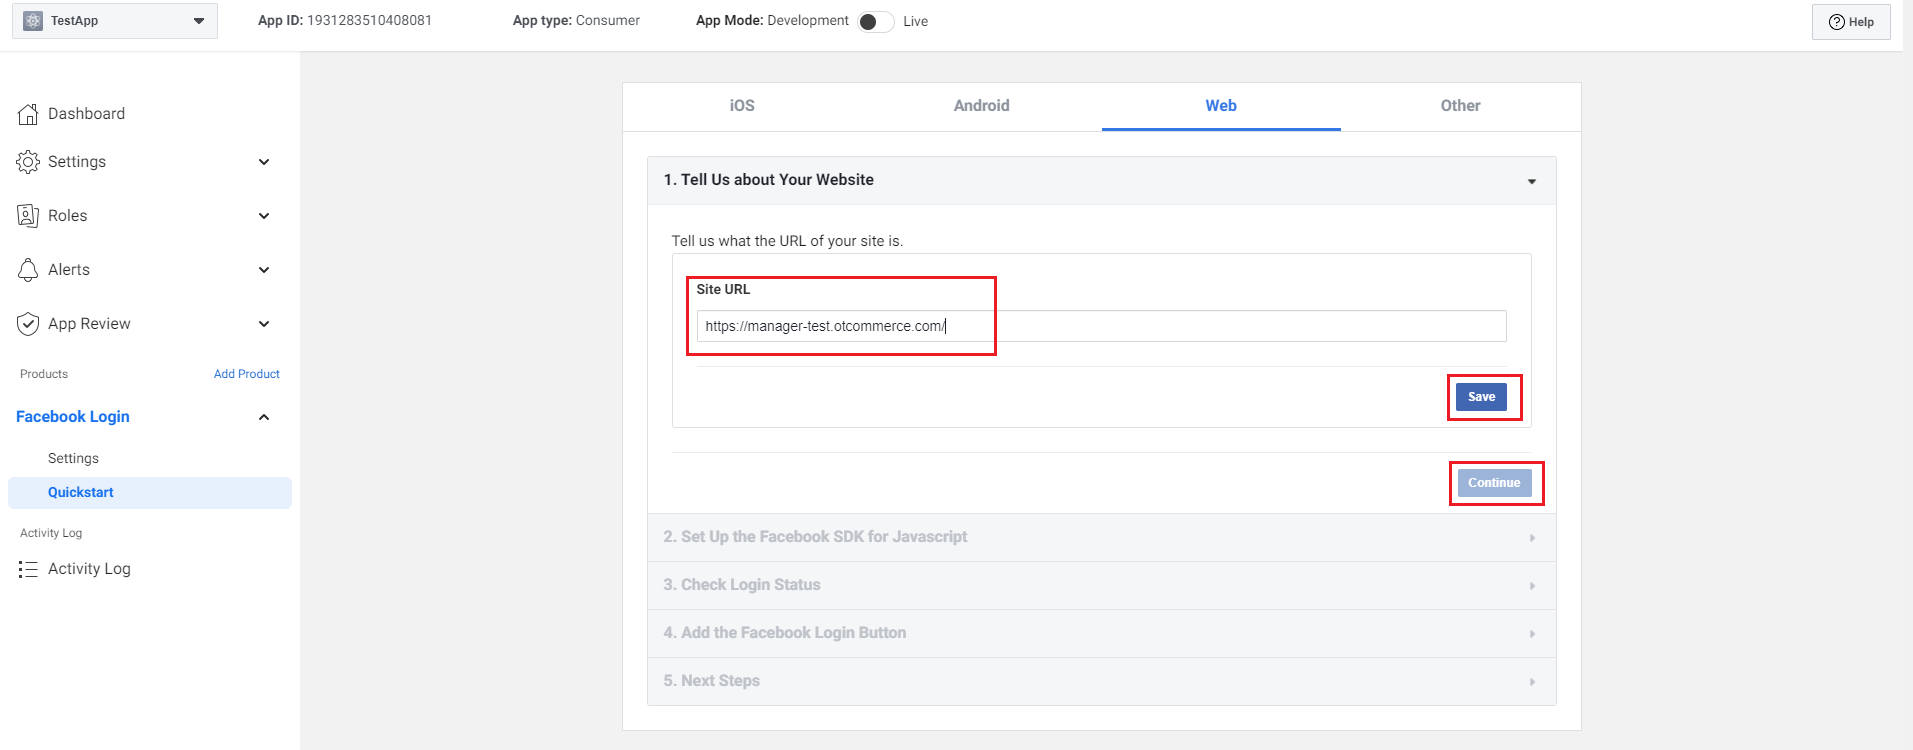
Enter site URL and click "Save" and "Continue".
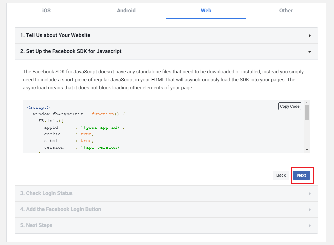
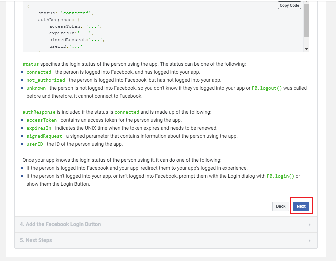
Click "Next" in all the following tabs. They are just for information.
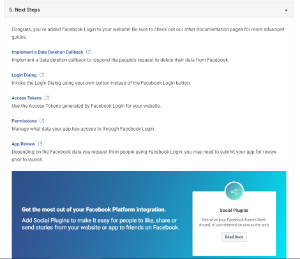
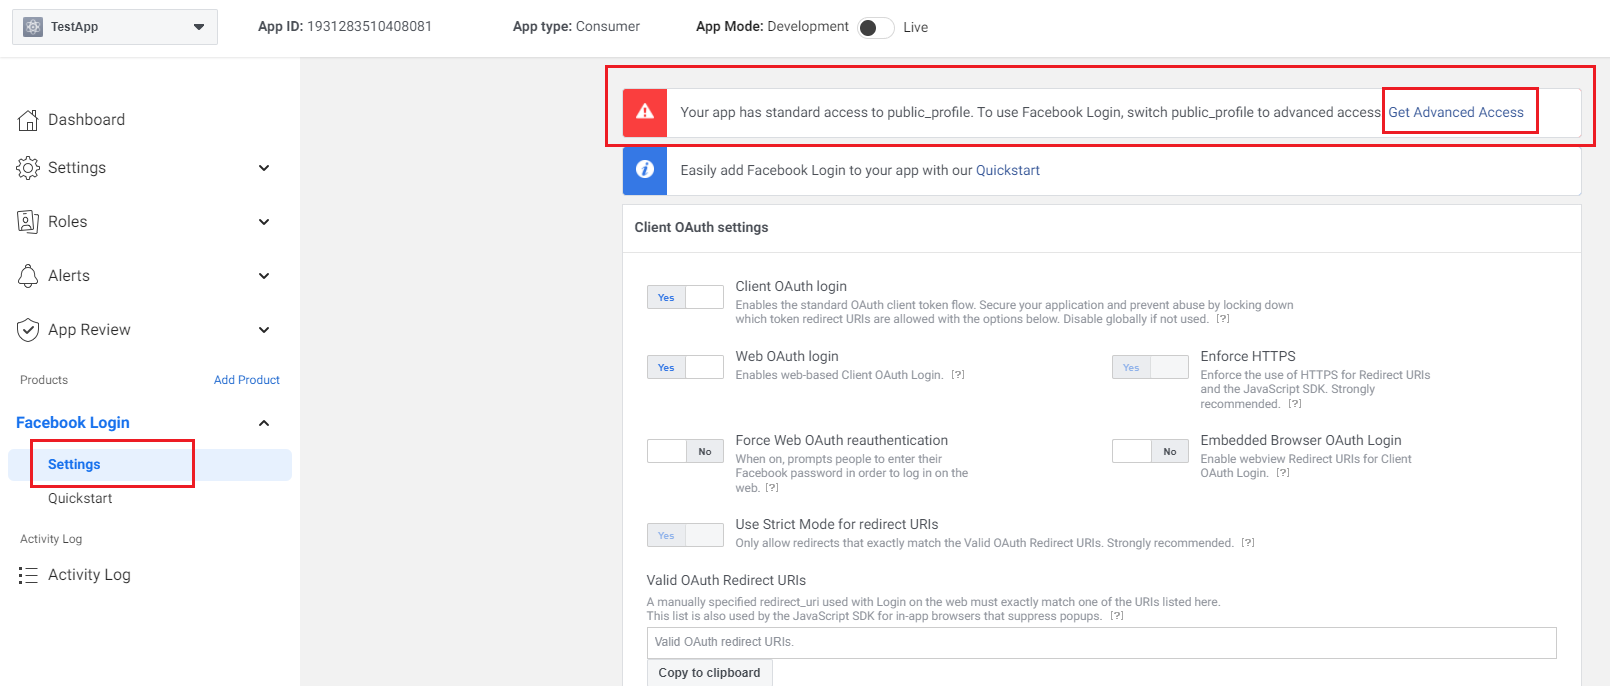
Go to "Settings" item of "Facebook Login" menu located on the left after studying information in step 5. In general, you can go to "Settings" by entering website URL after opening "Facebook Login" in the left menu.
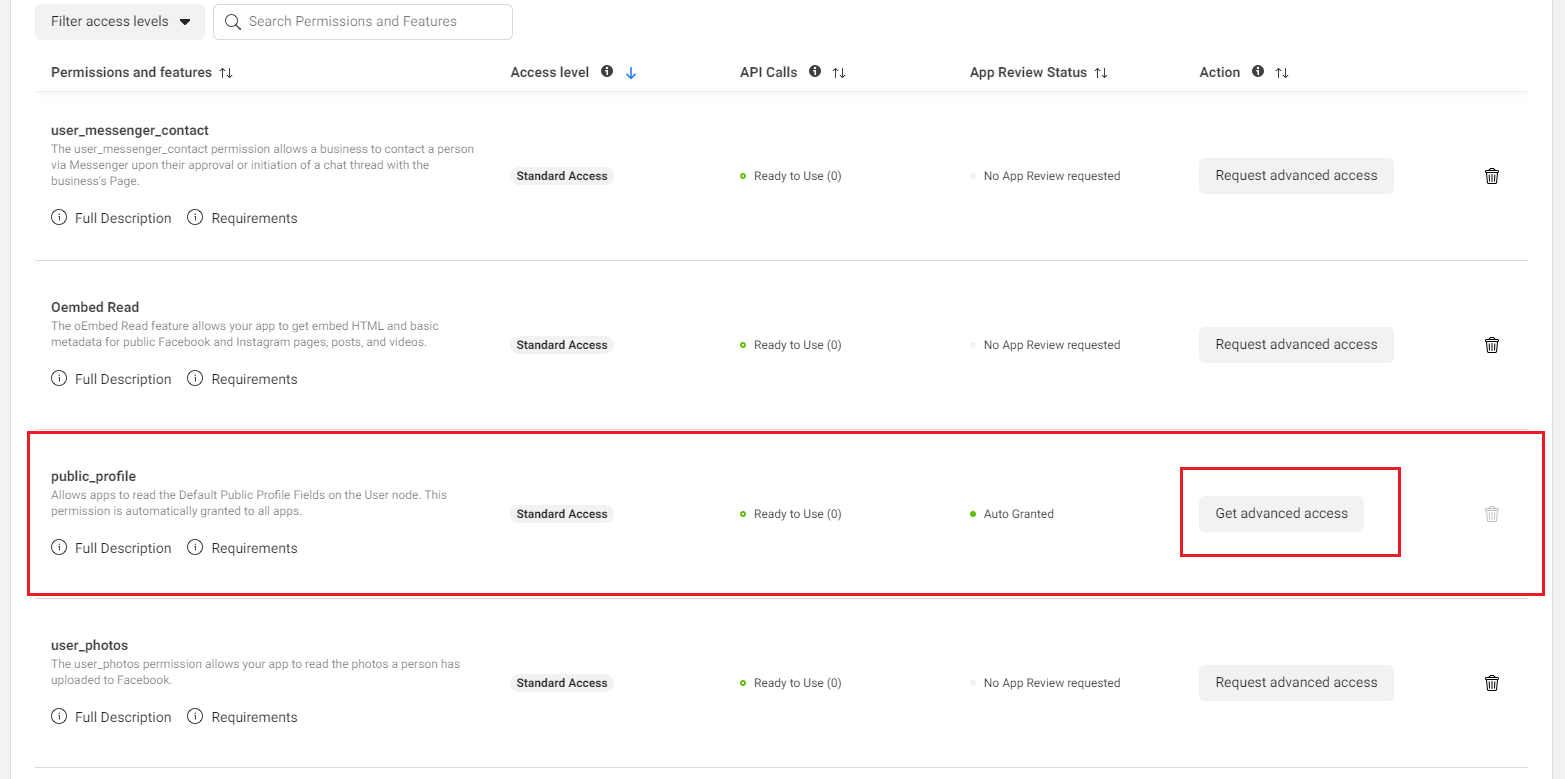
You can see a red warning in settings. Click "Get Advanced Access" link. Permissions window will open after that.
Find "public_profile" permission and click "Get advanced access" thus increasing permission level.
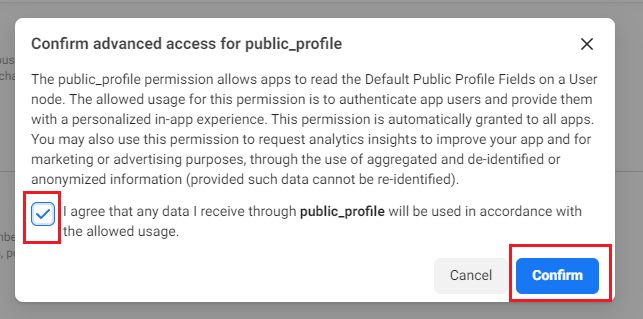
Check the box and click "Confirm".
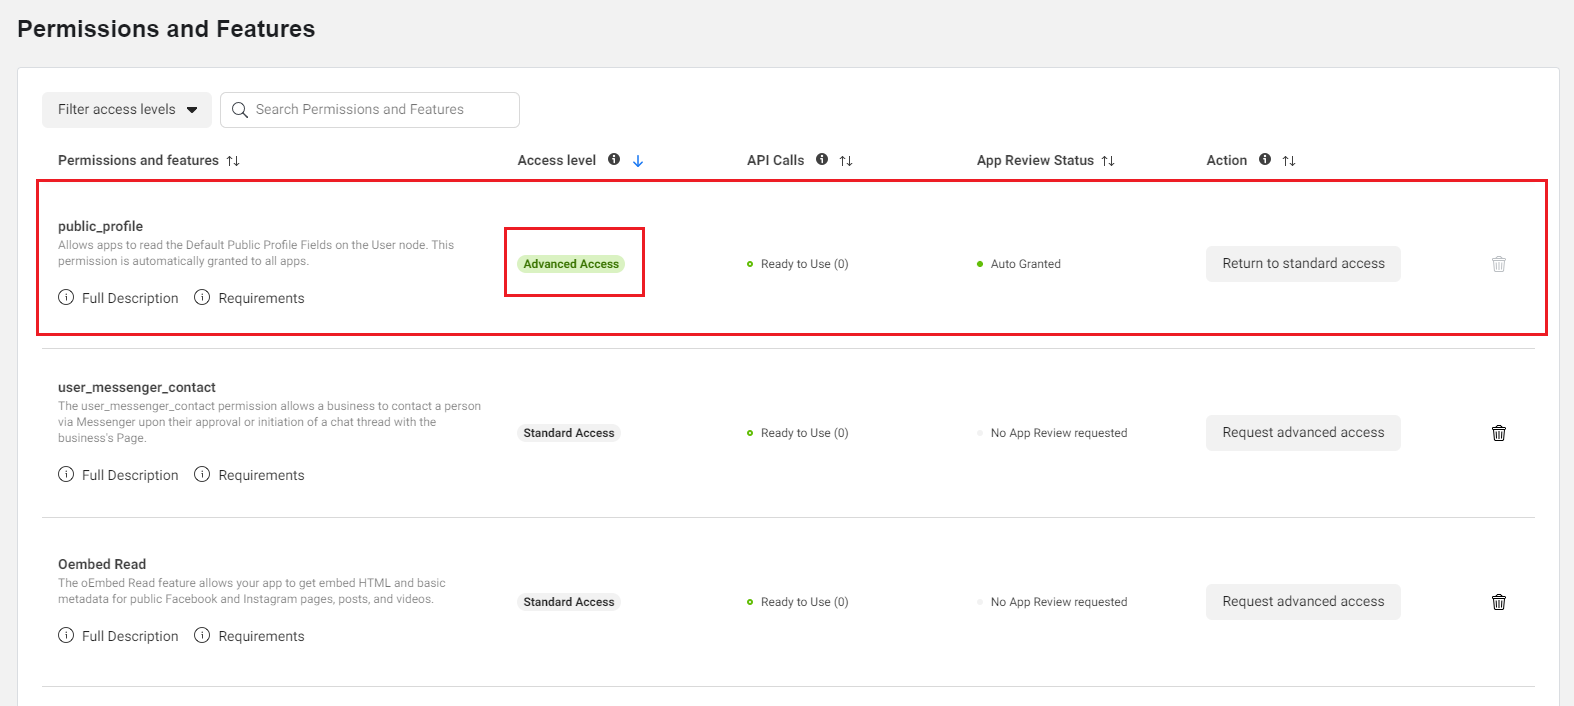
Then you can see "Advanced Access" permission in access level graph.
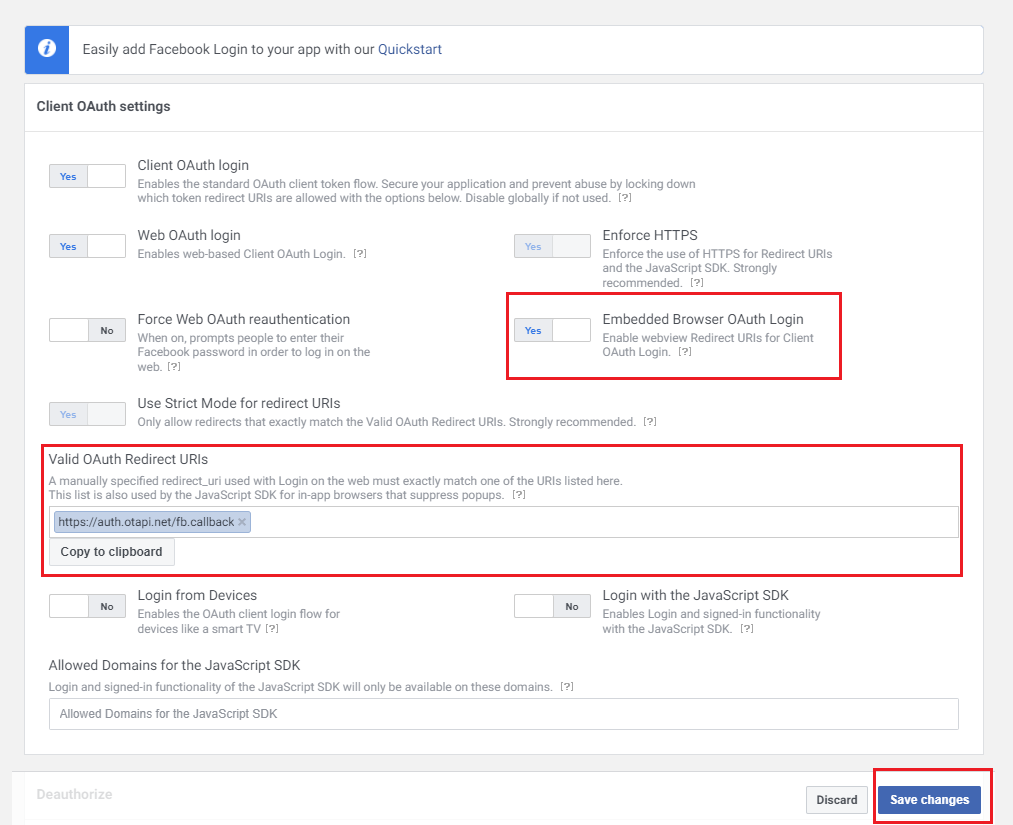
Return to "Settings" item of "Facebook Login" menu located on the left. Change the setting for "Embedded Browser OAuth Login", add redirect URL - "https://[agent address]/plugin/request/RedirectAuthOtapi/fb.callback" in "Valid OAuth Redirect URIs" and click "Save changes".
Go to general settings. Select "Settings" -> "Basic" in the left menu.
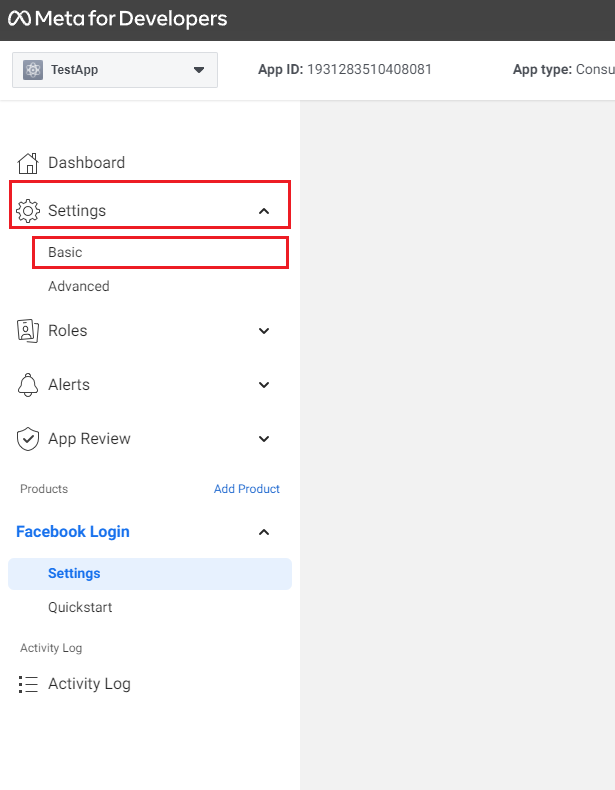
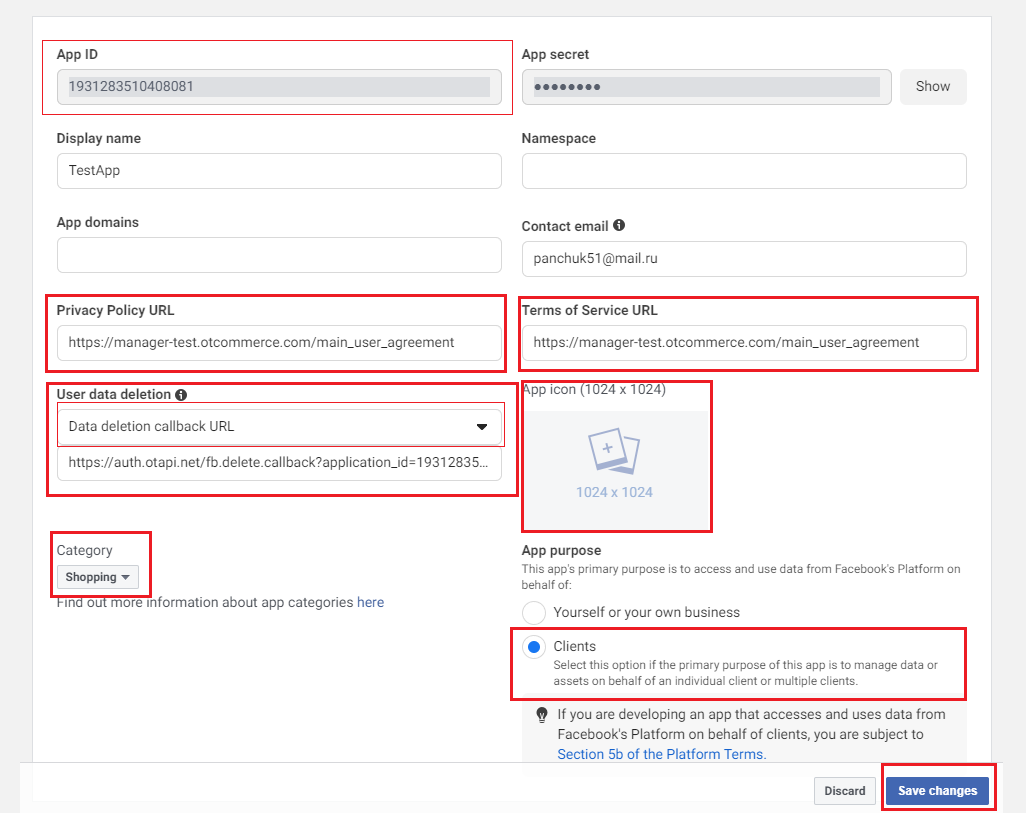
Enter necessary data: Privacy Policy URL, Terms of Service URL, App icon.
Select "Shopping" for "Category" and "Clients" for "App purpose".
Select "Data deletion callback URL" in "User data deletion" first, then enter https://[agent address]/plugin/request/RedirectAuthOtapi/fb.delete.callback?application_id=[AppID], where App ID is taken above.
Click "Save changes".
Note: sometimes this link crashes and a red exclamation mark appears on top, you just need to fill in this field again.
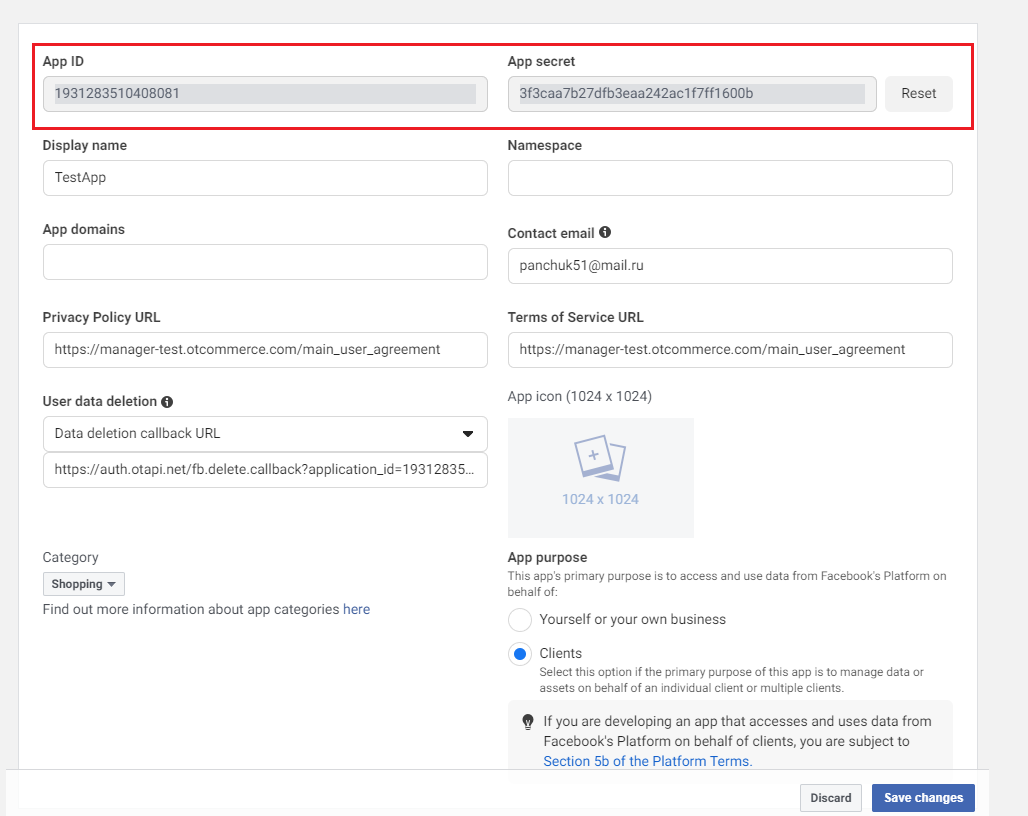
You will need App ID and App secret (you can see it by clicking "Show" next to it) for settings in admin panel.
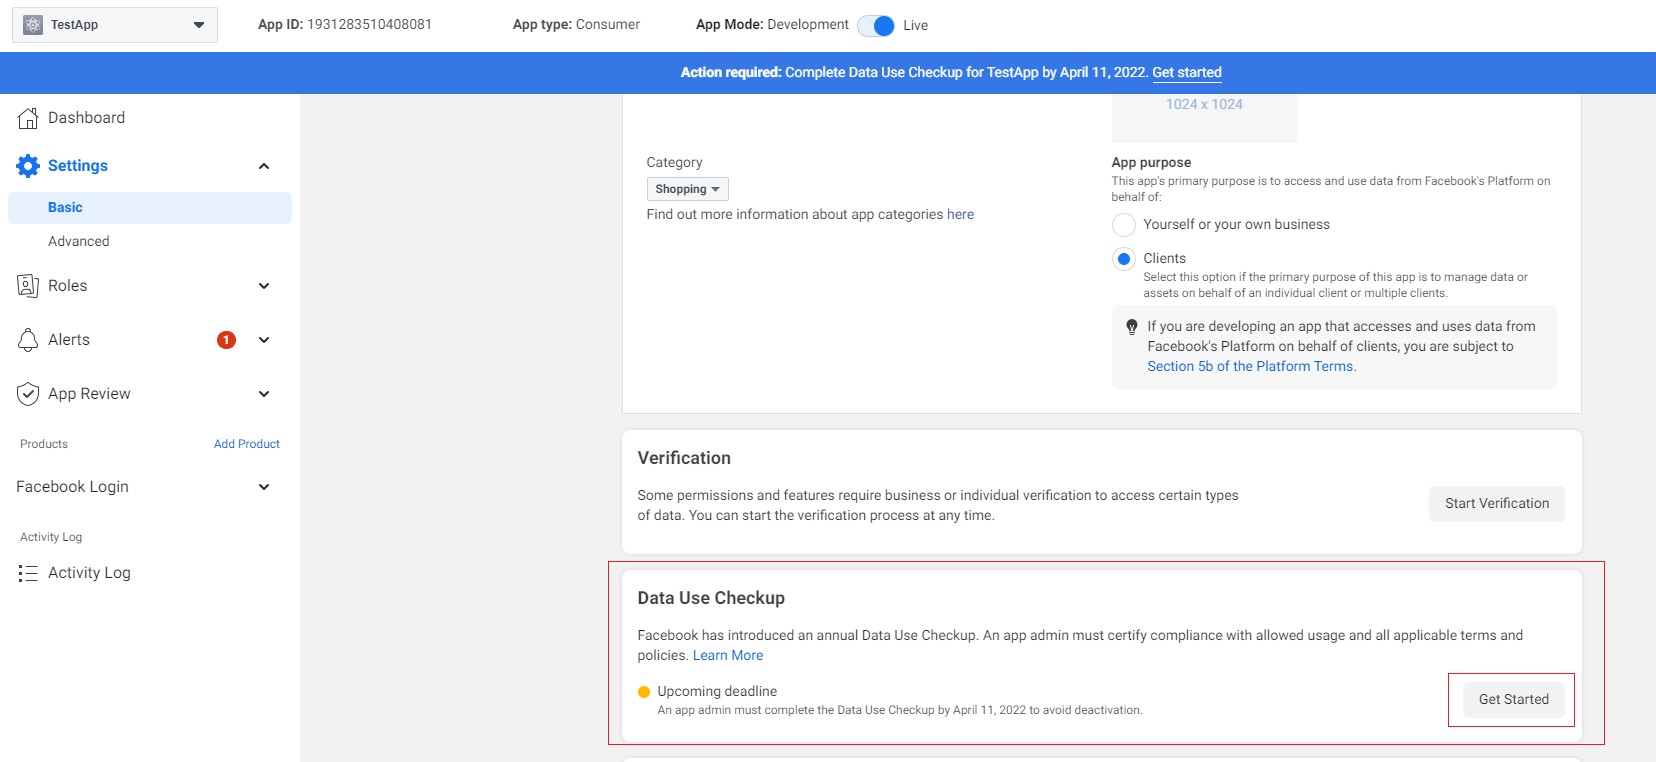
An important step: application is created in "Development" developer mode. It must be transferred to "Live" mode after making all the settings. This can be done in top menu.


Data use checkup
Verification is available after releasing application from test to "Live" mode. It may become available after some time
You need to start checking first. You can start this check in many ways.
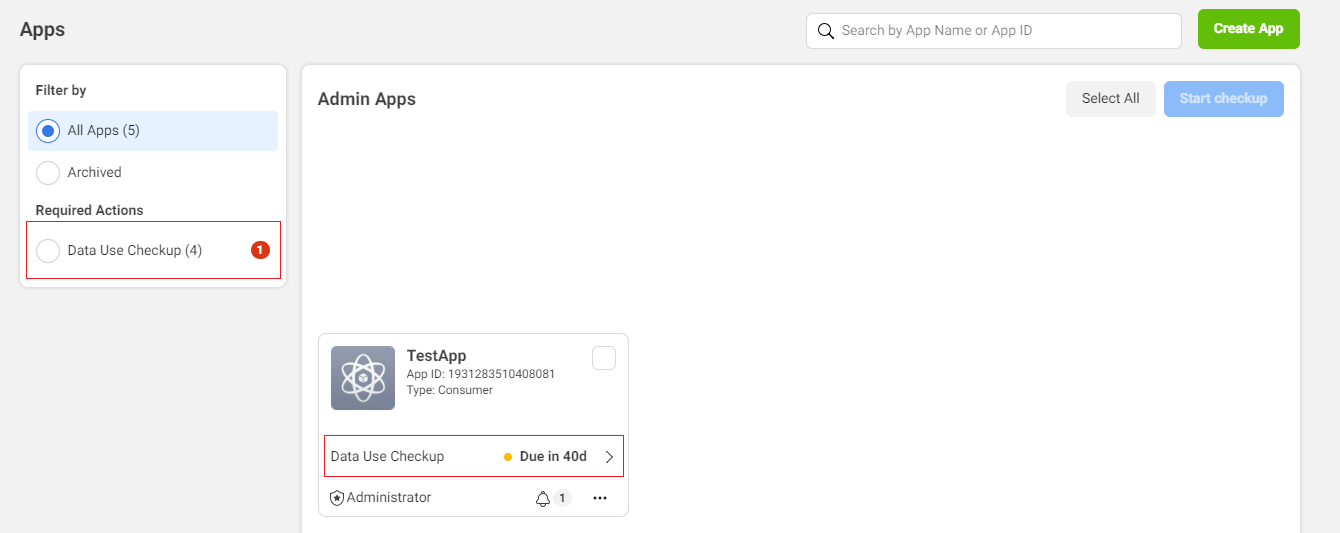
- From all applications window by clicking "Data Use Checkup".
- When opening application settings by clicking "Get started".
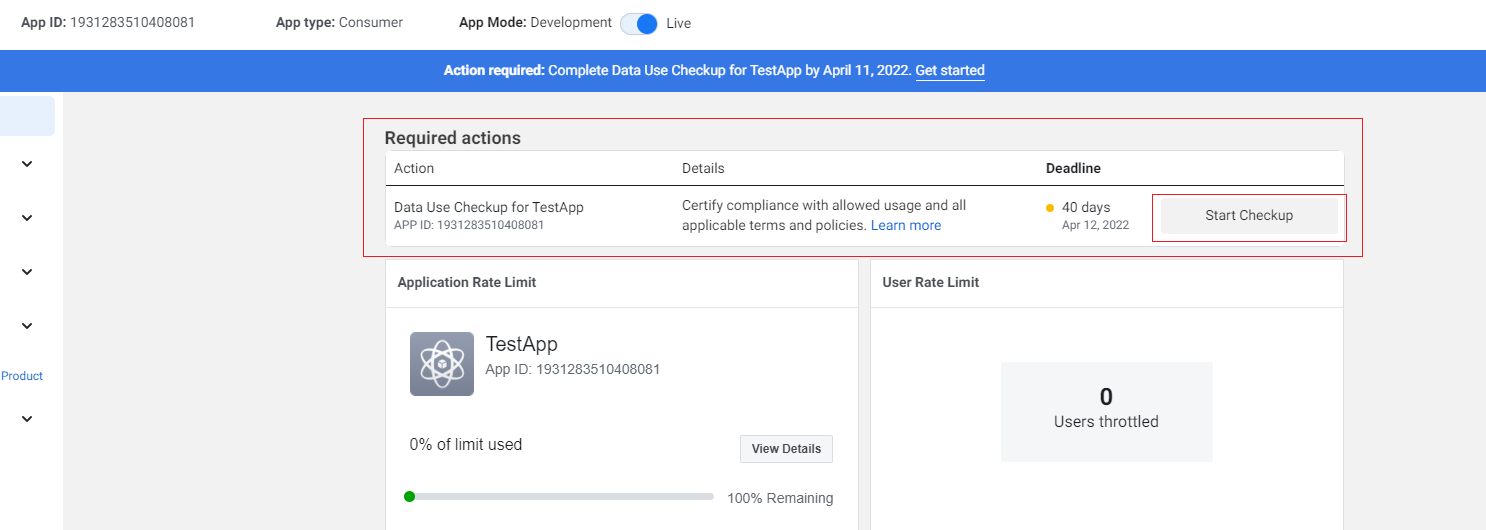
- On the main screen of application by clicking "Start Checkup".
- In the main settings by clicking "Get started".
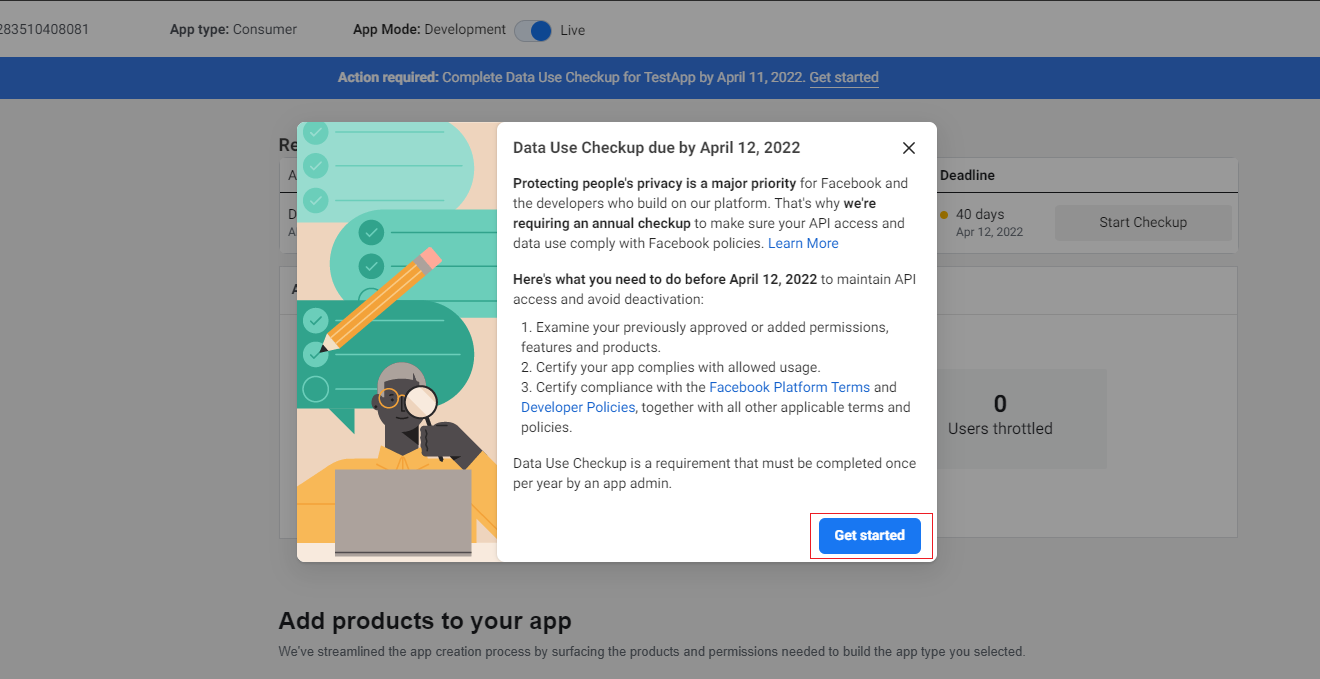
Confirmation window will appear after that and you need to click "Get started".
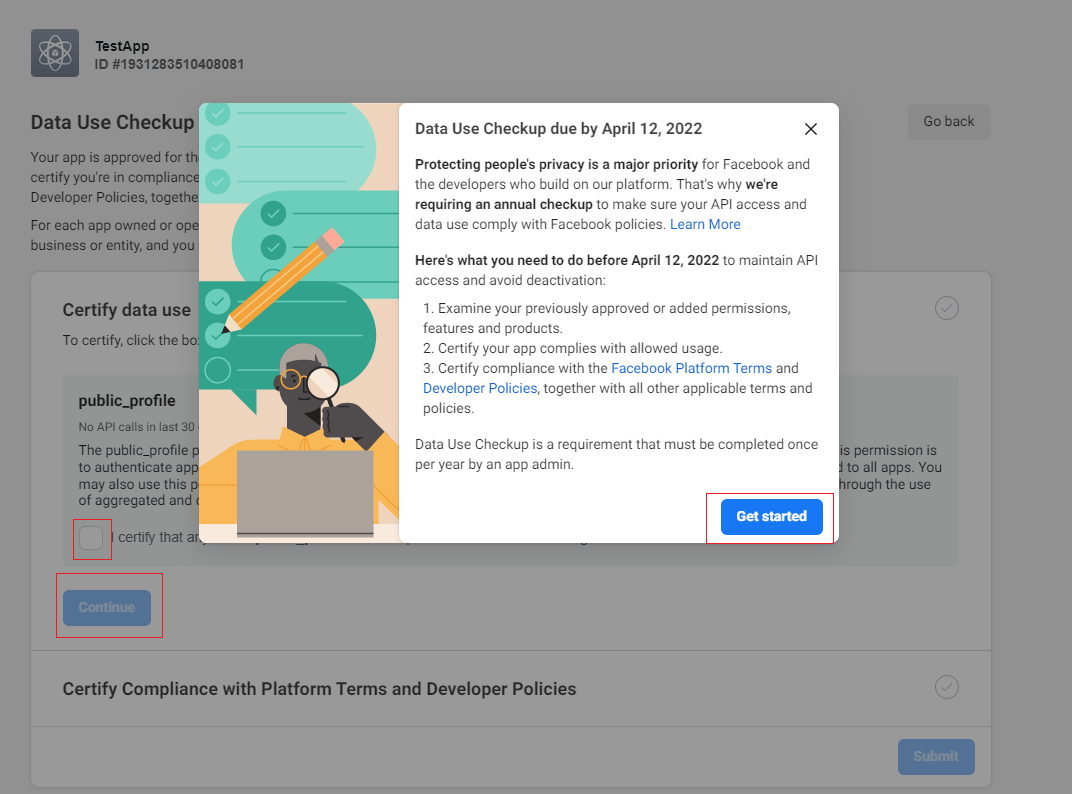
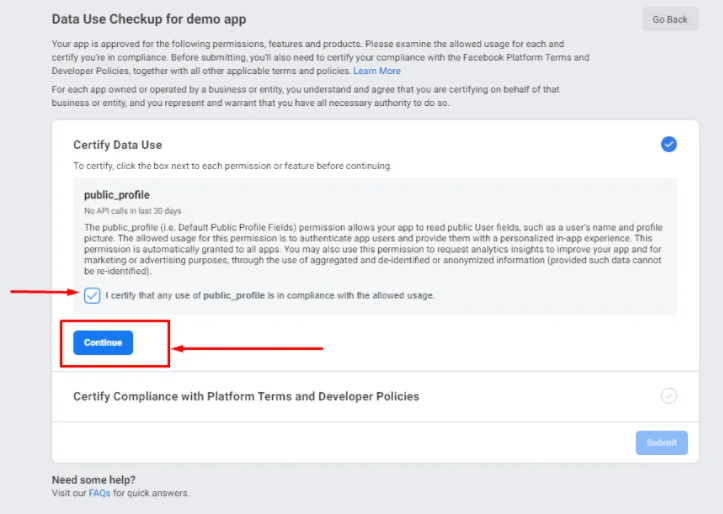
Check the box after that and click "Continue".
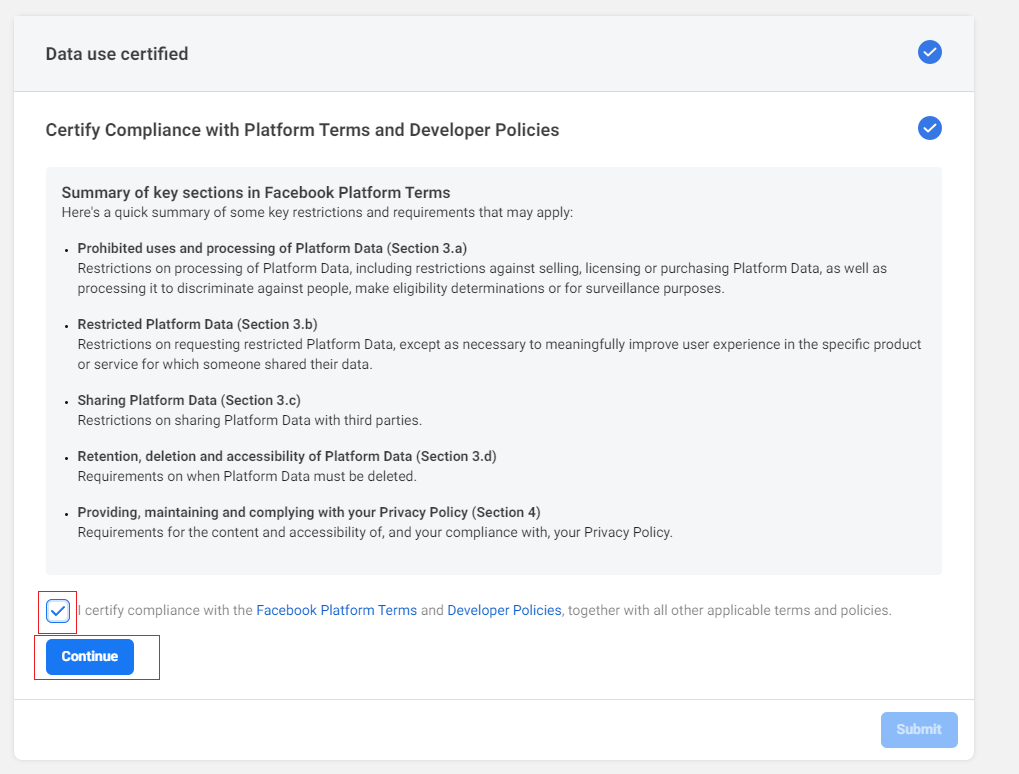
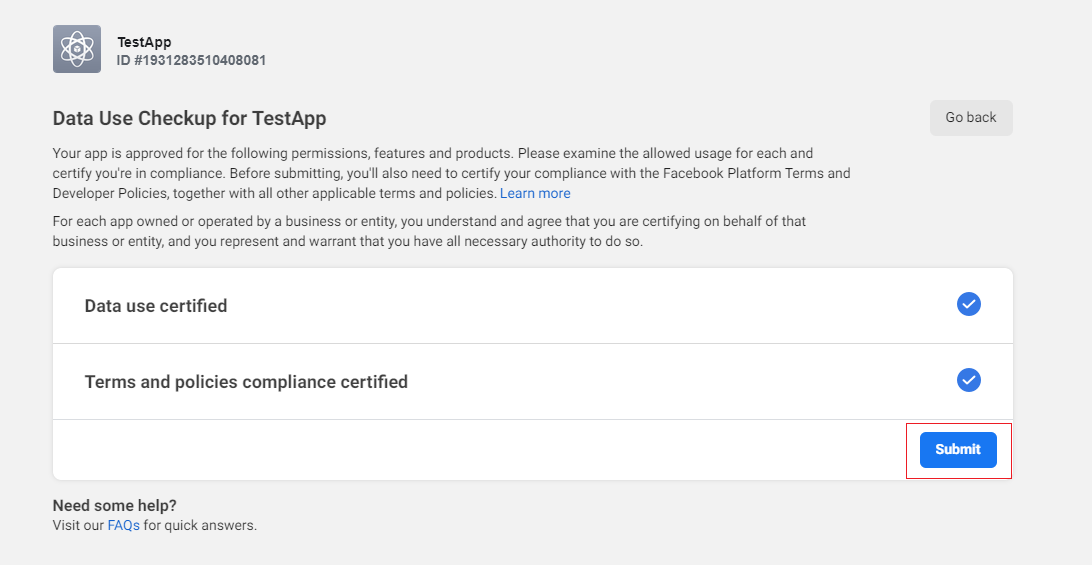
Repeat confirmation.
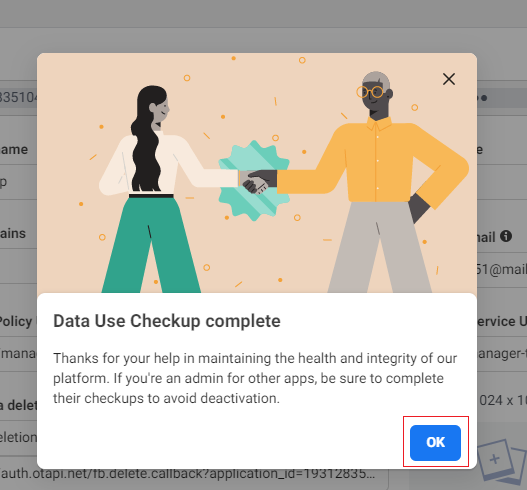
Then you will see a successful confirmation window.
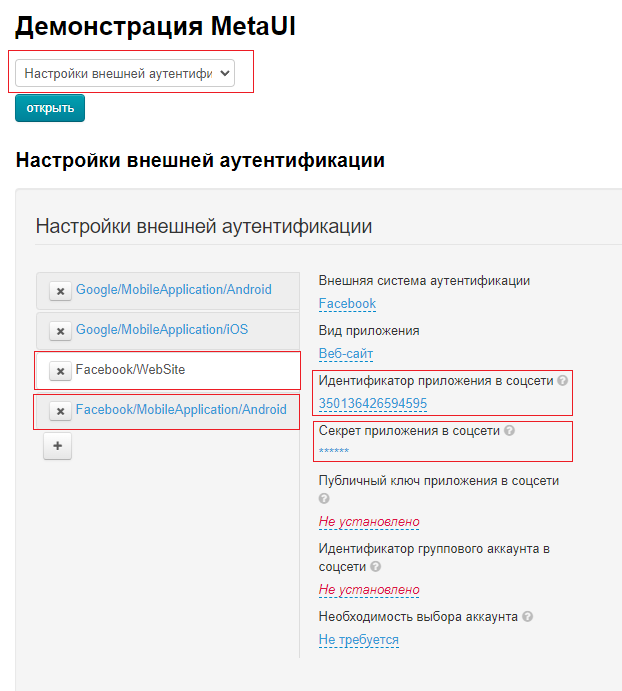
MetaUI settings
We got App ID and App secret before.
Select "External Authentication Settings" in MetaUI demo in plugins.
Create Facebook - Web site. For created settings enter App ID into "Social network application secret" field and enter App secret into "App secret in social network" field.
Note: this setting is very important, authorization won't work on our side without it.
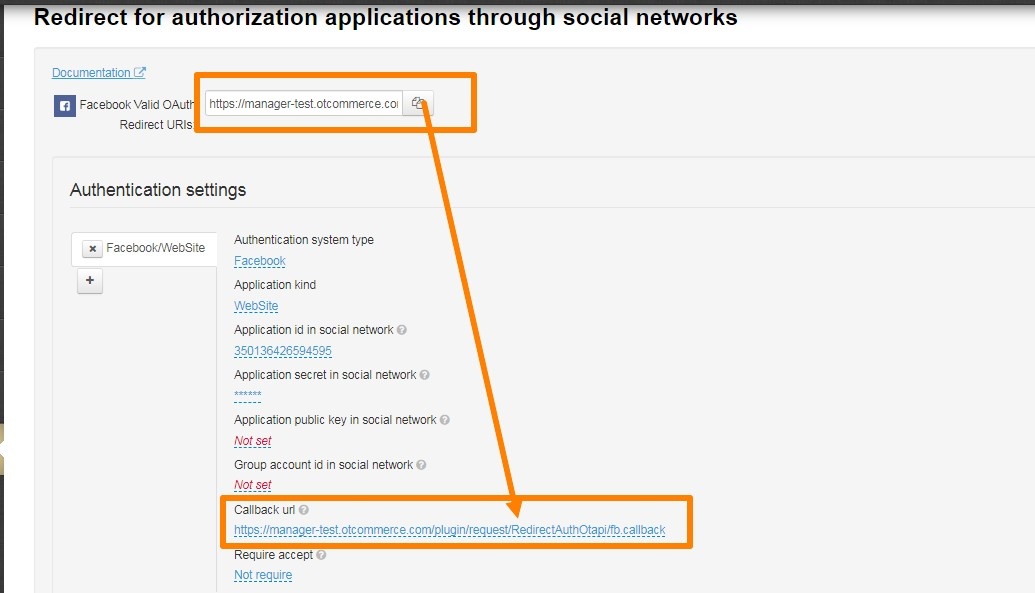
Settings «Redirect for authorization applications through social networks»
In the site's Admin-Plugin-Redirect for authorization applications via social networks you need to copy the automatically generated link from the "Facebook Valid OAuth Redirect URL" section https://[your site name]/plugin/request/RedirectAuthOtapi/fb.callback and fill it in the field "Callback url" below.
Without performing this action an error occurs
"URL Blocked This redirect failed because the redirect URI is not whitelisted in the app's Client OAuth Settings. Make sure Client and Web OAuth Login are on and add all your app domains as Valid OAuth Redirect URIs."