
This is where one can choose which pages he or she wants to appear on the website’s bottom menu.
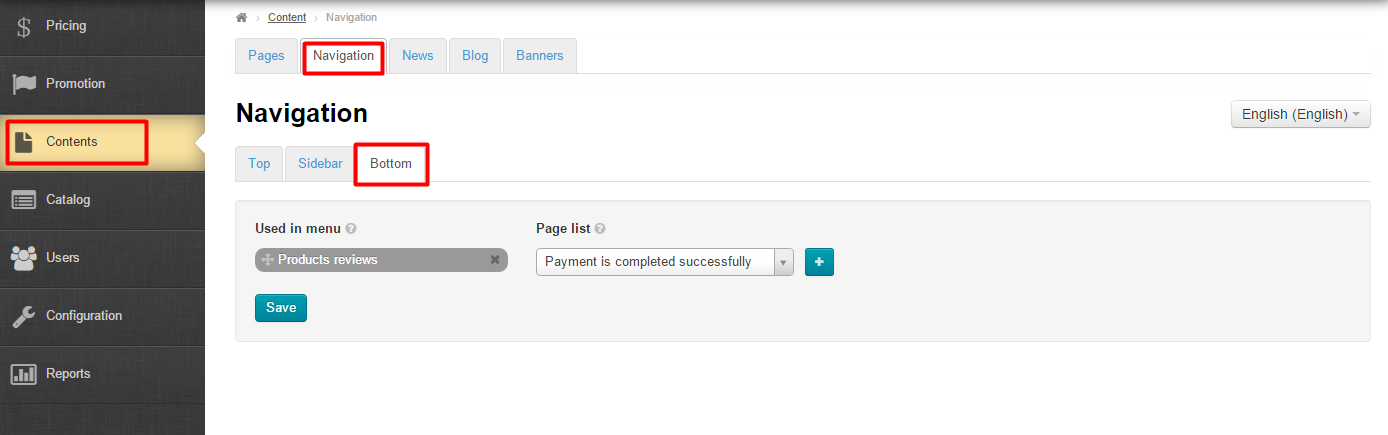
Go to Content > Navigation > Bottom Navigation in the admin area.
Description
Here you can customize your site’s bottom navigation menu.

It allows you to choose pages to be displayed in the menu as well as to set the order the pages appear in.
Menu Options
All actions are performed within the following area:
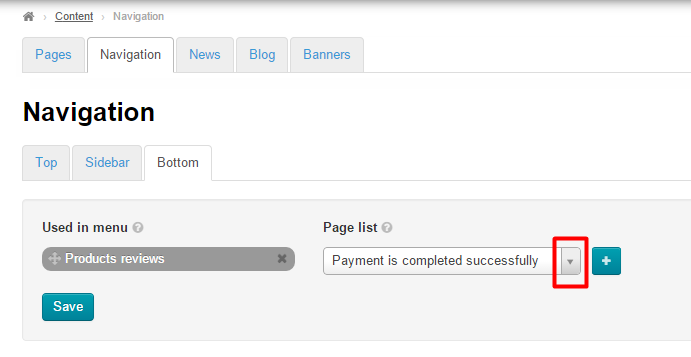
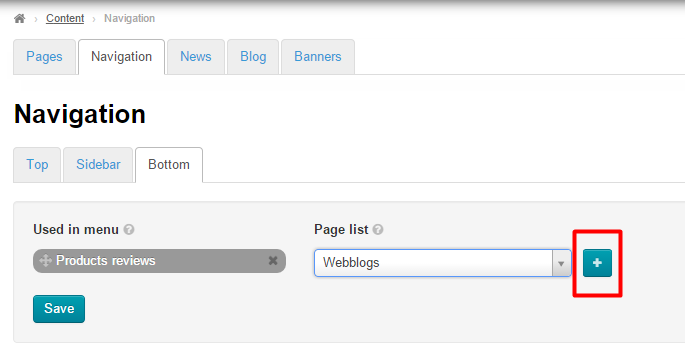
Add
To add a page to the menu you should click on the down arrow next to the page names in the right-hand column.
Then you will see a list of pages. Click on the desired page.
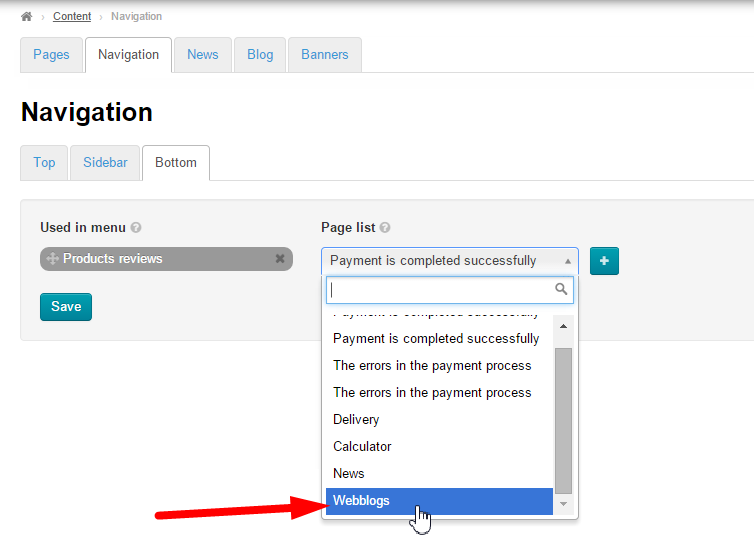
Click the Add button (the plus sign) to add the selected page to the menu.
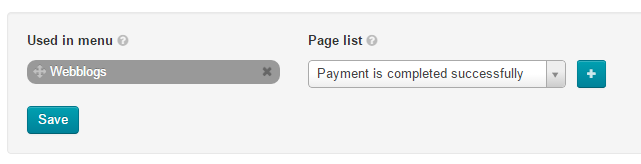
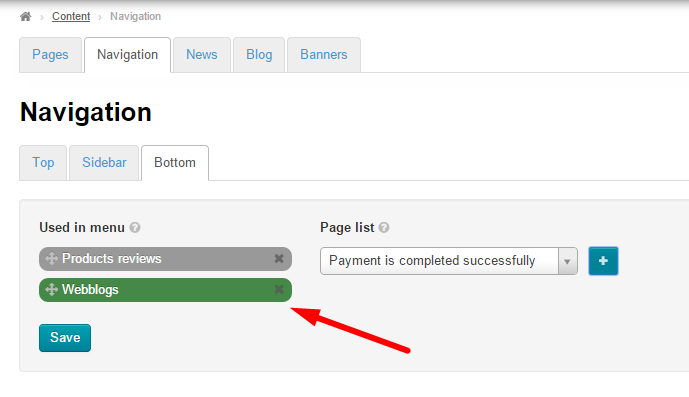
The added item will appear at the end of the list and be highlighted in green.
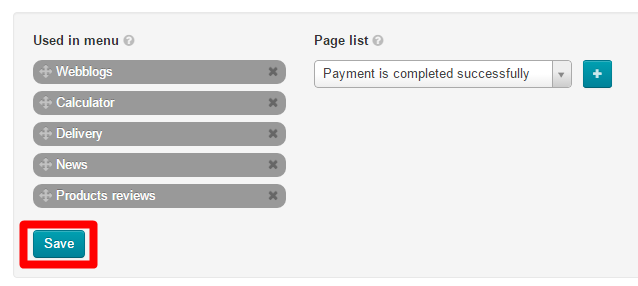
Once you’ve added a page you need to click the “Save” button.
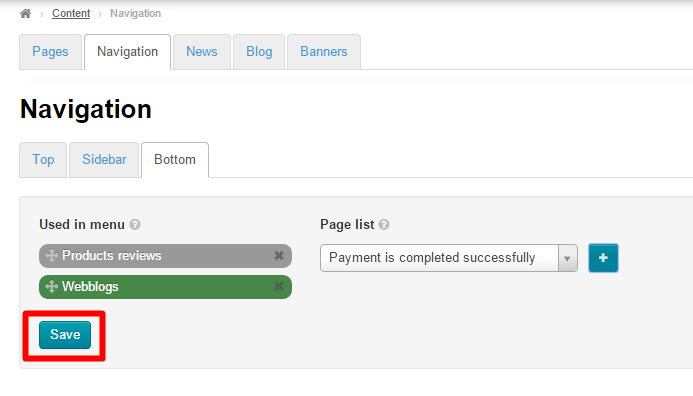
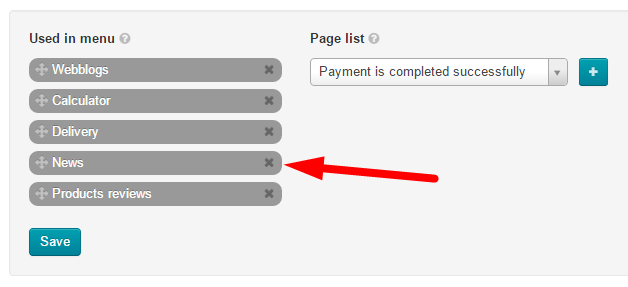
Upon saving the added page changes to grey in the admin area whereas the new item appears on the website.

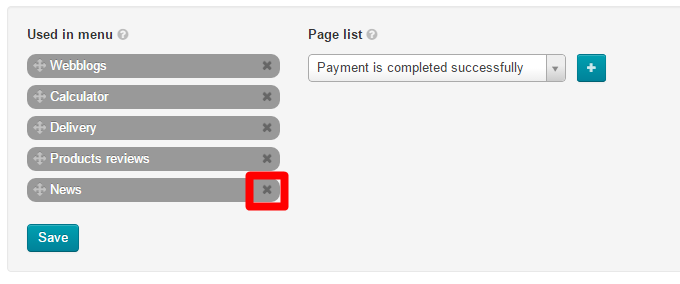
Delete
A page isn’t deleted permanently. It won’t be shown in the menu bar and can be recovered anytime.
To delete a page from the menu you need to select it from the list on the left.
Click on the Close button (the X) on the right of the page name.
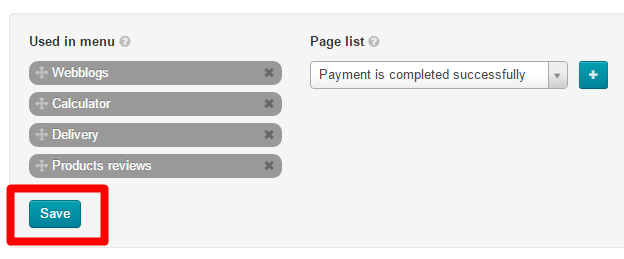
After the page has been deleted from the menu you should click the “Save” button to implement the new settings on the website.
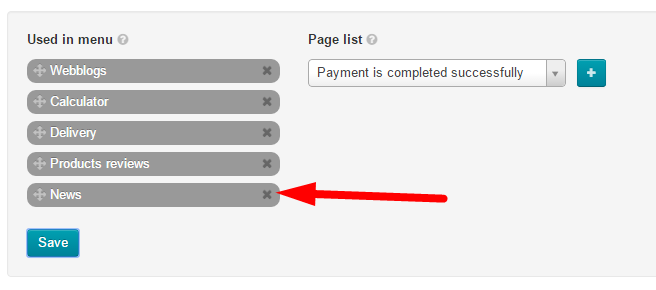
Reorder
To arrange pages to your liking you should move them around.
Select the page you need to move.
Click the Move icon (the four-headed arrow) on the left-hand side.
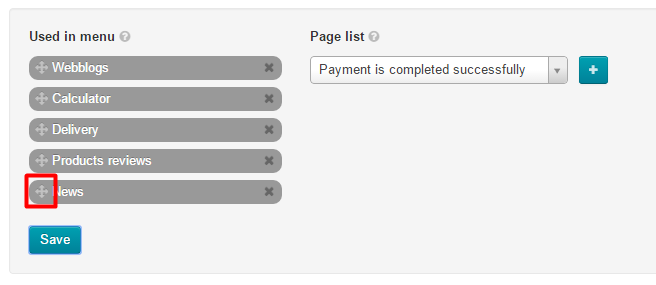
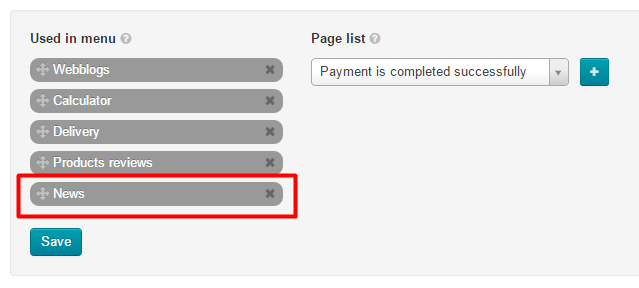
Without releasing the mouse button drag the page to a new position (An empty dashed-line box shows where your page will be placed.)
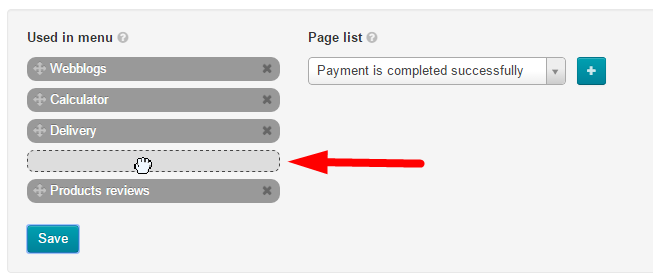
When you release the button the page will take a required position.
To save a new arrangement of pages click the “Save” button.
You will see a new position of the page on the website’s top menu.