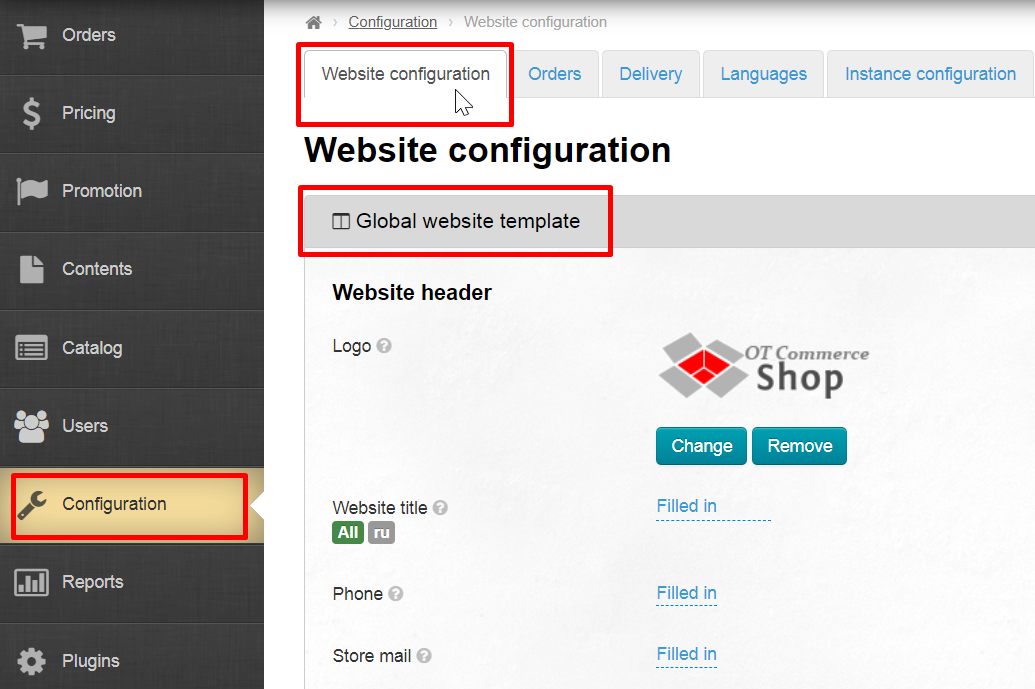
Location in admin panel: Configuration → Website configuration

Language version of site header
All settings for website template can be made for different language versions separately. Number of language versions will depend on countries coverage of your business .
When decide upon the list of countries, we recommend, if possible, to make a version for each country in its native language. By showing the customer a website in their native language, you increase their loyalty and trust in your business.
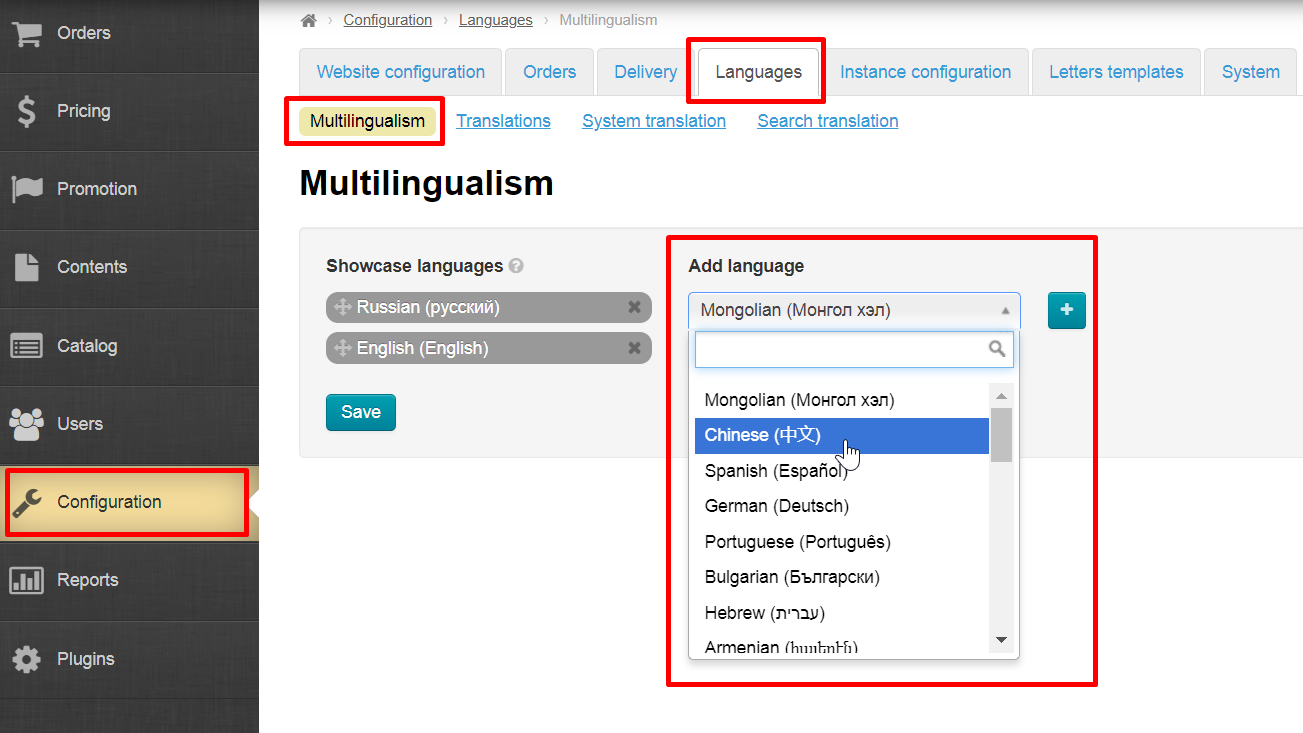
You can add languages to the list at any time in “Configuration → Languages → Multilingualism” section
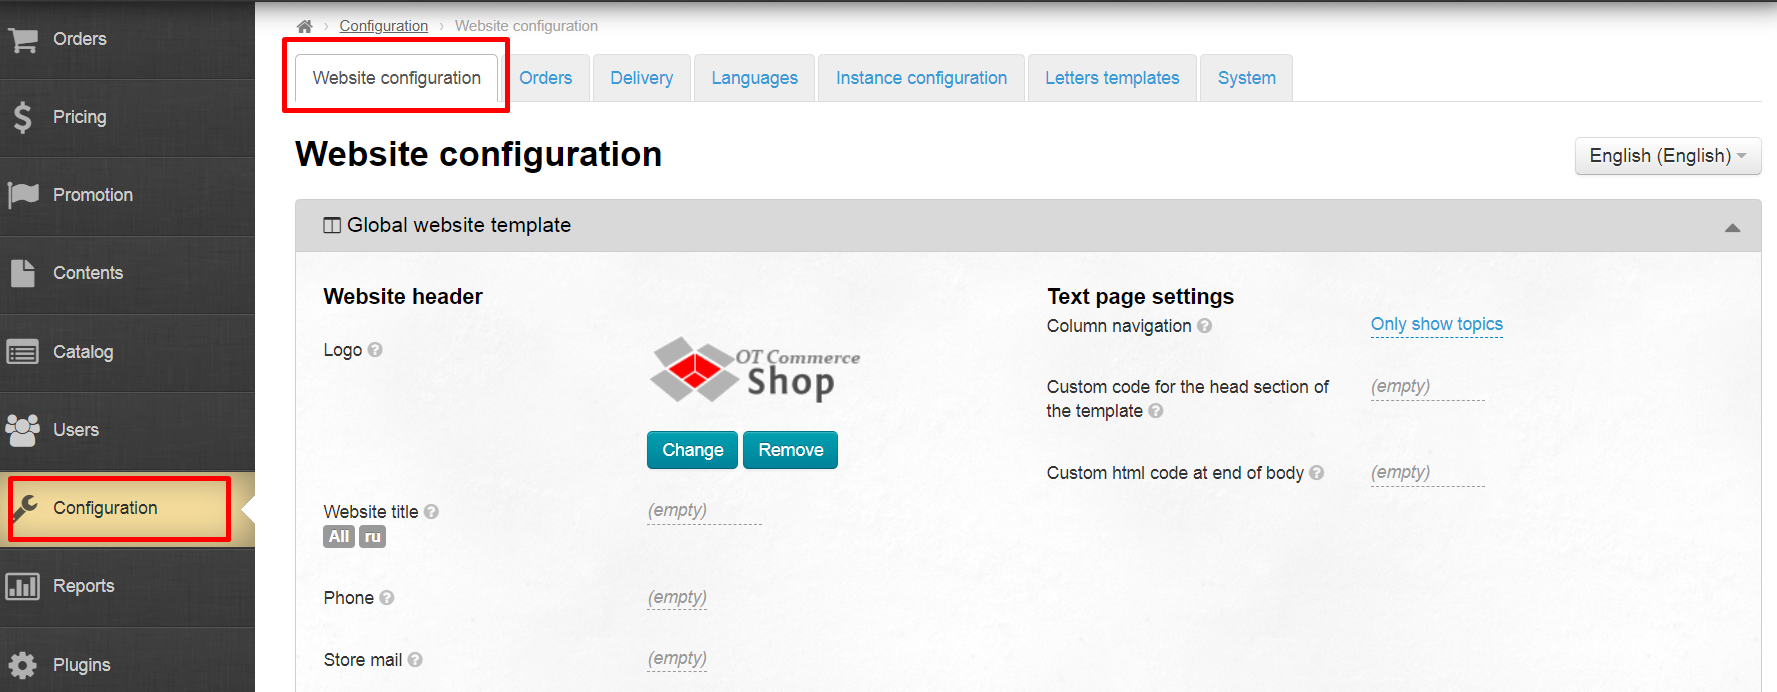
Open "Configuration -> Website configuration" in admin panel to select language version for website header
Click language in the list on the right to select it
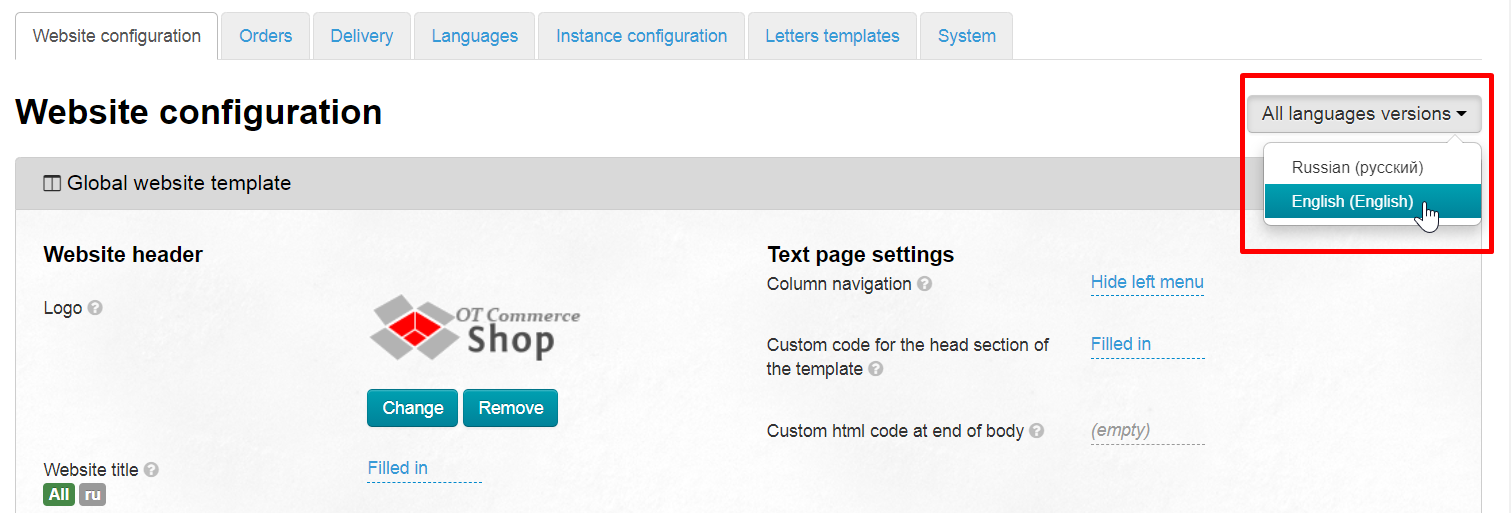
In addition, you can make settings for all versions of the site: do not select language and leave “All language versions” by default.
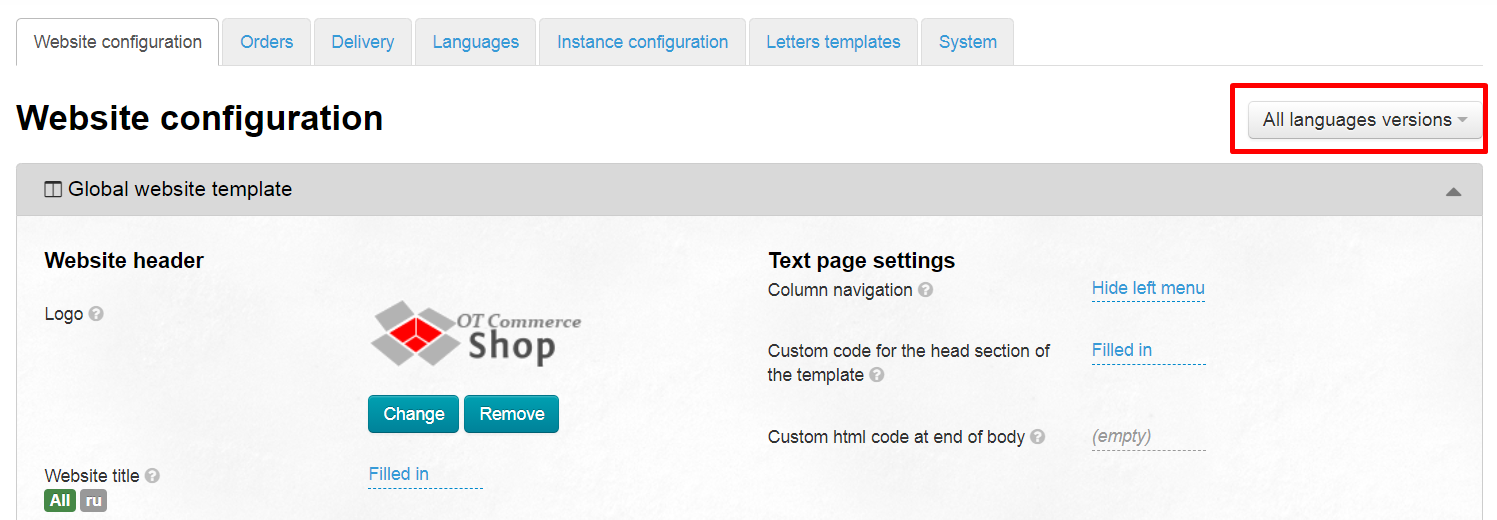
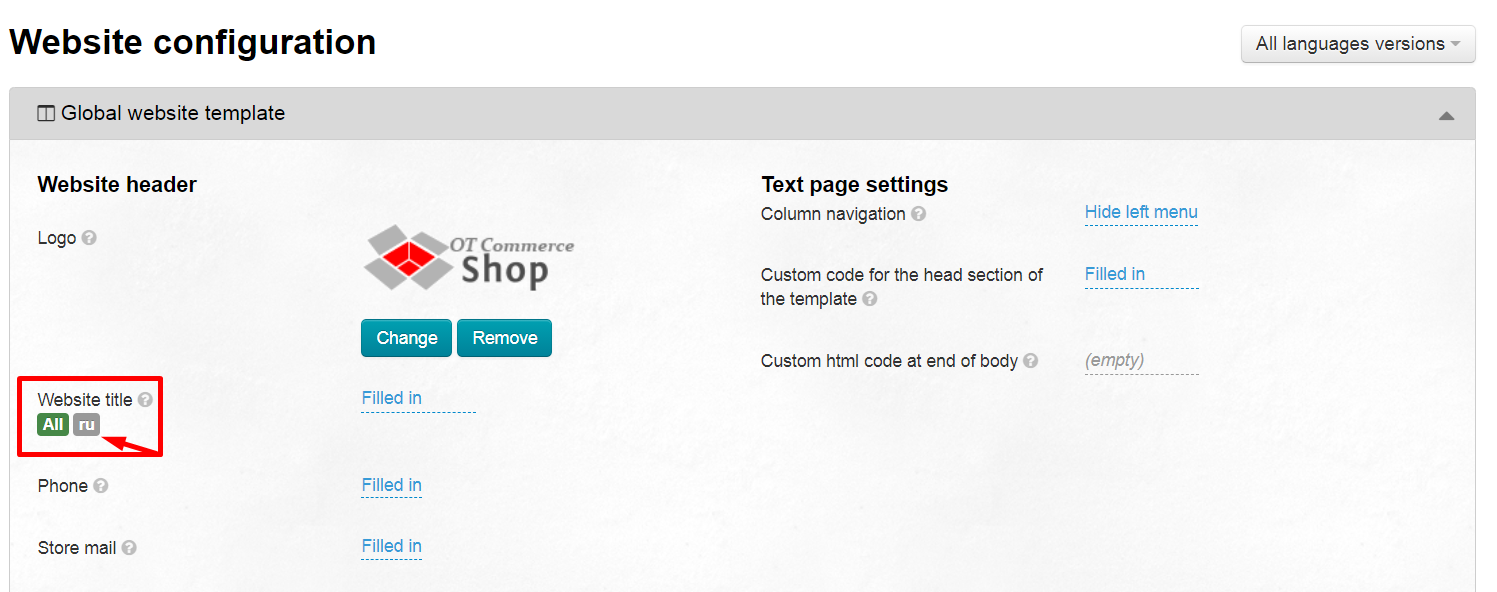
If there are settings for the language version, you will see an icon next to each field where the settings are. In the example, current language version is marked green (All language versions), and gray label indicates that there are settings for the Russian language.
Website header set up: logo, contacts, support service
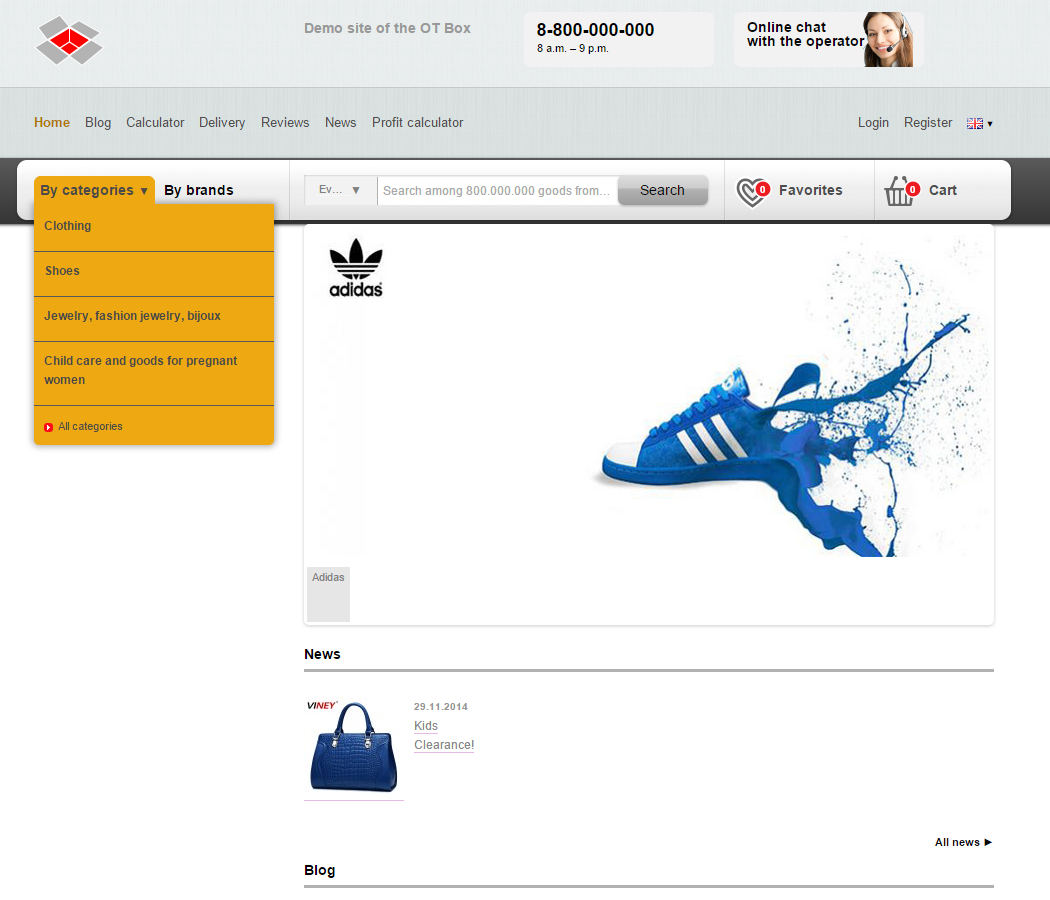
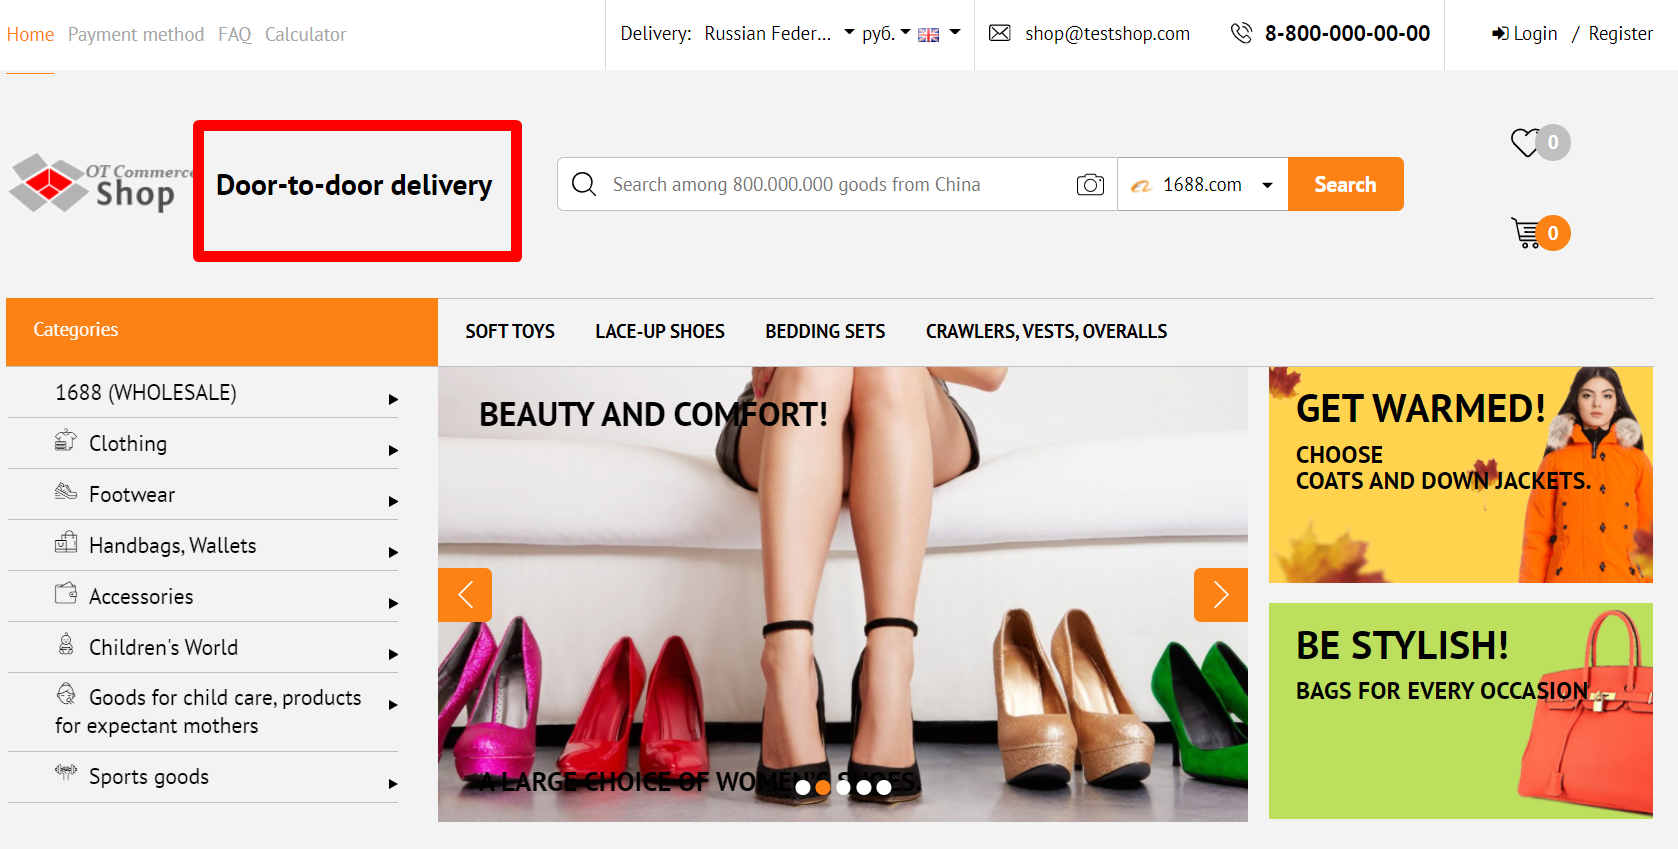
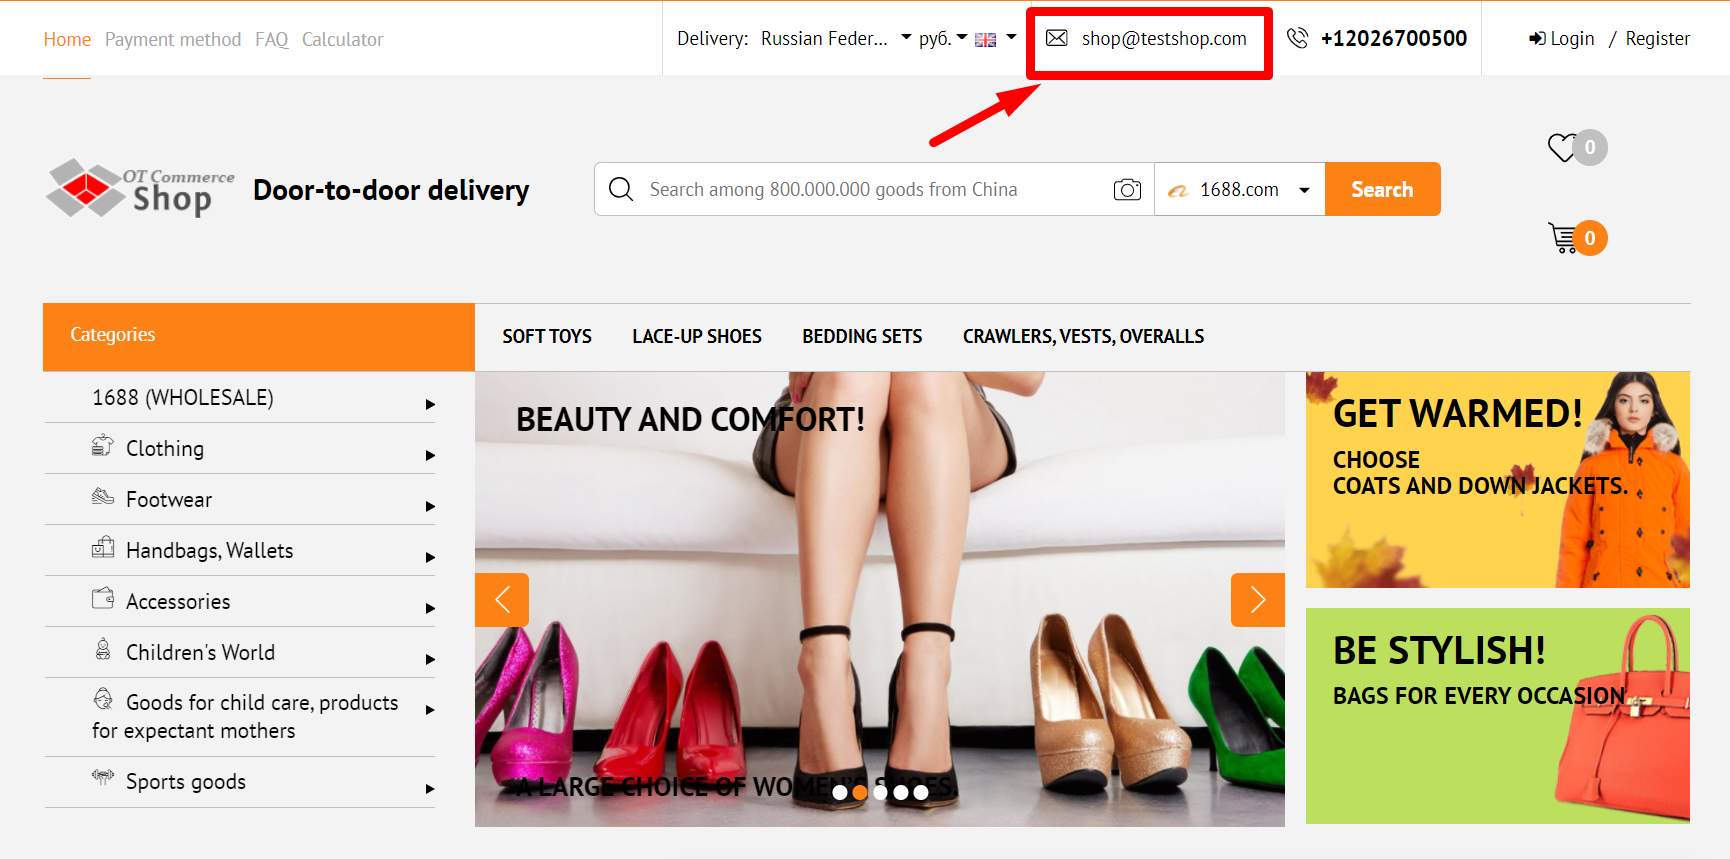
Header is website business card.
Website header gives all necessary information to your customers: opening hours, phones, by the logo they see whether this site was recommended by a friend or not, etc.
Upload website logo
It's possible to upload website logo in any form and format. However, the following recommendations should be taken into account:
- 300px width and 100px height are recommended maximum sizes.
- Image format: png with transparent background, acceptable formats: gif, jpg.
- Try not to take up a lot of screen space with the logo.
"Design Theme" article give information how to change website colors to match your logo and corporate identity as much as possible.
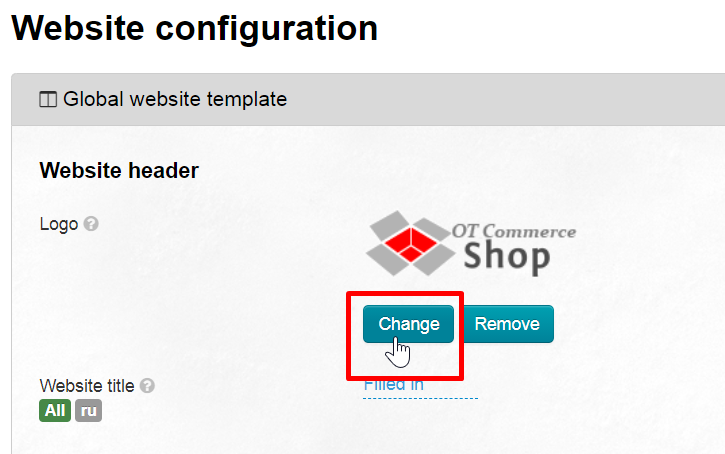
Open “Configuration -> Website configuration → Global website template” section in admin panel
Check the logo. OT Commerce logo is uploaded by default. Click "Change" button. There is only "Upload" button if there is no default logo.
A folder on your PC to select a logo image will open. Select logo and click "Open".
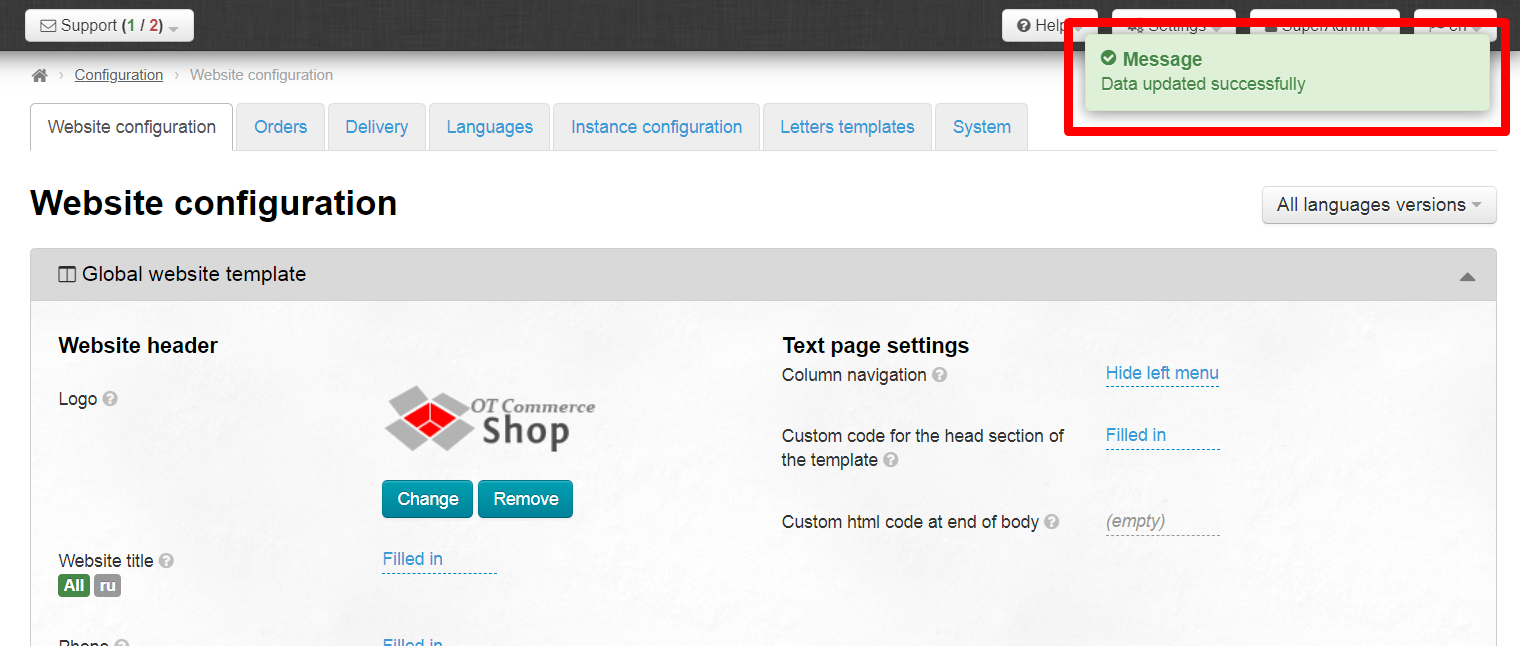
Logo will be uploaded and save automatically and you will get a message "Data updated successfully".
Website title
Here we write the text that will be displayed in website header.
This title can be located either in the middle of the site header or to the right of the logo depending on website design.
Open “Configuration -> Configuration → Global website template” section in admin panel
Click "Website title".
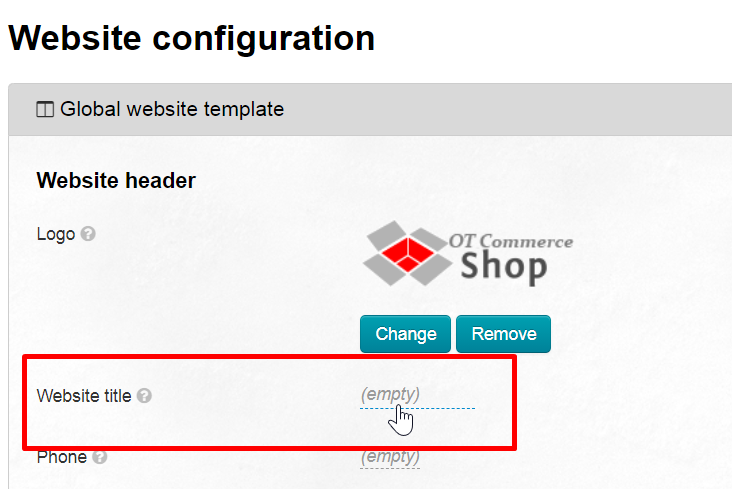
A field to write website title will open.
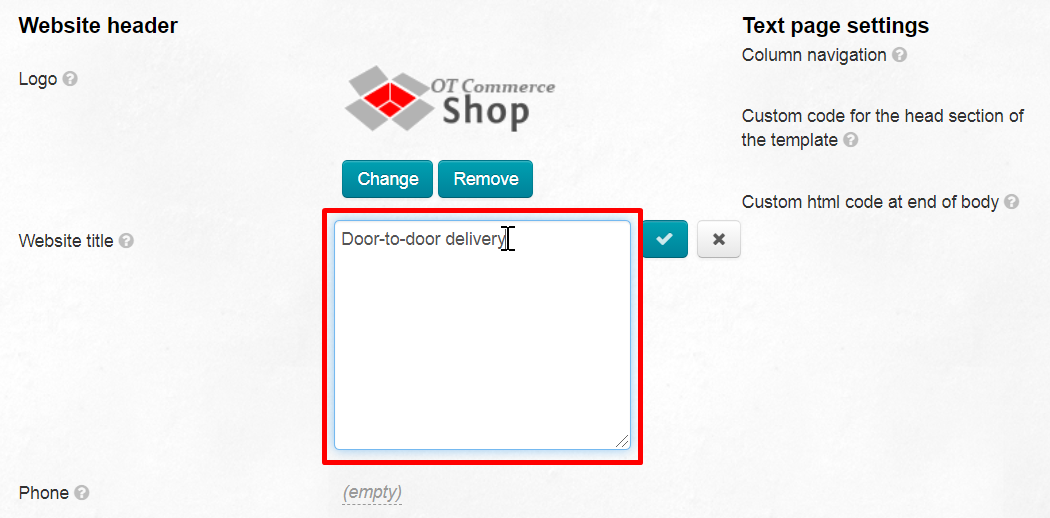
Save title and click tick button.
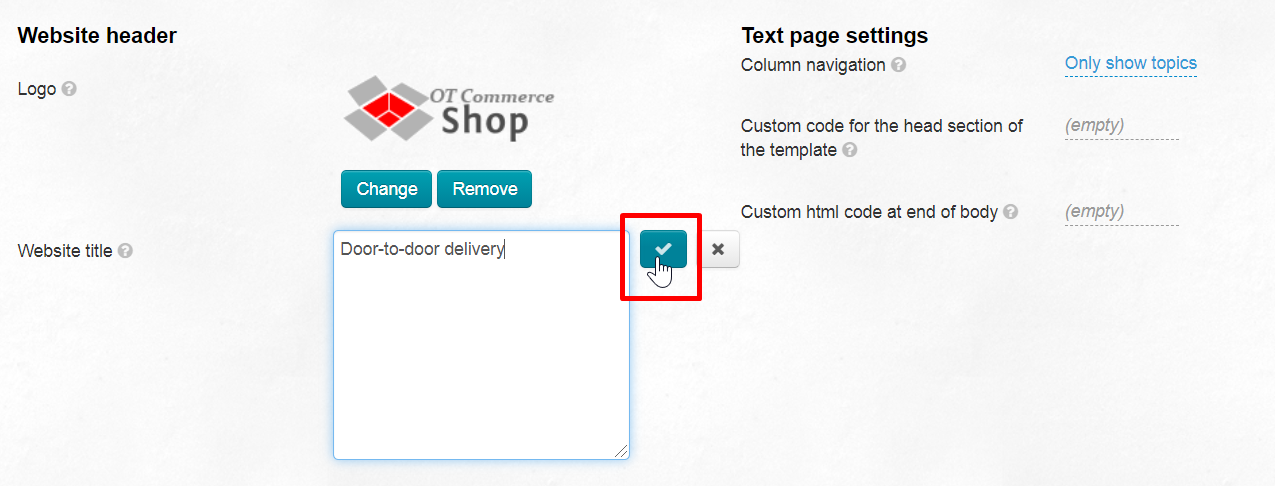
Title will appear on website immediately after saving.
Phone number for customers
It is advisable to add phone number for customers' information, questions or advice on the order.
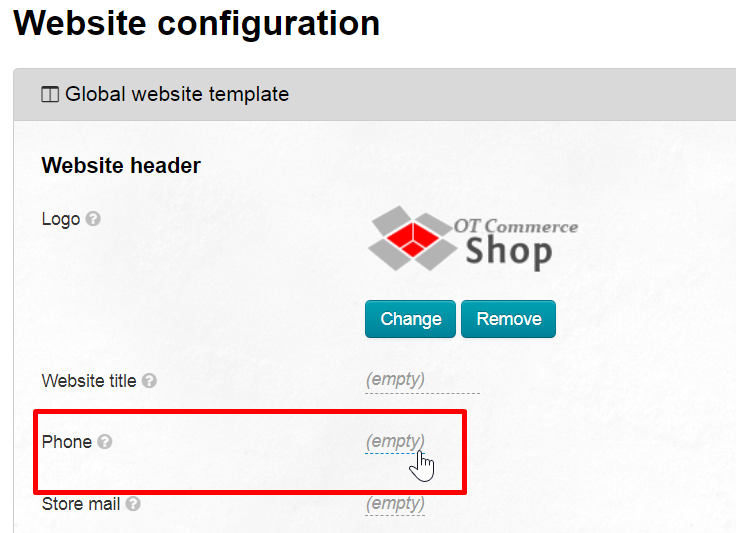
Open “Configuration -> Configuration → Global website template” section in admin panel
Click "Phone" field.
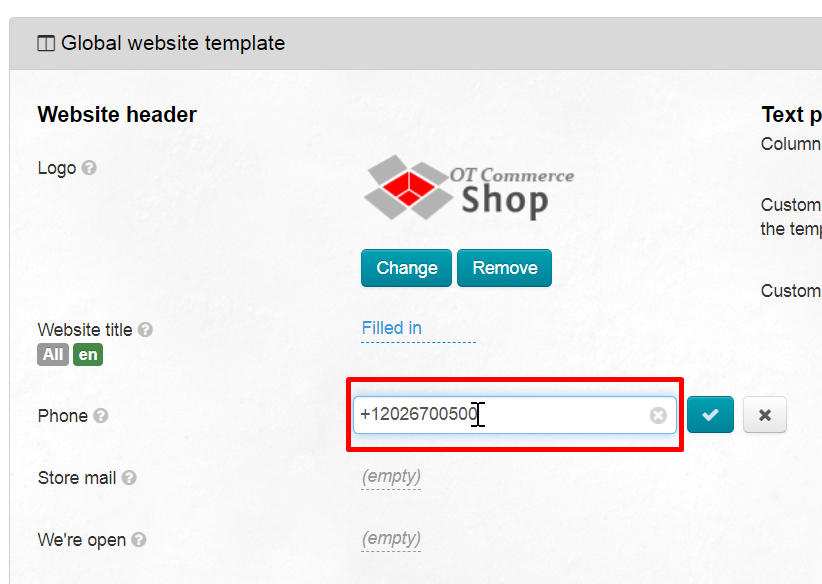
Write phone number for your customers' questions in the window.
Click "Save" button to add phone number to website
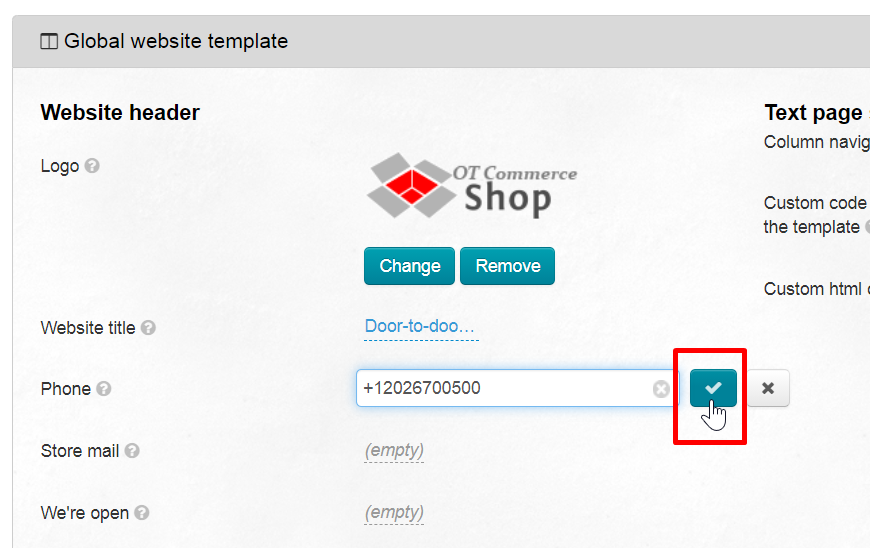
Phone number will appear immediately after saving. Its location and appearance will depend on website design.
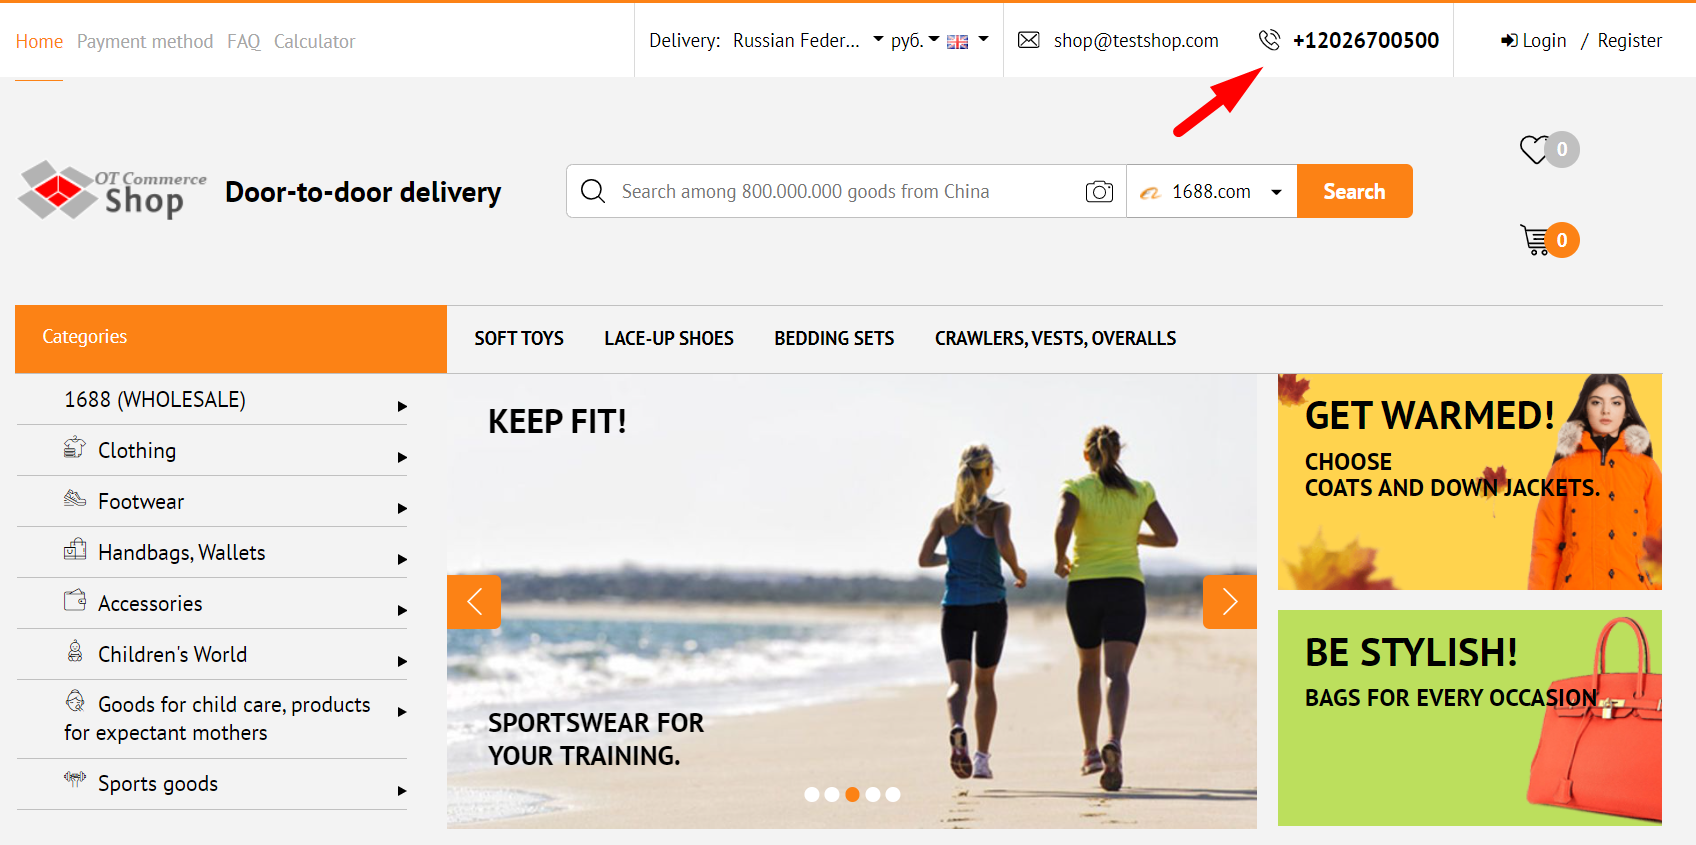
It's possible to add email for feedback to website header.
Open “Configuration -> Configuration → Global website template” section in admin panel
Find "Store mail" field
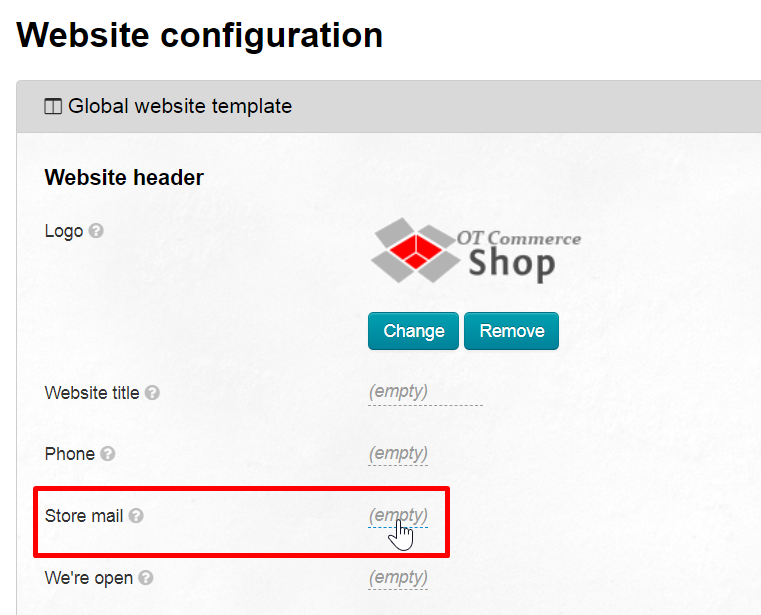
Write email here which you will periodically check for new messages.
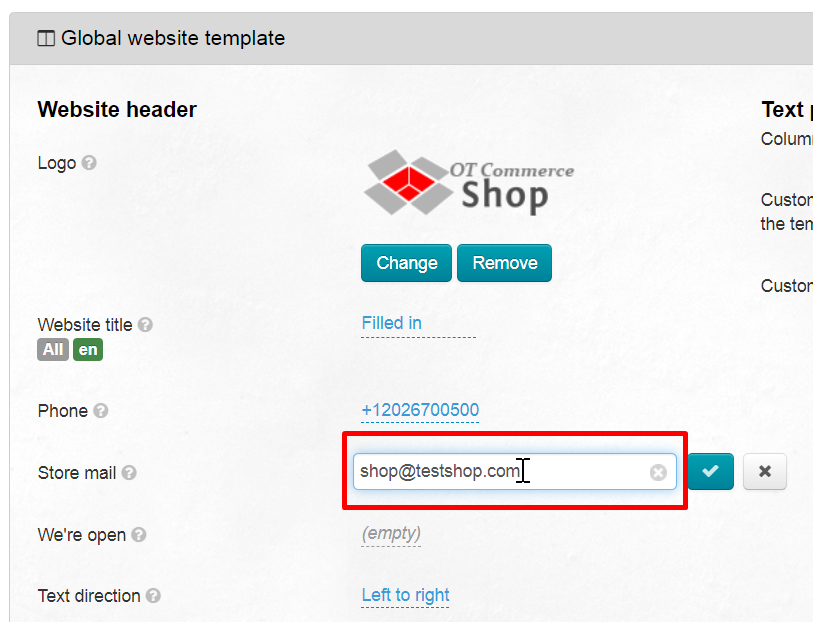
Click "Save" button to add email to website header
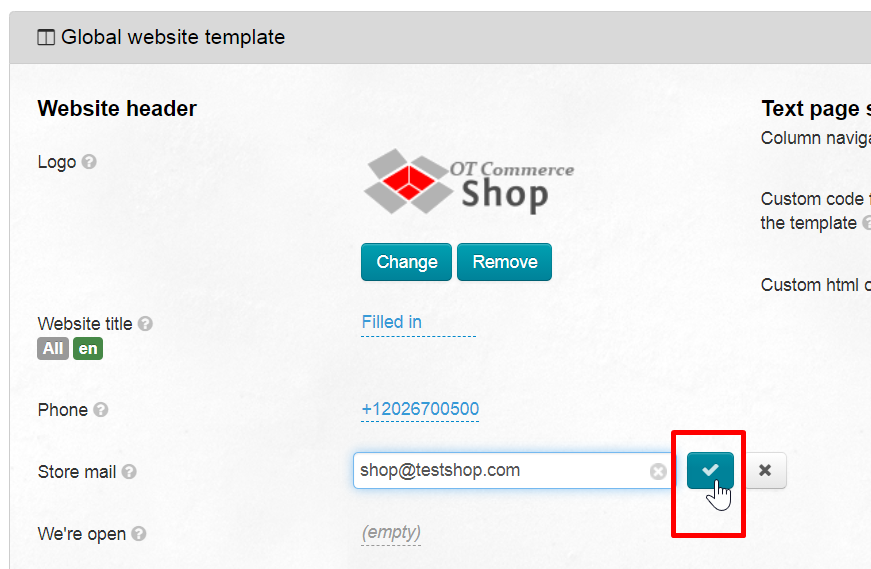
Its location and appearance will depend on website design.
Opening hours of operators on your website
It's possible to add opening hours of operators, processing orders and receiving calls in this field.
Open “Configuration -> Configuration → Global website template” section in admin panel
Click ".

Write opening hours: what days and time operators are available (or when orders are being processed, etc.).
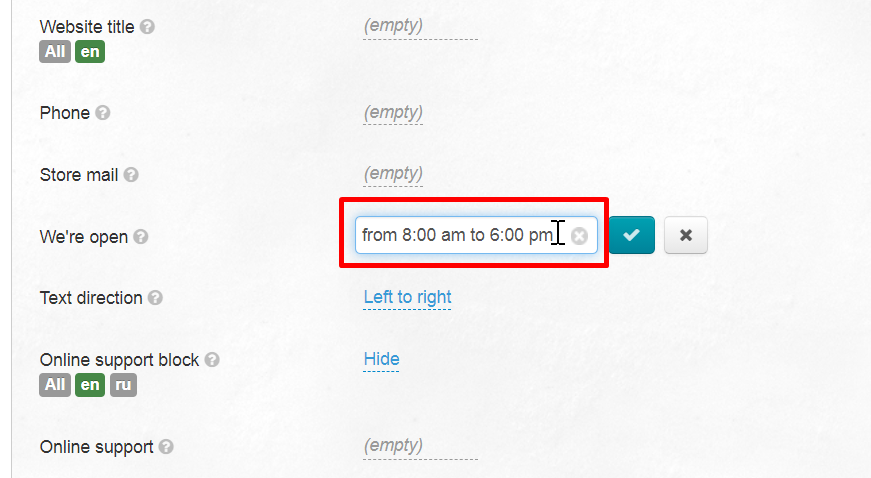
Click "Save" button to save work schedule.
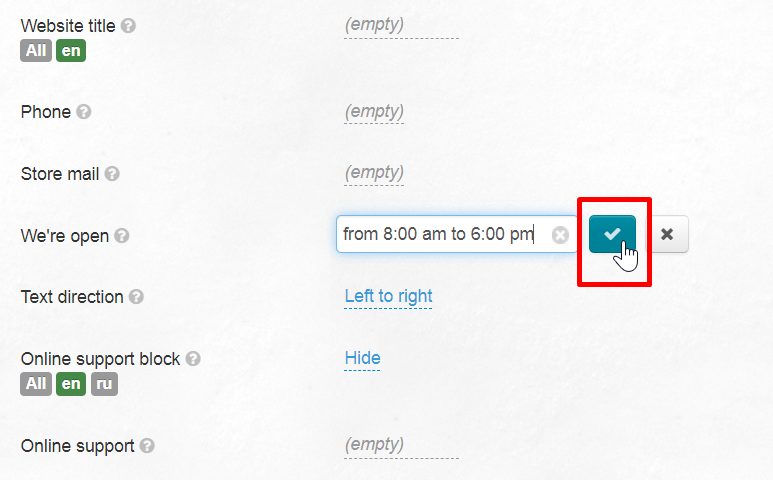
Opening hours will appear on the site immediately after saving.
Text direction is left to right by default. Right to left is recommended for Arabic, Hebrew, Persian, Urdu, and Sindhi.
OT Box makes it possible to use several languages on the site, as well as individual settings for each language. (read above “Language version of site header"
OT Box makes it possible to use several languages on the site, as well as individual settings for each language. (read above "Language version of site header").
You can skip this step if website languages assumes only left-to-right languages.
Open “Configuration -> Website configuration → Global website template” section in amin panel.
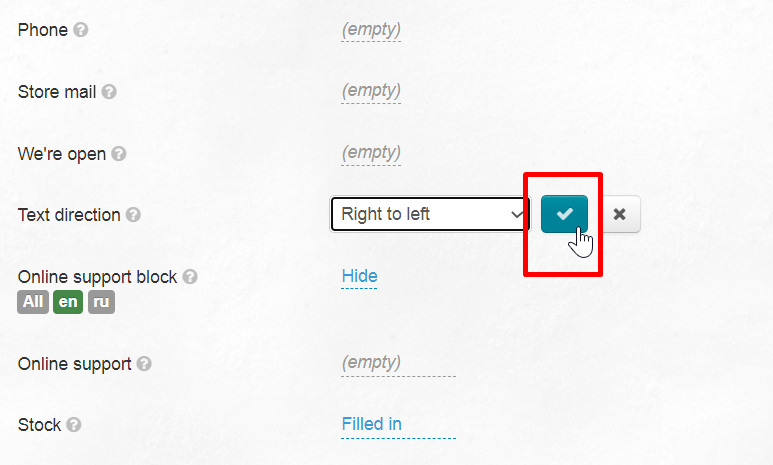
Find "Text direction" and click it.
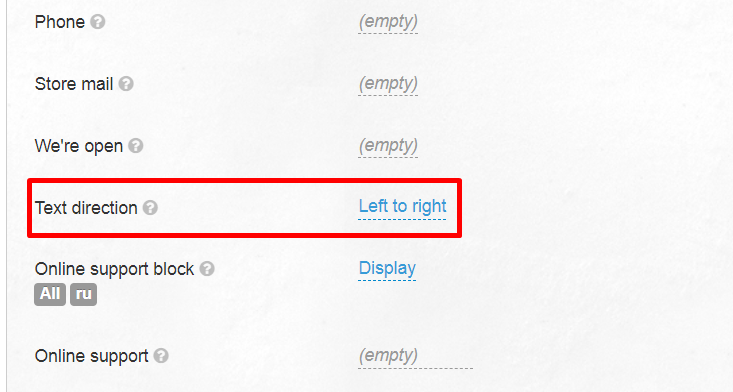
Select "Right to left" and click "Save" button.
Online support block
We recommend enabling “Online support block” in website header if you have an online customer support service.
There is “Online support” block right after this item - a block where online support code is inserted.
Open “Configuration -> Configuration → Global website template” section in admin panel
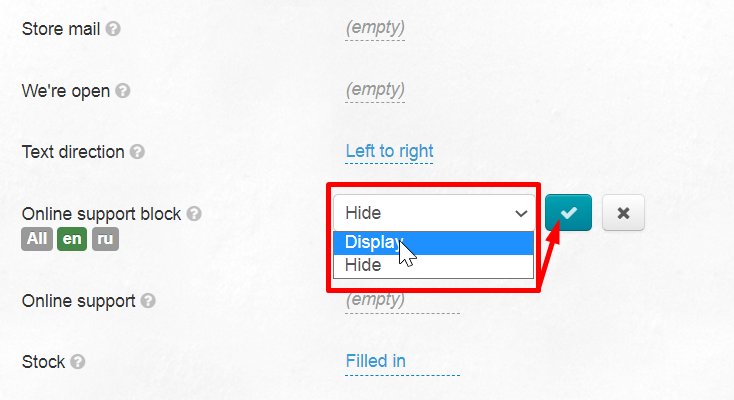
Find "Online support block"
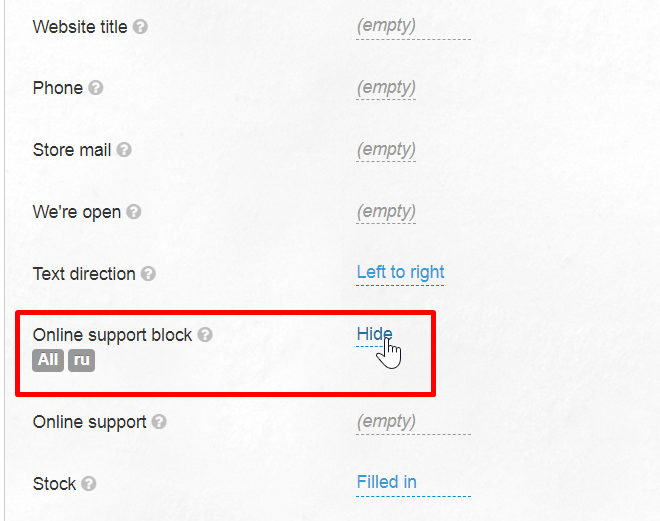
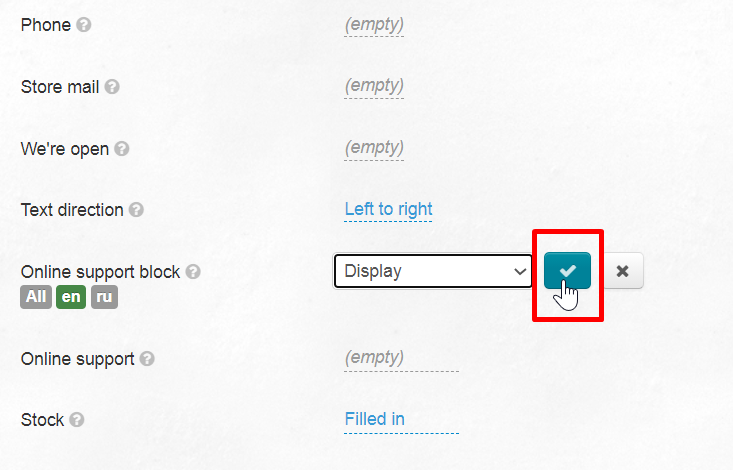
Click drop-down list and select "Display"
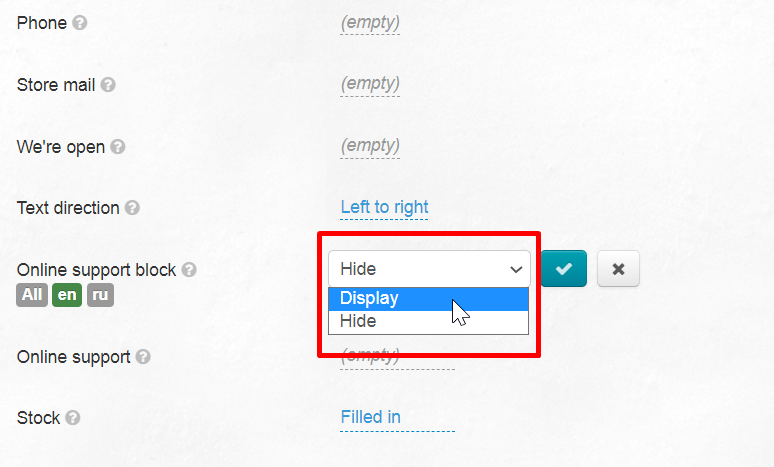
Click "Save" button
Your customers will be able to write to you about their problems and ask questions if you add online support service code.
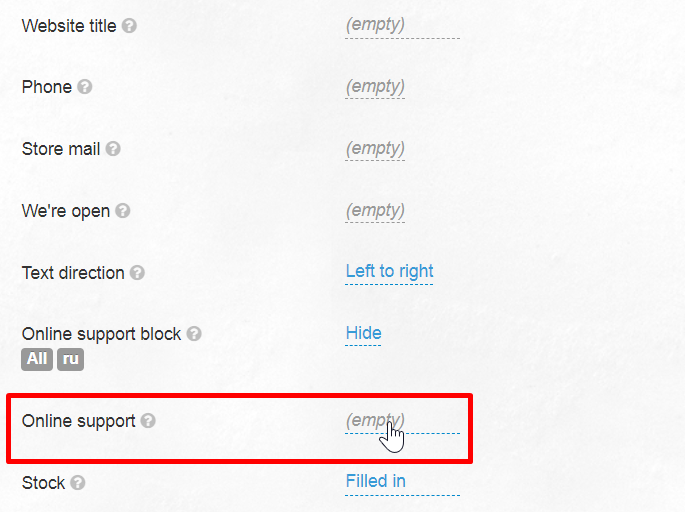
Online support
At the moment, there are many services for installing an online chat right on your website. For its work, they give a special code which must be added to the site. There is a place in the right corner of the header (see above) for this goal.
You can start setting up once you have this special code.
Open “Configuration -> Configuration → Global website template” section in admin panel.
Find "Online support" block
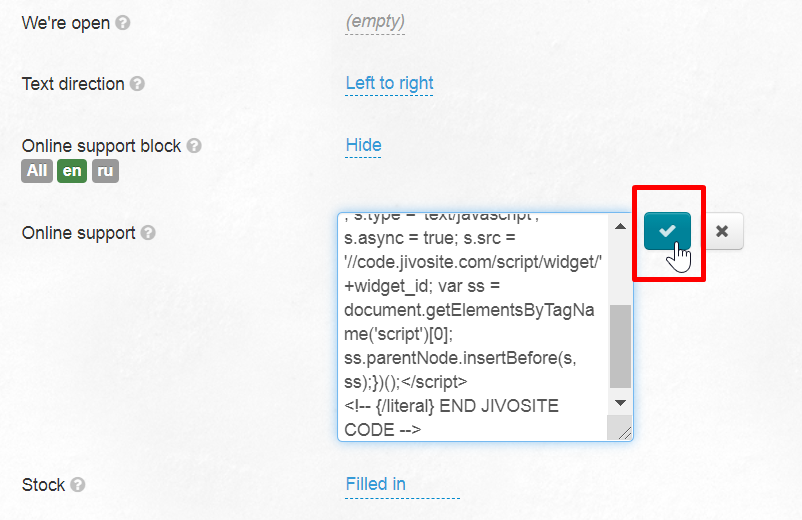
A field will open where we copy Online Support service code.
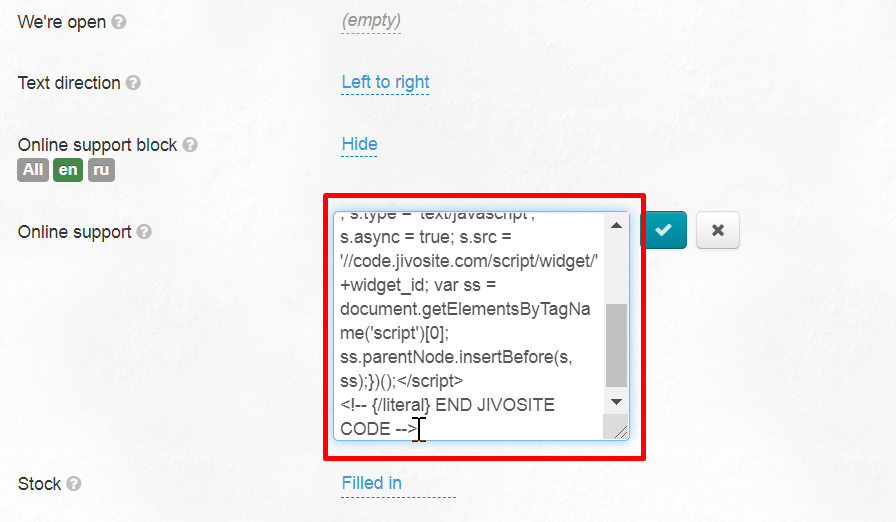
Click "Save" button
Online support will be shown on the site when you select "Display" in “Online support block”.
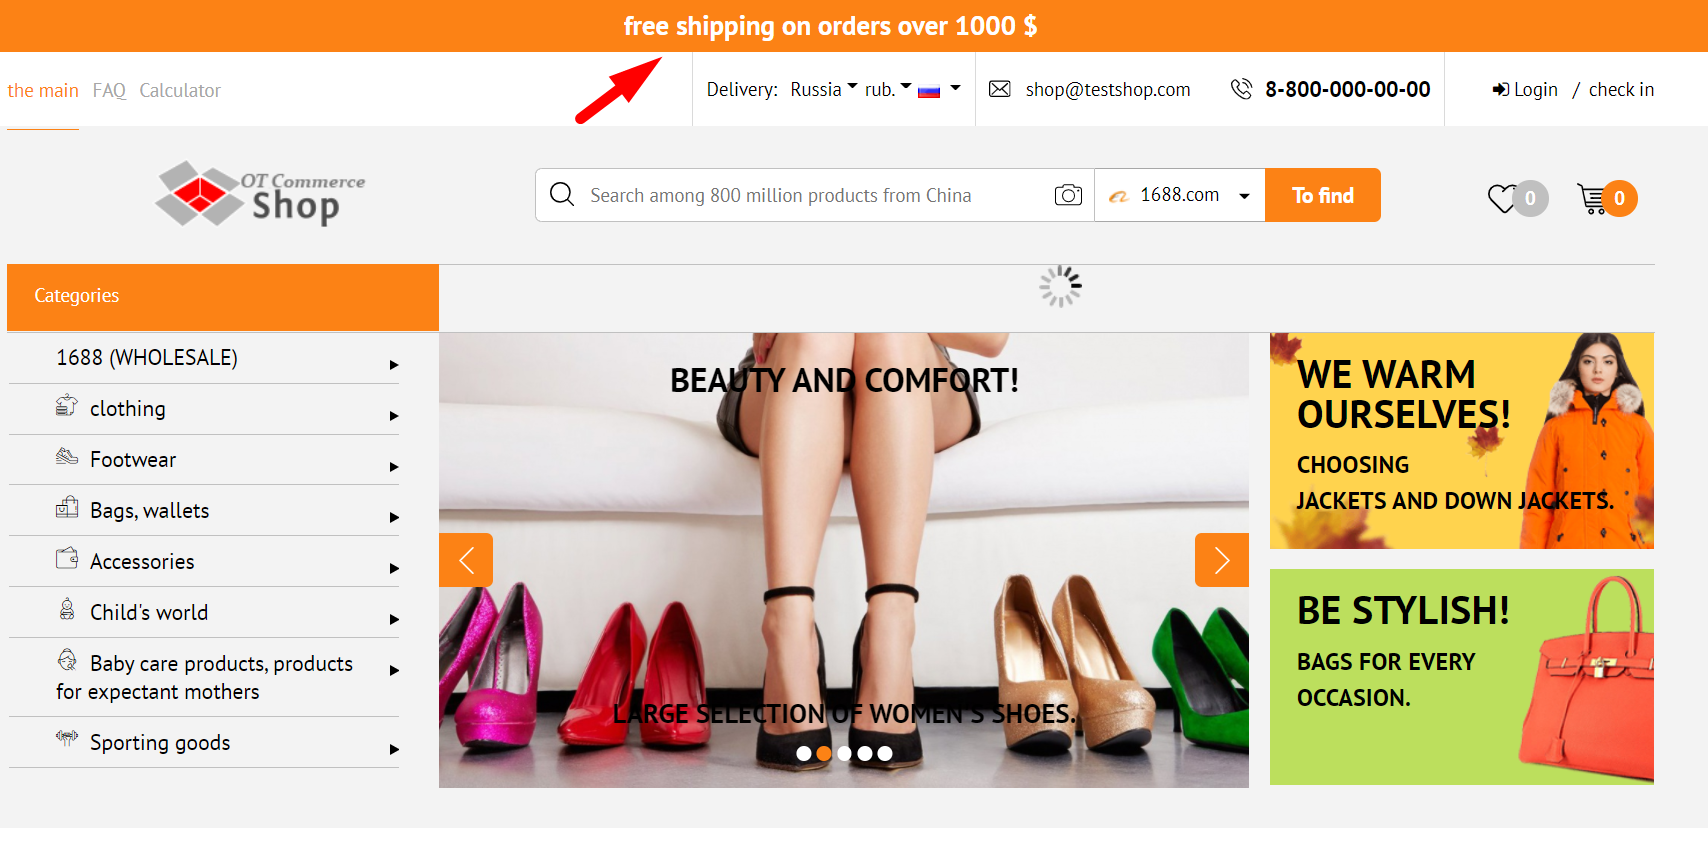
Promotional offer above website header
You can add promotional offer text above website header. For example, information about a sale or about shipping or birthday bonuses.
Customer can hide promotional offer by mouse click. Offer will be hidden for one day and shown next day.
This line with promotional offer will be visible on the home page a well as all other pages of your store.
Open “Configuration -> Configuration → Global website template” section in admin panel to make such offer
Find "Stock" block
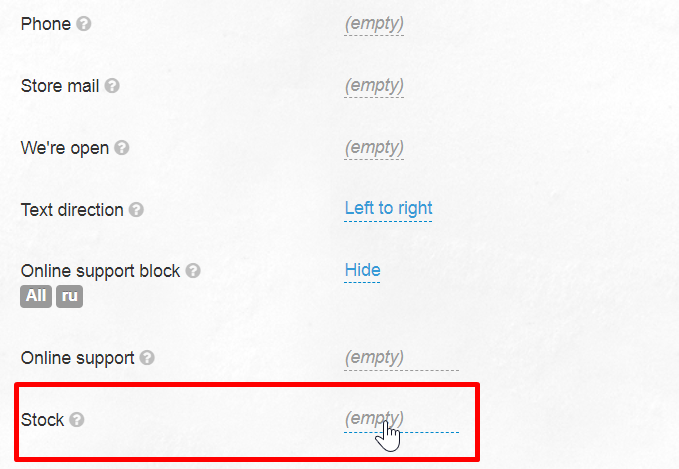
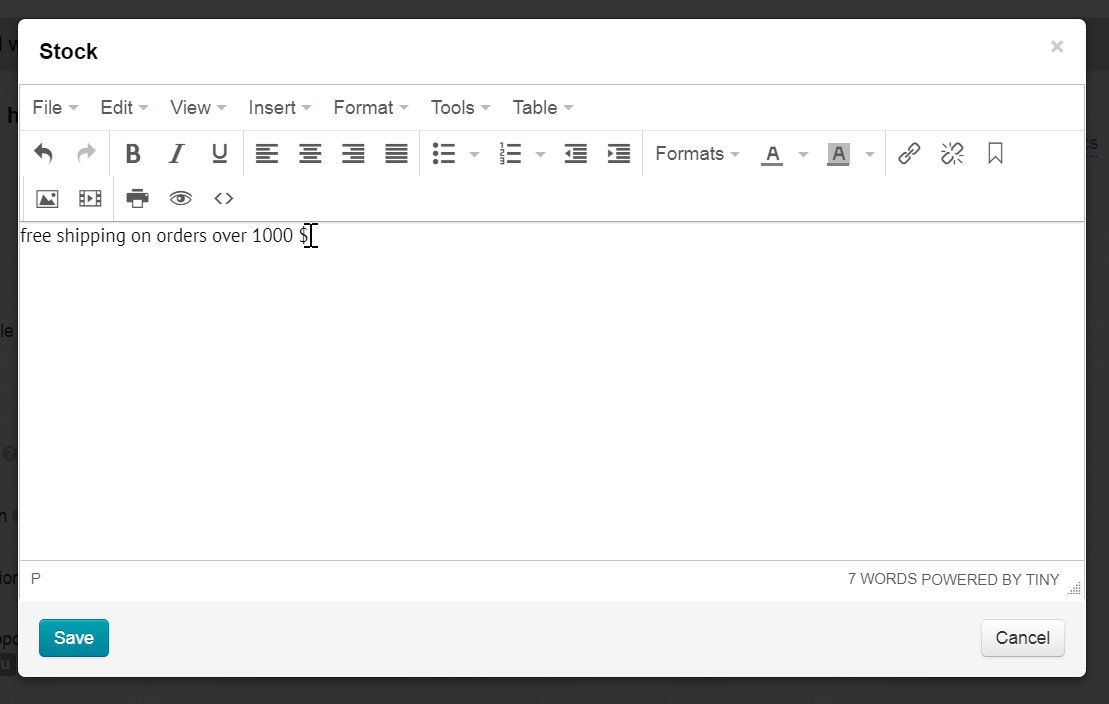
Clicking the mouse open editing window where you can write promotional text
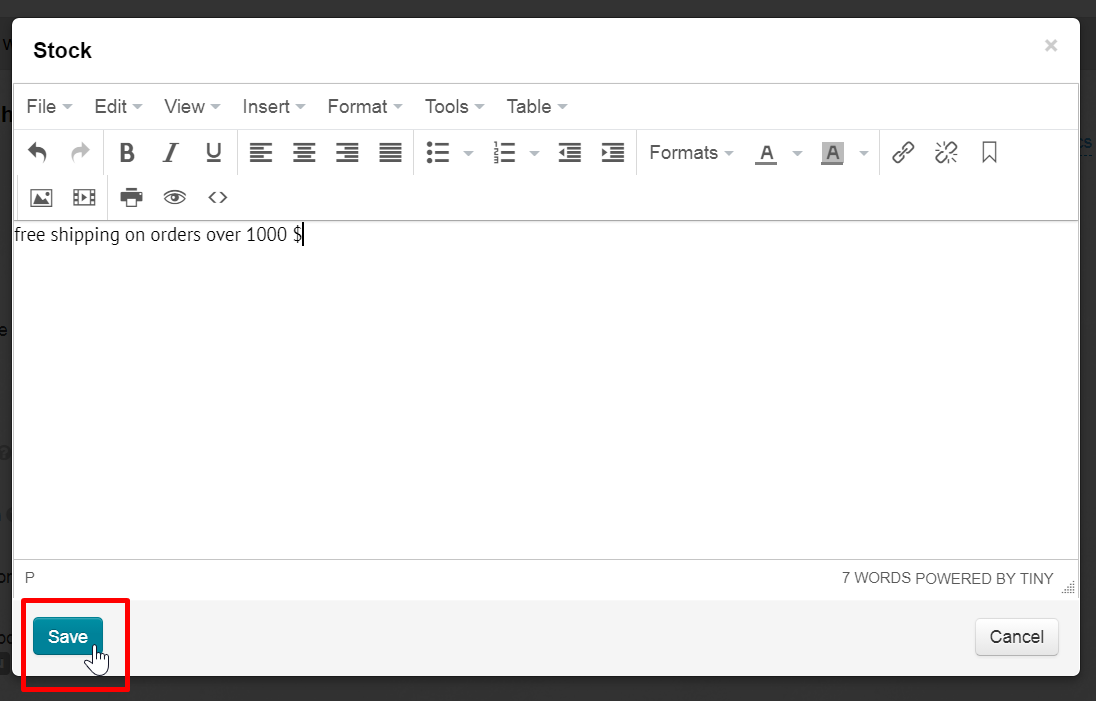
Click "Save" button and this promotion will immediately appear on the site.
Text pages setup
Website text pages are added using "Contents" manual (for example, "About us" or “F.A.Q.”).
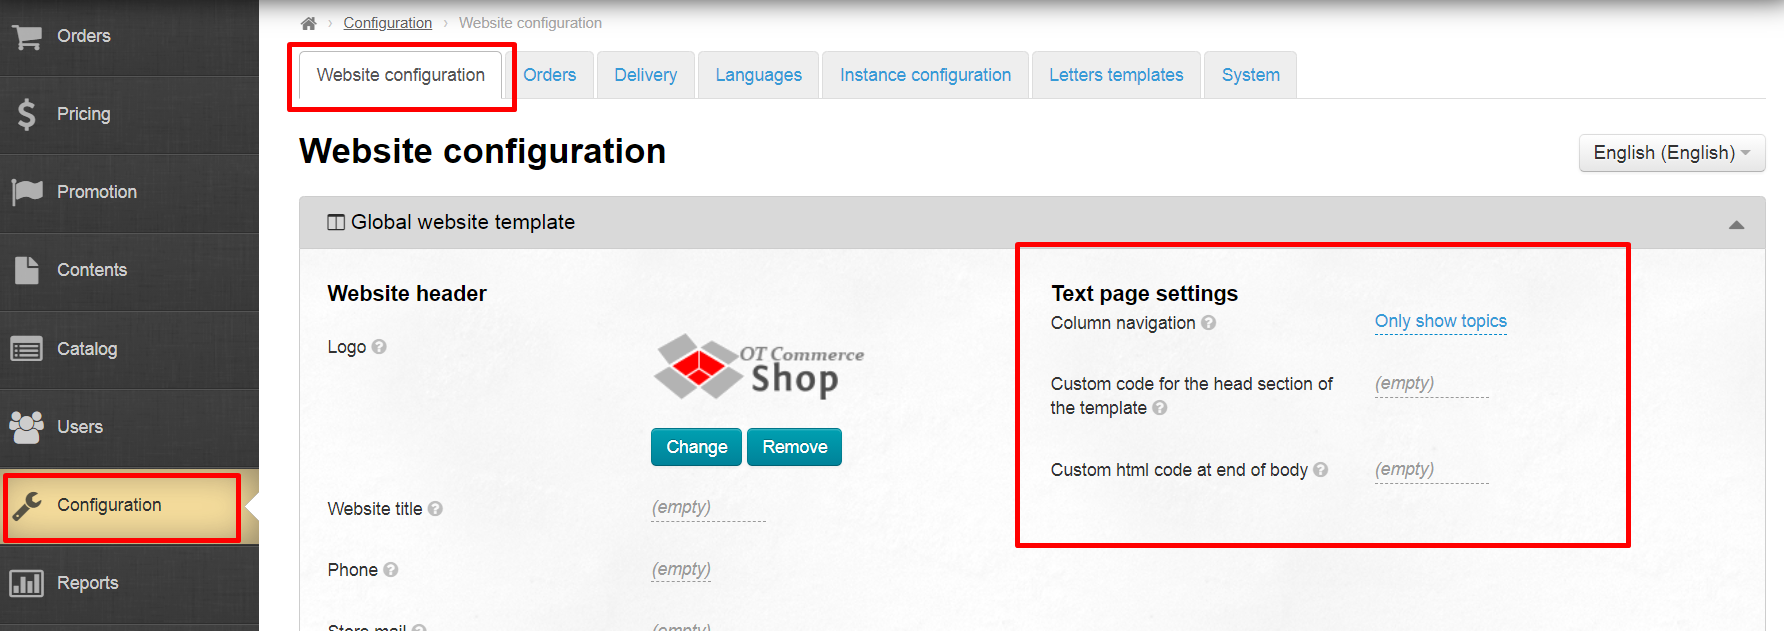
Column navigation
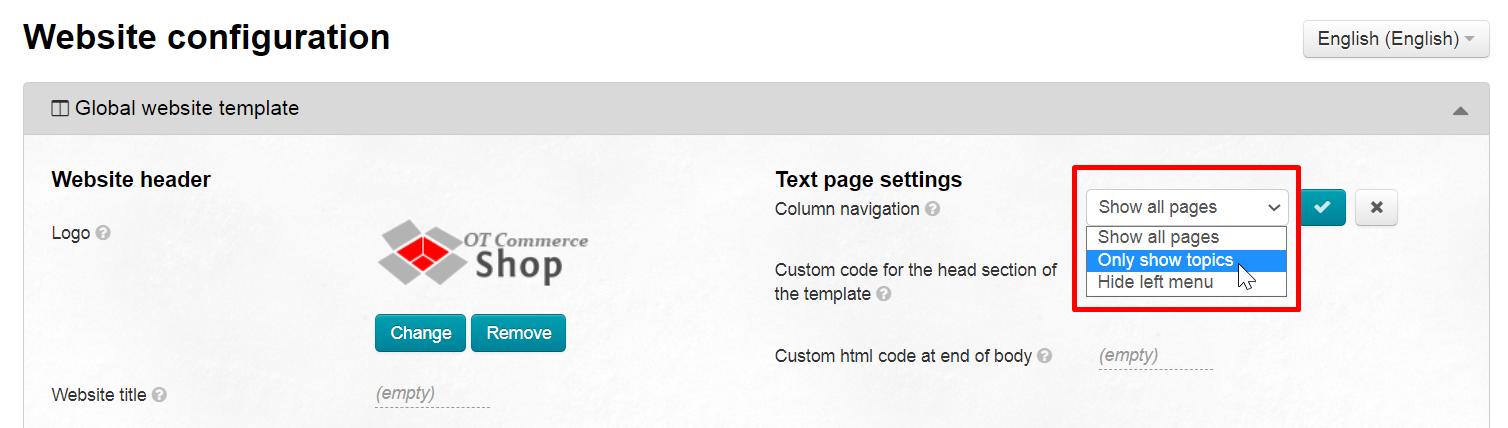
Selecting navigation menu display on website text pages. Navigation menu is displayed on the left by default. There are three display options:
| 1. Show all pages | 2. Only show topics | 3. Hide left menu |
|---|---|---|
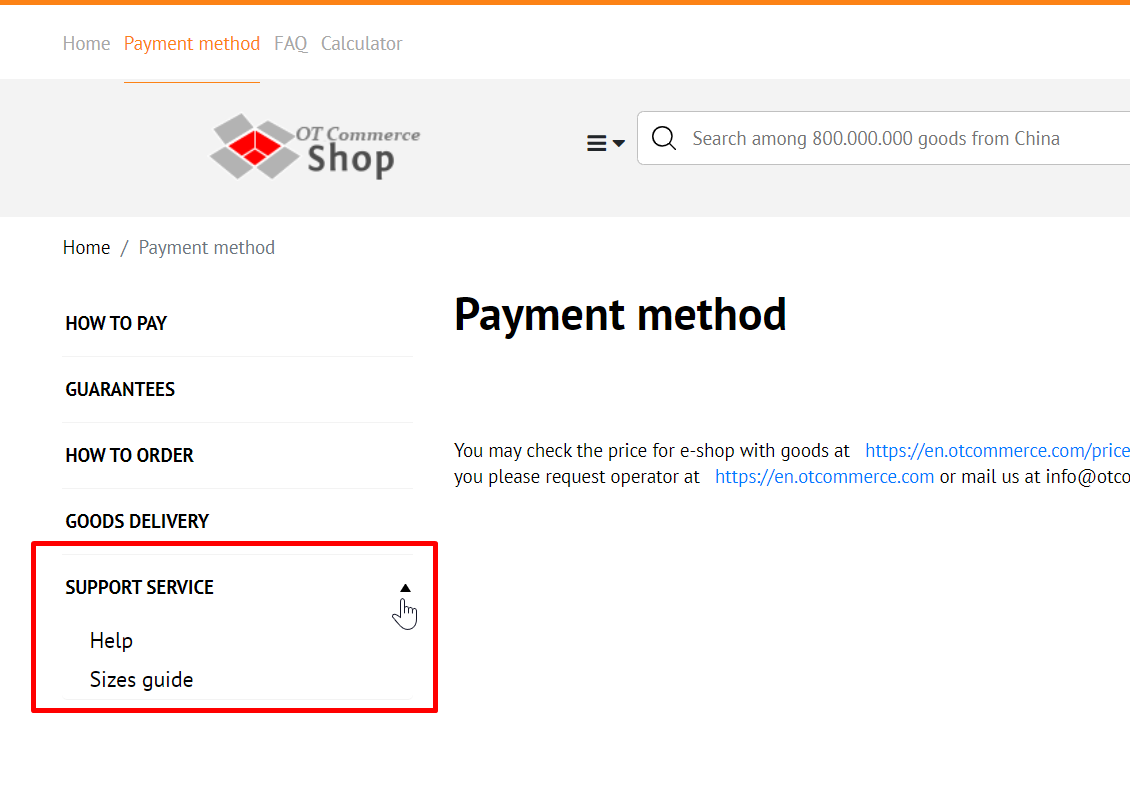 | 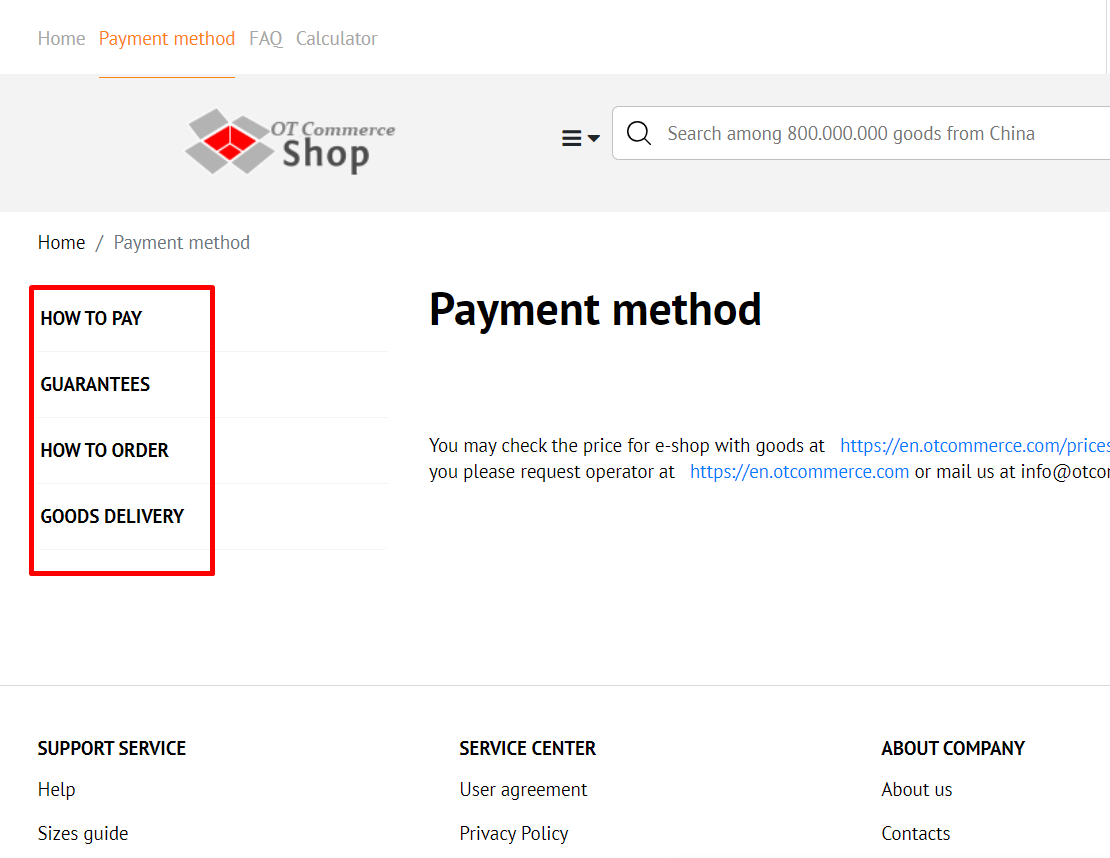 | 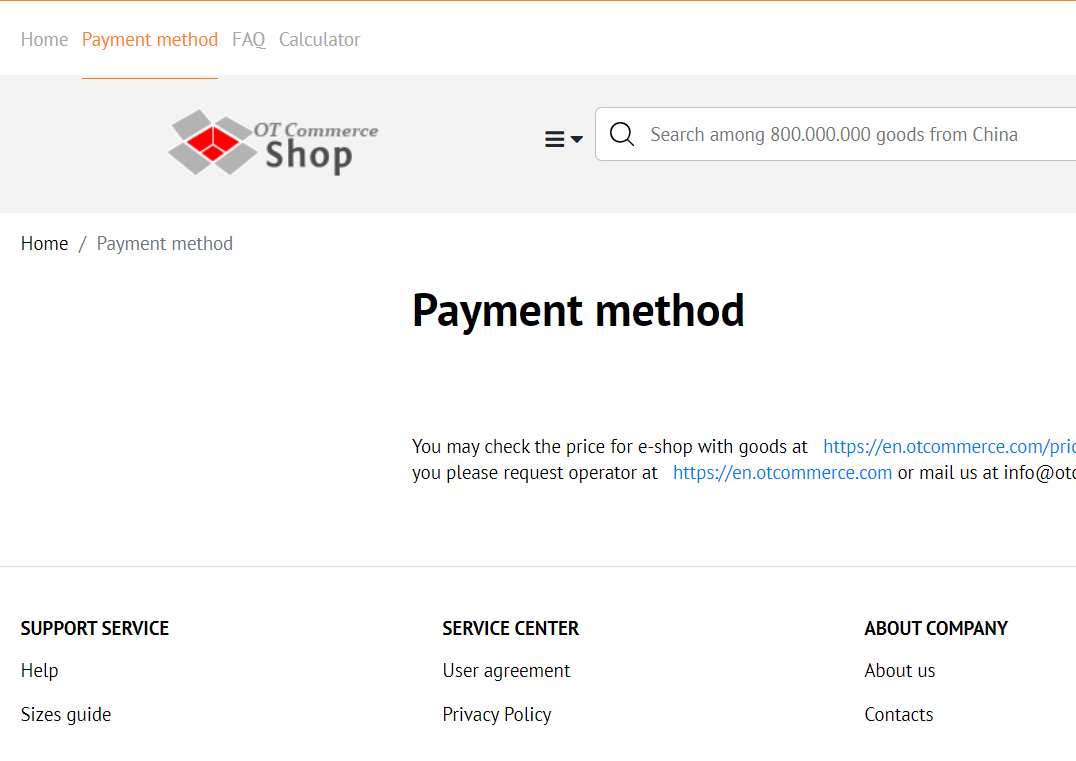 |
Open “Configuration -> Configuration → Global website template” section in admin panel
Find "Text page settings" block on the right
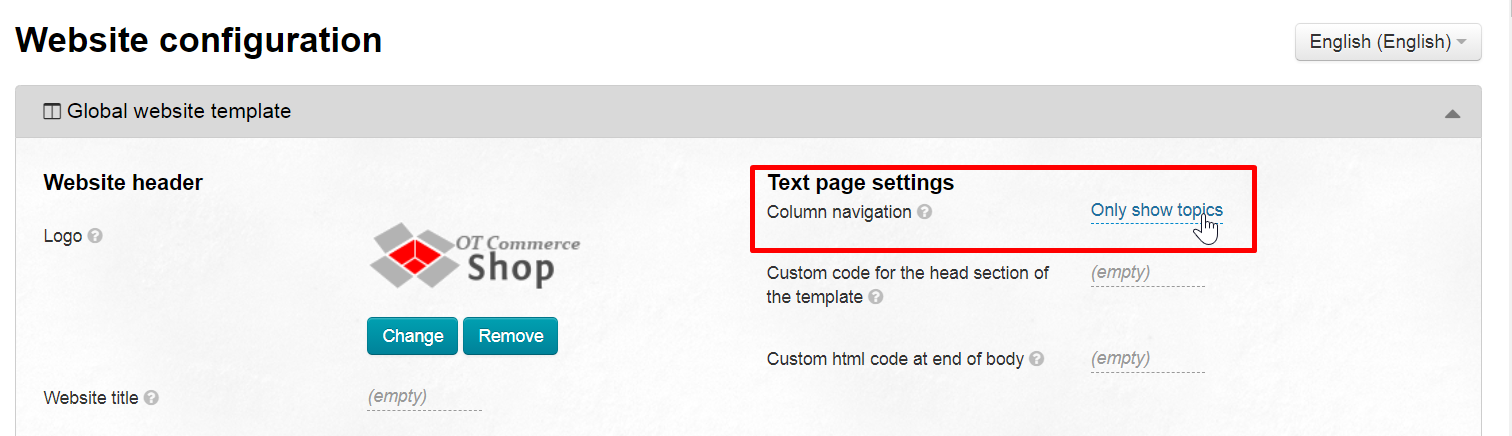
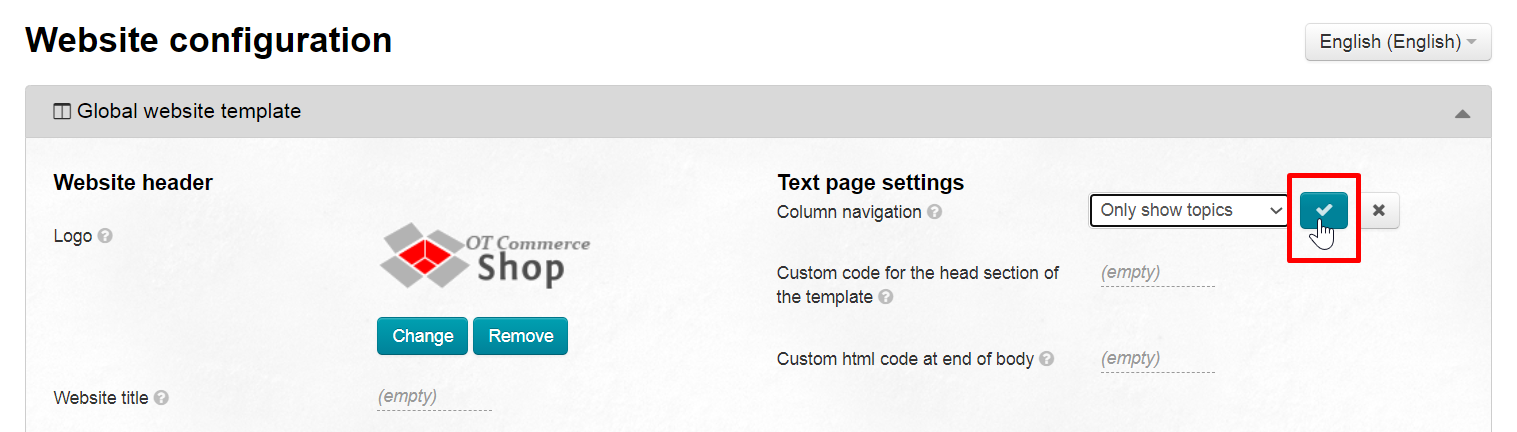
Clicking the mouse will open the list. Select menu type that suits best.
Save choice. Once the changes are saved, the menus will be visible on all text pages.
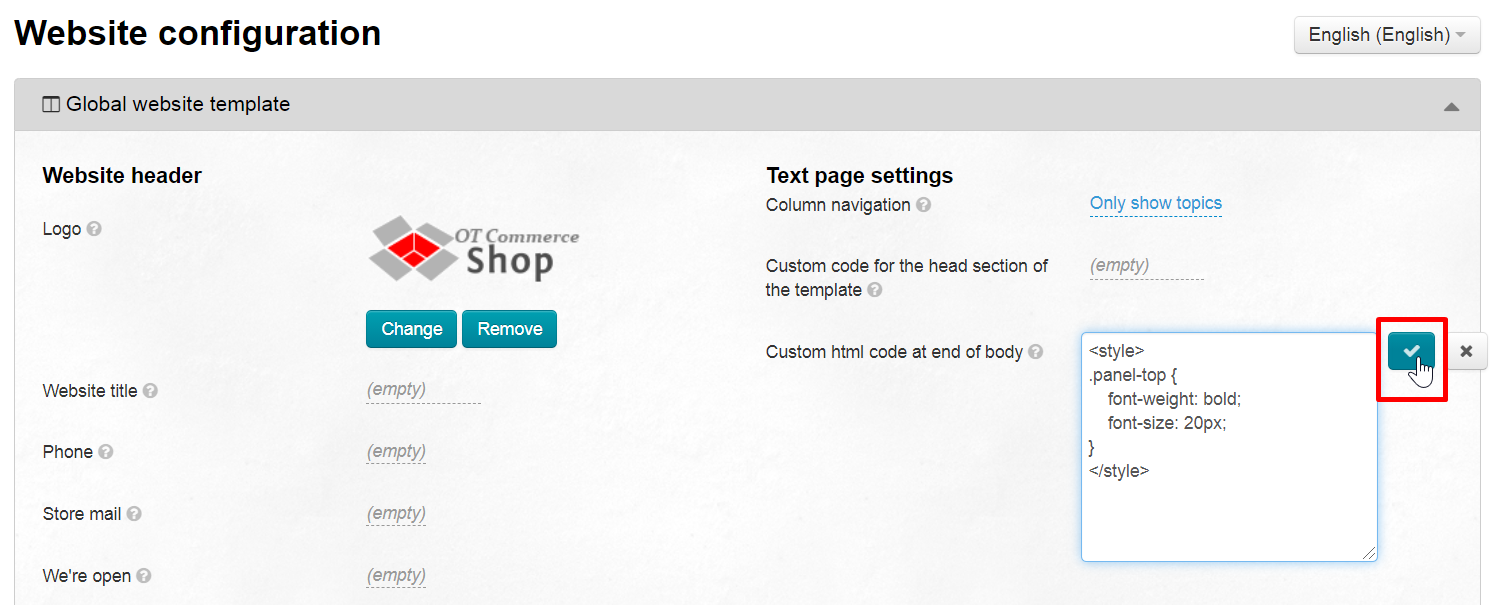
This block is used to add Yandex and Google code (rights confirmation or work with webmaster's service) and other useful services and changes. This block is empty by default.
Visitors' counter code can be added in "SEO" section.
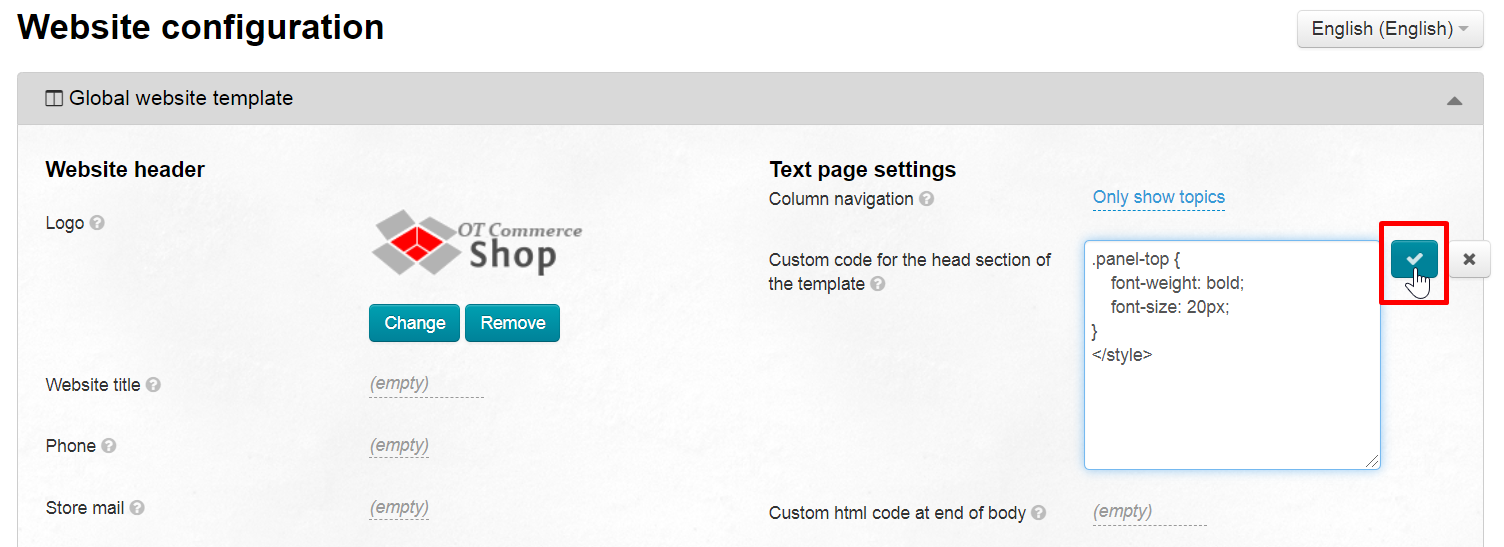
Open “Configuration -> Configuration → Global website template” section in admin panel to add the code
Find ".
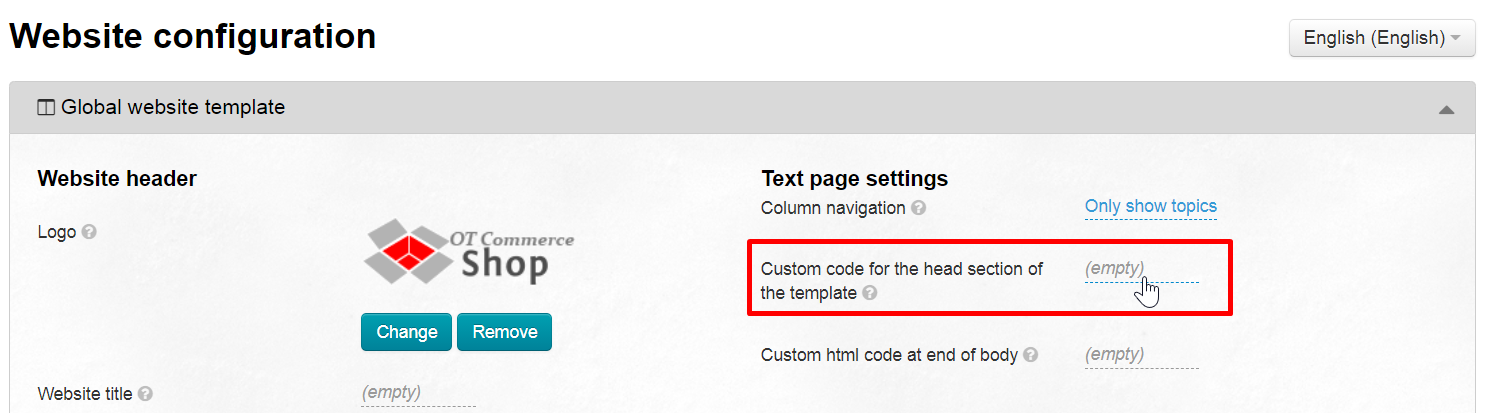
Write the code of required service or any other useful code into the window.
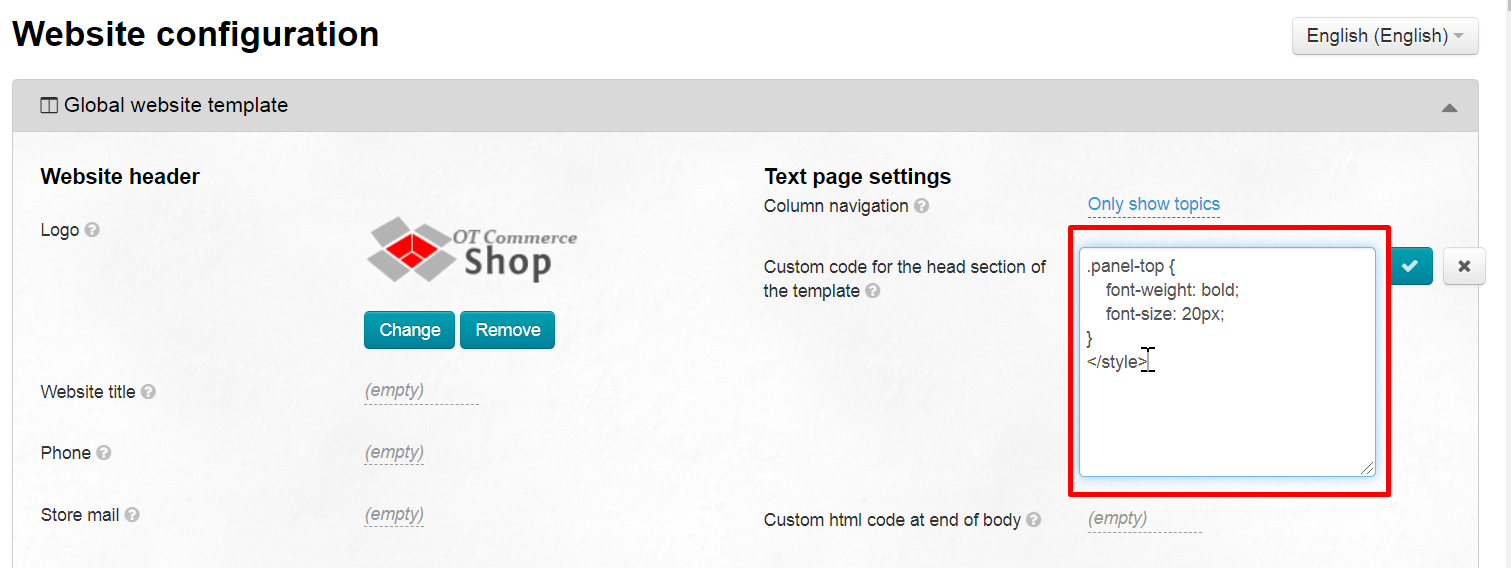
Click "Save" button
Used in the same cases as “Custom code for the head section of template". Third-party services always clearly indicate where it is better to add their code. For example, you need to write a code from Facebook pixel into this field (this is an analytics tool for identifying your advertising effectiveness, which allows you to study audience behavior of your website and create customized audiences).
Open “Configuration -> Configuration → Global website template” section in admin panel
Find "
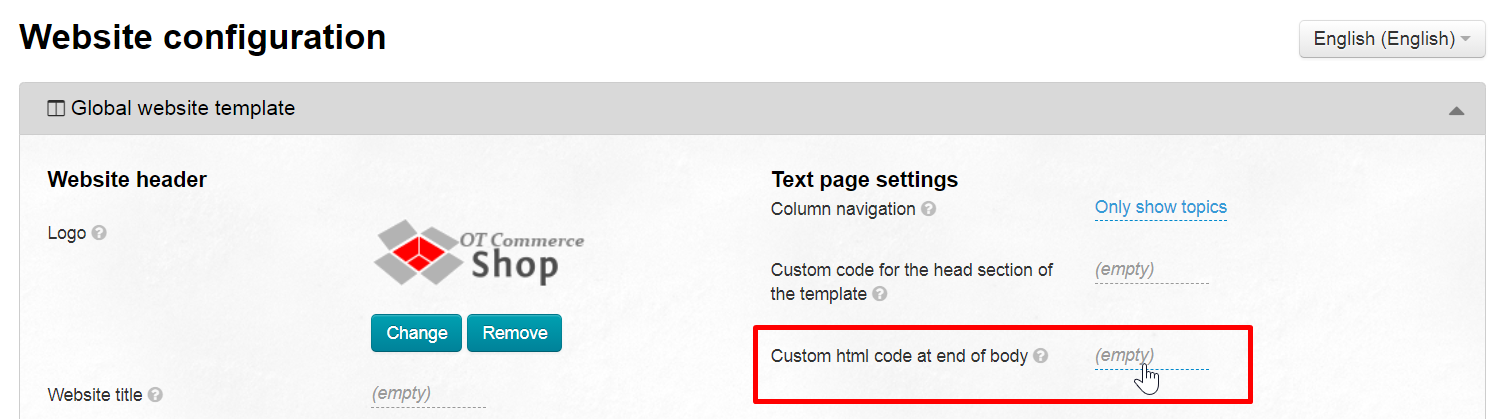
Paste the code of required service into opened field.
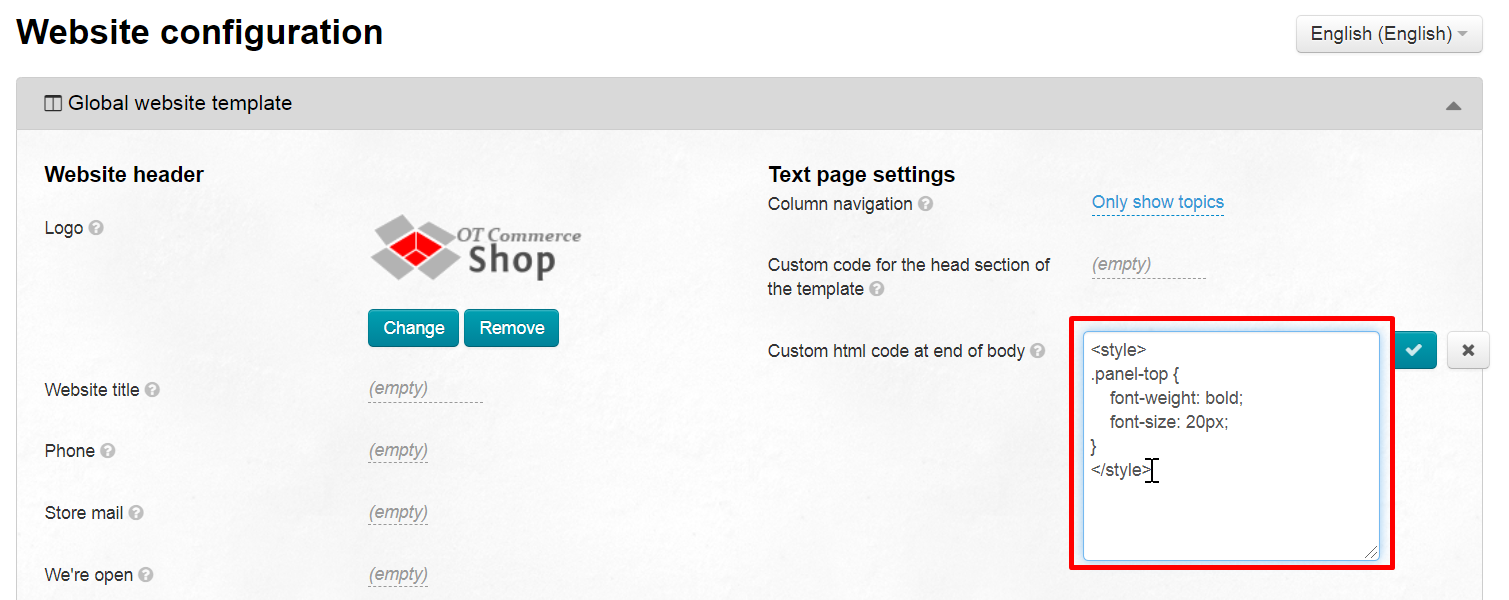
Click "Save" button
Design Themes (outdated setting)
This is where one can set one of free design variants. The default design theme is Standard.
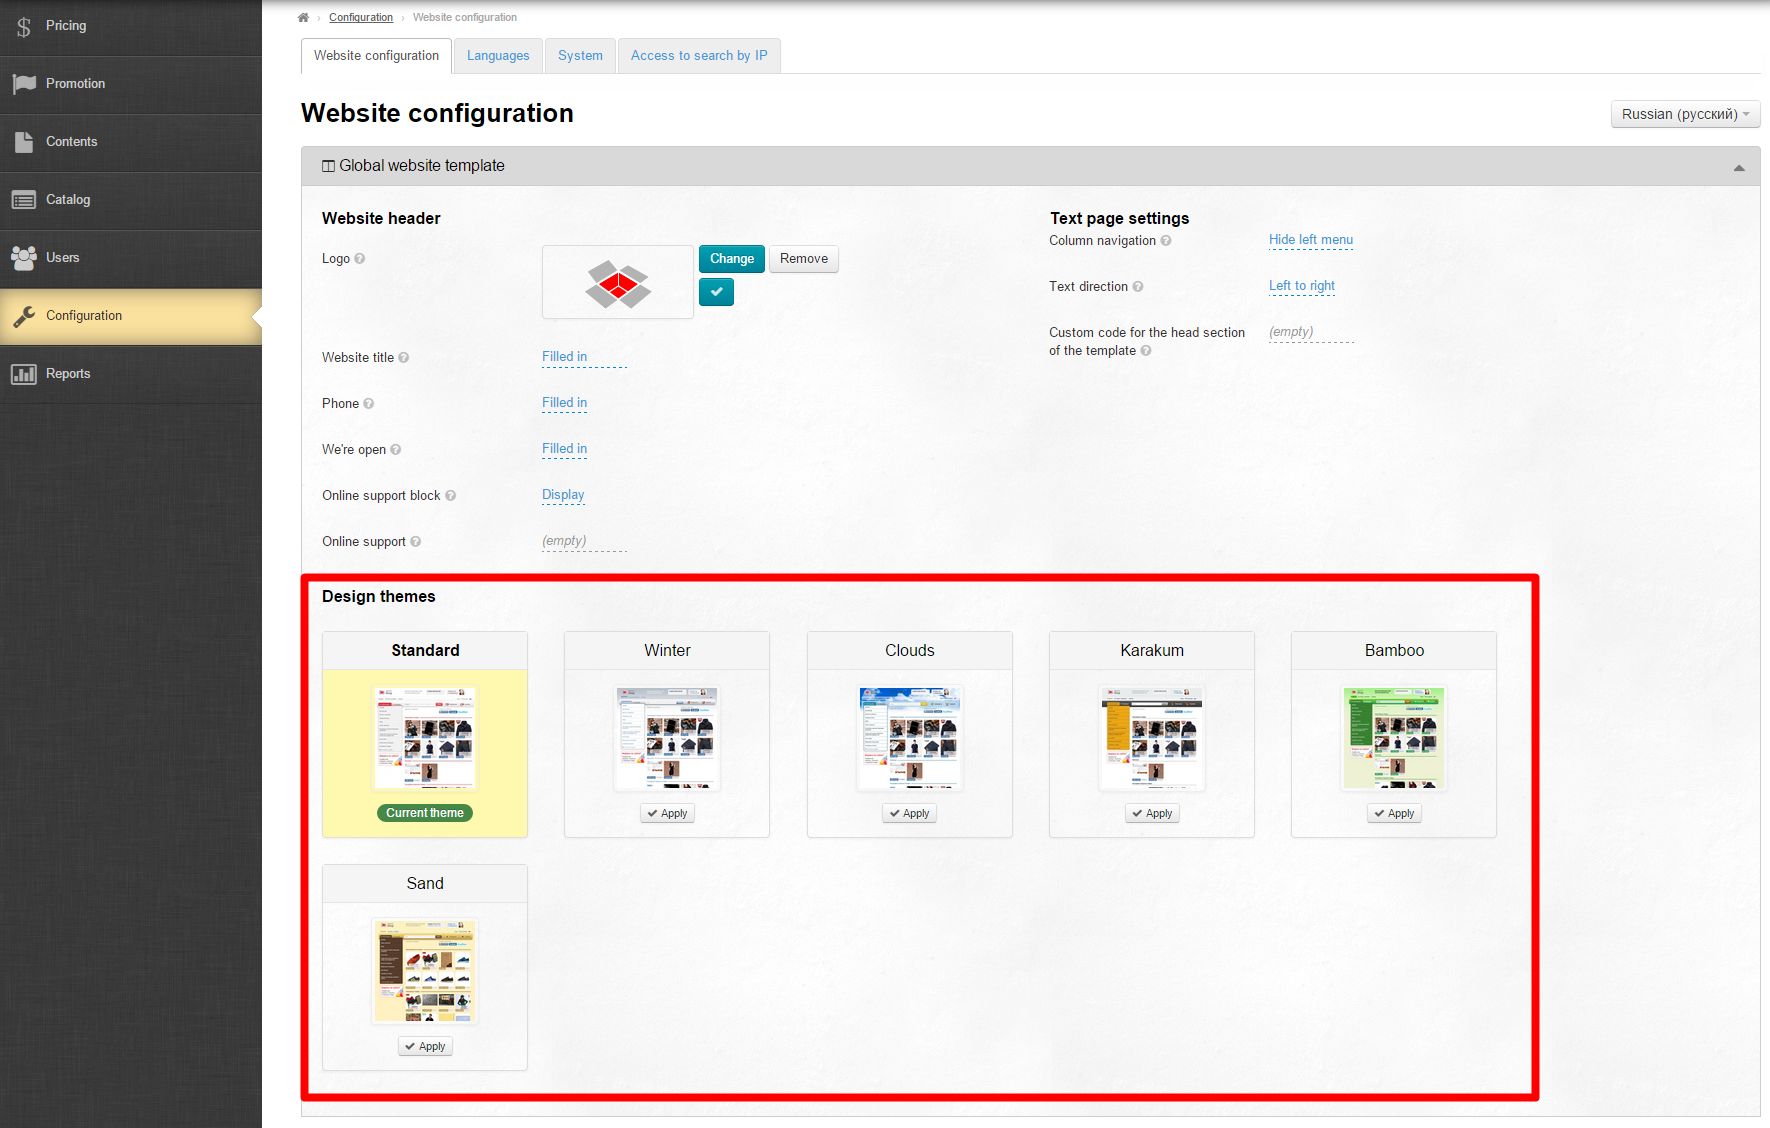
To change a design theme you should do the following:
Select design theme (for example, KaraKum).
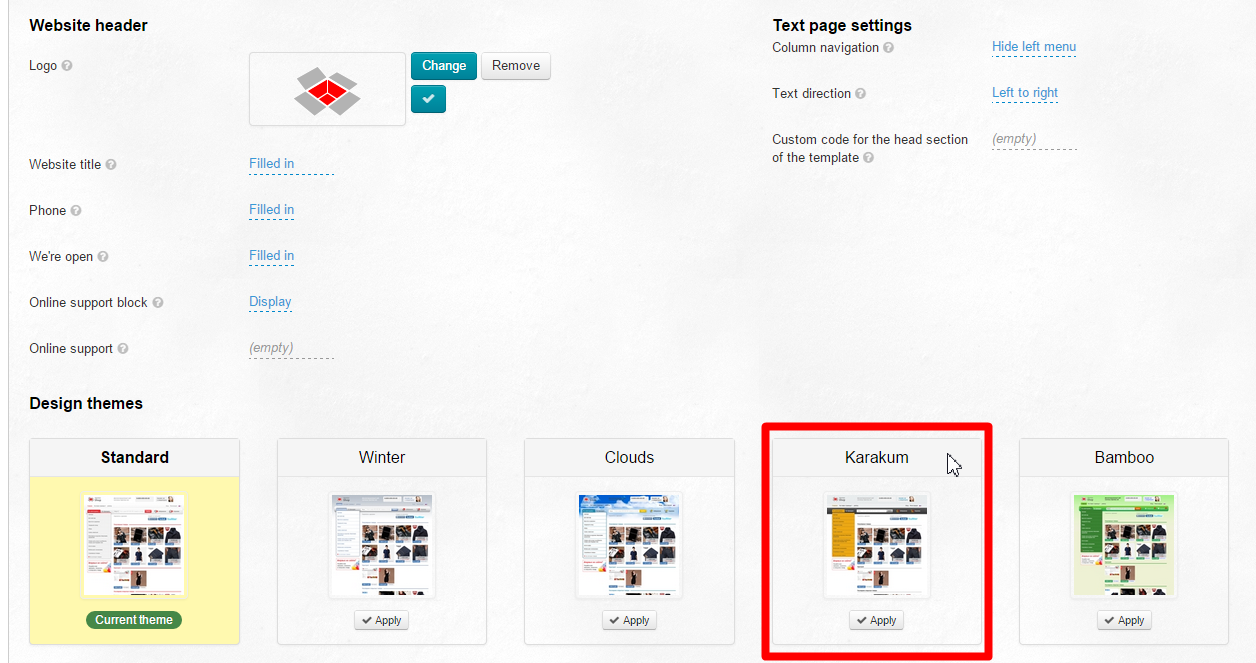
Click on the Apply button which is beneath of each design theme.
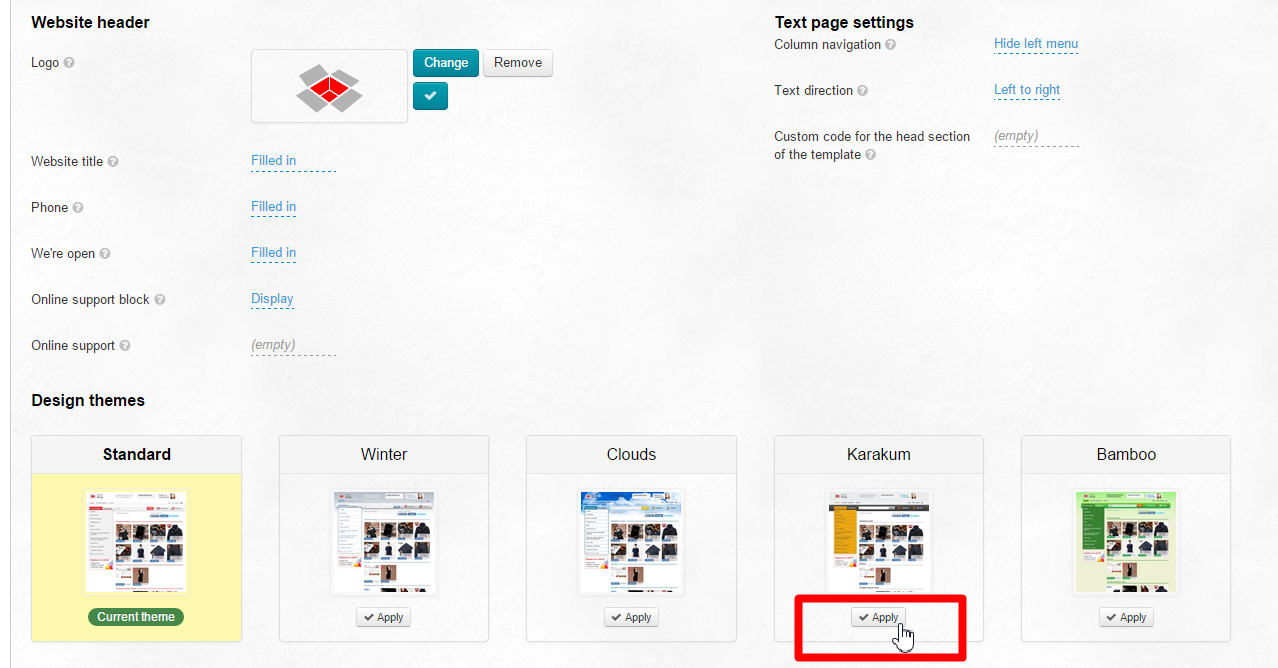
You will see that the selected theme is highlighted in yellow whereas the Install button changes to the notification “Current theme:”
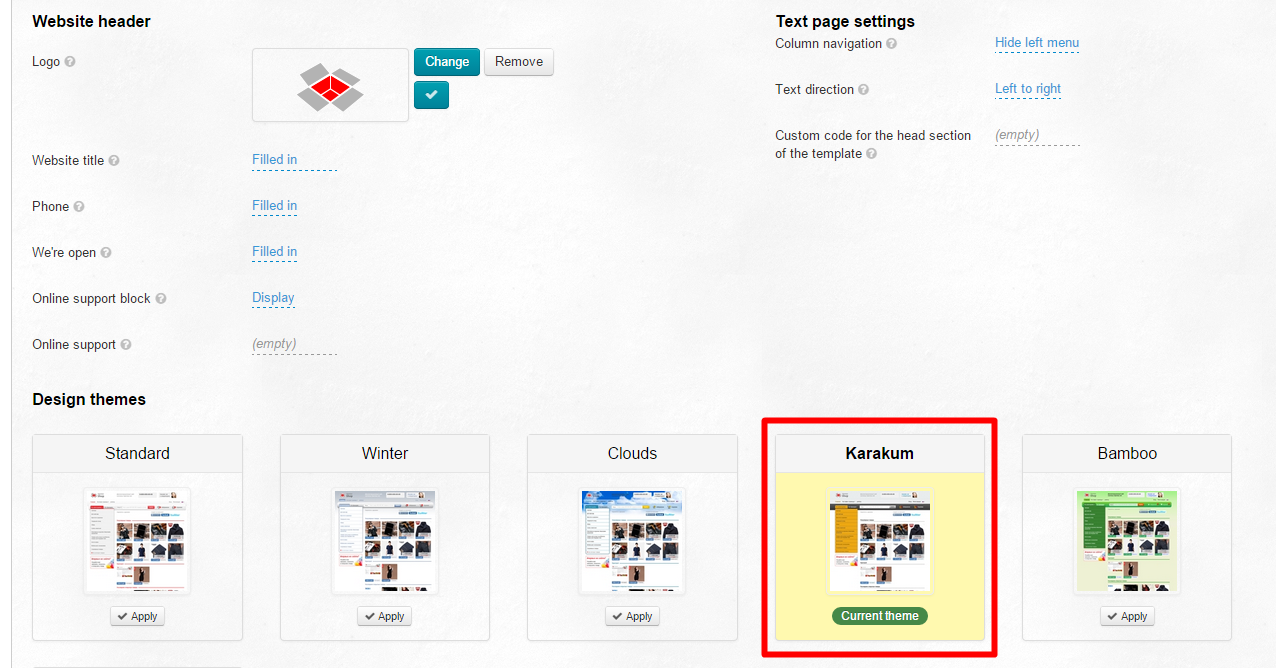
Thus the website’s design has been changed. Refresh the website by pressing the F5 button (on the keyboard). Once you have done this the changes will be available on the website.
This is how it was:
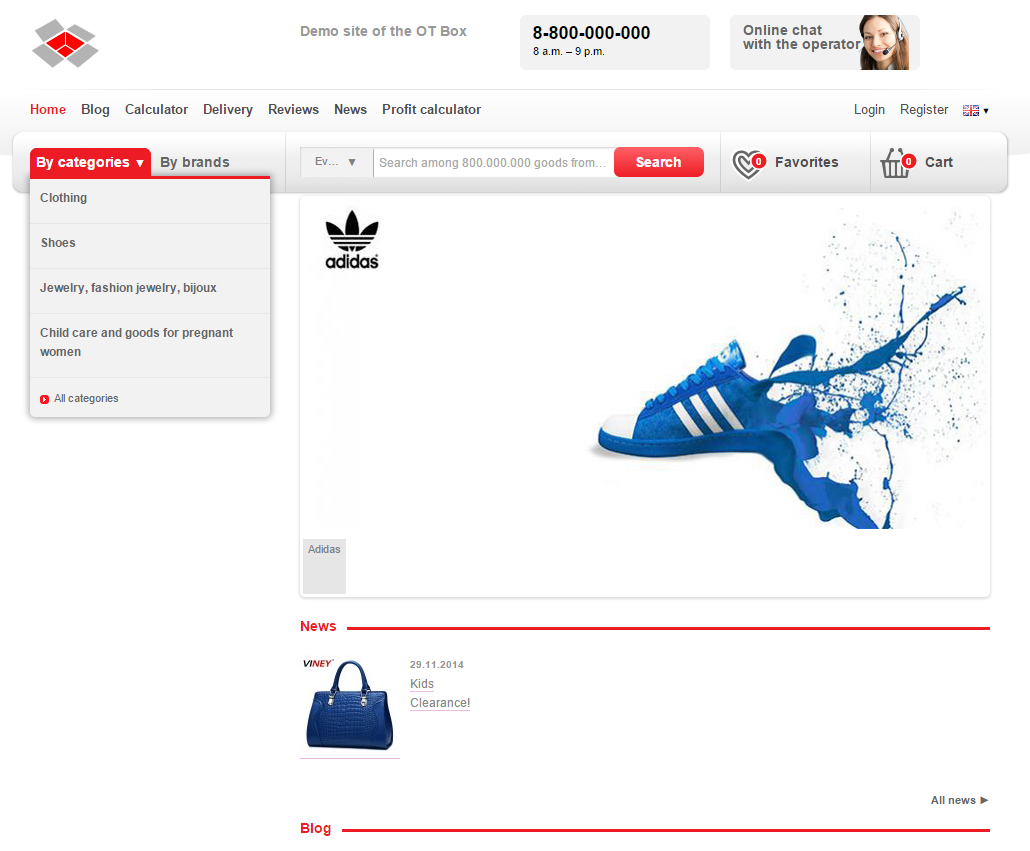
This is how it is: