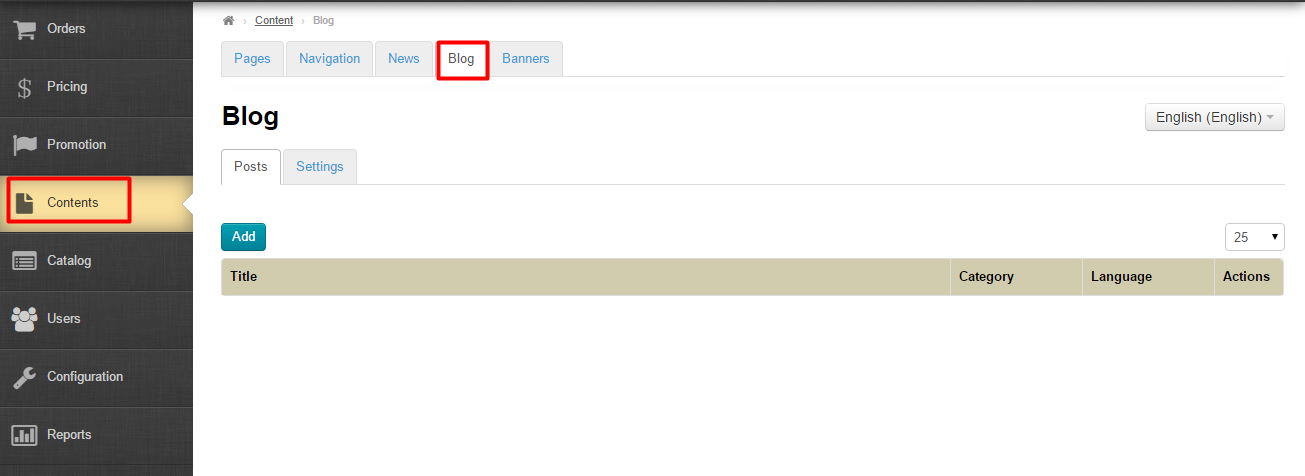
This is where posts (articles) can be added to the Blog module.
Go to Content > Blog > Posts in the admin area.
Description
The module will be enabled upon installation. To learn more about the module refer to http://en.opentao.net/products/Modules
The module is primarily used to review items that can be arranged into categories. A review can also be referred to as “a post” i.e. an article on the blog.
Blog posts are displayed on the homepage.

Module Settings
The number of blog posts on the homepage is set in the Homepage Configuration section.
The display of blog posts on a menu is set up in the Navigation section.
The number of blog posts per page is set in the Content Configuration section.
Language Version (Multilingualism Module)
You can also select the language you want to work with at setup time (the installation language) in this subsection.
Important!
Switching between different languages is possible with the Multilingualism Module at hand. Detailed information on this module can be found on the website http://en.opentao.net/products/Modules. The “Languages (Configuration)” section contains instructions on how to work with this module.
To alter a language version select the dropdown list of available language options that appears in the right-hand side of your screen.

Click on the appropriate language.

Add
To add a post on a blog click the “Add” button.

This will open a form for adding a post.

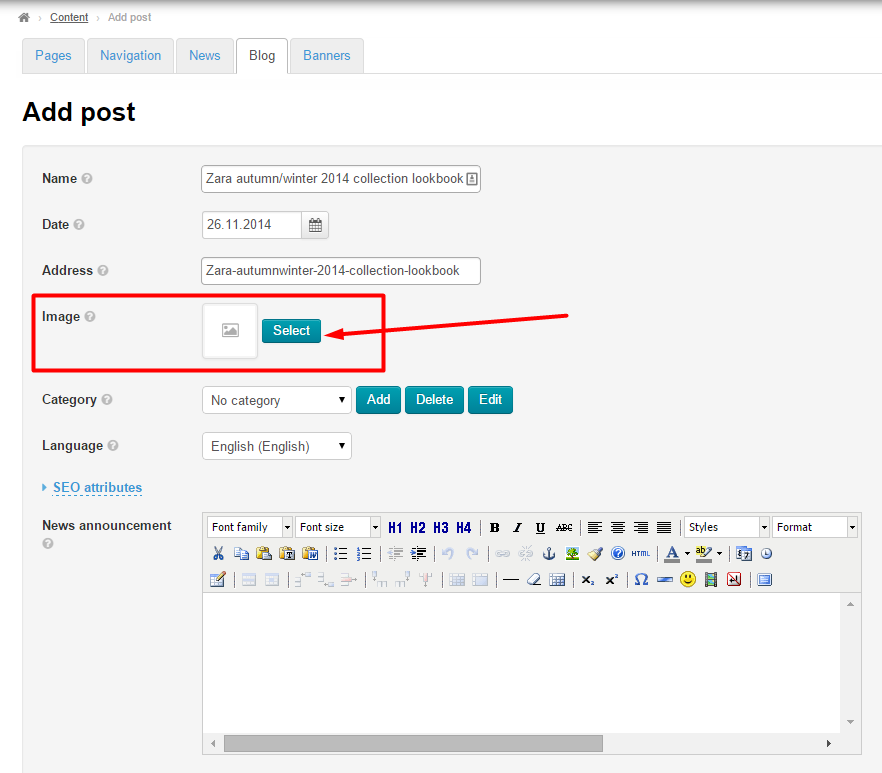
Basic information
First you should enter the title.

The next step is to specify a date (blog posts with more recent dates come before older ones).

Click a calendar icon and select a date or type it in DD-MM-YYYY format.

“Address” field is filled in automatically. You can make changes manually, using a-z characters, 0-9 numbers, and “-” sign.

Upload an image from your computer by clicking the “Select” button.

Category
Important!
All actions with categories can be performed while editing a post.
For each blog post a category can be assigned (select it from available ones or create the one you need)

To select a category from available ones please click the triangle next to a category name field.

Click on the appropriate category from the list.
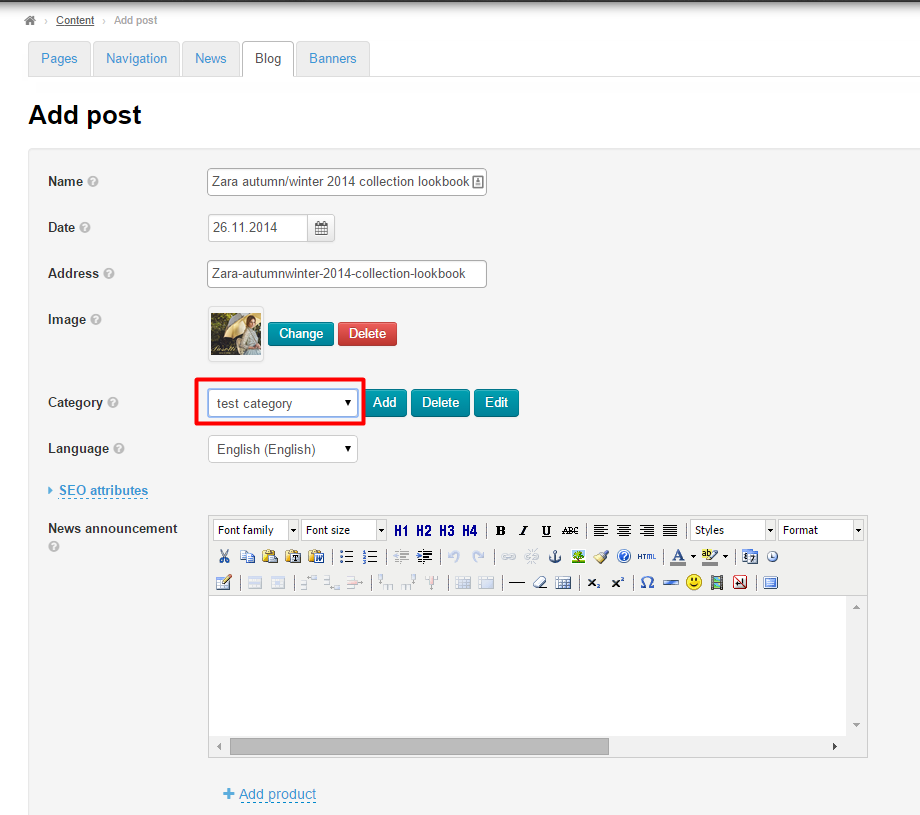
Add
If there is no category to suit your needs create a new one.
To do this you should click the “Add” button.

Once you click the button a form for creating a category will appear.

Specify your category name.

Next you need to provide a brief description (no more than three or four words)

Select a language version for which the category will be used.

To add the category to the list click the “Save” button.

Edit
To edit a category select the wanted one by clicking the triangle next to the category name field.

Once the category has been chosen you need to click the “Edit” button.

You should see the form similar to that for adding a category.

Make all necessary changes and click the “Save” button.

Changes will appear on the website after saving.
Delete
To delete a category select the wanted one by clicking the triangle next to the category name field.
Once the category has been chosen you need to click the “Delete” button.

A confirm screen will appear asking if you are sure you want to delete the category. Once you click “Delete” the category will be permanently deleted.

Language
To specify a language version (when you switch the language you’ll see the post content for that language) select the one you need from the drop-down list given below:

Contentpost
This is the body of the blog: a post itself on a blog. Here you can add a text using a post editor (in much the same way you use MS Word) or add a product (or some ones) associated with the post.
You should write a summary (usually two or three sentences that briefly outline the core of the post).

You should enter a text.

Next you need to attach an item (product).To do this one should know ID (identifier) or link of a product. One can take it from the item page.

Copy the item ID or link and click “Insert product” link in the admin panel.

Insert ID number or link from the item page.

Click “Add” and the item selected will appear at the bottom of the blog post.

If it is necessary to insert more than one product one should find another item, copy its ID and repeat the same procedure. The new item will be added right after the last added item.
The post (article) is ready. Click the Save button.

After saving the post will appear on your website’s homepage

and on the blog.

Actions
Edit
Click the gear button in the “Actions” column to edit a post.

You will be presented with two menu options. Click the “Edit” menu item.

You should see the form for editing a post.

Make all necessary changes and click the “Save” button.

Delete
Important!
A post will be permanently deleted.
To delete the post click the gear button in the “Actions” column.
You will be presented with two menu options. You need to select the “Delete” menu item.

A confirm screen will appear asking if you are sure you want to delete the post. Once you click “Delete” the post will be permanently deleted.
