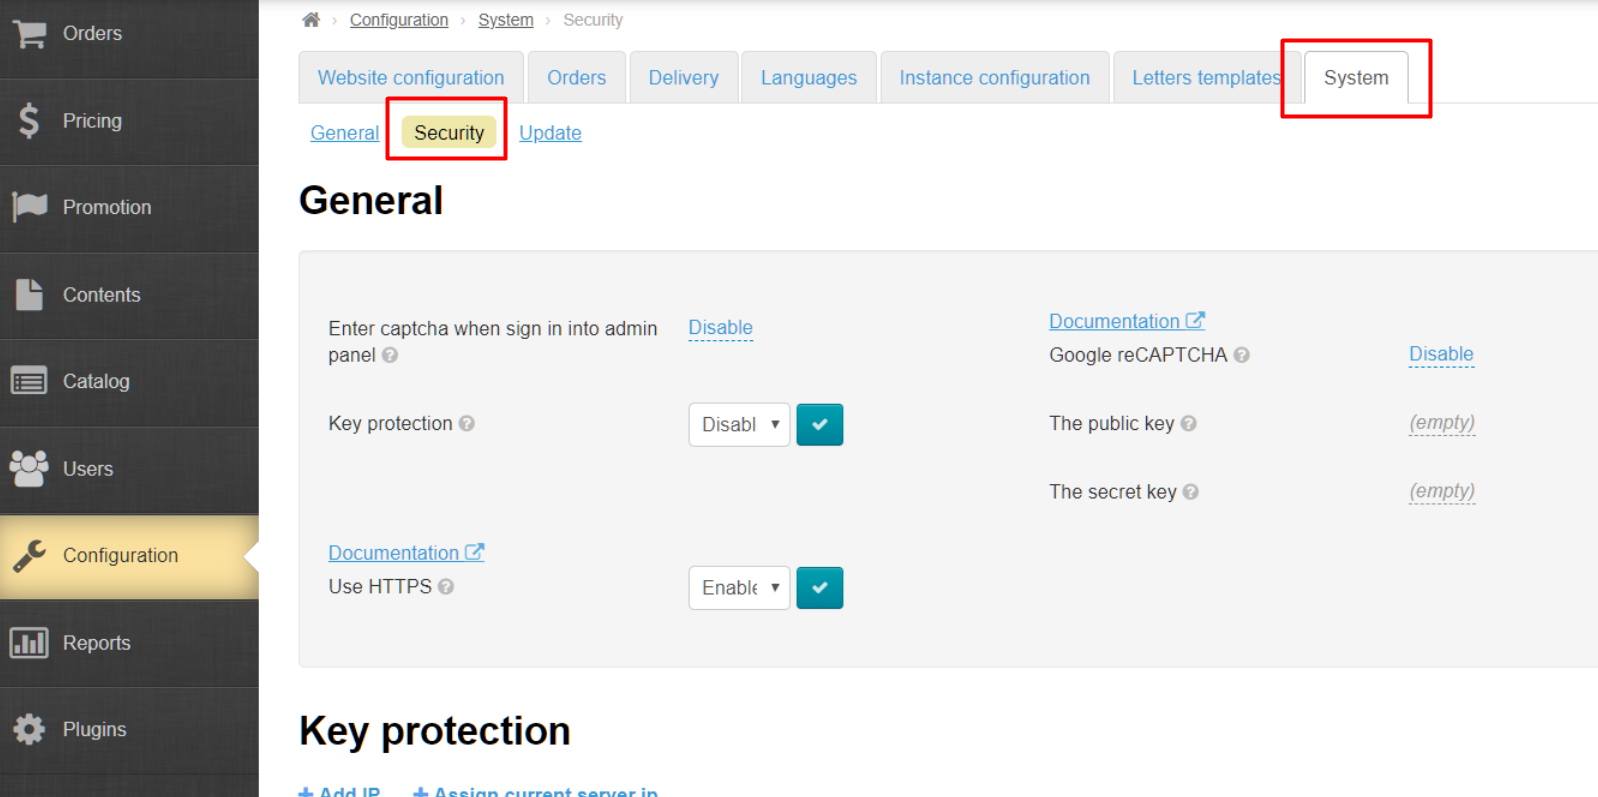
Location in admin mode: Configuration → System → Security
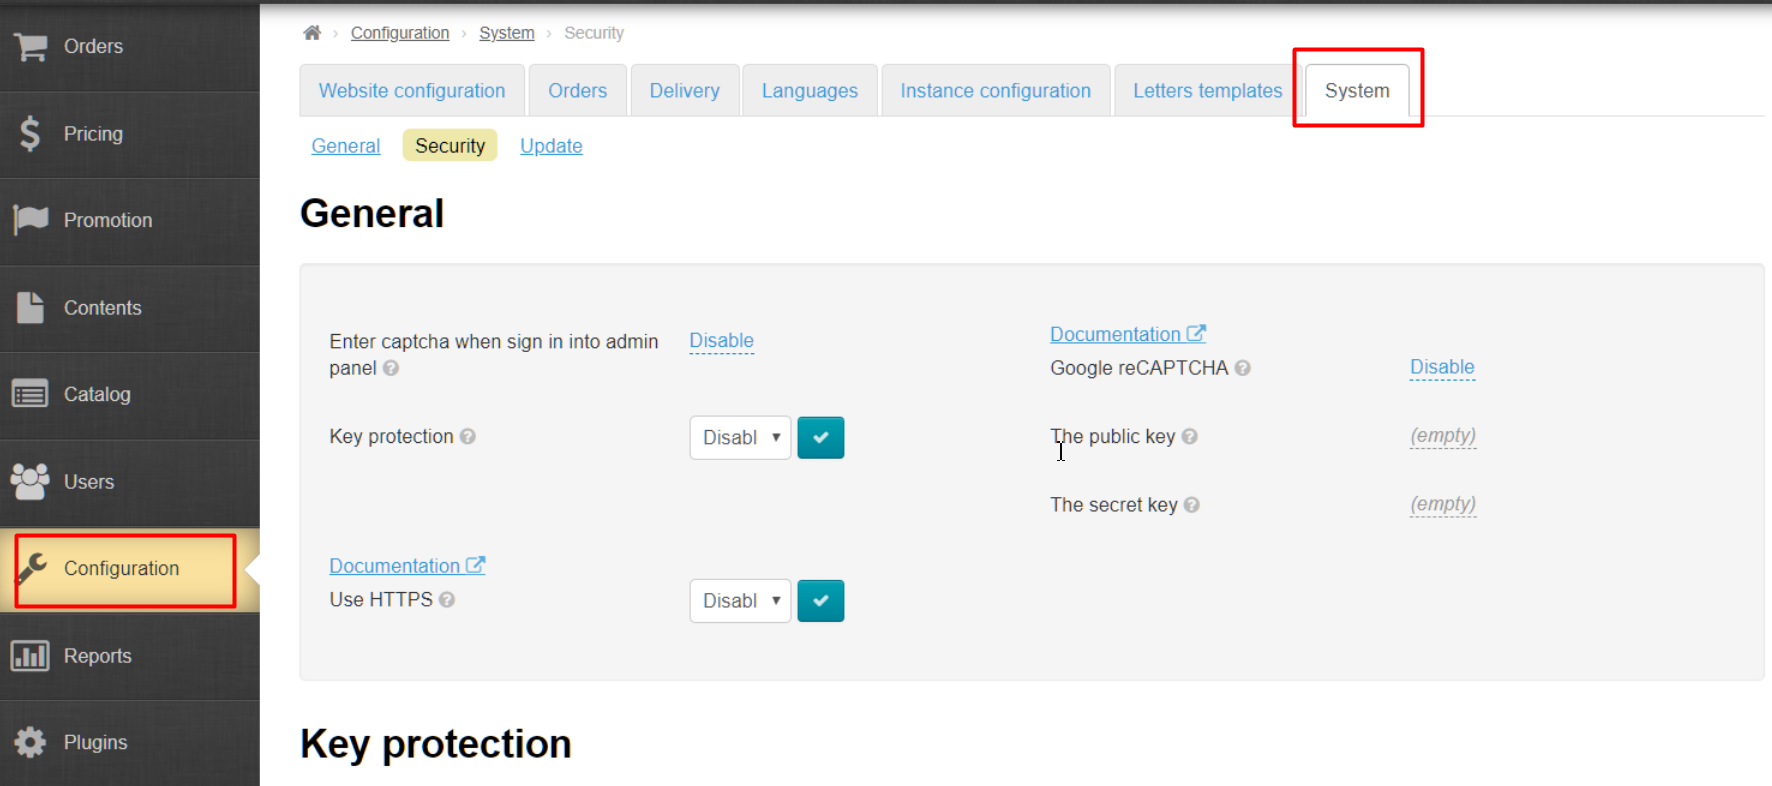
General
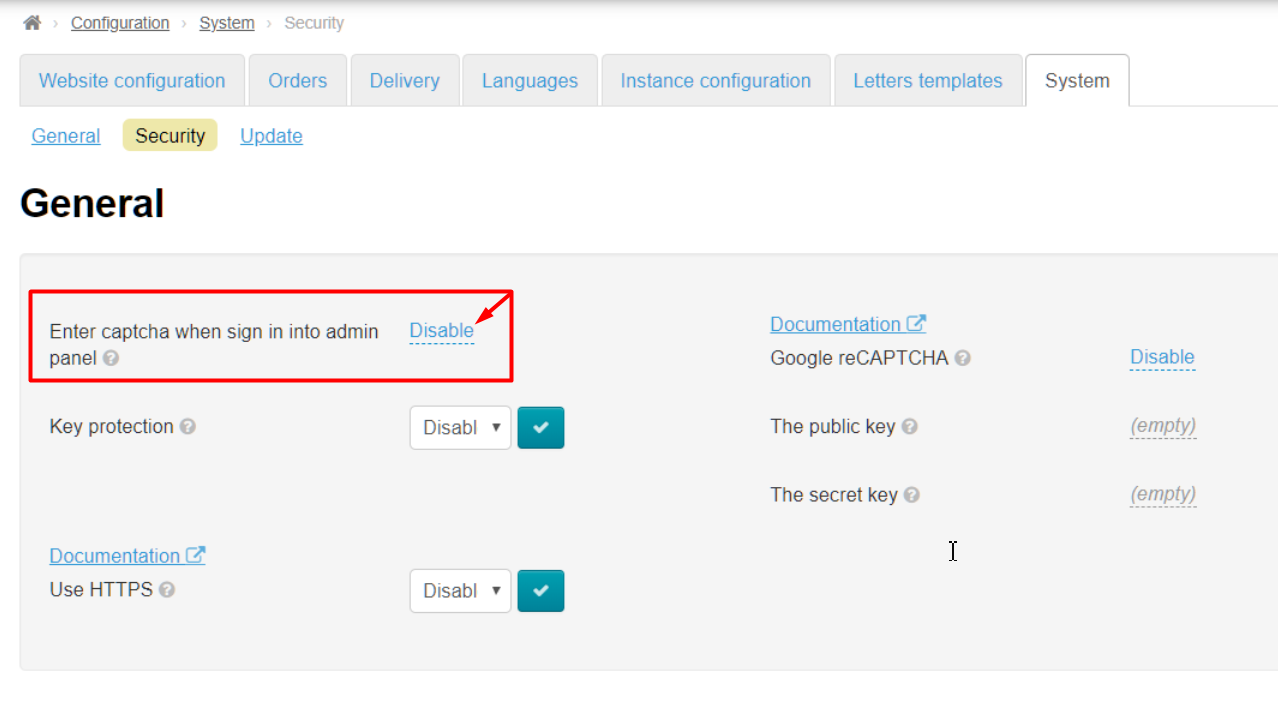
Enter captcha when signing into admin panel
Captcha is an additional brute forcepassword protection for admin panel.
Click caption with dotted line to use (or disable) this feature:
Open drop-down list clicking a triangle:
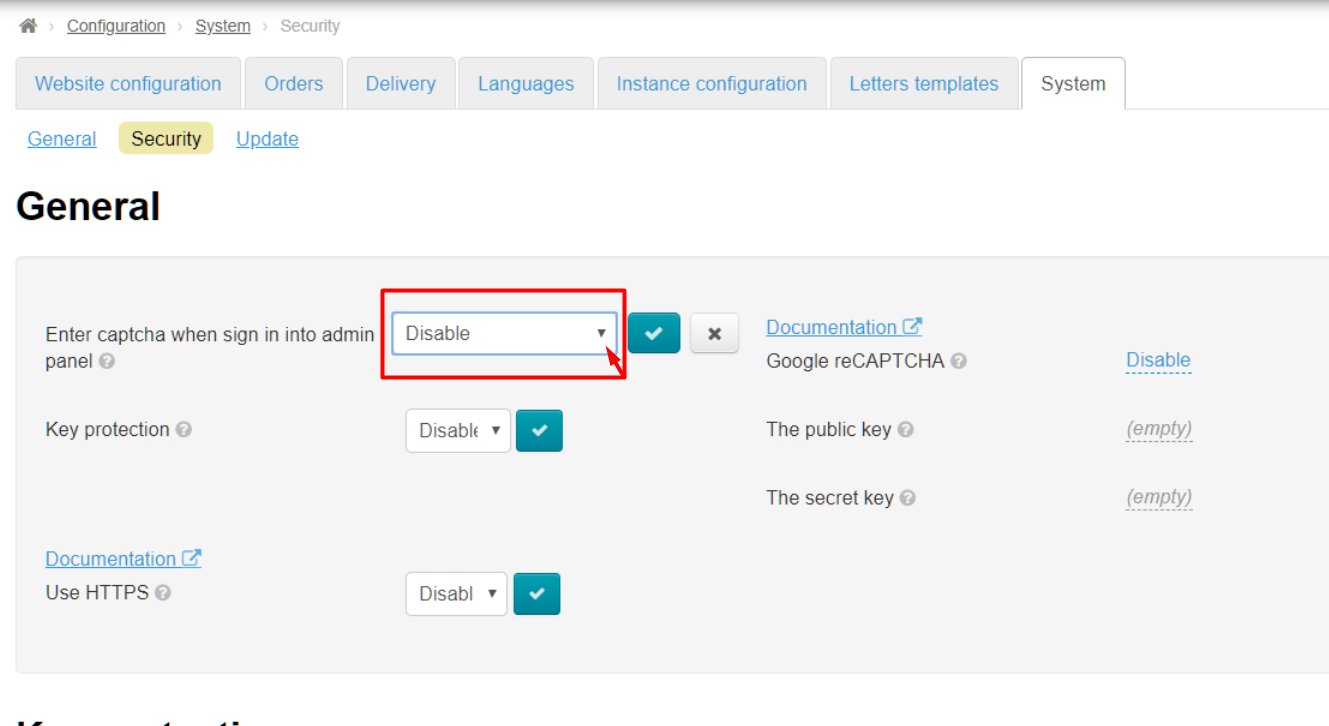
Choose necessary value from drop-down list clicking it:
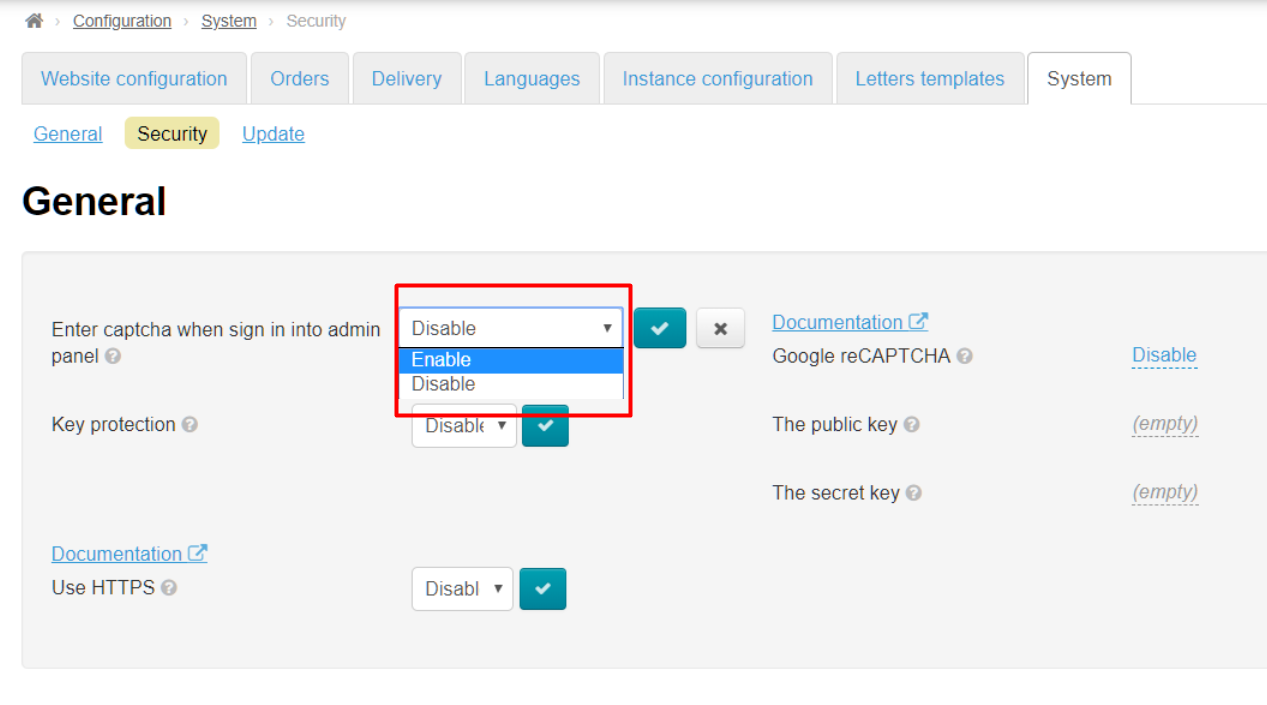
Save choice clicking checkmarked button:
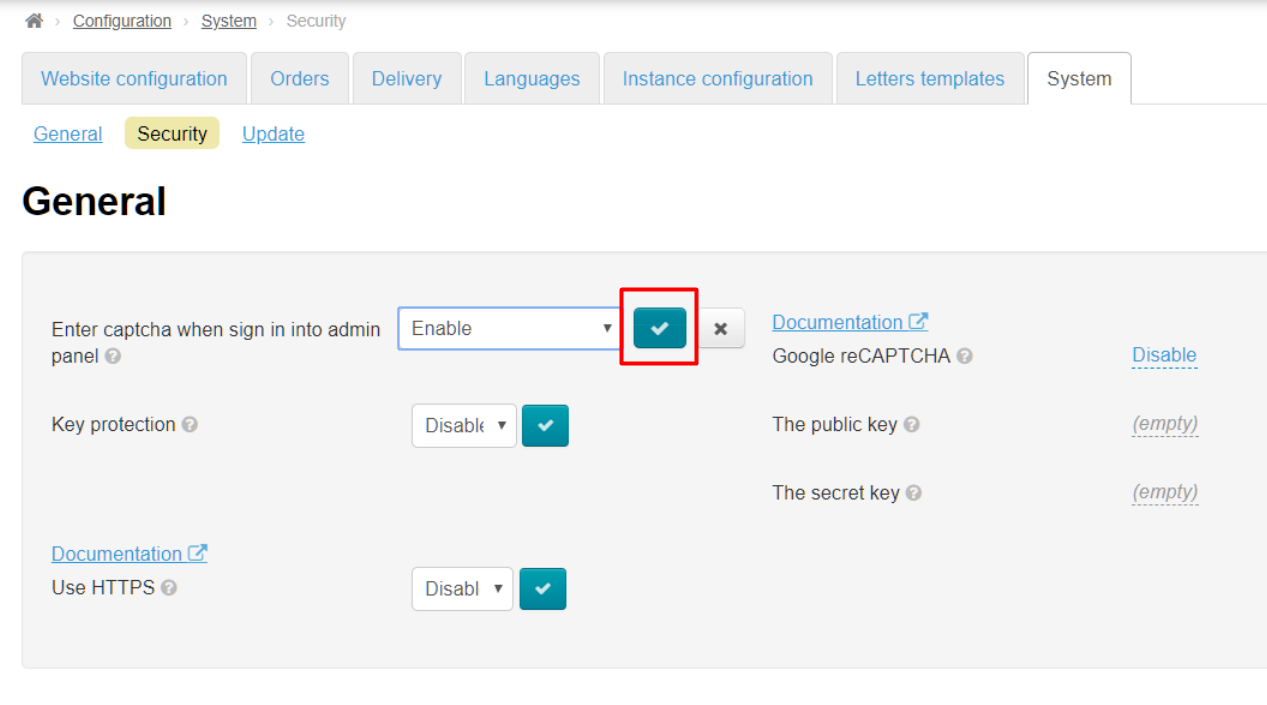
Changes will take effect immediately after saving.
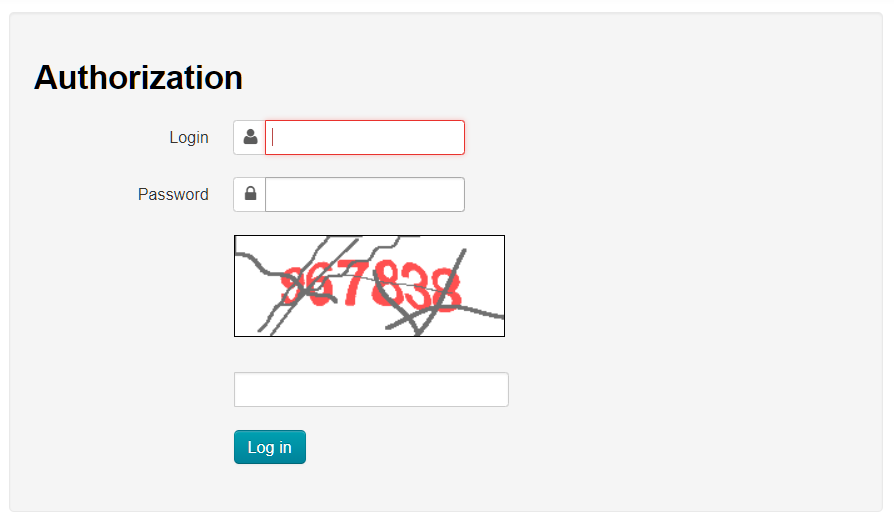
Captcha is displayed during authorization in admin panel when this option is enabled:
Secure protocol HTTPS
Data protection is extremely important in some services, for example, in electronic payment systems or in online stores, therefore they use only HTTPS. This protocol is also very often used in other services that process private information, including any personal data. The presence of encrypted data transmission increases customer loyalty by ensuring that their personal data will remain secret and no one can use it for their own purposes.
Important!
Using this protocol requires SSL certificate purchase .
How to start using HTTPS?
- You need to buy SSL certificate from a specialized certificate retailer first. For example, the largest seller in the world https://www.symantec.com/ru/ru/ssl-certificates/
- You must install certificate on the server where your site is located after you have purchased a certificate. You can provide certificate to your hosting provider and he will do it himself.
- It's necessary to configure HTTPS protocol in OT Box when certificate is installed on your server.
Error will be issued stating that connection is not secure if you enable setting without installed SSL certificate. Some browsers block such sites!
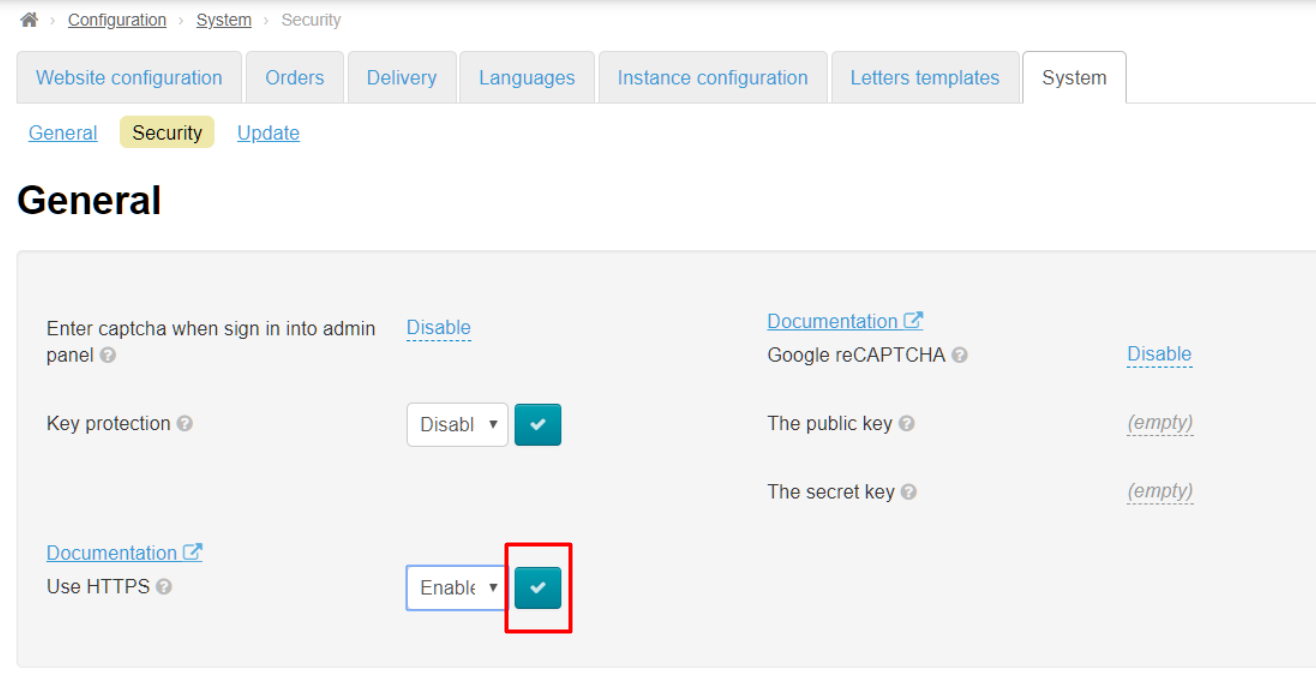
Click a triangle to open drop-down list to enable protocol:

Choose and click “Enable” (or “Disable” if this service is no longer required) in the list:

Save choice clicking checkmarked button:
We recommend to enable Google reCAPTCHA if you want to protect your site from spam and bots. In this case your site will be monitored for suspicious activity, and captcha will be shown on website when doubt arises in the “humanity” of site visitor:

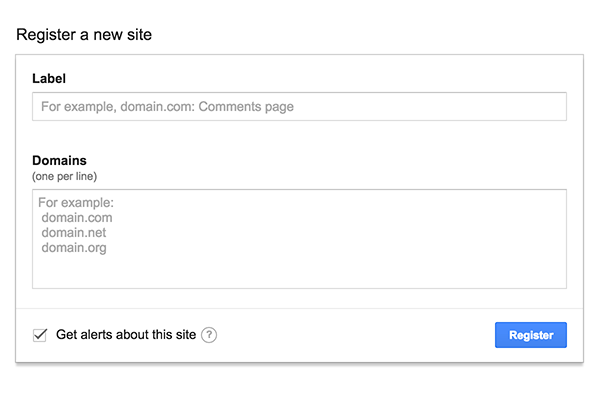
We need API key to install such captcha, therefore we go to https://www.google.com/recaptcha/admin. You should be registered in Google to get access to this page.You will be prompted to register your site and enter a list of domains where this particular reCAPTCHA will be used. Subdomains are automatically counted.
Note! We support only reCAPTCHA v2 (version 2) or more earlier versions. We don't support new versions.
You will get website key and partner secret key after that:
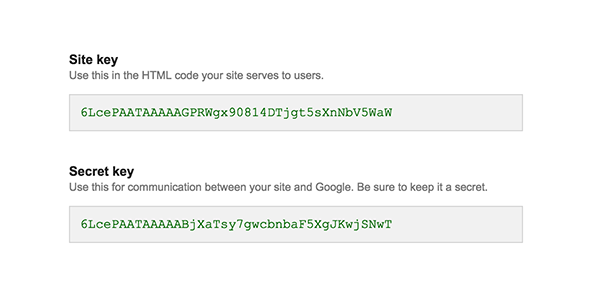
These 2 keys will be necessary when setting up captcha in OT admin panel.
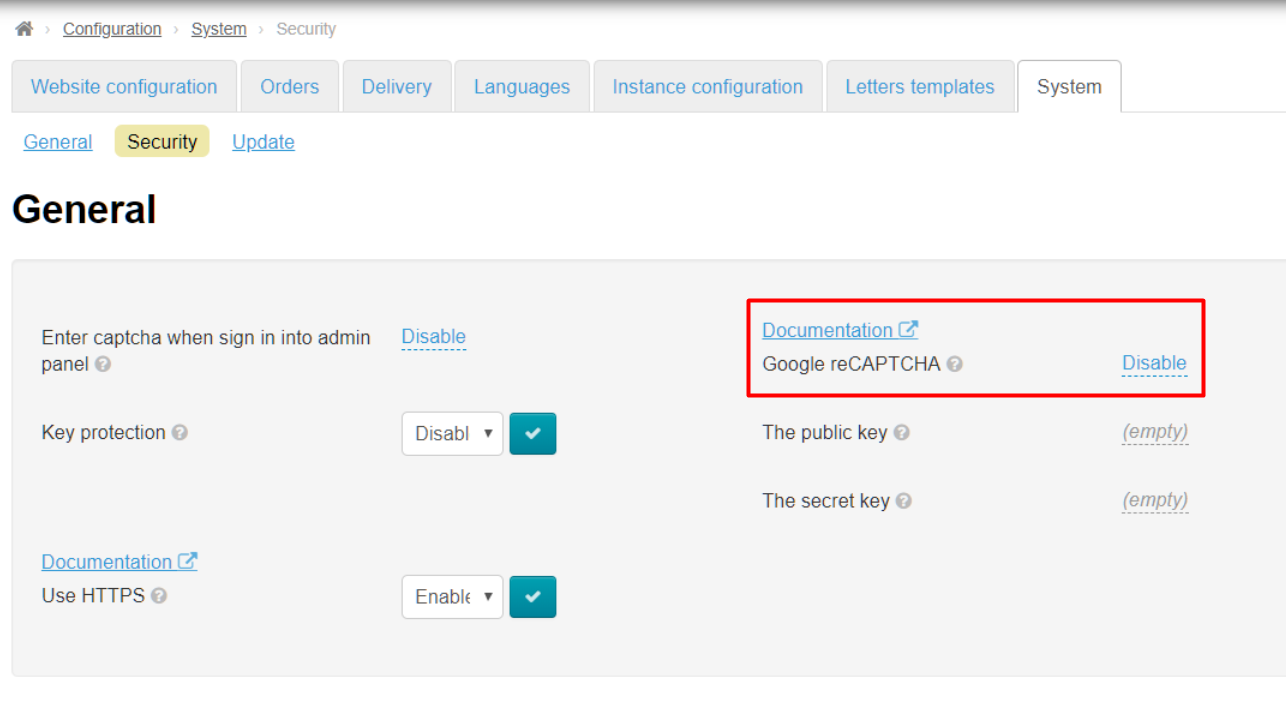
Open “Security” section:
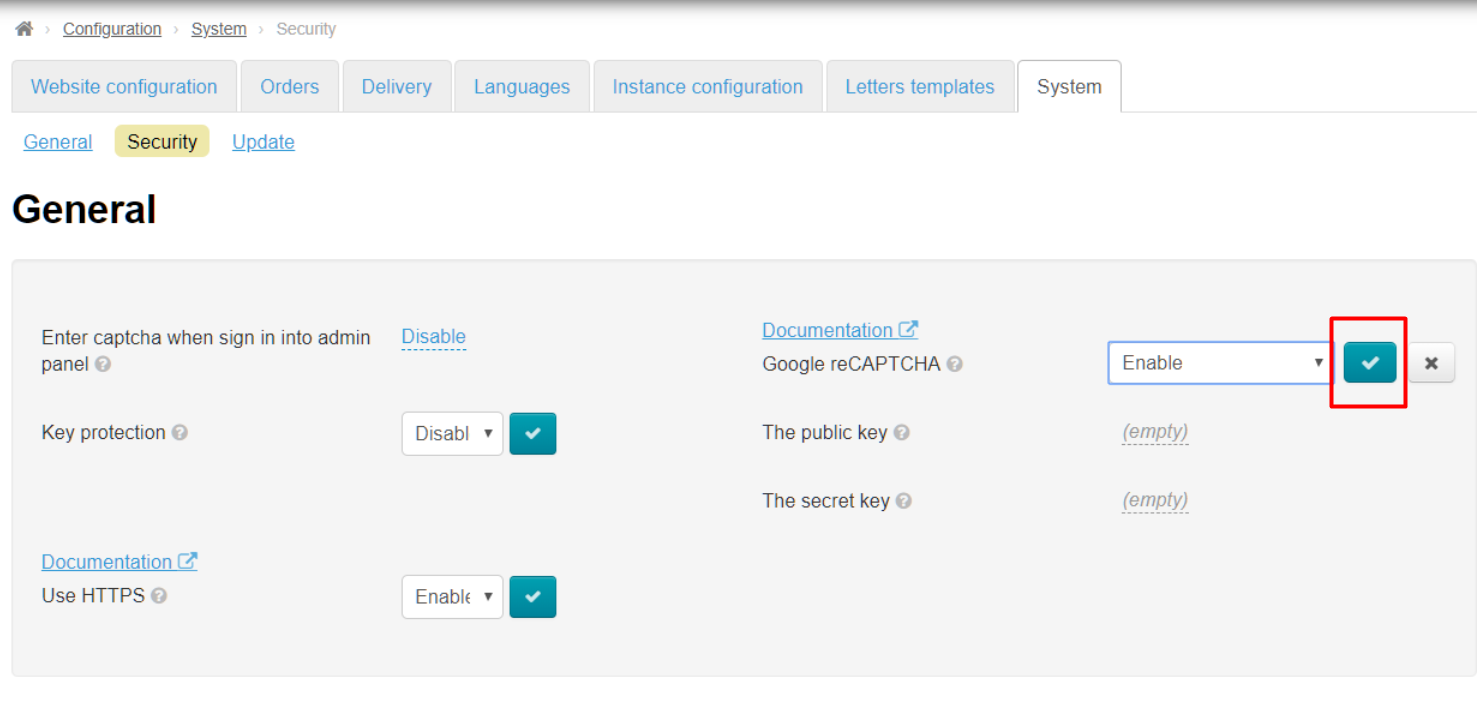
Click caption with dotted line “Disable” next to Google reCAPTCHA:
Choose “Enable” from drop-down list:
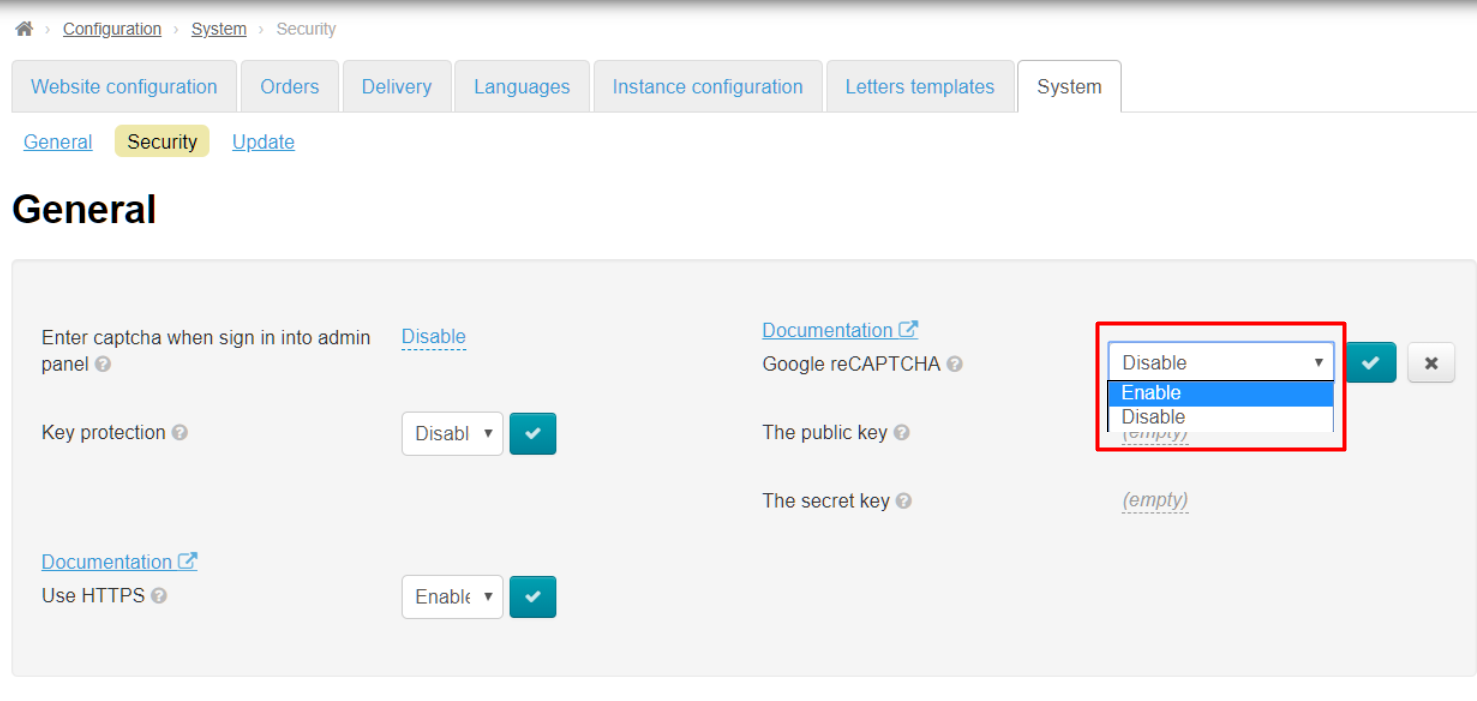
Save choice clicking checkmarked button:
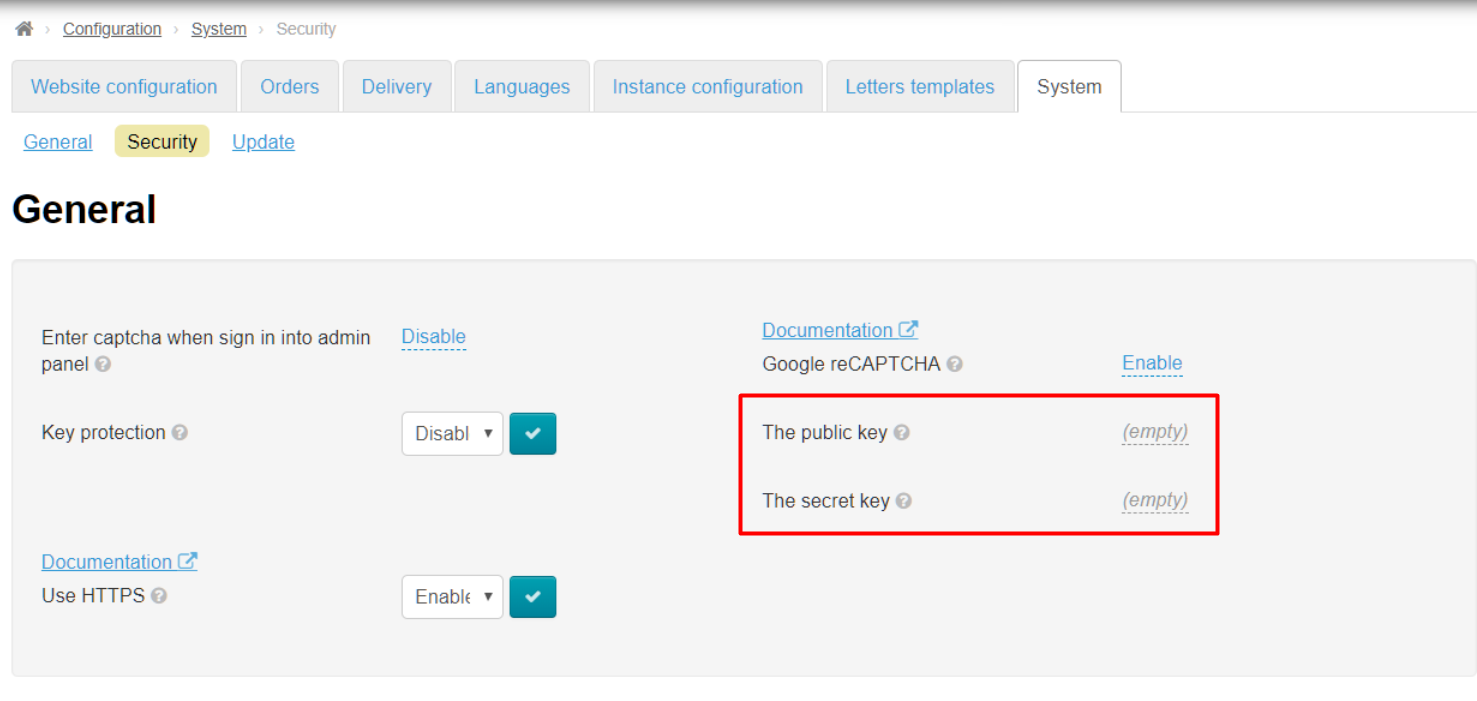
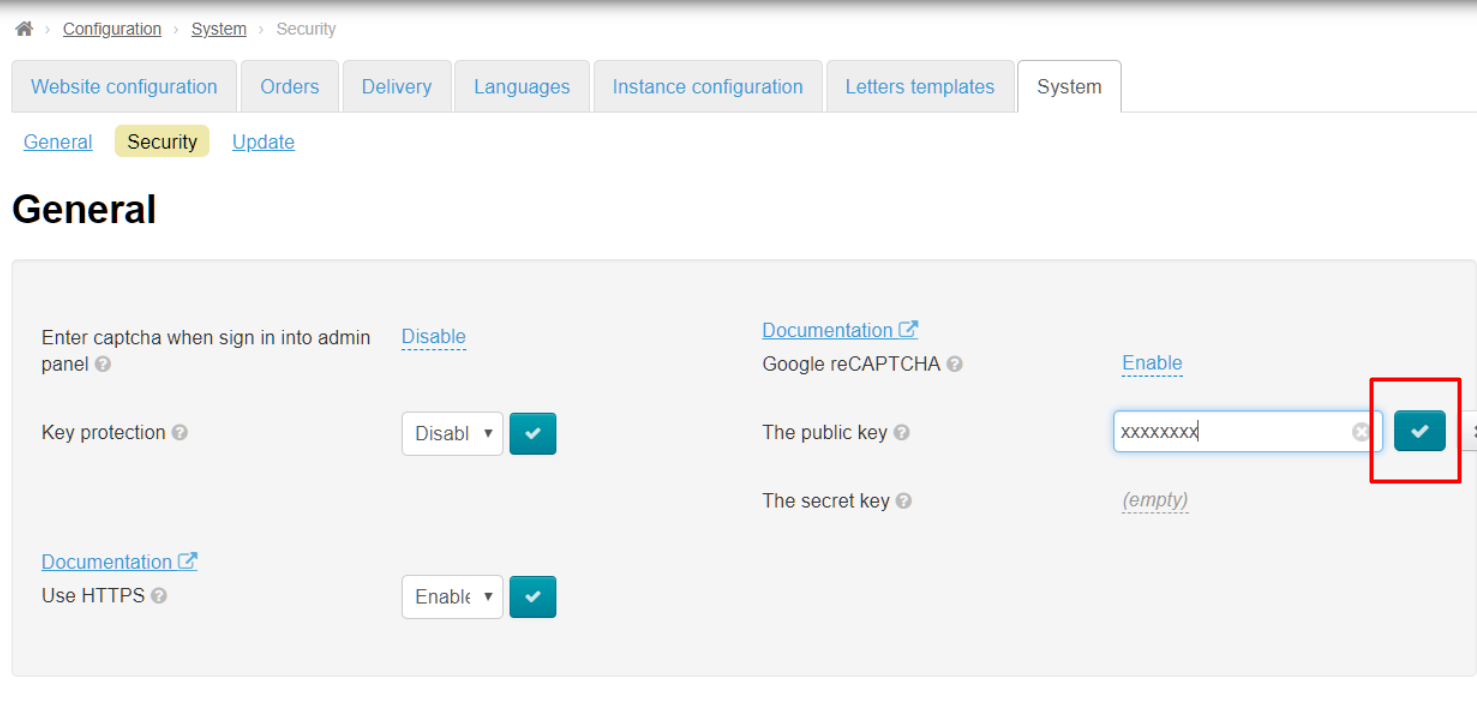
Enter keys from Google into “Public key” and “Secret key” fields.
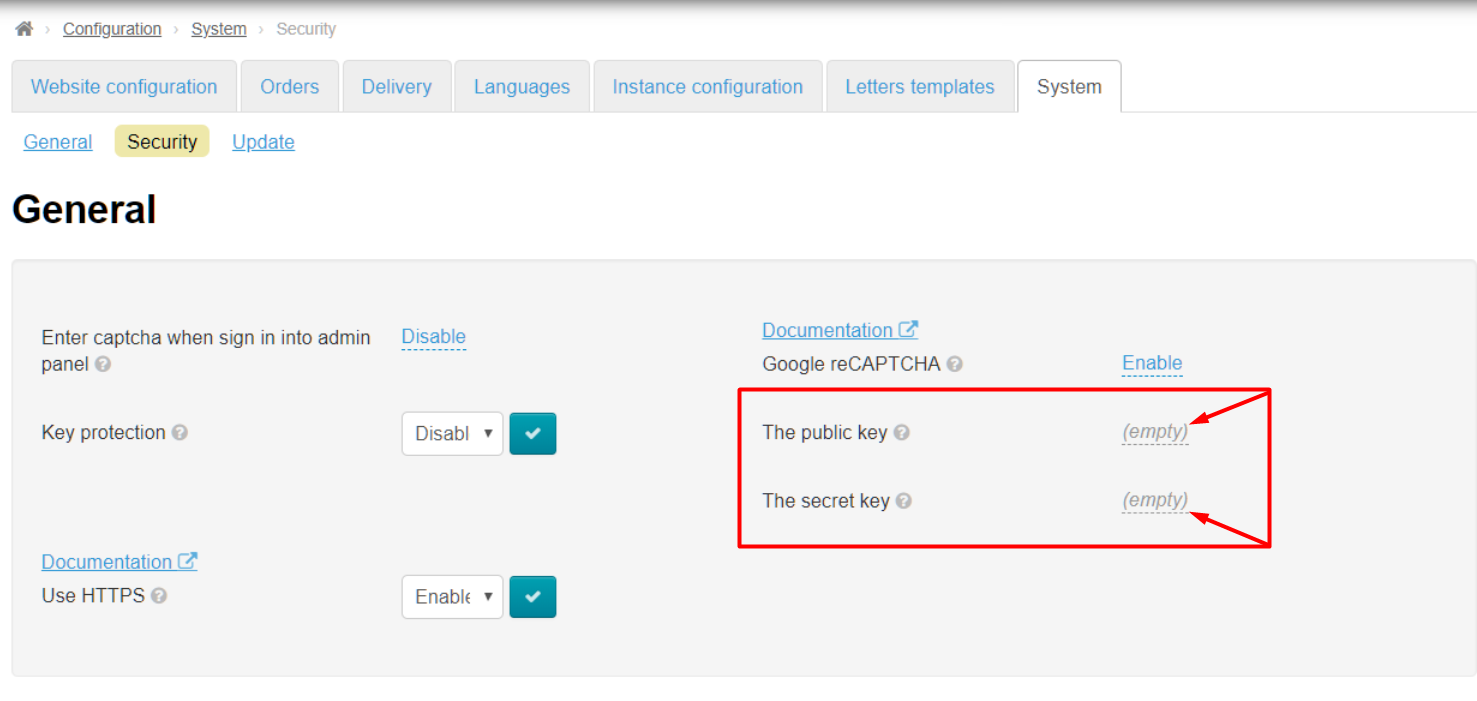
Click grey caption with dotted line :
Copy key in Google and paste it into corresponding field. Paste site key in “The public key” field, paste secret key in “ .
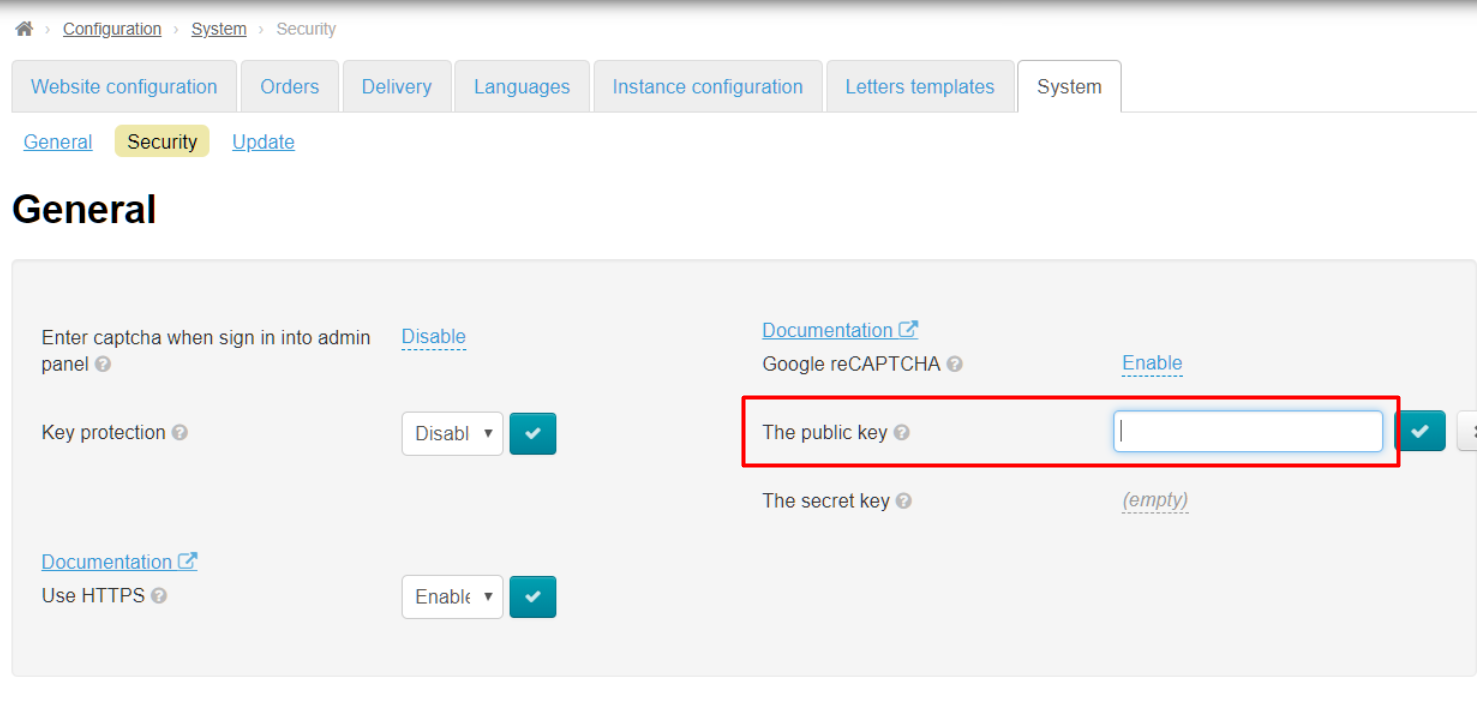
Save data in each field separately clicking checkmark button:
Ready. Google reCAPTCHA will track users' activity on your site now.
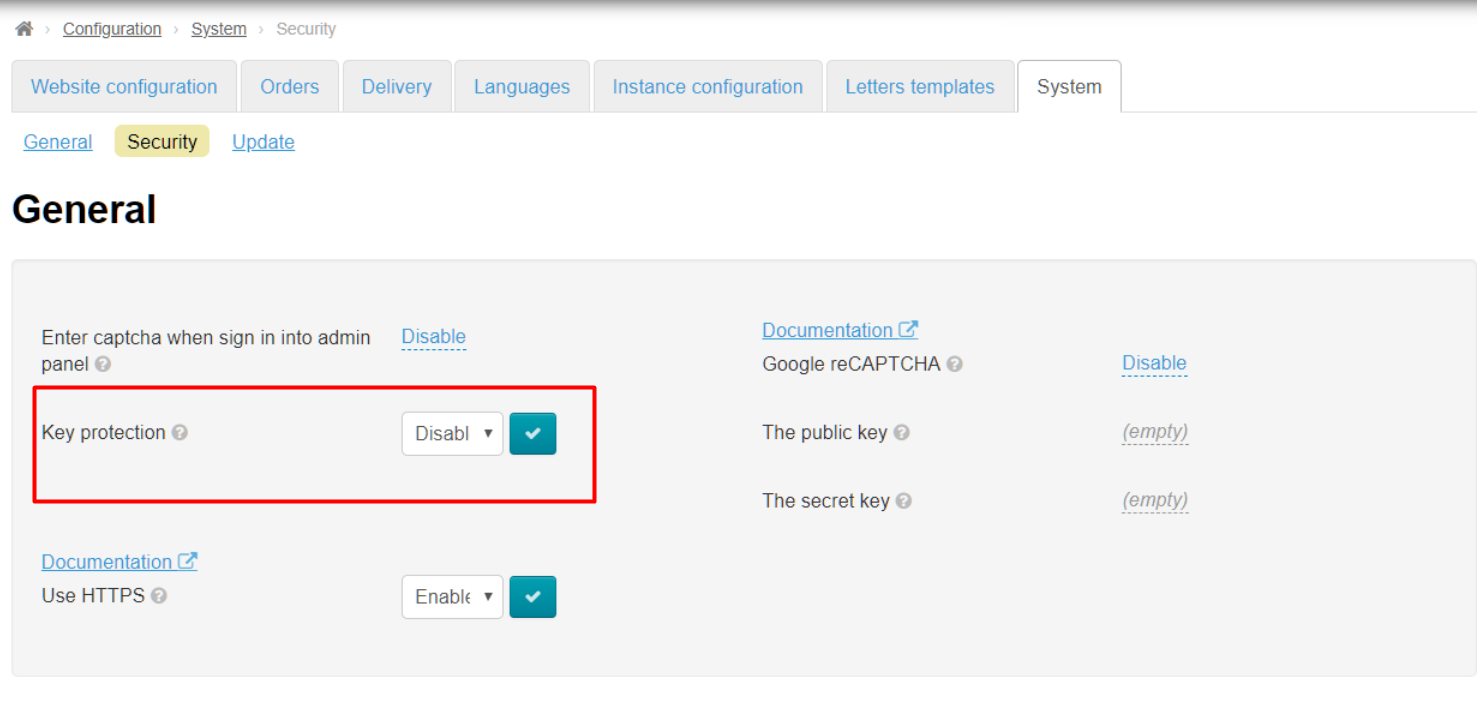
Key protection
You must specify IP address of the server where your Box is located in order to protect your Personal Key (Instance Key) from illegal use, when it comes to third parties. Key will not work on another server besides yours when the setting is enabled.
Contact your system administrator or technical support of your hosting to find out your server IP address. Most often, dedicated IP address is most often paid separately (provided as a hosting service, but usually price rarely exceeds a couple of dollars a month, but there are also tariffs where server IP address is used as the main service and is included in the monthly fee).
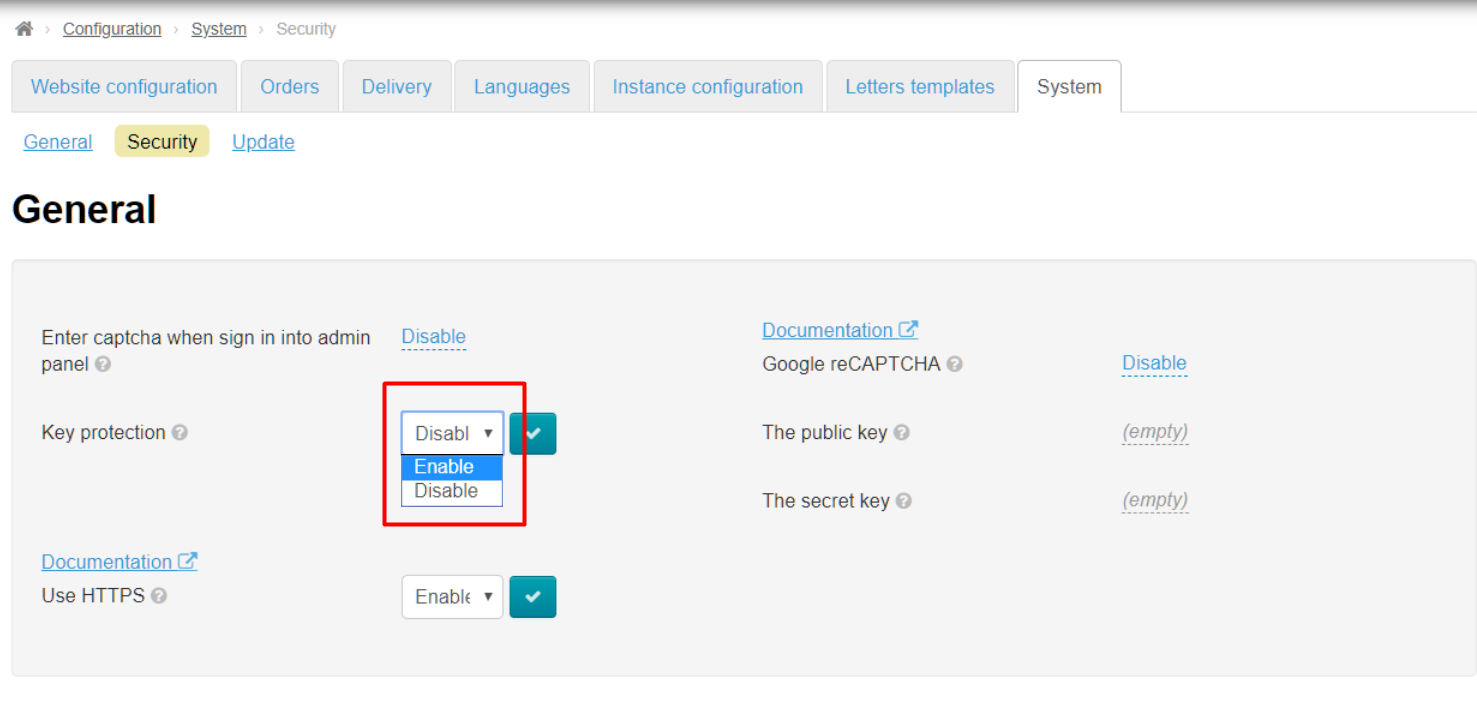
Click a triangle to open drop-down list to enable key protection:
Choose and click “Enable” (or “Disable” if this service is no longer required ) in the list:
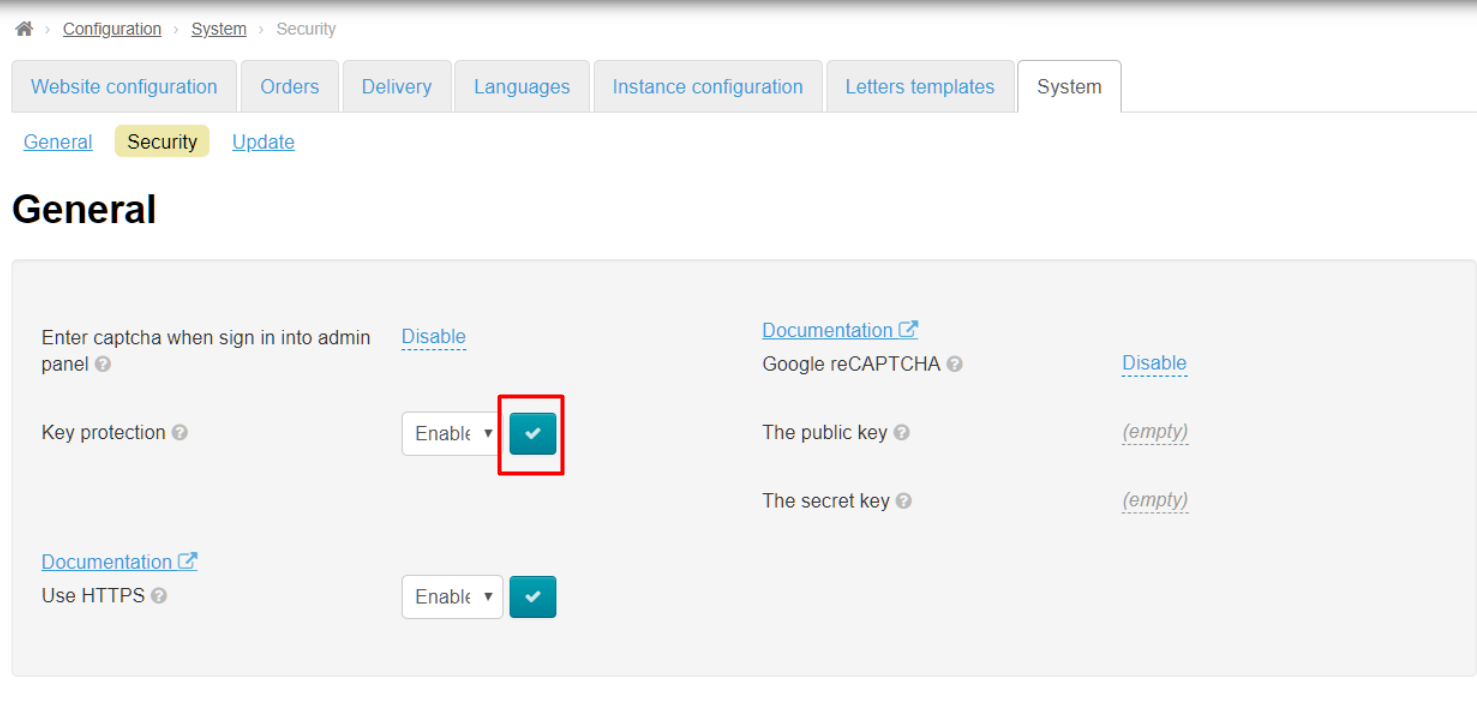
Save choice clicking checkmarked button:
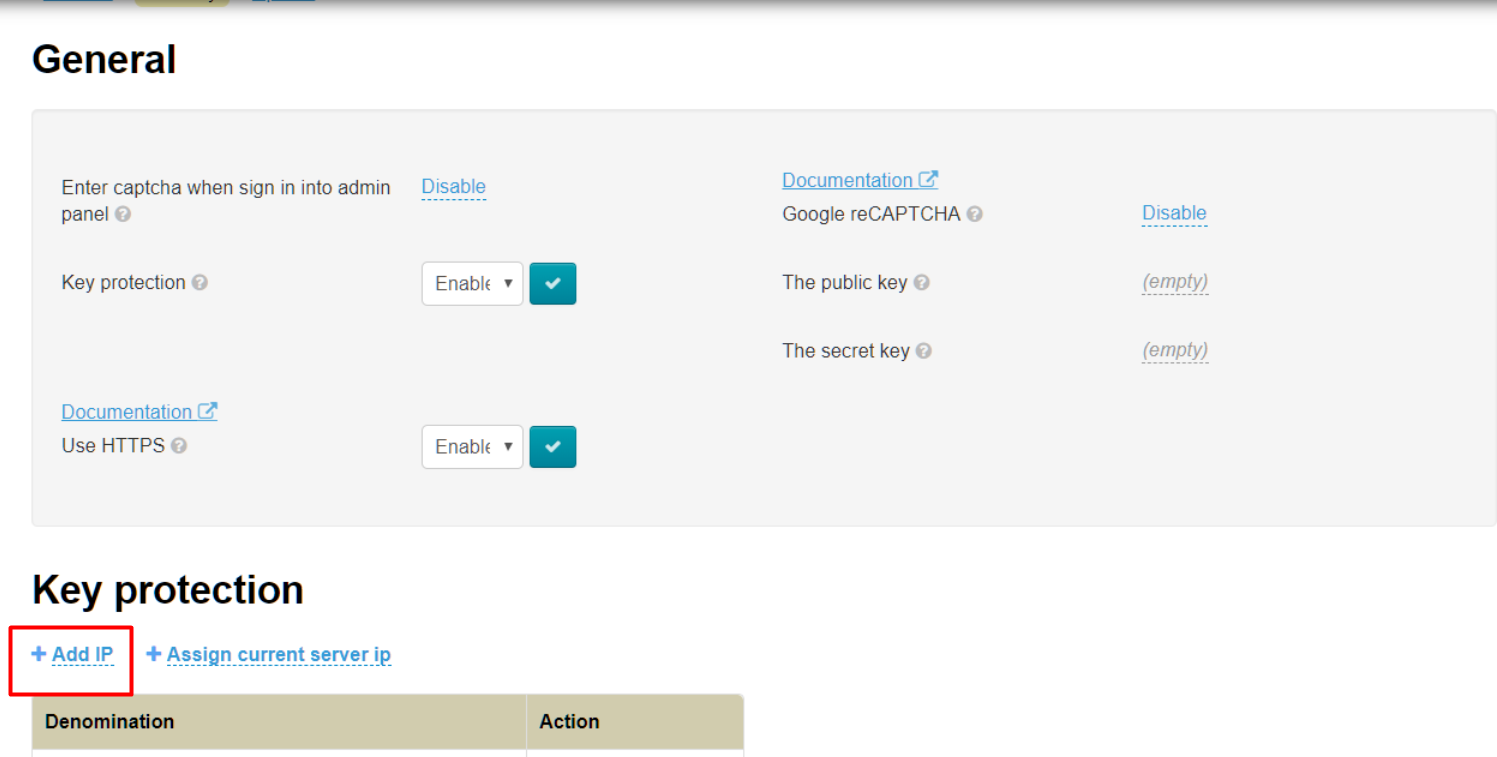
Find “Key protection” on the page:
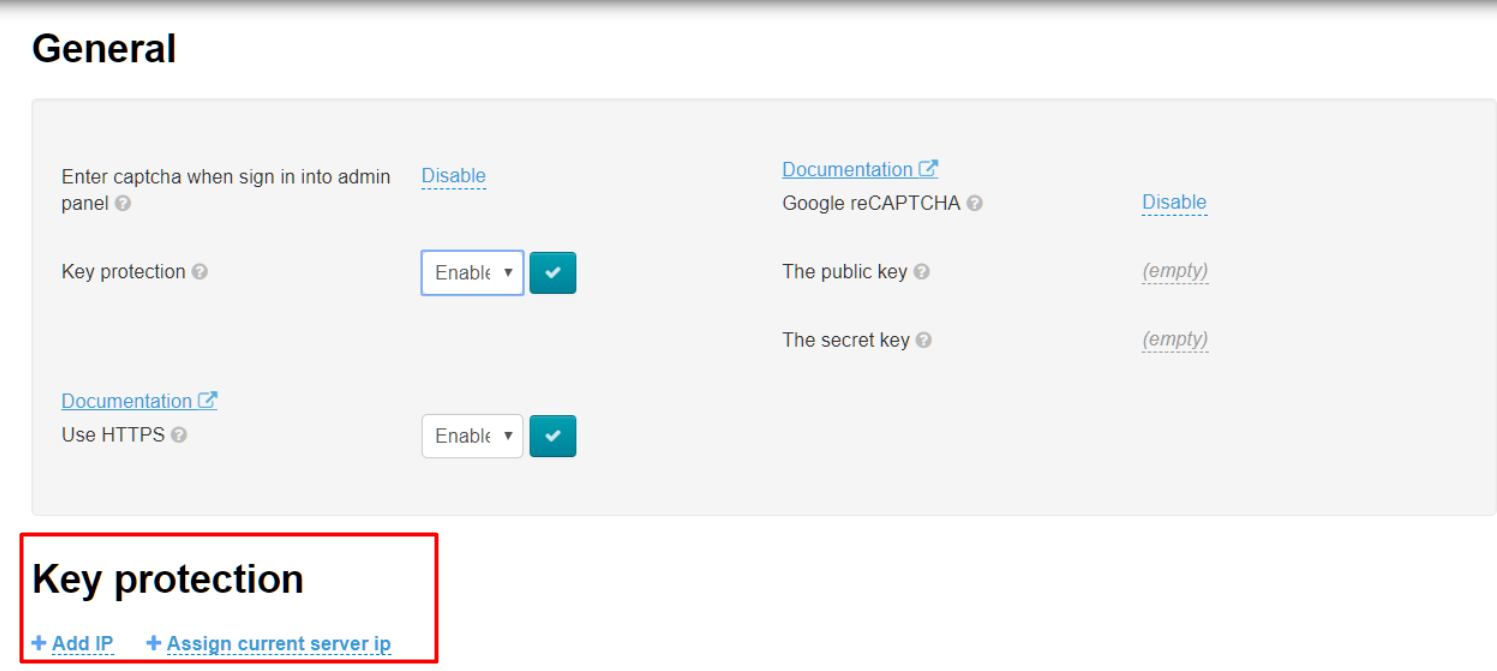
Click “Add IP” to limit number of addresses that have access to the key:
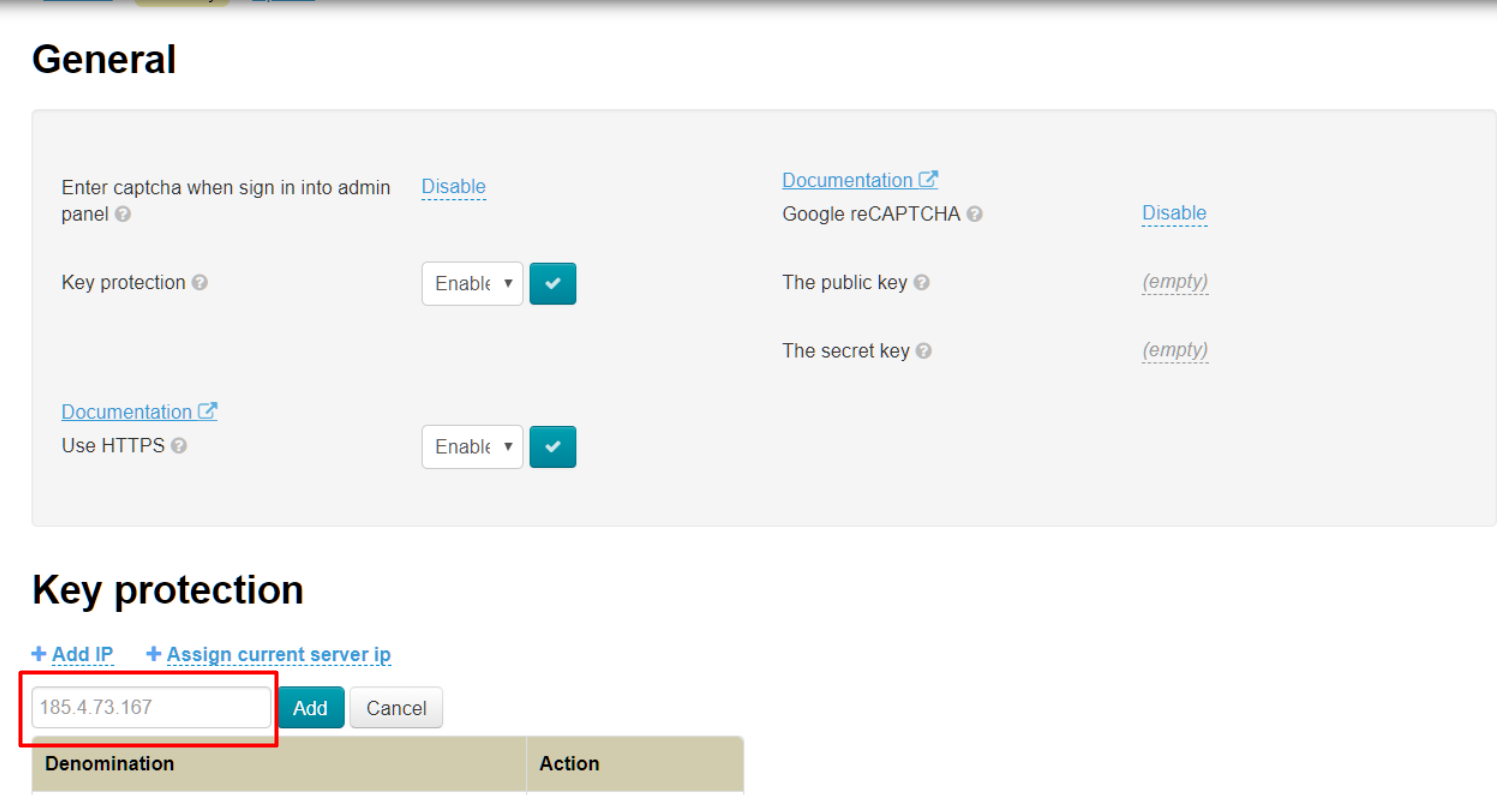
Enter IP address of your server in opened field (where website is located):
Click “Add” button:
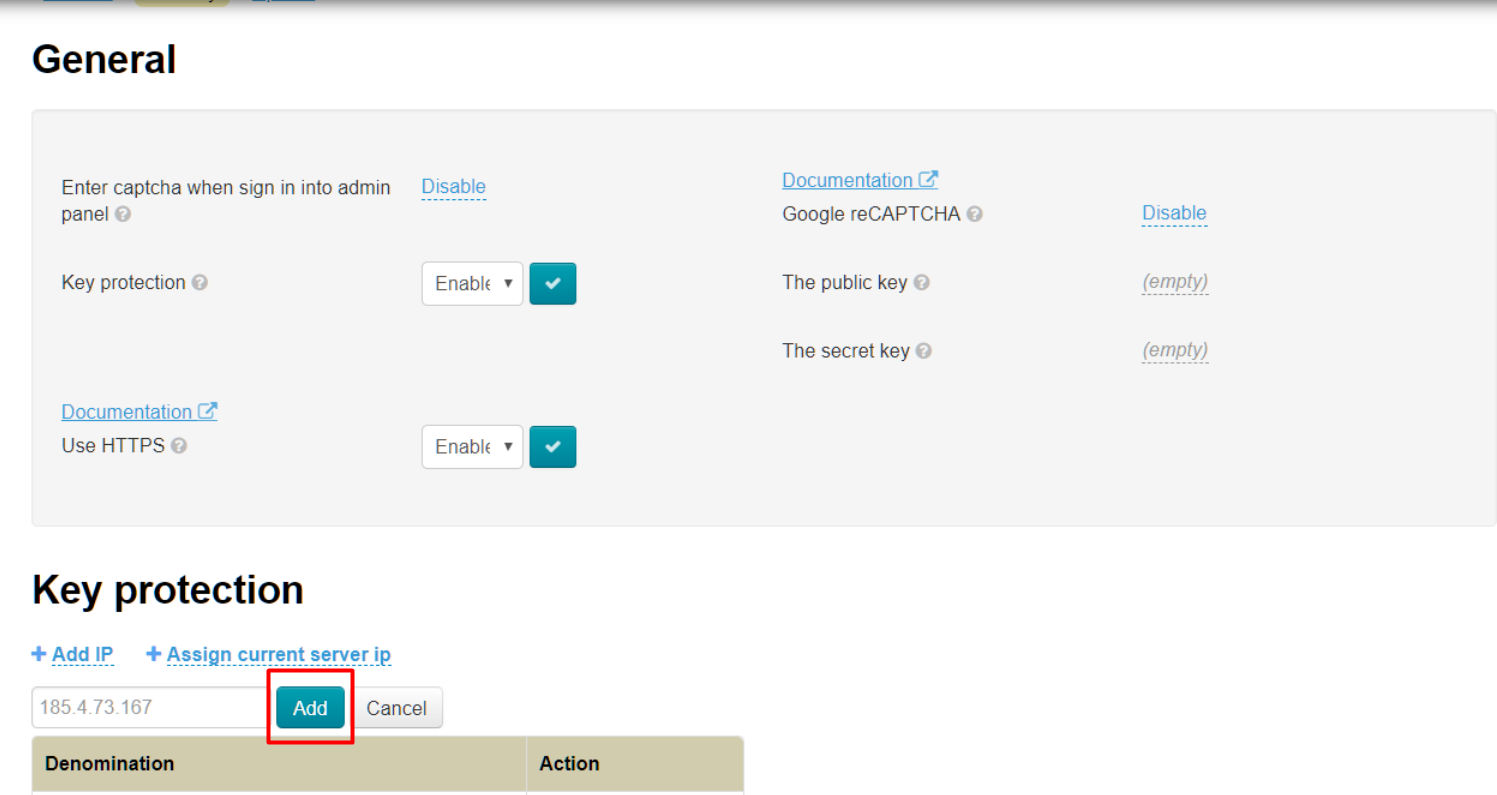
IP address will appear in the list below:
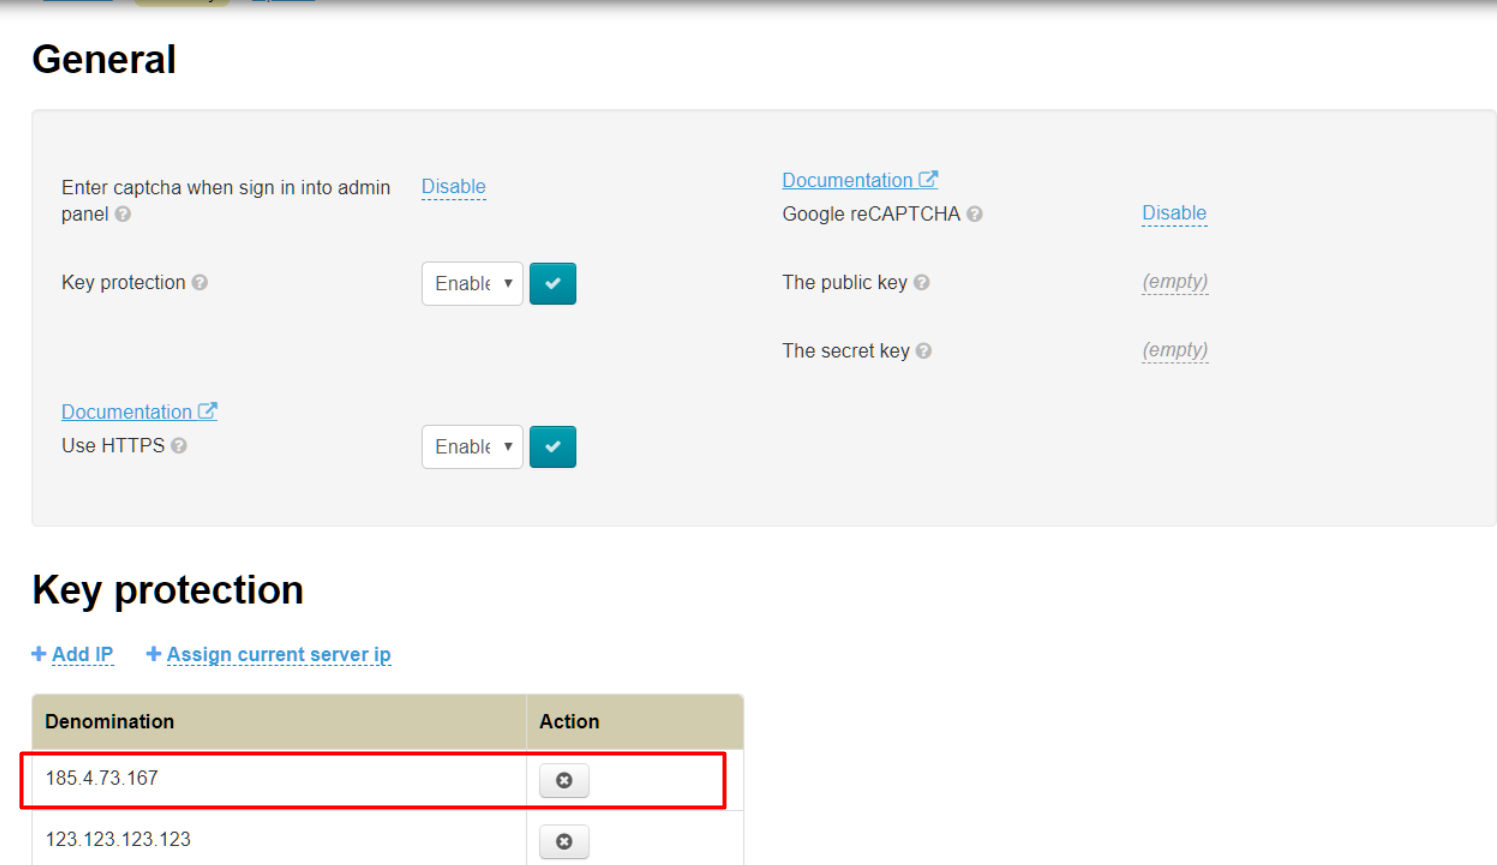
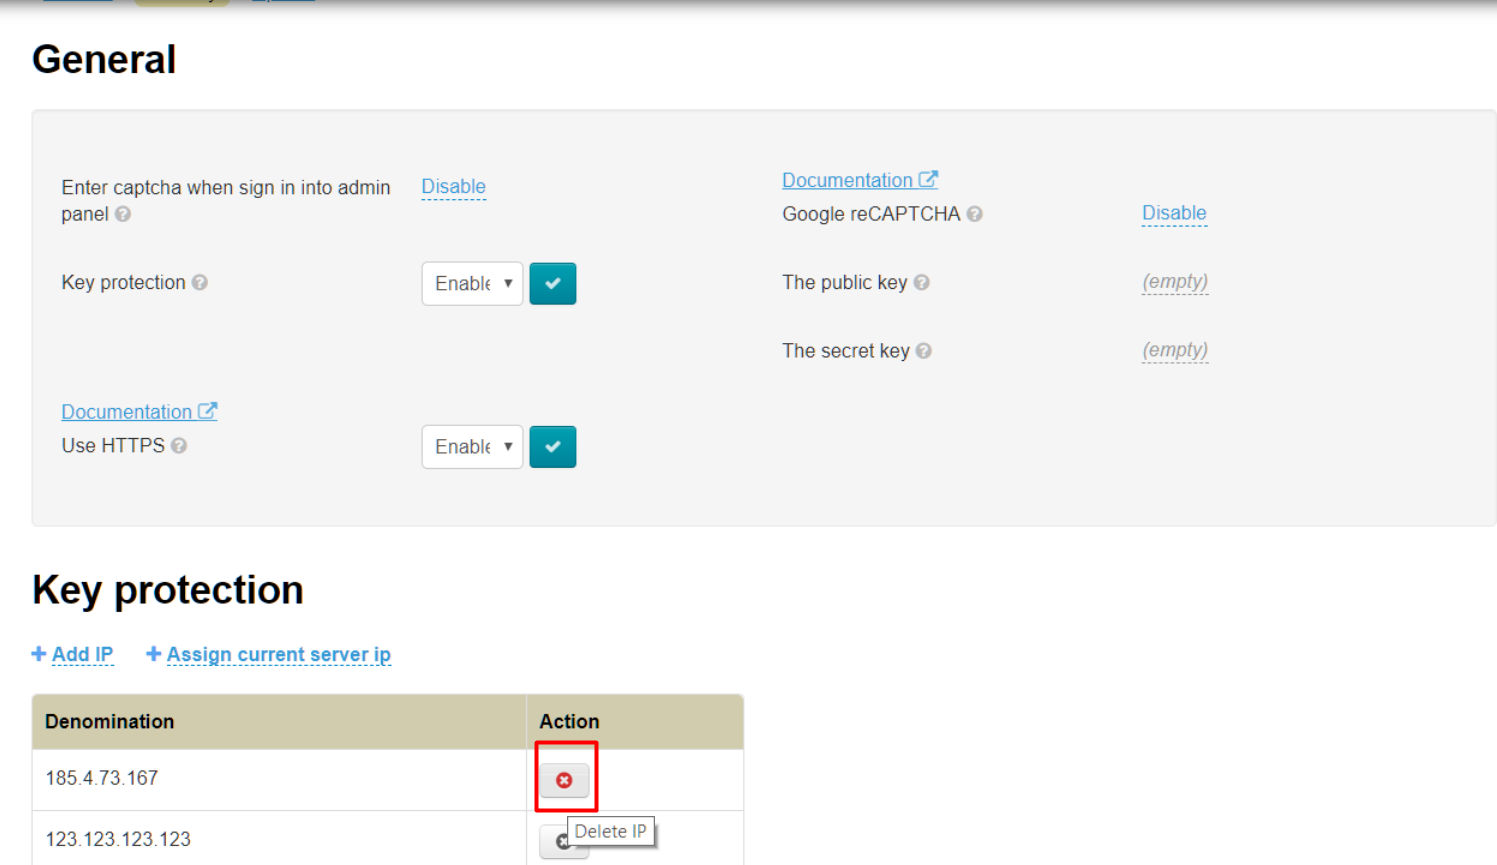
Click cross in “Actions” column to delete IP Address:
If at the moment, your server with the site has its dedicated IP address already, you can bind it with one click. Click “+ Assign current server ip":
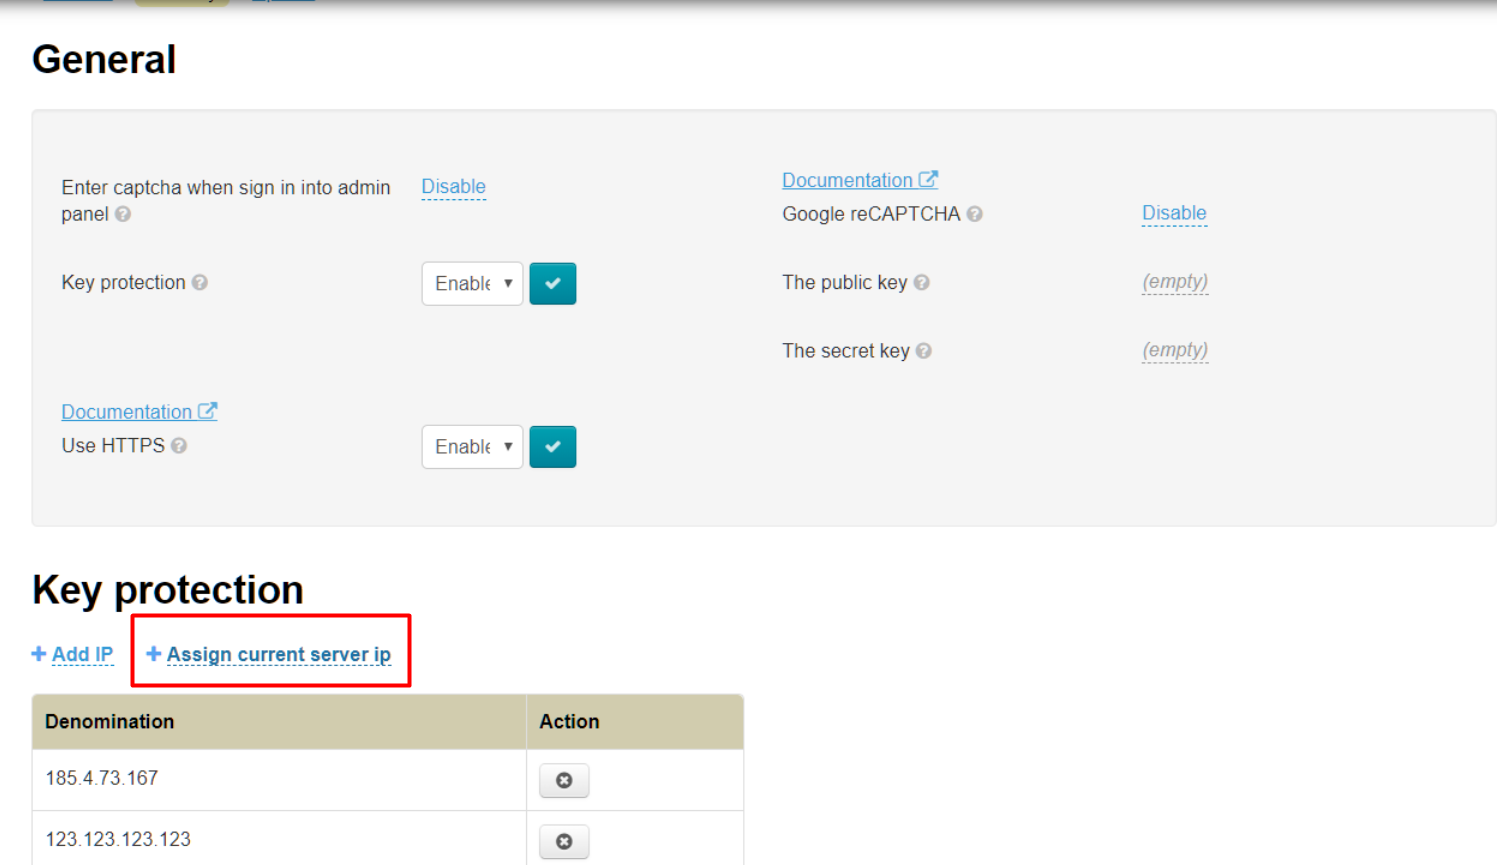
Page will be updated after clicking and IP address will appear in the list.
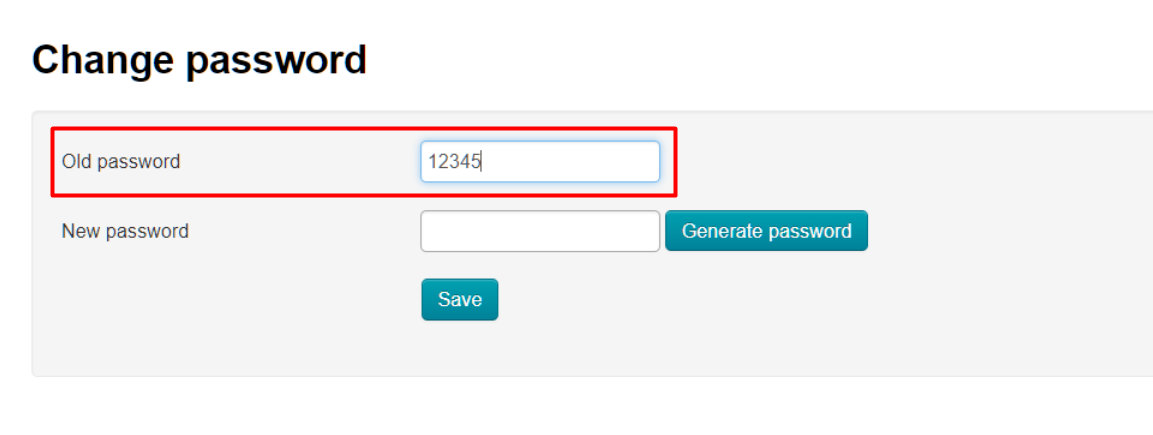
Change password
Enter your old password first to change password of your (current) account.
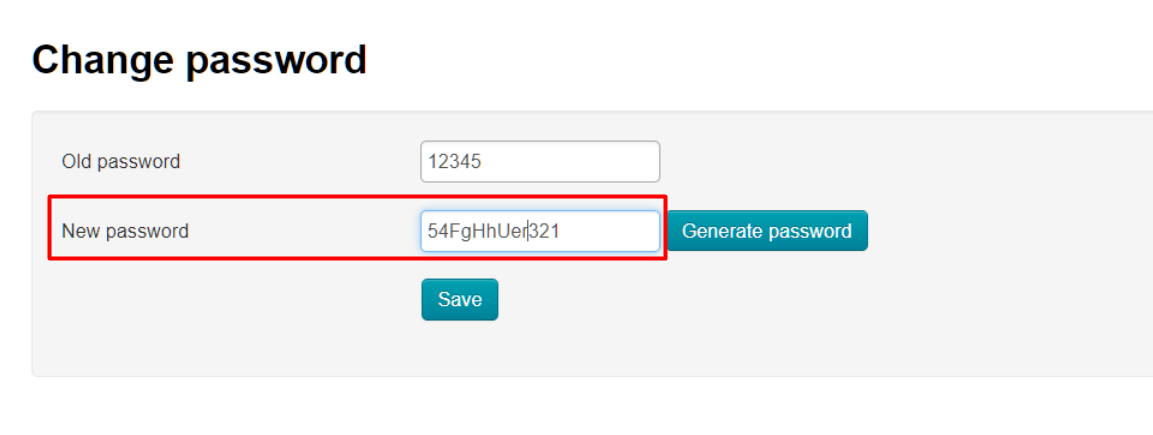
Enter new password after that:
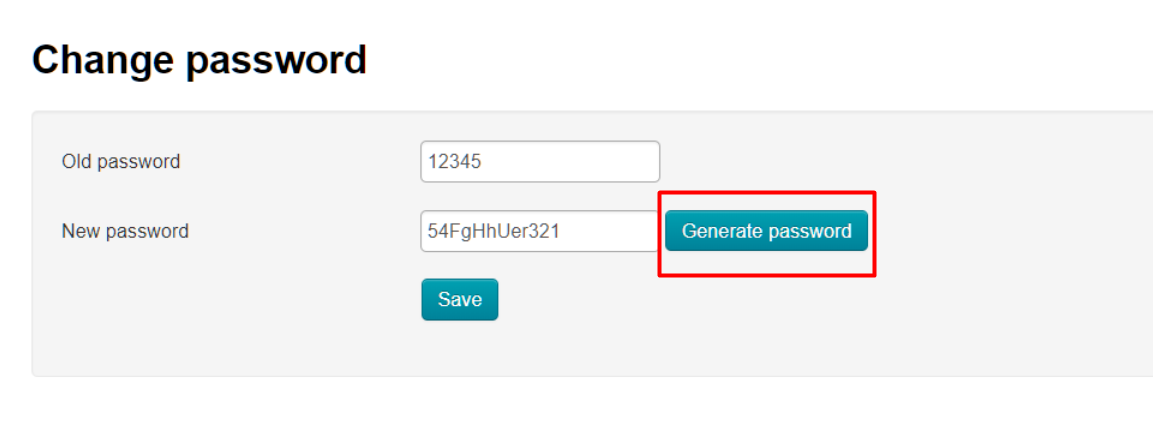
You can use password generation function to make password more complicated than in the example (where unreliable version of password is shown). Click “Generate” button:
New password is ready.
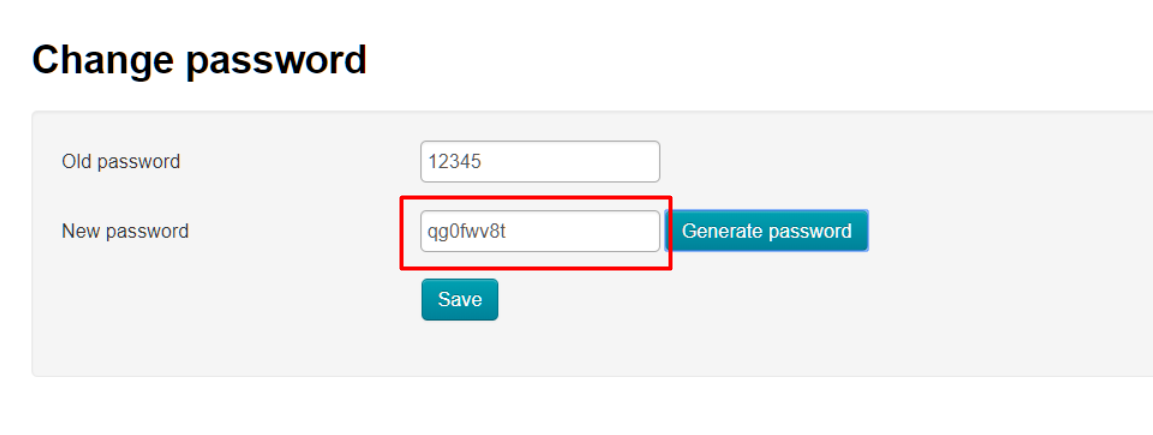
Click “Save” to save it:

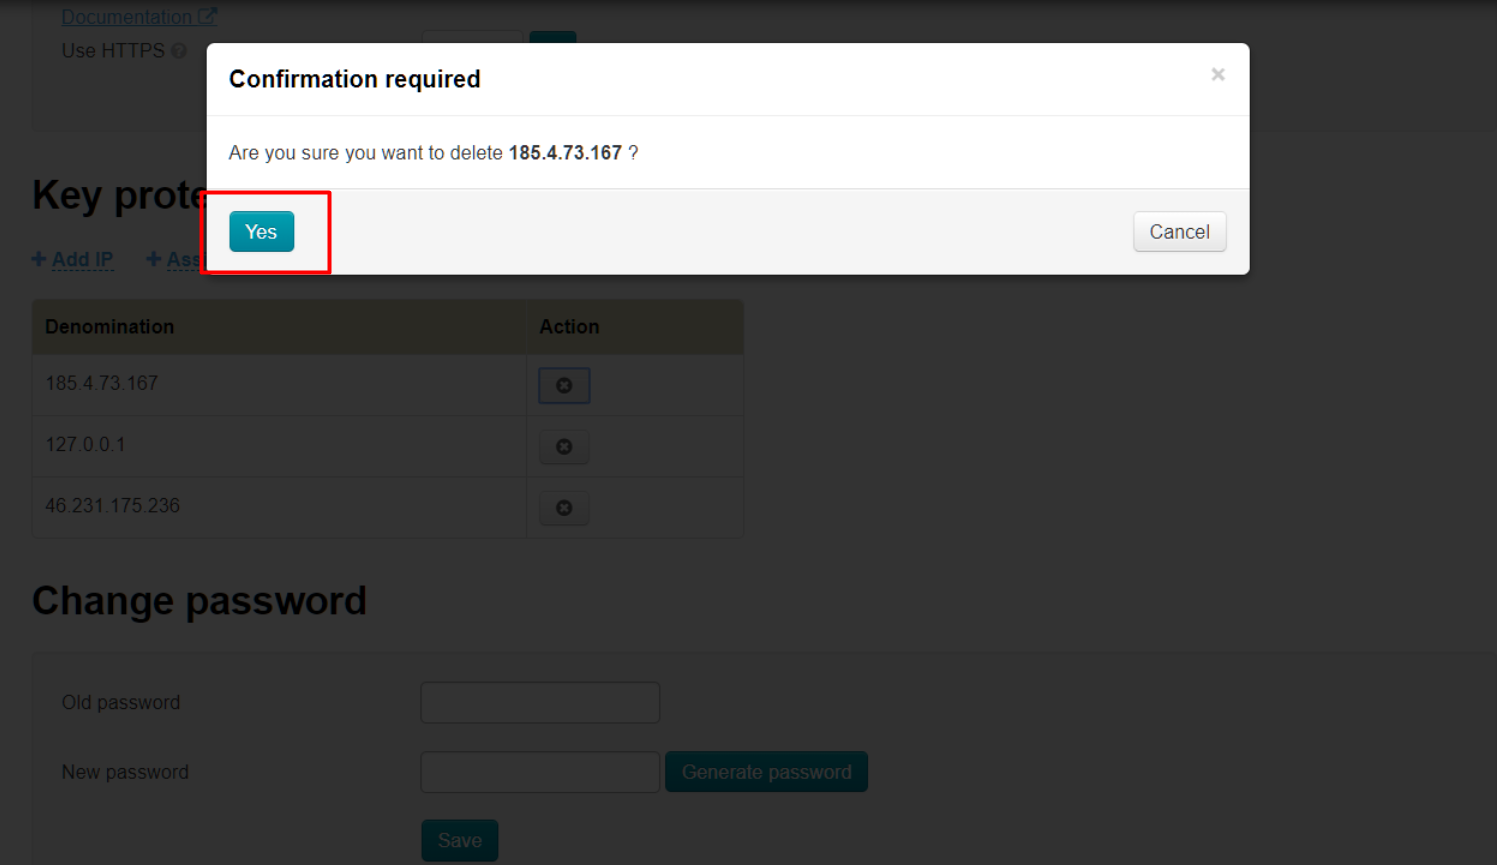
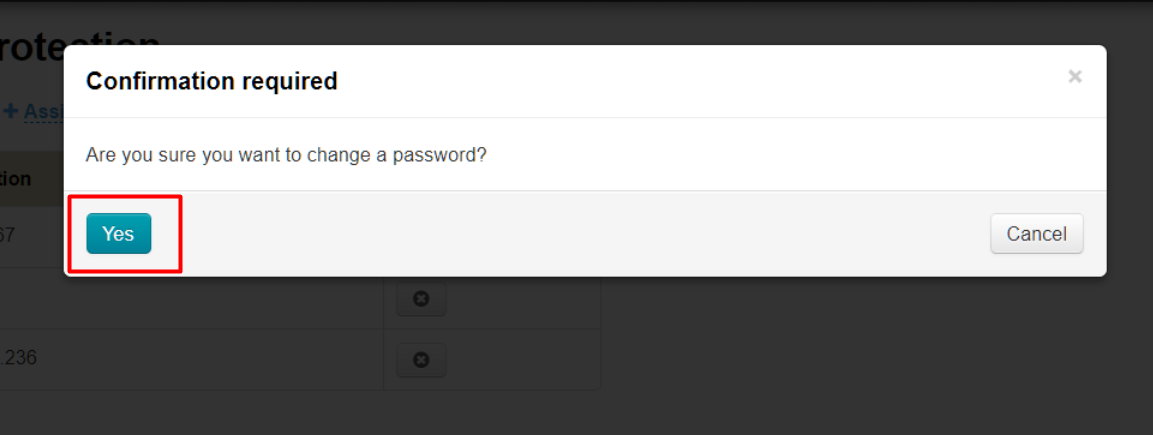
Confirmation is required to change password:
Password will be changed if everything went well. Error will be shown if the old password is incorrect:
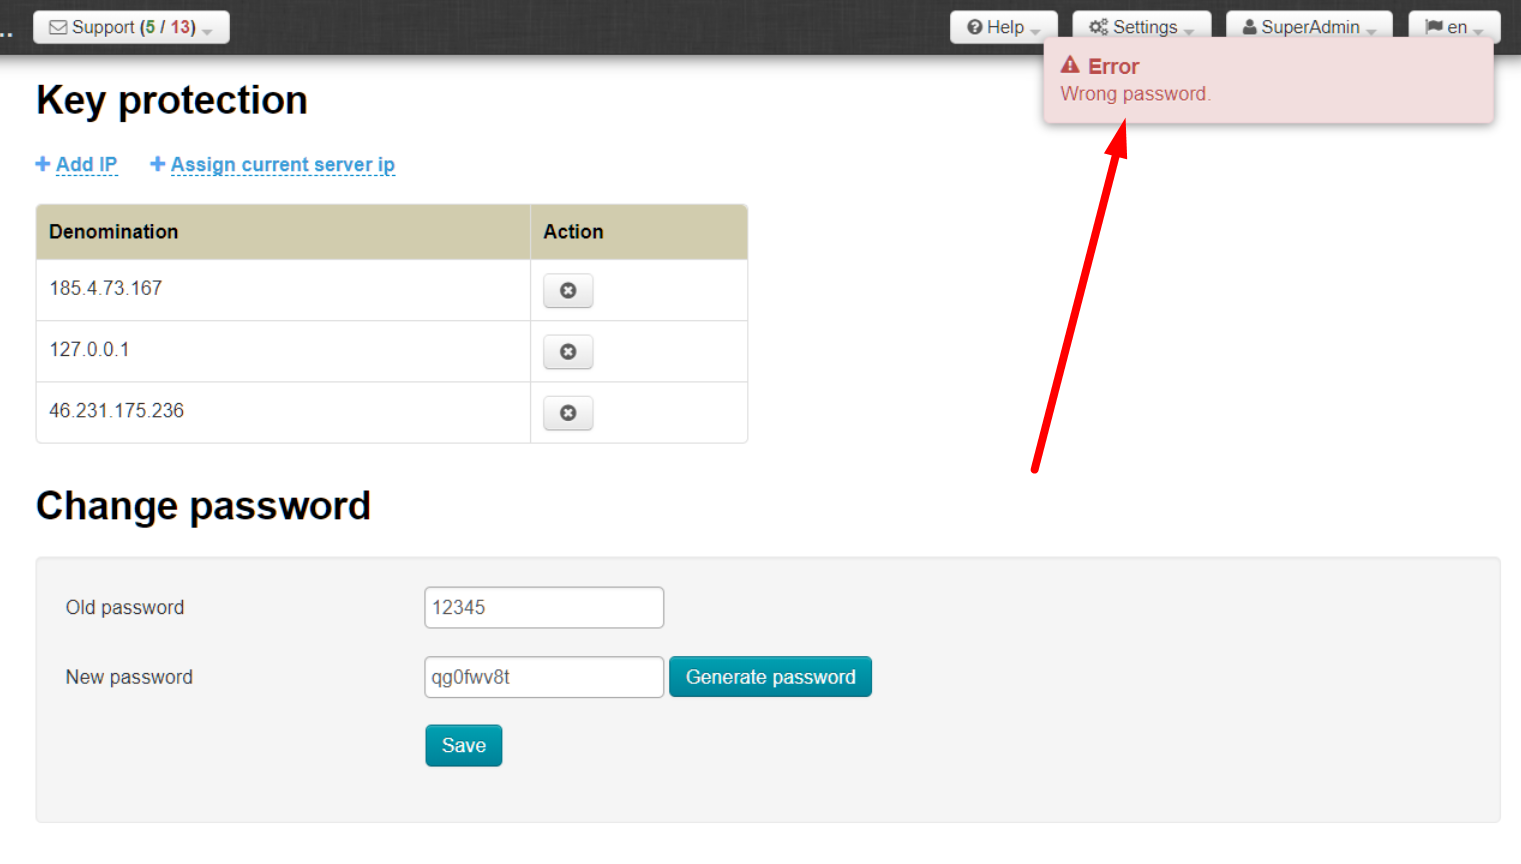
Change password and try again.