| Оглавление | ||
|---|---|---|
|
Description
Goods in Stock is the shop’s own product database updated from your administrative area. Products can further be seen in the particular categories, put into the shopping cart, ordered, and etc. Whereas products from Taobao are transferred directly from product aggregator site, “ Goods in Stock ” are stored on OpenTrade Commerce services. You can either add an item to the catalog yourself or use information from Taobao.
The “Goods in Stock ” module is a paid add-on to the Box. See a detailed description of how the said module can benefit your business here: Goods in Stock (module description) .

Initial setup (how to get started)
...
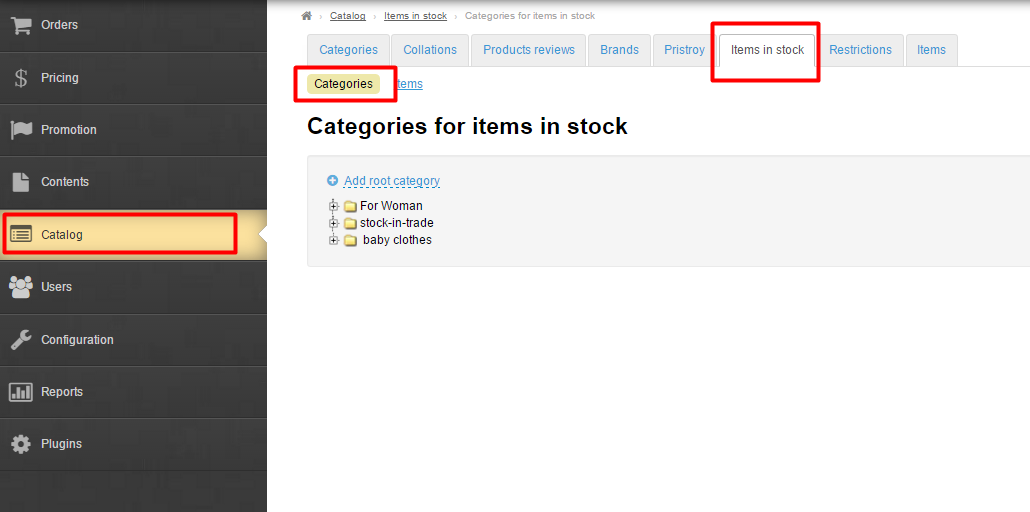
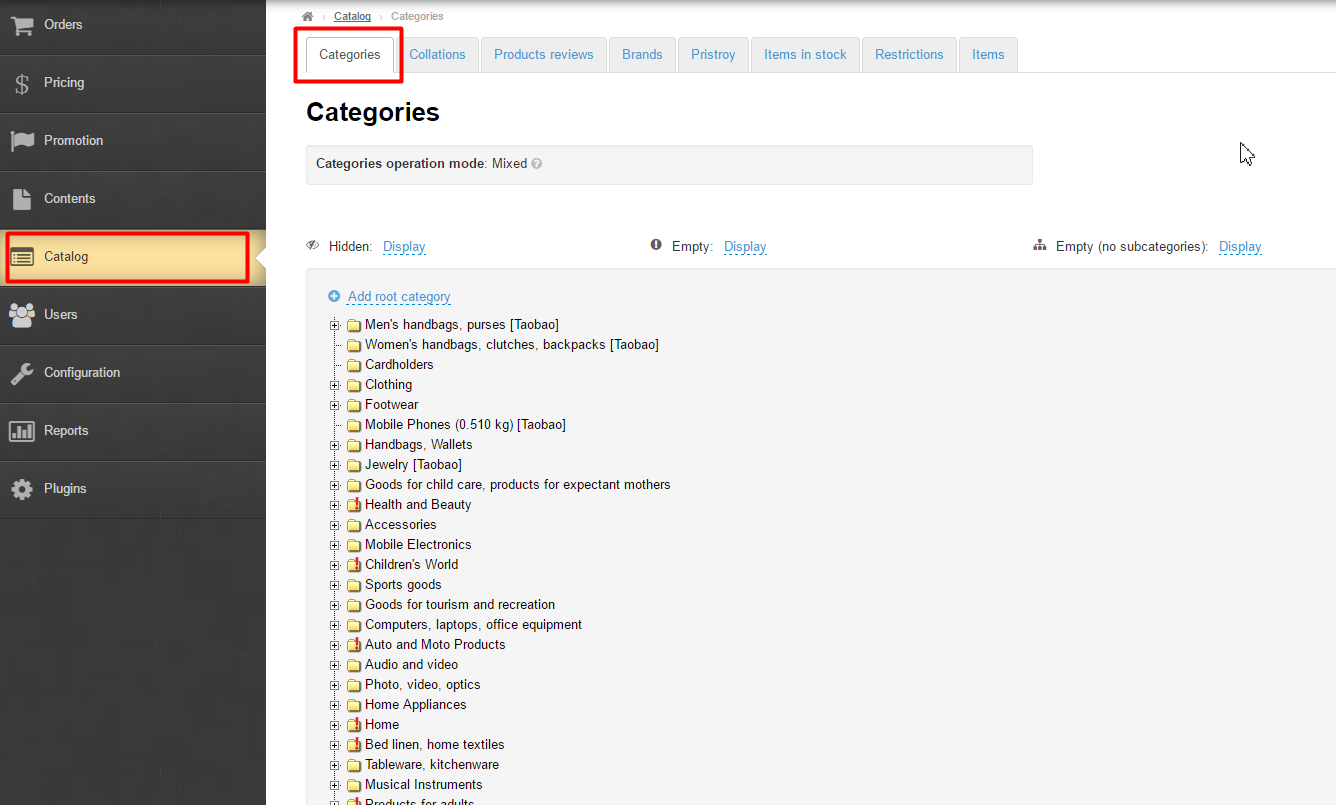
To create a structure of a catalog you need to go to the “Catalog” section and select the “ Goods in Stock ” tab.
Categories
There are two types of categories: root categories and subcategories.
...
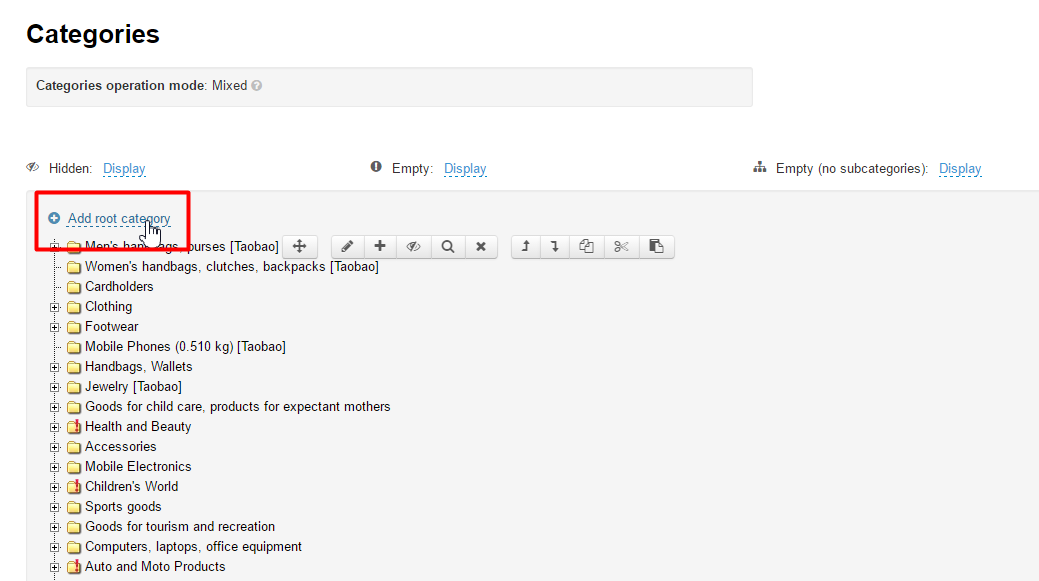
To add a root category you should click the dashed blue underlined text “Add root category”.
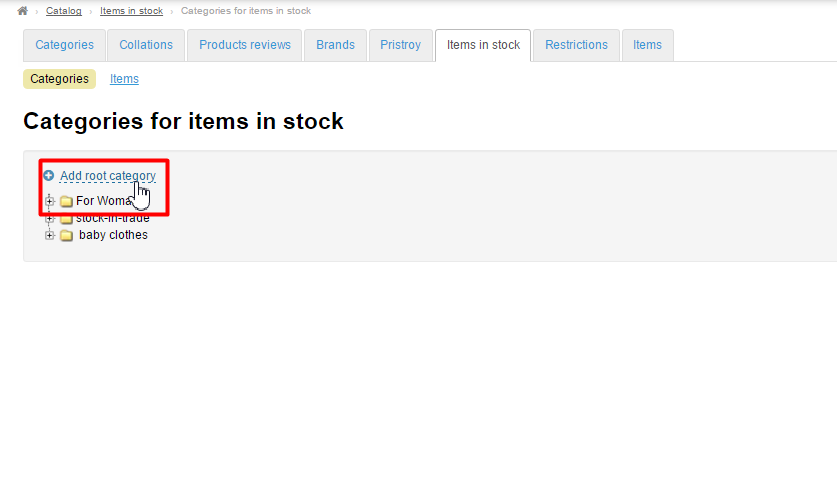
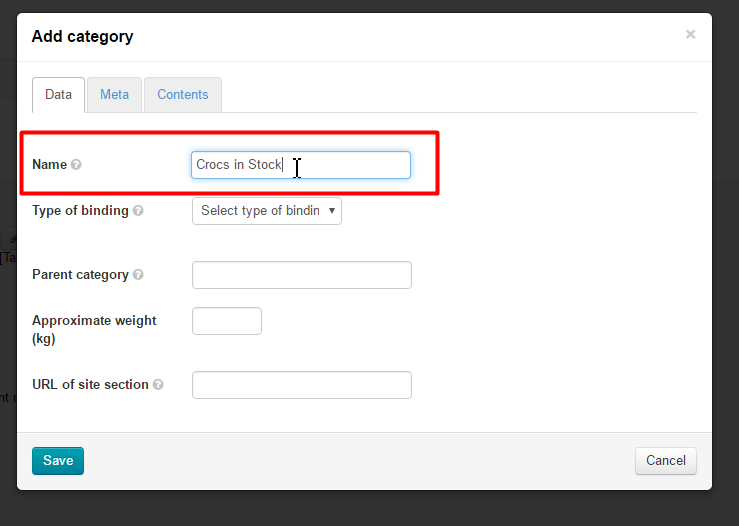
Type a name of a category in the form that opens.
...
The root category has been added to the “ Goods in Stock ” catalog.
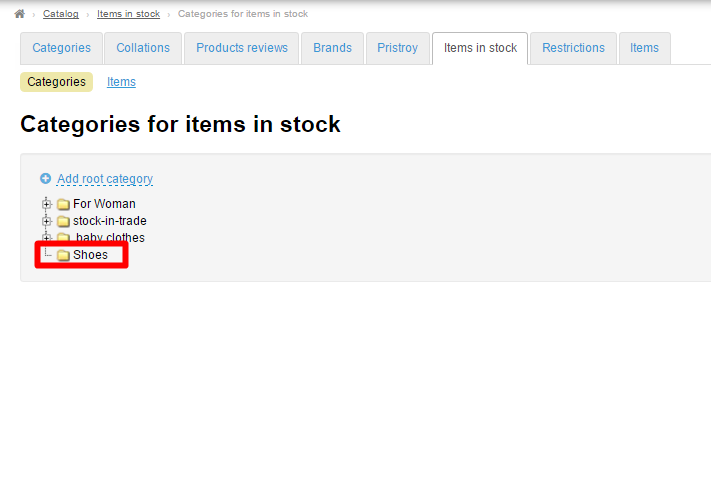
In such a manner you can add the unlimited number of root categories: categorize all products from stock.
...
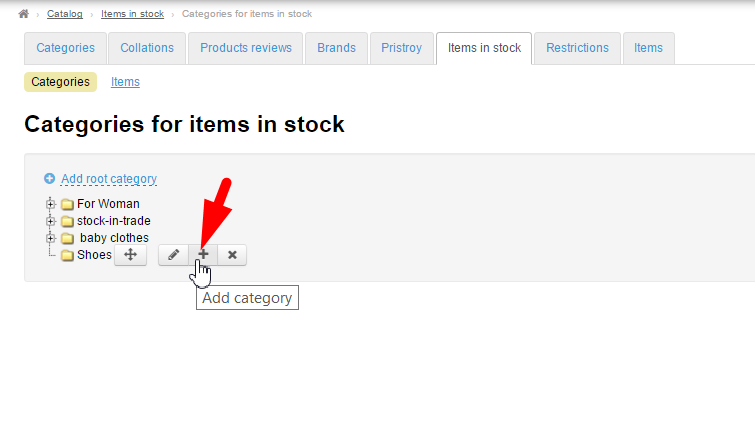
One can add a subcategory to a root category. For this purpose place the mouse cursor over a category to which you can add a subcategory. When the mouse pointer hovers over a category specific buttons will appear (you’ll see below what these buttons are and what they are for).
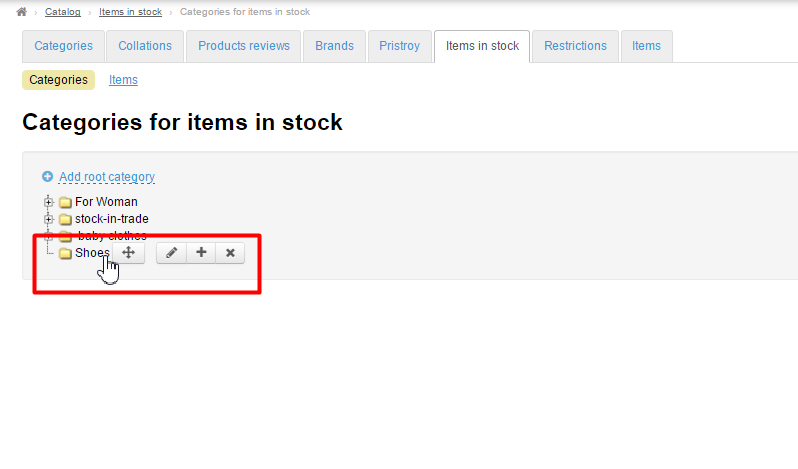
Click the plus sign button:
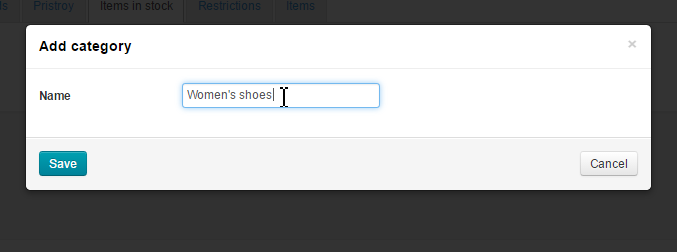
Enter the name of a subcategory in the form that appears.
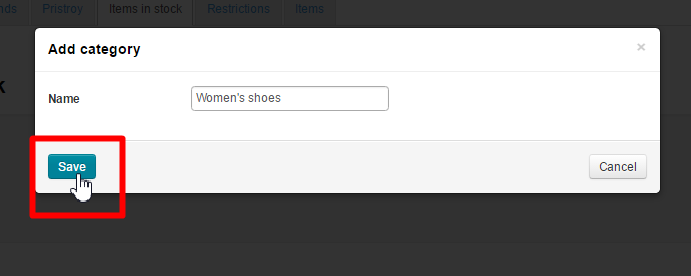
Click the “Save” button.
The subcategory has been added.
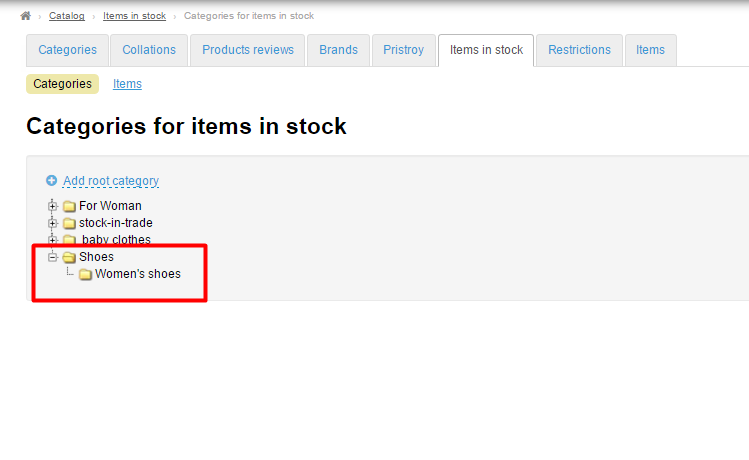
In such a way a complete catalog is being created.
...
To change the name of a category place the mouse cursor over a category and click the pencil button.
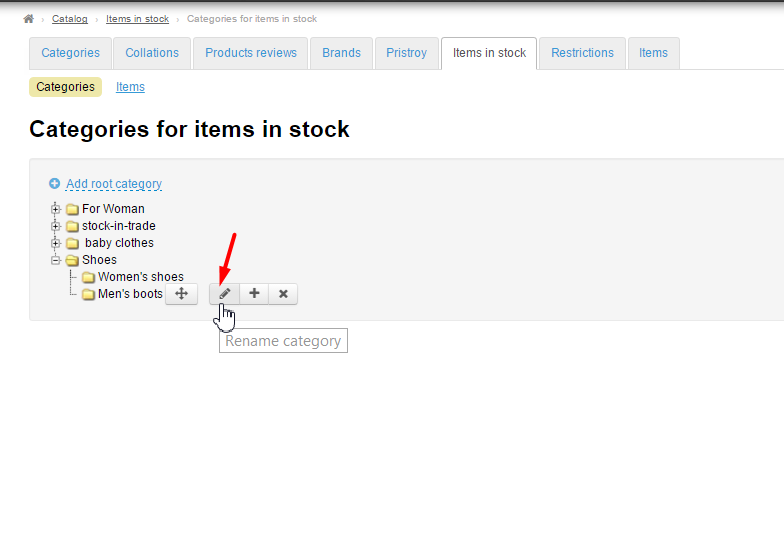
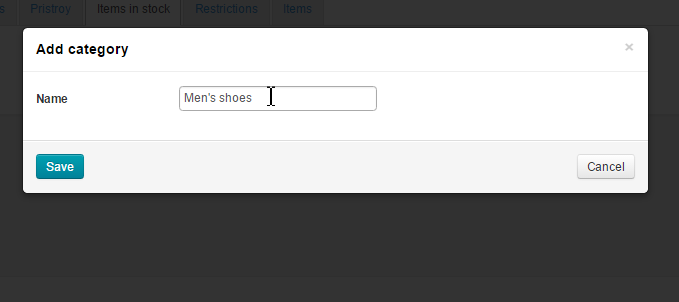
In the form that appears you can change the name of a category.
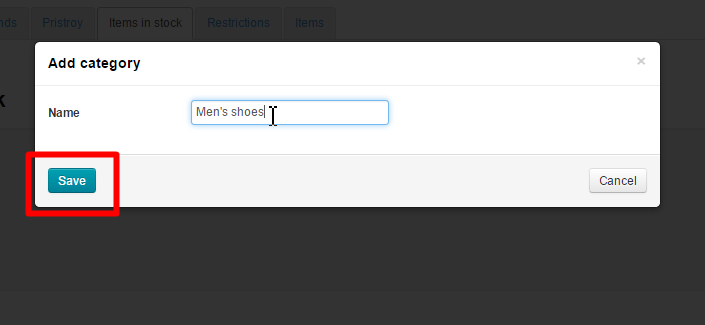
Click the “Save” button.
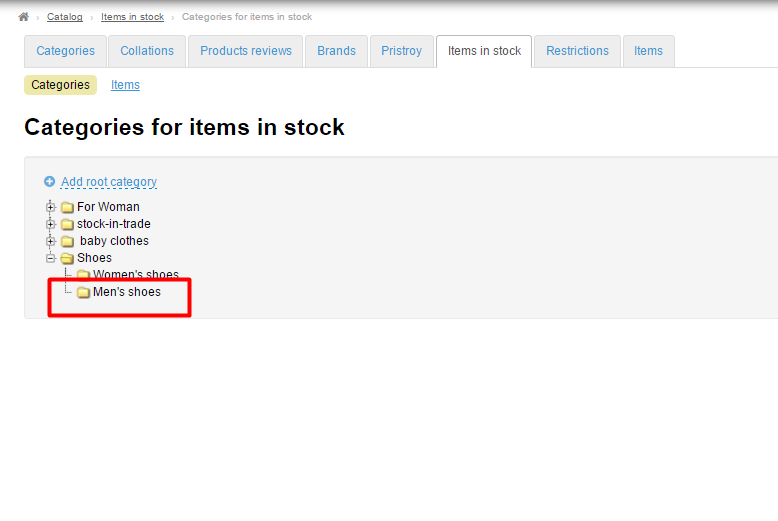
The name of the category has been changed.
Delete
| Информация | ||
|---|---|---|
| ||
Categories (root and standard ones) will be deleted permanently. Additionally, all goods that have been added to categories as well as all subcategories will be deleted. |
To delete a category hover the mouse cursor over it and click the “Delete” (the X) button.
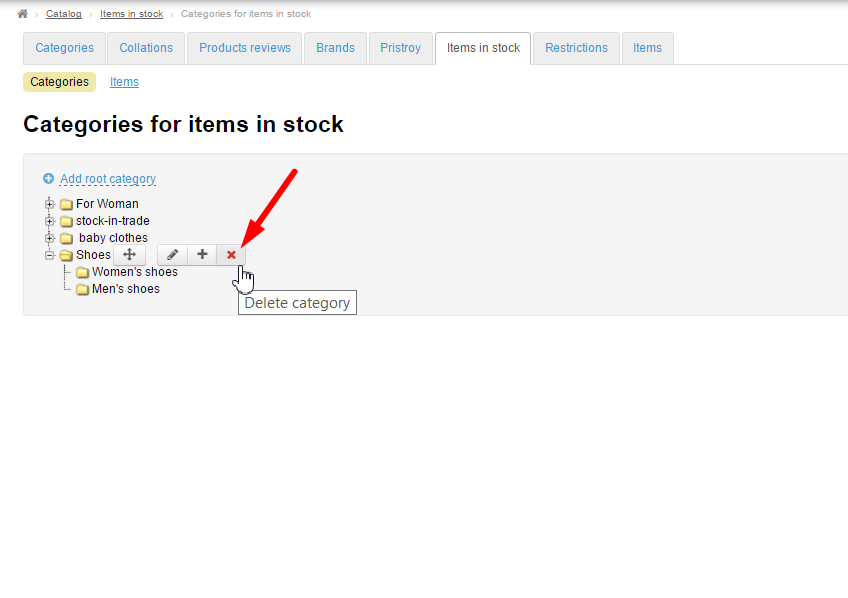
Since a category will be deleted permanently you should confirm your choice. A confirm screen will appear asking if you are sure you want to delete the category. Once you click “Yes” the category will be permanently deleted.
...
In order to rearrange categories or place a subcategory in another category hover the mouse pointer over a category. Click the “Move” icon (the four-headed arrow).
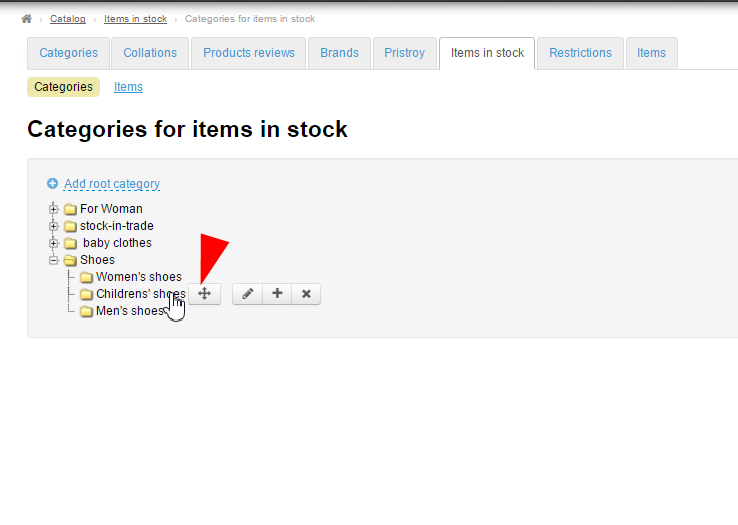
Without releasing the mouse button drag the category into a new position. The place where the category will be moved is indicated by a green line with an arrow.
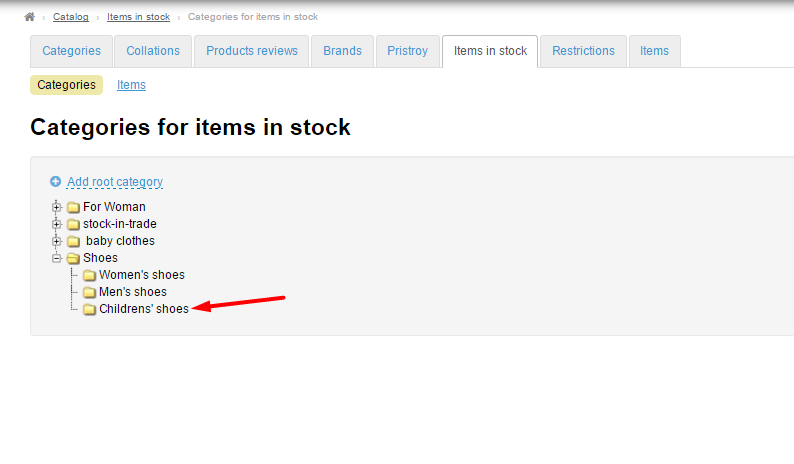
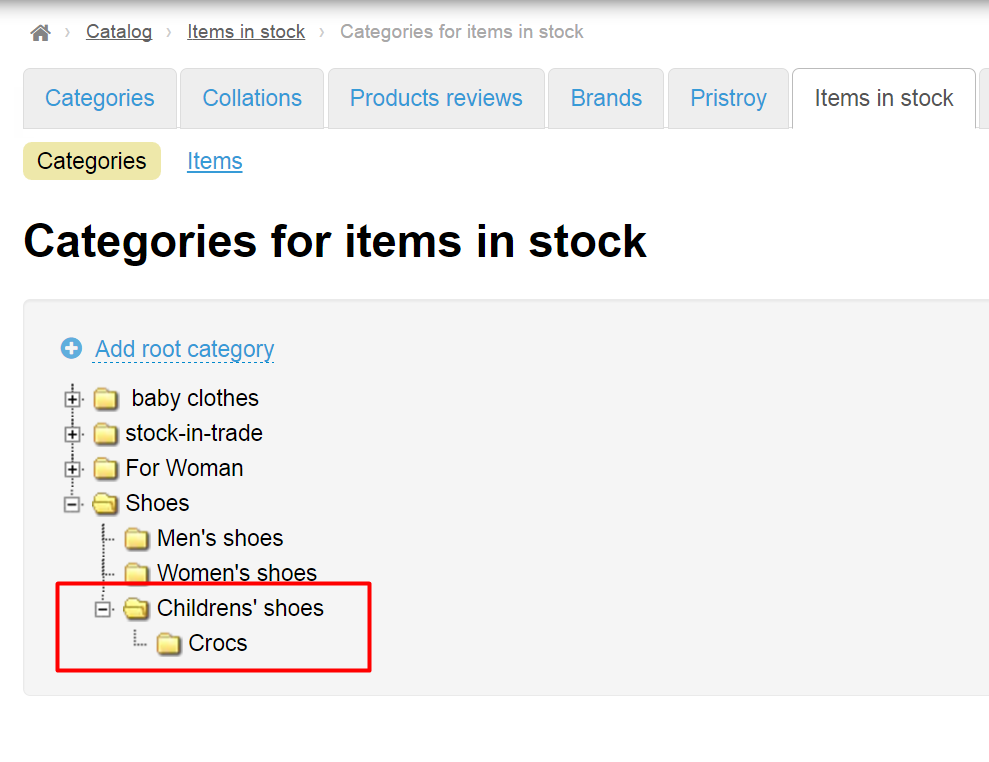
When you release the button the category will take a required position.
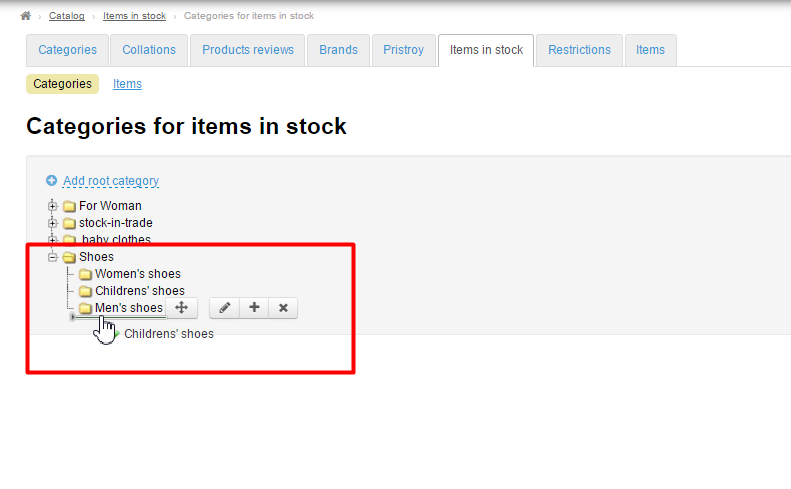
To swap categories around hover a mouse pointer (without releasing the “Move” button) between categories names (as is shown above). If you need to put a category inside another category you should hover a mouse pointer over a category name.
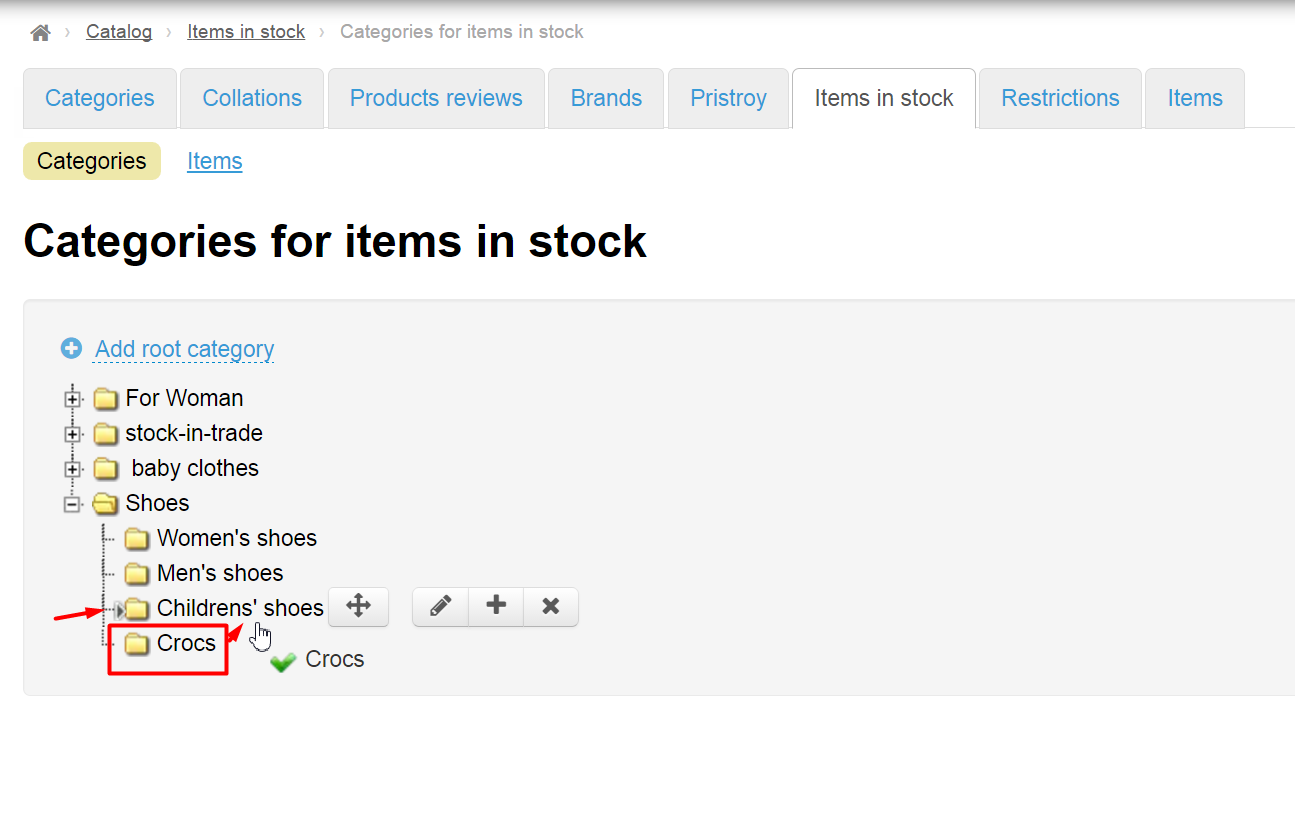
Once you’ve done this, the category will be put inside the chosen category (will become a subcategory).
Products
All goods that you have in stock can be added to created categories. Products can be added manually (if the product is no longer available on Taobao) or automatically using the link to a Taobao product.
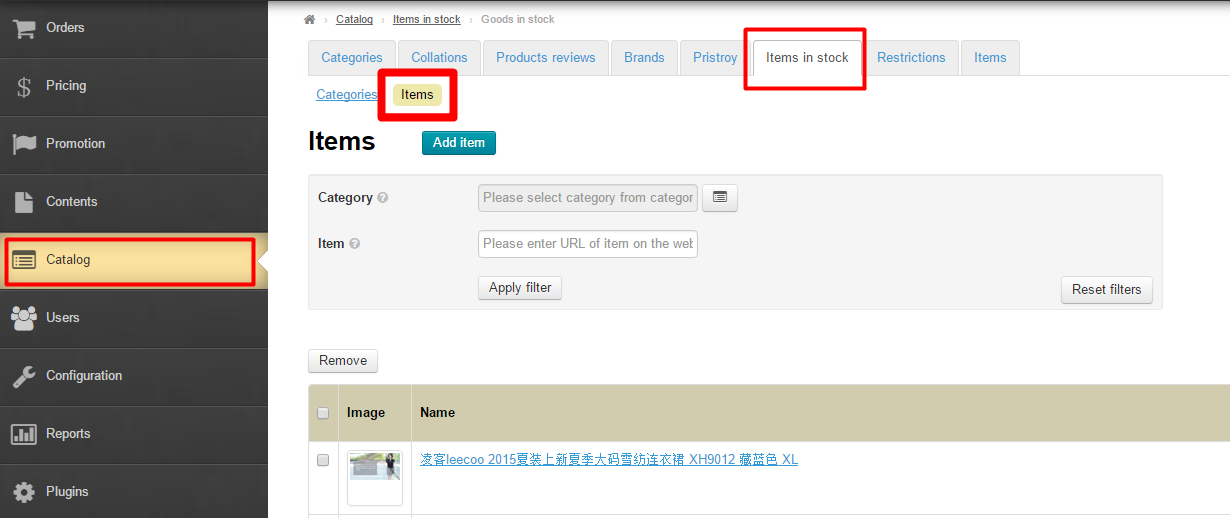
In order to add a product you need to switch to the “Goods in stock” tab in the “Catalog” section. Next, select the “Products” item.
| Информация |
|---|
The currency your store uses to add products is yuans. Whereas products are added in yuans, the prices of products will be converted to the storefront currency to be displayed on the front end. (Find out how to change the currency settings in the “Pricing-Currency” section). |
...
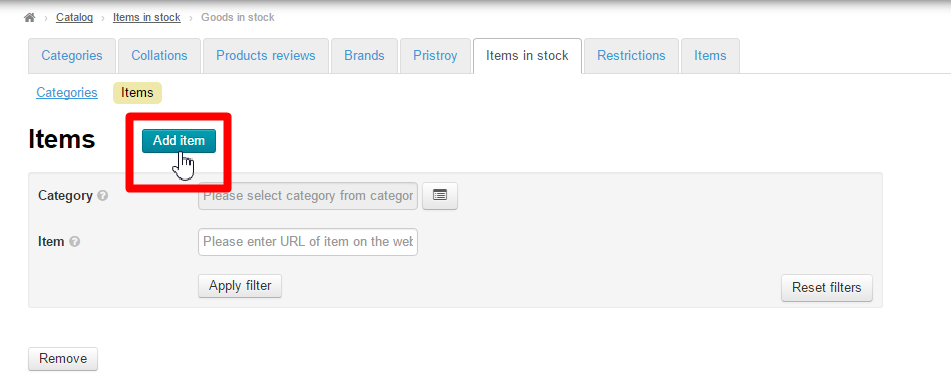
To add a product you should click the “Add product” button.
Add a product manually
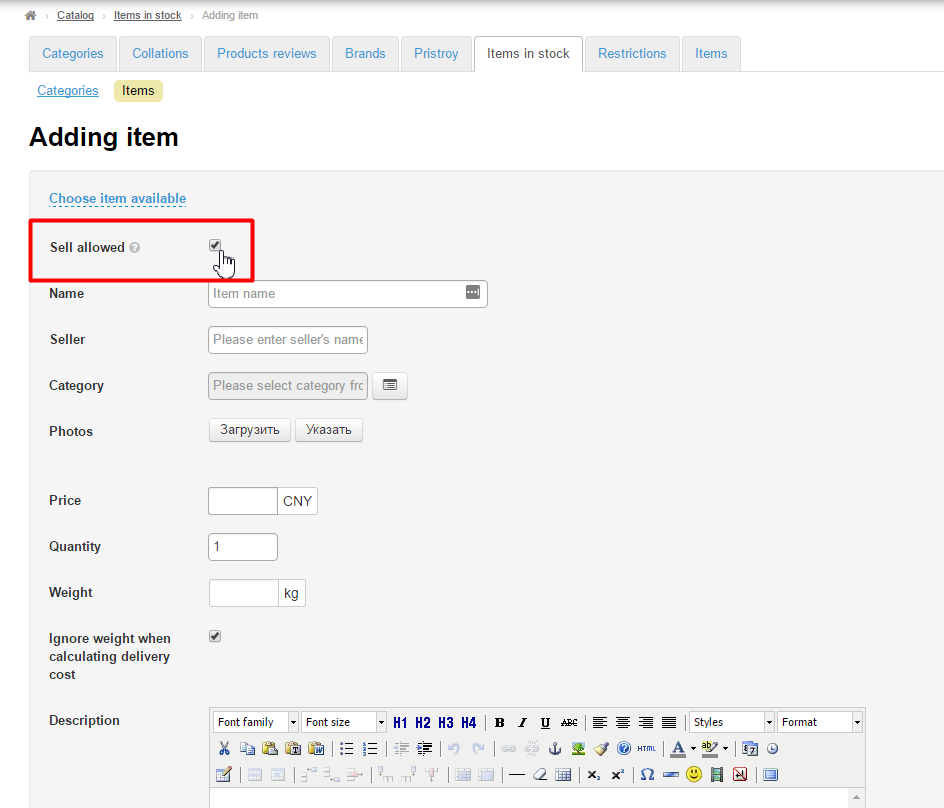
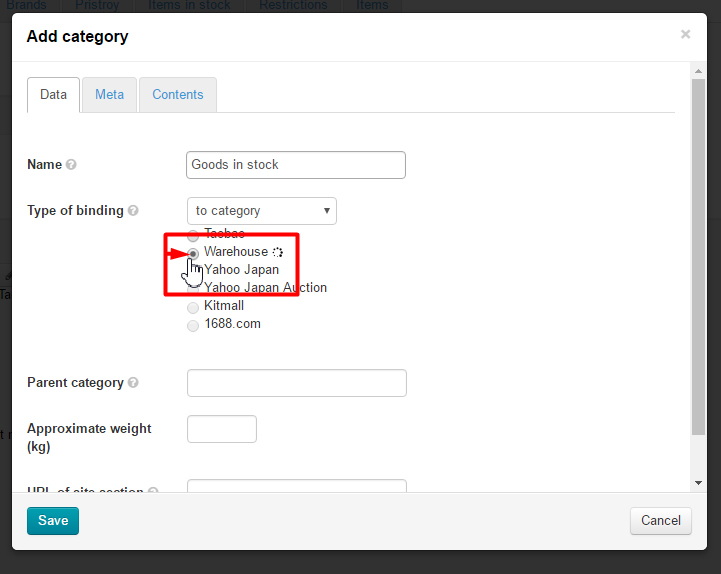
Enter the product name in the form that appears:

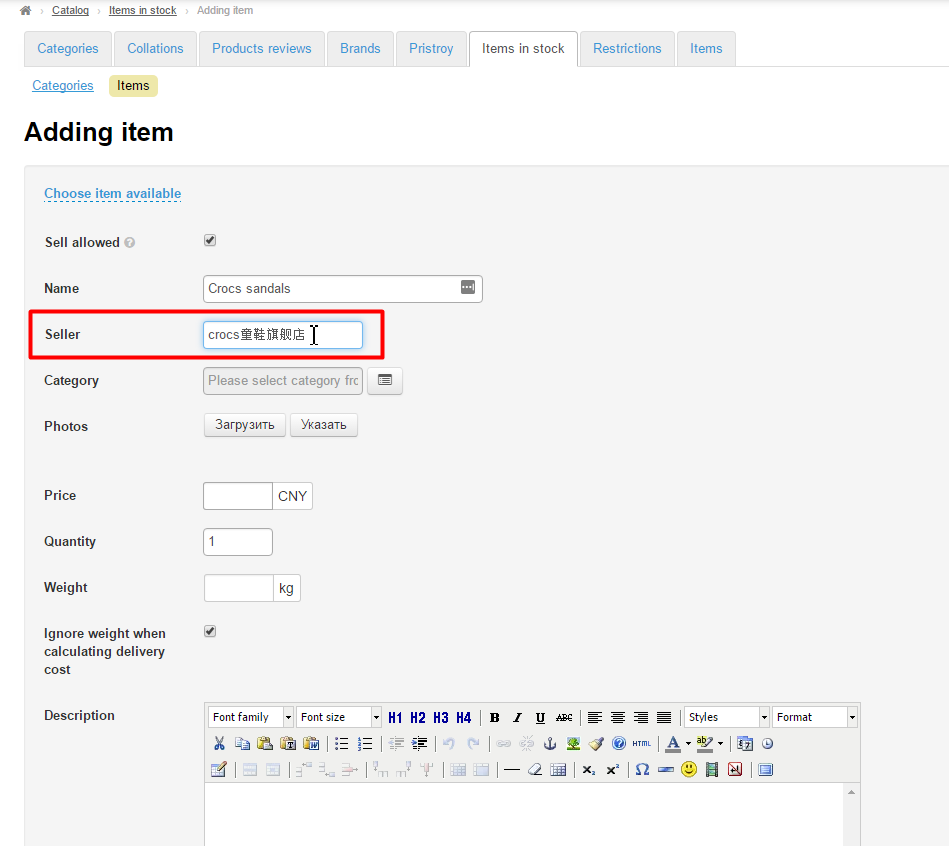
Next, enter a seller name. You can find a seller name on a Taobao product page.
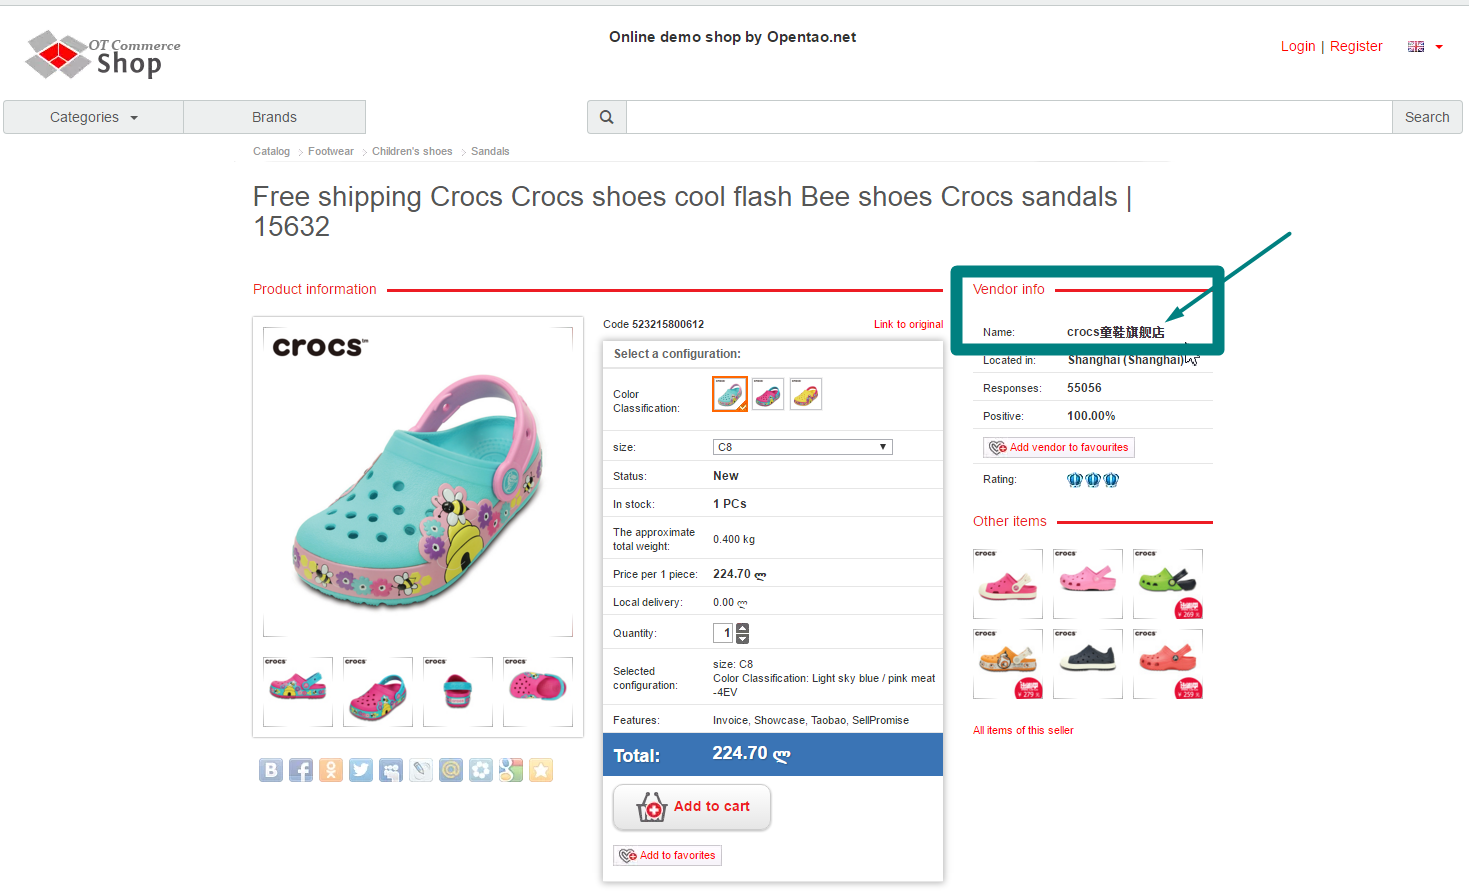
If a product you need is no longer available on Taobao, you can enter your e-store name as a seller name.
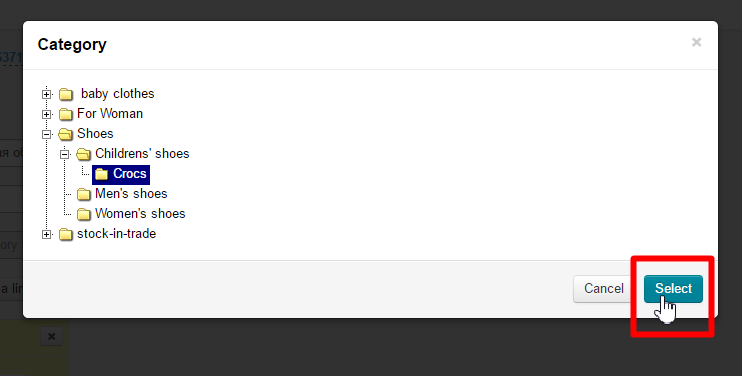
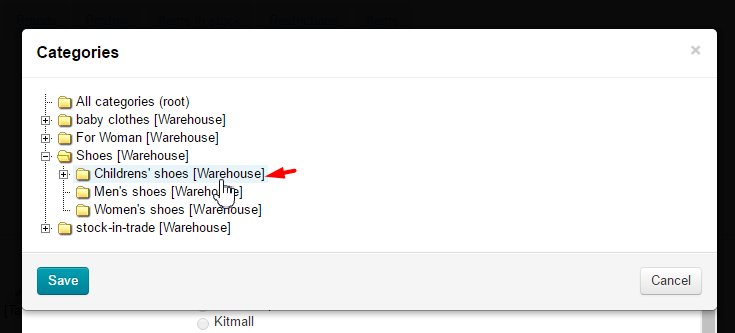
Select a category that will contain the desired product. Click the “Select in category tree” button.
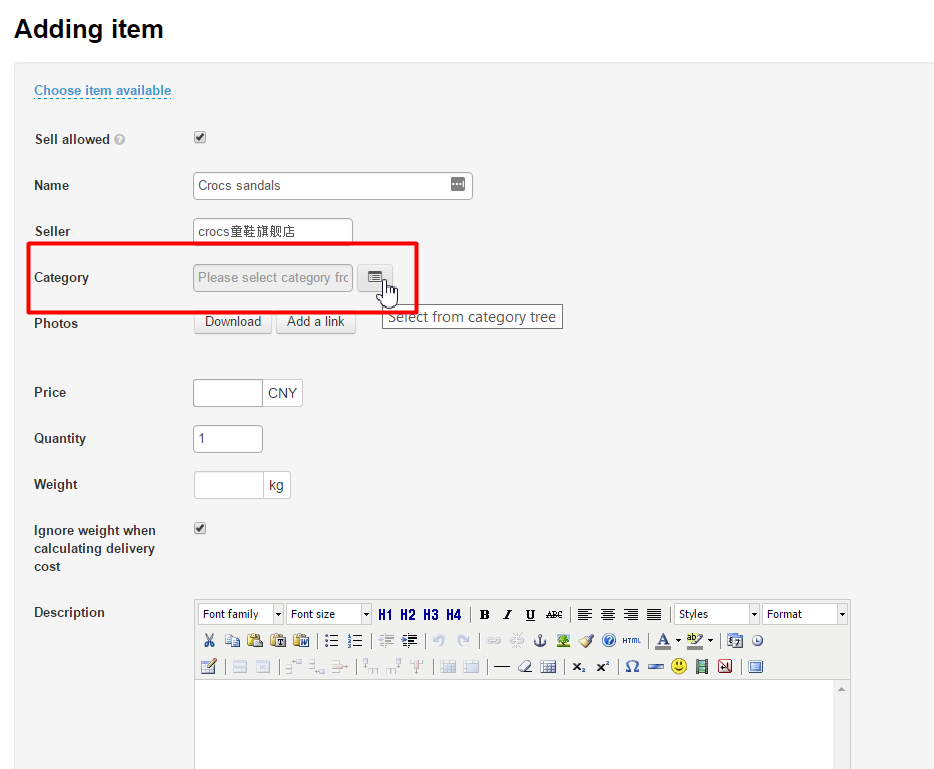
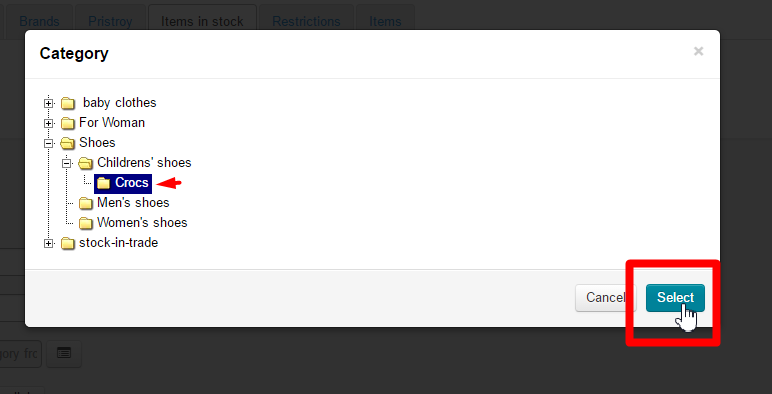
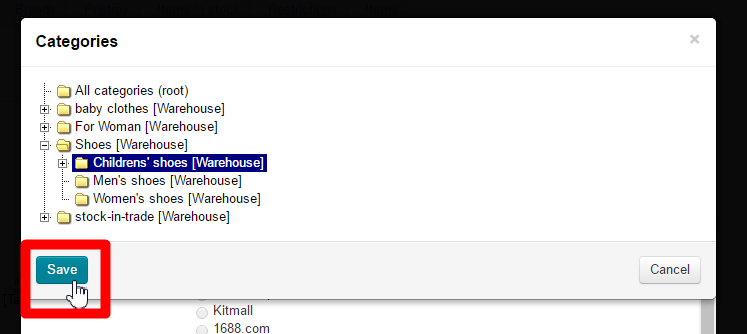
Click the needed category or subcategory in the catalog tree that appears (It was created earlier. For information see “Goods in stock categories” section).
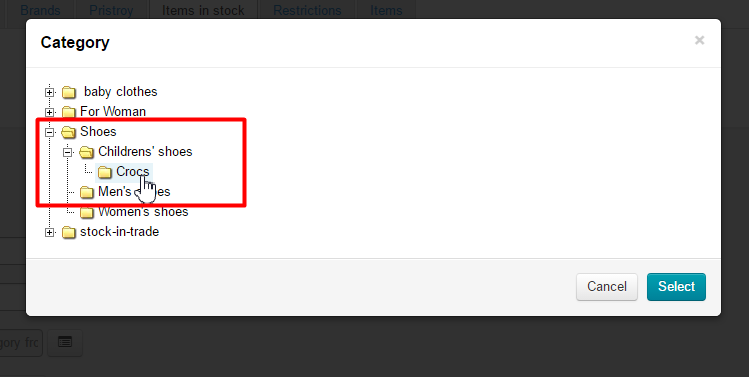
To save settings click the “Select” button.
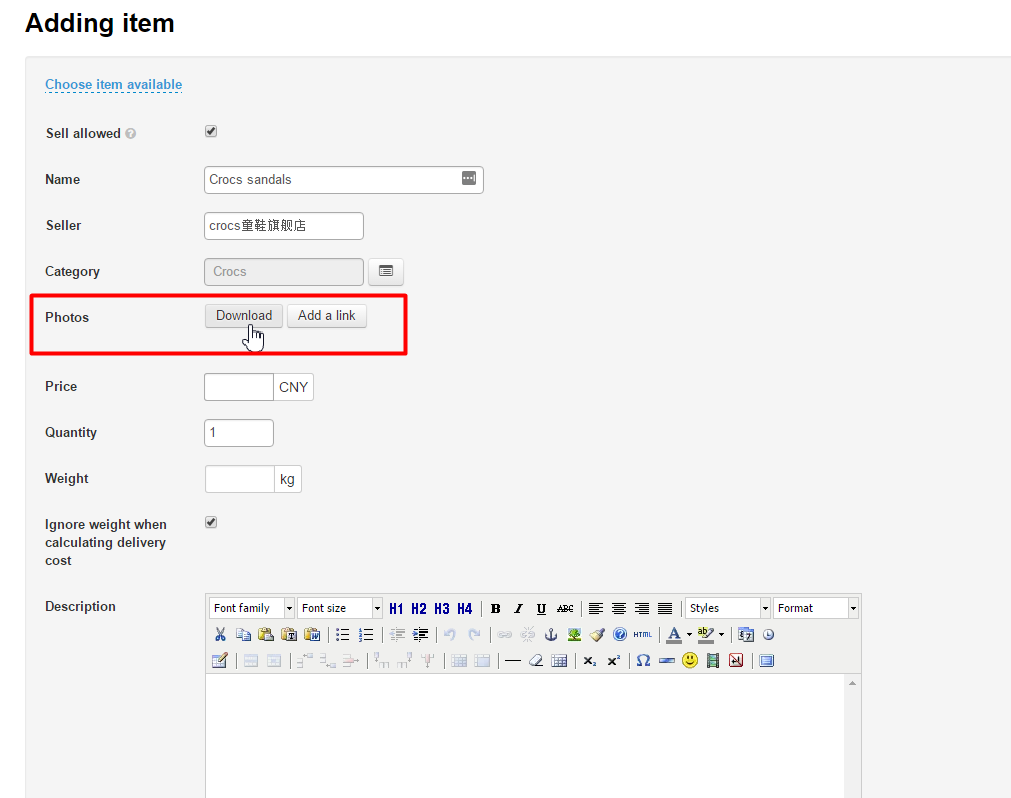
The category has been chosen.
Next, upload a product image (100х100 pixels). Click the “Select image” button.
Once you have clicked the “Select image” button, you will be asked to upload a product image from your PC. As soon as you’ve selected the image, it will be displayed in the administrative area.
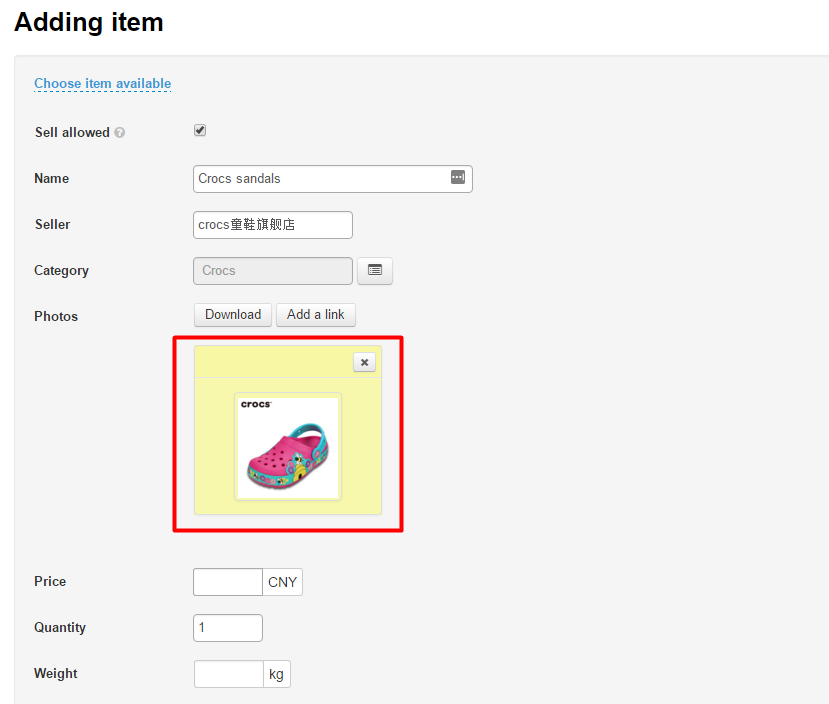
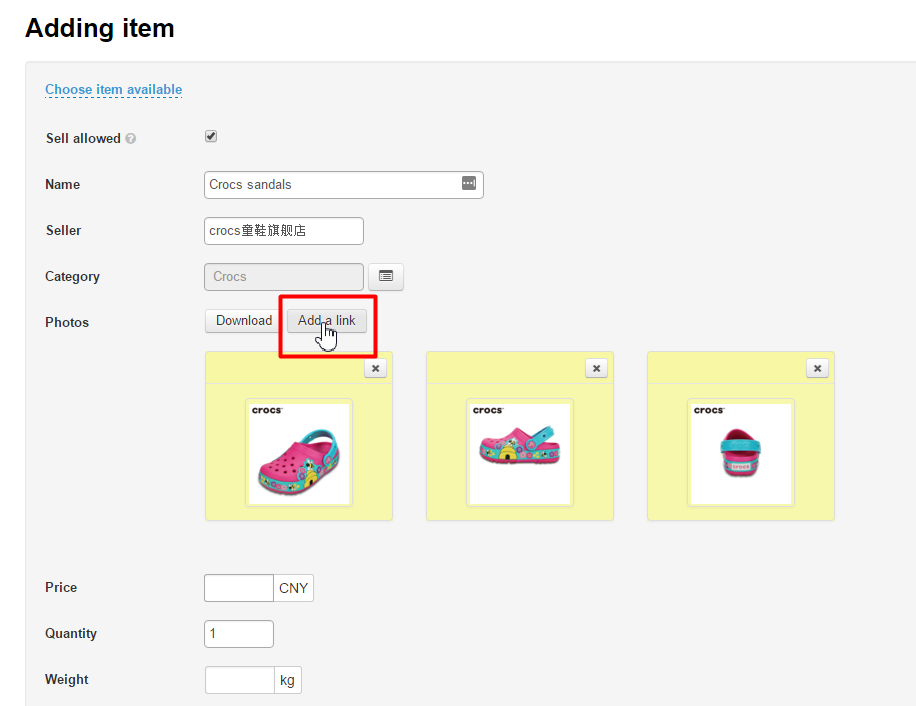
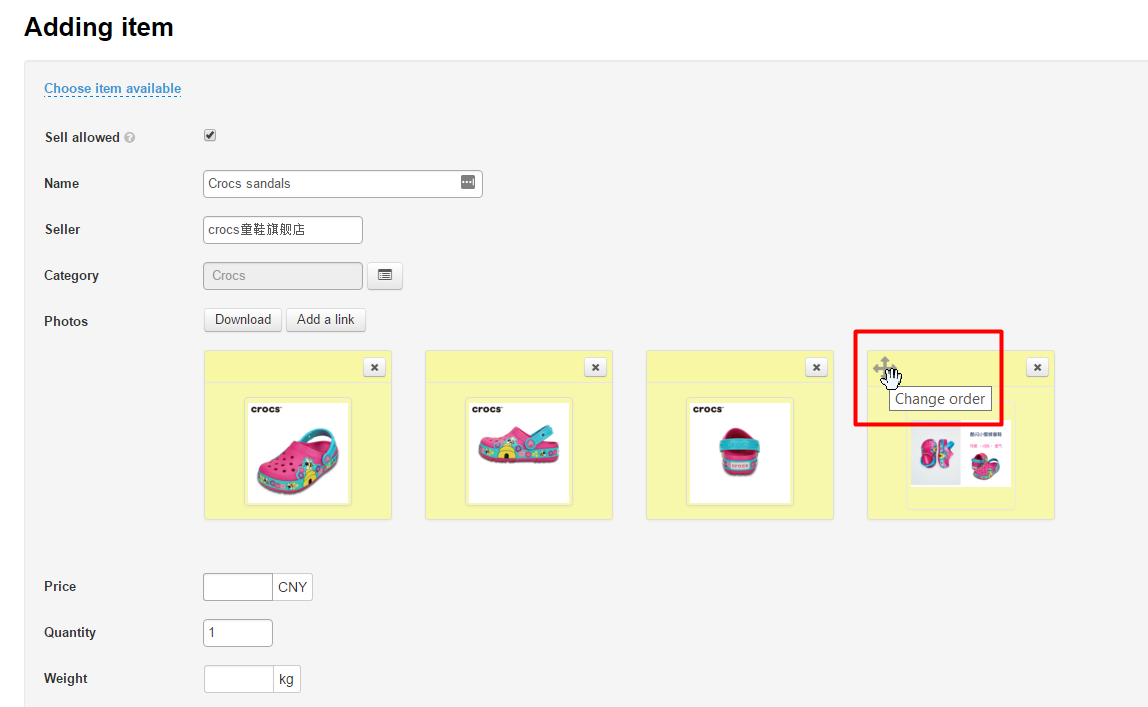
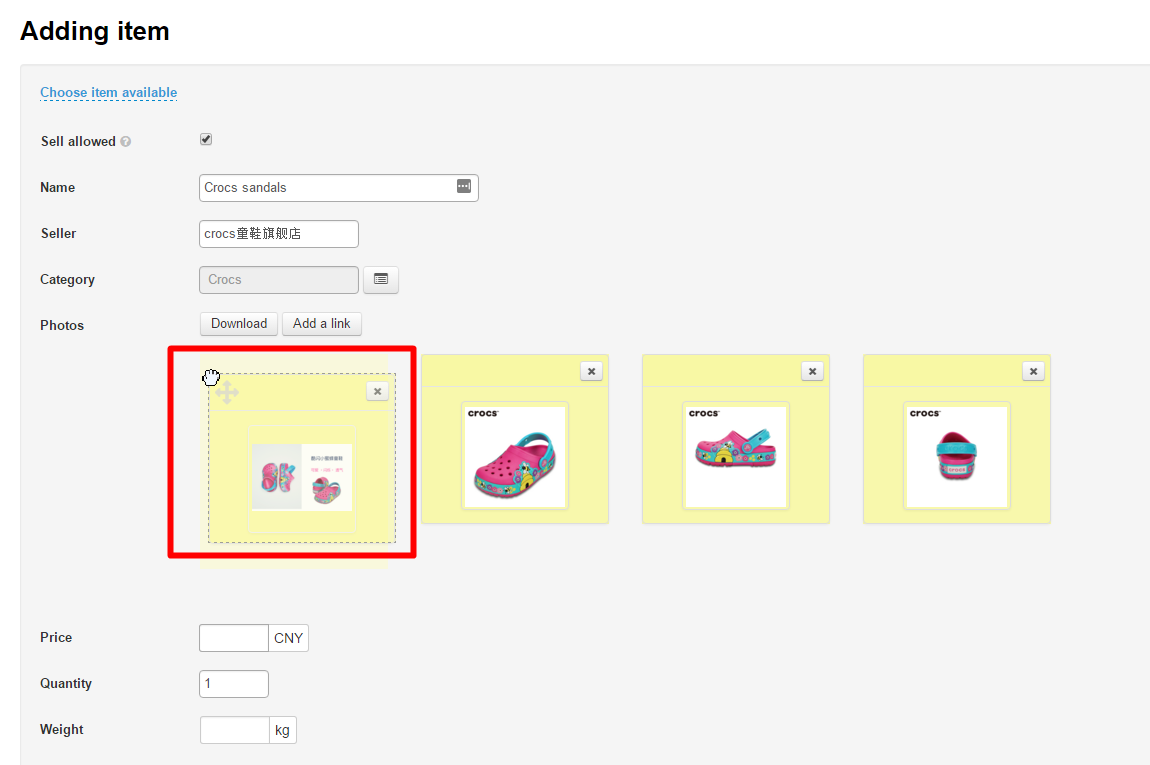
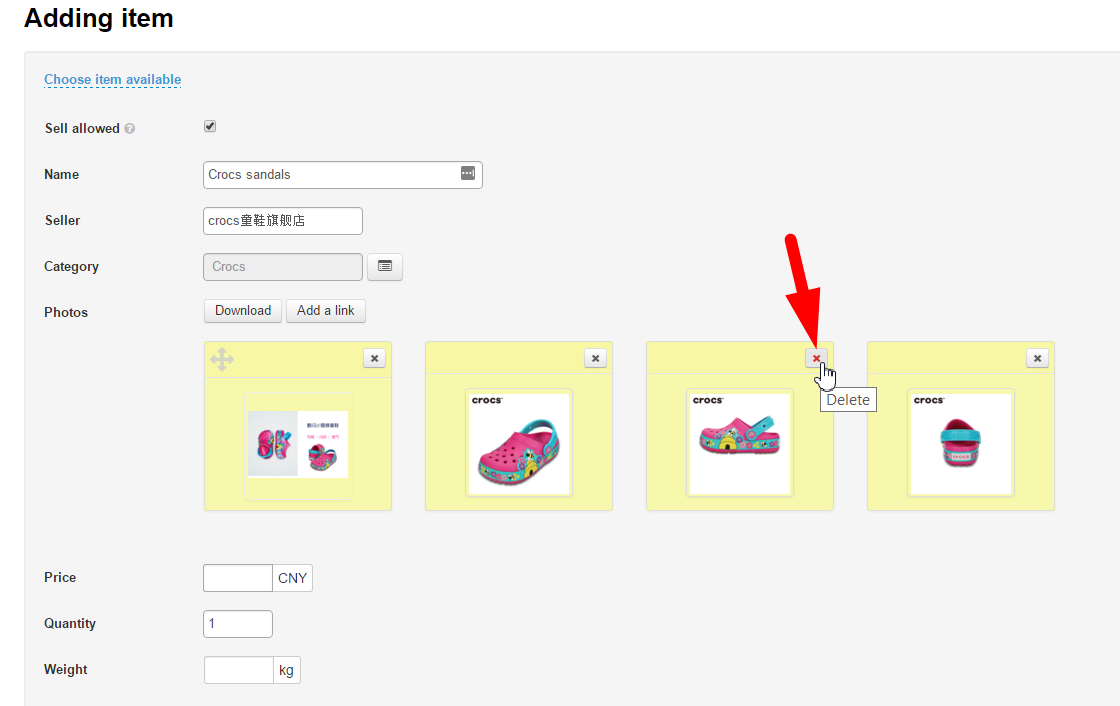
If you want to change an image click the “Change” button and upload another image. If you need to delete an image click the “Delete” button.
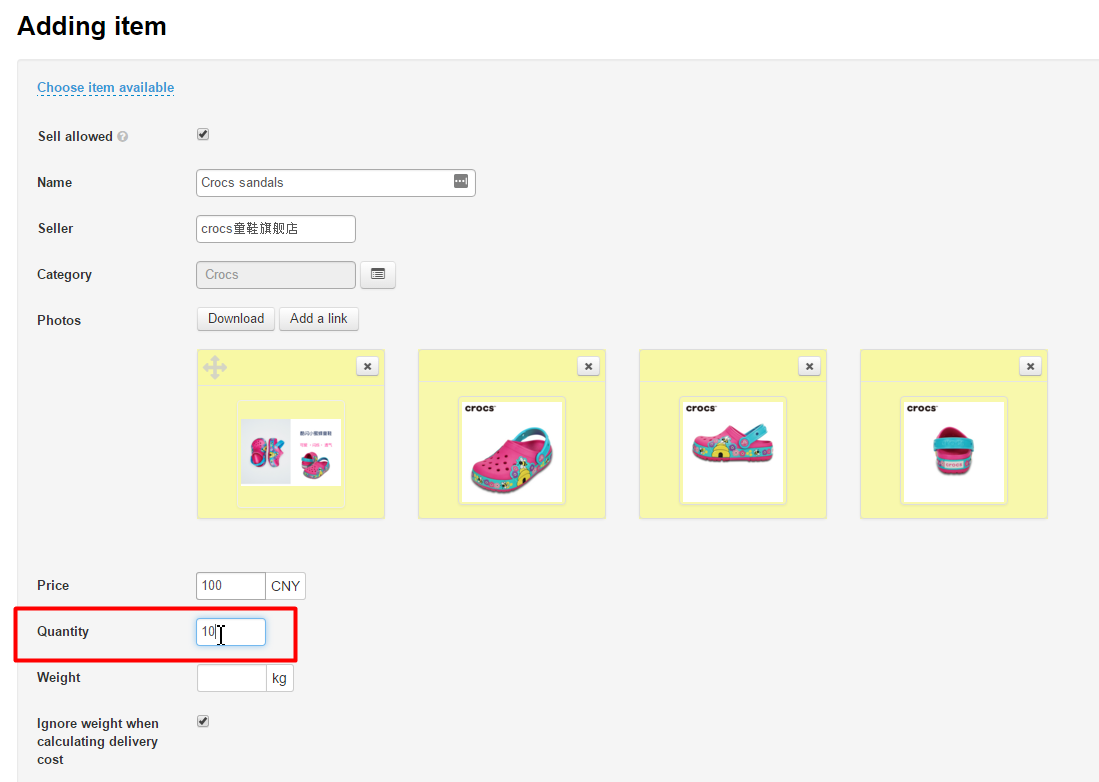
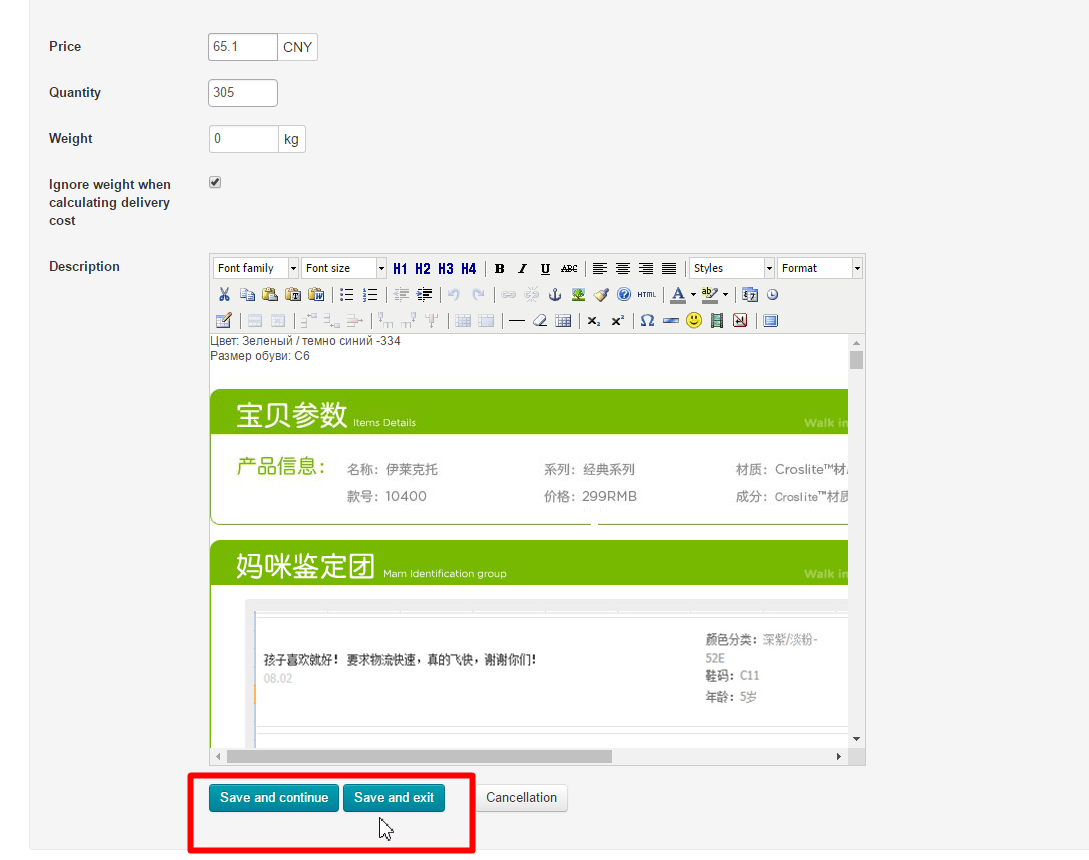
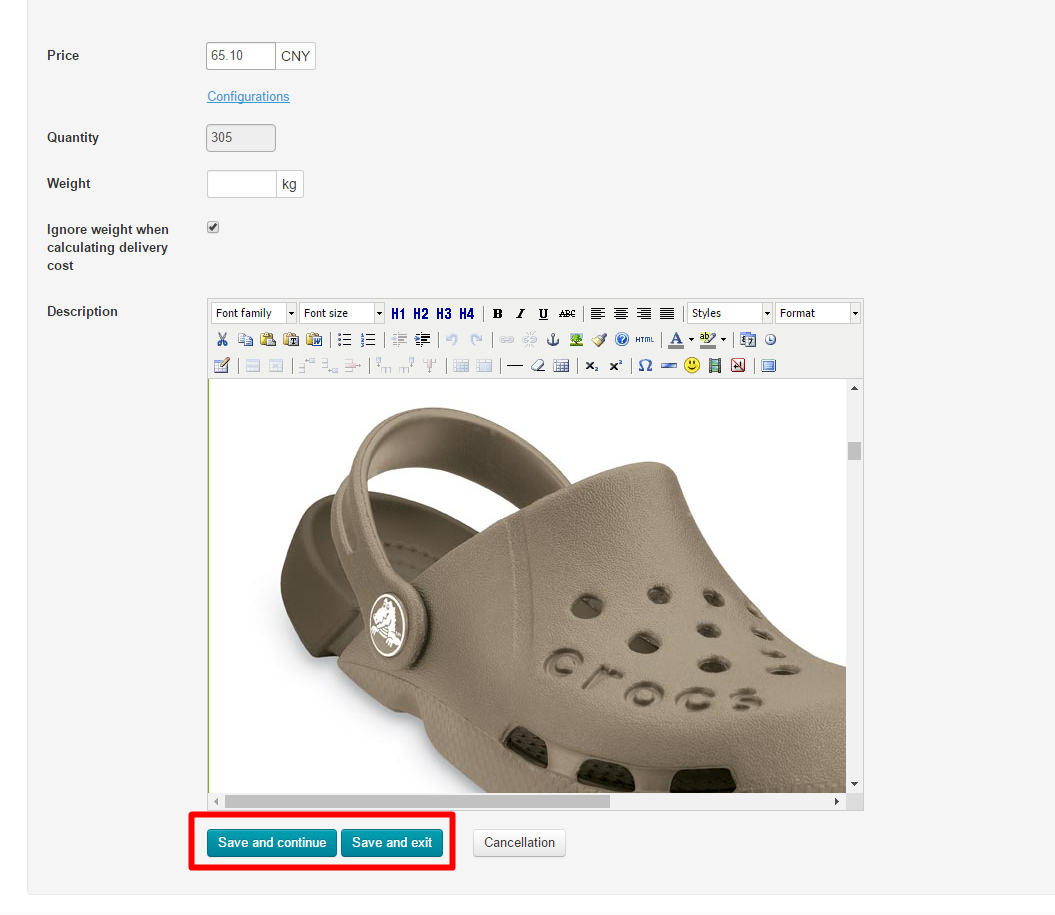
Next, you should enter the price of a product in yuans.
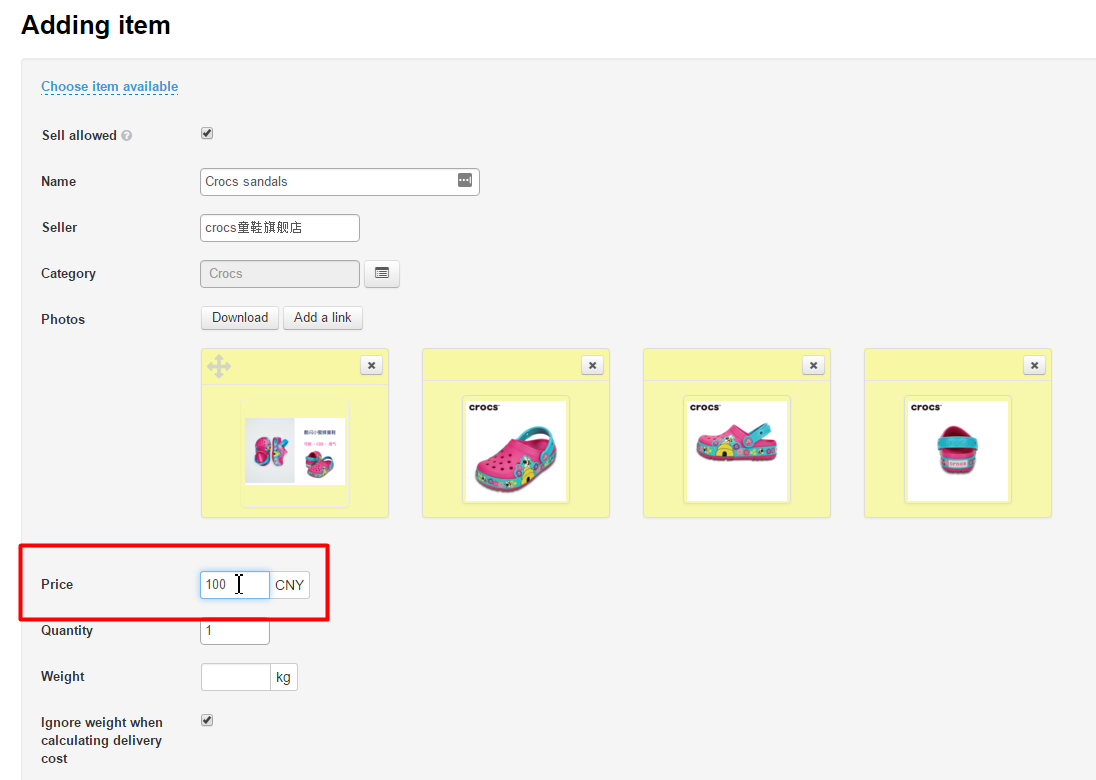
Specify the number of products which are in stock.
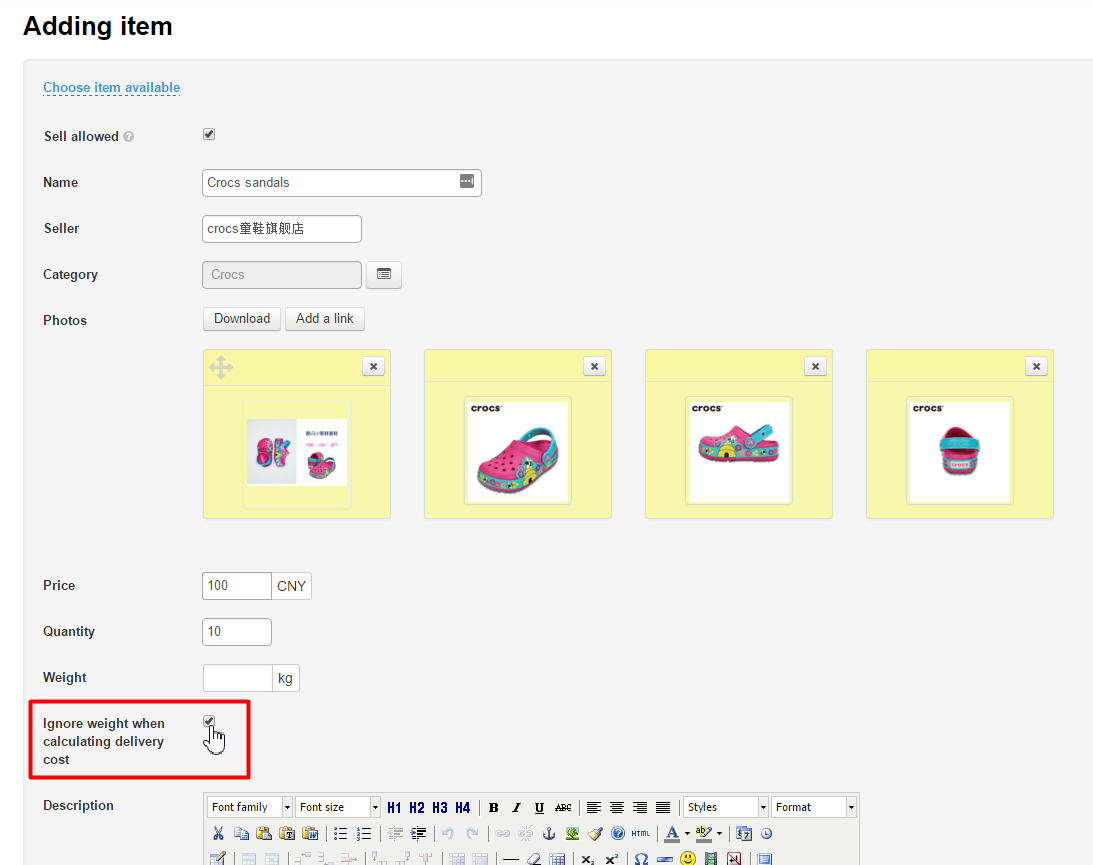
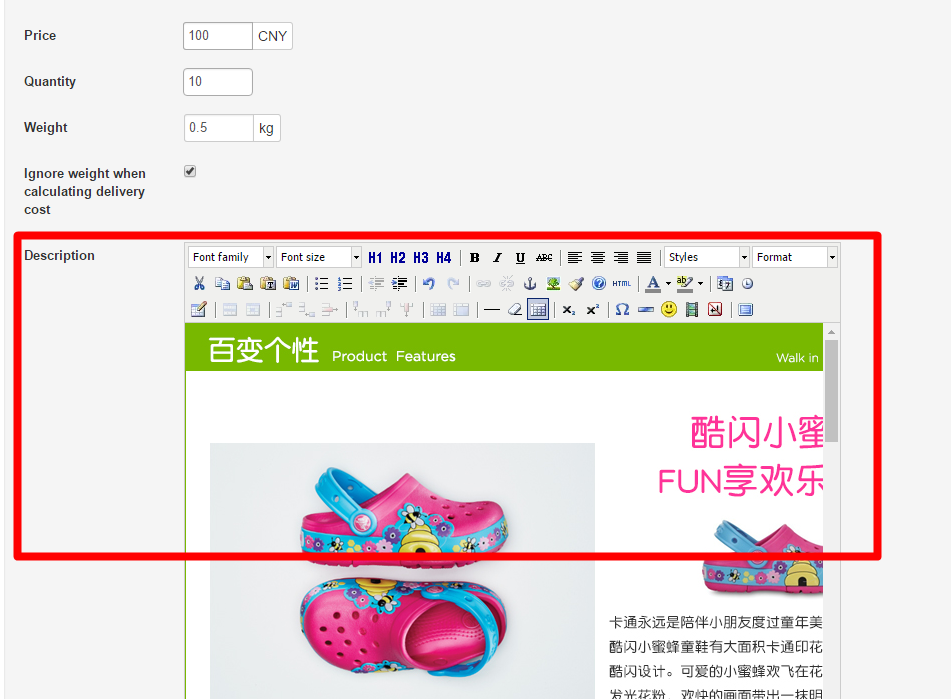
Then you need to determine whether or not the product weight should be taken into account when calculating shipping costs . If yes, uncheck the checkbox “Ignore weight when calculating shipping costs ”.
Next, set the weight of each unit of the product in kilograms in the appropriate field.
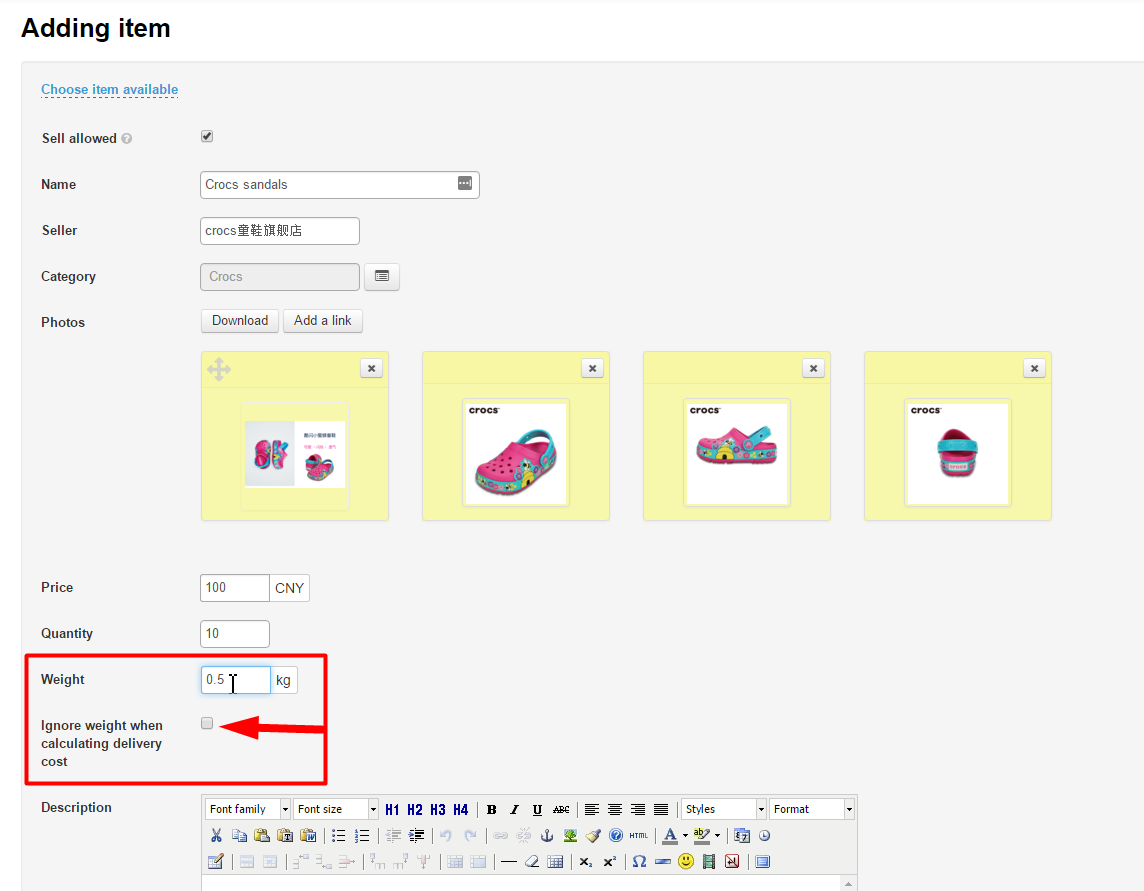
If you want to ignore the product weight when calculating shipping costs you should leave the “Weight” field blank and leave the checkmark in the checkbox next to the text “Ignore weight when calculating shipping costs”.
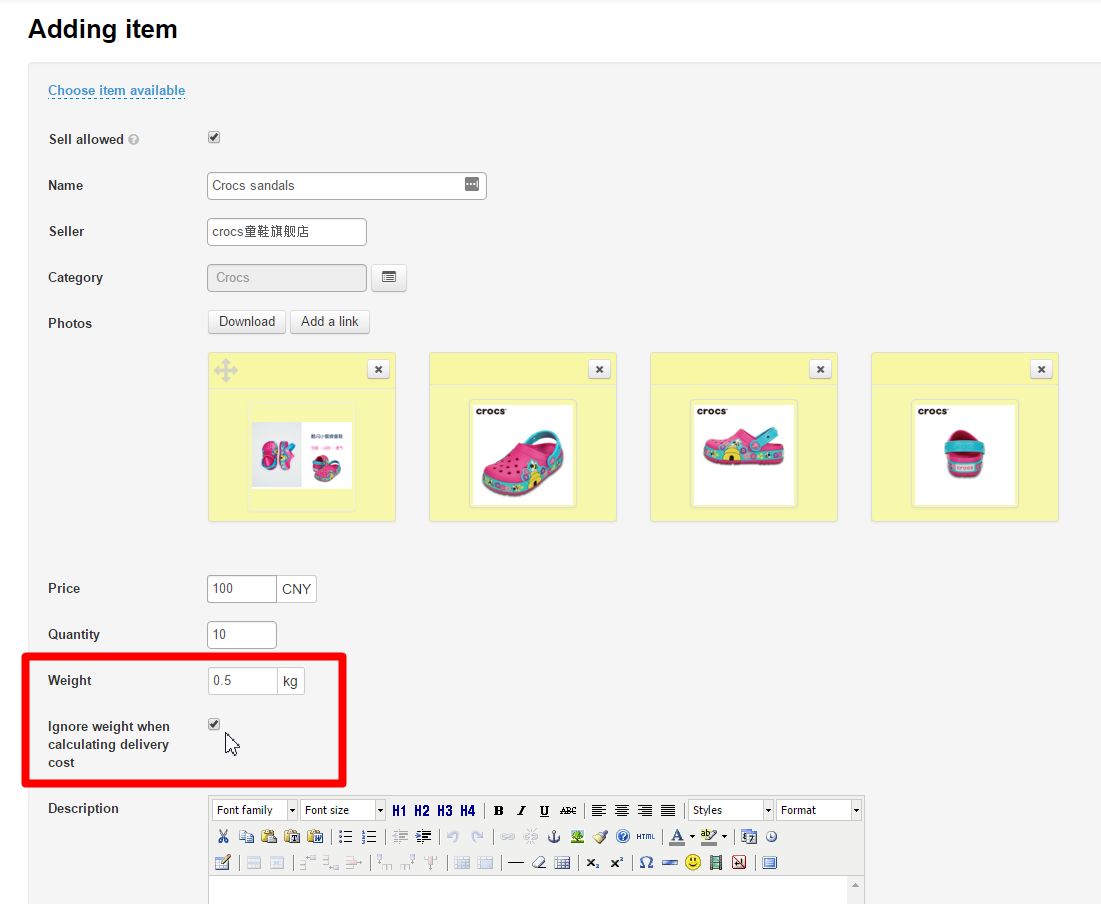
Besides, you can specify the product weight and leave the checkmark in the checkbox. In such a case a customer will see the weight of the product but it won’t affect the shipping costs (as shown in the example below).
Next, fill out the “Description” field. This can be done using the visual editor which works like MS Word editor.
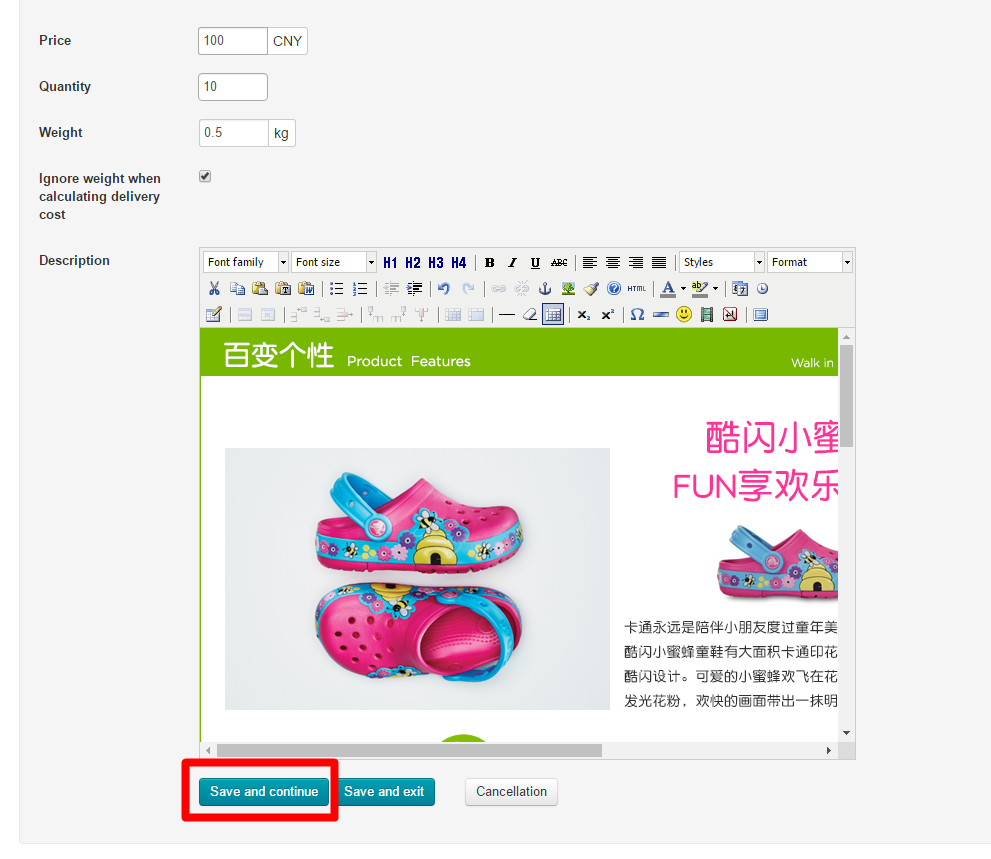
Save changes by clicking the “Save” button.
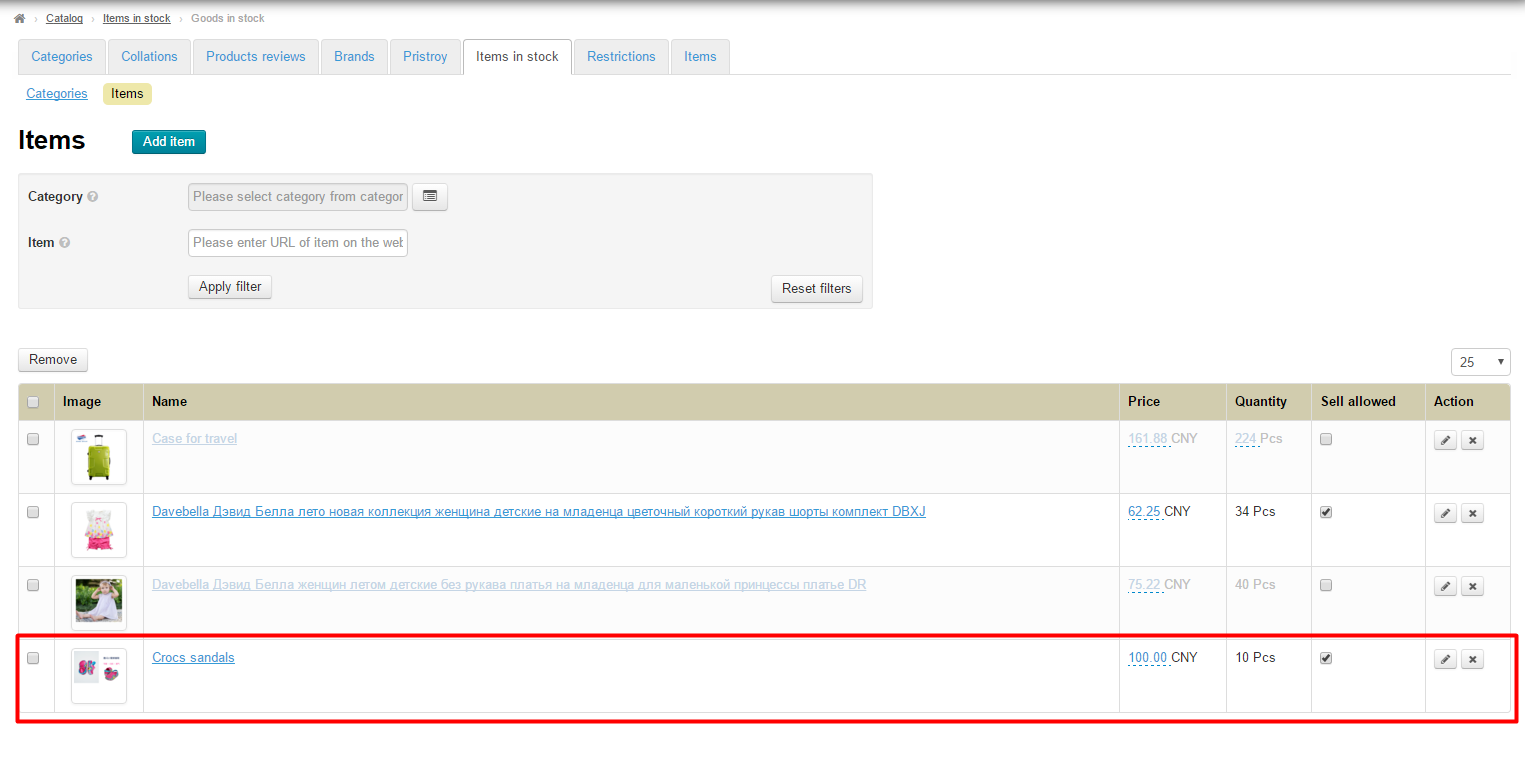
The product has been added.
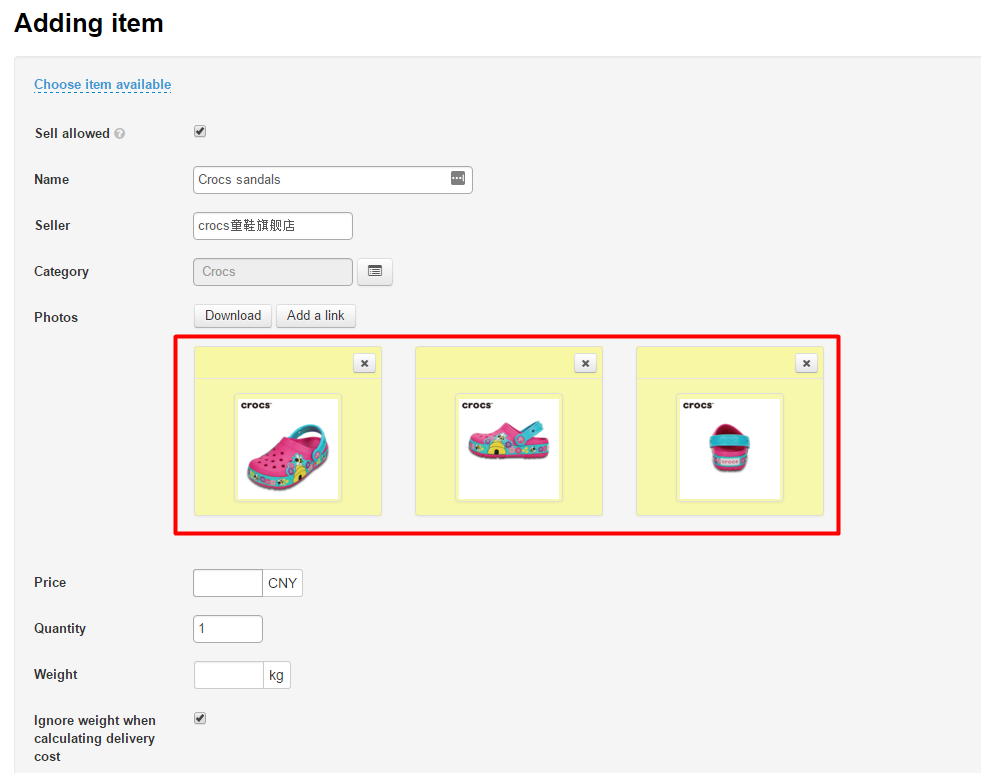
Add an available product from Taobao
To add an available product from Taobao you should know a link to it on your website. Select the product that interests you and copy a link to the product from the address bar.

Click the “Add product” button in the administrative area.

This will show up a form where you should click on the dashed blue underlined text “Choose item available”.
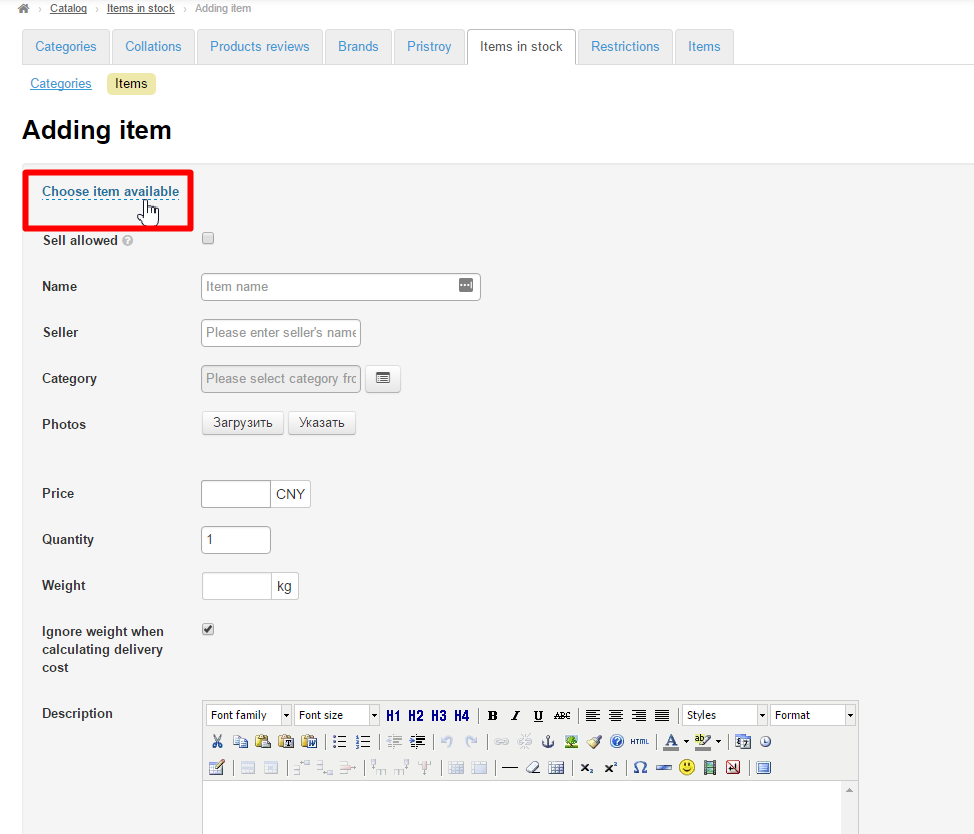
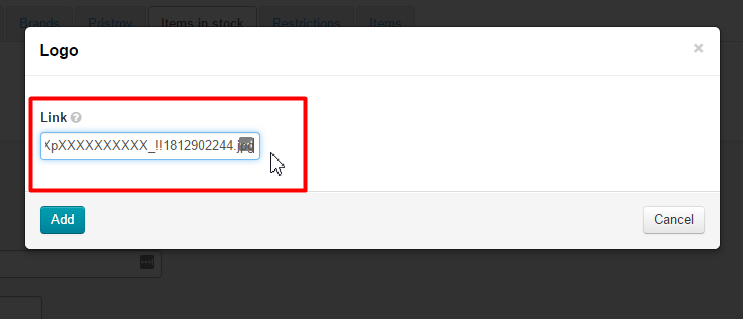
Paste the link to the product you got according to the instructions above.

Click the “Confirm” button.
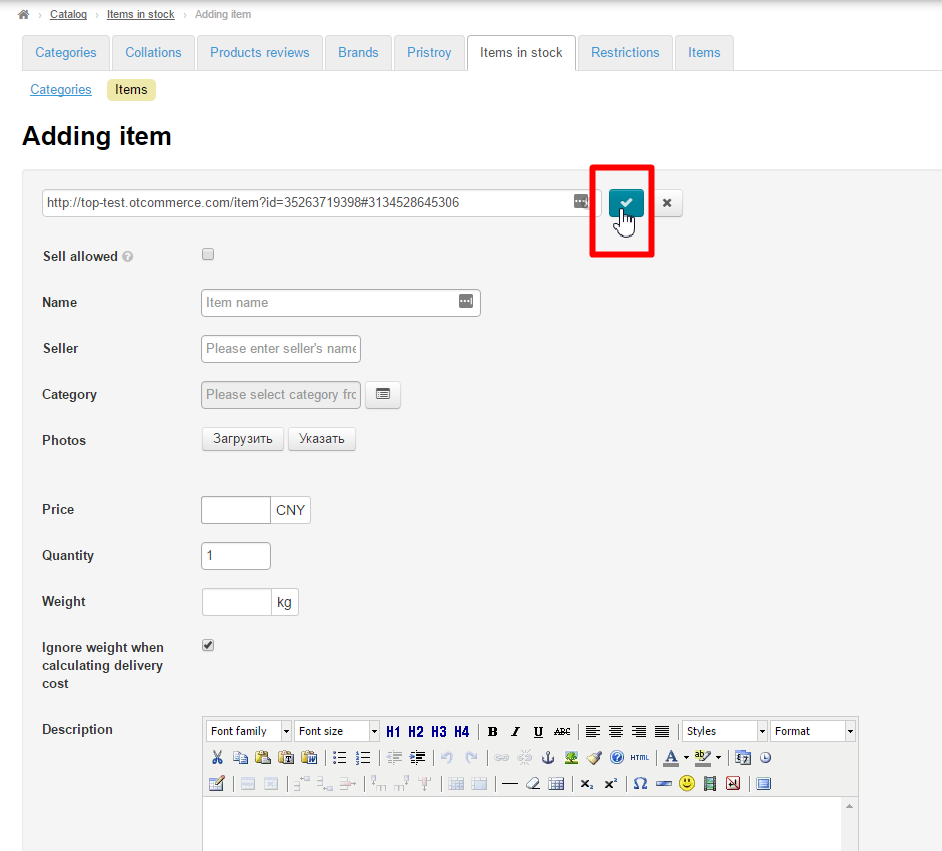
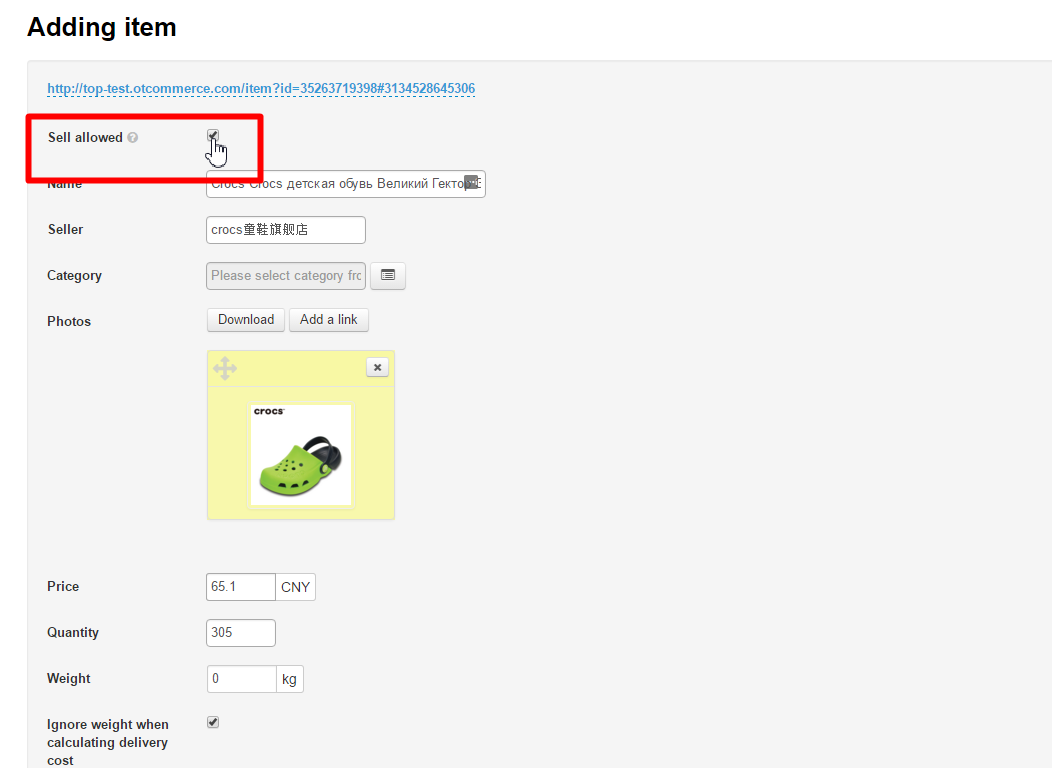
Clicking this button will insert all data about the product into the appropriate fields.
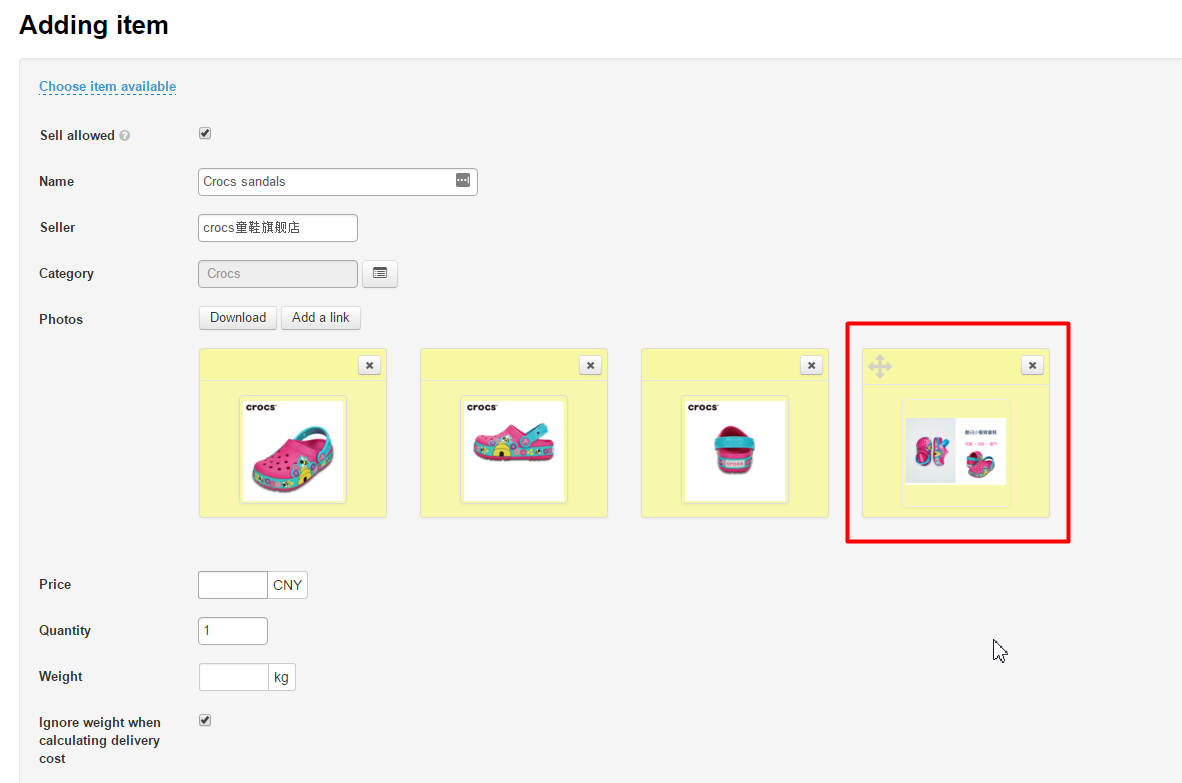
...
Select a category to which the product will be assigned to. Click the “Select in product category tree” button.
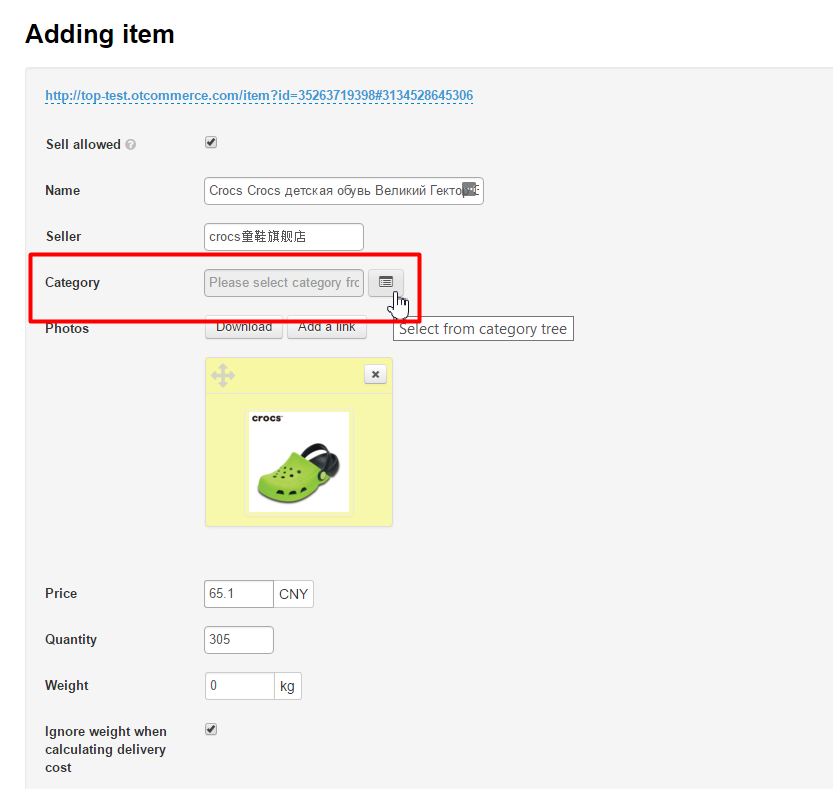
In the product category tree that appears (It was created earlier. For more information see “Goods in stock categories”) select a category or subcategory you need:
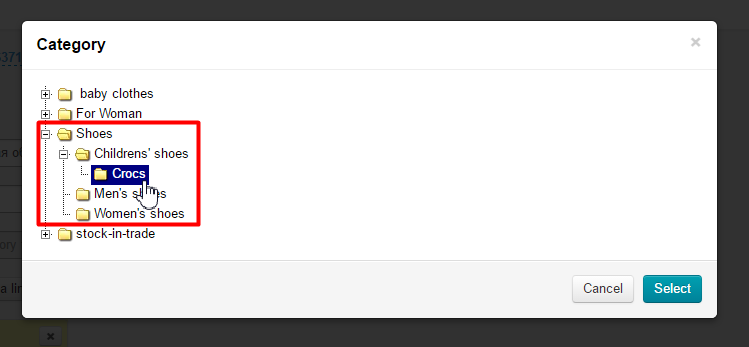
To save the changes click the “Select” button.
Next, you should edit all the fields you need:
Save the changes by clicking the “Save” button.
...
If you need to edit a product please look at the list of products. Click on the pencil button in the “Actions” column.
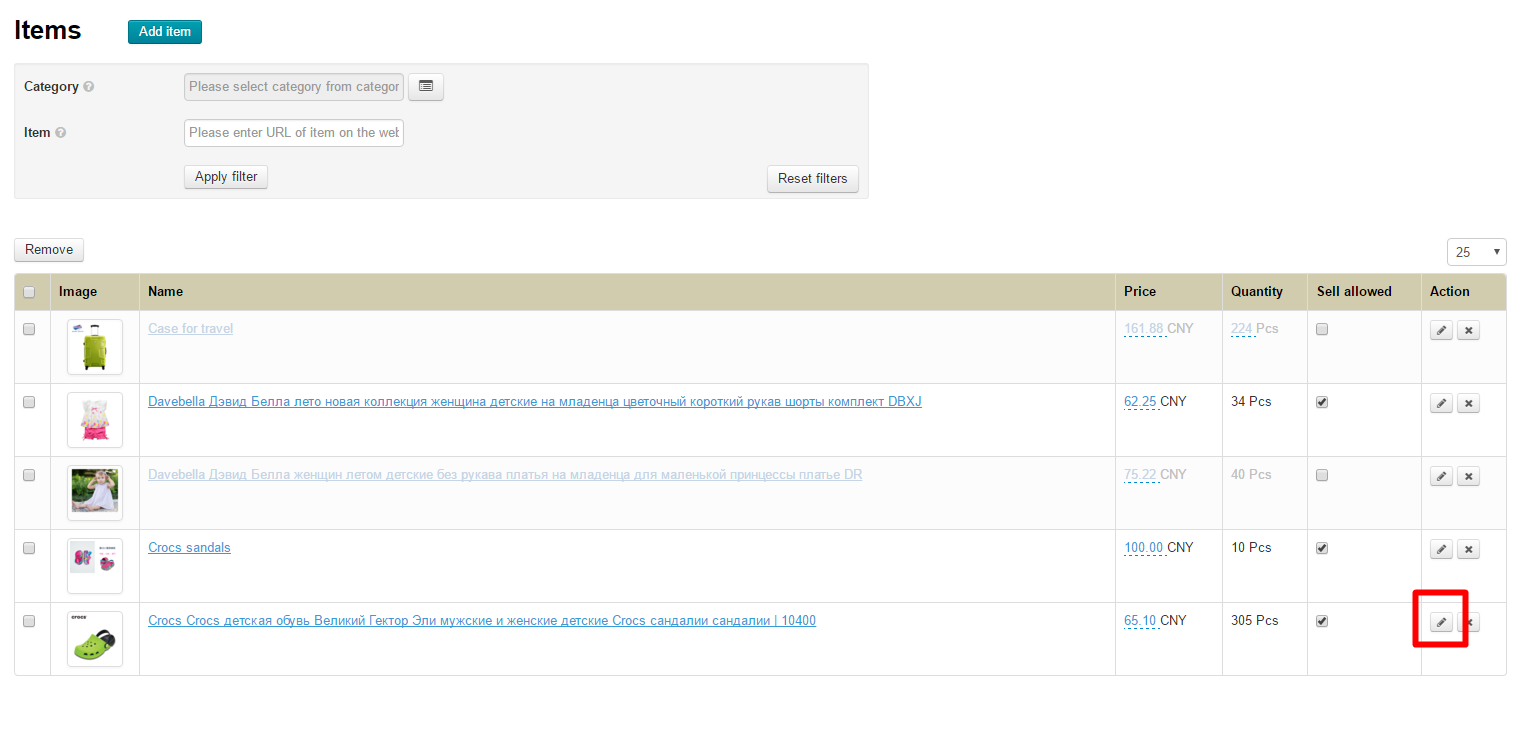
Make all necessary changes in the form that appears.
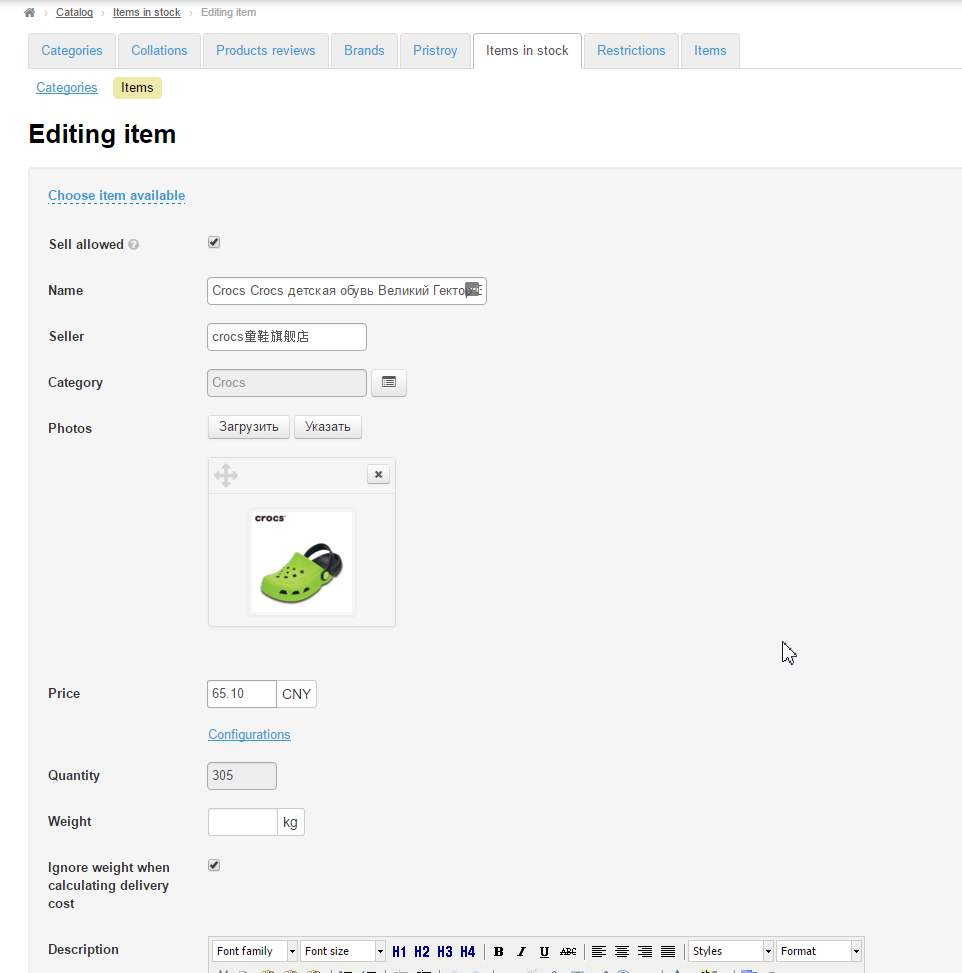
Editing a product is much the same as adding a product .
After making changes the “Save” button will ensure that they are applied. Click the “Save” button.
Delete
| Информация | ||
|---|---|---|
| ||
A product will be deleted permanently. |
...
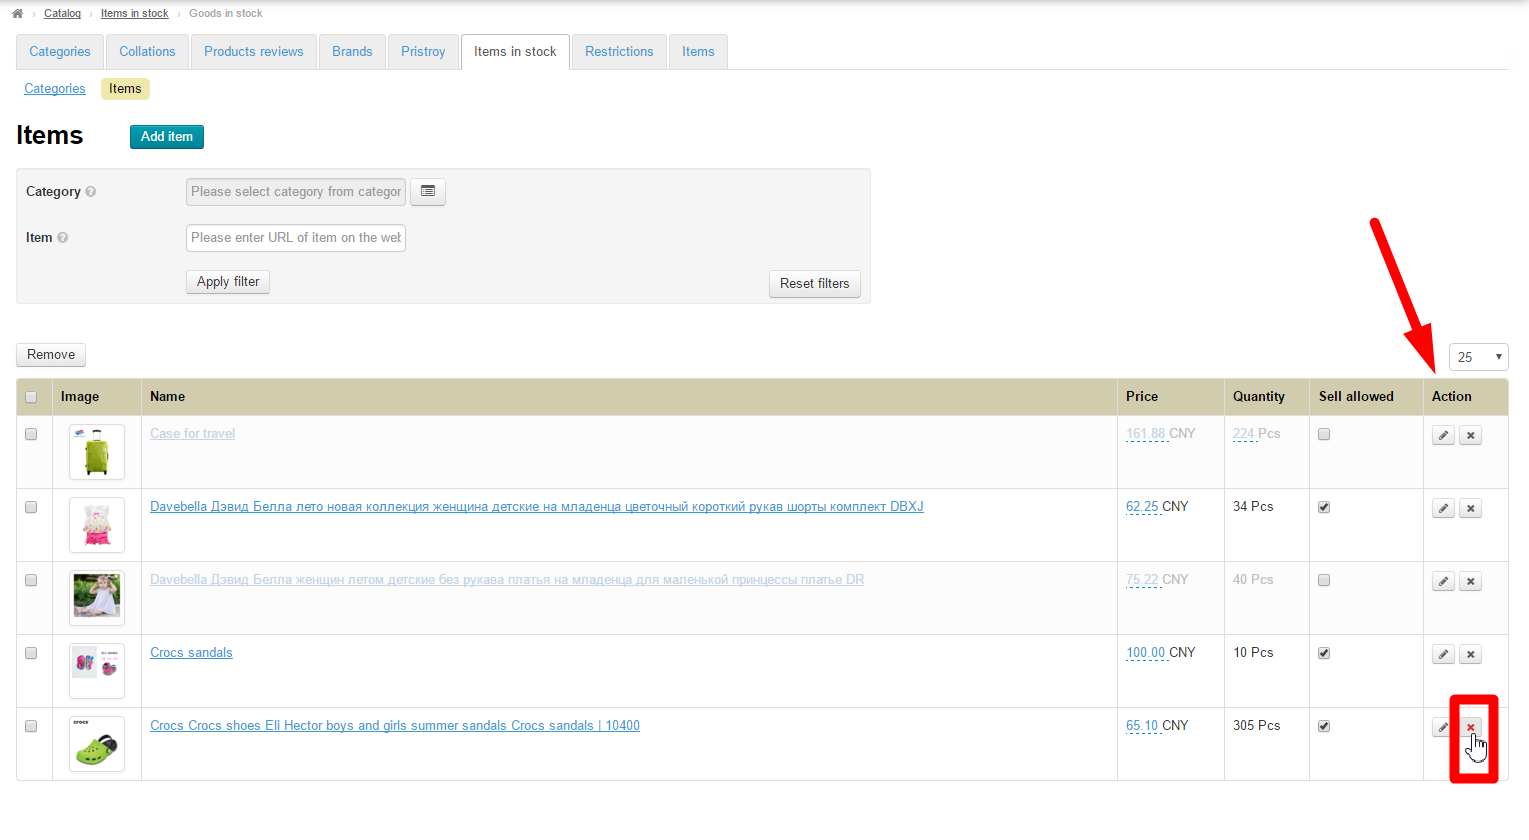
To delete a product click the “Delete” button (the X) in the “Actions” column.
To delete the product it is necessary to confirm your choice by clicking the “Yes” button.
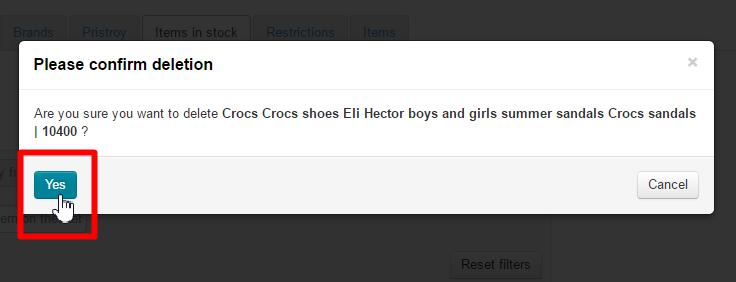
Once you have clicked on the button the product will be deleted.
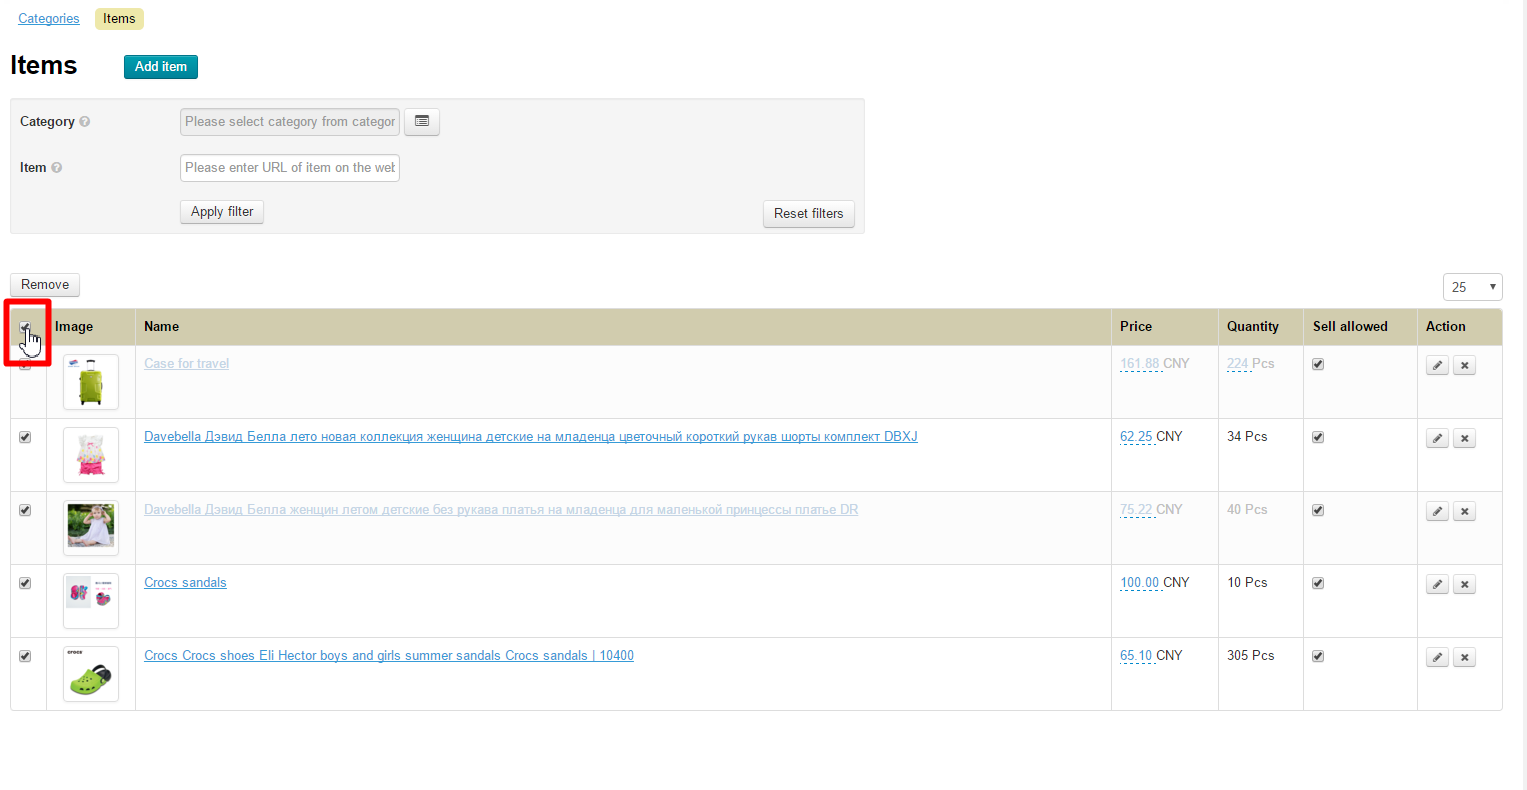
To delete several products all at once select a checkbox next to a product.

Check the checkboxes.
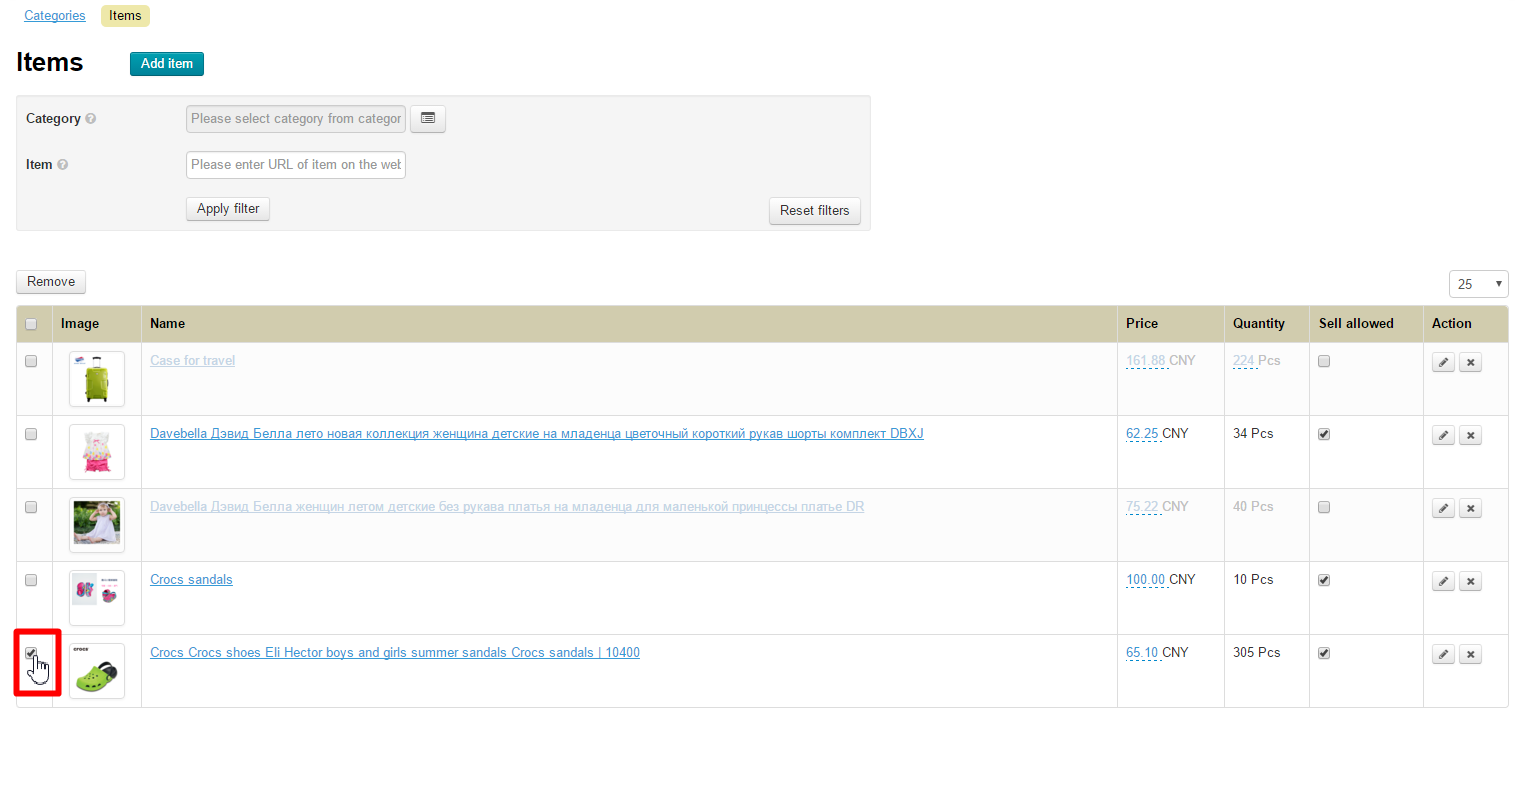
If you need to select all the products on the page check the checkbox in the table header.
Once all the products have been selected click the “Remove” button.
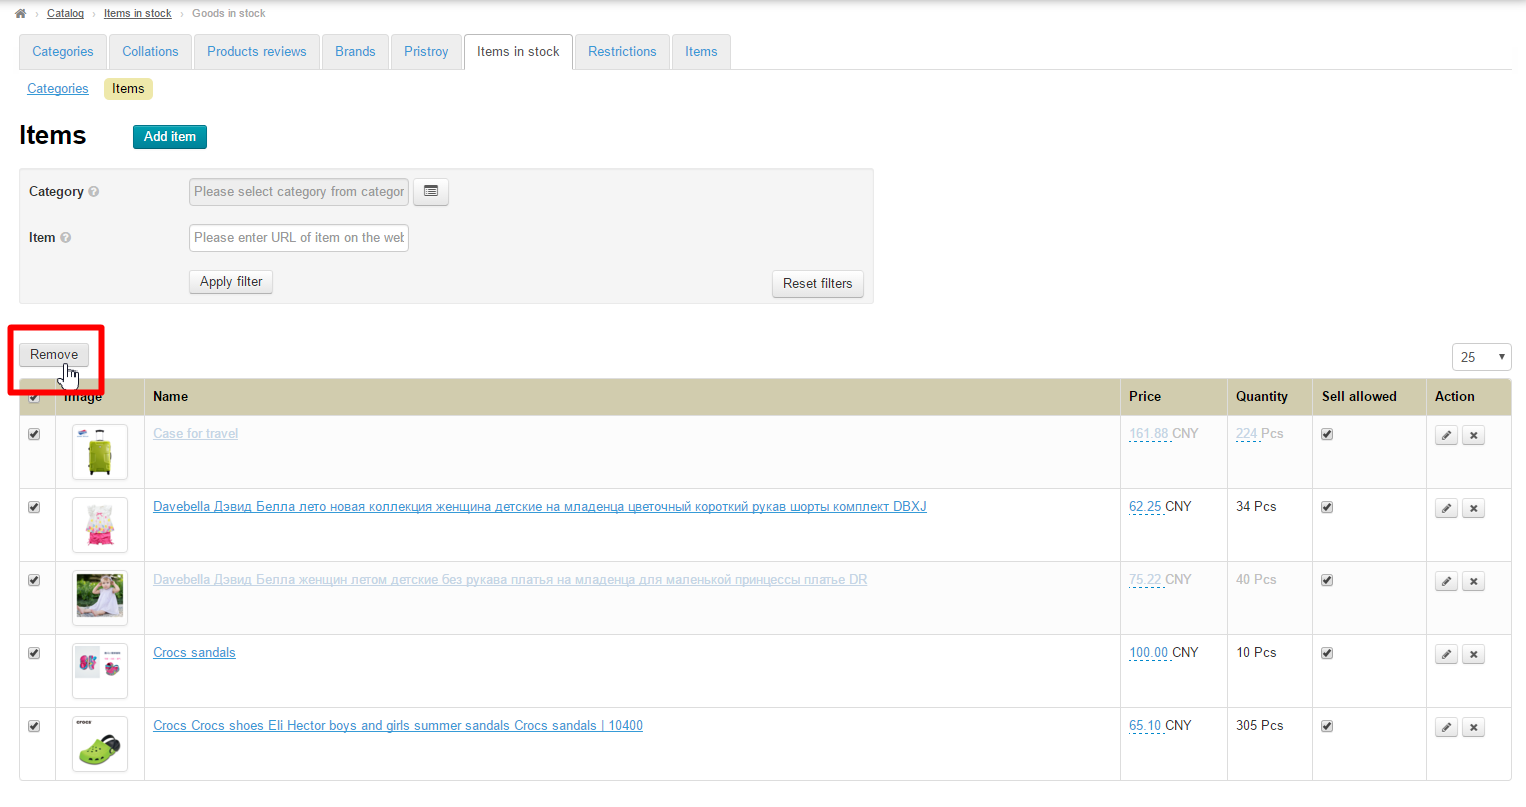
In order to delete a product you should confirm your choice by clicking the “Yes” button.
...
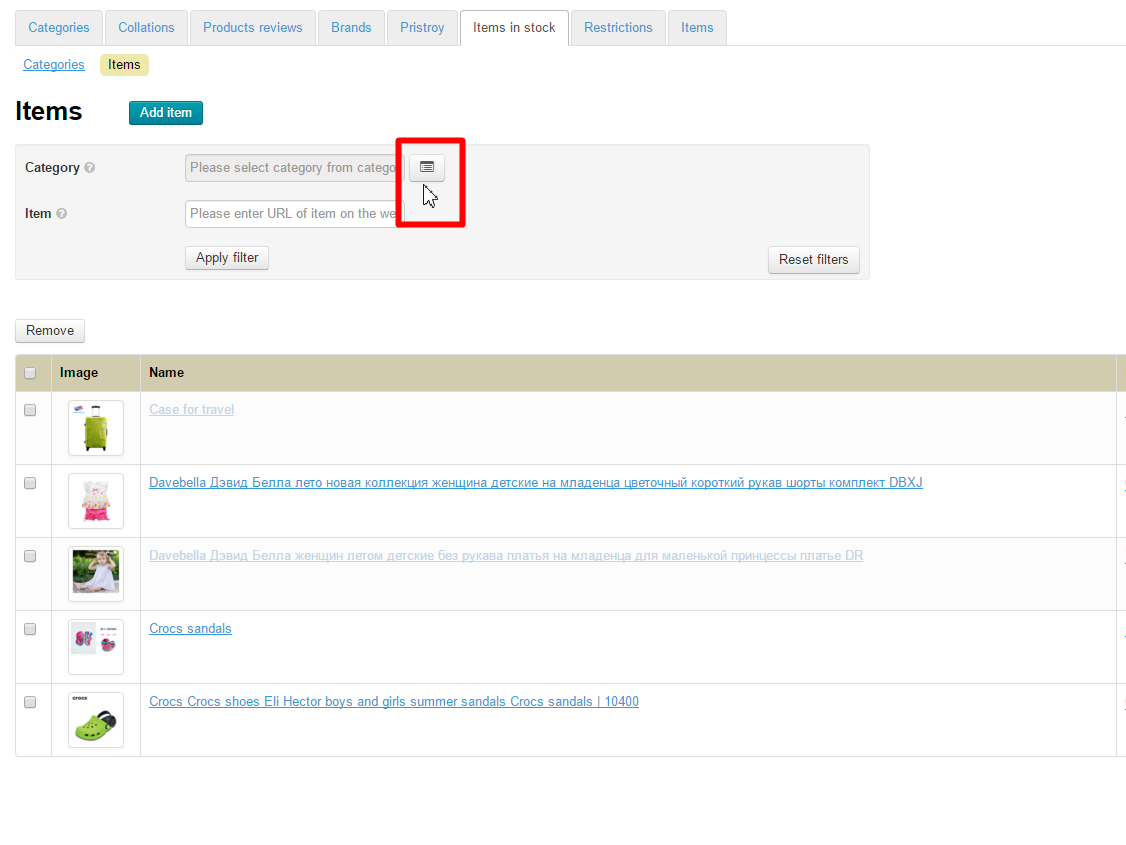
Click the “Select in Category tree” button to view all products of a certain category.
Click on the desired category.
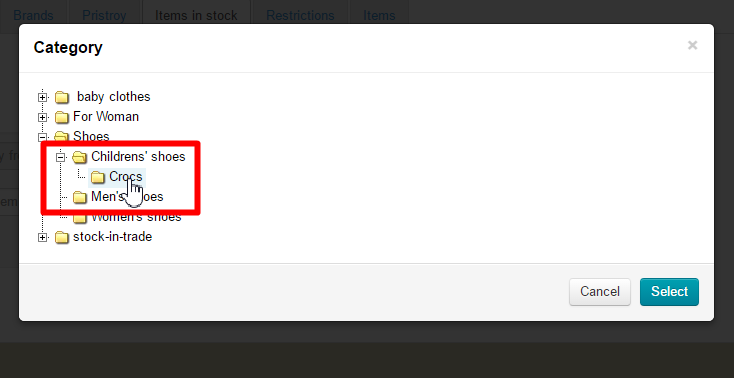
Click the “Select” button.

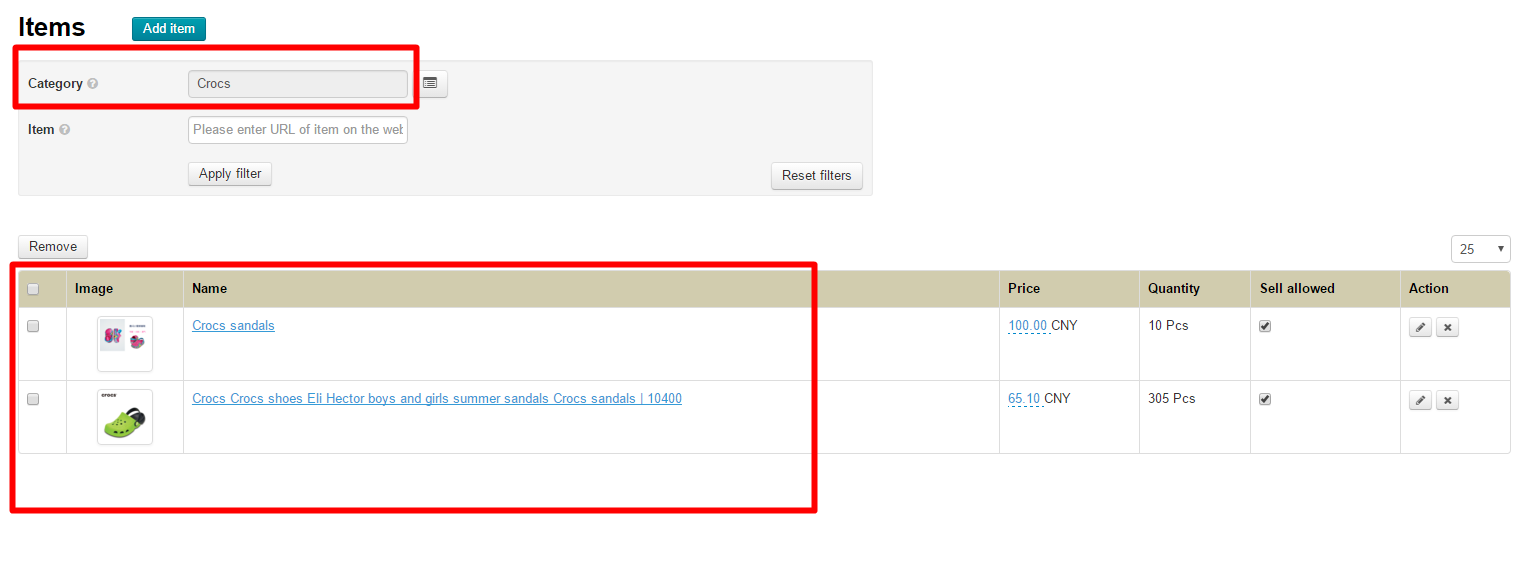
The category name will appear in the “Category” field. Click the “Apply filter” button.
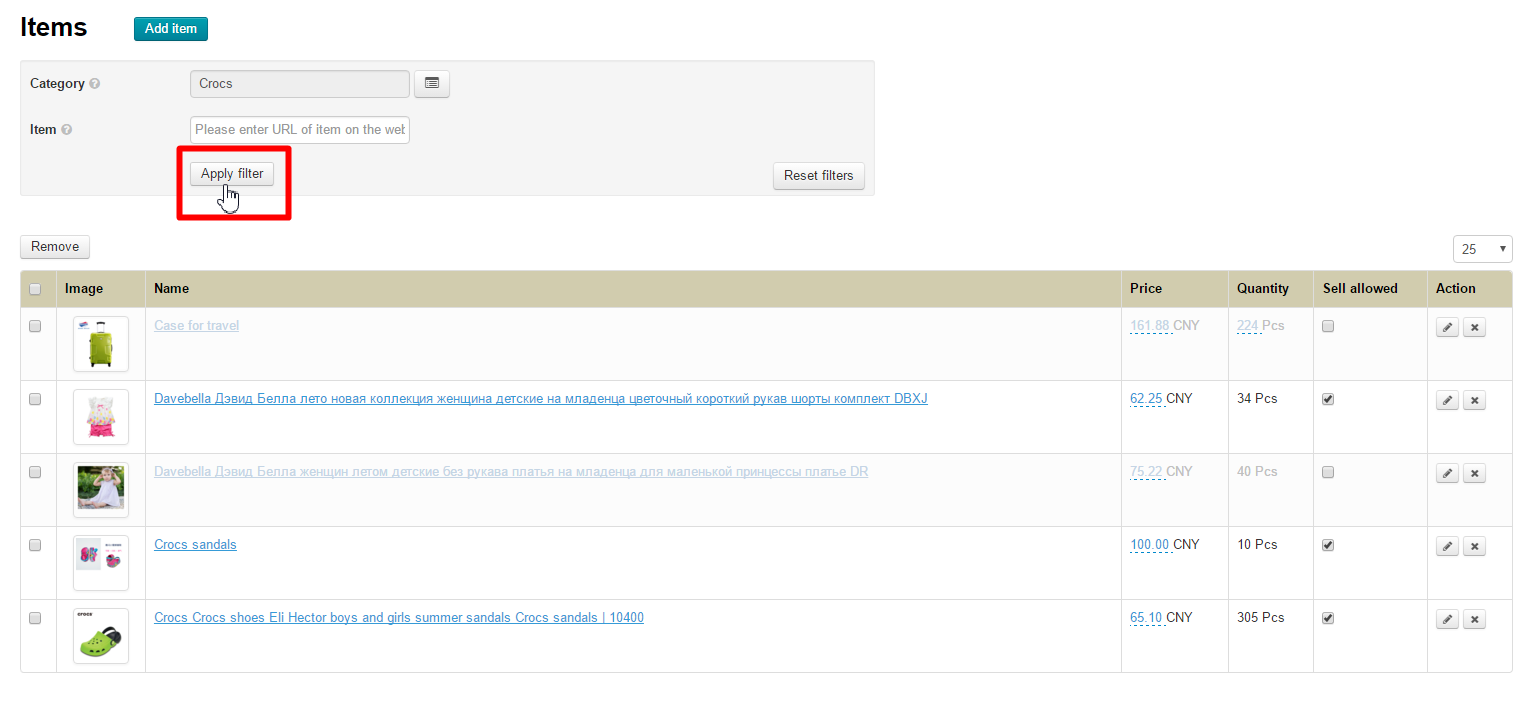
Clicking the button will show all products that are assigned to the selected category in a table underneath the filter.
Search for a product by link
...
To search for a product using a link to it you should open a product on your website and copy the link from the address bar.
Paste the link to the “Product” field.
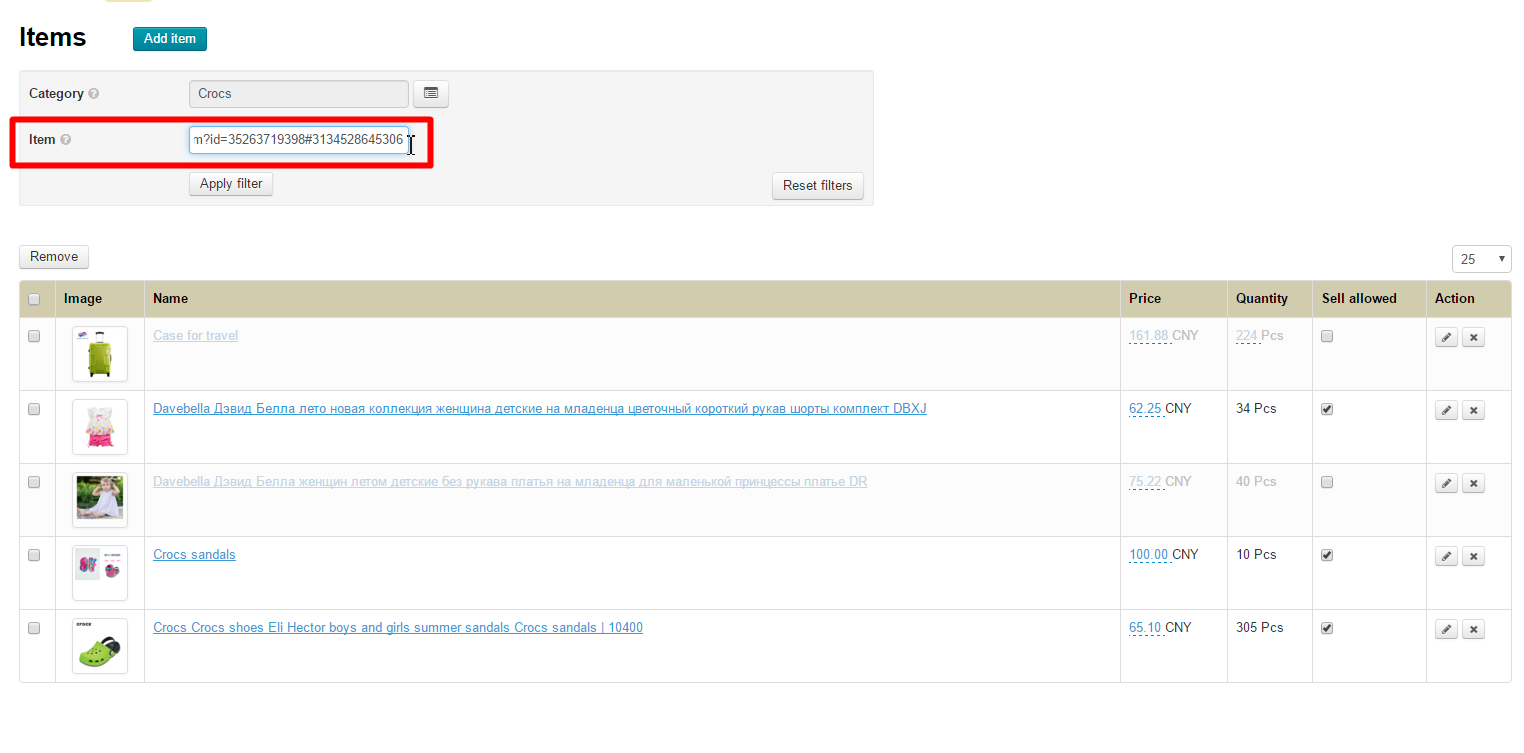
Click the “Apply filter” button and you will see the product the link for which you have just specified in the table underneath the filter.
...
If it is necessary to view all the products that belong to the “Goods in stock” module whereas search filtering is activated, click the “Reset filters” button.
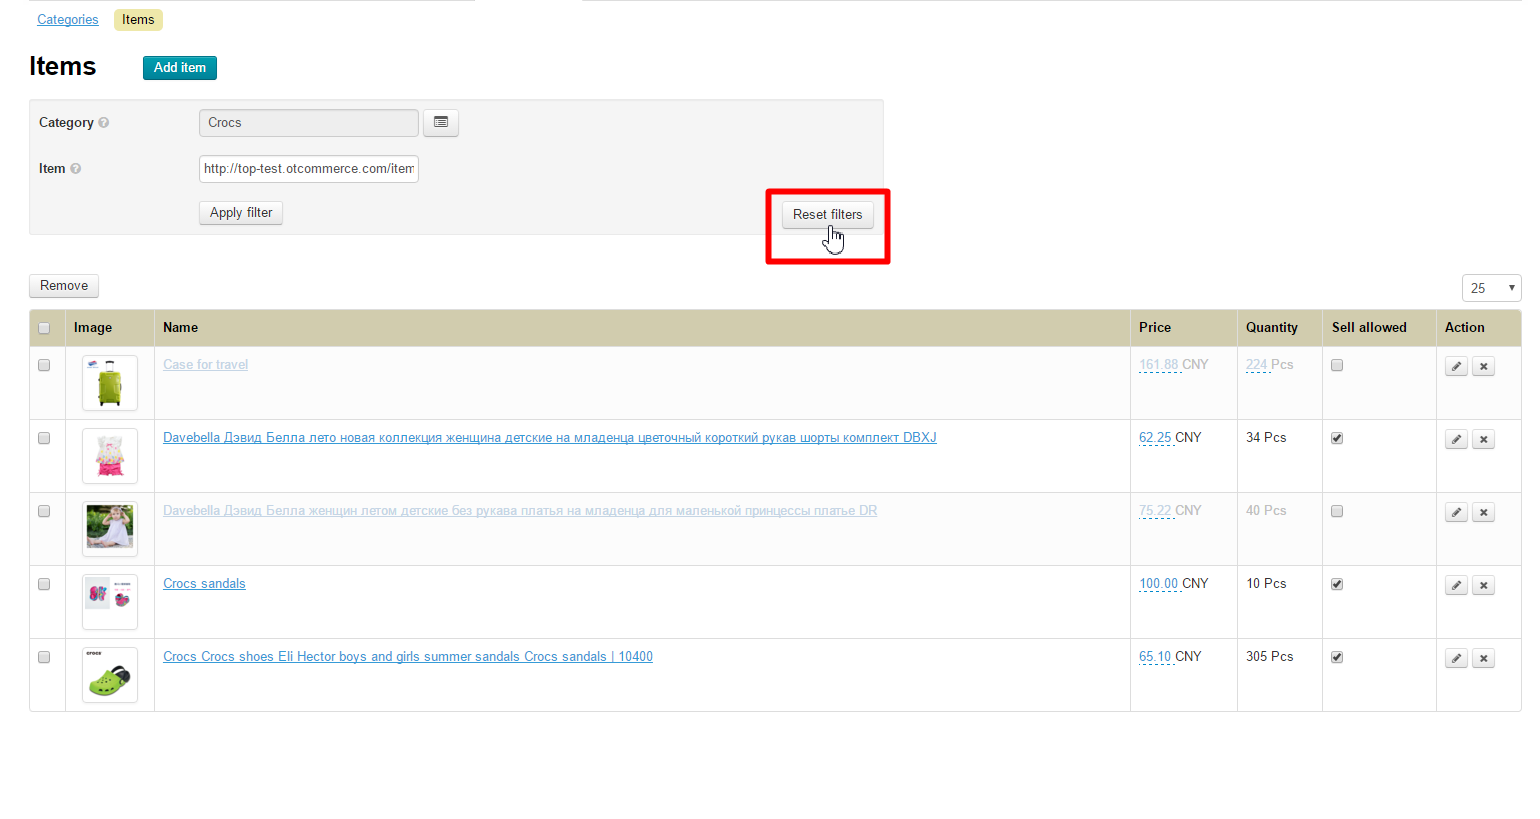
Clicking this button will display all the products that belong to the “Goods in stock” module.
...
Go to the “Catalog” section and click on the “Categories” tab.
Click on the dashed blue underlined text “Add root category”:
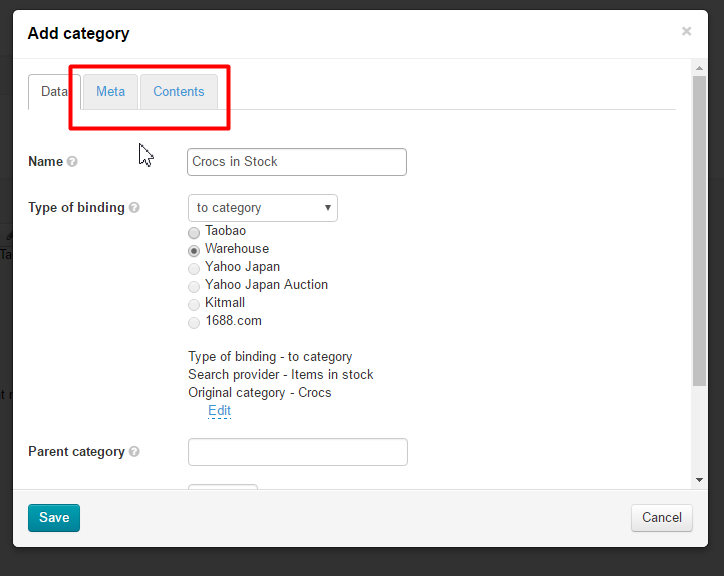
Fill in the form that appears. Type the name of a category (for example, “Goods in stock”):
Next, you should complete the “Section address” field. Type the address in Latin characters (in the example below: crocks-in-stock).
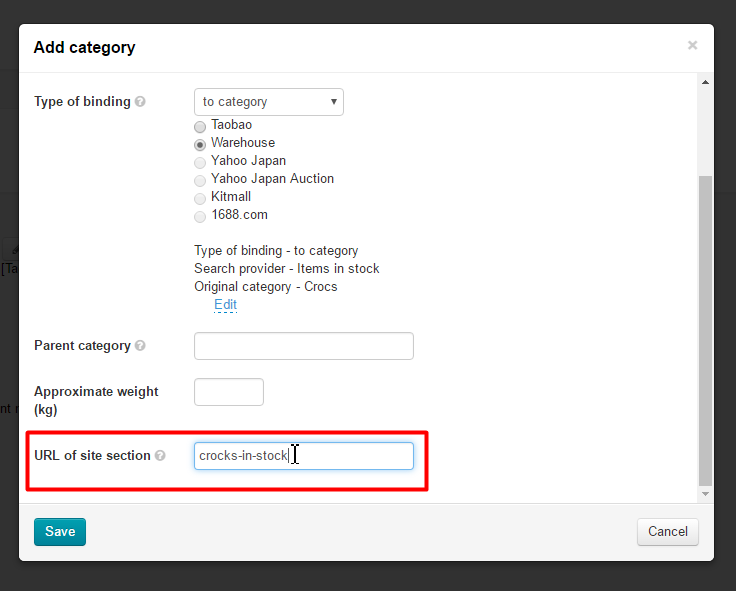
For more information on how to fill in the “Meta” and “Content” tabs refer to the “Catalog-Categories” section. These tabs are optional at this point.
Click the “Save” button:
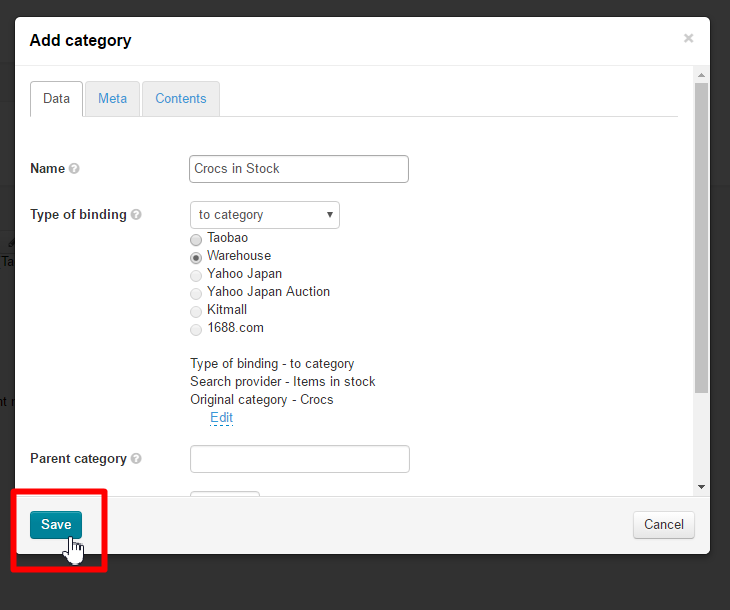
The root category has been added.

Now you have “Goods in stock” in your catalog.
...
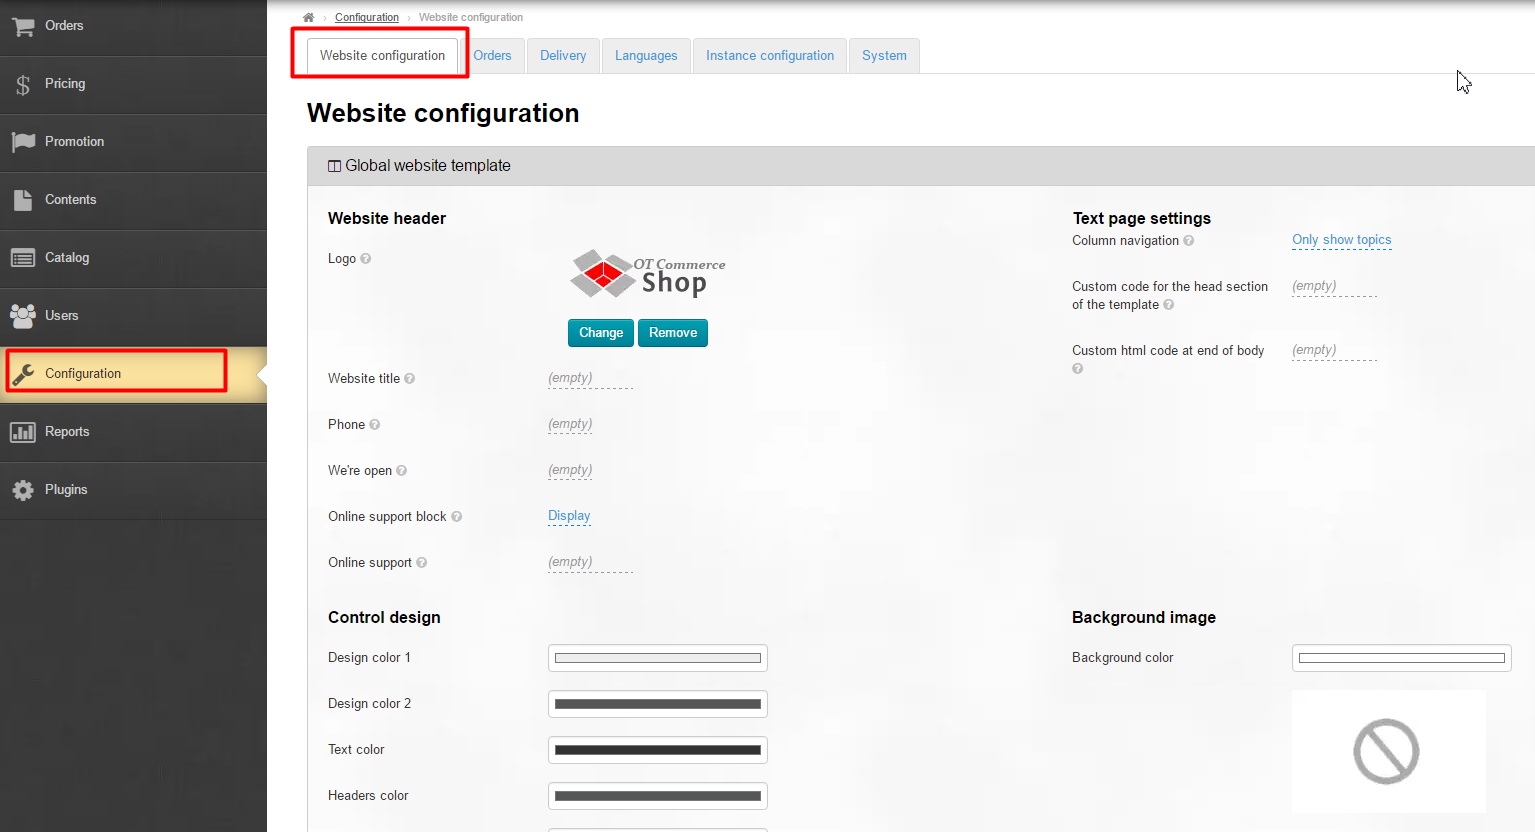
To show goods in stock on the homepage you should go to the “Configuration” section and click on the “Website architecture” tab.
Scroll down the page until you reach “Homepage”.
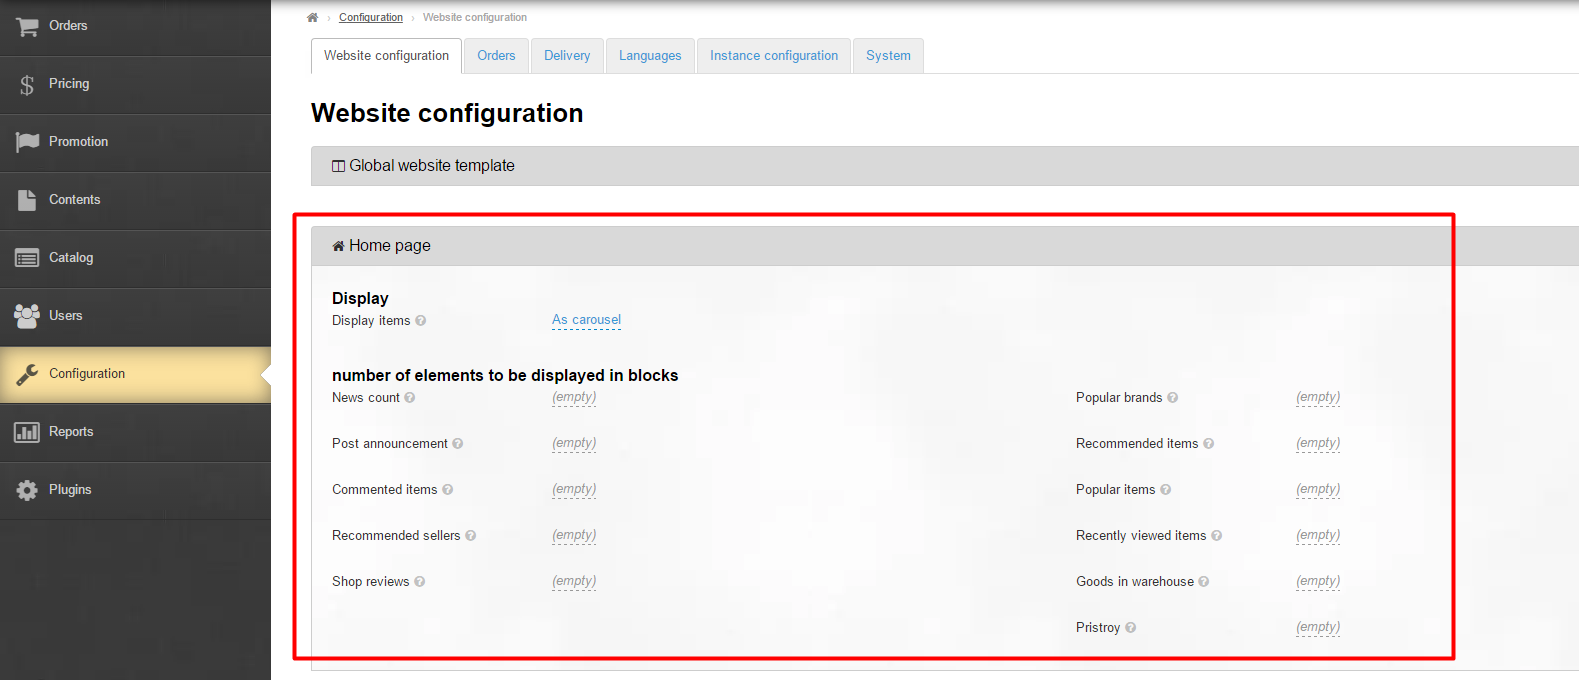
Specify the number of goods to be displayed on the homepage as Goods in warehouse .
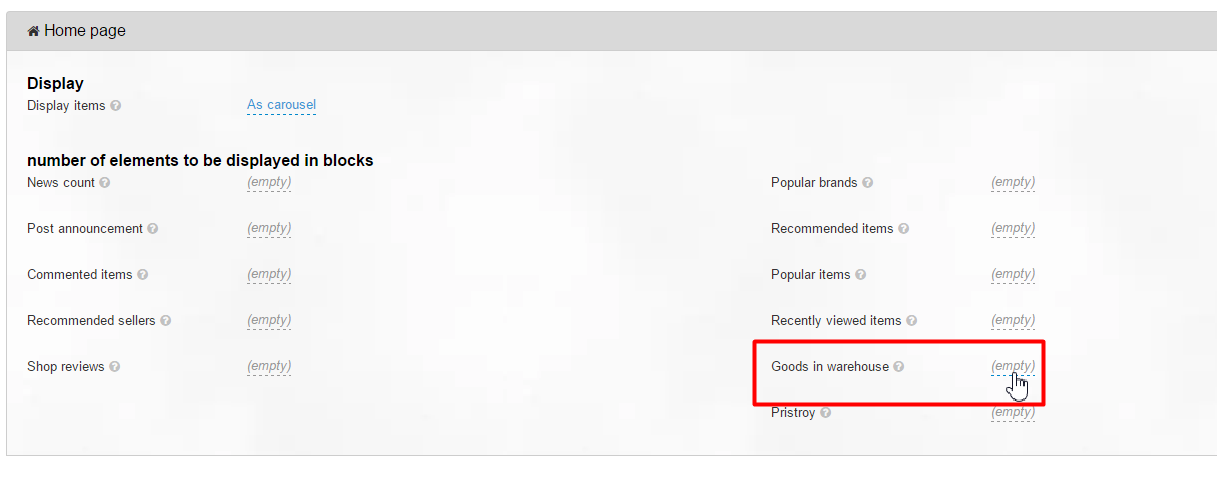
Click the dashed underlined number and enter the desired number of goods.
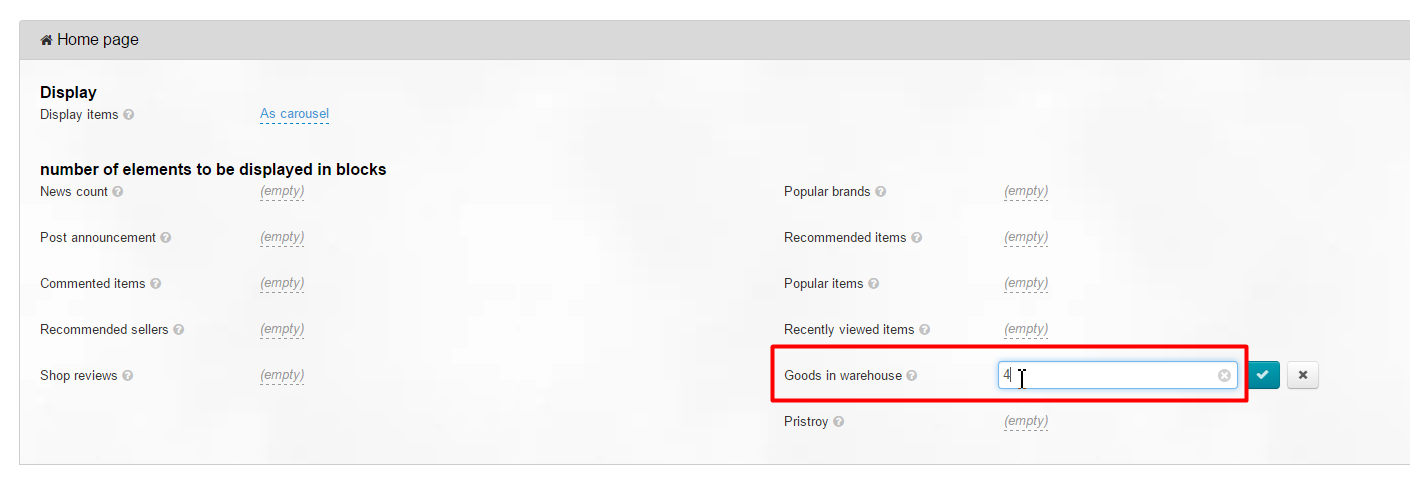
Click the “Confirm” button to save the settings.

On a menu
For further information on how to specify site sections to be shown in the upper, bottom and sidebar menu, see the “Content – Navigation” section.
...
Here you can configure products to be shown in a catalog. Navigate to the “Configuration” section and click on the “Website architecture” tab.
Scroll down the page until you reach “Catalog”.
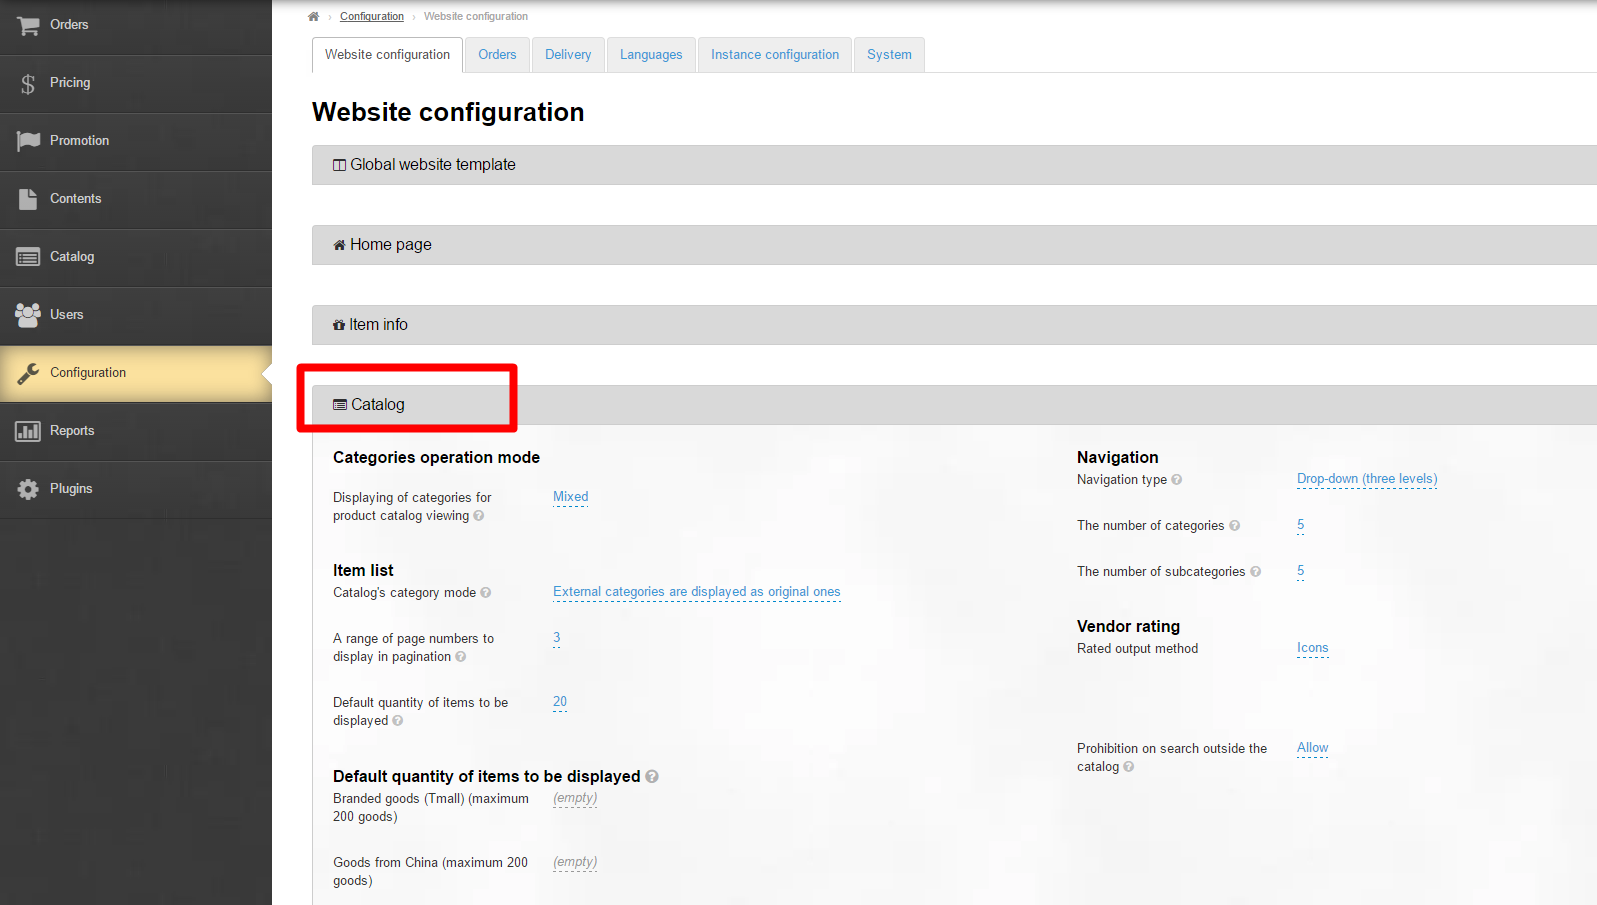
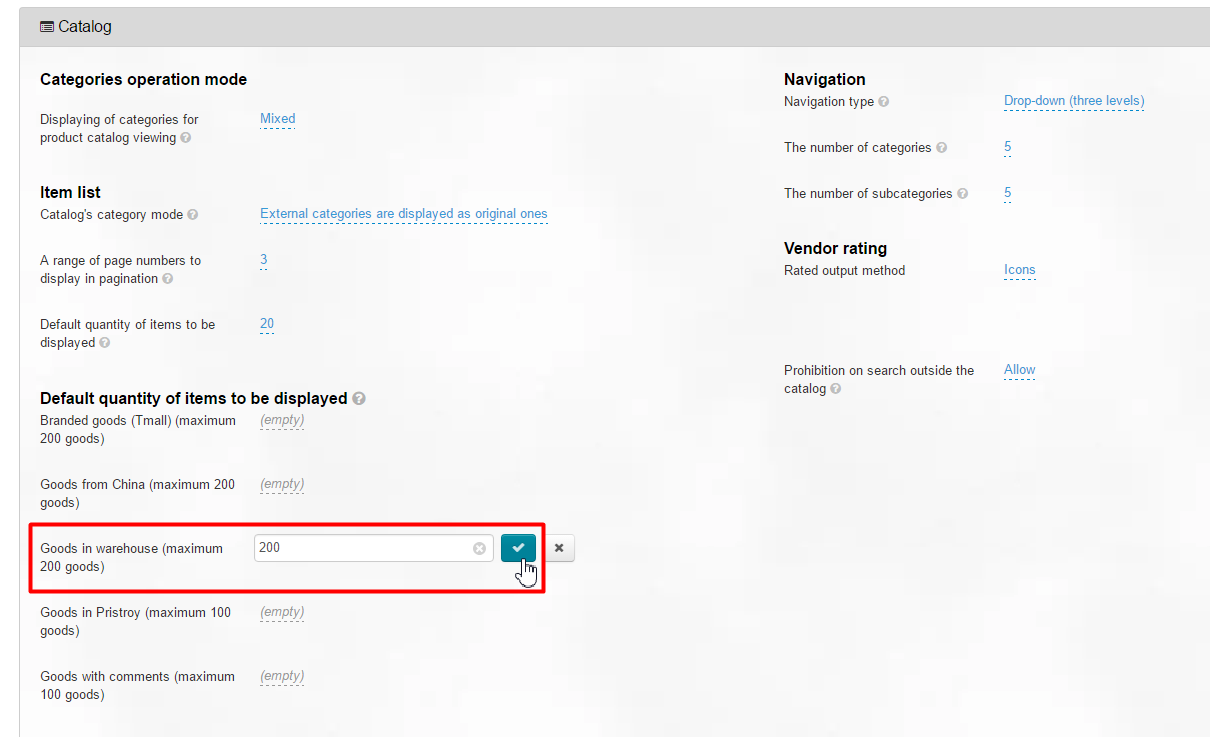
Look for the “Number of goods displayed by default” subsection, then “Goods in warehouse” item.
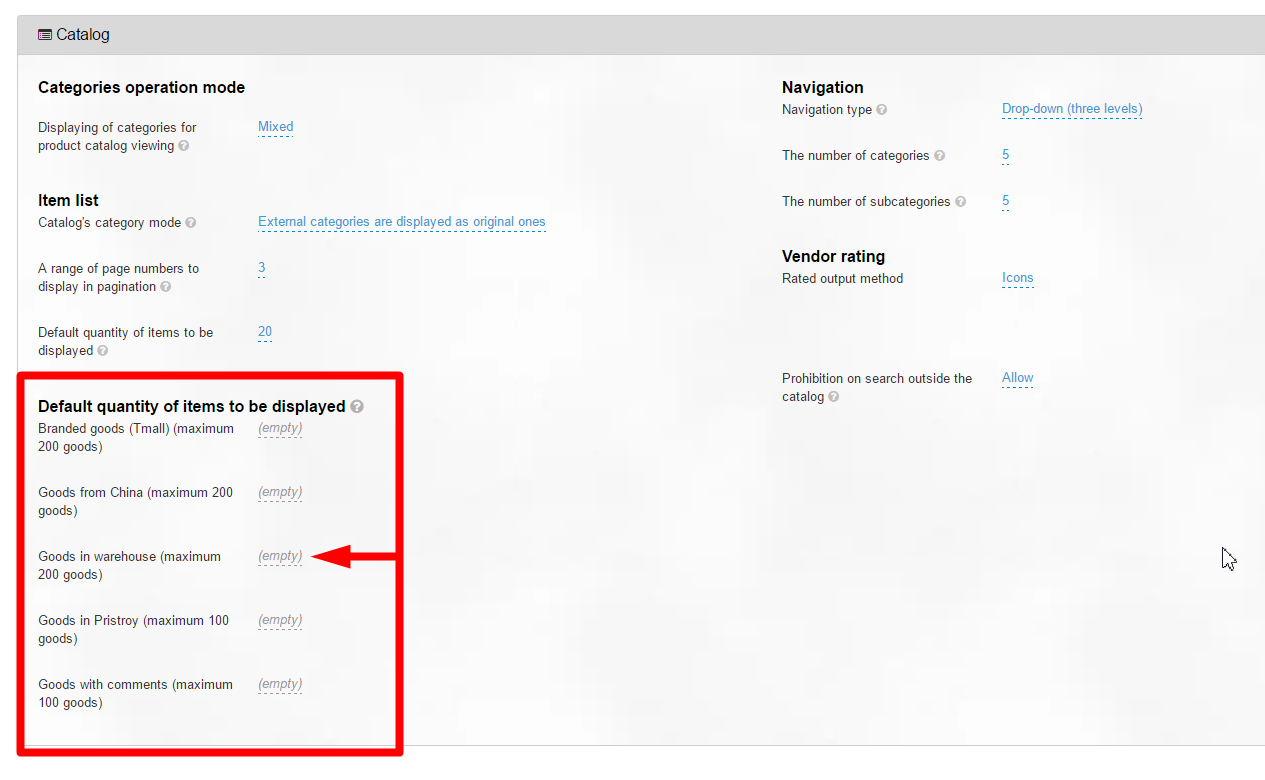
Click the dashed underlined number and enter the desired number of goods displayed by default (for details please see “Configuration – Catalog”).
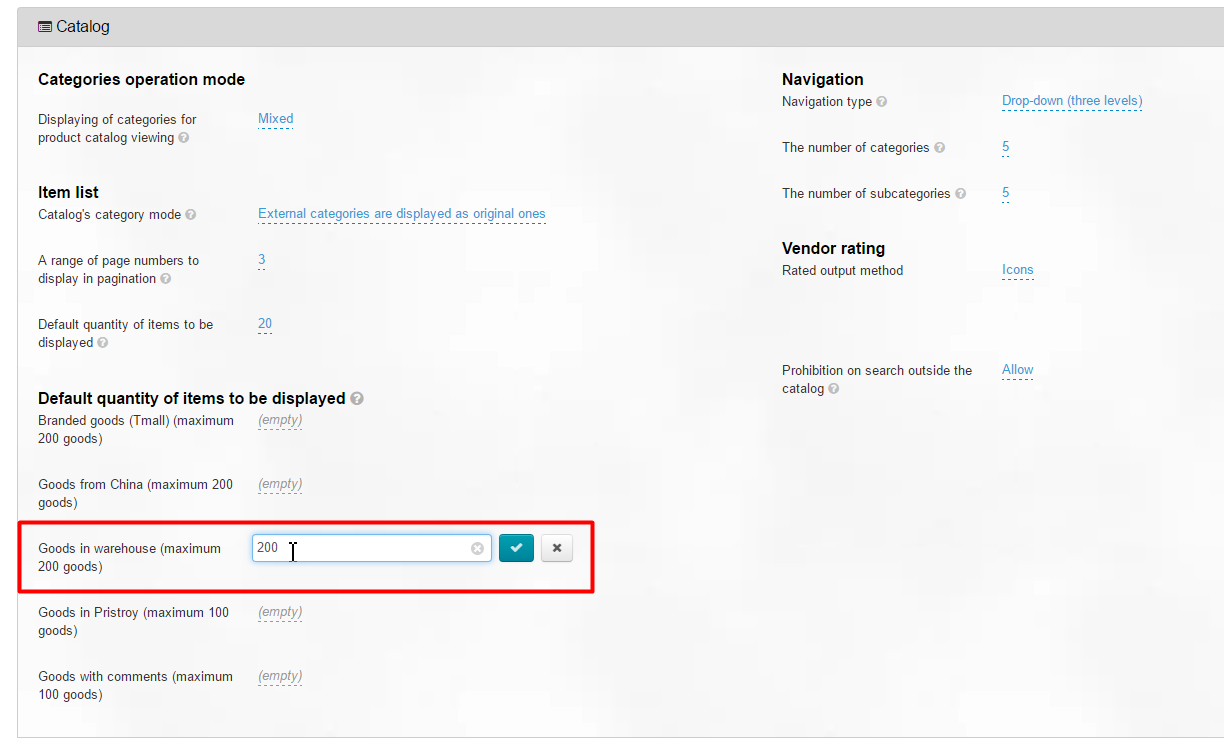
Click the “Confirm” button to save the settings.
In search results
Here you can configure products to be shown in search results. Navigate to the “Configuration” section and click on the “Website architecture” tab.
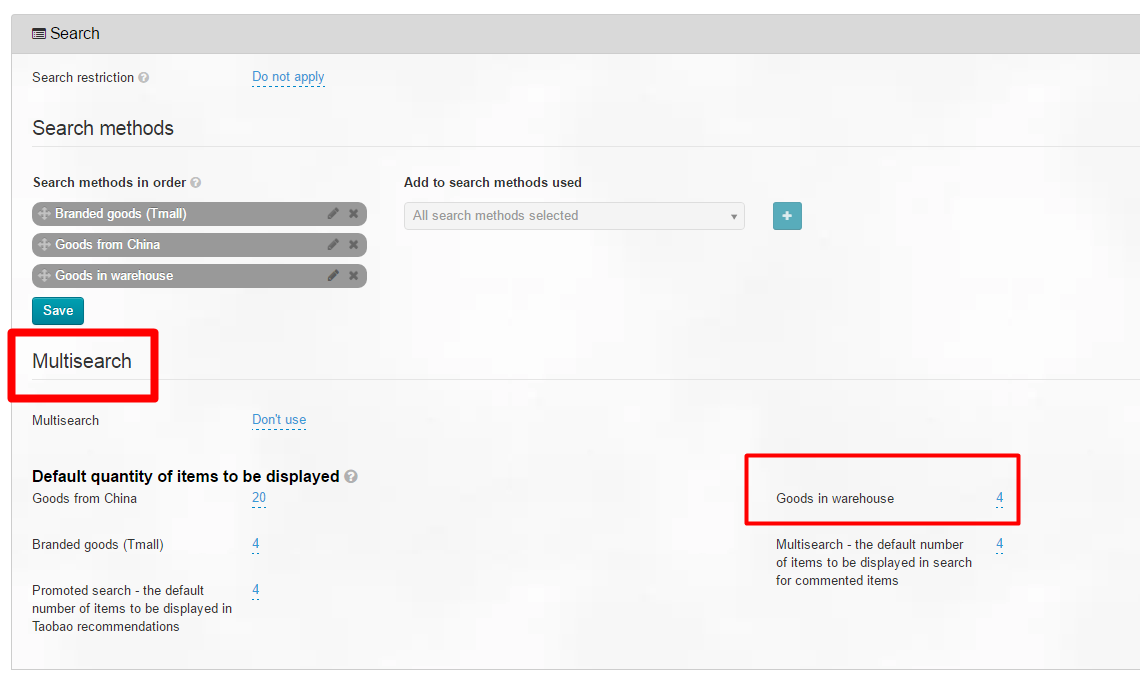
Scroll down the page until you reach “Search”.
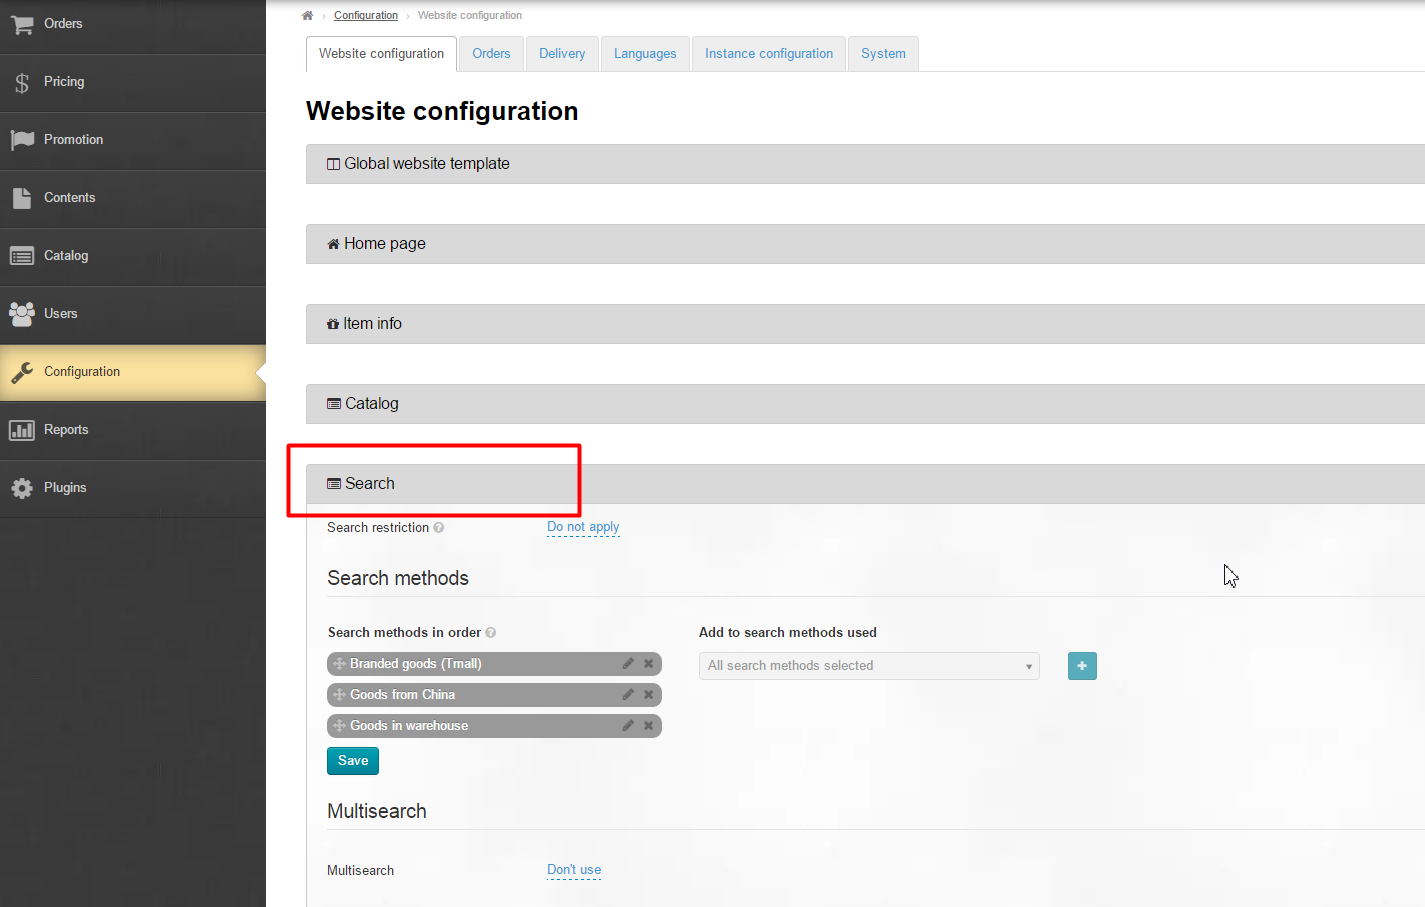
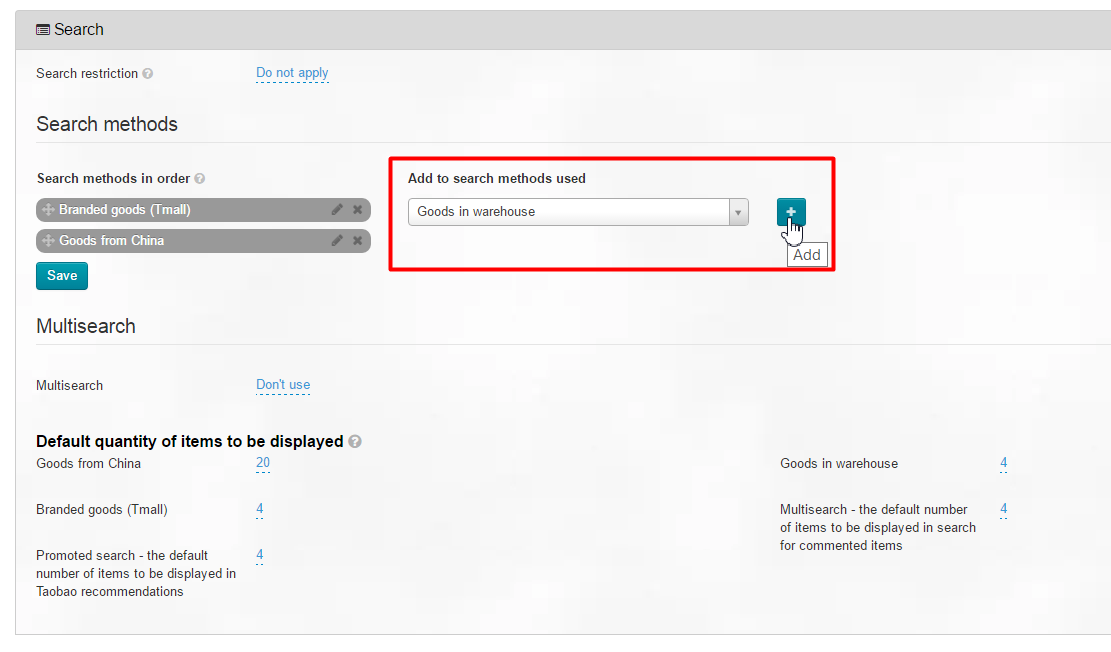
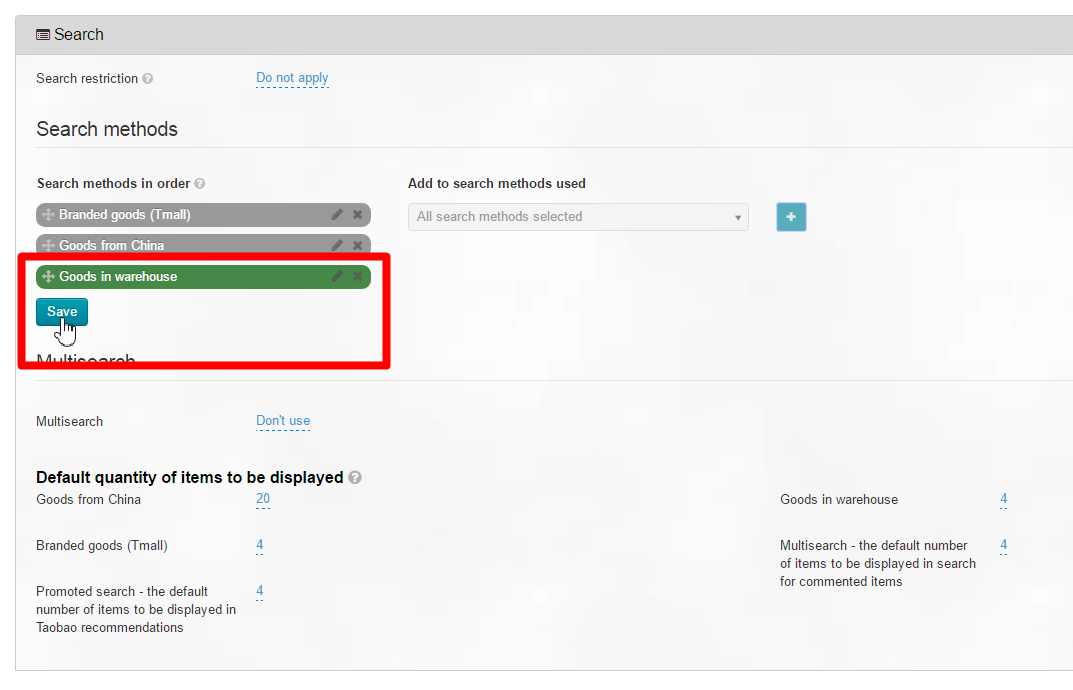
Look for the “Multisearch” subsection, then “Goods in warehouse” item.
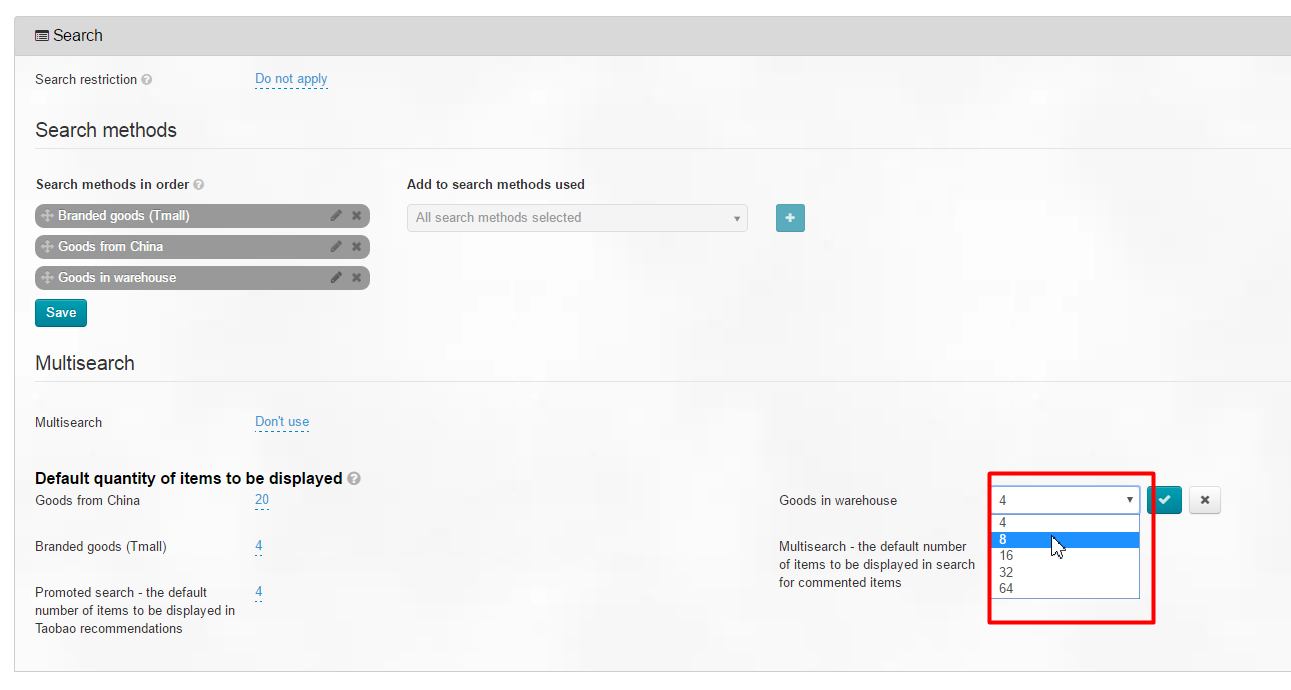
Click the dashed underlined number and select the number of goods to be displayed in search results from the dropdown list that appears.
Once you’ve selected the required number of products, click the “Confirm” button to save the settings.
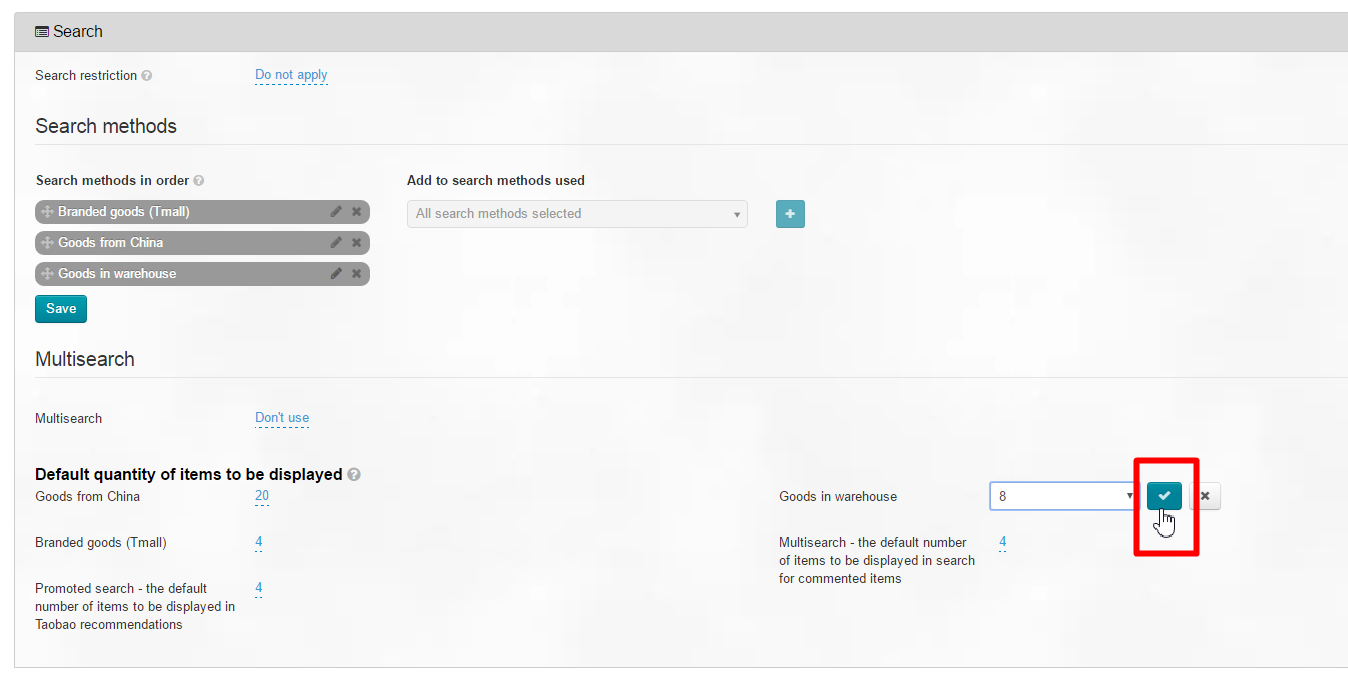
Thus, you’ve configured the display of products in search results.