...
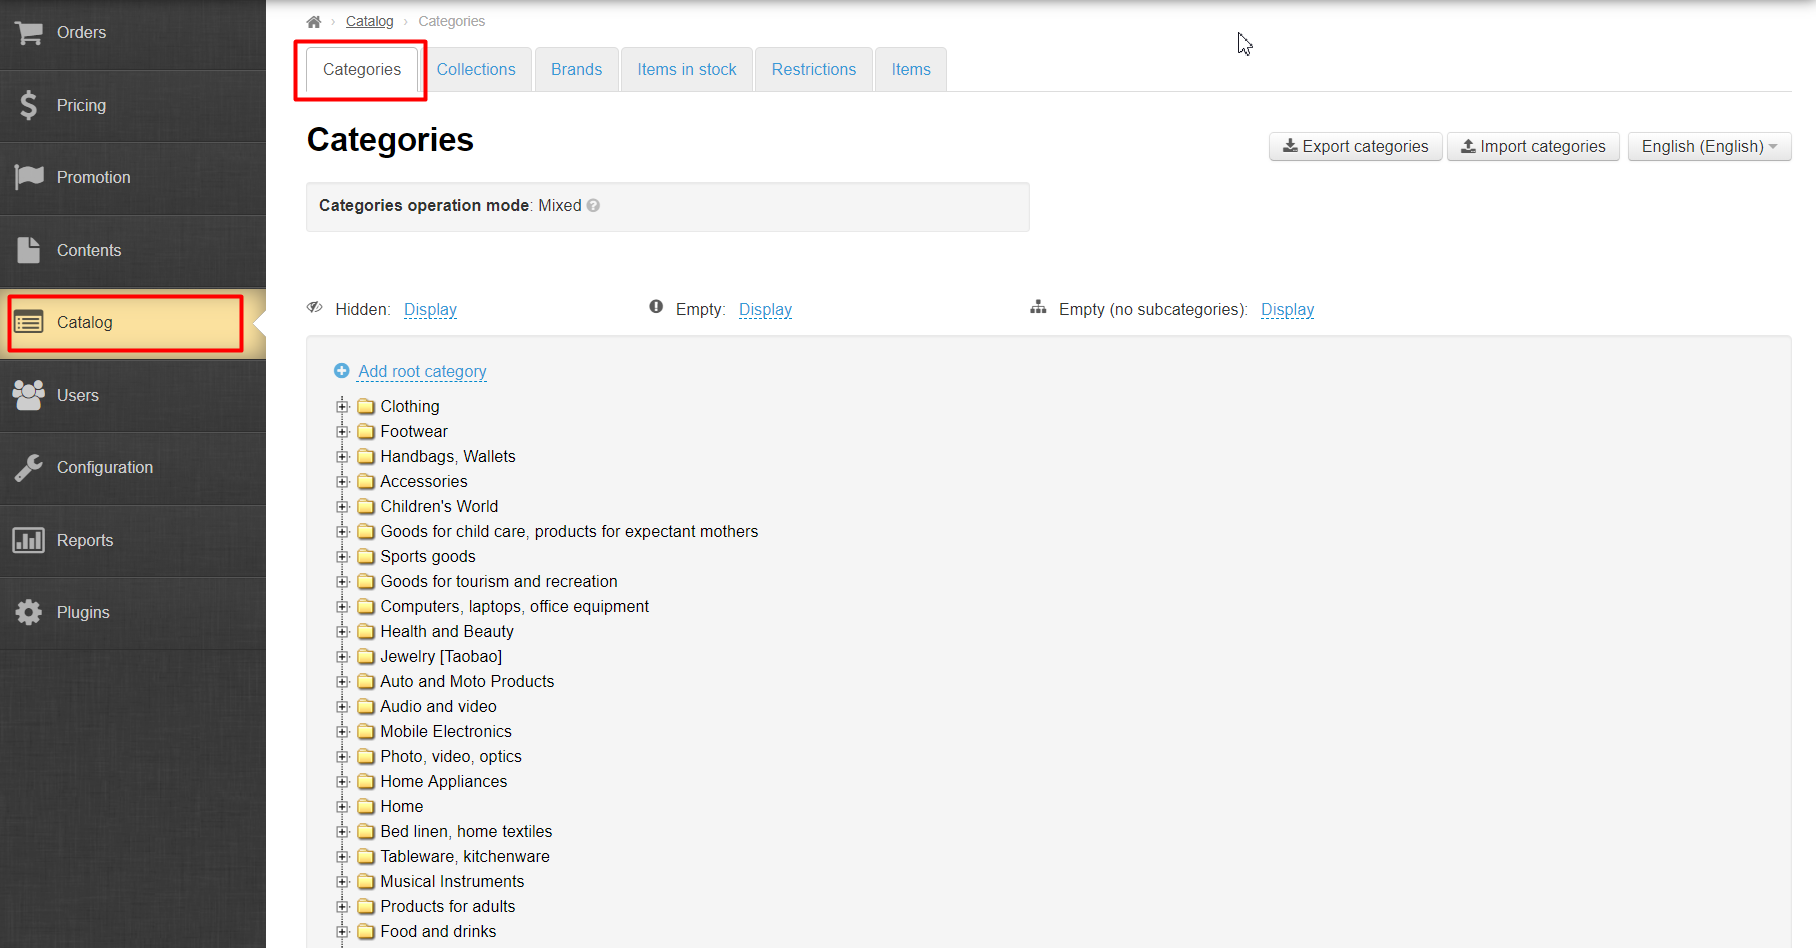
Navigate to: Catalog > Categories in the admin area of your website.
Description
...
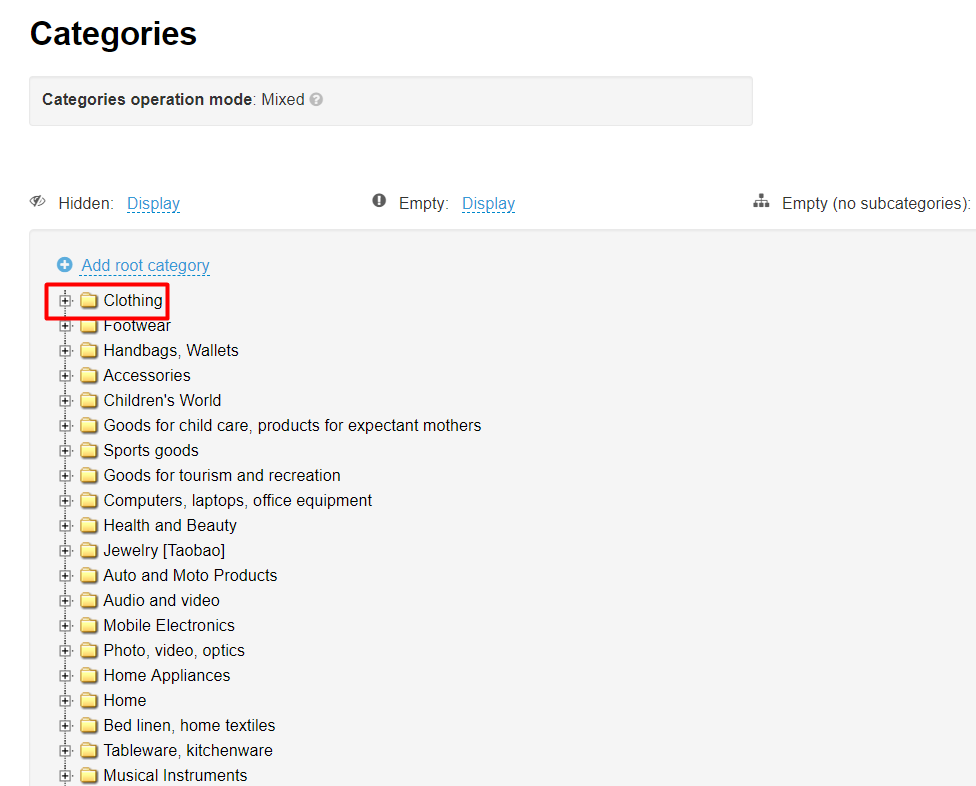
Categories can be viewed once you navigate to the “Categories” tab.
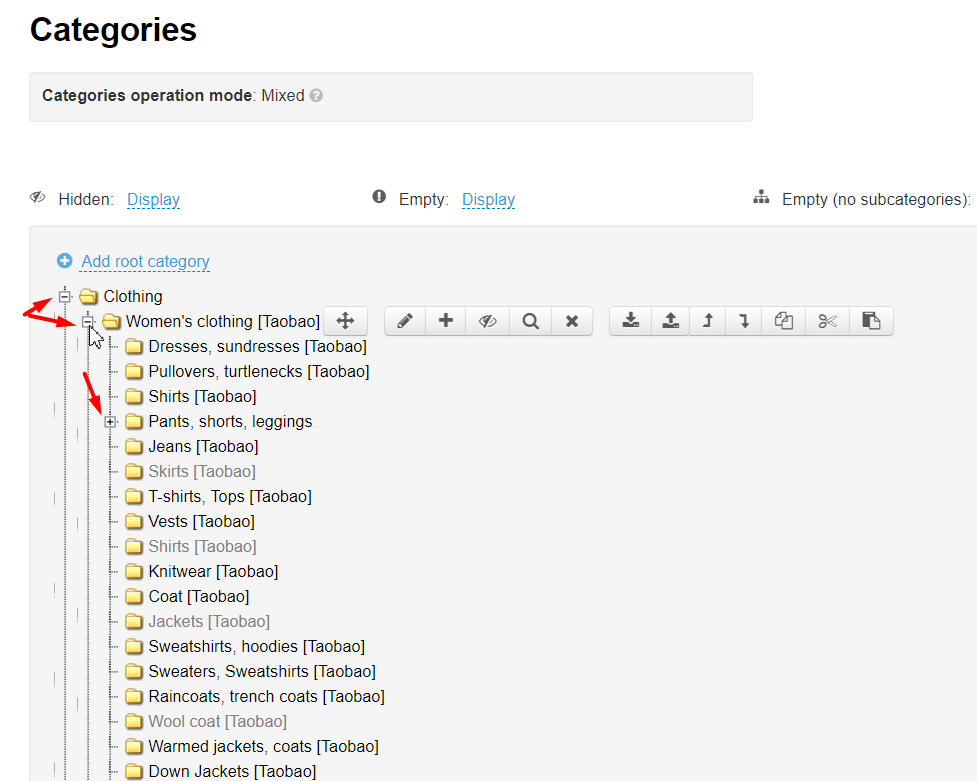
Clicking on the plus sign to the left of a root category will display subcategories.
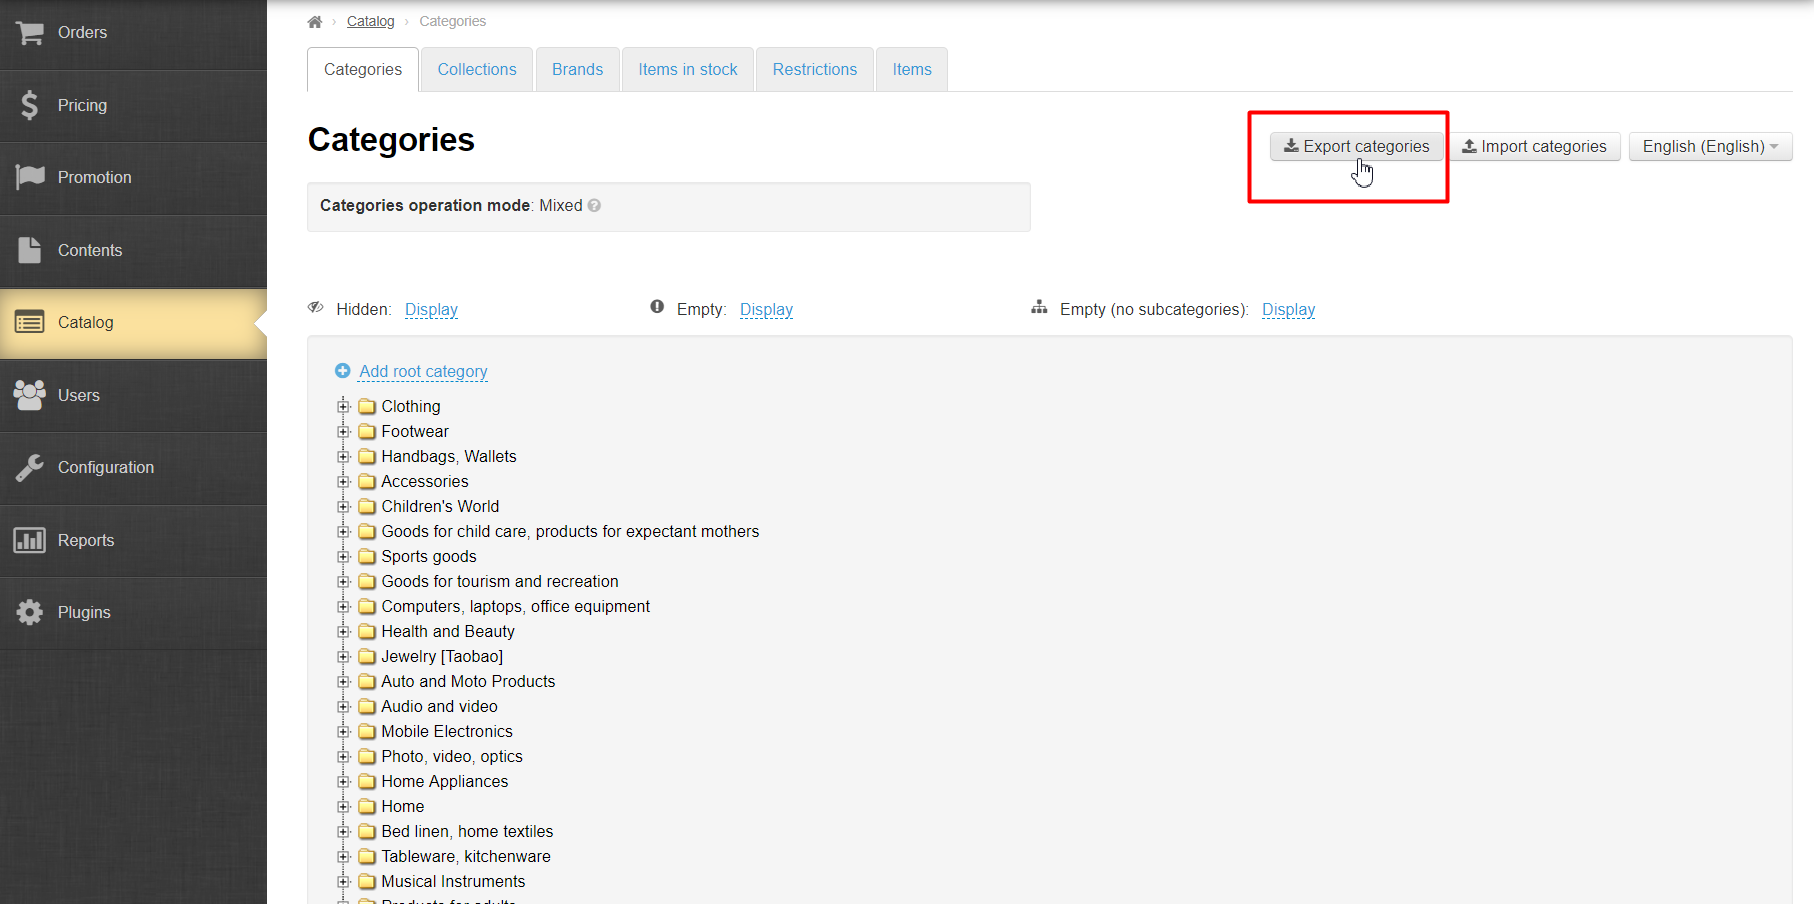
Export
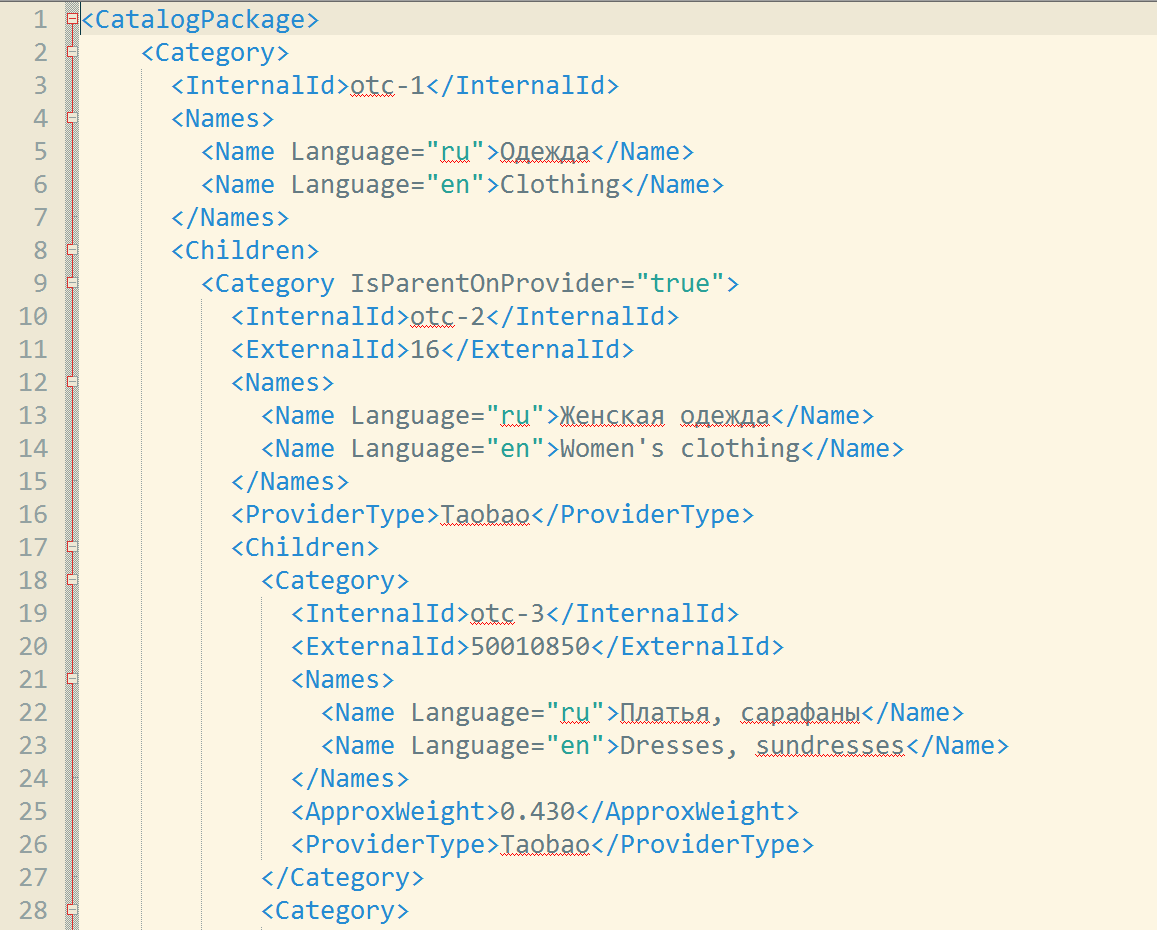
This option enables users to export (download to your computer) a file that contains the list of all catalog’s categories and category IDs in the format *xml.
...
Click on the “Export categories” button.
Once you’ve opened a file you will see the following:
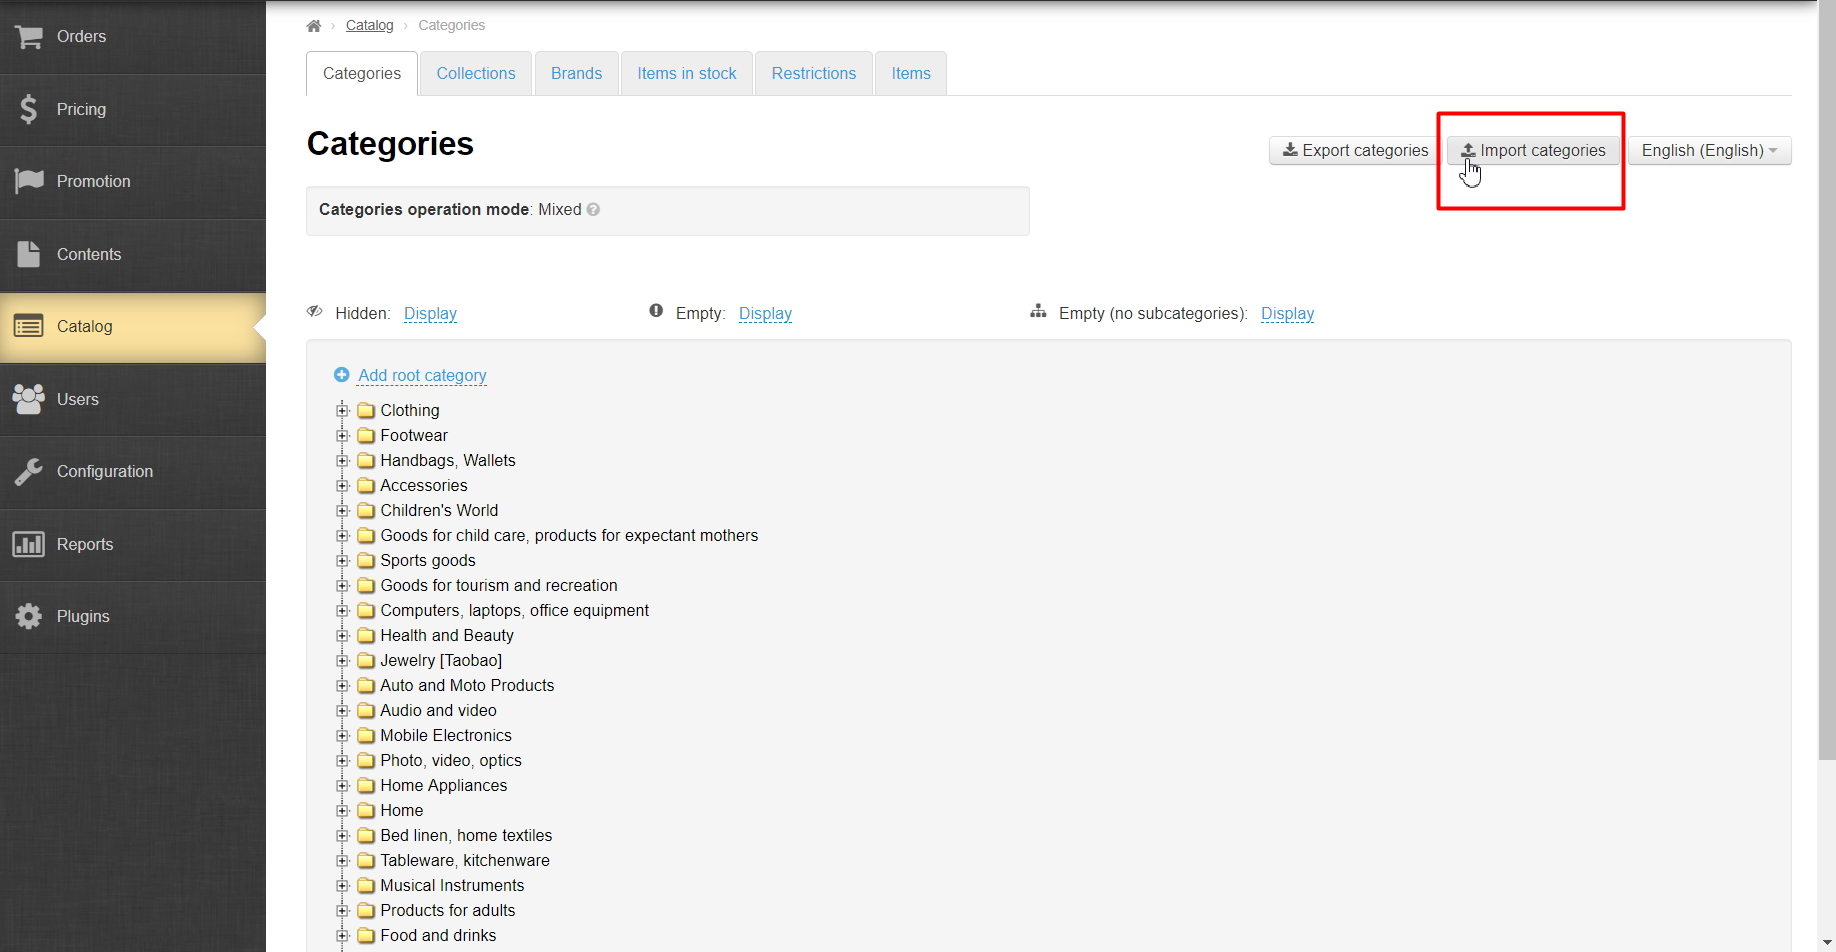
Import
This option allows you to upload a file with a catalog from your computer to your website.
...
Click on the “Import categories” button.
Click on the “Choose file” button in the menu that appears.
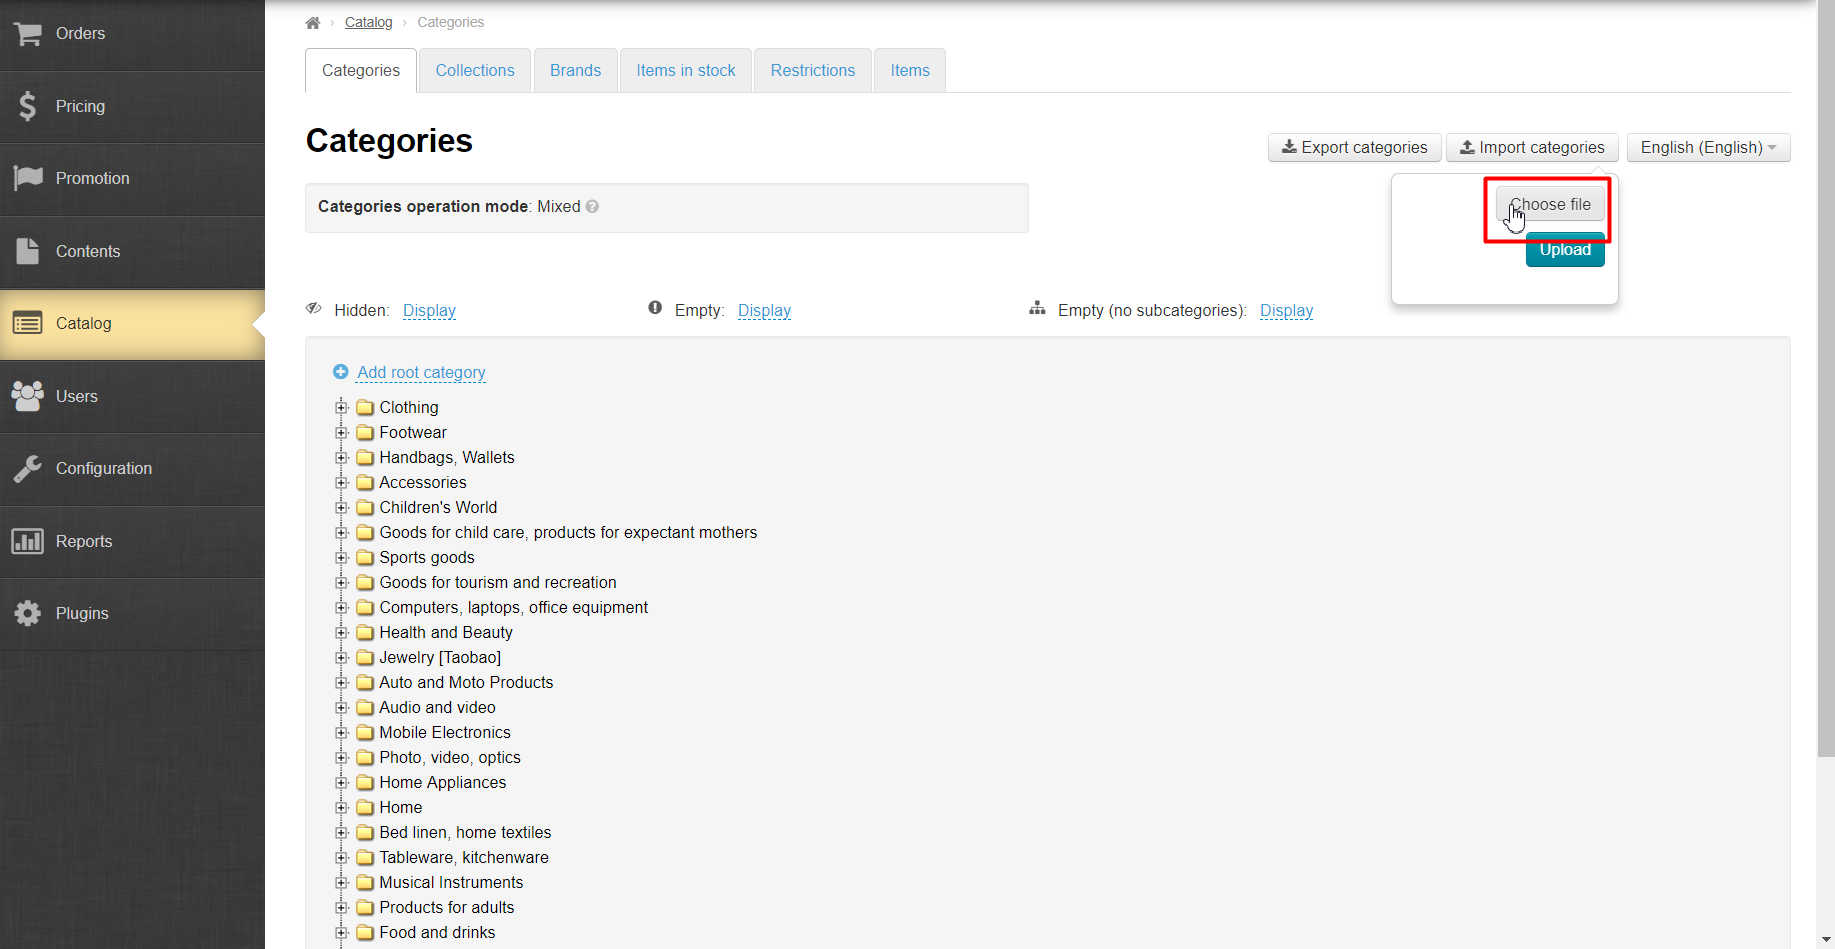
Select a file on your computer. (It is advised that you use *.xml file formats) and click on the “Upload” button.
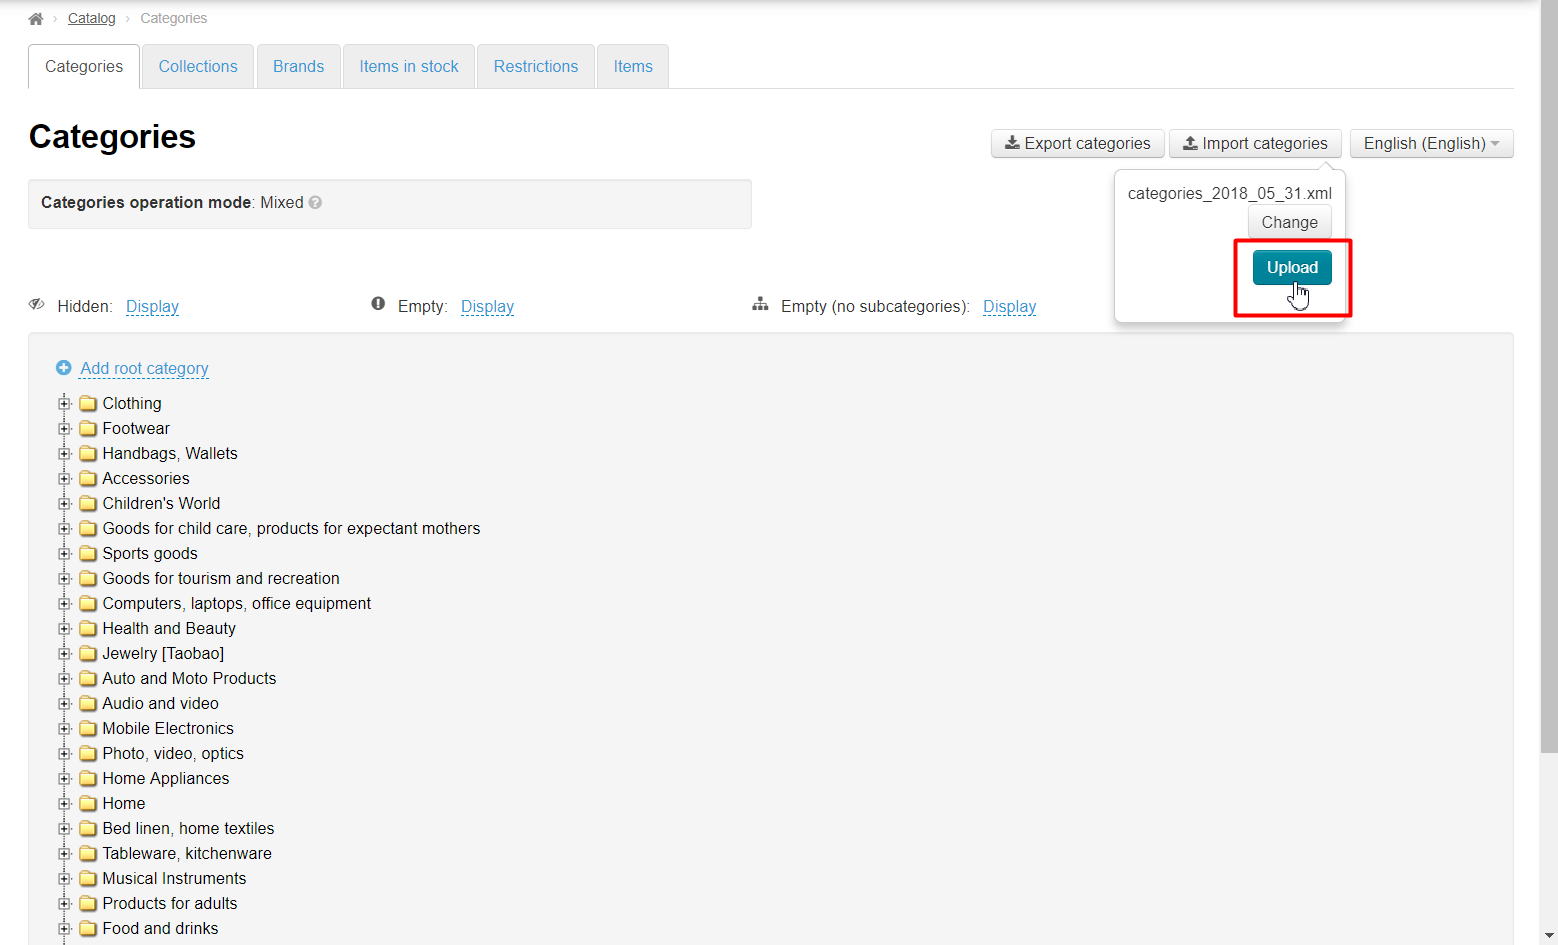
Note: Uploading a file may take some time.
...
Click on the dashed blue underlined text “Display” next to the dashed blue underlined text “Hidden”.
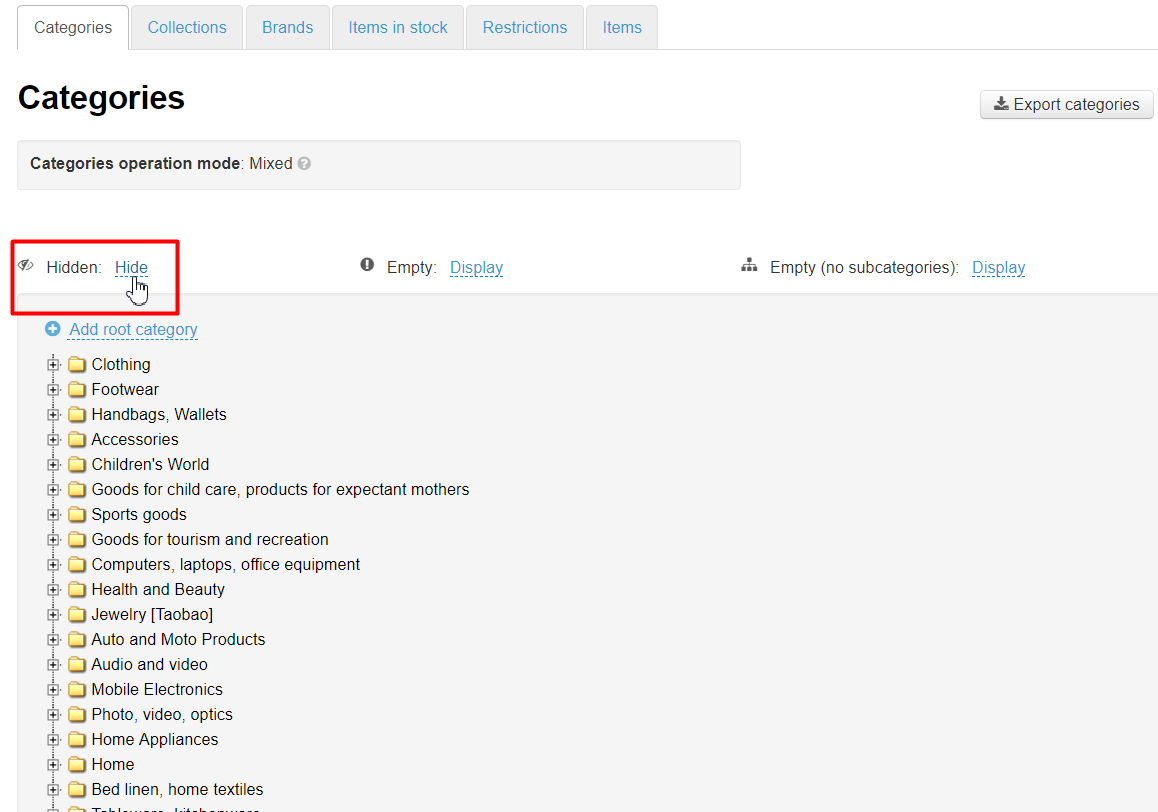
Click on the desired menu item (for example, Display).
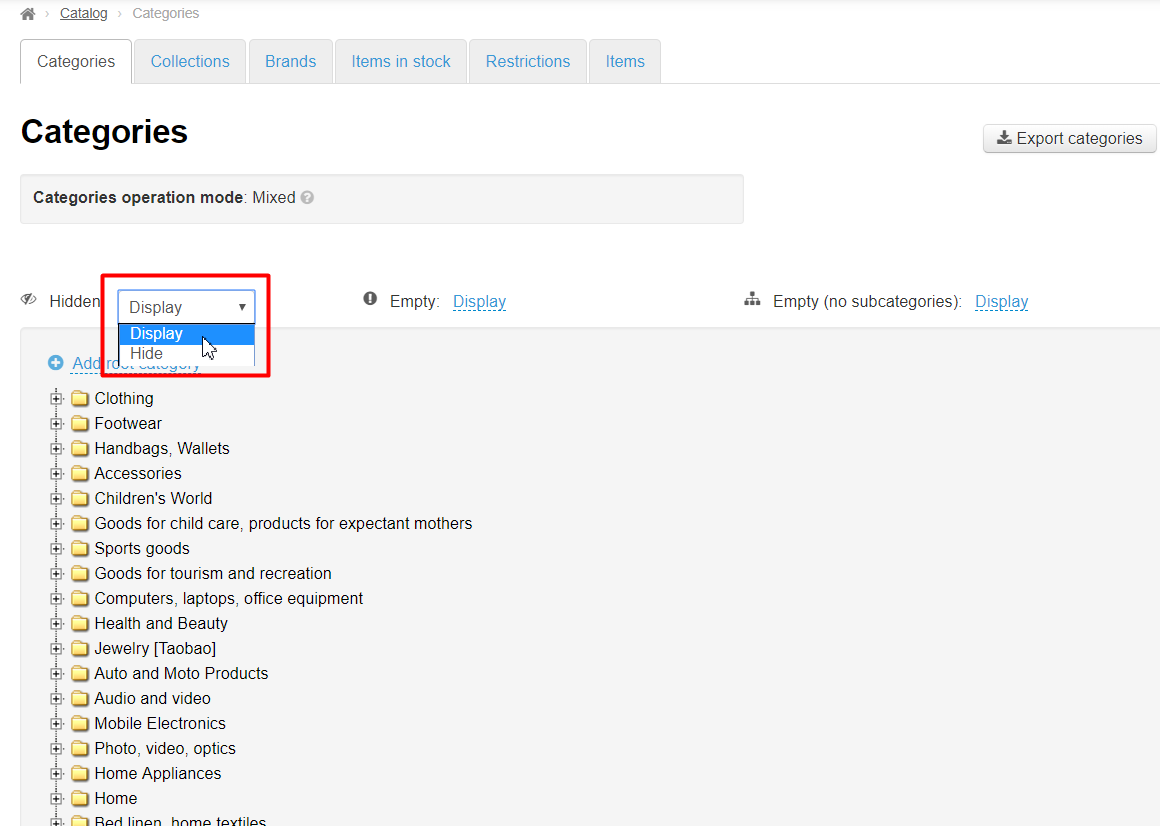
Once the current page has been automatically refreshed, after clicking, the category will be displayed both on the website and in the admin area.
...
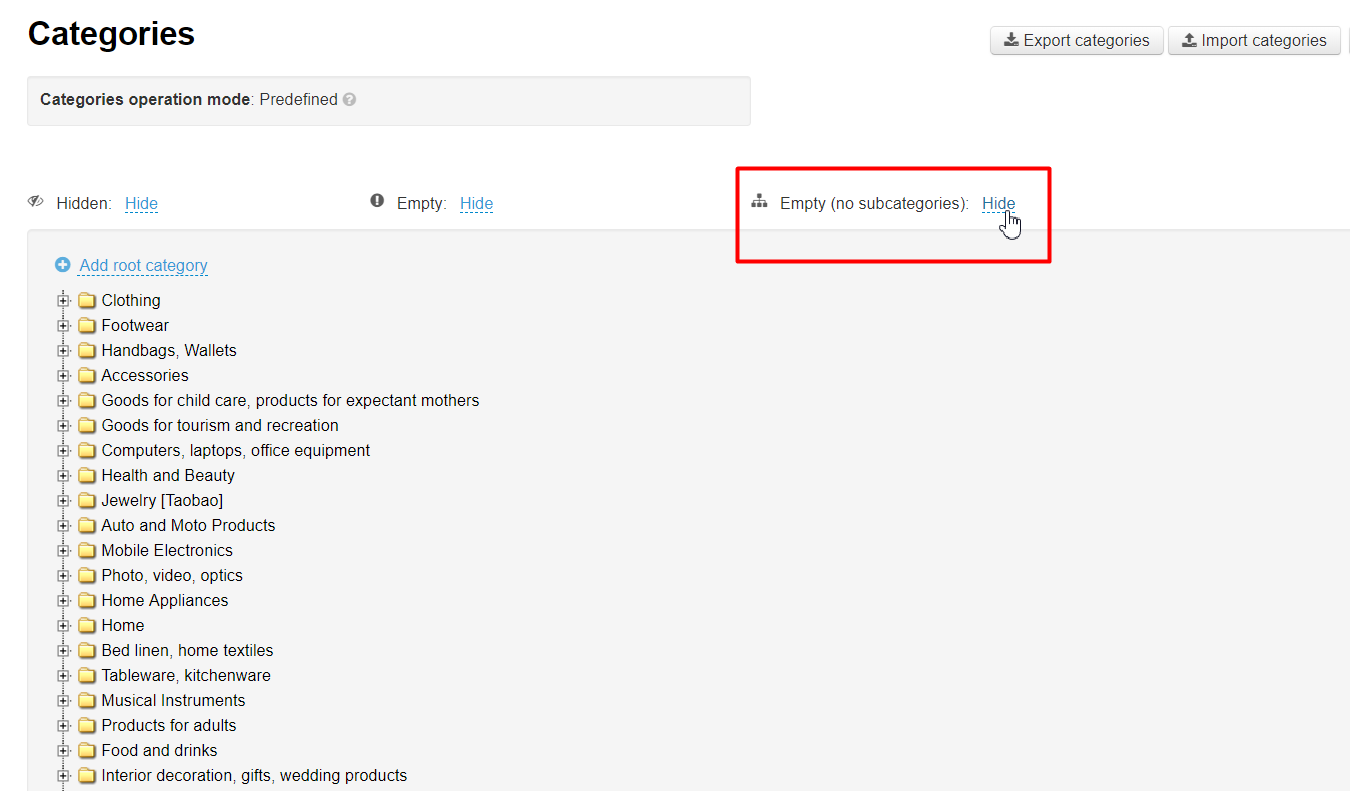
Click on the dashed blue underlined text “Display” next to the dashed blue underlined text “Empty”.
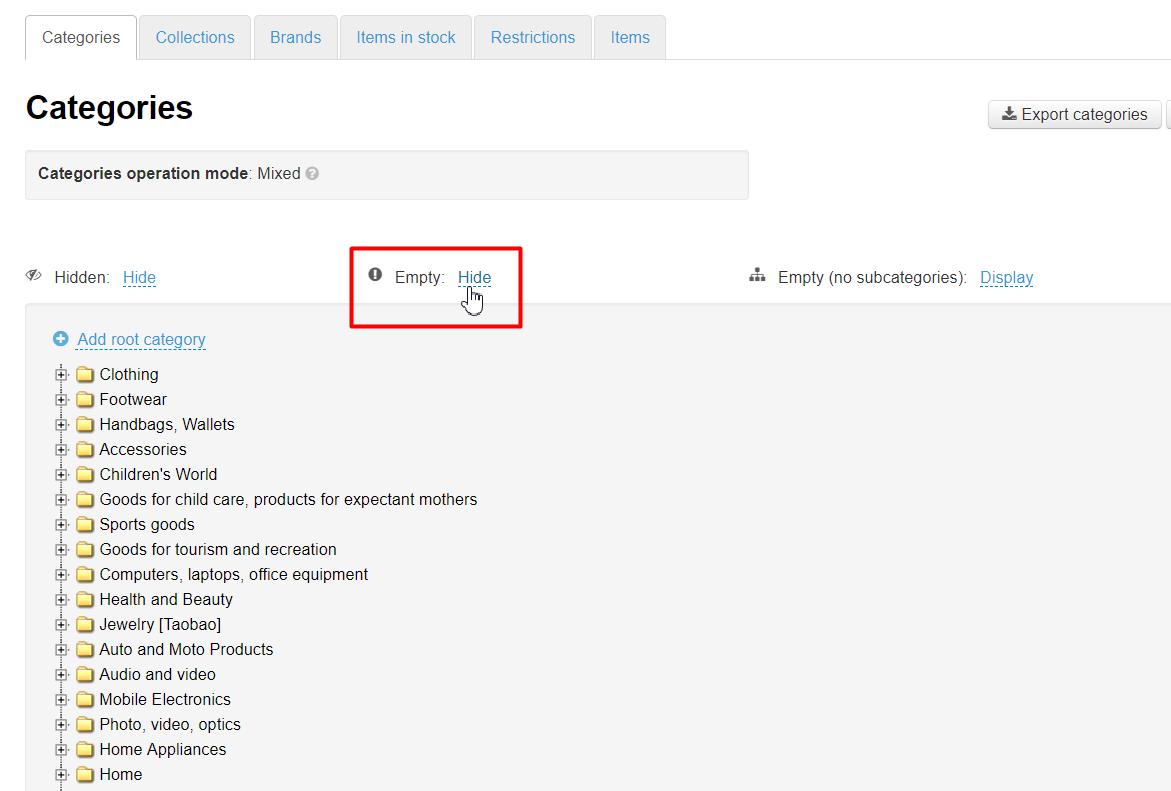
Click on the desired menu item (for example, Display).
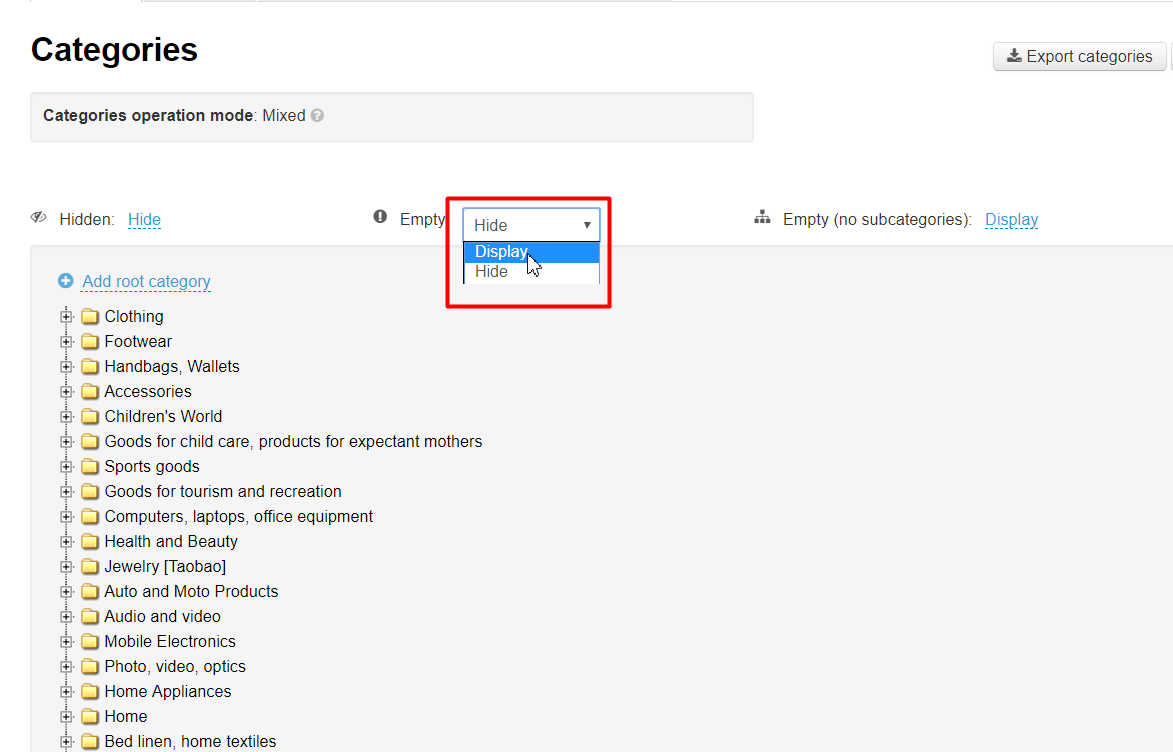
Once the current page has been automatically refreshed, after clicking, the category will be displayed both on the website and in the admin area.
Empty categories and subcategories are marked with the “!” sign on the folder.
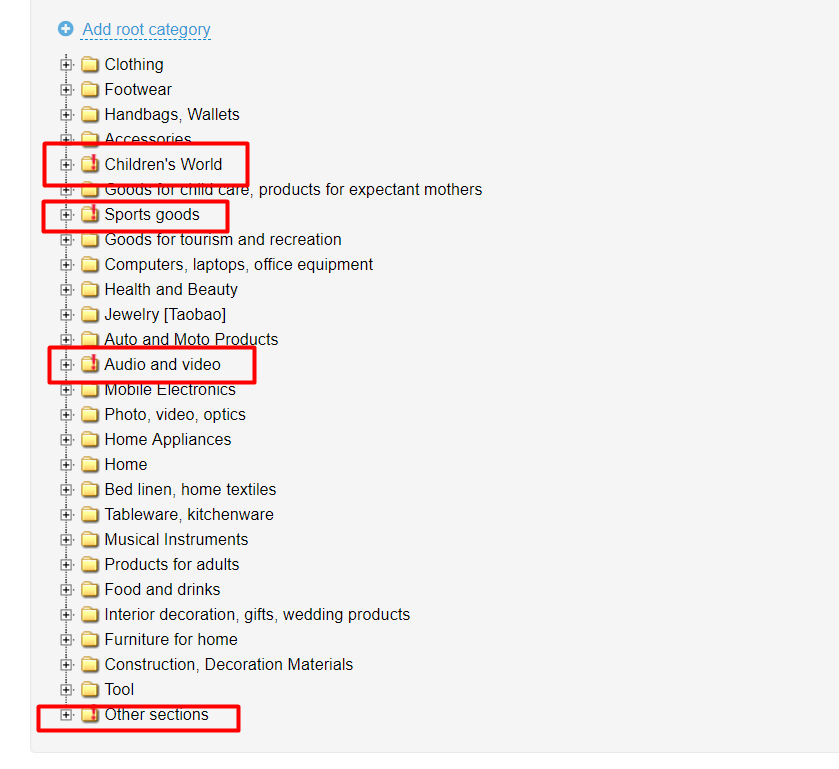
Displaying empty categories without subcategories
...
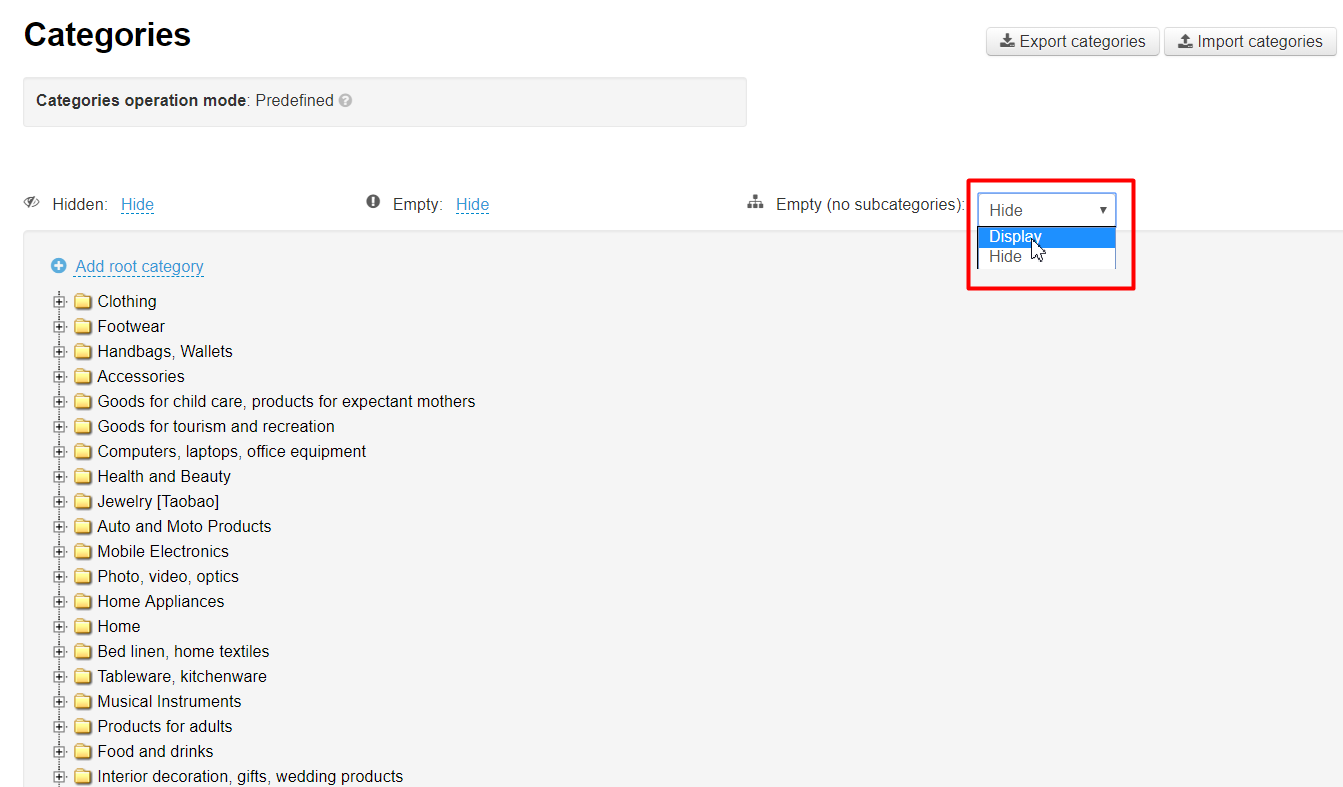
Click on the dashed blue underlined text “Display” next to the dashed blue underlined text “Empty categories without subcategories”(no subcategories)”.
Click on the desired menu item (for example, Display).
Once the current page has been automatically refreshed, after clicking, the category will be displayed both on the website and in the admin area.