...
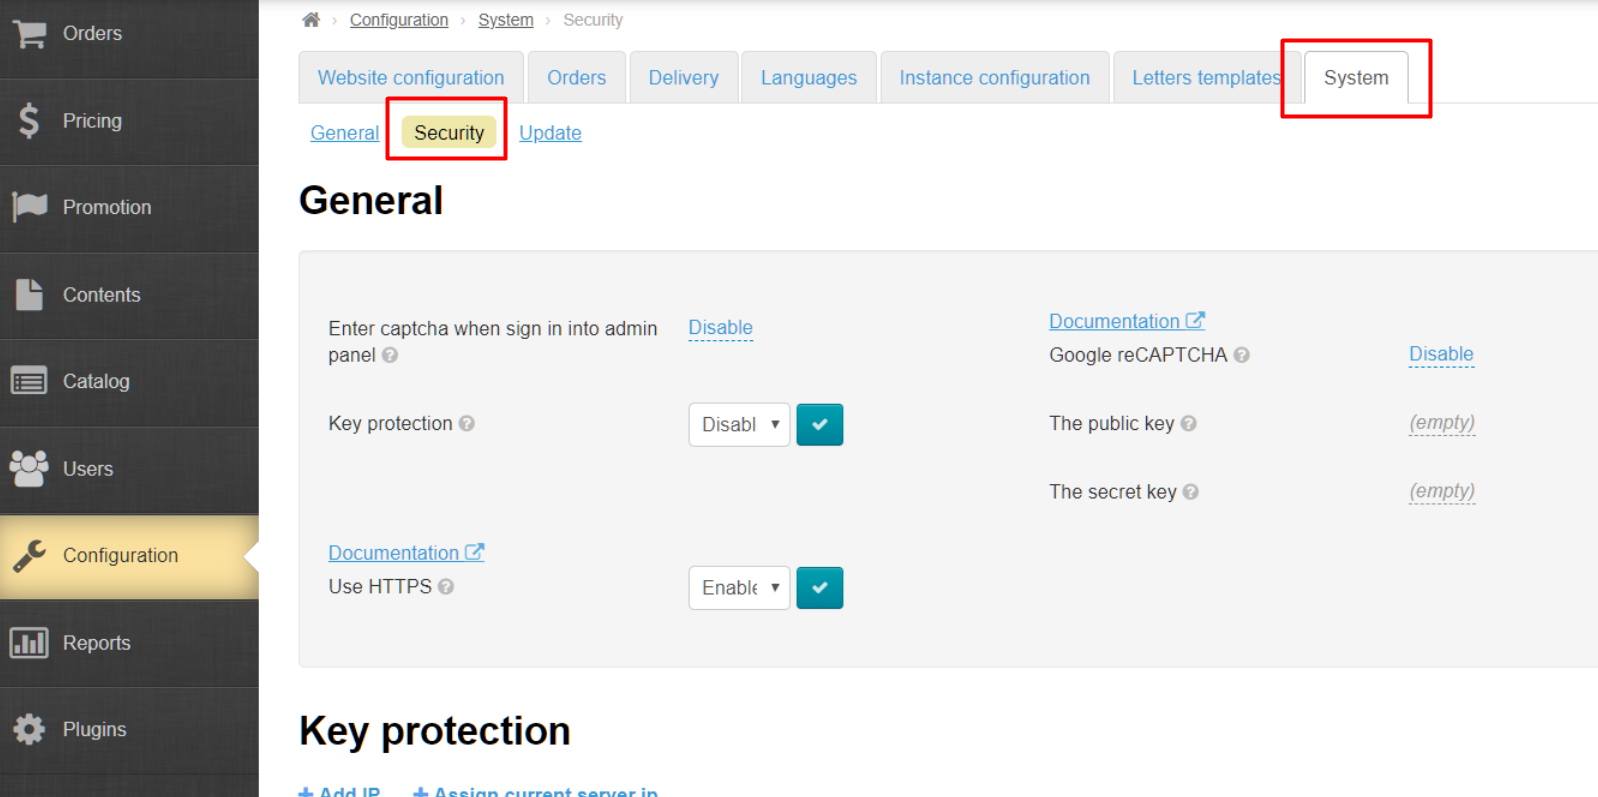
Location in admin mode: Configuration › → System › → Security
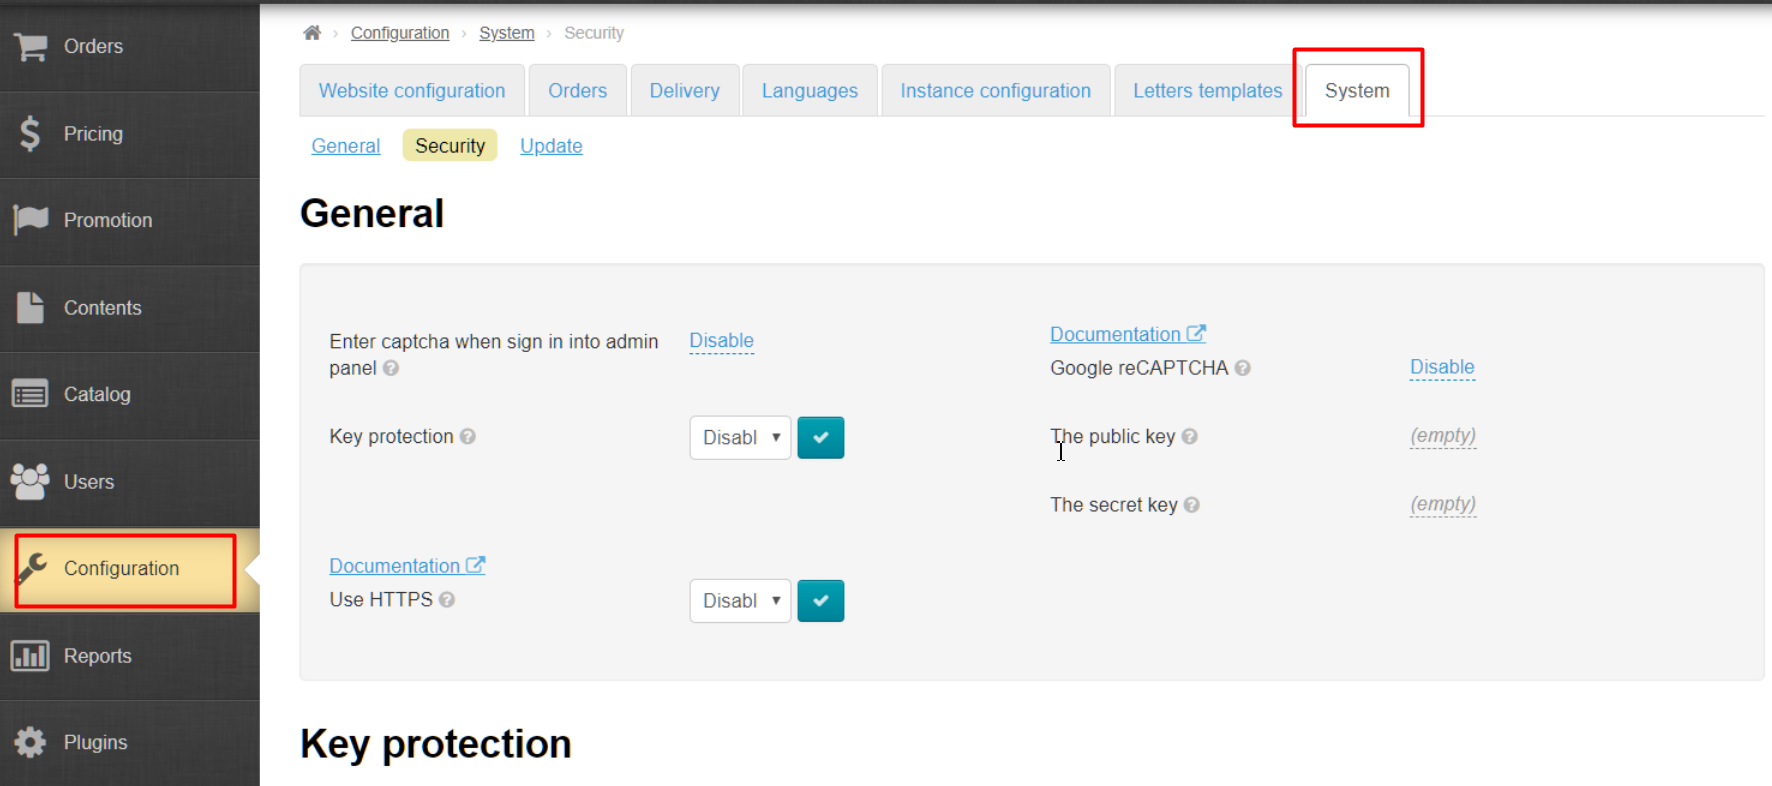
General
Enter captcha when signing into admin panel
...
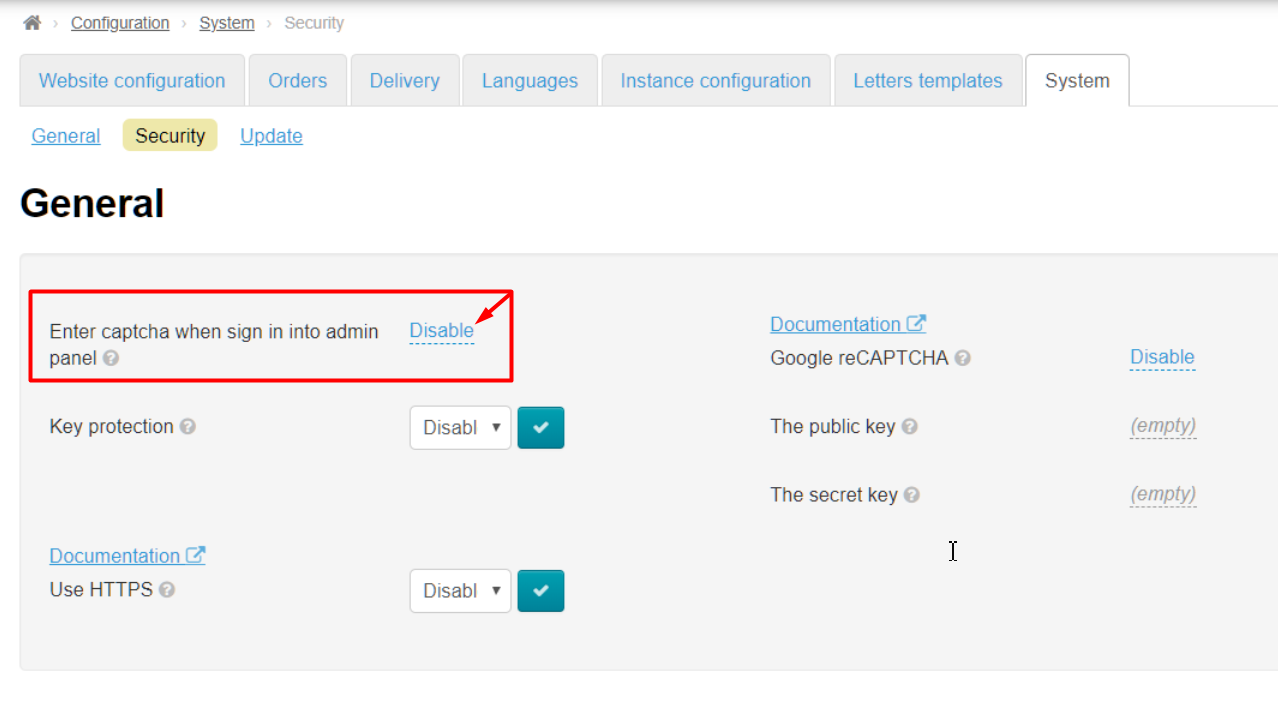
Click caption with dotted line to use (or disable) this feature:
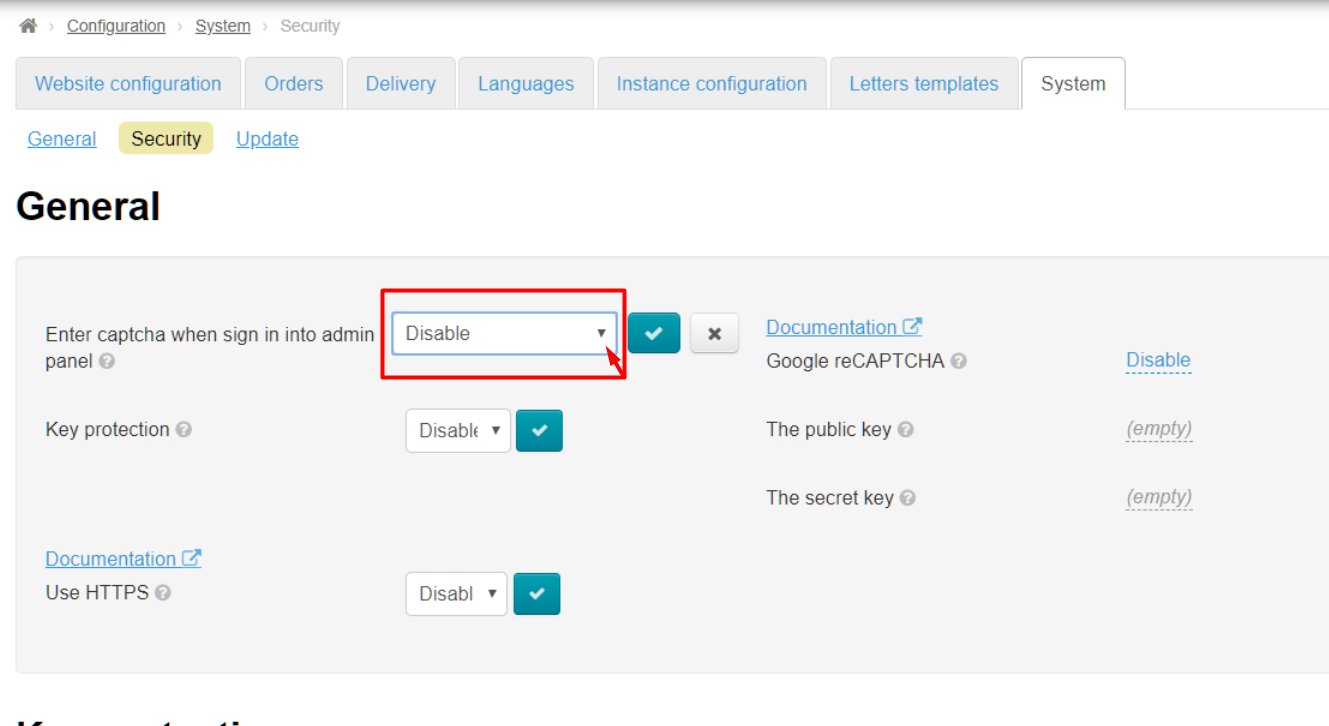
Open drop-down list clicking a triangle:
Choose necessary value from drop-down list clicking it:
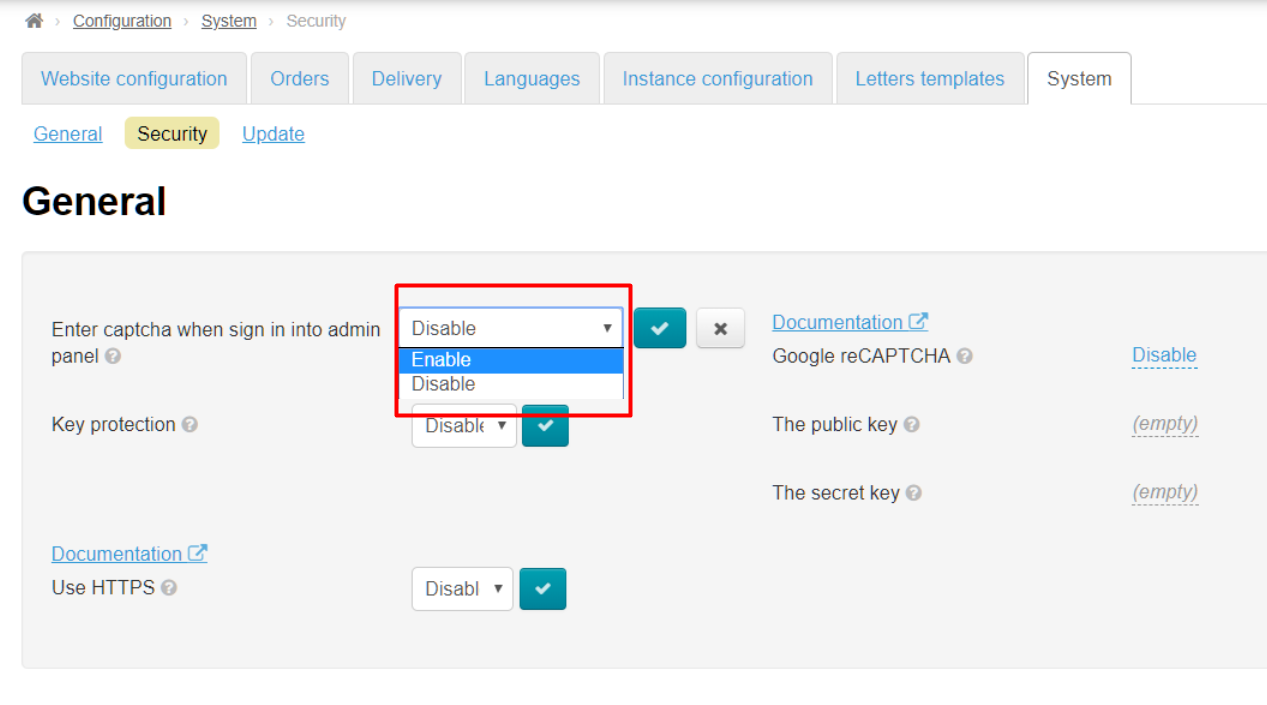
Save choice clicking checkmarked button:
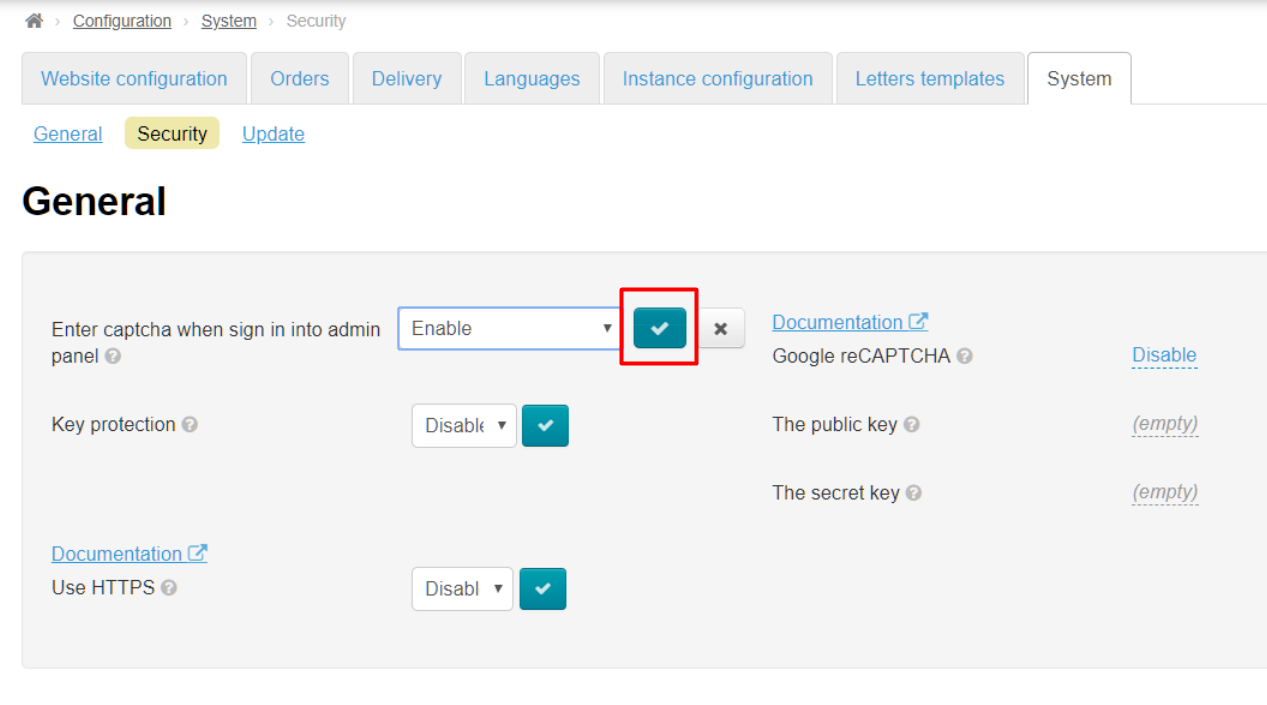
Changes will take effect immediately after saving.
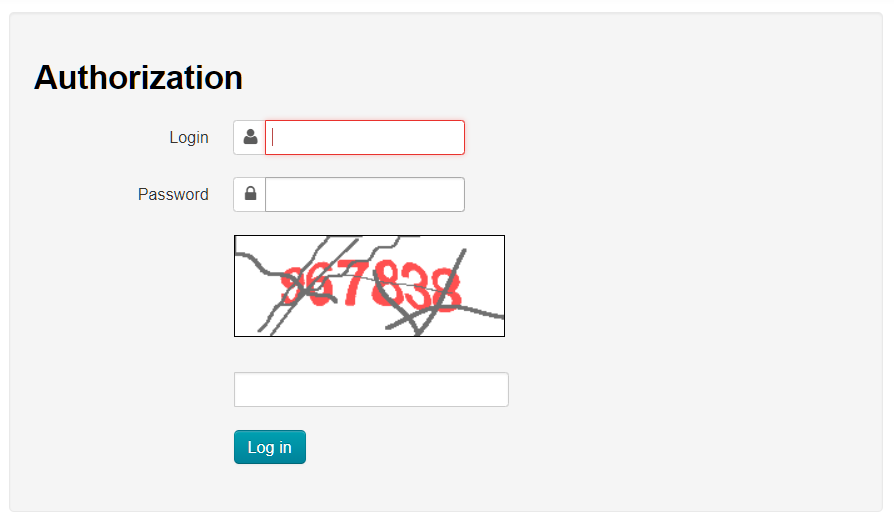
Captcha is displayed during authorization in admin panel when this option is enabled:
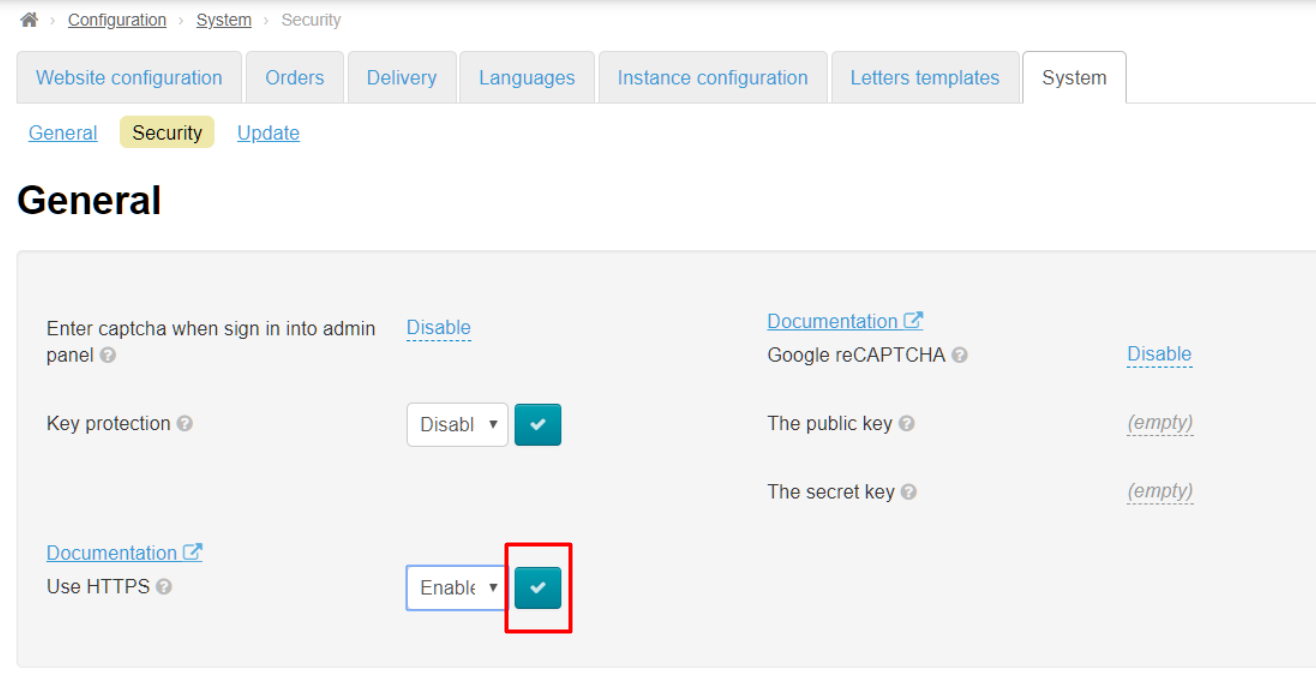
Secure protocol HTTPS
...
Click a triangle to open drop-down list to enable protocol:

Choose and click "Enable" “Enable” (or "Disable" “Disable” if this service is no longer required) in the list:

Save choice clicking checkmarked button:
...
These 2 keys will be necessary when setting up captcha in OT admin panel.
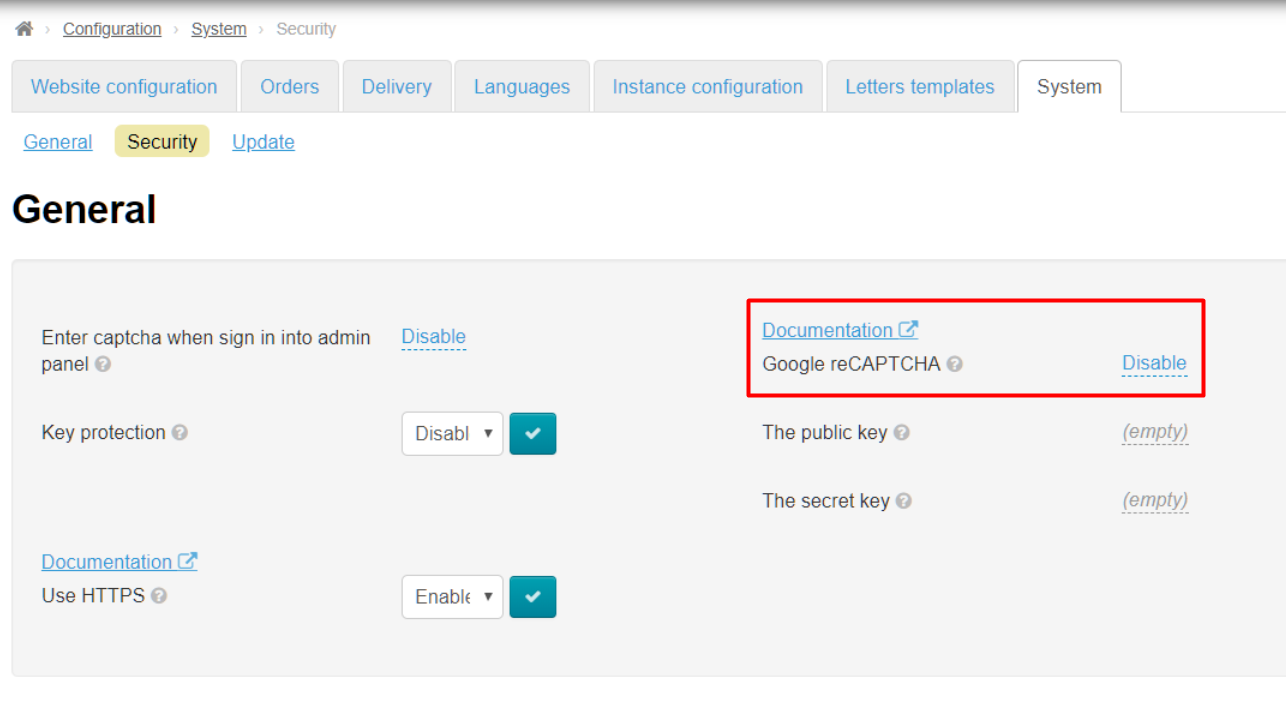
Open "Security" “Security” section:
Click caption with dotted line "Disable" “Disable” next to Google reCAPTCHA:
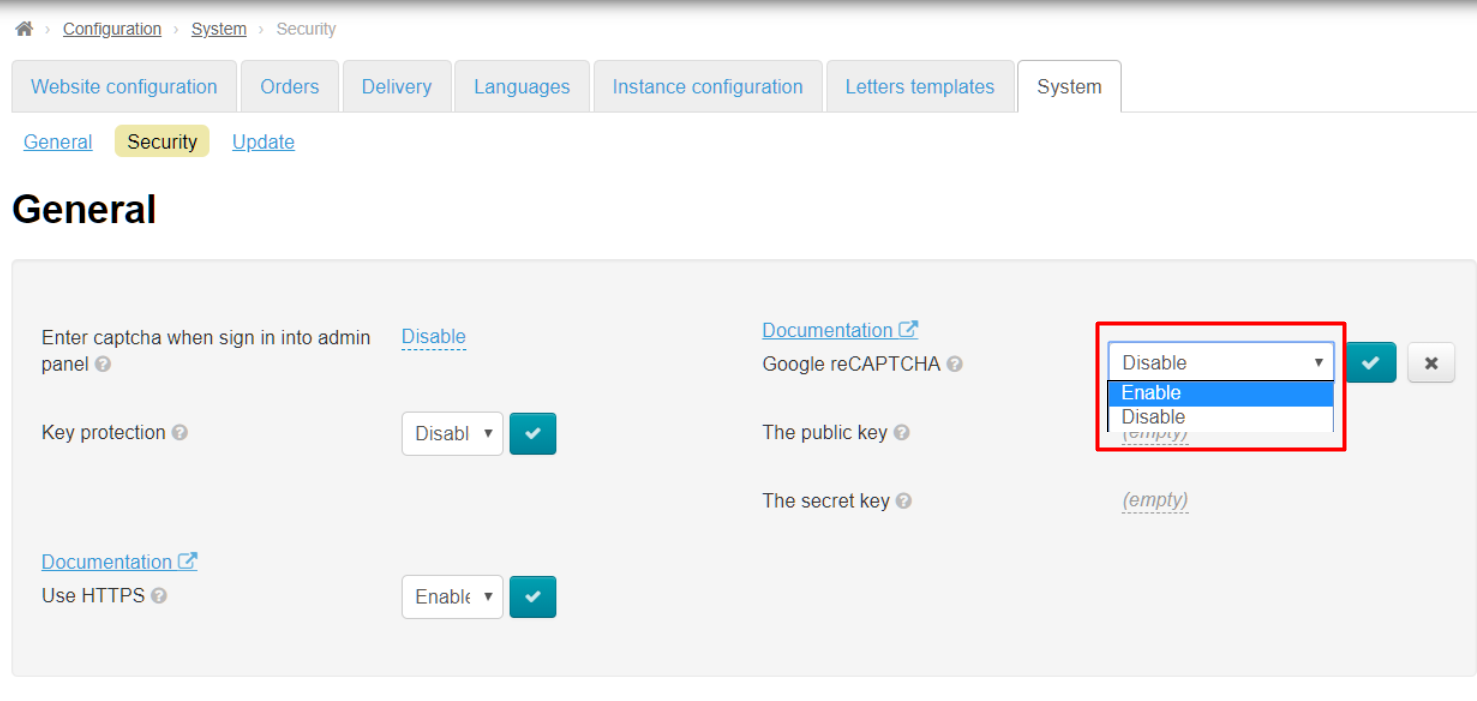
Choose "Enable" “Enable” from drop-down list:
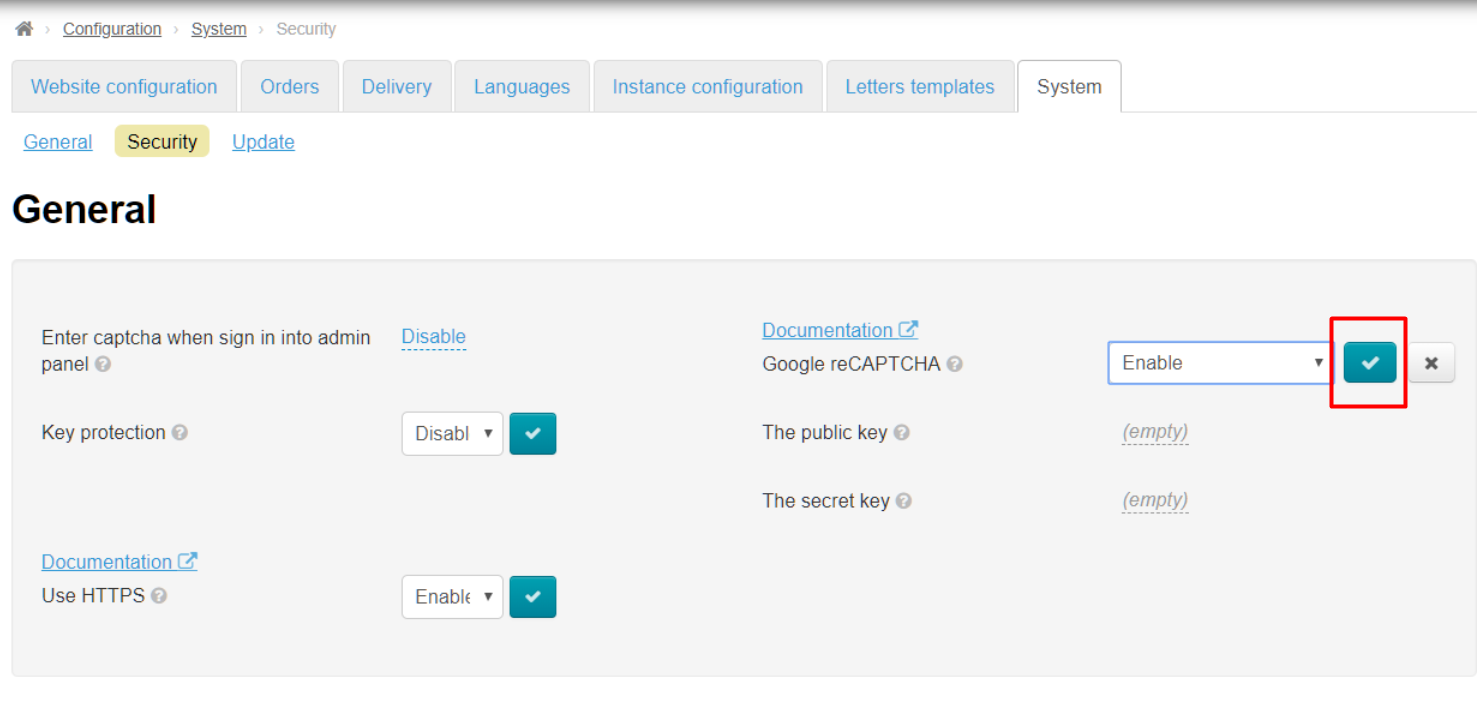
Save choice clicking checkmarked button:
Enter keys from Google into "Public key" and "Secret key" into “Public key” and “Secret key” fields.
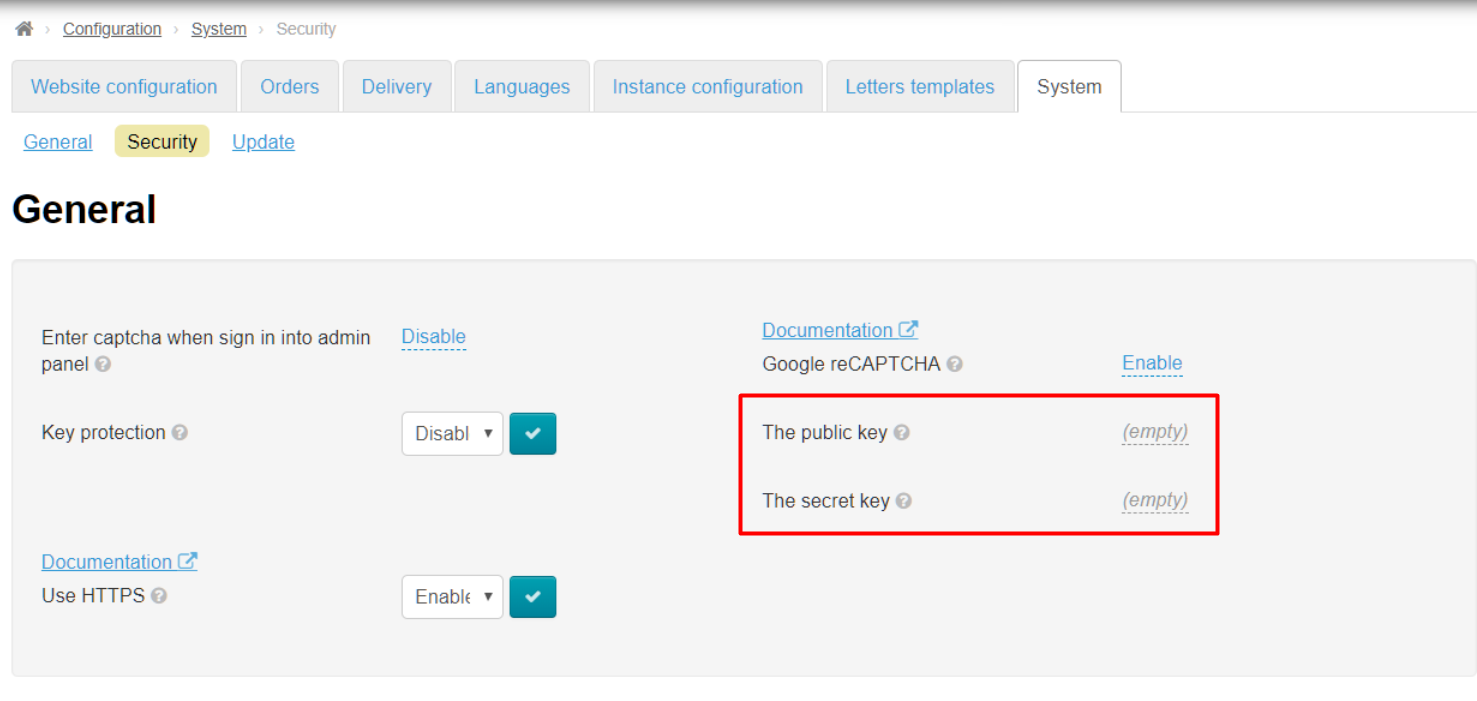
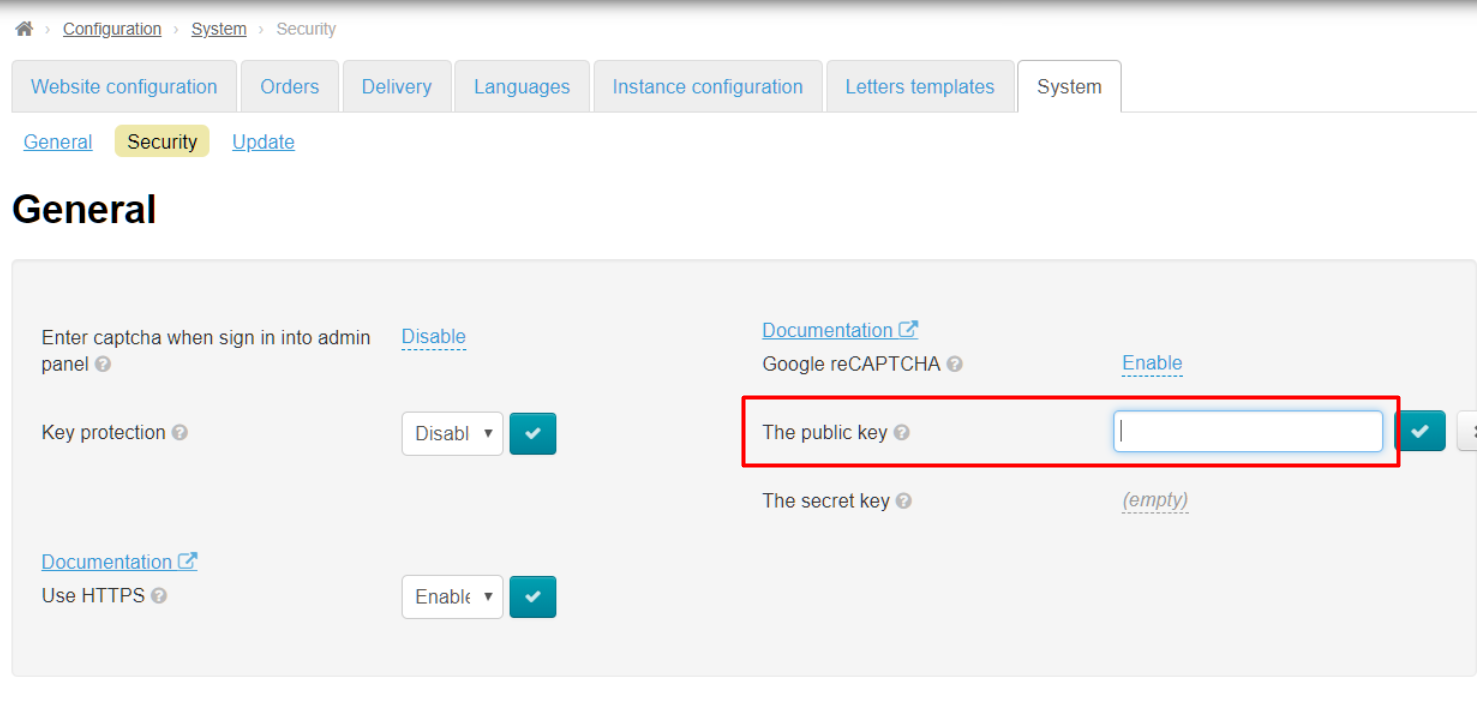
Click grey caption with dotted line:
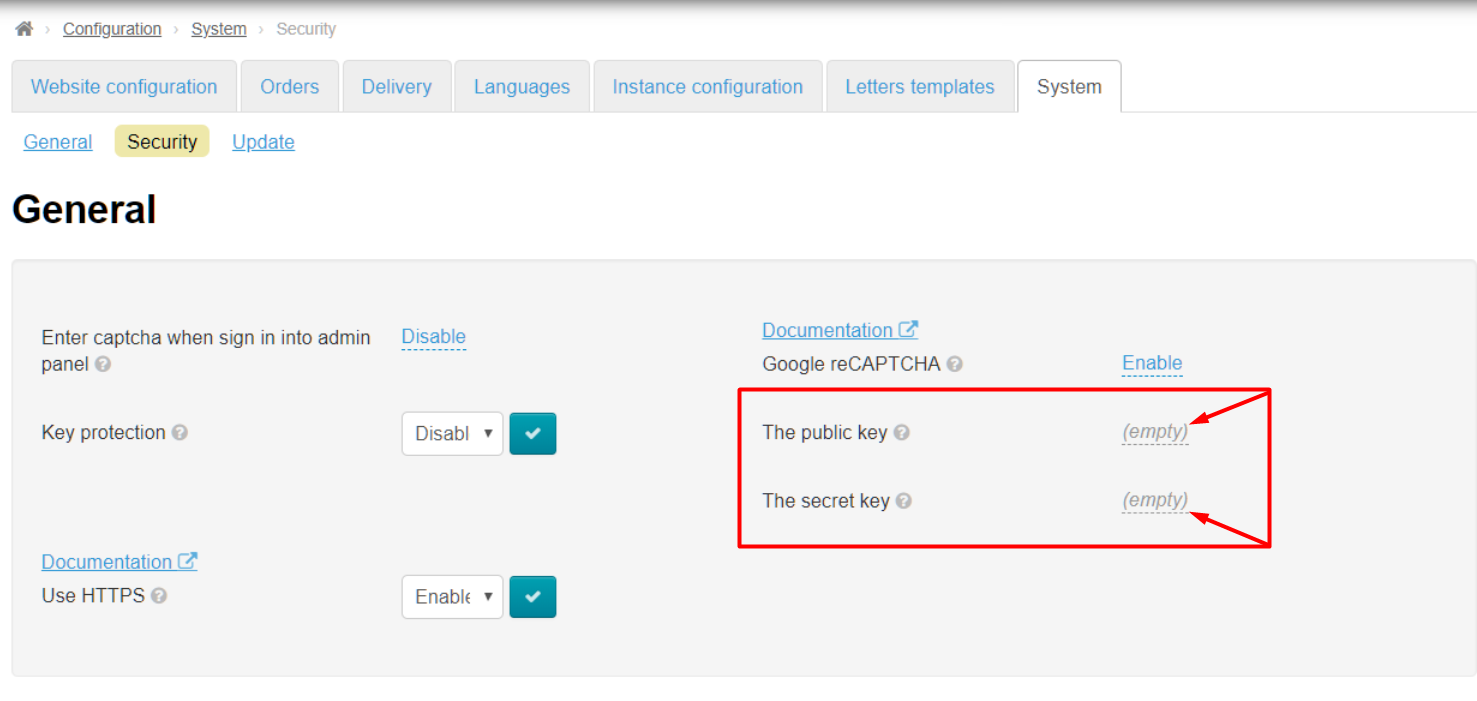
Copy key in Google and paste it into corresponding field. Paste site key in "“The public key" key” field, paste secret key in "“.
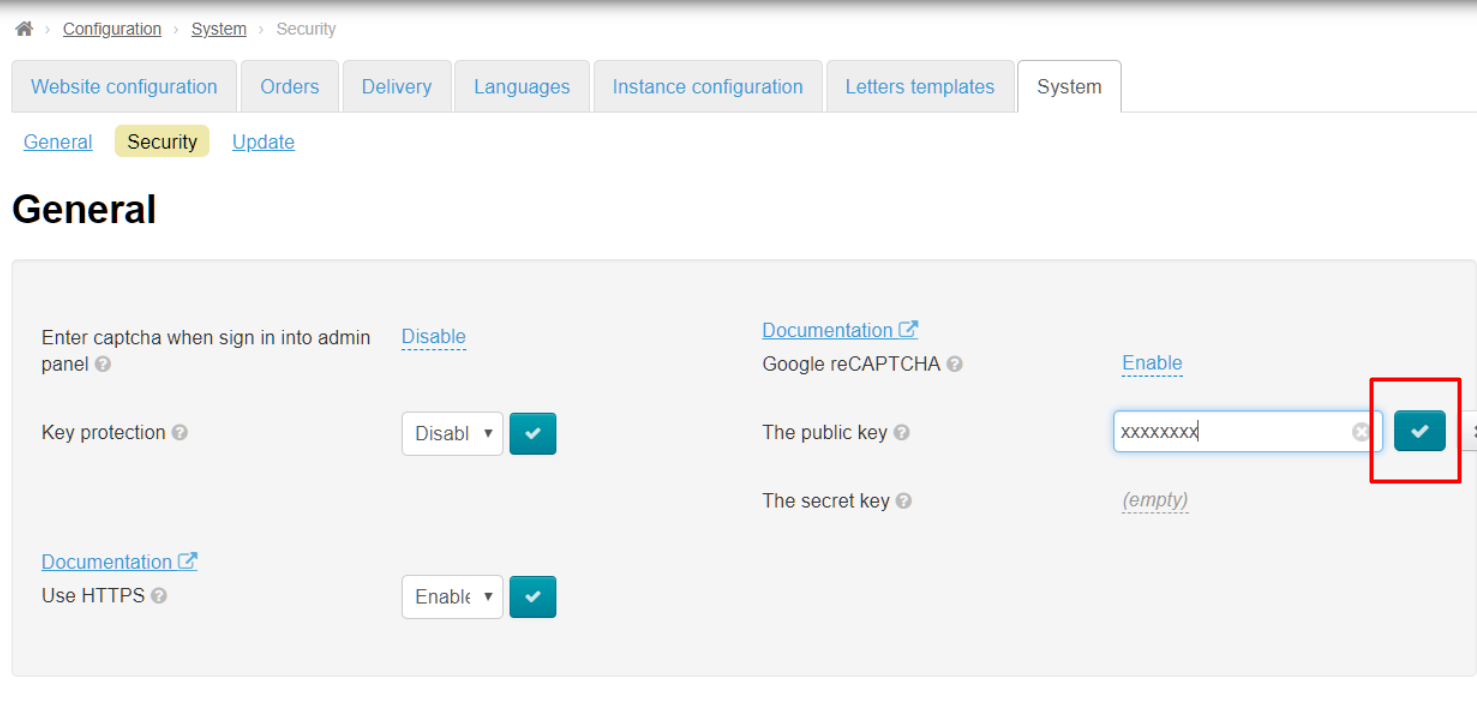
Save data in each field separately clicking checkmark button:
Ready. Google reCAPTCHA will track users' activity on your site now.
...
Click a triangle to open drop-down list to enable key protection:
Choose and click "Enable" “Enable” (or "Disable" “Disable” if this service is no longer required) in the list:
...
Save choice clicking checkmarked button:
Find "Key protection" “Key protection” on the page:
Click "Add IP" “Add IP” to limit number of addresses that have access to the key:
...
Enter IP address of your server in opened field (where website is located):
Click "Add" “Add” button:
IP address will appear in the list below:
Click cross in "Actions" “Actions” column to delete IP Address:
...
If at the moment, your server with the site has its dedicated IP address already, you can bind it with one click. Click "“+ Bind IP of current server":
...
You can use password generation function to make password more complicated than in the example (where unreliable version of password is shown). Click "Generate" “Generate” button:
New password is ready.
Click "Save" “Save” to save it:
Confirmation is required to change password:
...