...
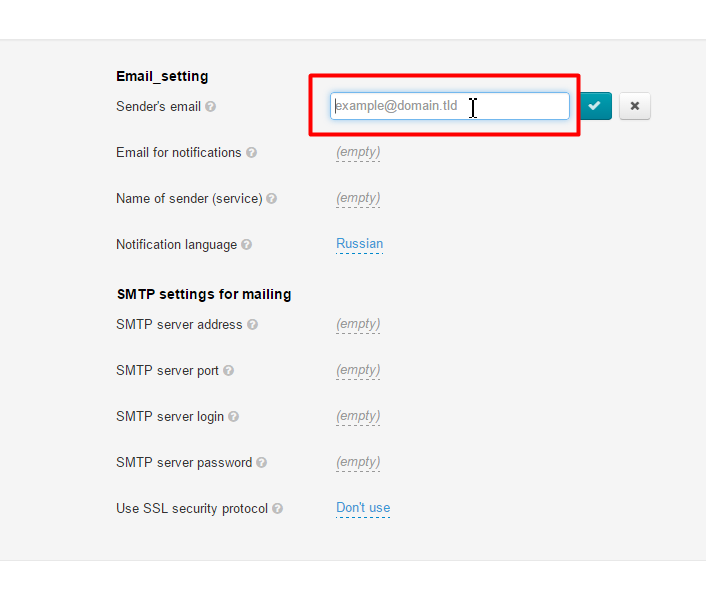
Click the dashed blue underlined text to enter the desired setting.
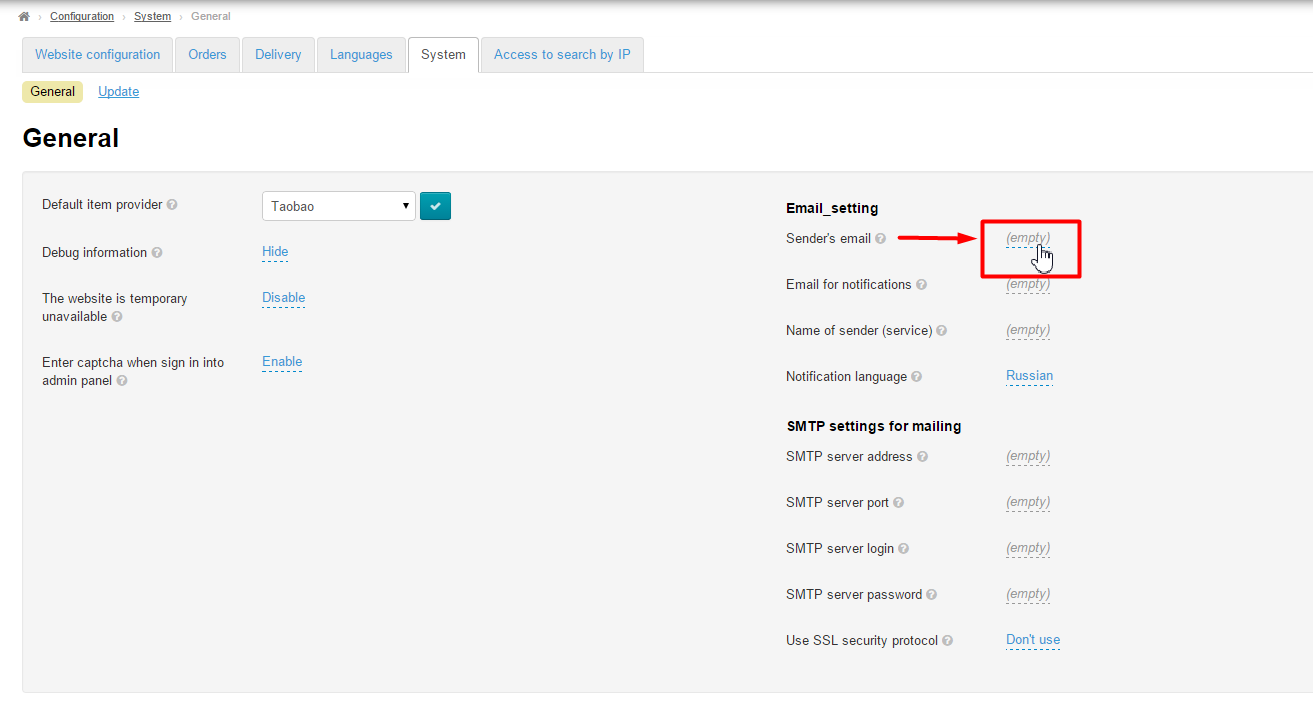
Enter the setting you need.
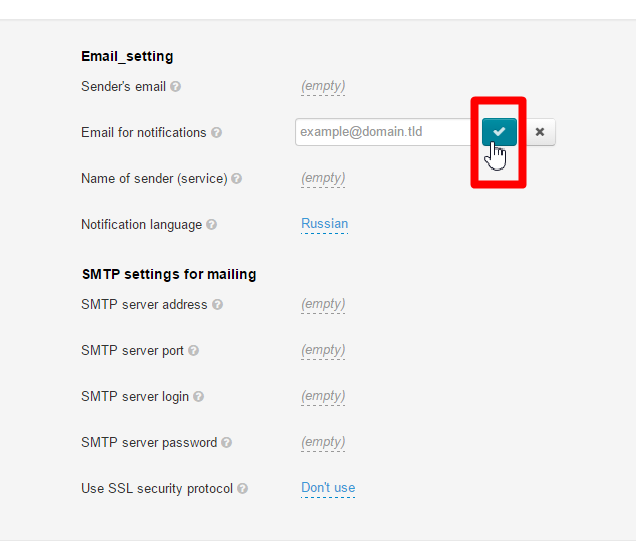
Click on the checkmark button to save the modifications.
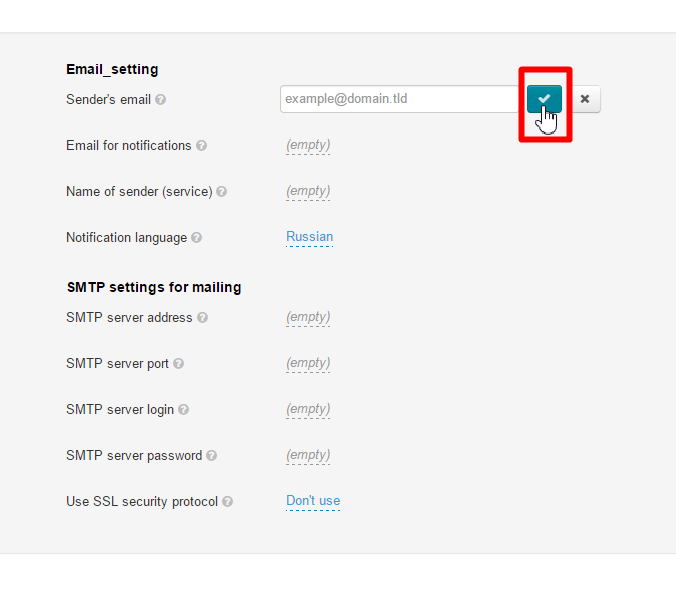
The modifications become valid as soon as they are saved.
Email for notifications
...
This is the e-mail address to which notifications are sent (from the administrator panel, users or website). This address can be the same as sender e-mail address.
Click the dashed underlined text to enter the desired setting.
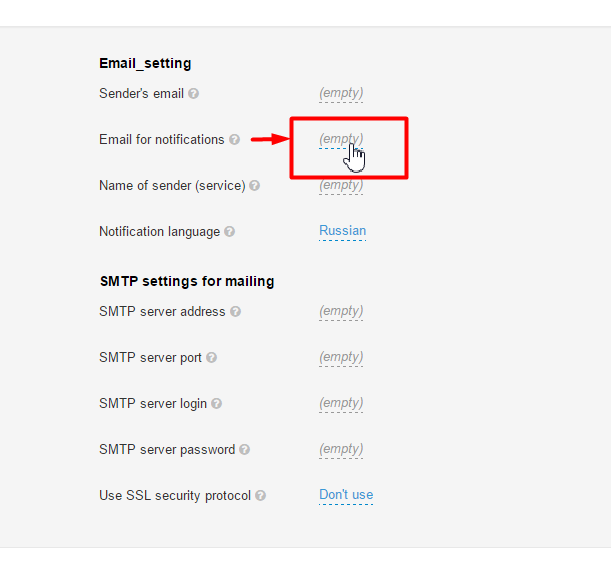
Enter the setting you need.
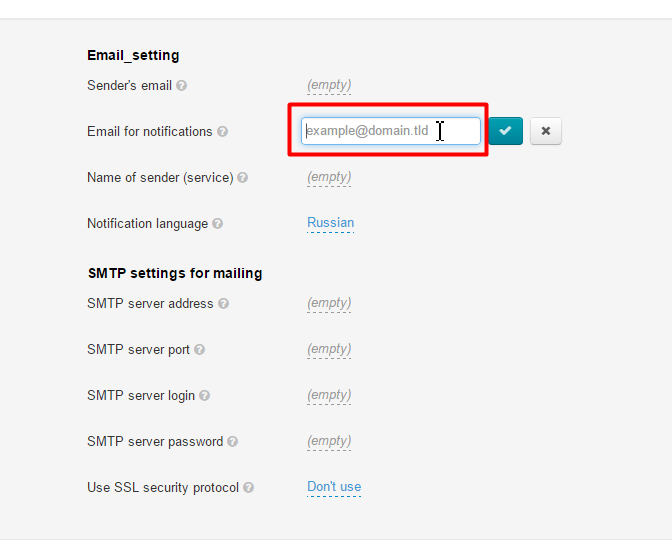
Click on the checkmark button to save the modifications.
The modifications become valid as soon as they are saved.
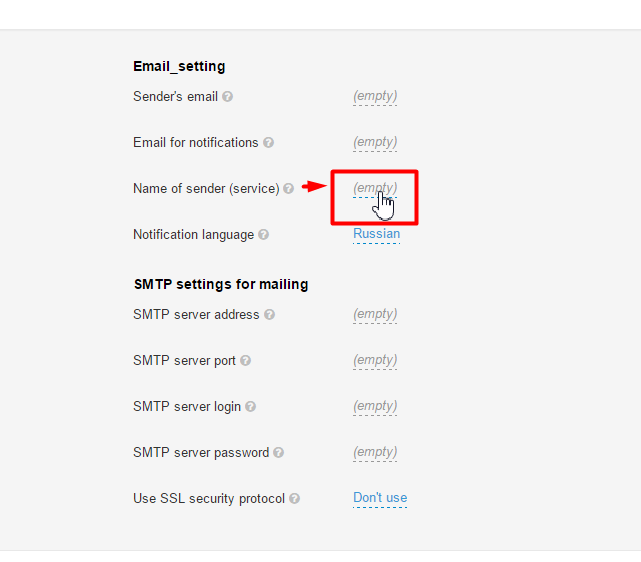
Name of sender (service)
...
This is a name that will be displayed to a recipient in the “From” field next to your e-mail address or instead of it.
...
To fill in the appropriate field click the dashed underlined text.
This will bring up a form to be filled in.Enter Enter the preferred setting.
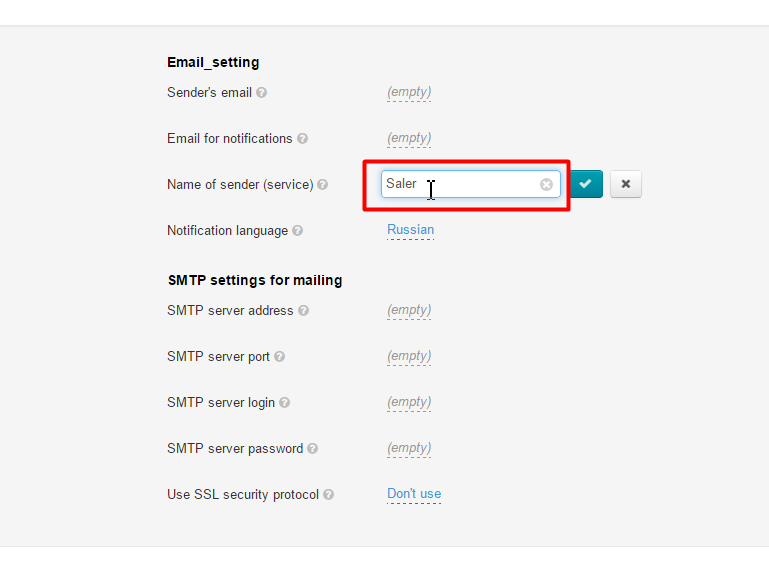
Click the checkmark button to apply modifications.
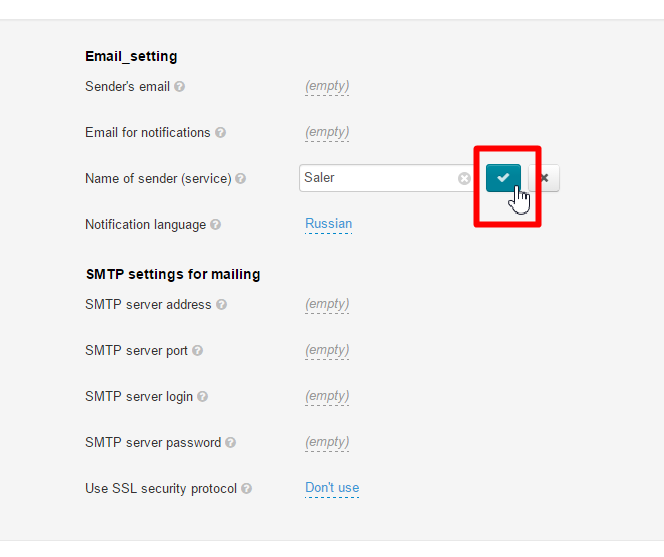
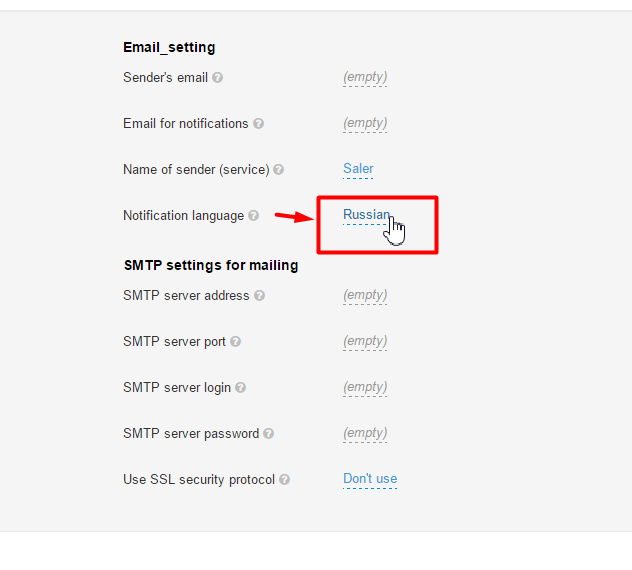
Notification language
...
This is a notification language for website administrators.
To change a notification language from Russian into English or vice versa click the dashed blue underlined text.
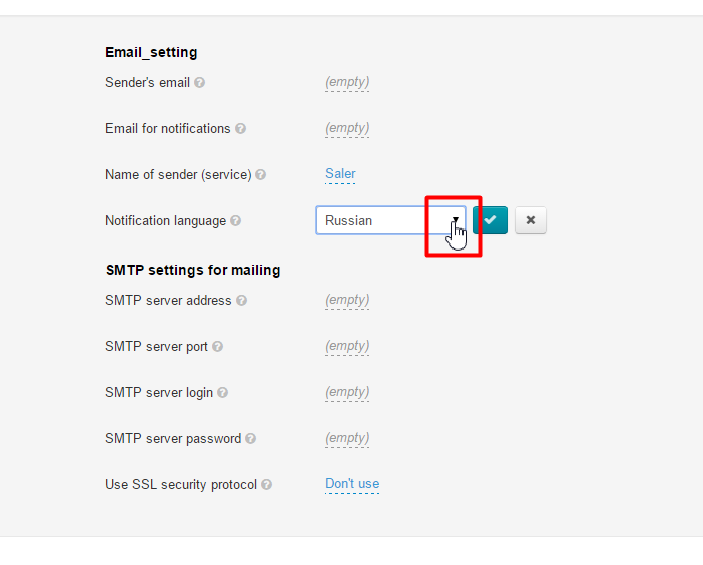
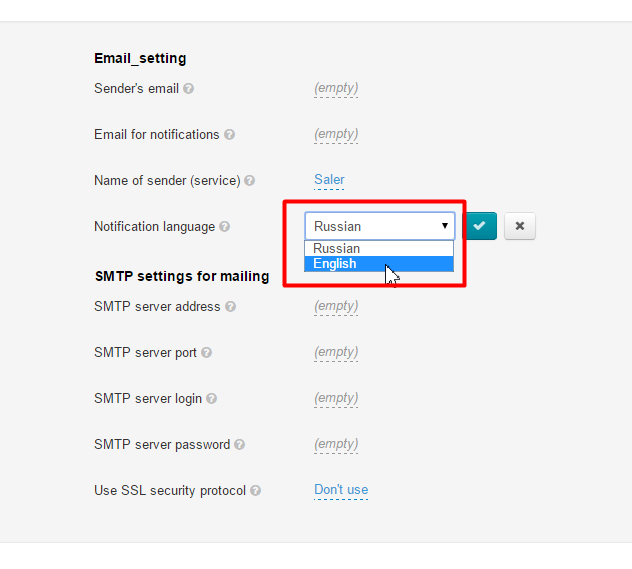
Click the dropdown list arrow to reveal all possible choices.
In the list that appears click on the desired setting.
Click on the checkmark button to save the modifications.
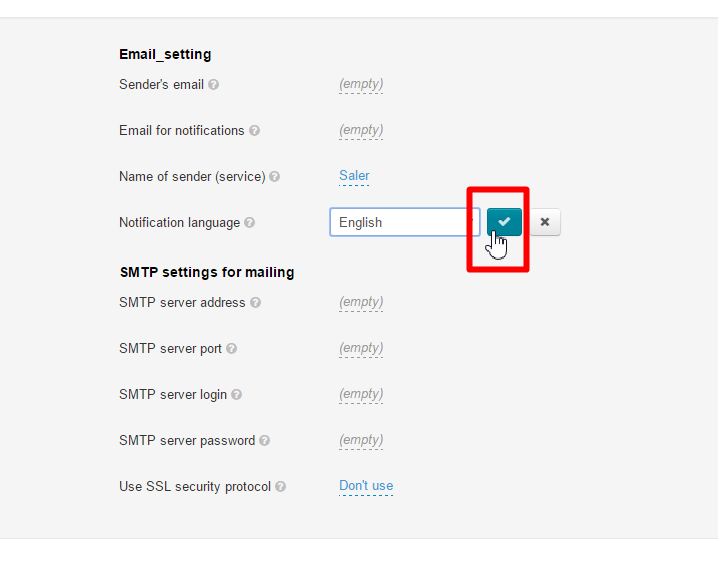
The modifications become valid as soon as they are saved.
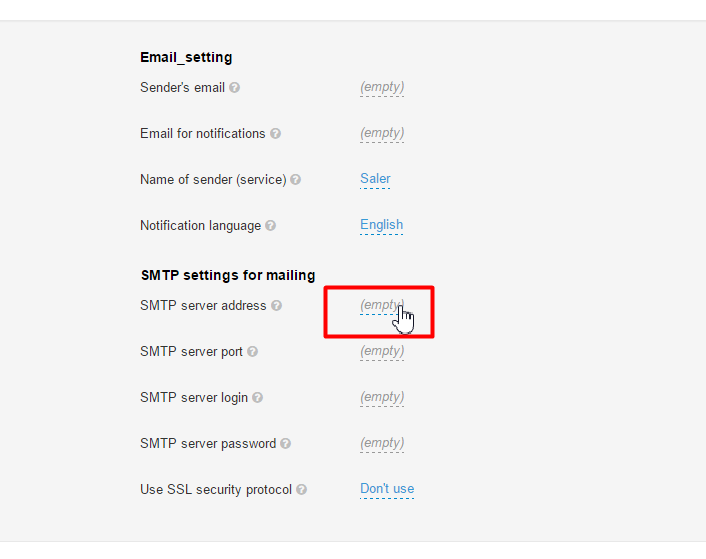
SMTP settings for mailing
...
To fill out the necessary fields you should perform the following steps:
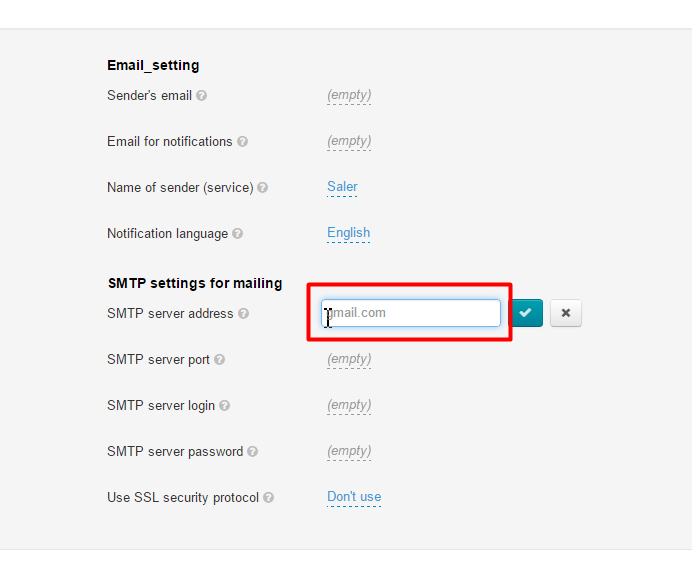
Click the dashed underlined text to enter the desired setting.
Enter the setting you need.
Click on the checkmark button to save the modifications.
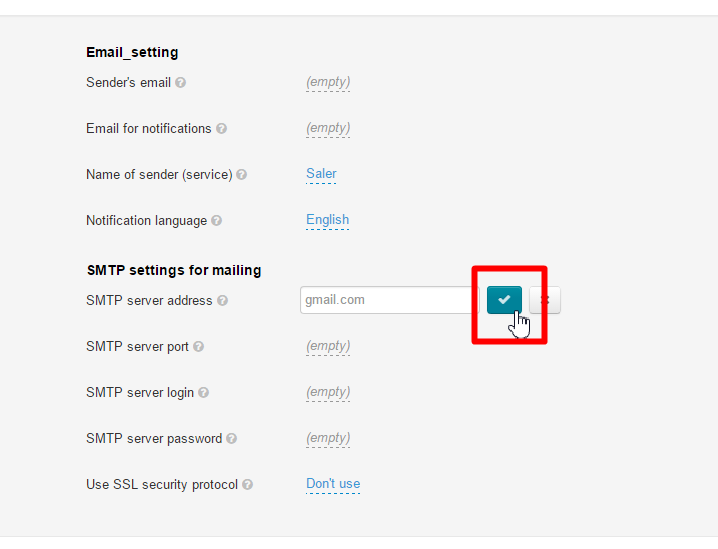
The modifications will appear on the website immediately after saving.