| Оглавление |
|---|
This section focuses on configuring social media widgets.
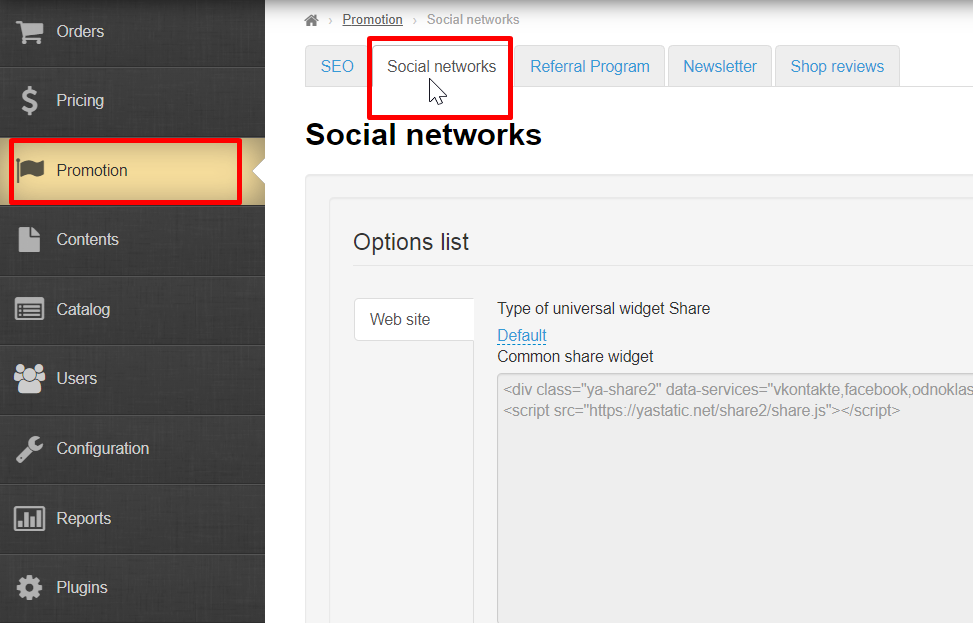
Navigate to: Promotion > Social media in admin panel of your website.
Description
This section is required if you want to place social media widgets, links and Like buttons on your website. You can put them either on the homepage or on the item page.
Homepage
Widgets
How to enable social media section
You should turn on social media widgets if you want to show them on the homepage.
Select “Social media section” and click dashed blue underlined text next to it.
Click dropdown arrow on the right to display dropdown list.
Select whether you want social media section to be shown or hidden.
Click checkmark button to save.
Modifications will be visible on website after saving.
Likes in VKontakte’s
Settings on VKontakte website
Navigate to “Help” section on VKontakte website.
Click “For developers” link at page bottom.
Go to “Authorization and Widgets for Sites” section:
Select “Like” in “Widgets for Sites” section:
Select “Add new site” option in “Site/Application” field (the field can be missing):
Fill in “Site name” and “Site URL” fields.
“Site domain” field is auto filled once website URL has been specified.
Selecting a site topic is optional.
Click ”Save” button.
Choose “Button Layout” and enter “Button Height” and “Button name”. You’ll see a preview at page bottom when switching between options.
In our example we’ve selected the last option for “Button Layout”, 20 as “Button Height” and we’ve left the name unchanged.
Clicking “Embedding Code” field results in its content being highlighted in blue.
Right-Click highlighted area and select “Copy” option in the menu that appears (or use the “Ctrl+C” keyboard shortcut).
That’s done! The code has been received. Then you should navigate to admin panel.
Settings in admin panel
Select “Vkontakte’s Like” in admin panel and click dashed underlined text:
Paste embedding code (that you’ve got according to the instructions above) in the textbox field that appears:
Save changes by clicking checkmark button.
Likes in Facebook
Please follow detailed instructions on the Facebook website: https://developers.facebook.com/docs/plugins/like-button to create “Facebook Like” button.
Do the following once you’ve got the code:
Click dashed grey underlined text “Empty”.
Paste the code you’ve received in textbox field that appears:
Be sure to click check mark button to save your changes.
Likes in Twitter
Navigate to https://about.twitter.com/resources/buttons to add “Twitter Like” button.
Select buttons you need and fill out the form that shows up.
Code for website will appear on the right-hand column once setup is complete. Please copy it.
Click dashed grey underlined text “Empty” in admin panel.
Paste the code you’ve copied when creating the button in the textbox field that appears:
Be sure to click check mark button to save your changes.
Likes in Odnoklassniki
...
Setting up social networks widgets, both for site pages and for authentication (log in or register using an available social network).
| Информация |
|---|
Widget is a social networking icon that buyers can log on to, share information with friends or go to your social networks page. |
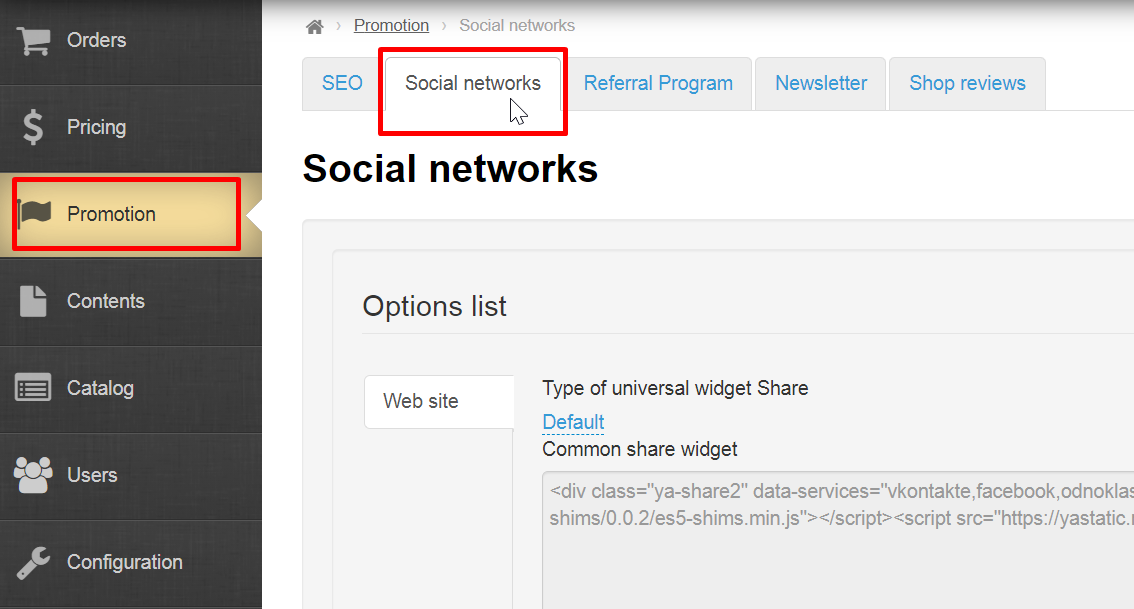
Location in admin panel: Promotion → Social networks
Where are social networks icons located in website design?
| Информация |
|---|
Location of icons (widgets) depends on selected website design. We will write separately what to do if you have your own design (customized one). |
Using Elastic design theme example

Read “General” (Configuration → System → General) article how to select website design theme
Read “Design template” (Configuration → Website configuration → Design template) article how to edit website design theme
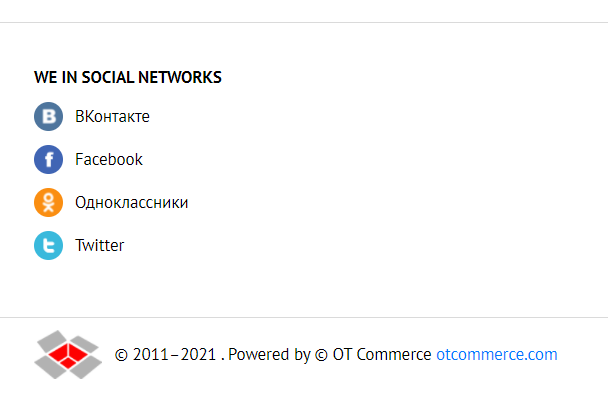
On all pages of website in the footer (at the very bottom)
Customer will click an icon and new window will open your social network page/group
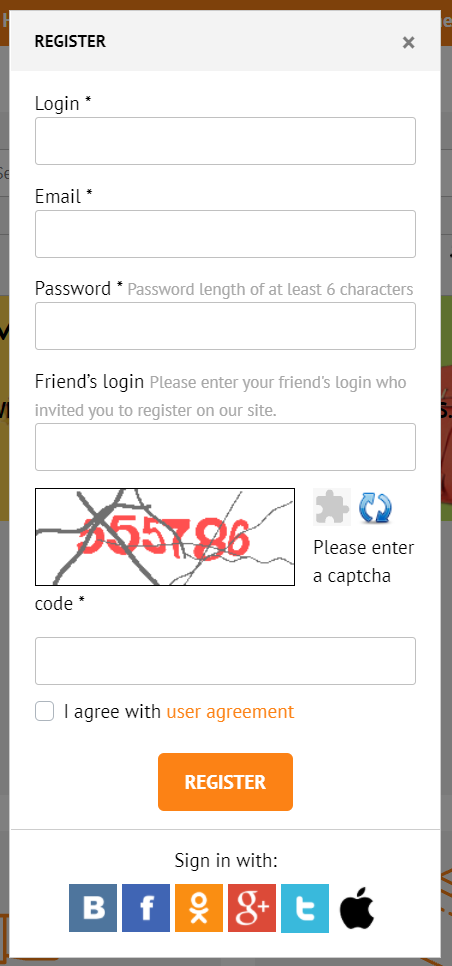
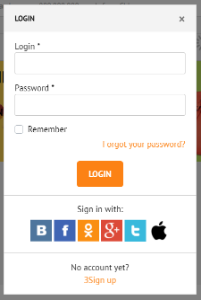
During registration and authorization
Customer can click social network "Sign in with" and skip the fields for authorization and registration
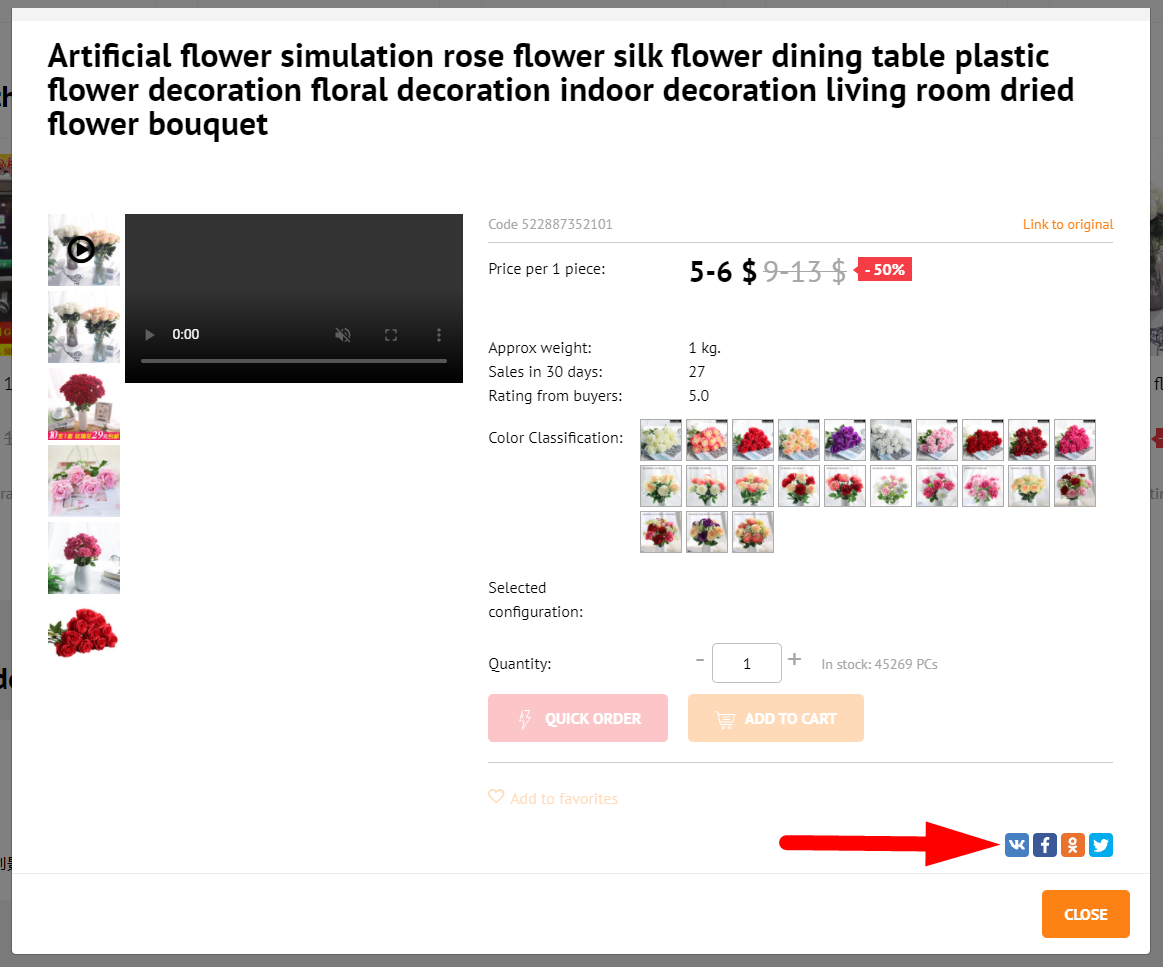
On product page
Customer can make repost of product page (icons are located after "Add to Basket" button)
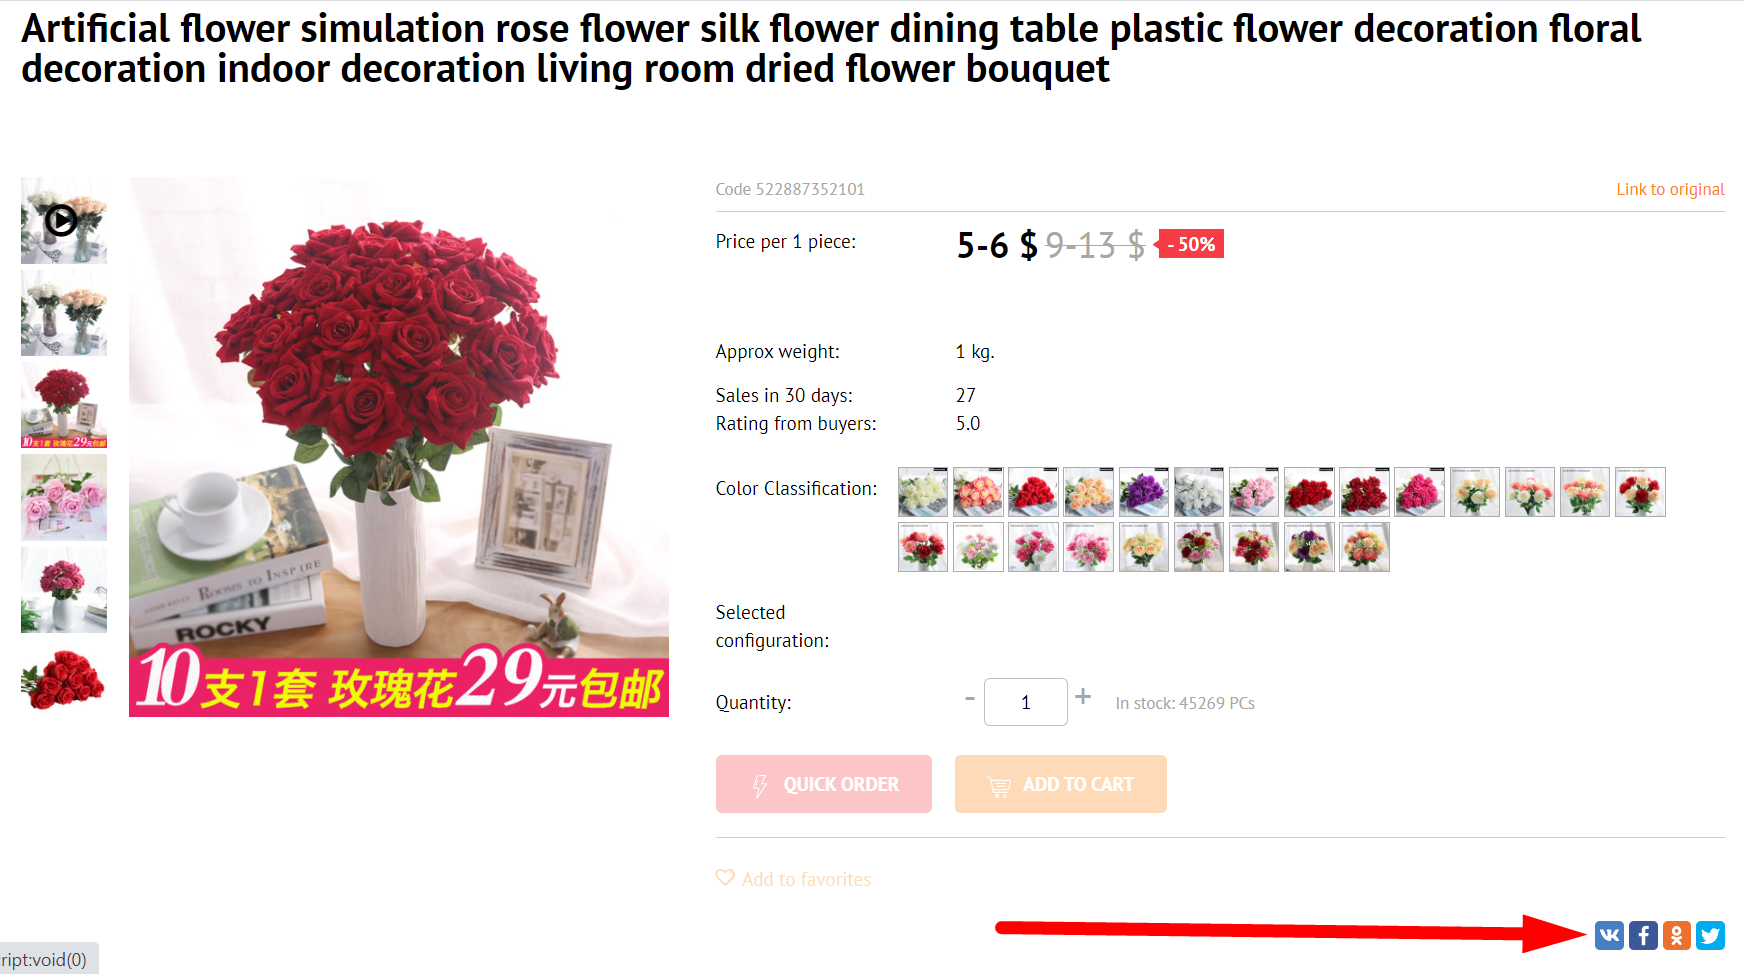
It also works for "Quick order"
Language version: different widgets for selected languages
It's possible to set own widgets for each language version of website.
Read how to set language version in “Multilingualism” article (Configuration → Languages → Multilingualism)
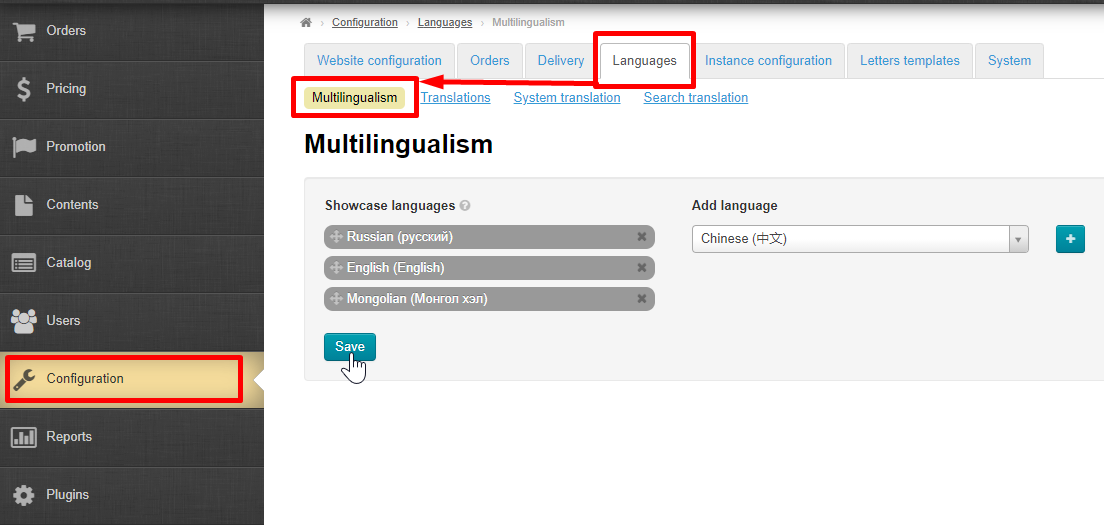
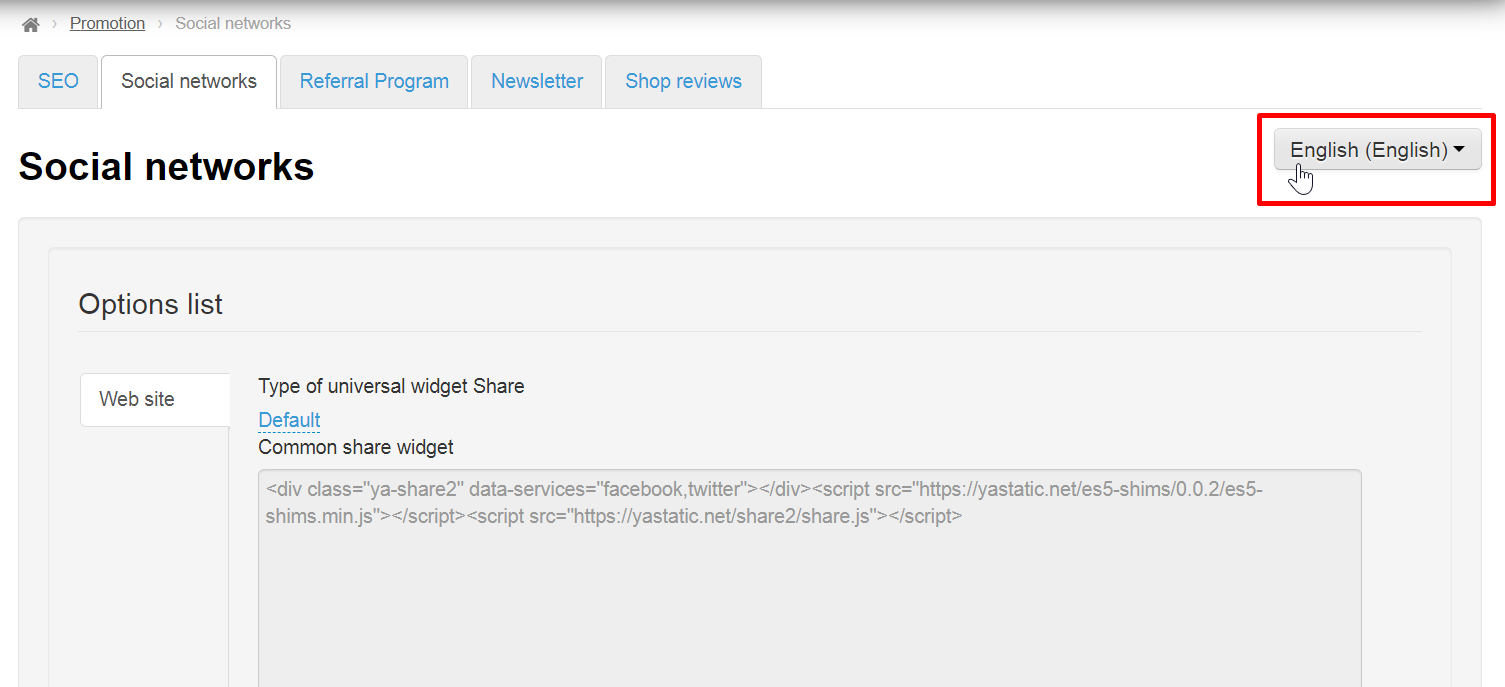
Open "Social networks" tab in "Promotions" section to select language version
A button with a list of available language versions will be on the right
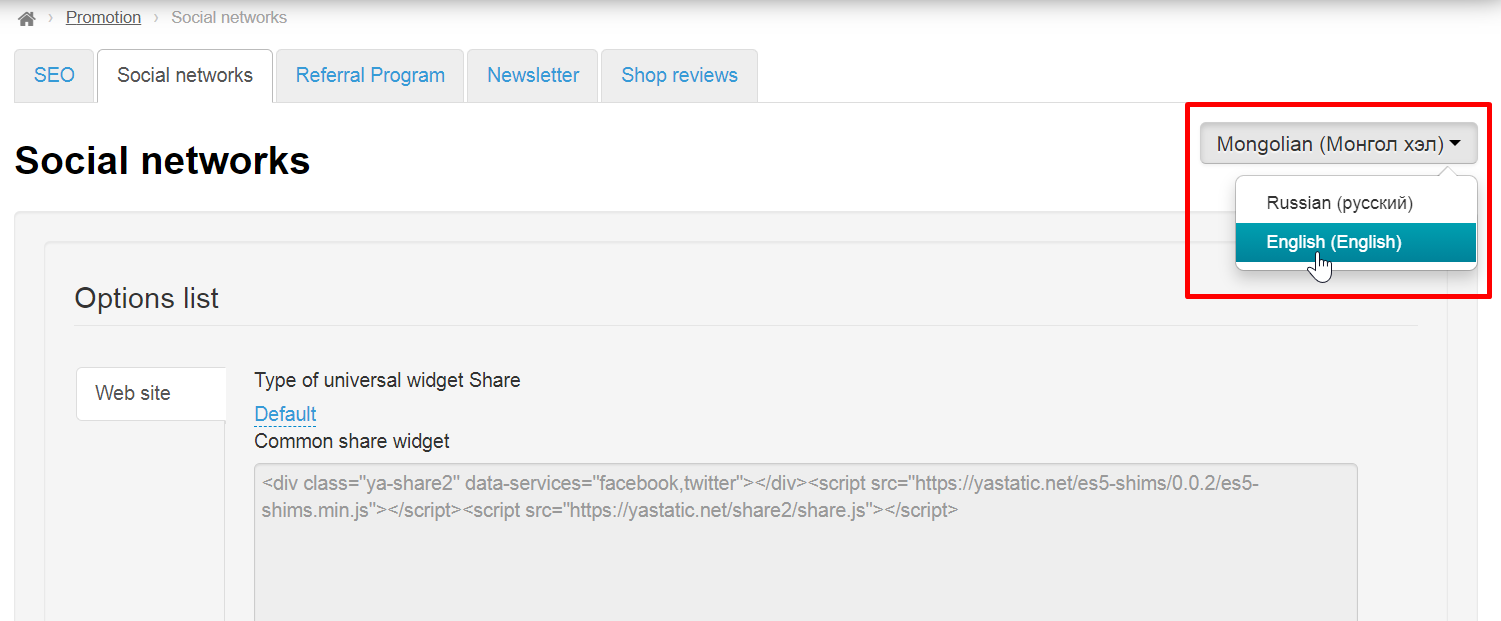
Select necessary language version from the list and set it according to instructions below
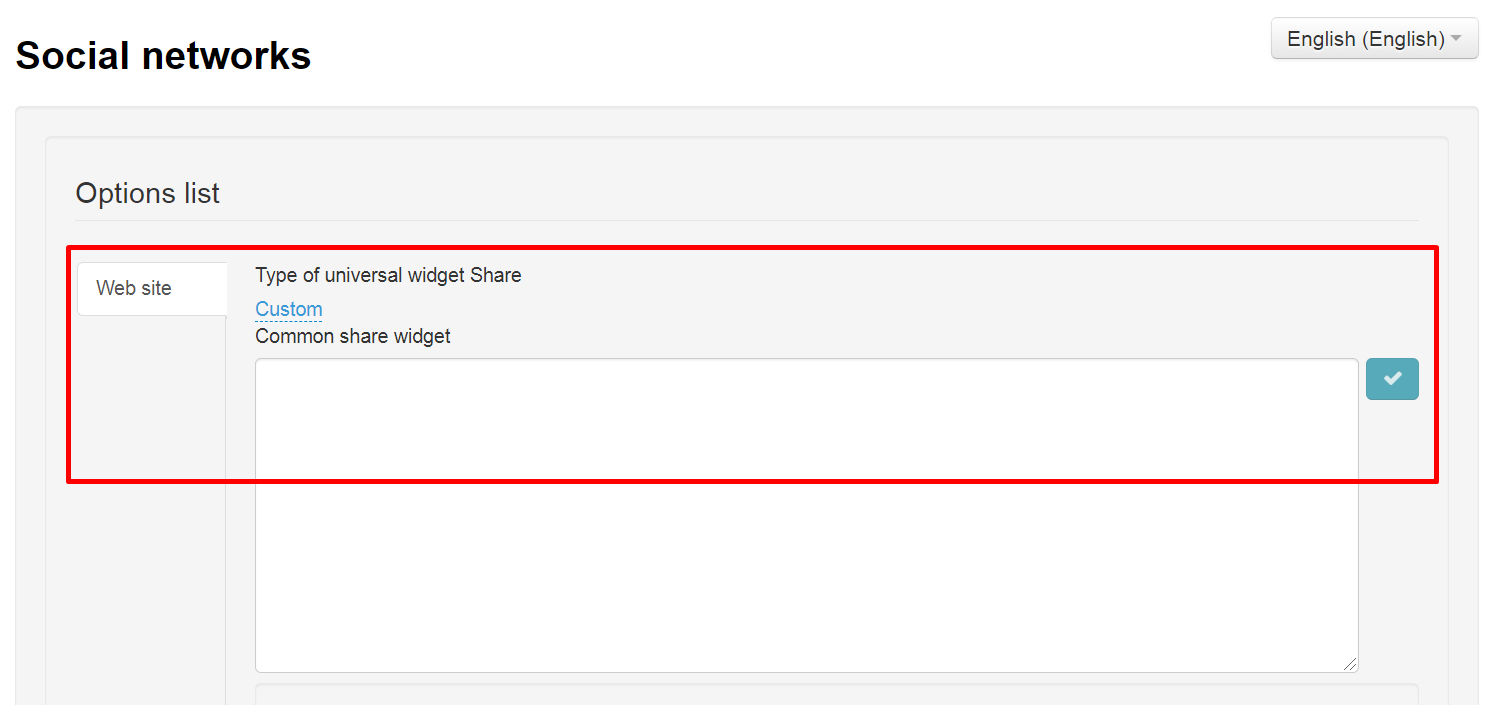
Set up by application type: if you need customization
Open "Social networks" tab in "Promotion" section to add social networks into customized website
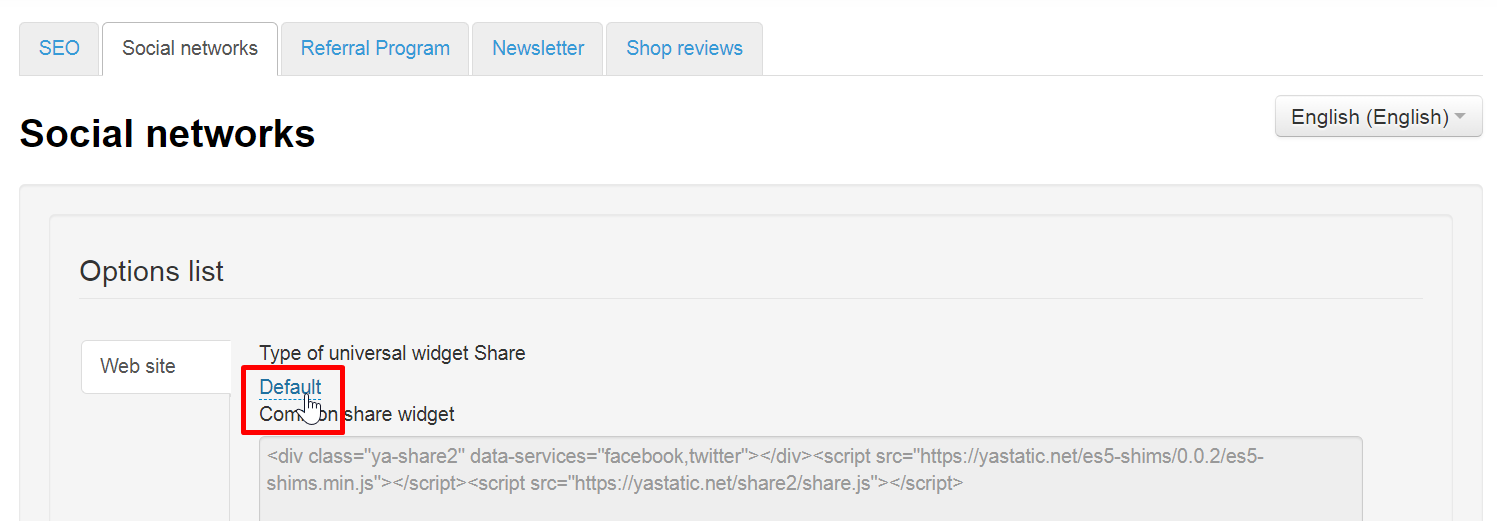
Select "Custom"
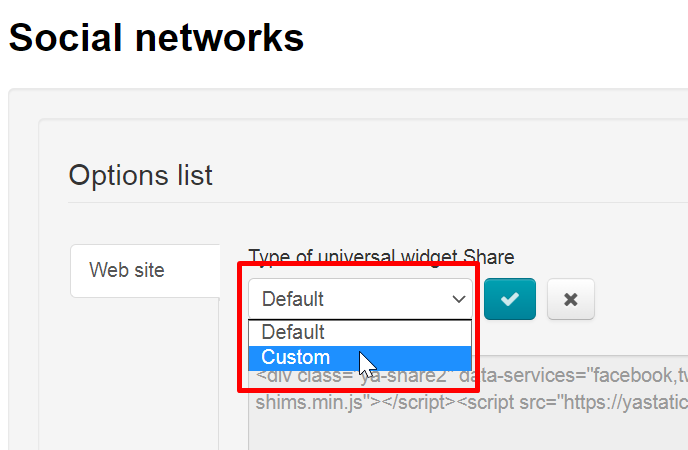
Click checkmark button to save

A window for writing code has become active and now you can use your code for social netwoks widgets
Set up widgets for all pages of the site
Open "Social networks" tab in "Promotion" section to set up widgets
Each social network has several options for interaction:
- Open
- Like
- Share
- Subscribe
| Информация |
|---|
Widgets display depends on client site or application, as well as its design theme. Some widgets can't be displayed |
There are 4 blocks to fill on the tab of each available social network
You can get all widgets on social media sites or upon request in Google or Yandex: "Twitter widget", "Facebook widget", etc.
You can click the links from the table for convenience:
| Icon | Social network | Link to set up widget |
|---|---|---|
Share https://help.twitter.com/ru/using-twitter/add-twitter-share-button Buttons https://help.twitter.com/ru/using-twitter/twitter-buttons | ||
| https://developers.google.com/identity/sign-in/android/sign-in-identity | ||
| https://developers.facebook.com/docs/plugins (all widgets are located in the menu on the left) | ||
| Apple | https://developer.apple.com/sign-in-with-apple/ |
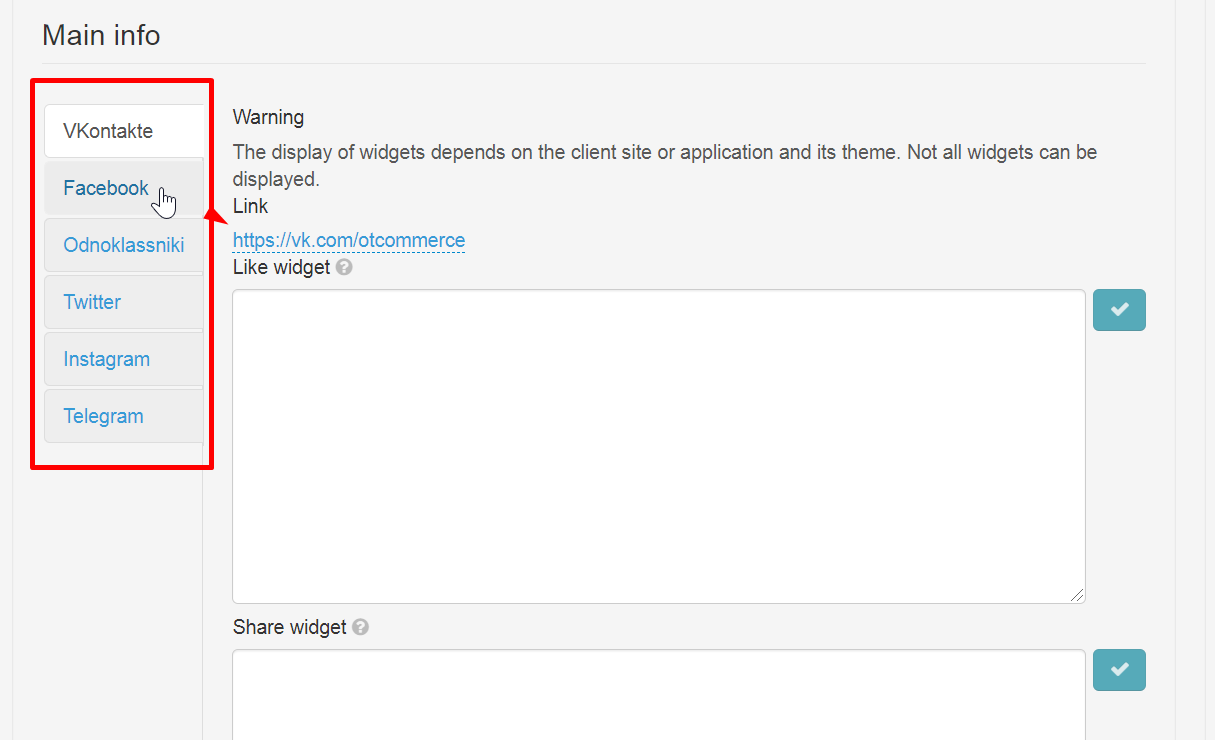
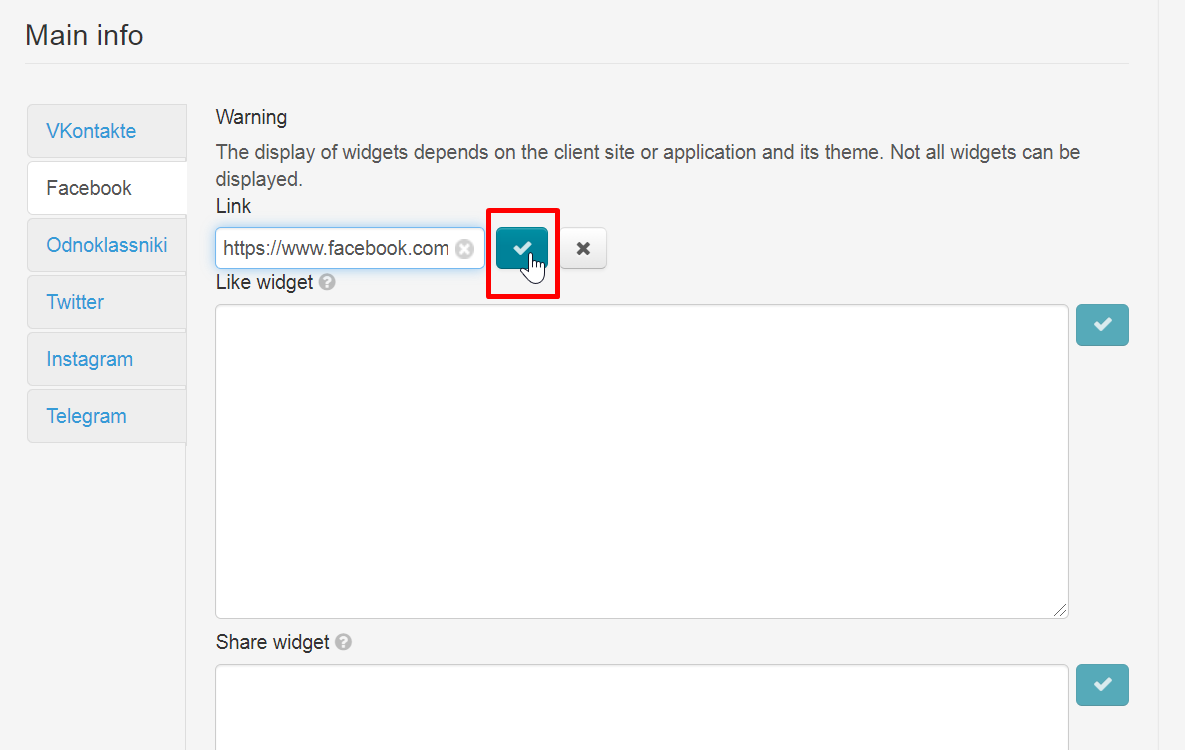
Click the title of necessary social network on the left to set it up
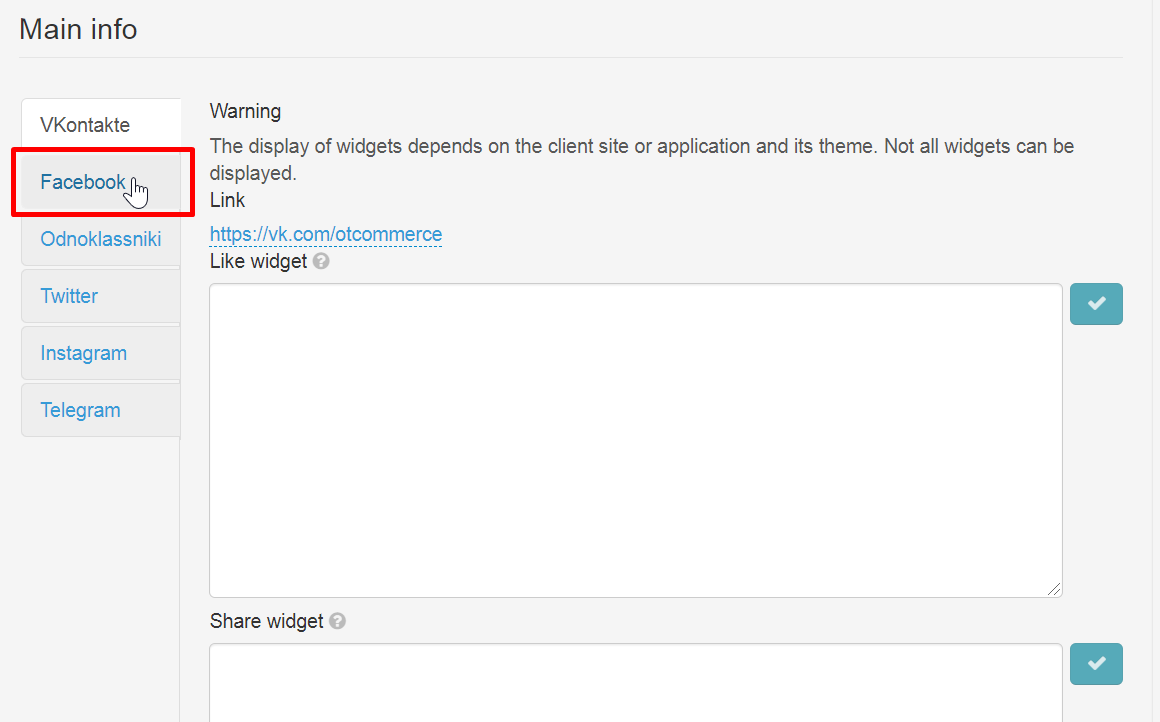
Paste link to your group or page under "Link"
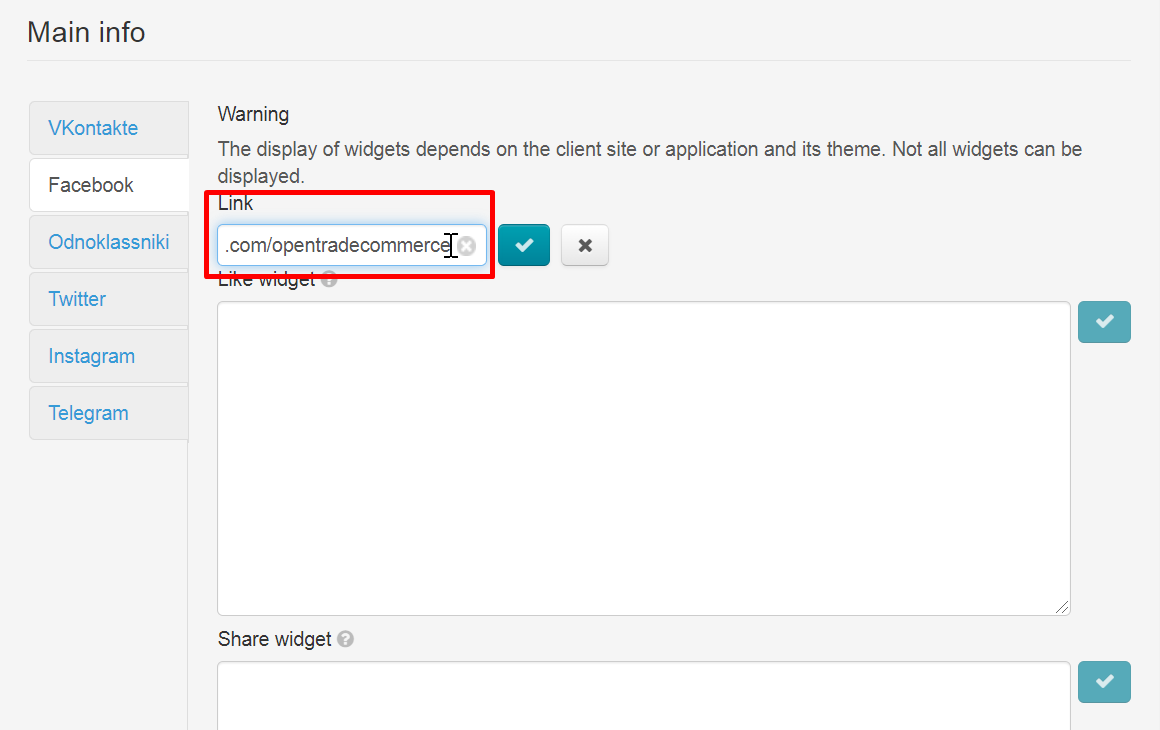
Click checkmark button to save
Next add corresponding code (all windows are signed) in each window of the widget
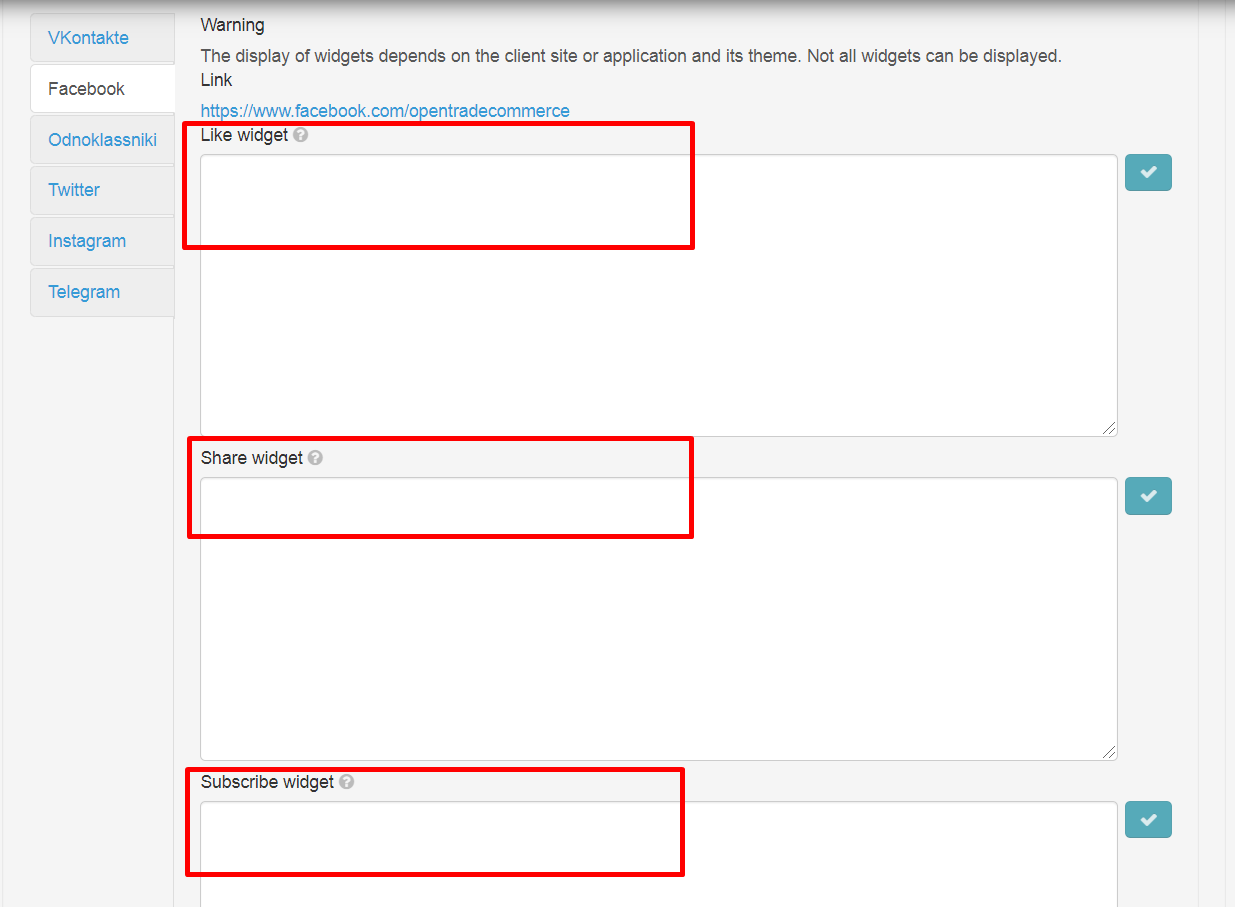
Click checkmark button after pasting the code to save
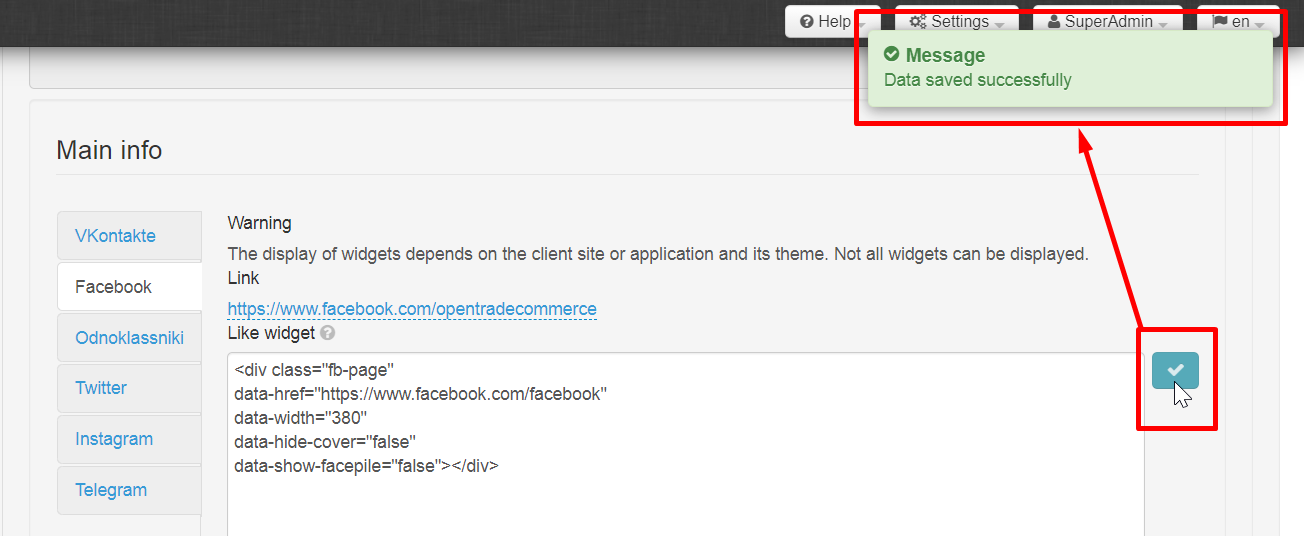
Thus, all necessary social networks are configured.
Autentification system: select social networks for users
Open "Social networks" tab in "Promotion" section to set up authorization and registration using widgets
Scroll the page to the bottom to "External authentication system" block
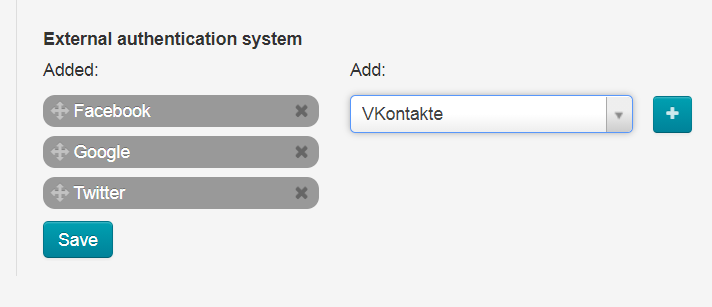
Select necessary social networks from the drop-down list on the right
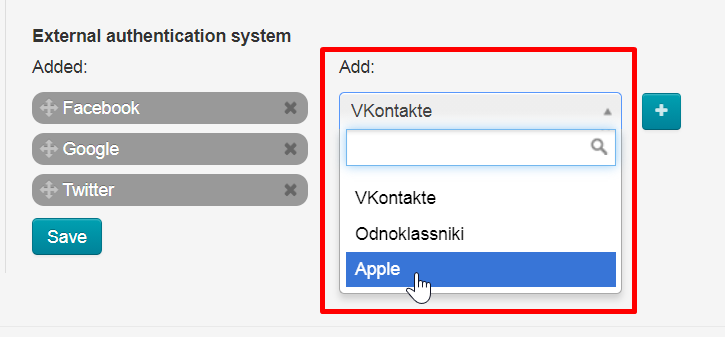
Click a cross button to add
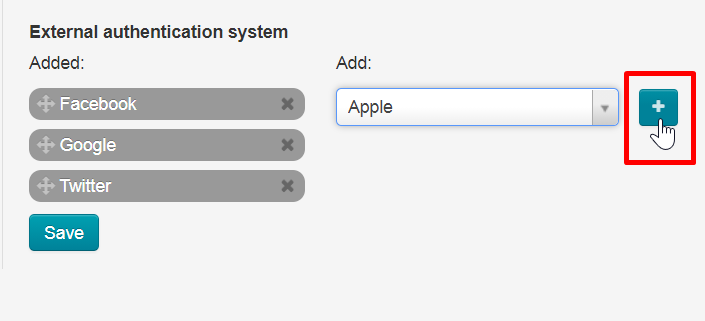
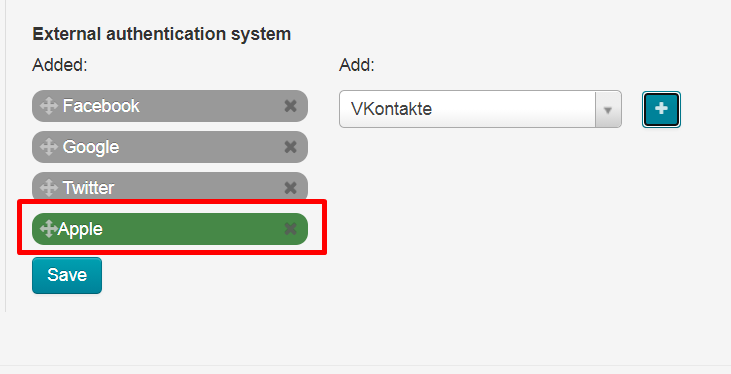
Selected social networks will move to the list on the left
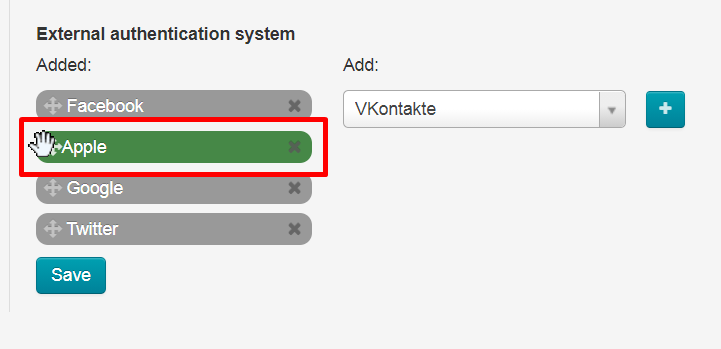
You can swap social networks order
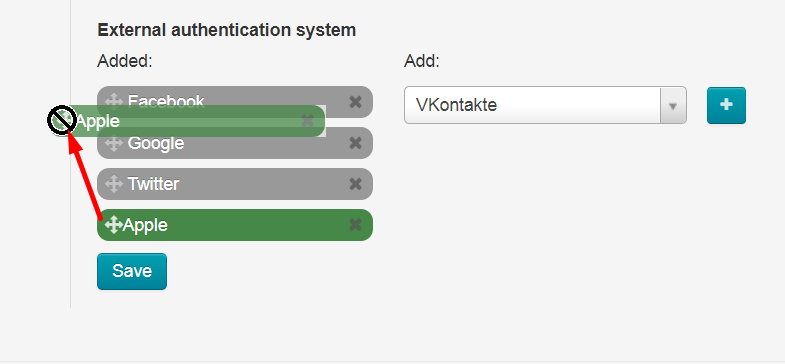
Hold down move icon (cross with arrows) next to the social network on the left
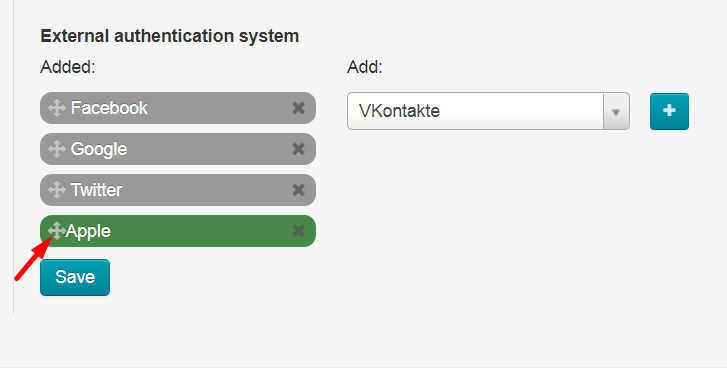
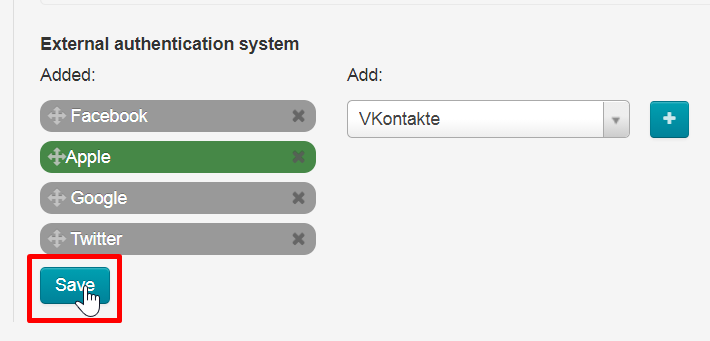
Make necessary order
Save all changes
Click “For developers” link at the bottom of page.
Select “OK for sites”, then “Like/Share button”.
- Enter your website URL in “Use fixed url” field.
- Select button size, form, counter placement and text on the button.
- “Text” and “Counter” can be hidden by unchecking the appropriate boxes.
- Preview is displayed in “Result” area of page.
Grab HTML code for your new button once setup is complete.
Click dashed grey underlined text “Empty” in admin panel.
Paste the code you’ve copied when creating the button in the textbox field that appears:
Be sure to click check mark button to save your changes.
Widget in place of banner in a column
In order to get the code for your widget you should navigate to the page for developers on VKontakte website (https://vk.com/dev/Community). Please fill out the form that shows up carefully.
- Replace the default link with the link to your VKontakte’s group.
- Select layout.
- Specify the widget width and colors.
Preview is available at page bottom.
We do not recommend changing colors even in case they don’t match your website design – everyone gets accustomed to such look and any changes made can cause confusion.
Next, you should copy the generated code.
Click dashed grey underlined text “Empty” in admin panel.
Paste the code you’ve copied when creating the button in the textbox field that appears:
Be sure to click check mark button to save your changes.
Links
Vkontakte group
First, you should open your page (group) on VKontakte website and copy the URL in address bar.
Next, click dashed grey underlined text “Empty” in admin panel.
Paste the URL you’ve copied in textbox field that appears:
Be sure to click check mark button to save your changes.
First, you should open your page (group) on Facebook website and copy the URL in the address bar.
Next, click dashed grey underlined text “Empty” in admin panel.
Paste the URL you’ve copied in the textbox field that appears:
Be sure to click check mark button to save your changes.
First, you should open your page on the Twitter website and copy the URL in the address bar.
Next, click dashed grey underlined text “Empty” in admin panel.
Paste the URL you’ve copied in the textbox field that appears:
Be sure to click check mark button to save your changes.
Item page
You need to navigate to VKontakte website to place “Share” button on the item page:
- Go to “Help” section on VKontakte website.
- Click “For developers” link at page bottom.
- Navigate to “Authorization and Widgets for Sites” section.
- Select “Share”.
Select button style.
You can enter any word or word combination in “Text” field.
“Link” field can be ignored.
Copy embedding code.
Click dashed grey underlined text “Empty” in admin panel.
Paste the code you’ve copied when creating the button in the textbox field that appears:
Be sure to click check mark button to save your changes.
Button will appear on the item page after saving.