...
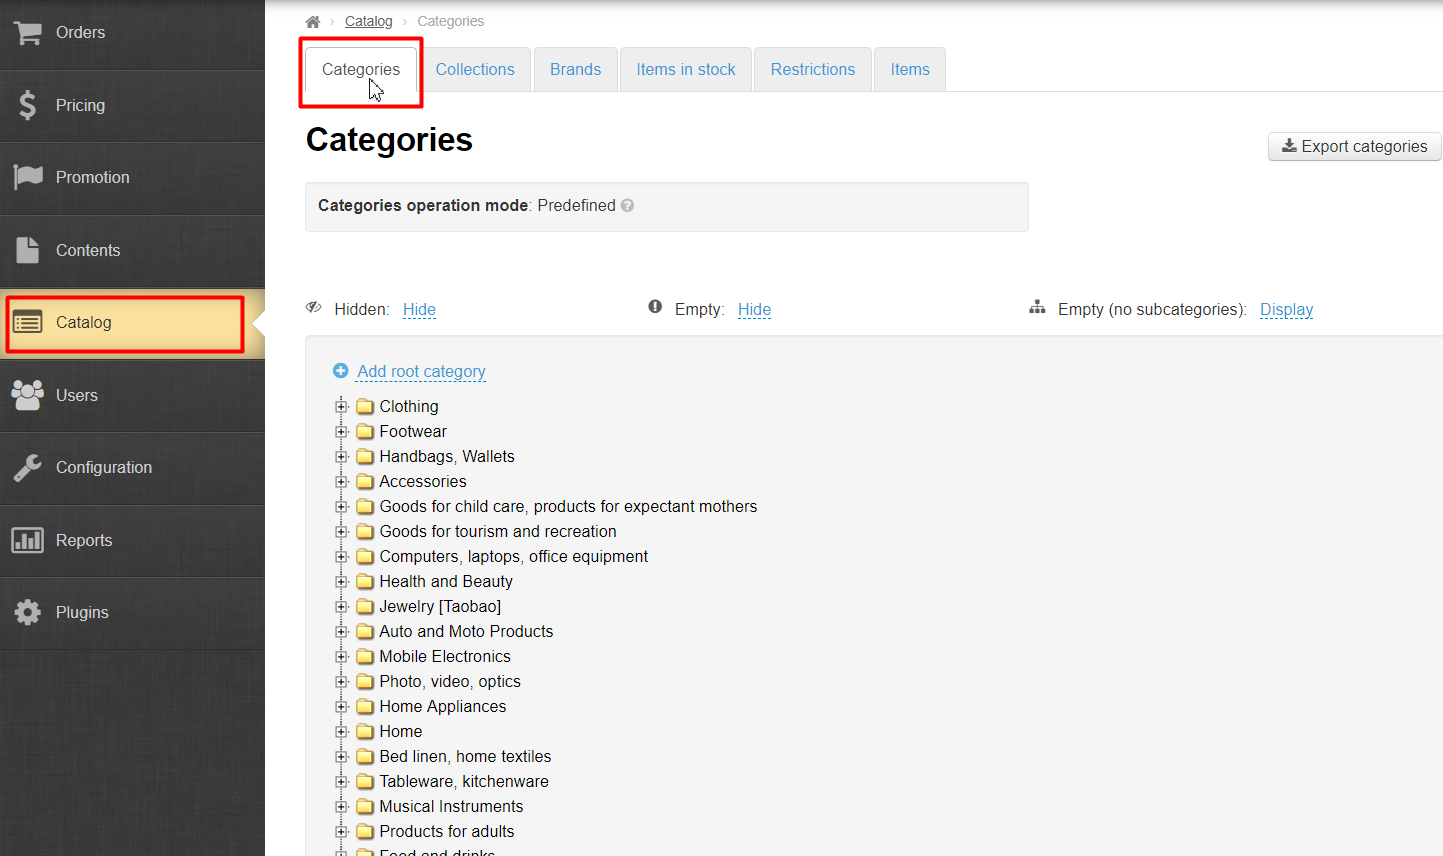
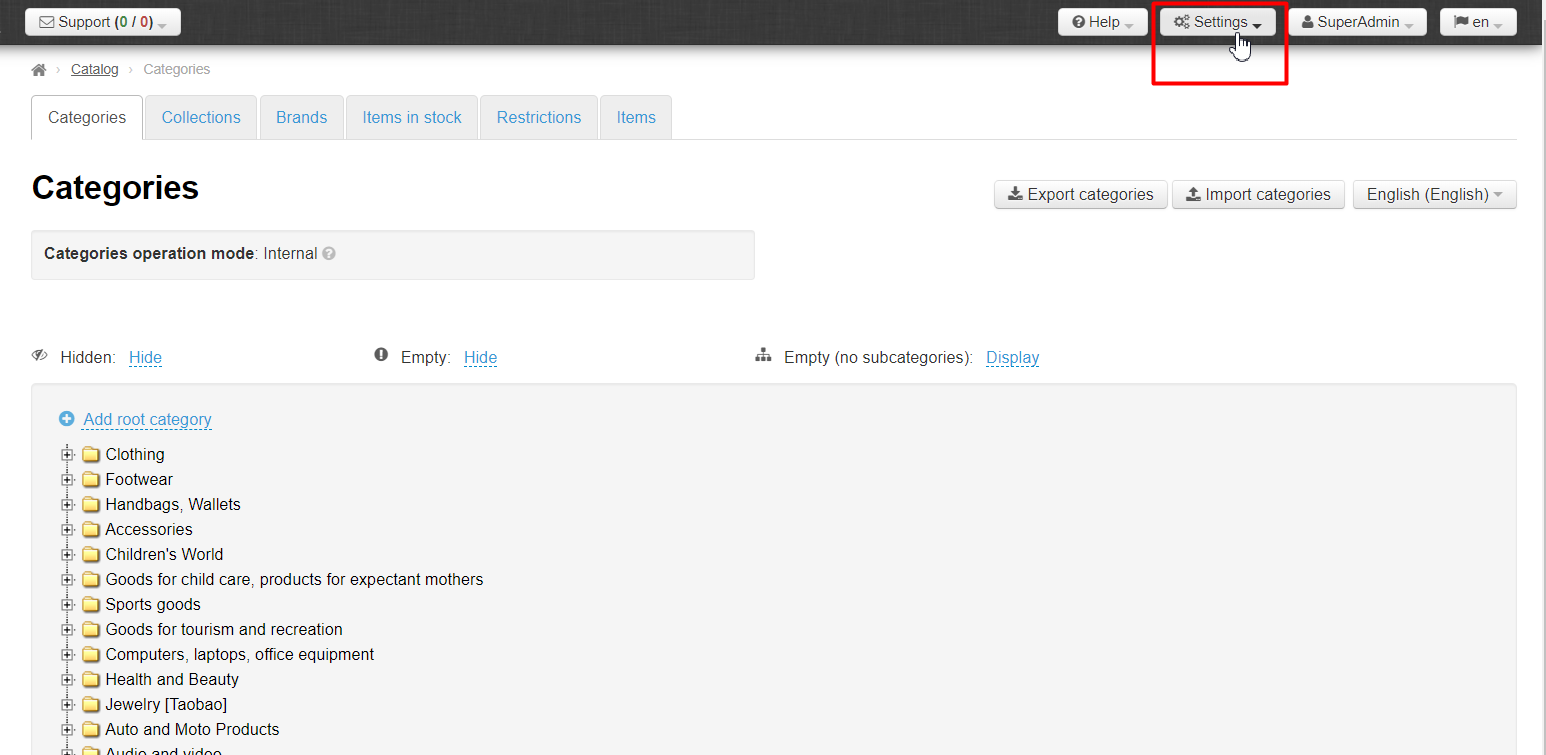
Navigate to: Catalog > Categories in the admin area of your website.
Description
...
In order to save the product catalog (which is pre-installed with your Sellfree) you need to navigate to the “Catalog > Categories” section.

Next, click on the “Export categories” button.
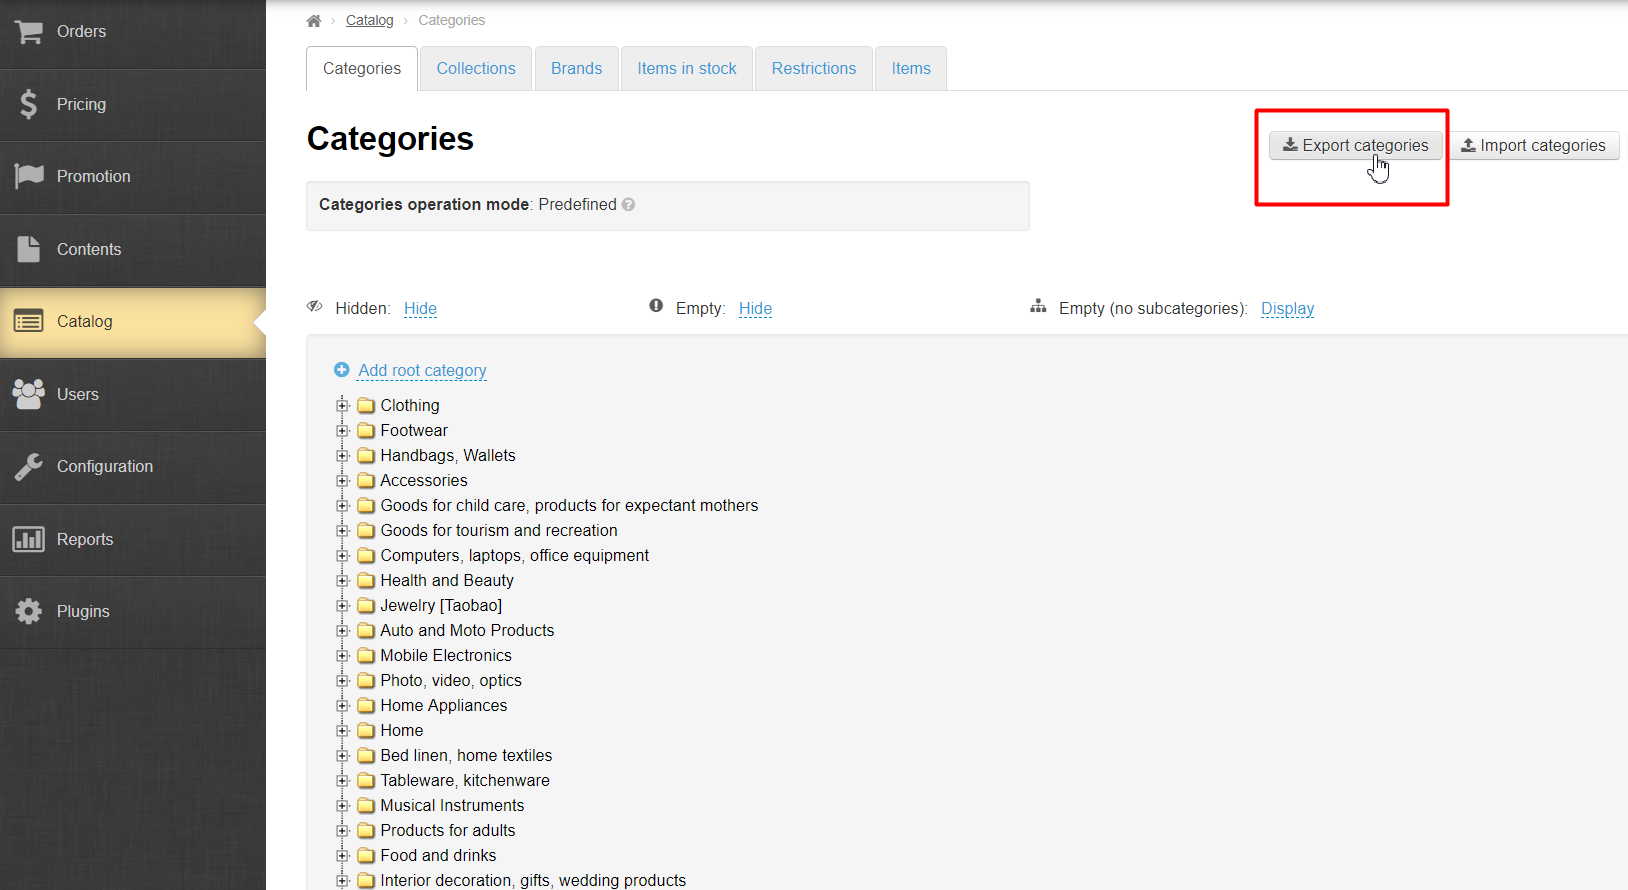
After opening the file, you can see the following:
...
Once the product catalog has been saved, you need to navigate to the “Configuration > Website configuration” section.
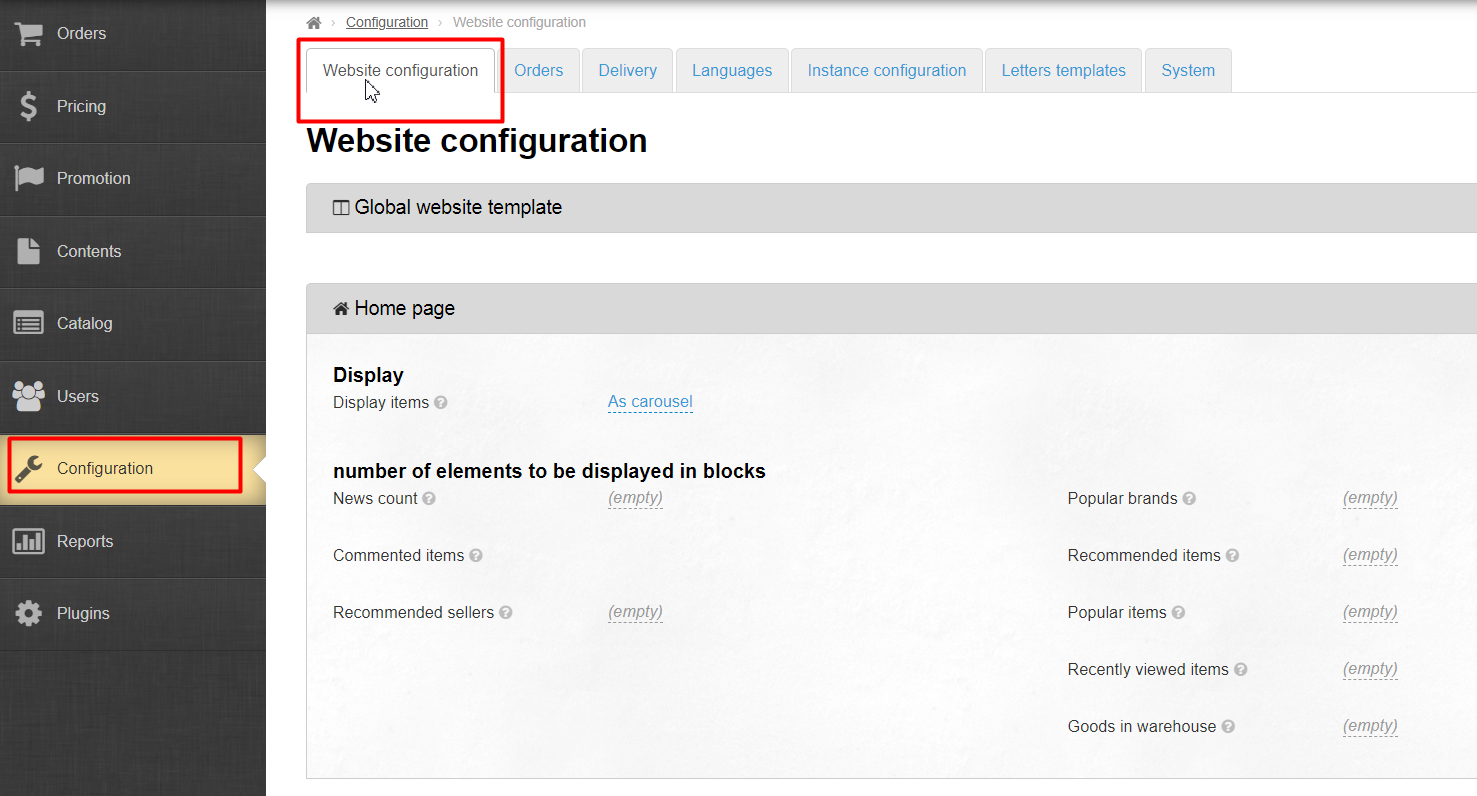
Scroll down the page until you reach the “Catalog” section.
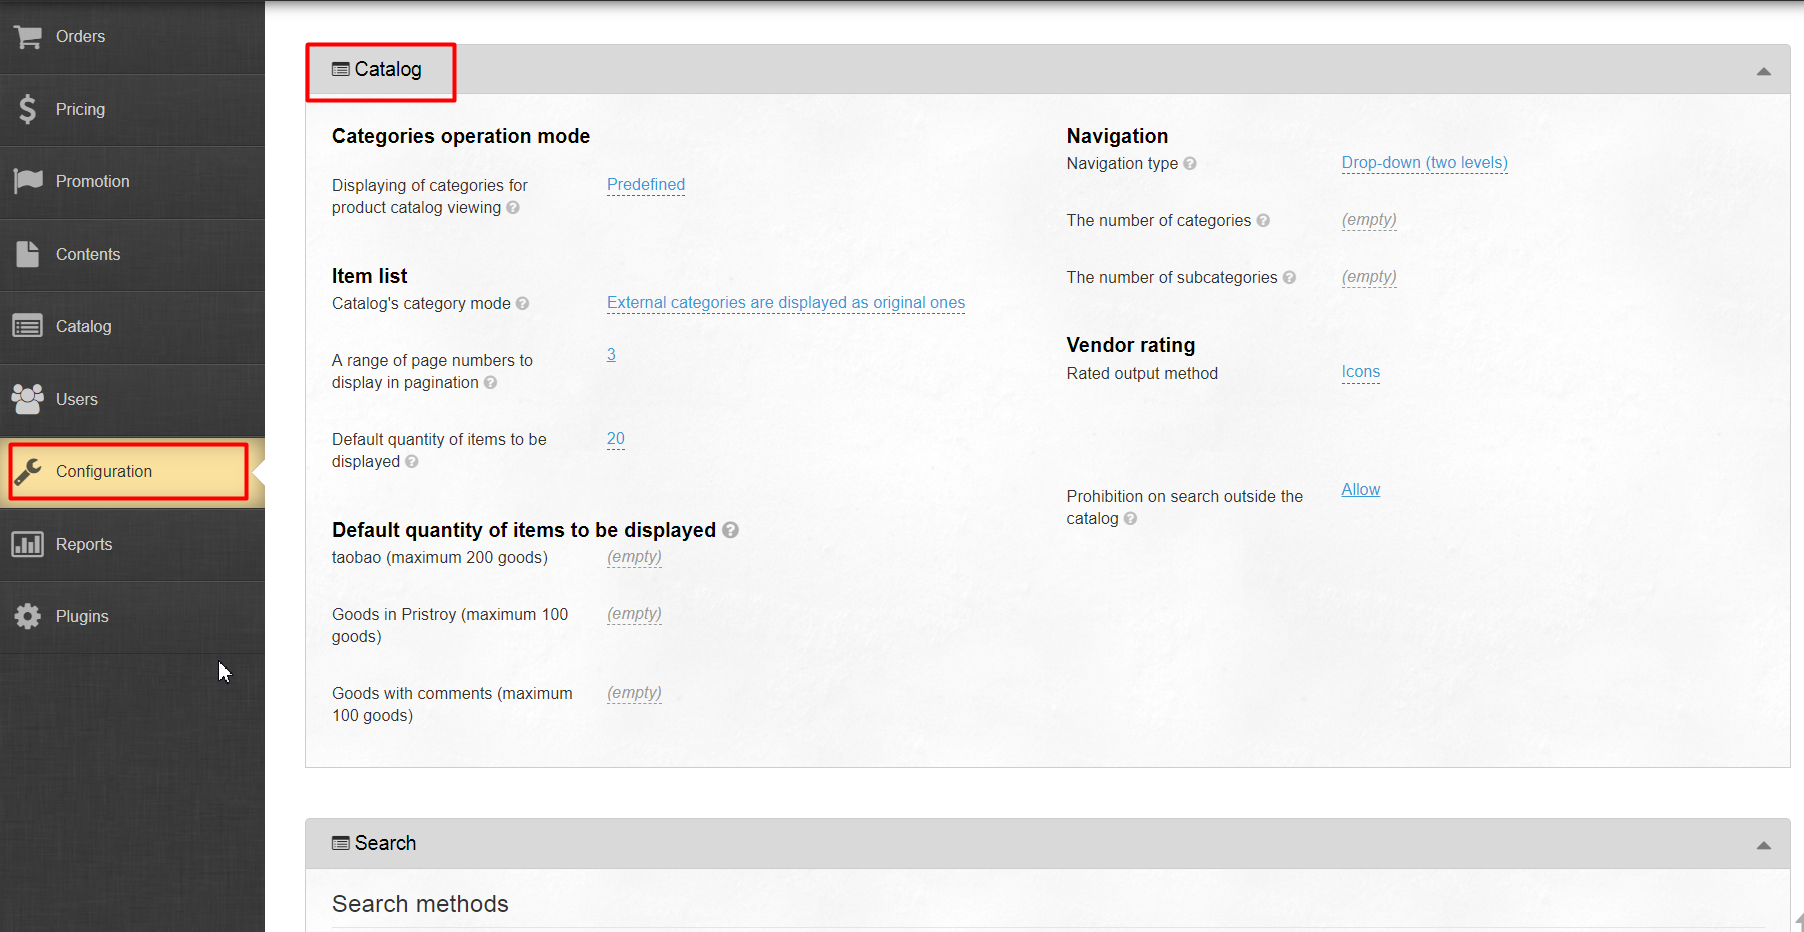
Look for “Categories operation mode” subsection.
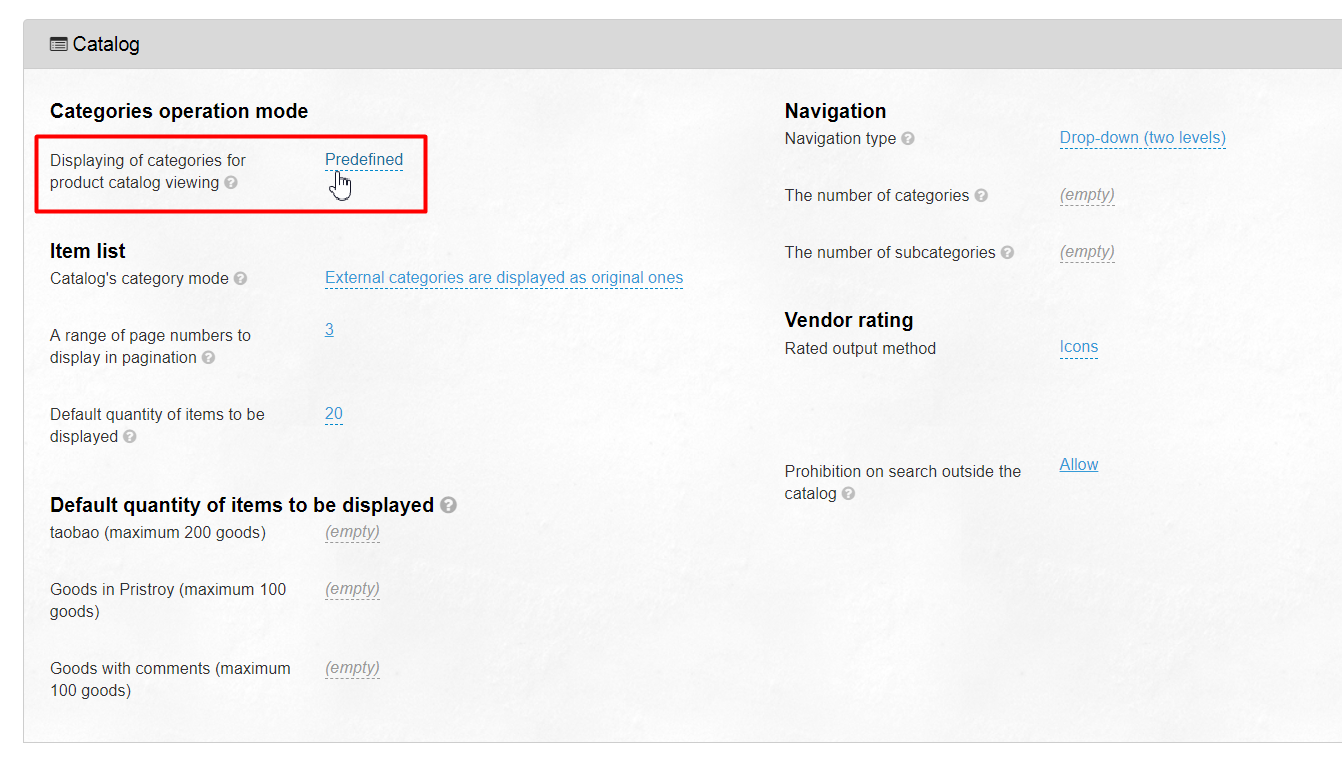
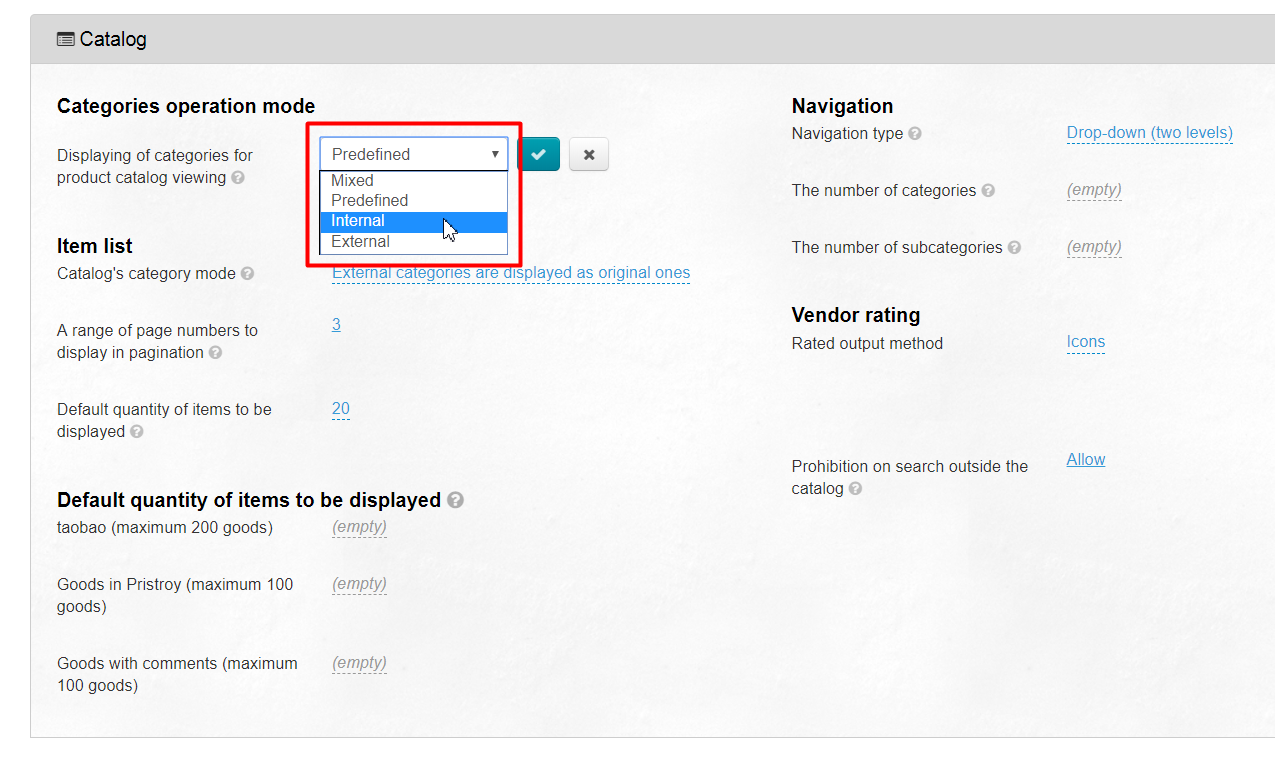
Then, click on the dashed blue underlined text and select the “Internal” mode.
Be sure to click the check mark button when done to save your changes.
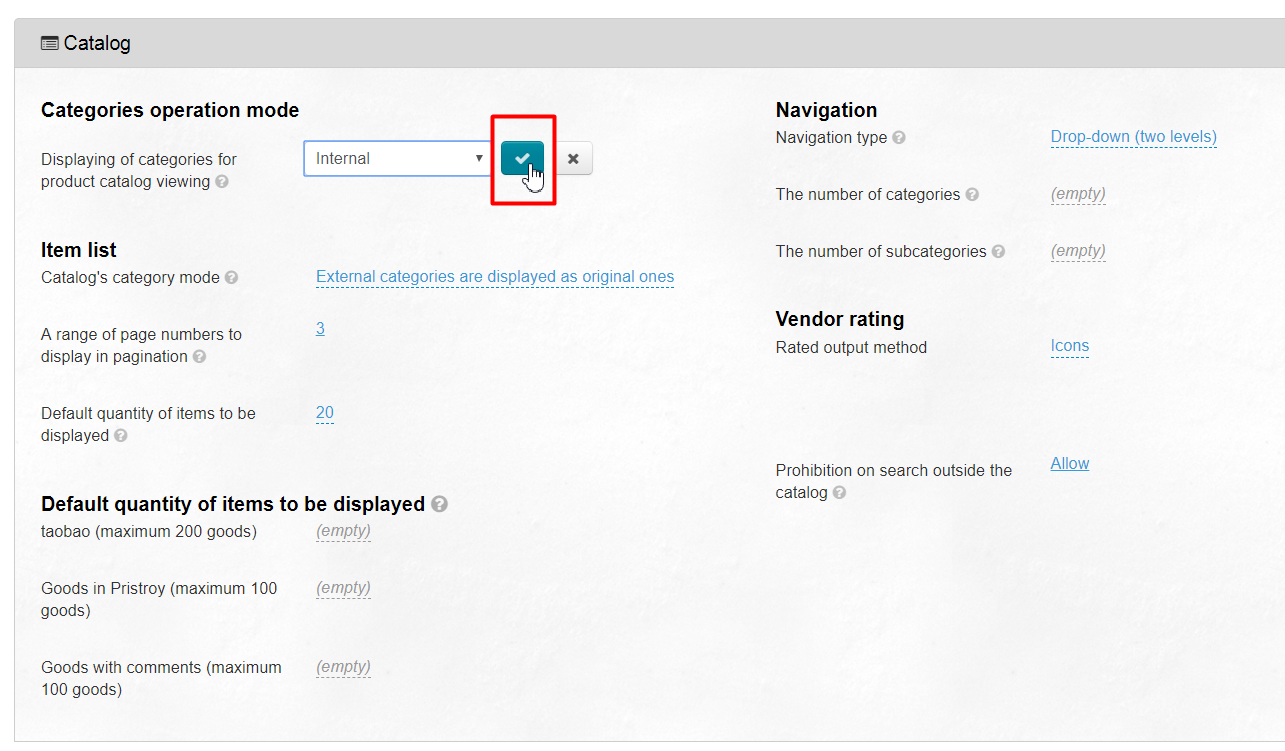
Thus, the mode for categories has been changed.
...
After that, you need to return back to the “Catalog > Categories” section.
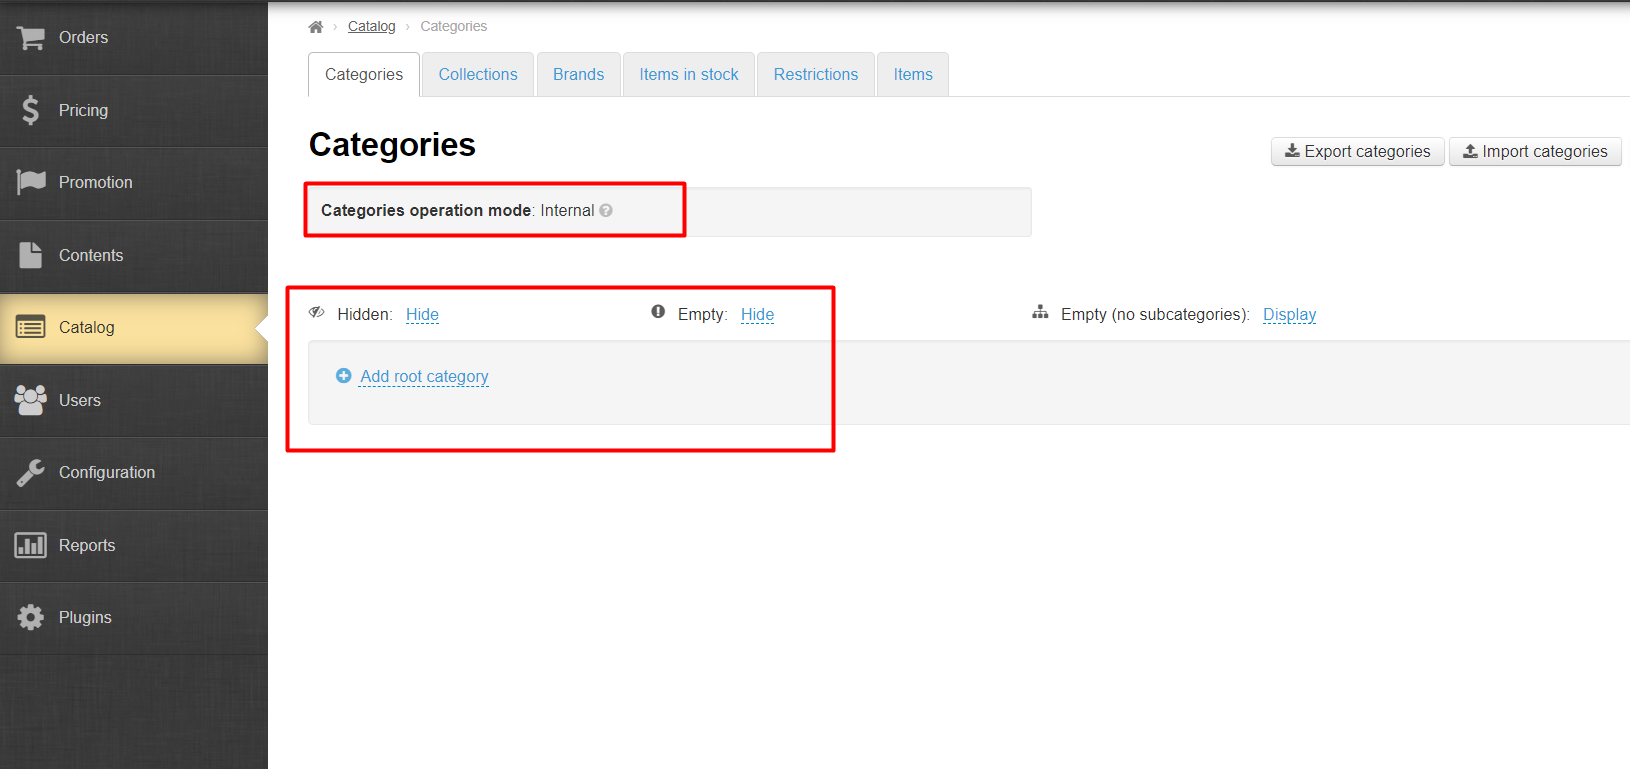
Here you will see that there are no categories in the catalog. That’s OK, and it means that your own catalog has not been loaded. For that to happen, you will need to use the “Import categories” function.
...
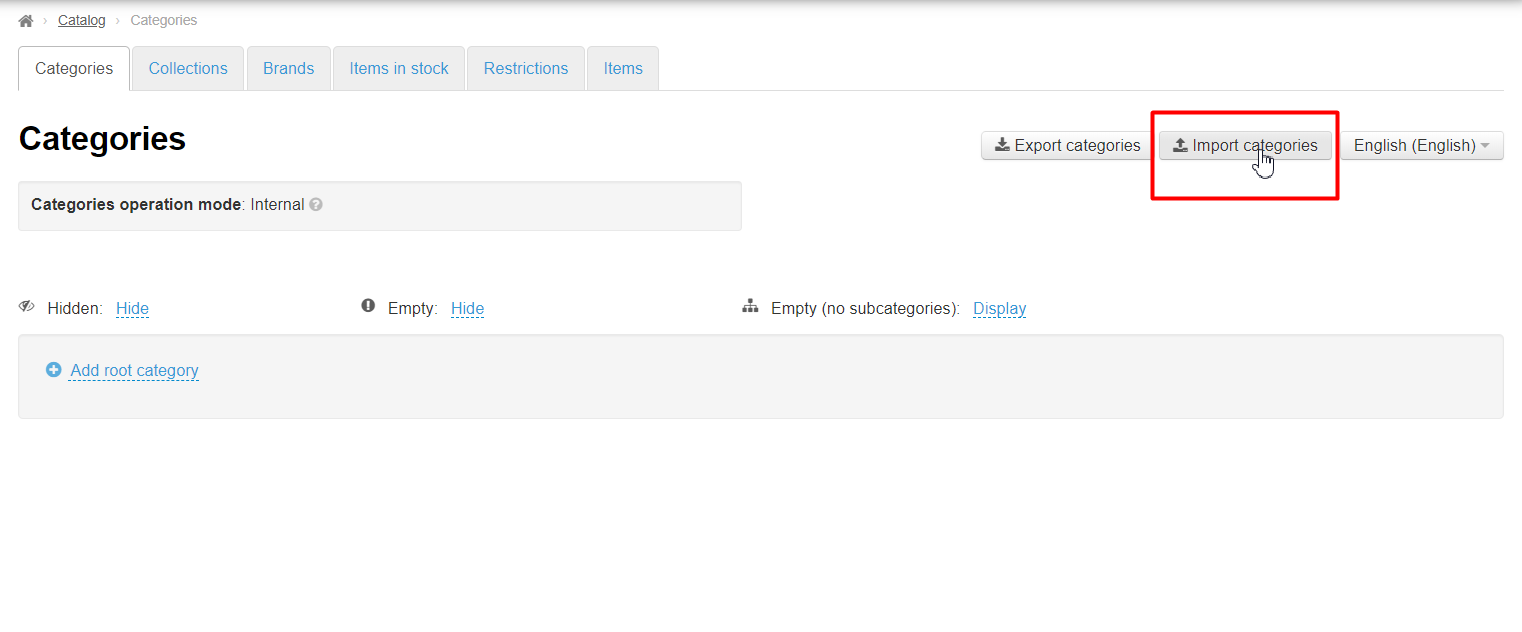
Click on the “Import categories” button.
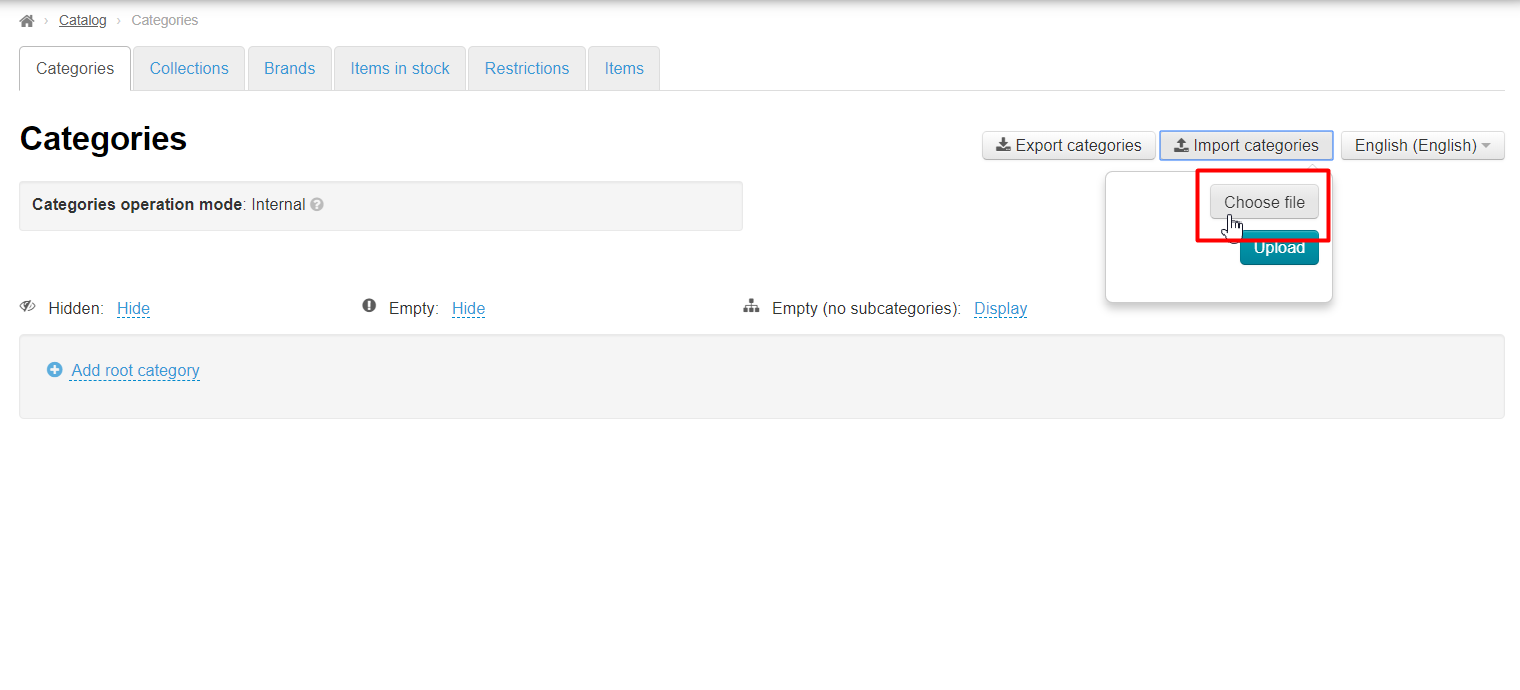
Click on the ”Choose file” button in the menu that appears.
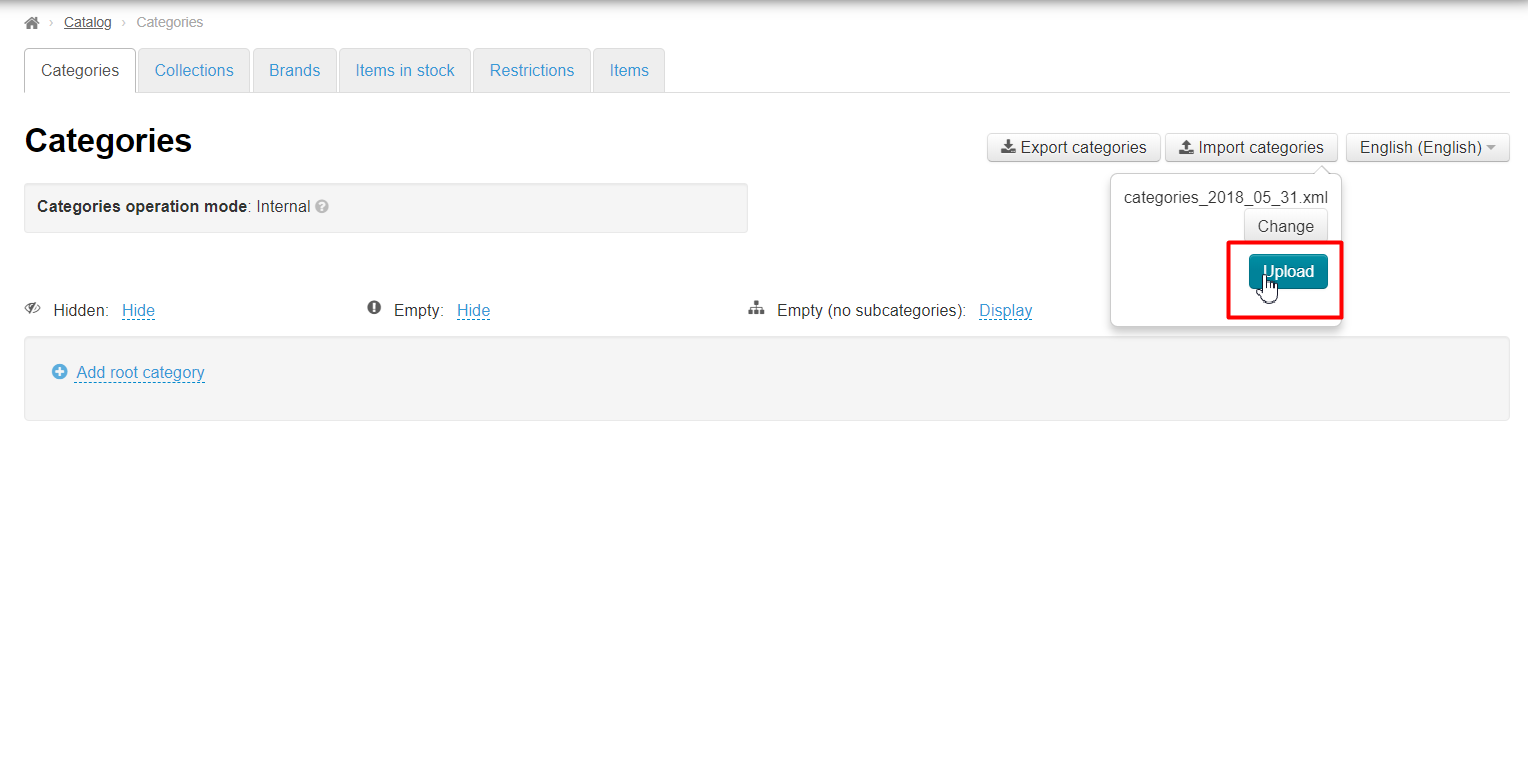
Select the file on your PC (It is advised that you use *.xml file formats) and then click the “Upload” button.
| Информация | ||
|---|---|---|
| ||
Uploading a file may take some time. |
All done!
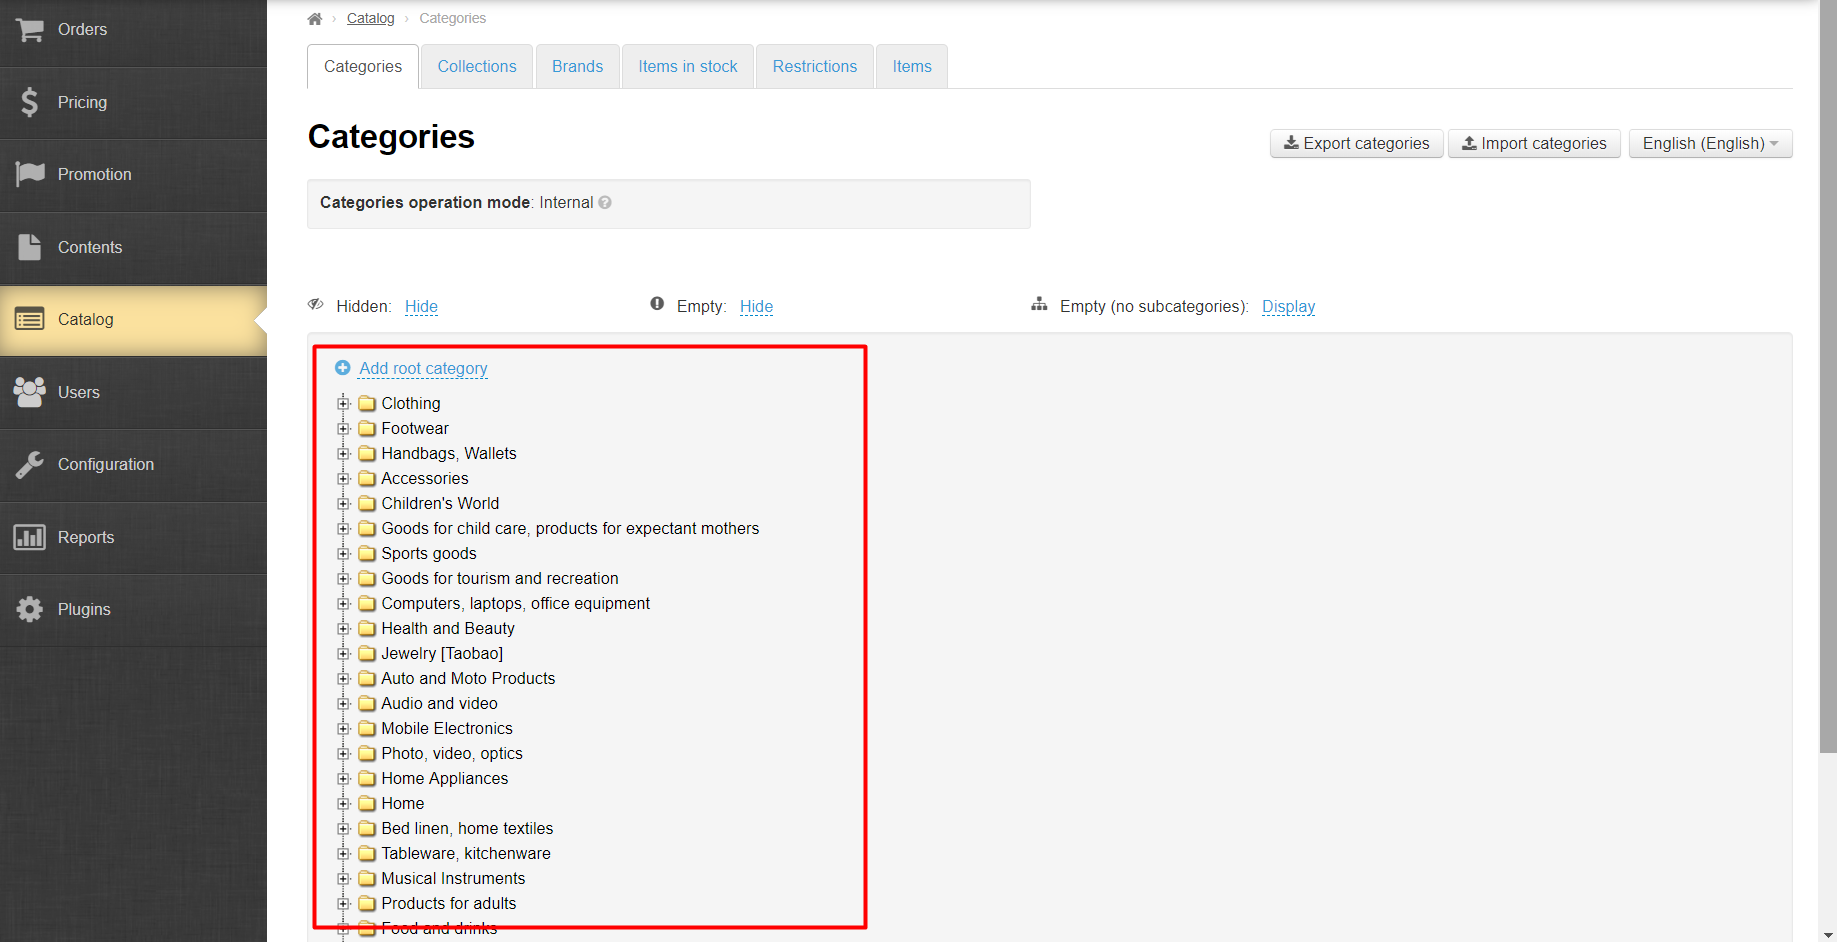
Now your catalog is ready to be modified. See the “Managing categories” section for information on how to work with categories and manage them.
...
- Click the “Setting” button in the header of the admin section.
- Select the “Clear cache” button from the dropdown menu.

...