...
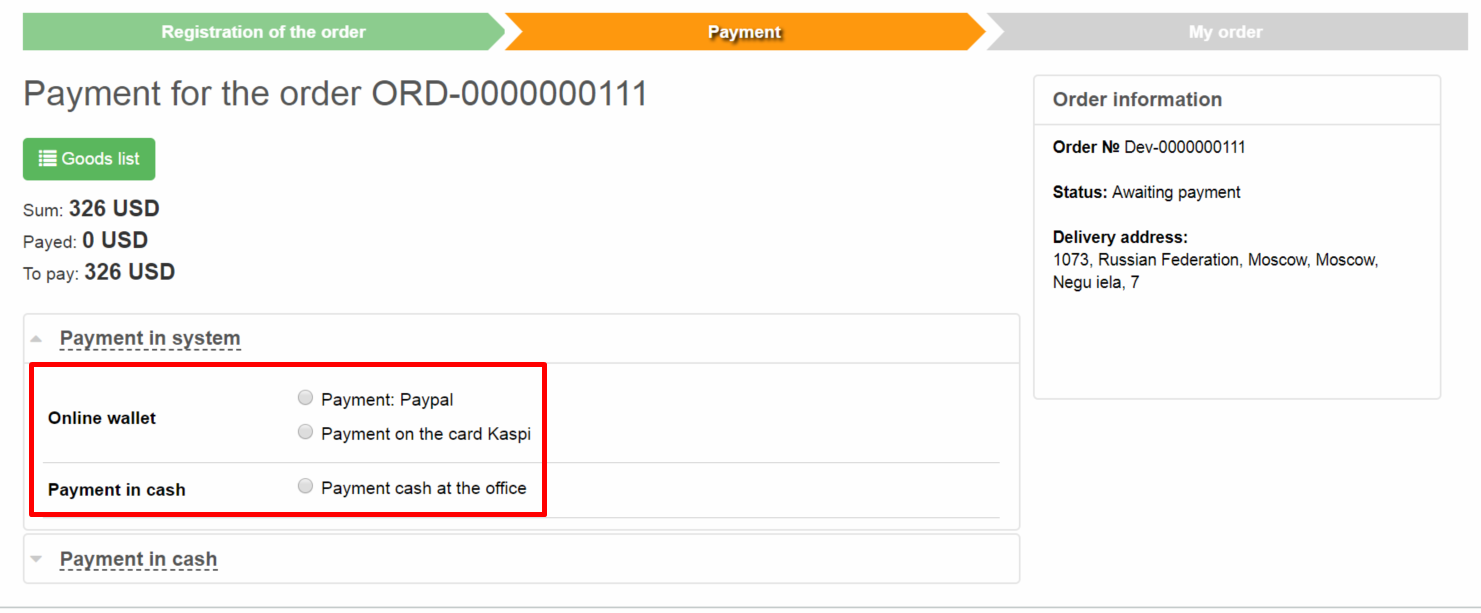
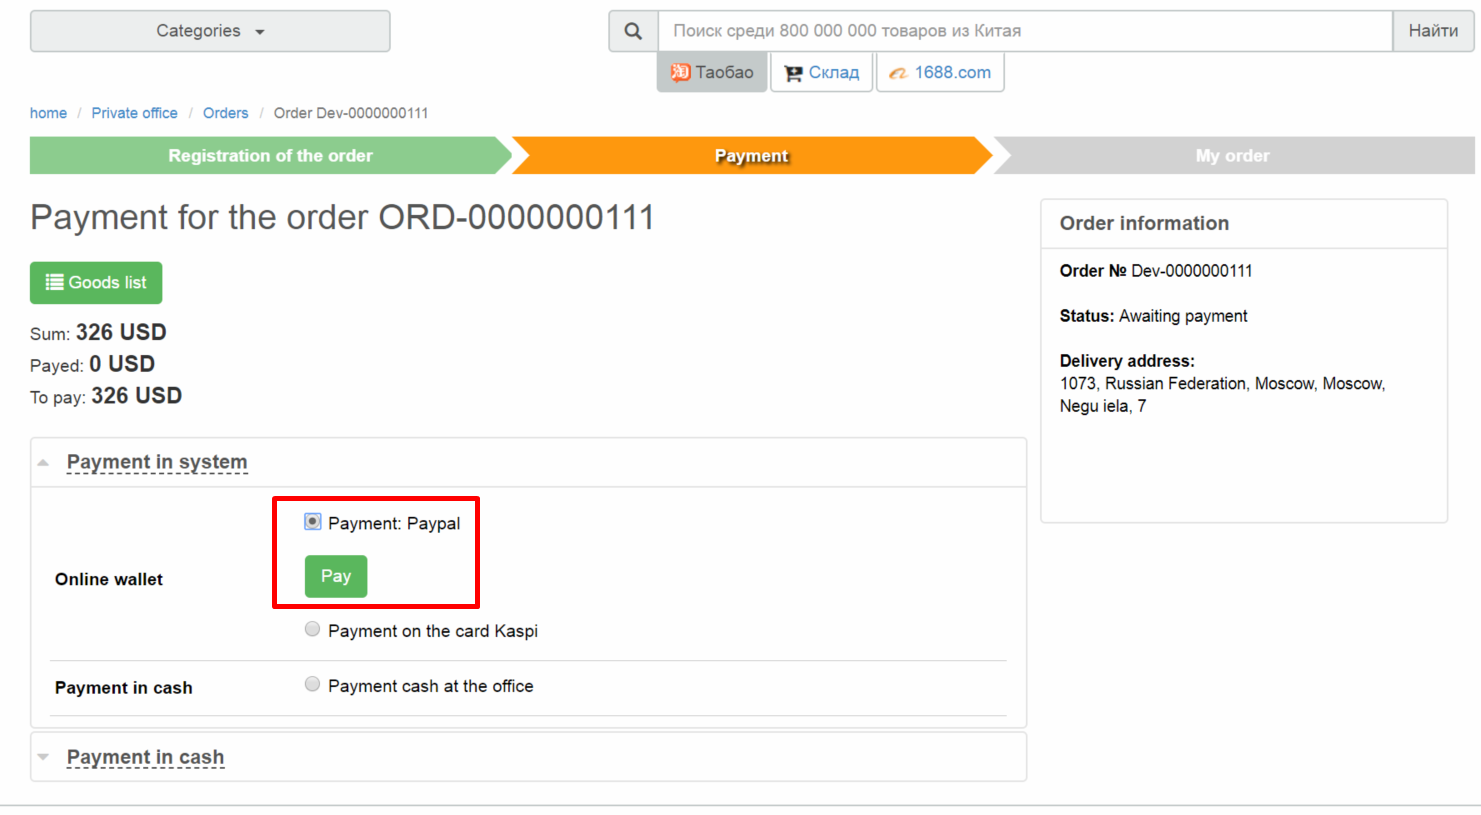
Your customer makes an order, draws it up and chooses PayPal, for example, at the payment stage.
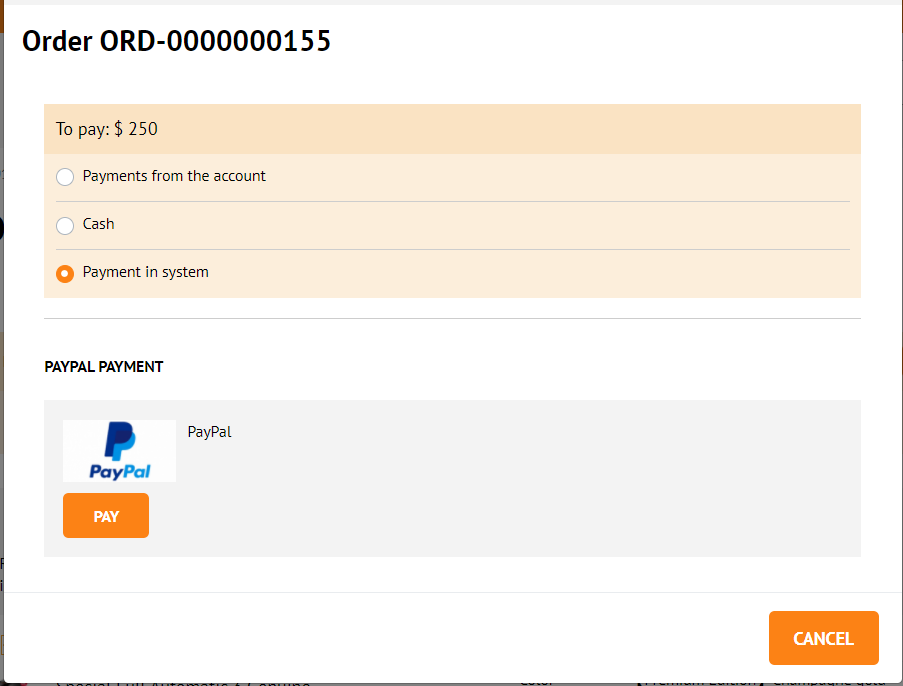

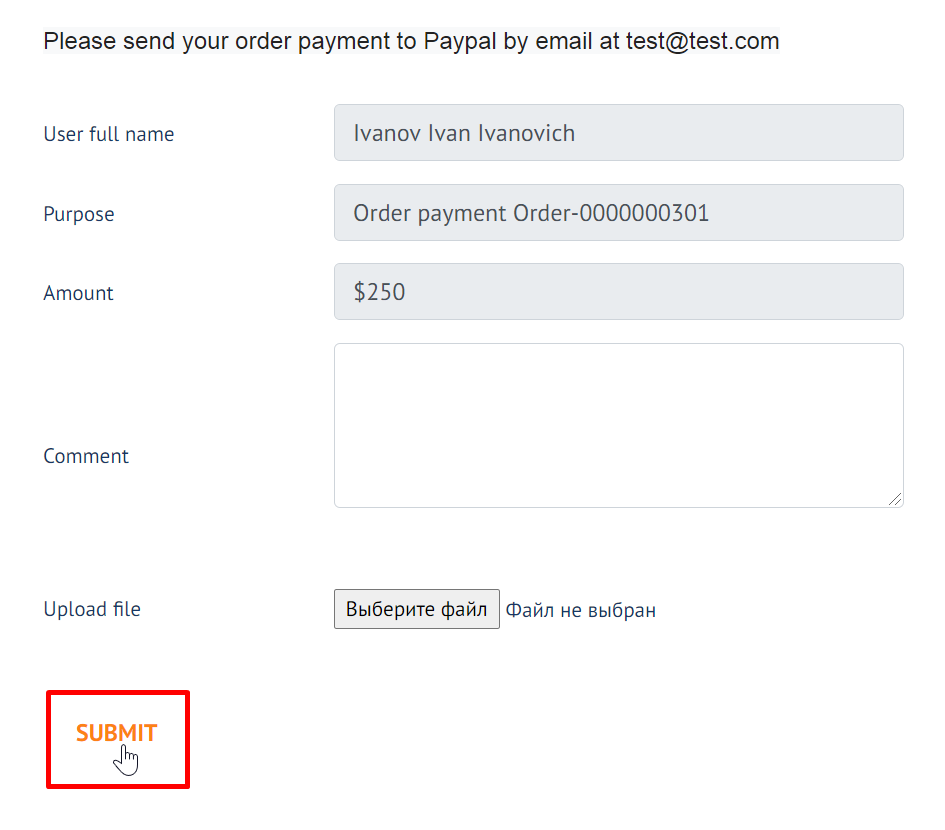
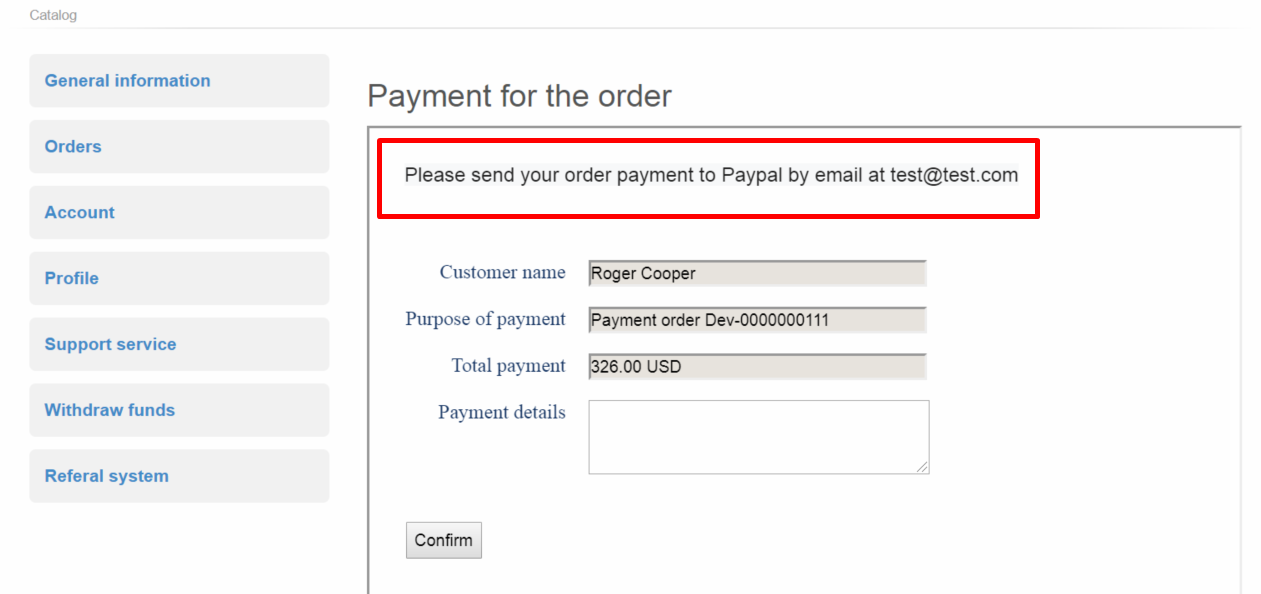
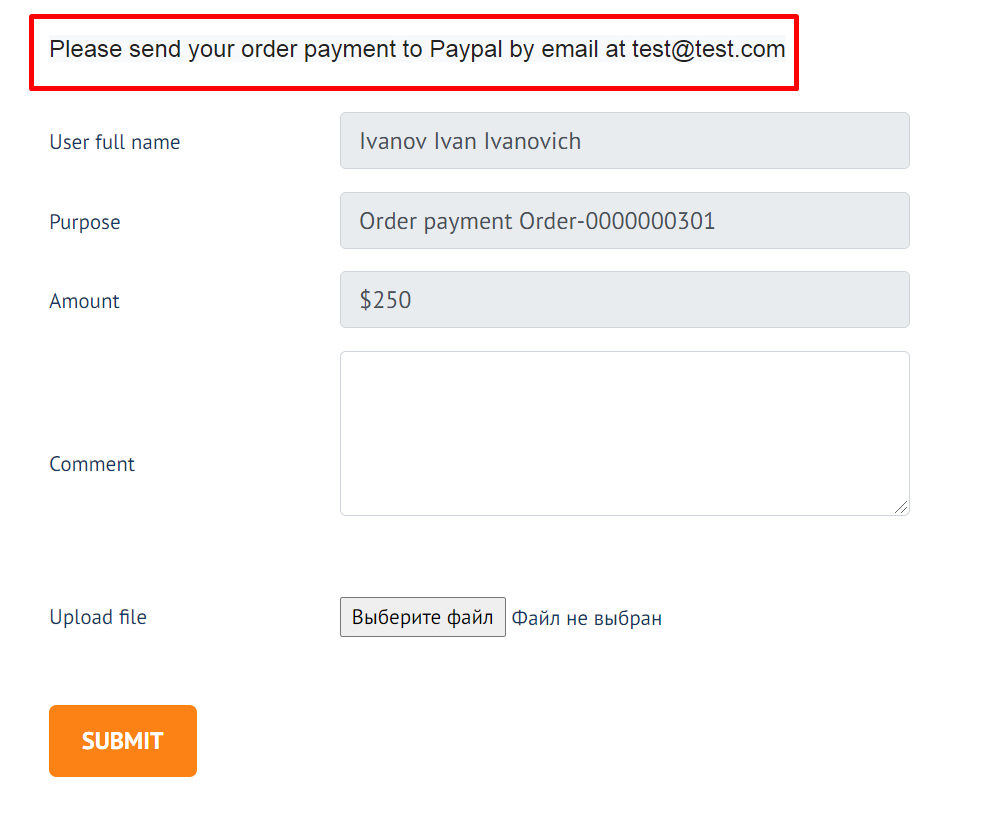
A page appears with a message about payment details after clicking “Pay” button. (All field titles and descriptions can be changed. See “Edit” block below).
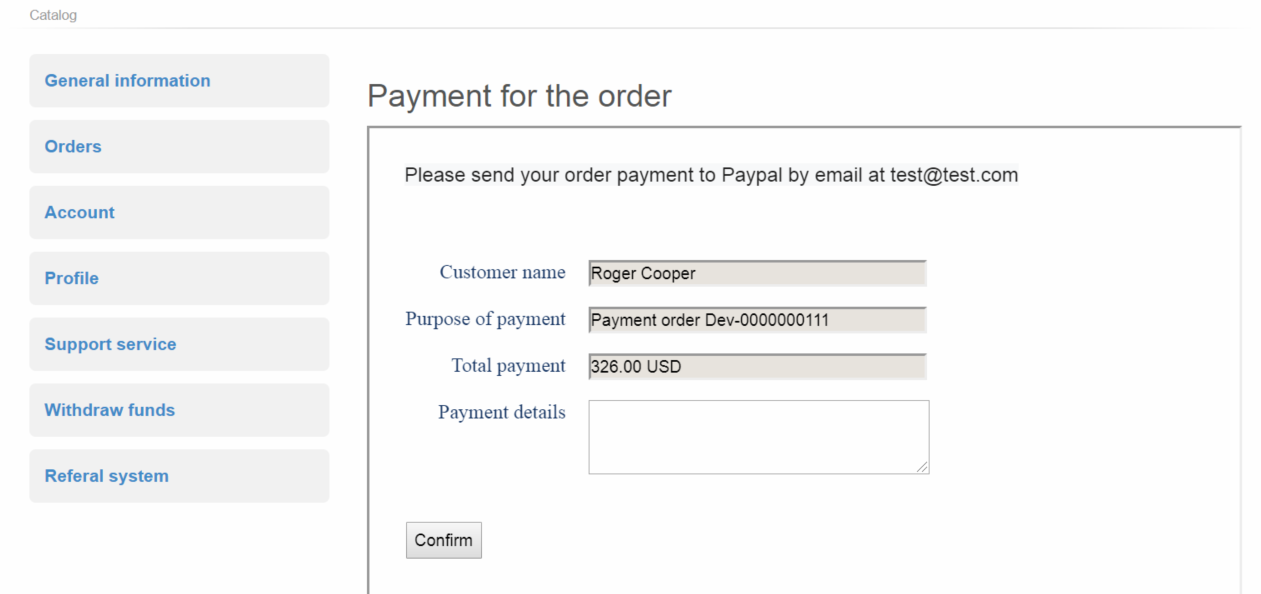
Your customer goes to PayPal (Online or through the terminal) and pays specified amount.
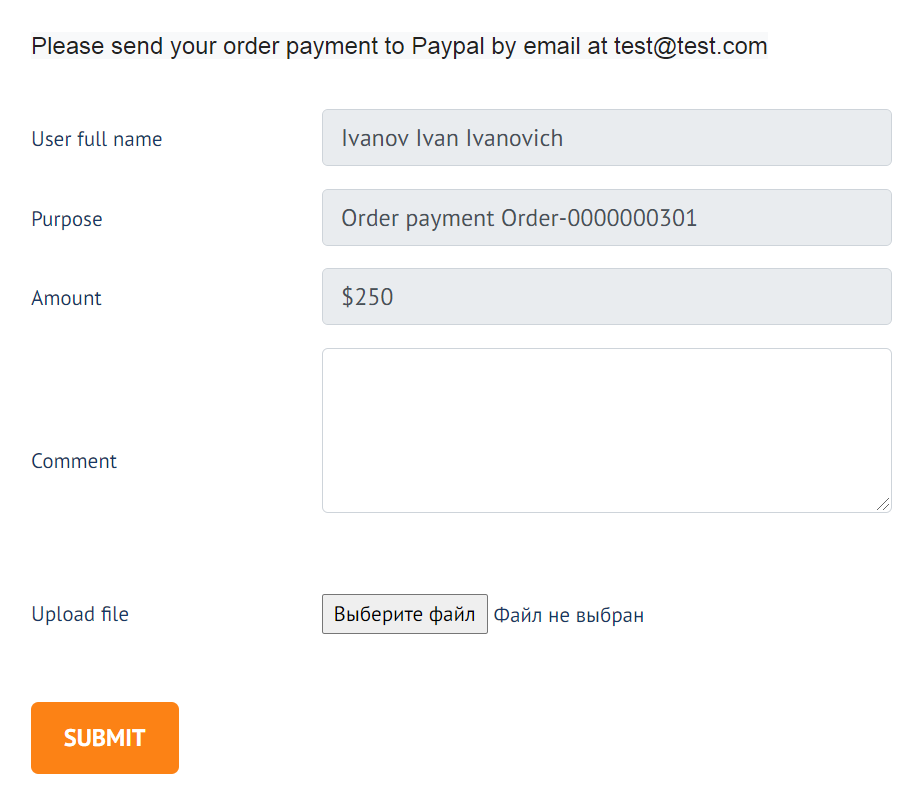
When payment is done he returns to the tab with this message. Before confirming payment, you can specify payment details and attach screenshot of the receipt.
Click “Confirm” “Submit” to send payment data.
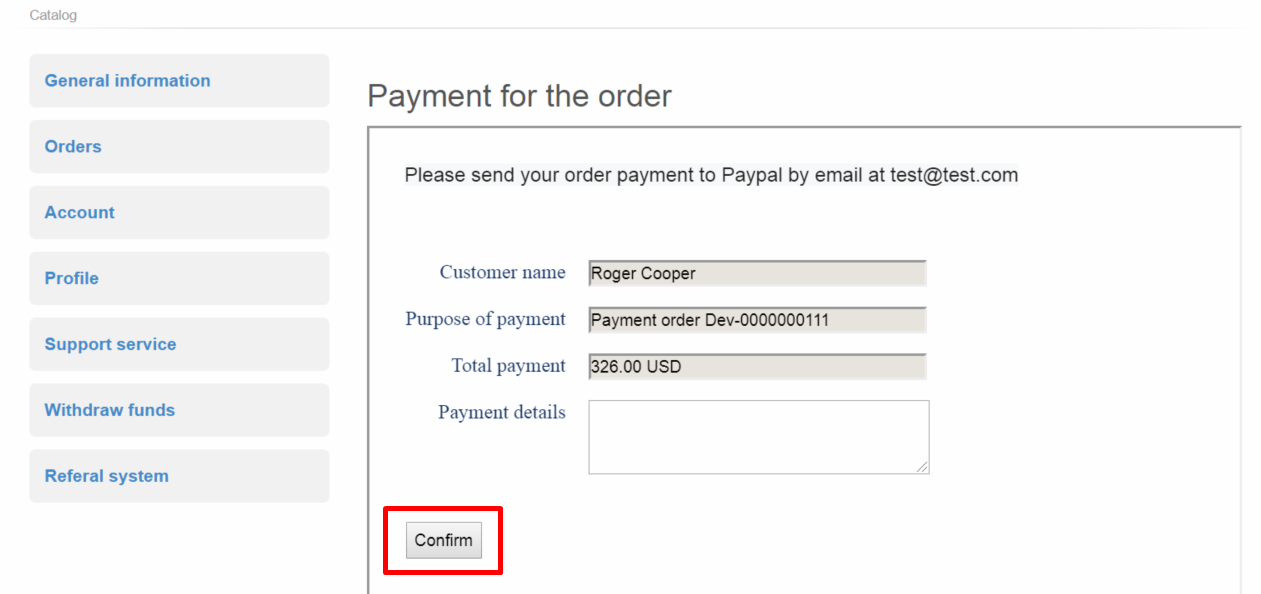
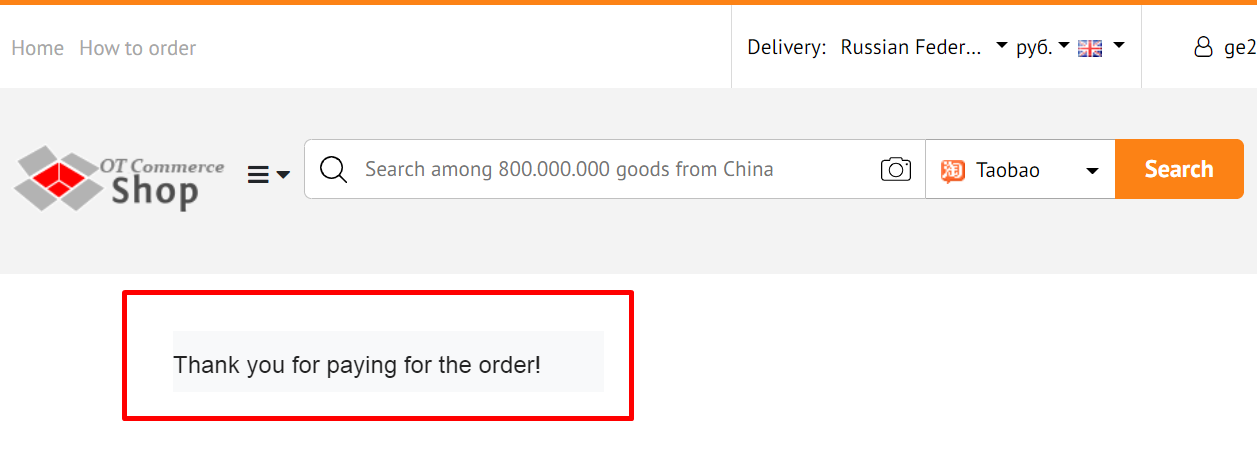
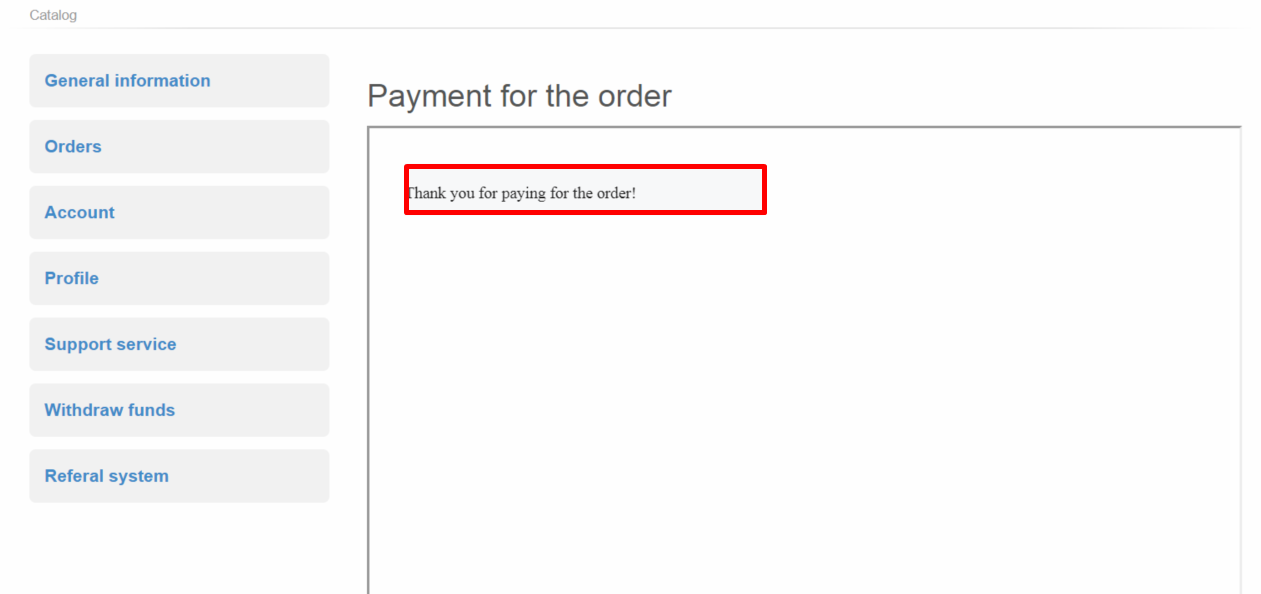
Customer will be see message after clicking “Confirm” button:

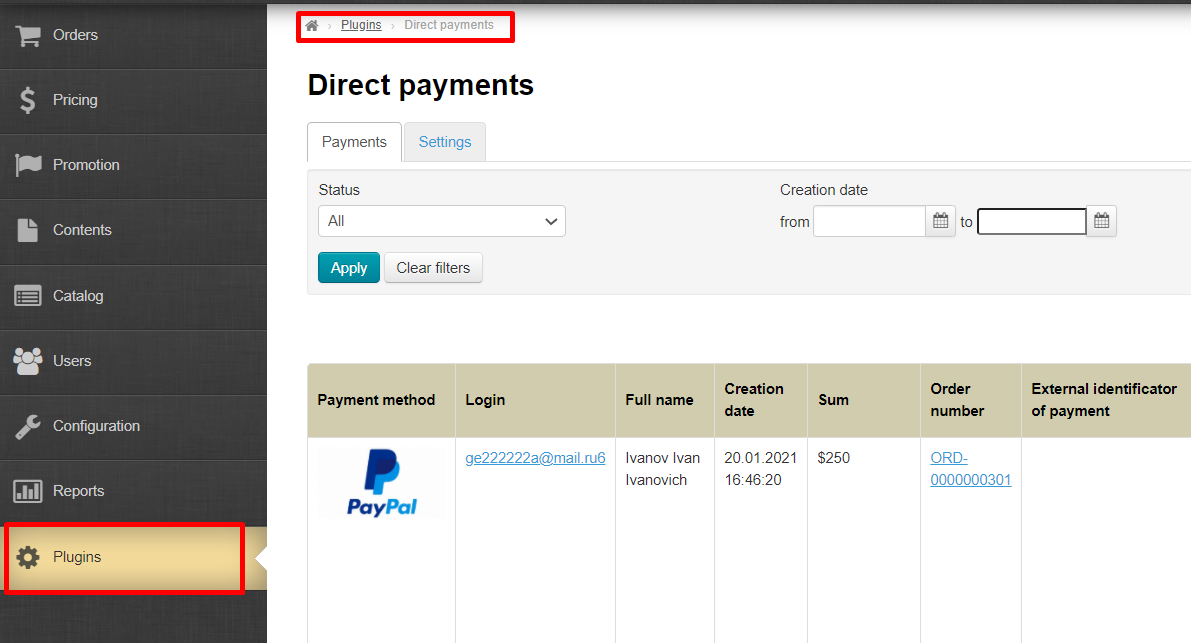
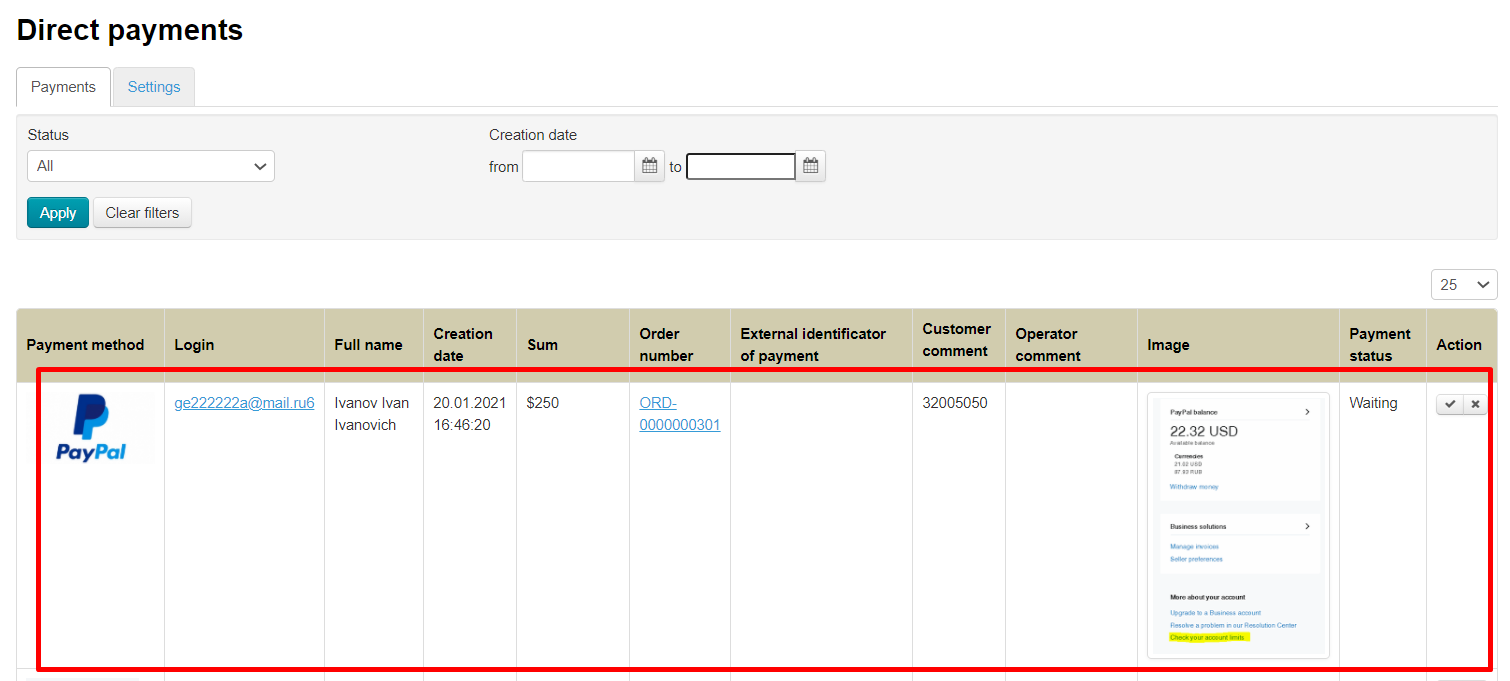
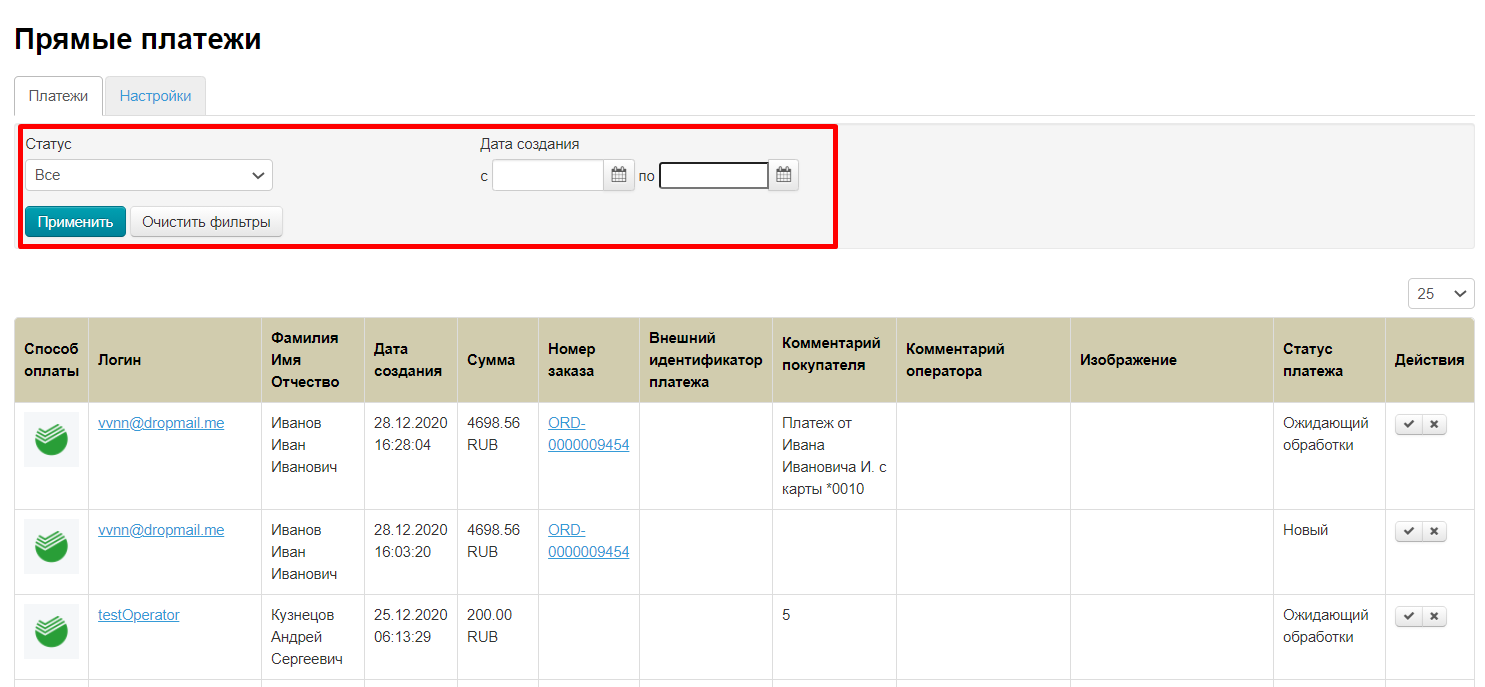
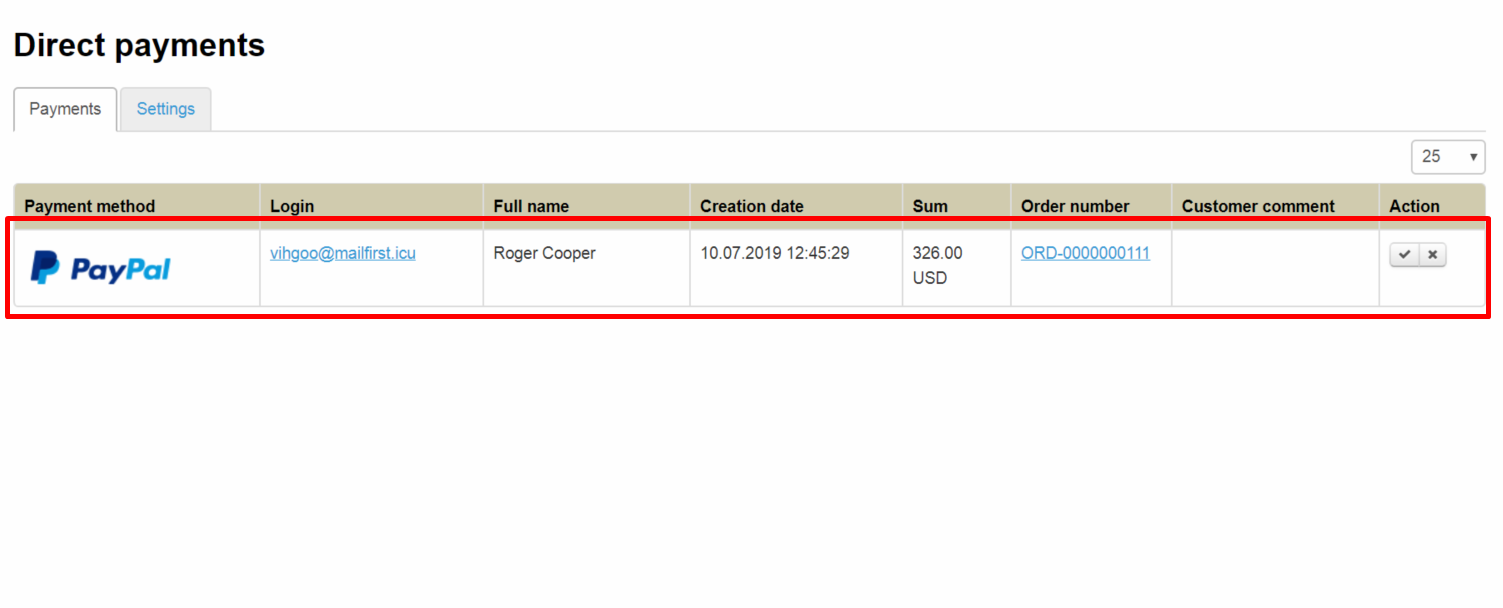
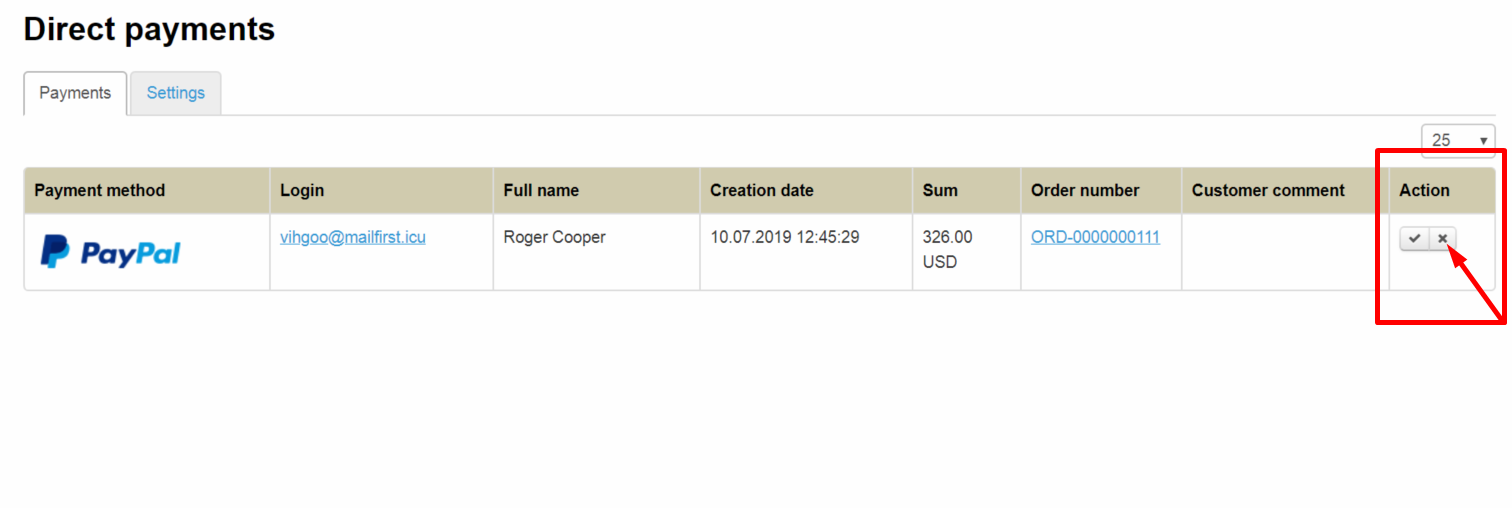
A record of made payment will appear in admin panel of OT Box.
Log into PayPal personal account after that and find customer's payment or choose another way to make sure that money was deposited to your account. Confirm payment in admin panel of OT Box when payment is found and the order is paid.
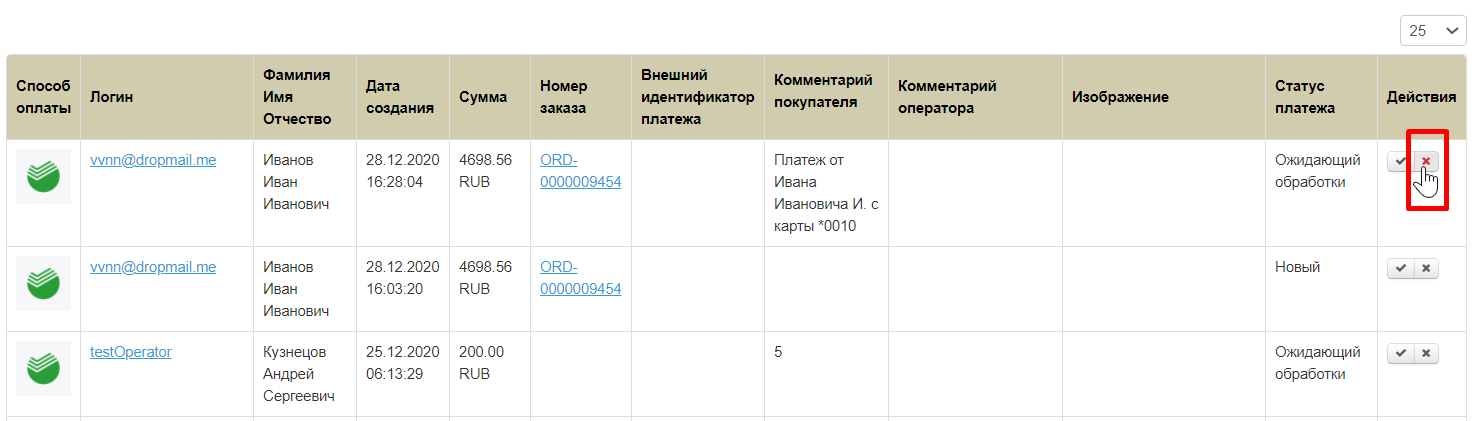
Entry can be canceled using cancel button in “Actions” column if payment is not found in PayPal personal account (customer did not make payment).

You can also search for payments using filters by date or payment status.

Connection
It is necessary to write a ticket to technical support for “Direct Payments” connection after purchase of this plugin.
...
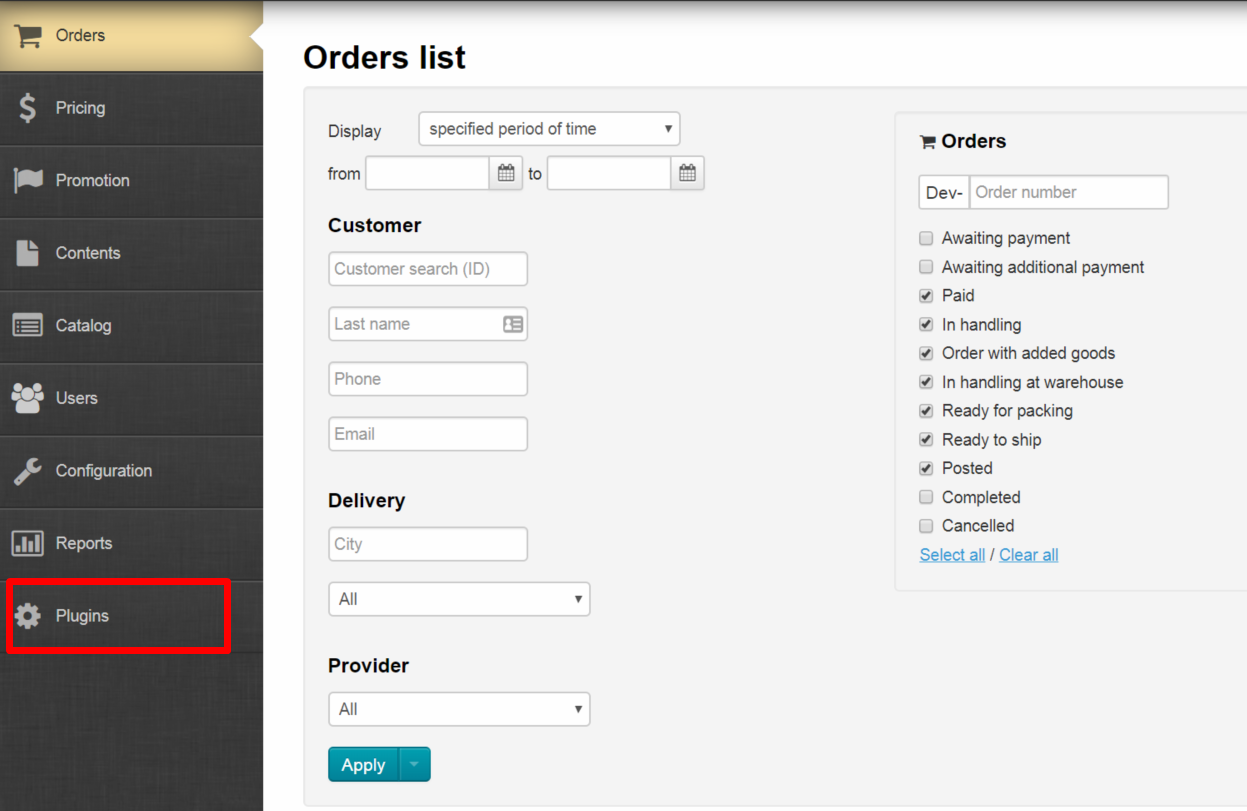
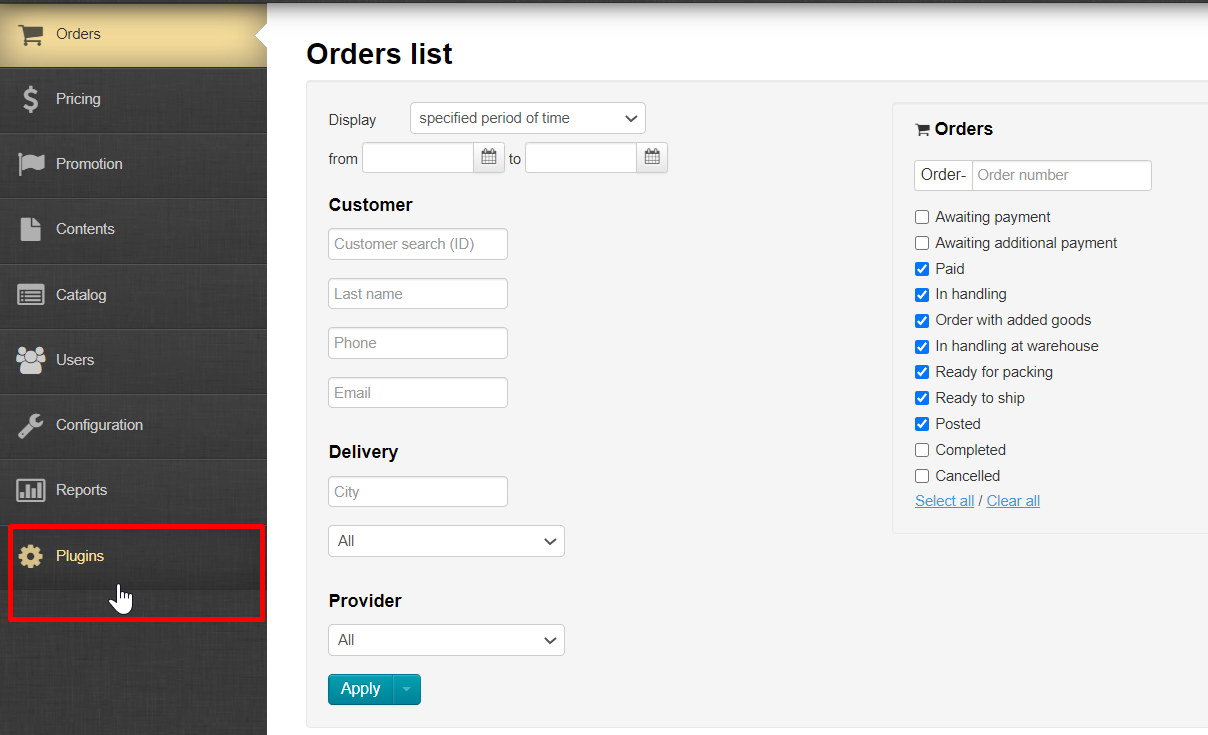
Go to admin panel after plugin connection and open “Plugins” section.
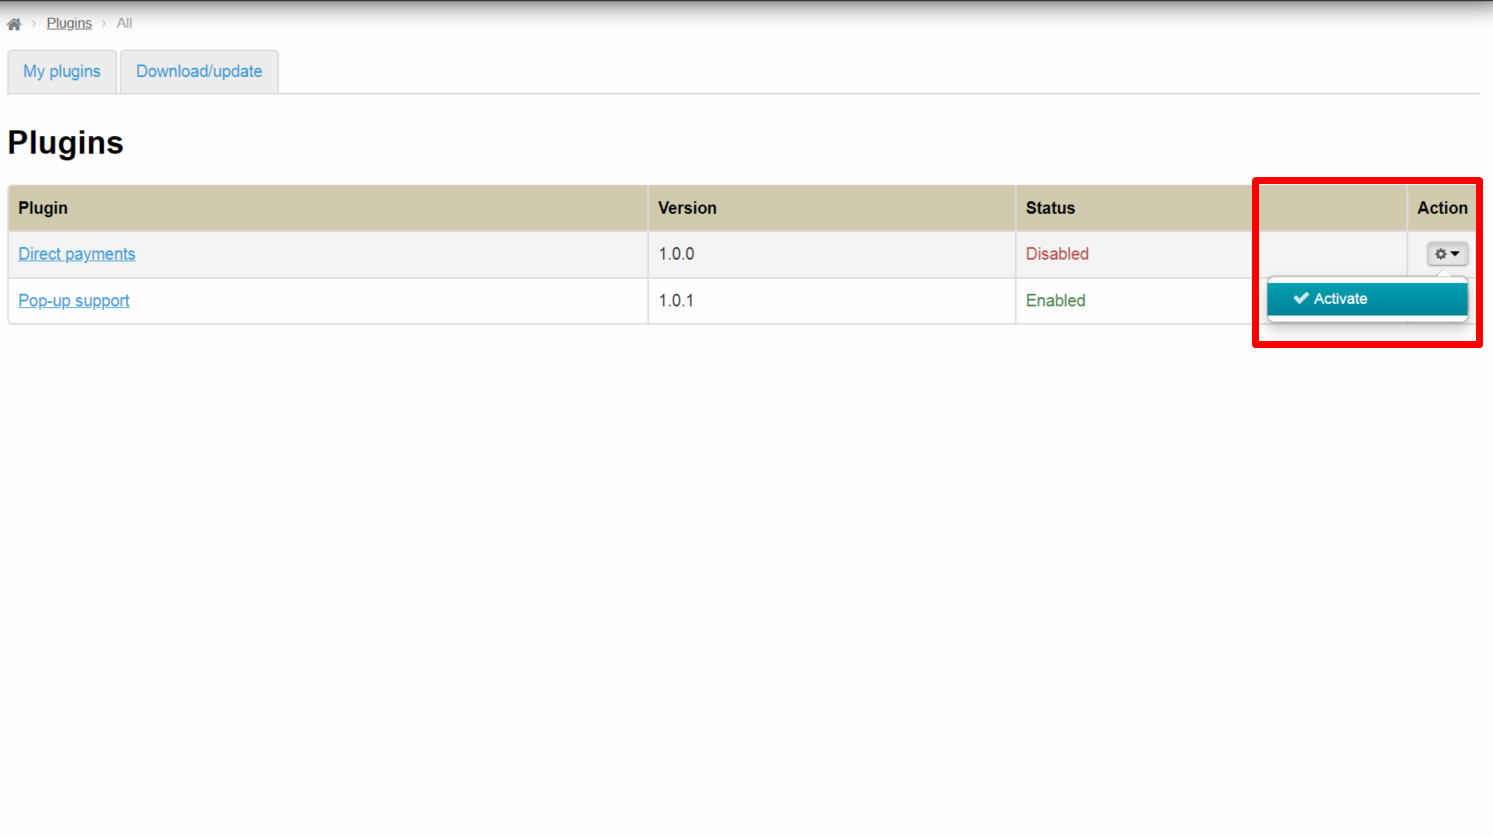
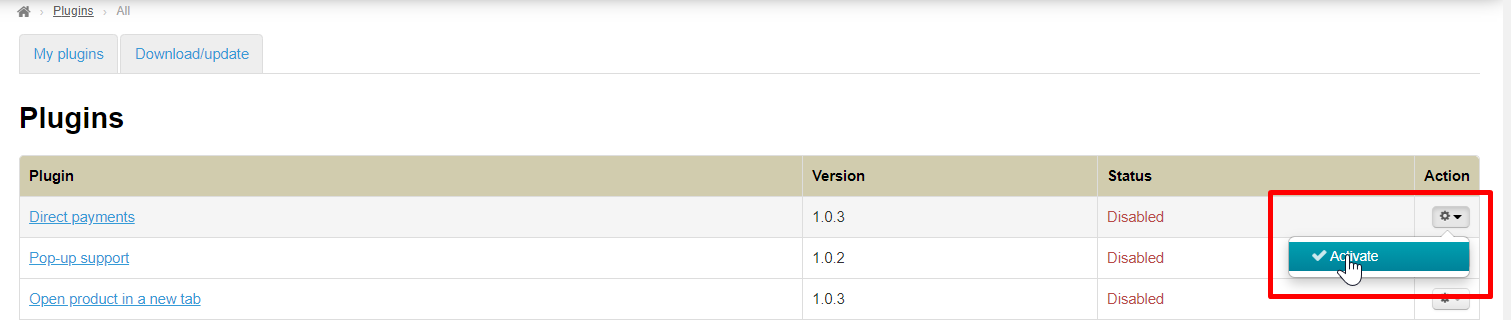
Choose “Direct Payments” from the list of plugins.
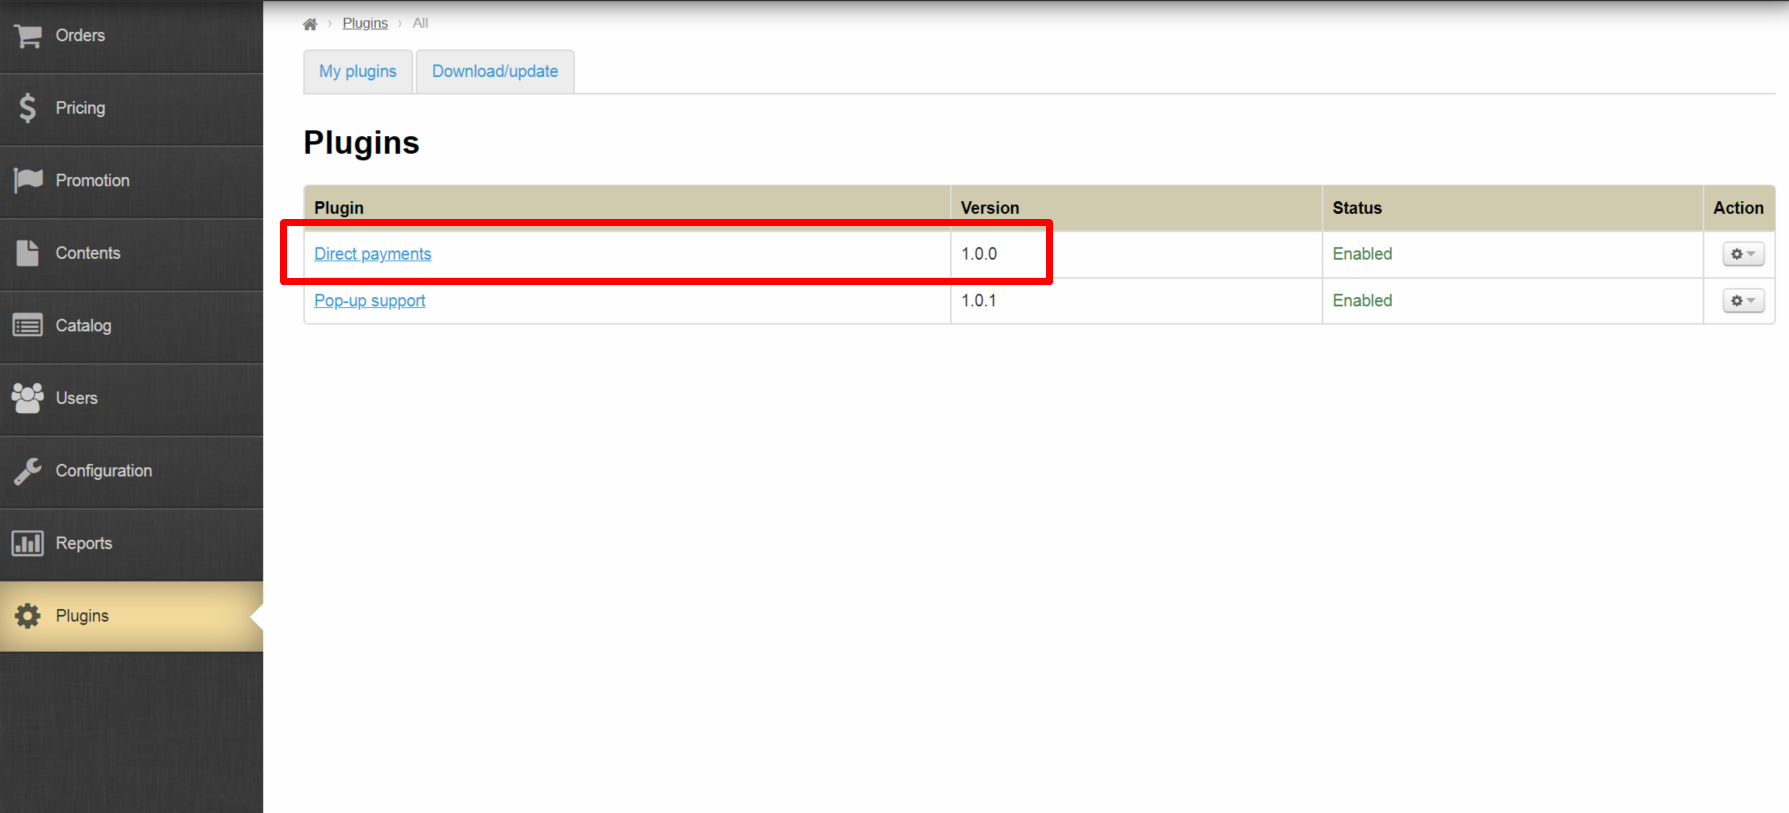

Activate plugin using “Activate” button in Actions menu if it is not activated.
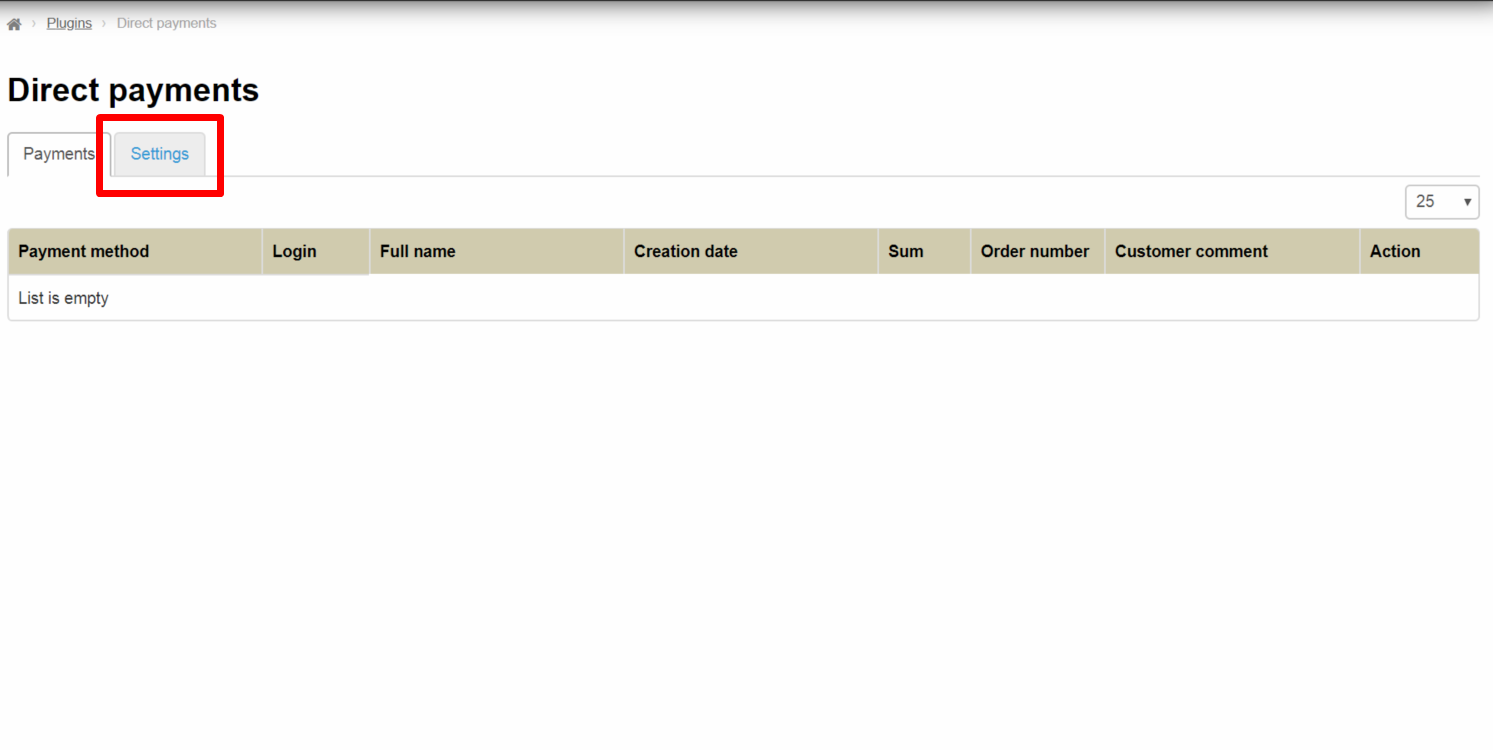
Click “Direct Payments” title.

Open “Settings” tab.
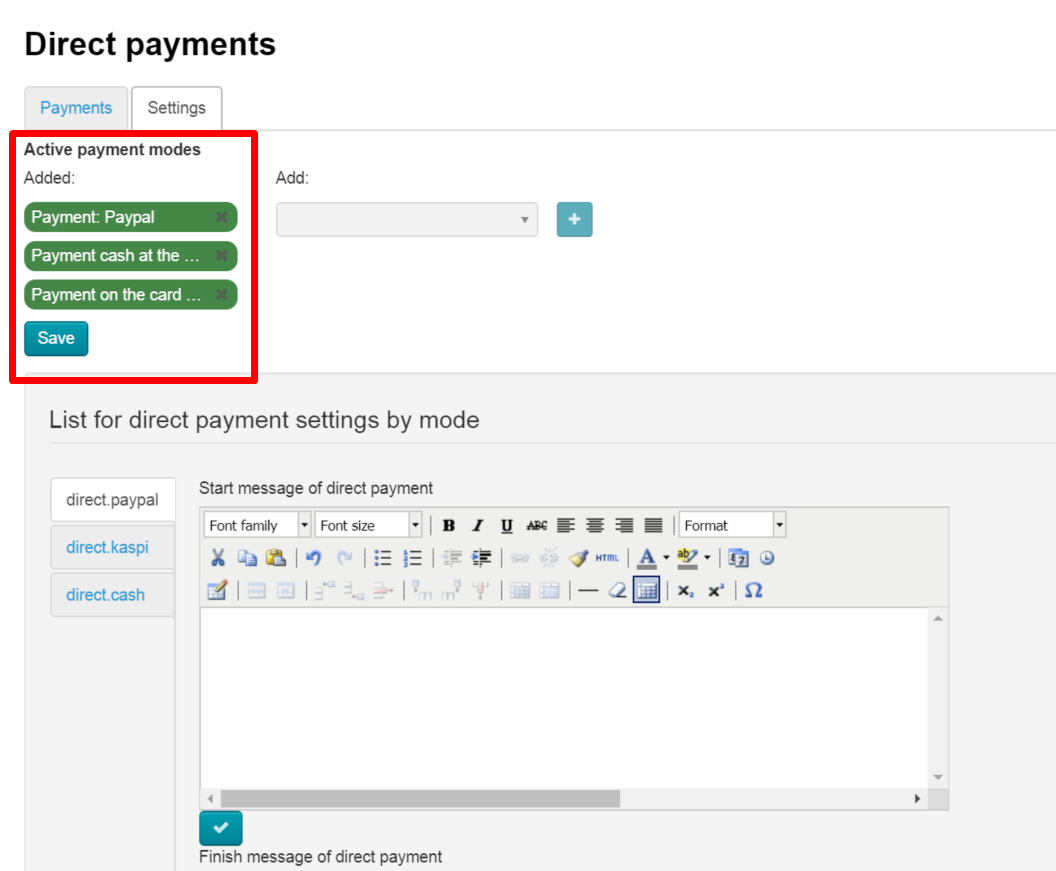
Add payment methods
Сhoose payment methods first. Full list of available methods is on the right:
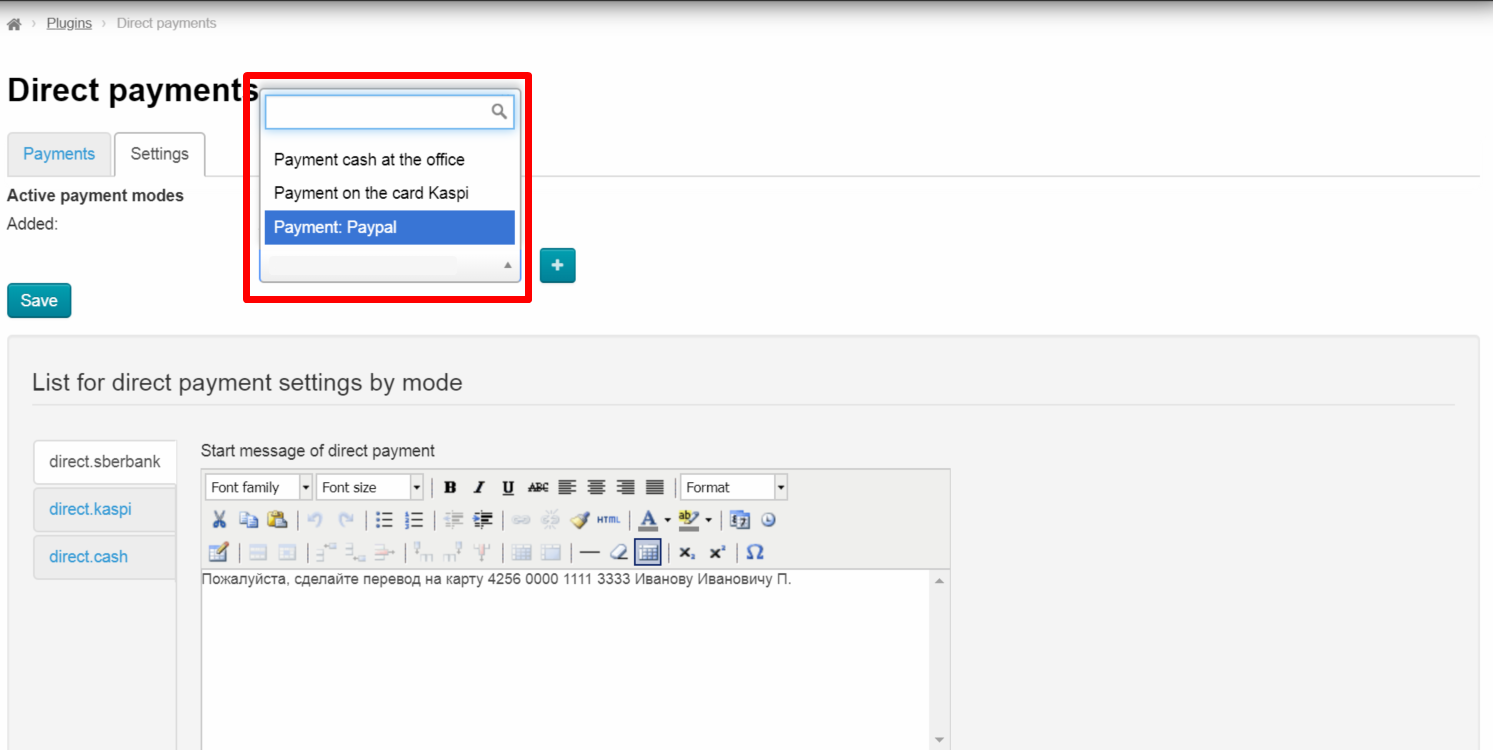
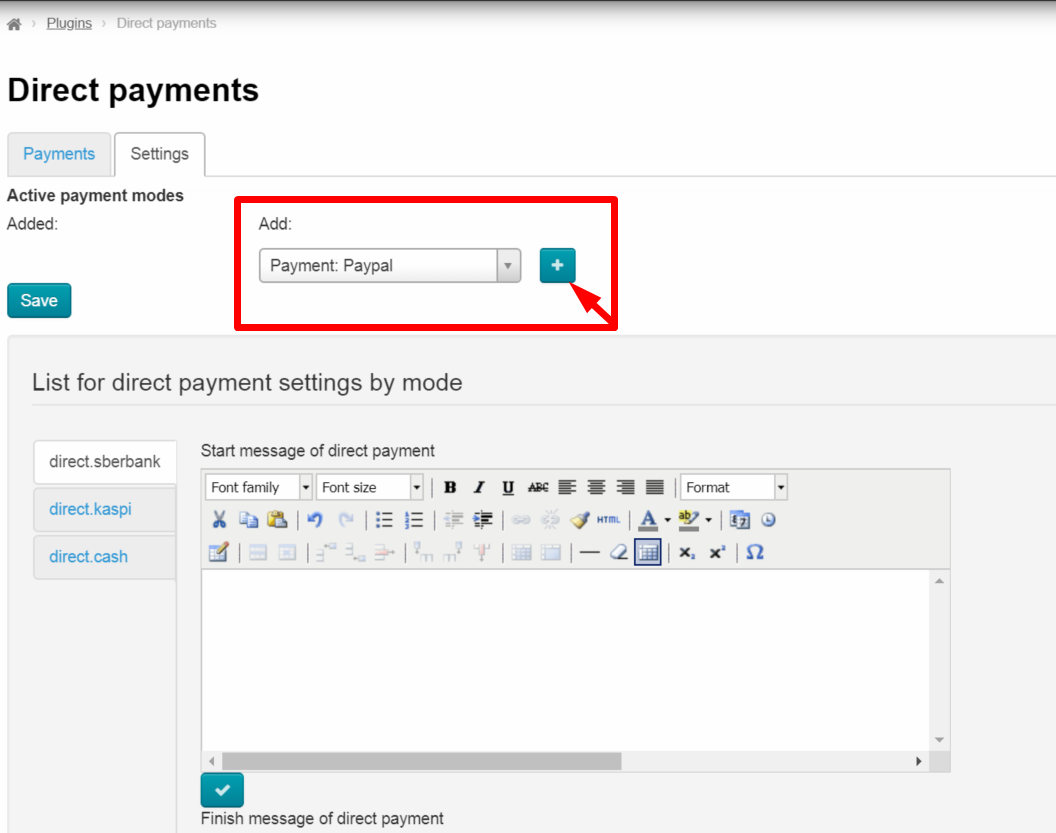
Select payment method from the list by mouse click and click “Add” button (a button with a plus sign).
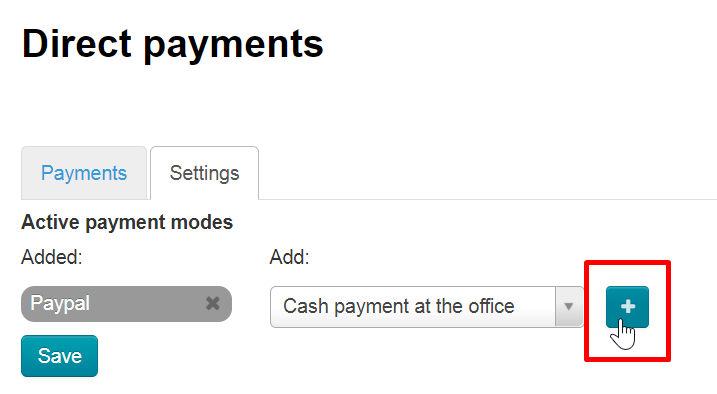
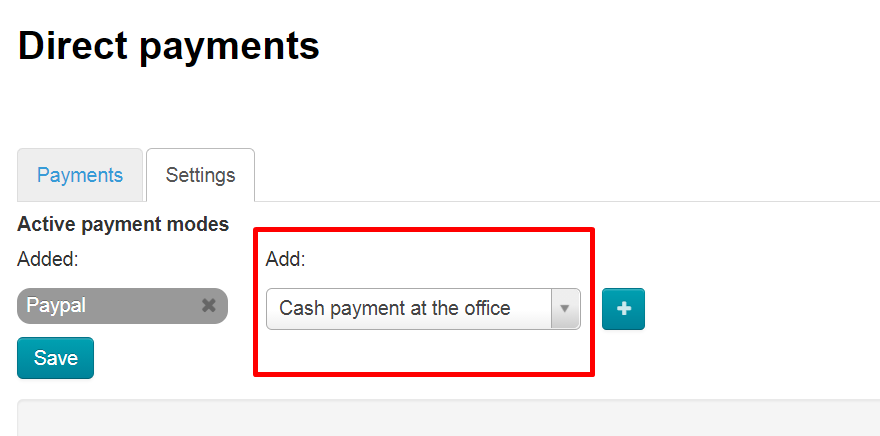
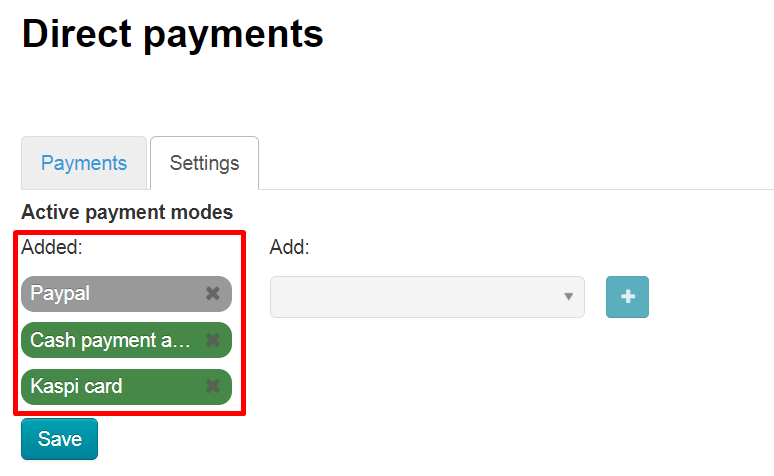
Added methods will be shown on the left. You can choose any number of available payment methods.
| Информация | ||
|---|---|---|
| ||
Contact OT technical support or your manager in Skype chat if there is no necessary method of accepting payments in the list of available methods (this list is available after connecting “Direct Payments” plugin during payments set up). |
Click “Save” button.
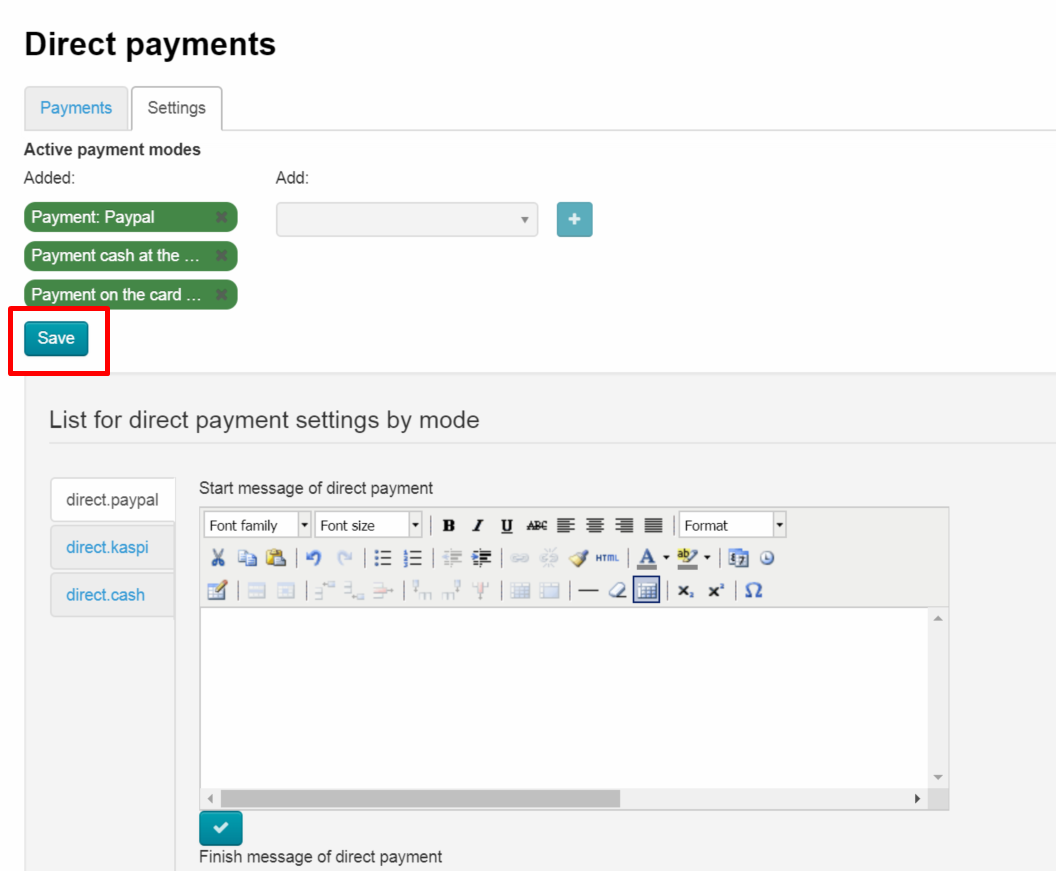
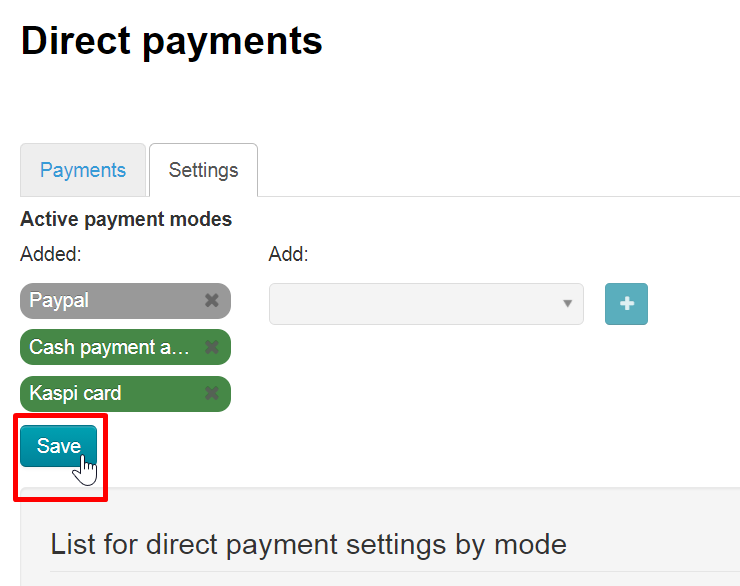
Payment method will be available for use after saving.
Set messages for customers
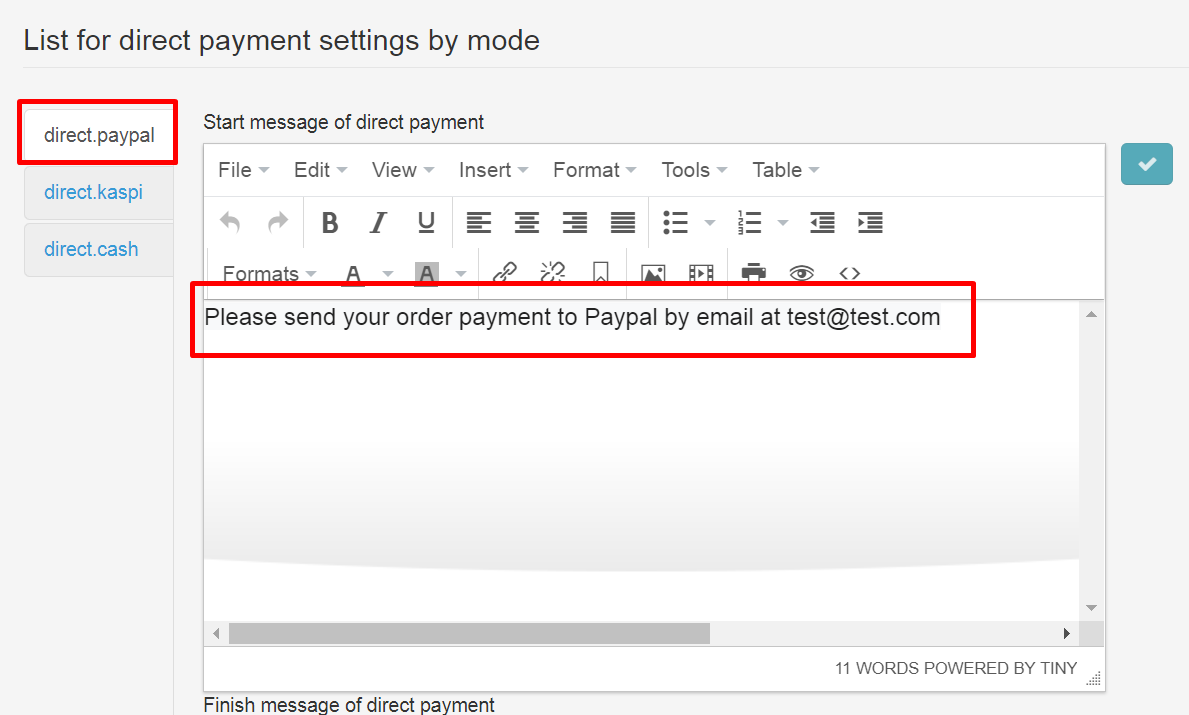
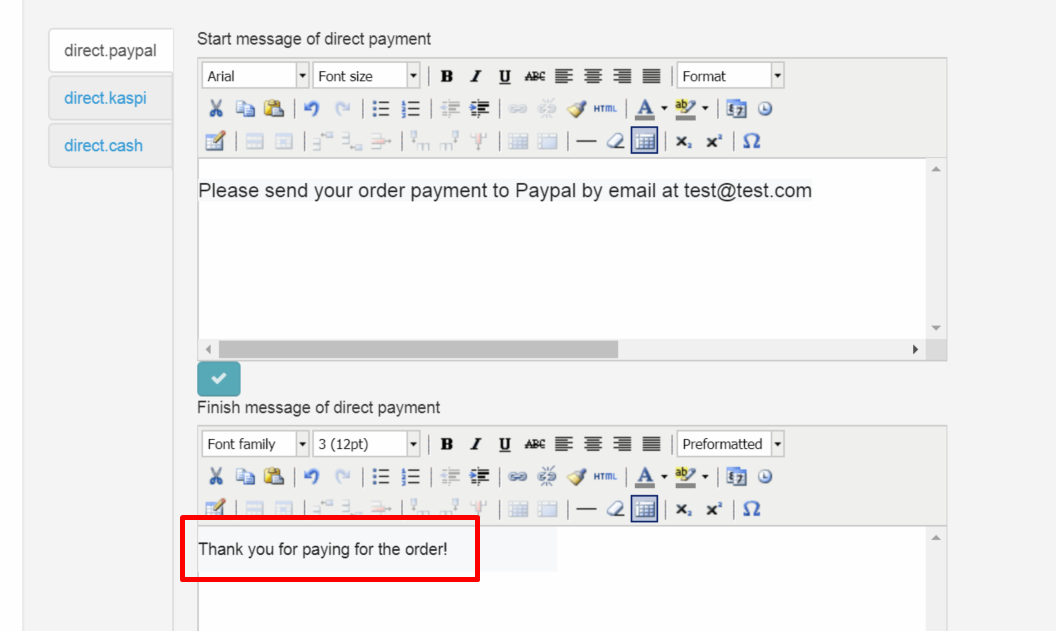
You must write payment messages in special fields for each payment method.
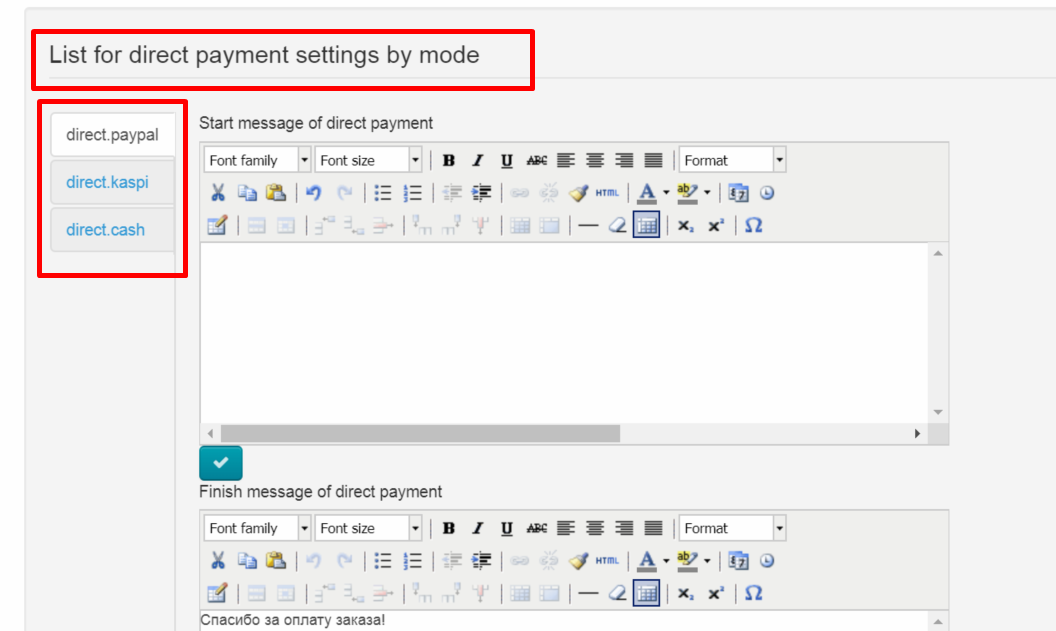
Write the message which will be shown at the beginning, before making payment.
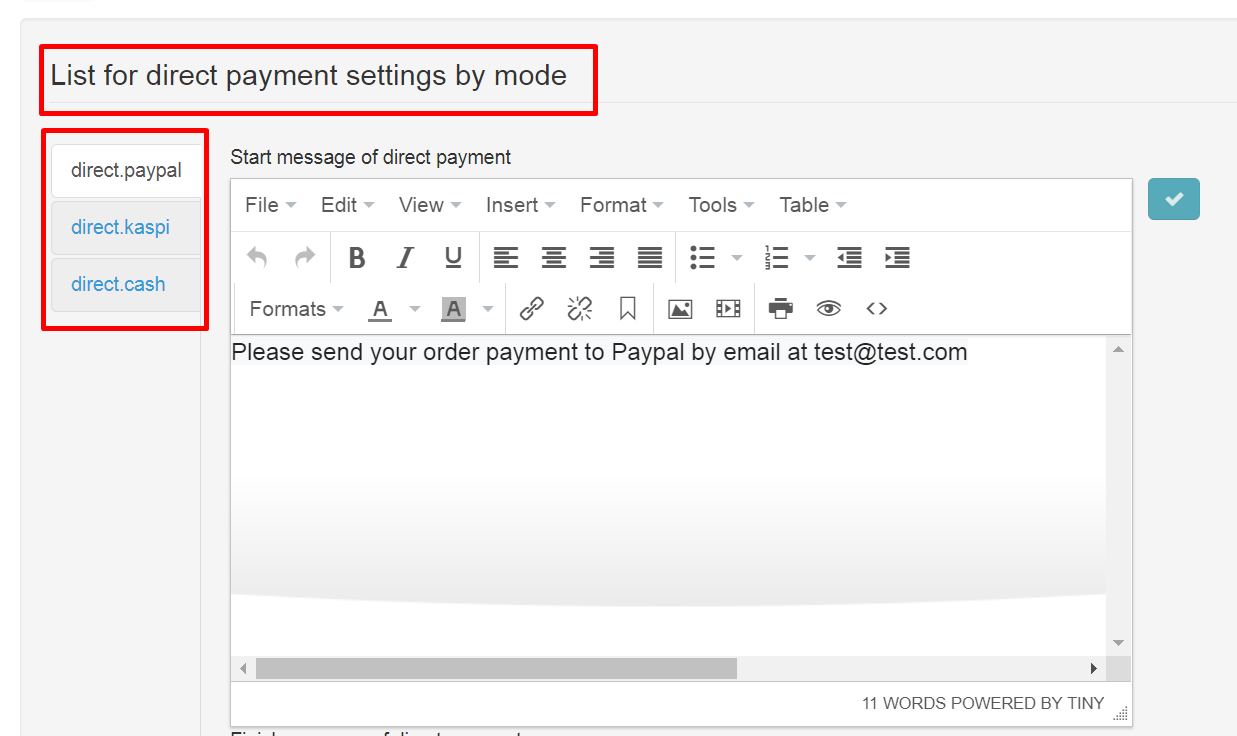
You can specify card number here or request to write some information in comments for payment. You can also post detailed payment instructions. You can edit and format message using special text editor that works like MS Word.
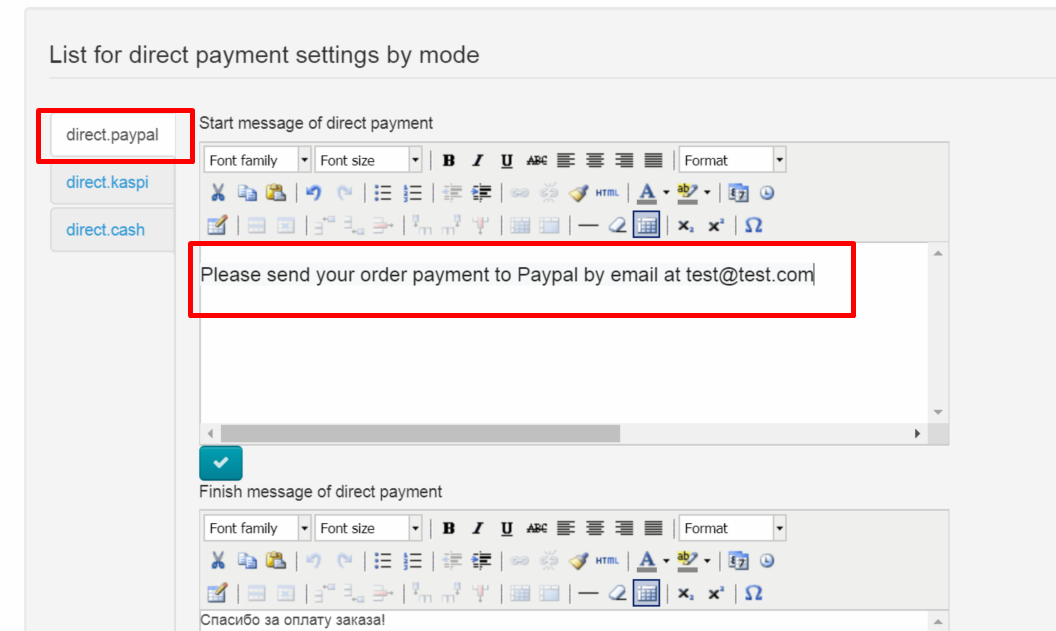
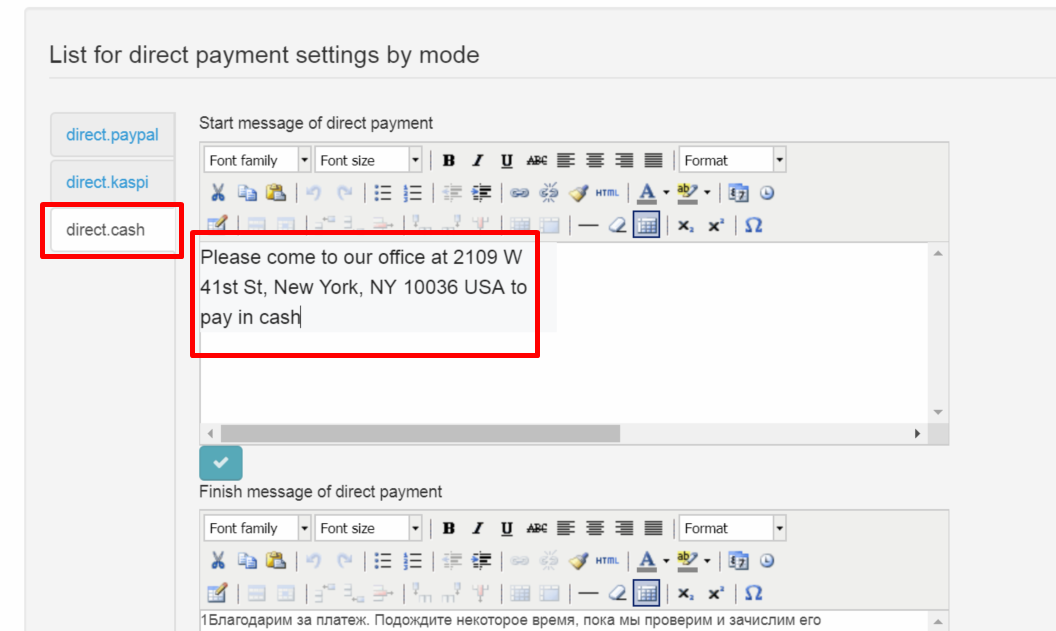
Save text clicking “Save” button with the tick.
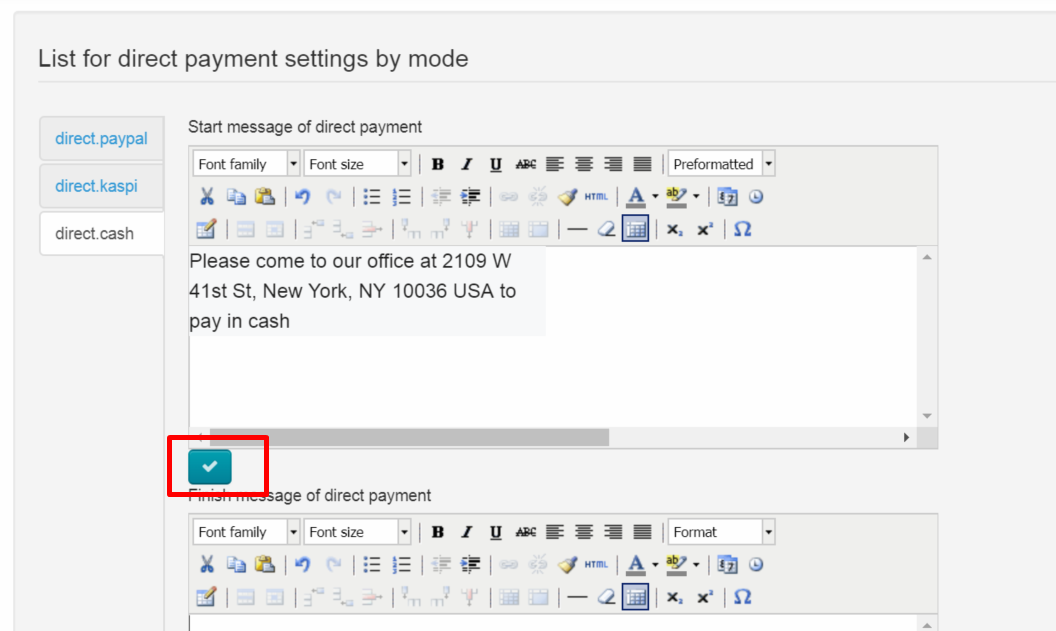
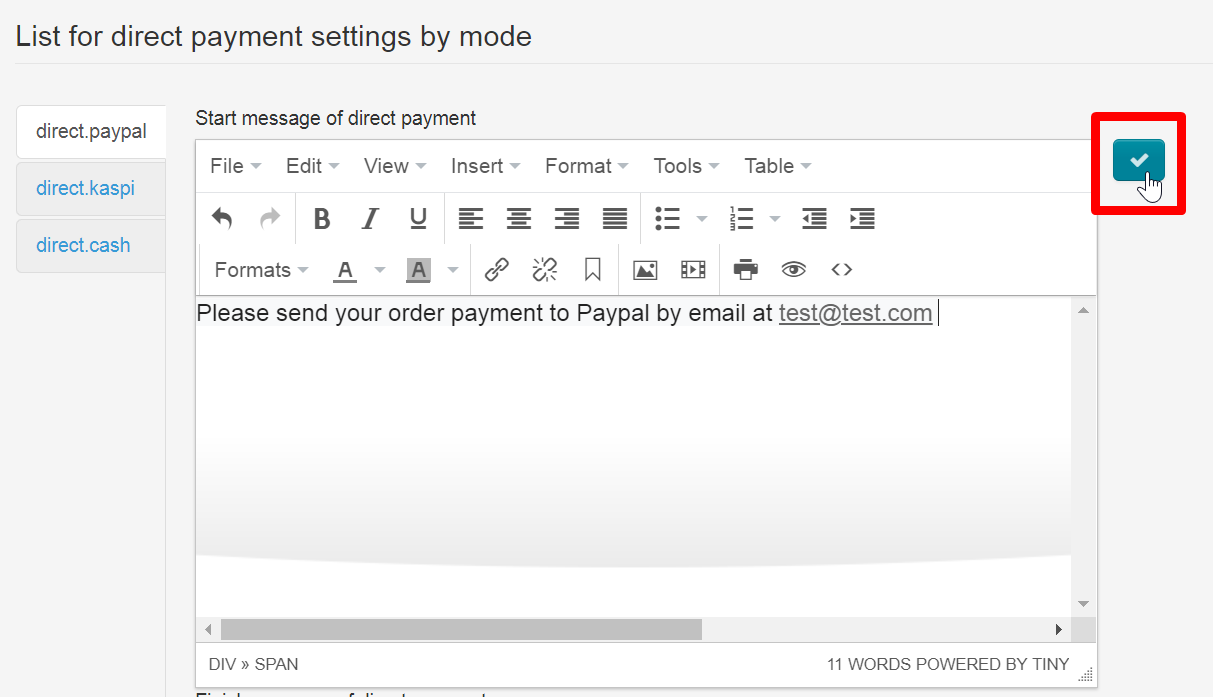
This text will be shown to your customer immediately after clicking “Pay” button.
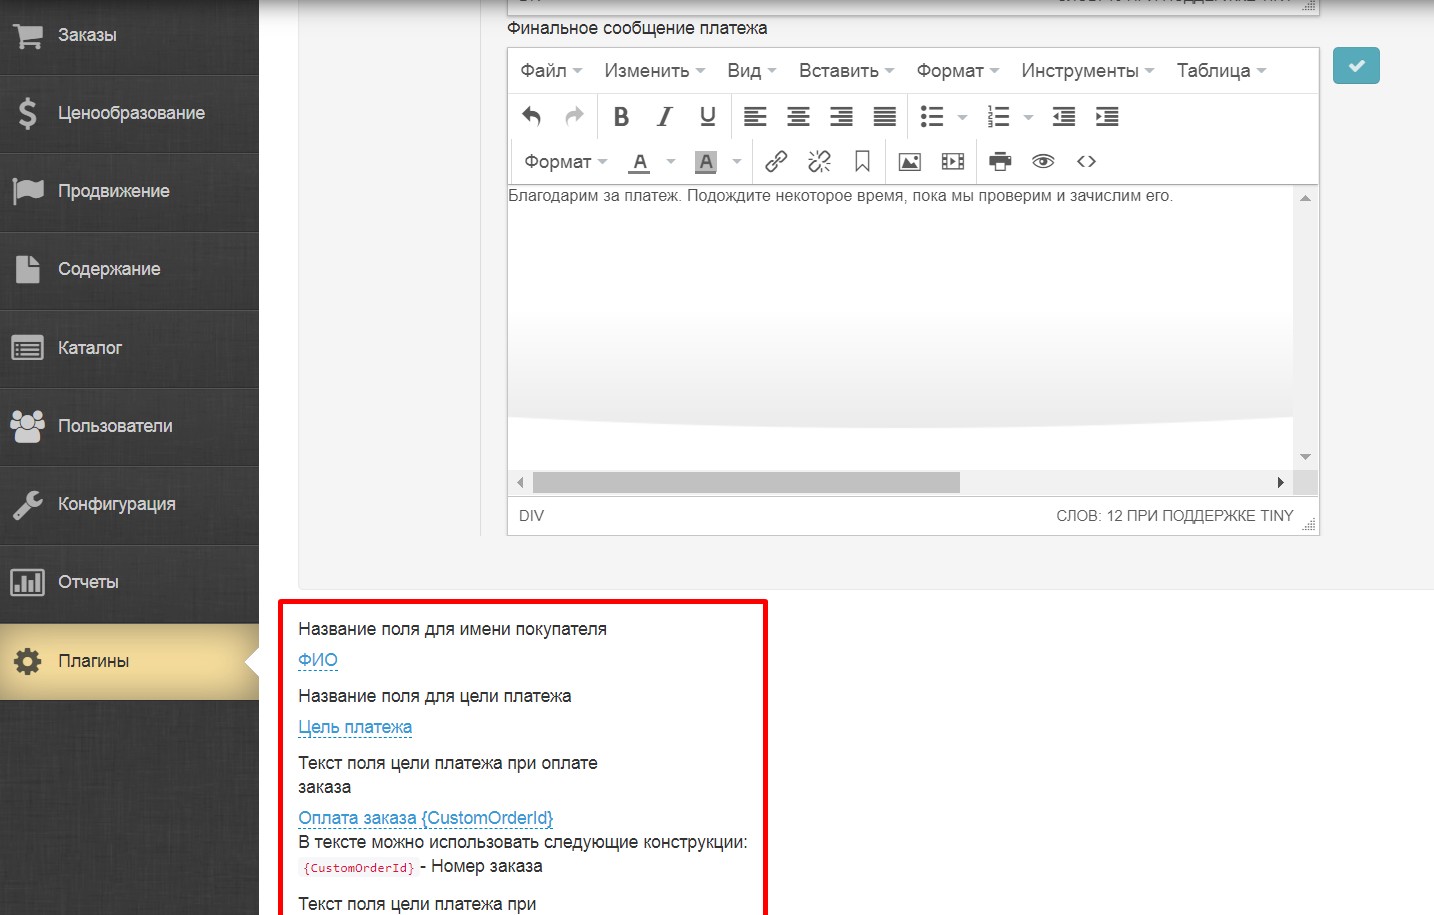
Compose a message that will be shown after making payment (it is necessary to write a separate message for each payment method) after that. You can write thanks for payment or something else here.
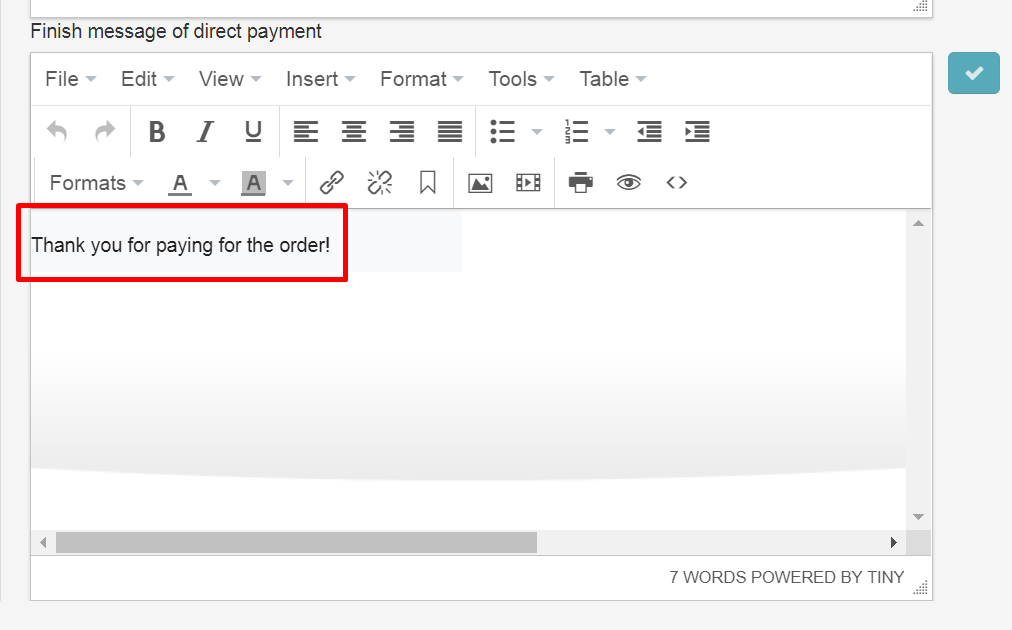
Save text clicking “Save” button with the tick.
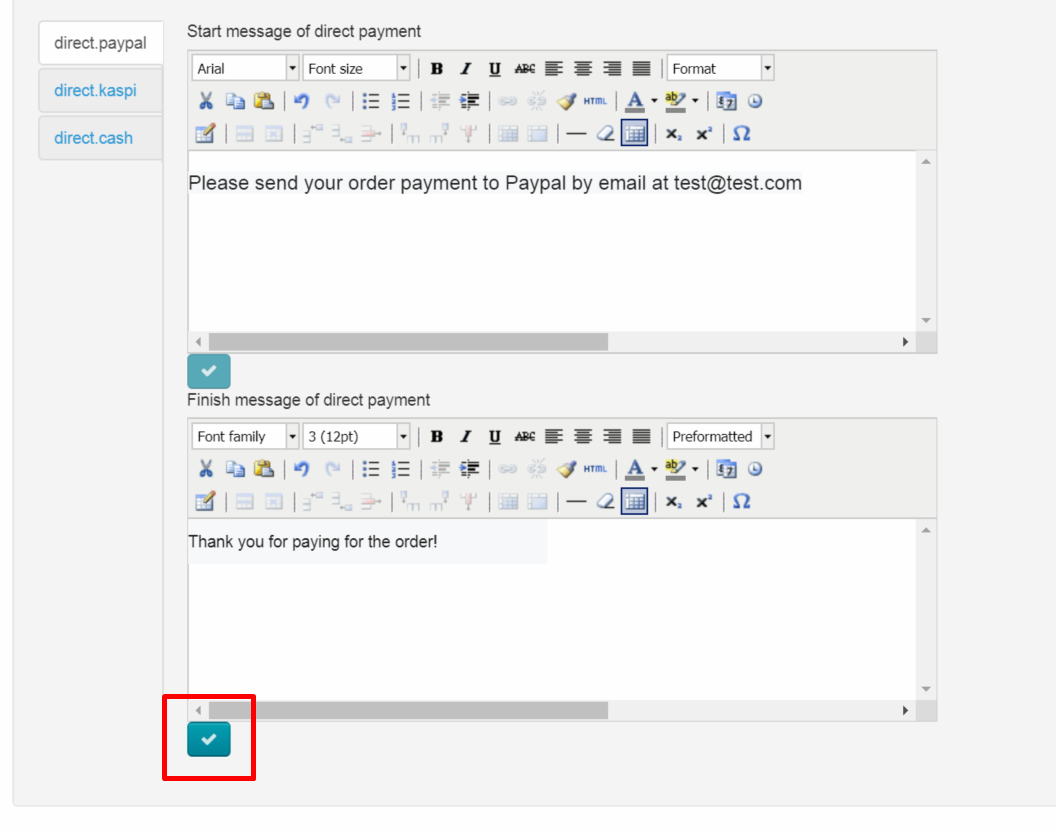
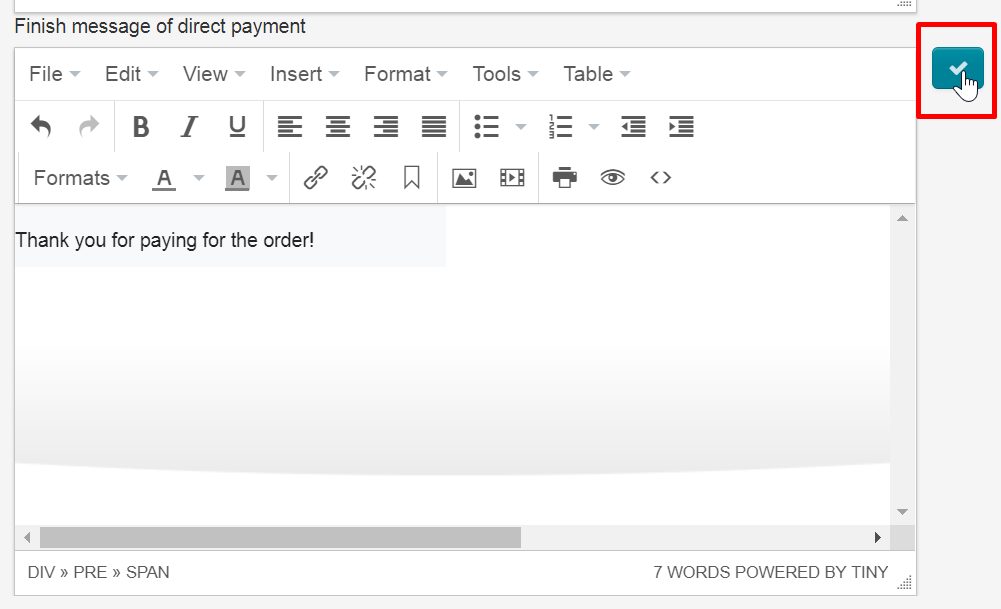
This text will be shown to your customer immediately after clicking “Confirm” button.
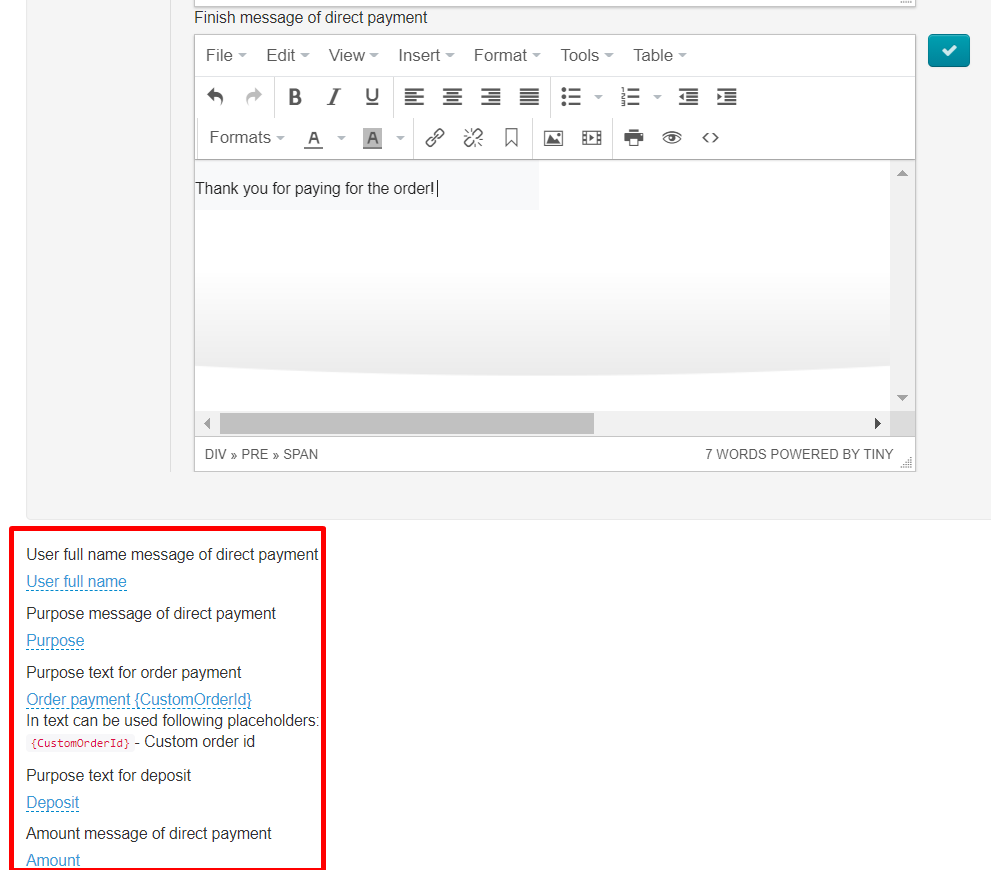
Edit fields of the form and error messages
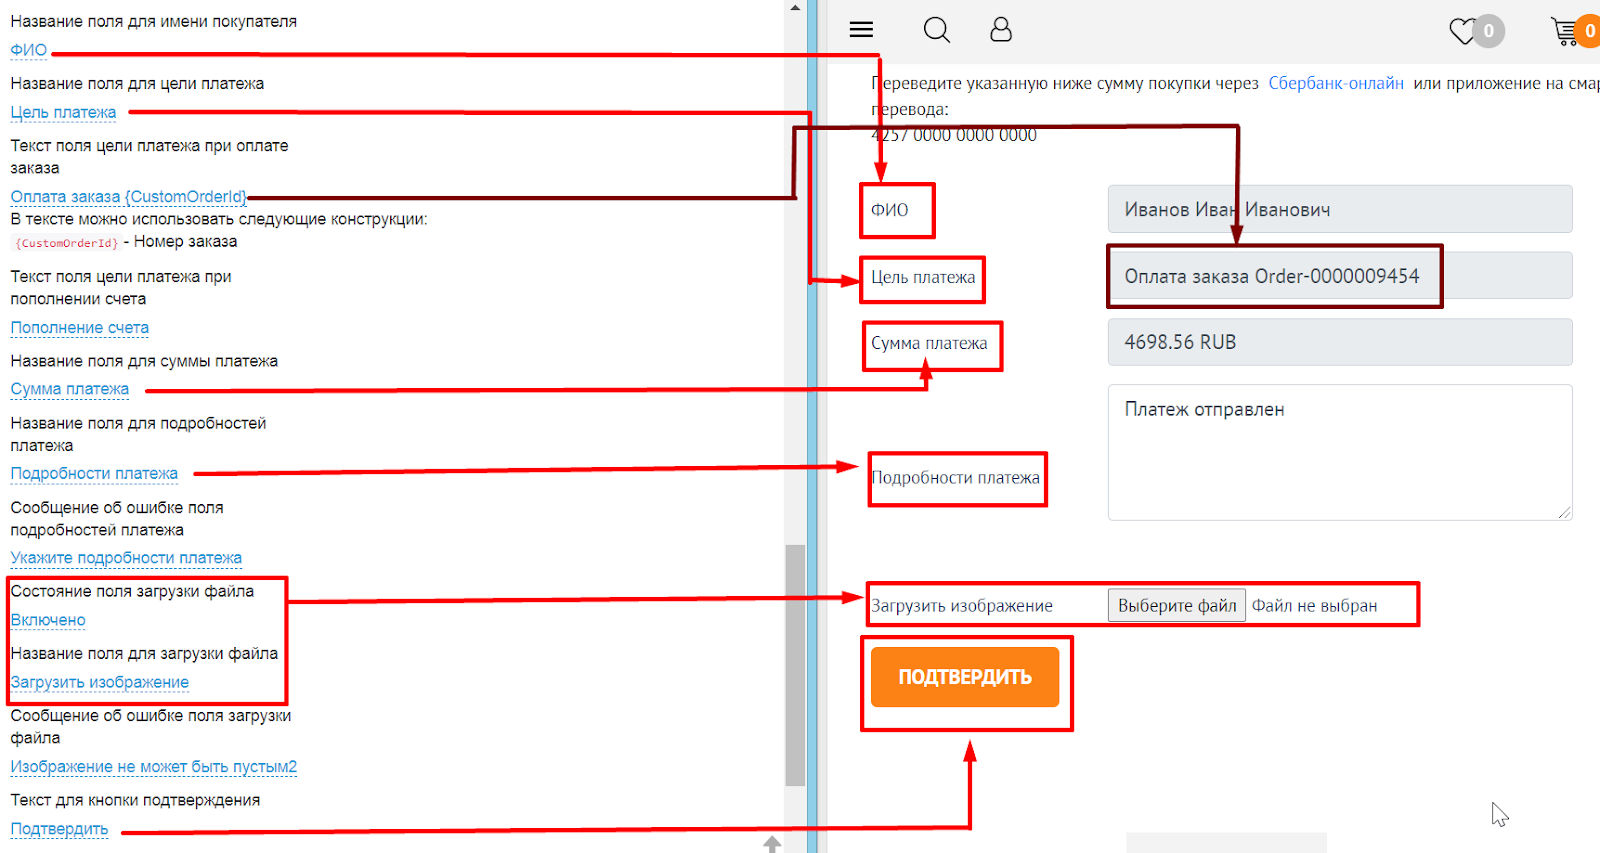
There is a list of fields for editing right below the message form of direct payment.
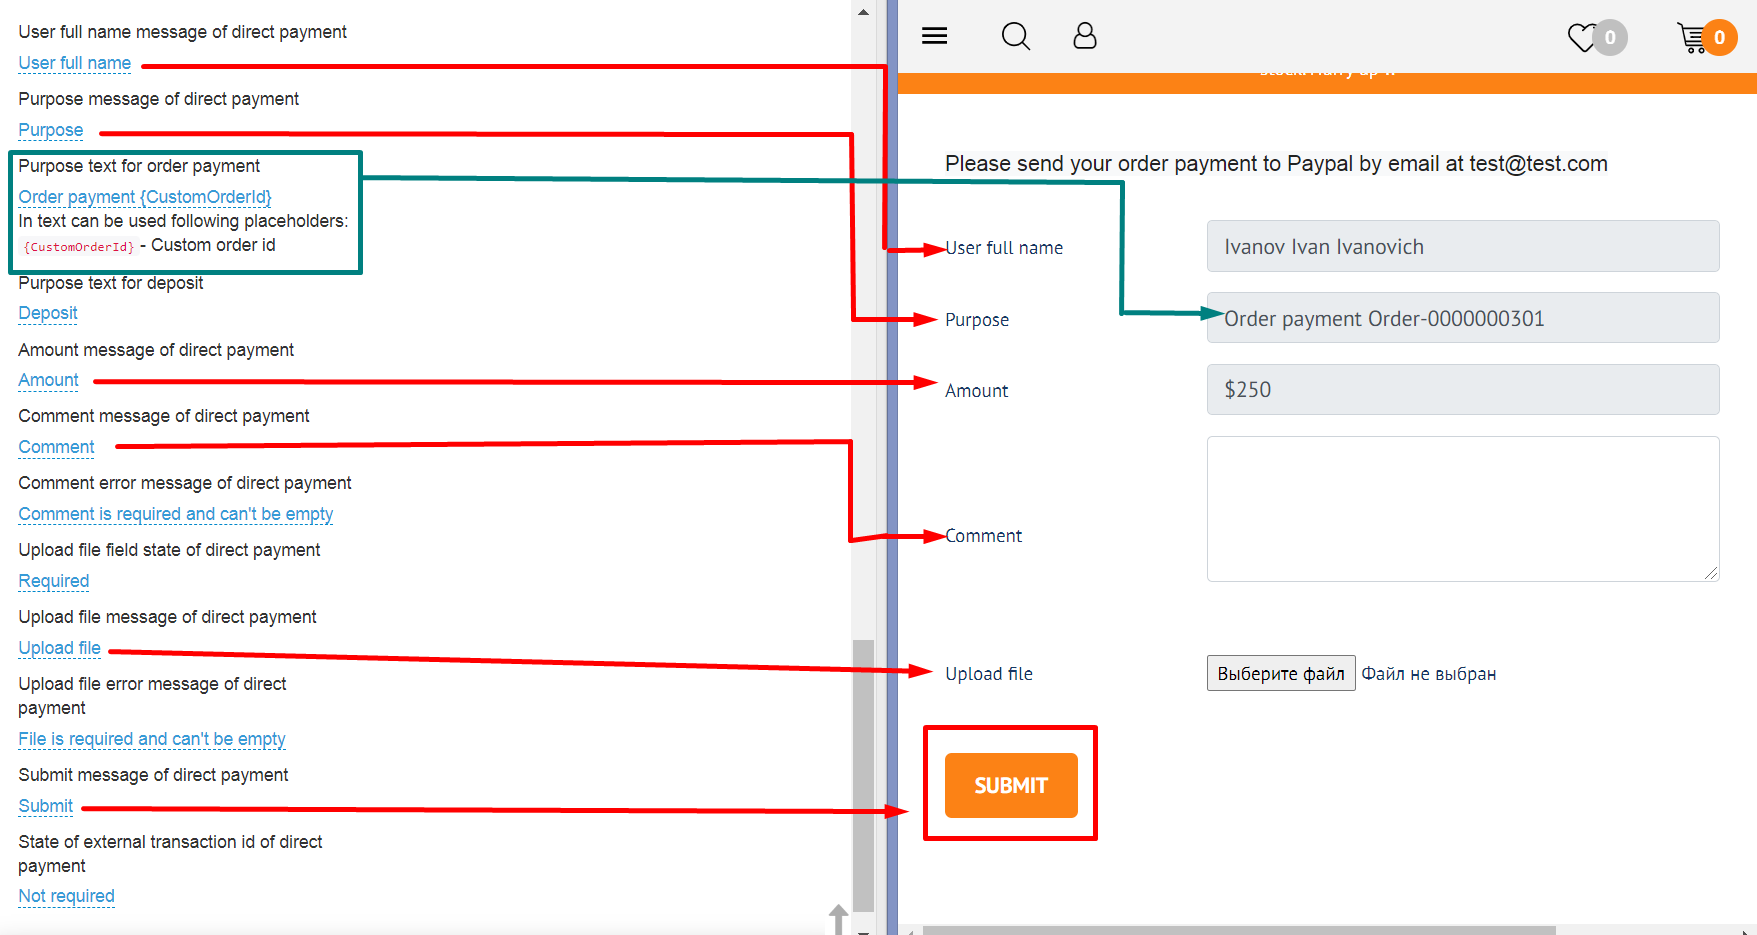
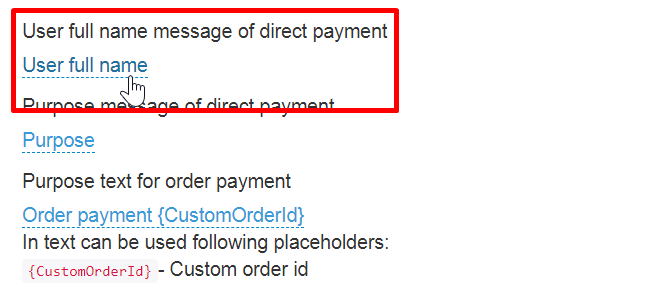
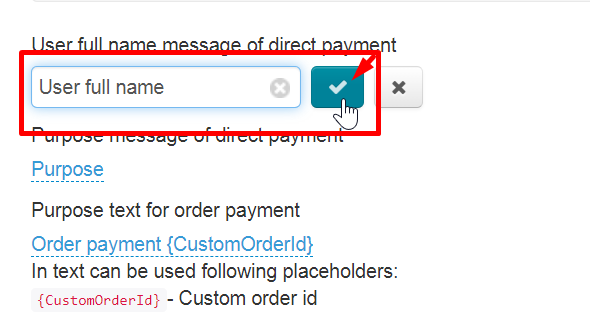
Fields titles
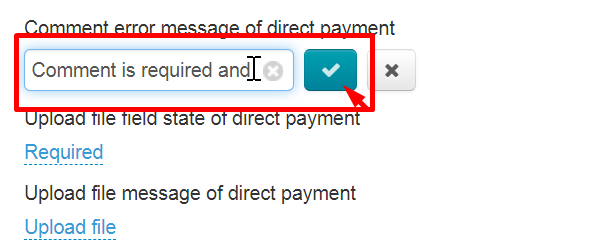
Click blue dotted line and edit to add necessary title.

Click checkmark button opposite each changed field to save changes.
Each field is edited and saved separately.

Set number of paid order
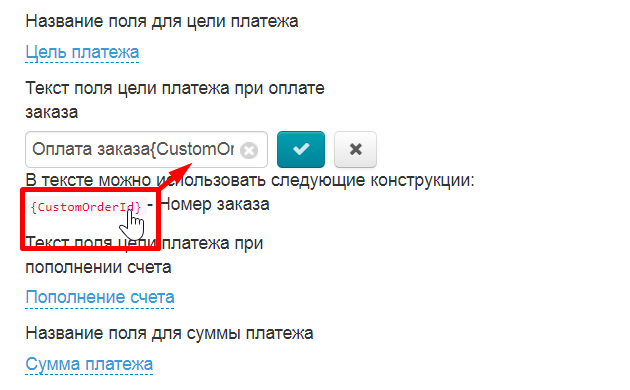
You can write the order number in "Purpose" “Purpose” field not to confuse yourself and your customers which order was paid.
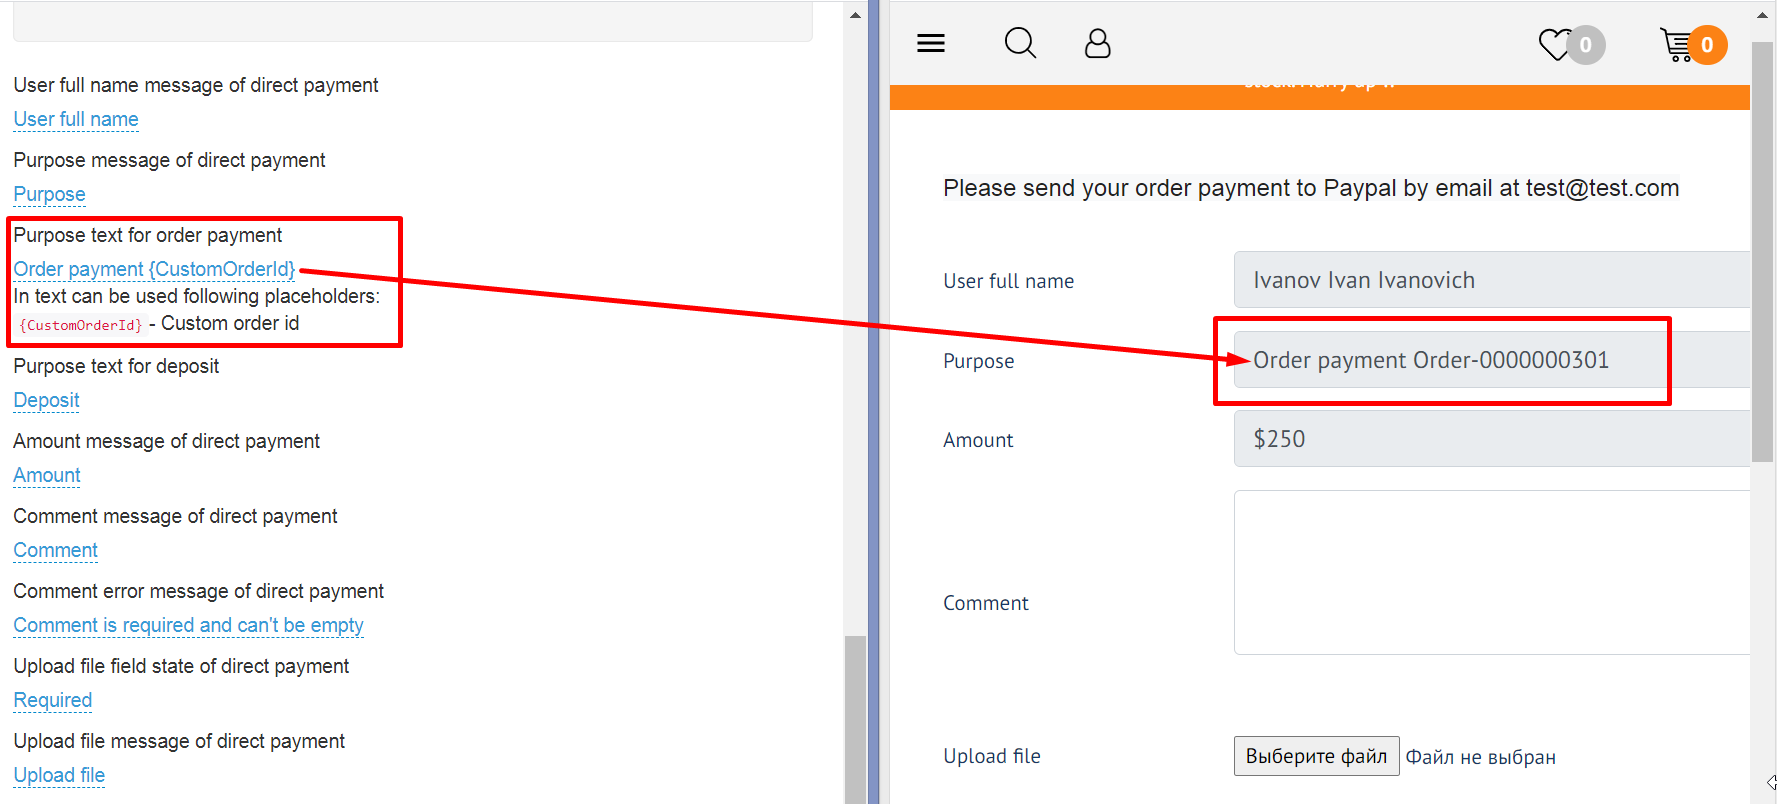

You can edit this field clicking blue dotted line.
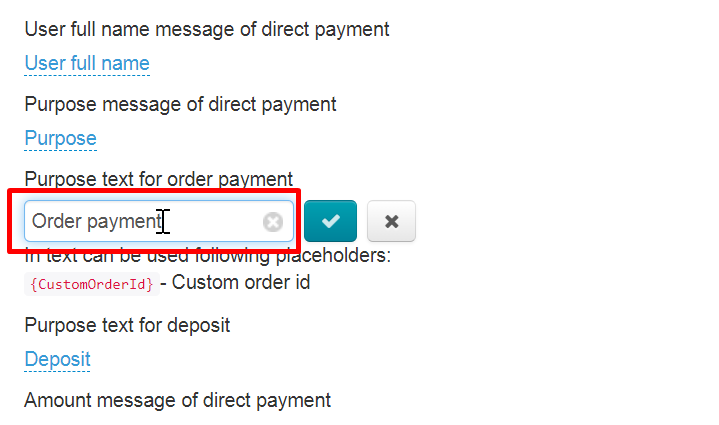

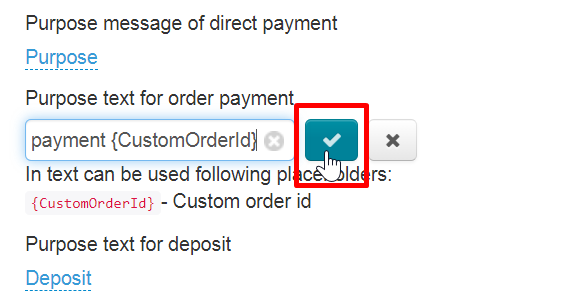
To insert a special value (it will show order number), you need to put cursor at the end of the line or any necessary place in the phrase and click red line 1 time {CustomOrderId}. Phrase will be inserted into editable field after clicking.
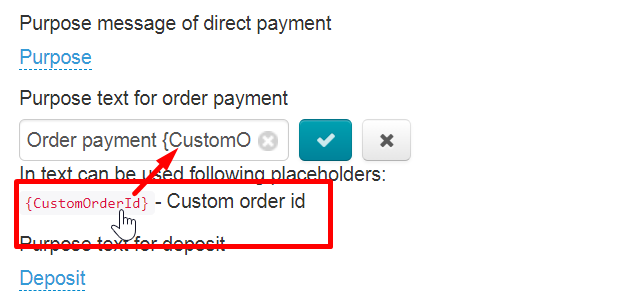
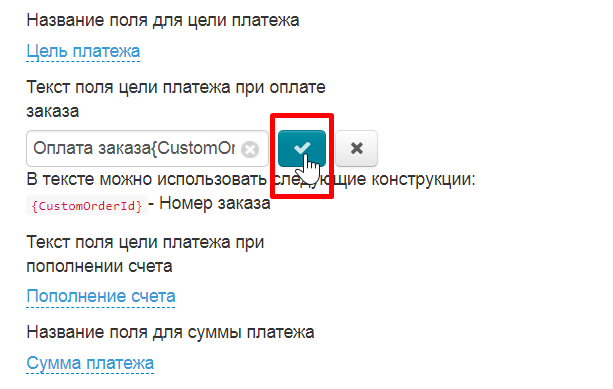
Save changes clicking checkmarked button.
Error messages
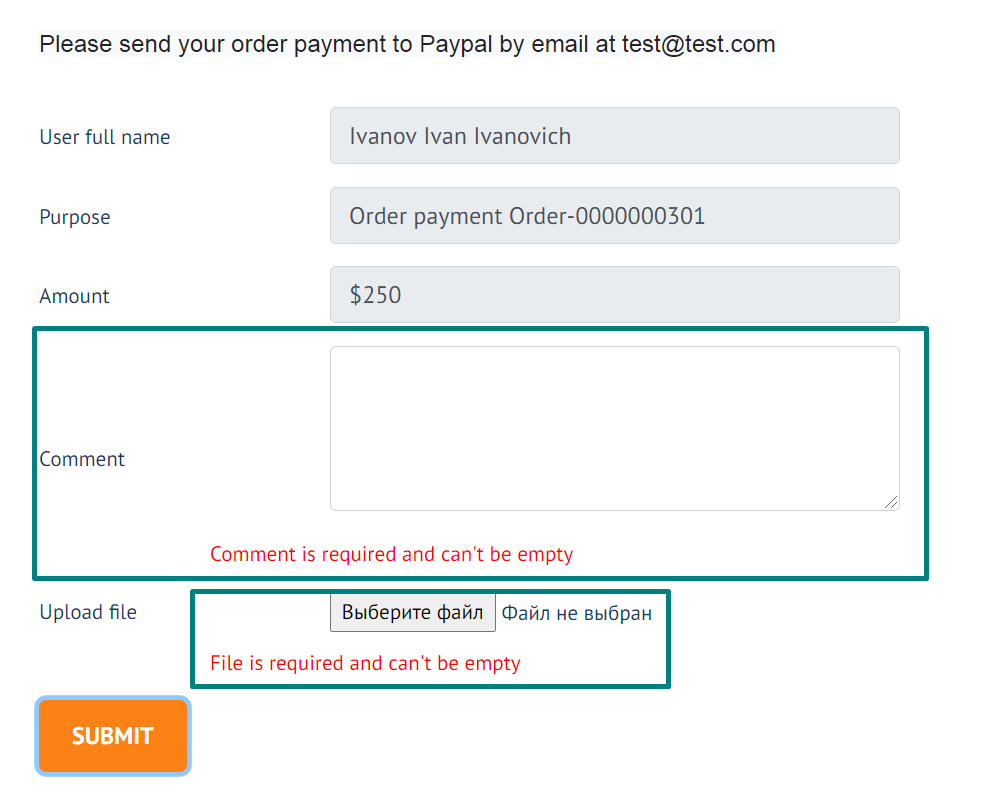
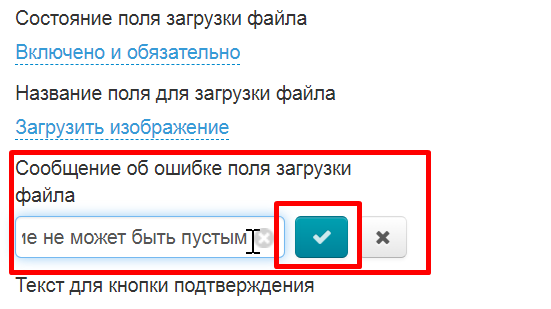
The list of settings contains fields where you need to write an error message. We recommend you describe the error briefly and in detail to make the customer understand immediately what he did wrong.
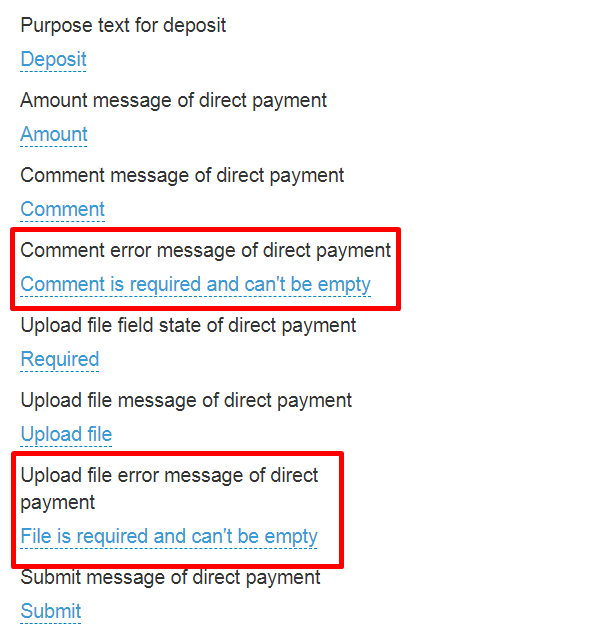

Error messages are edited in the same way as all other fields: click blue dotted line to change text and save changes using checkmark button.

An example how the message looks like:

Opportunity to upload image
...
There are 3 fields responsible for uploading the image:
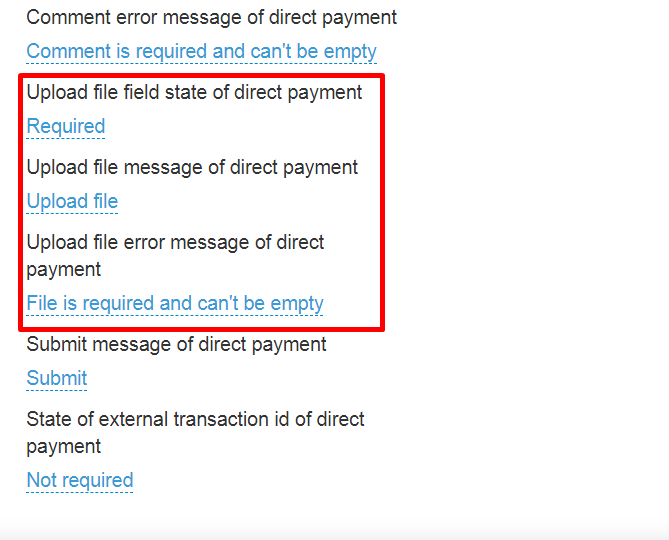
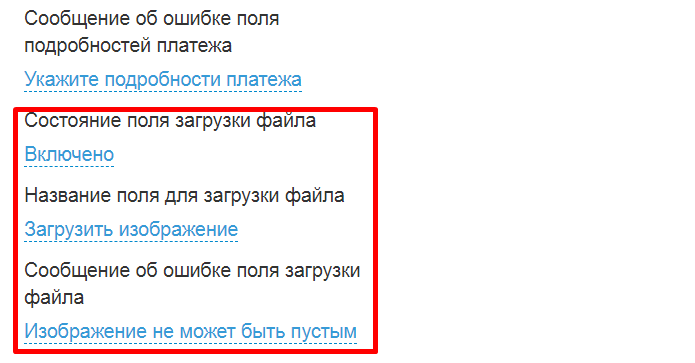
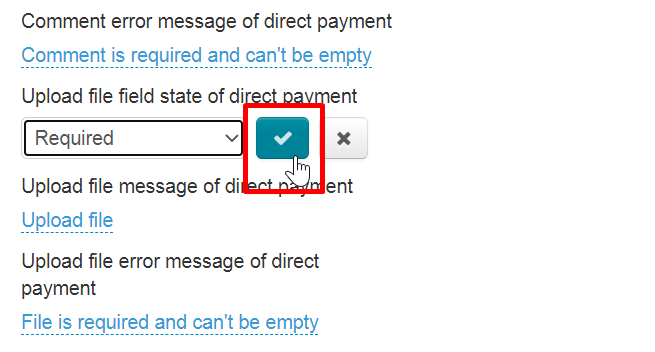
Upload file field state is necessary to show or hide the field, as well as make it mandatory. Click blue dotted line and select appropriate value from the list.
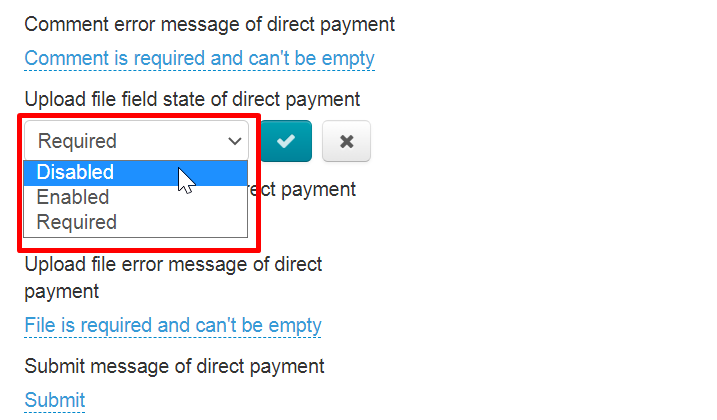
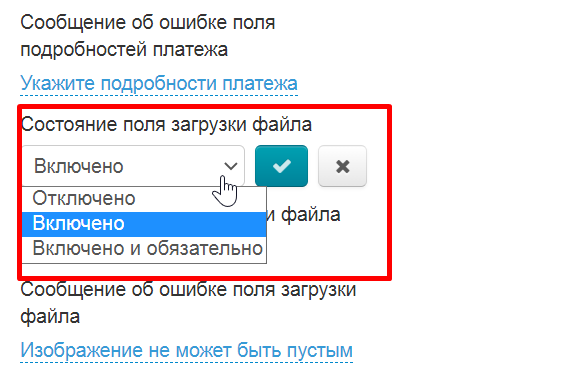
Save changes clicking checkmarked button.

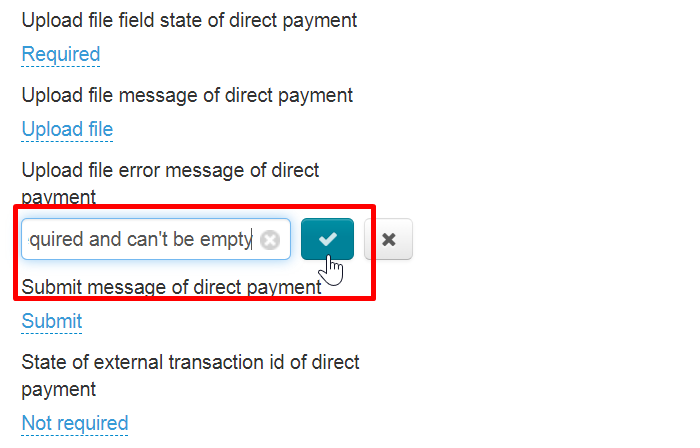
Field title and error message are edited in the same way as all other fields: click blue dotted line to change text and save changes using checkmark button.
Setup is complete. Notification texts, as well as a list of available payment methods, can be edited at any time.
...
Your customer makes an order, draws it up and chooses PayPal, for example, at the payment stage.
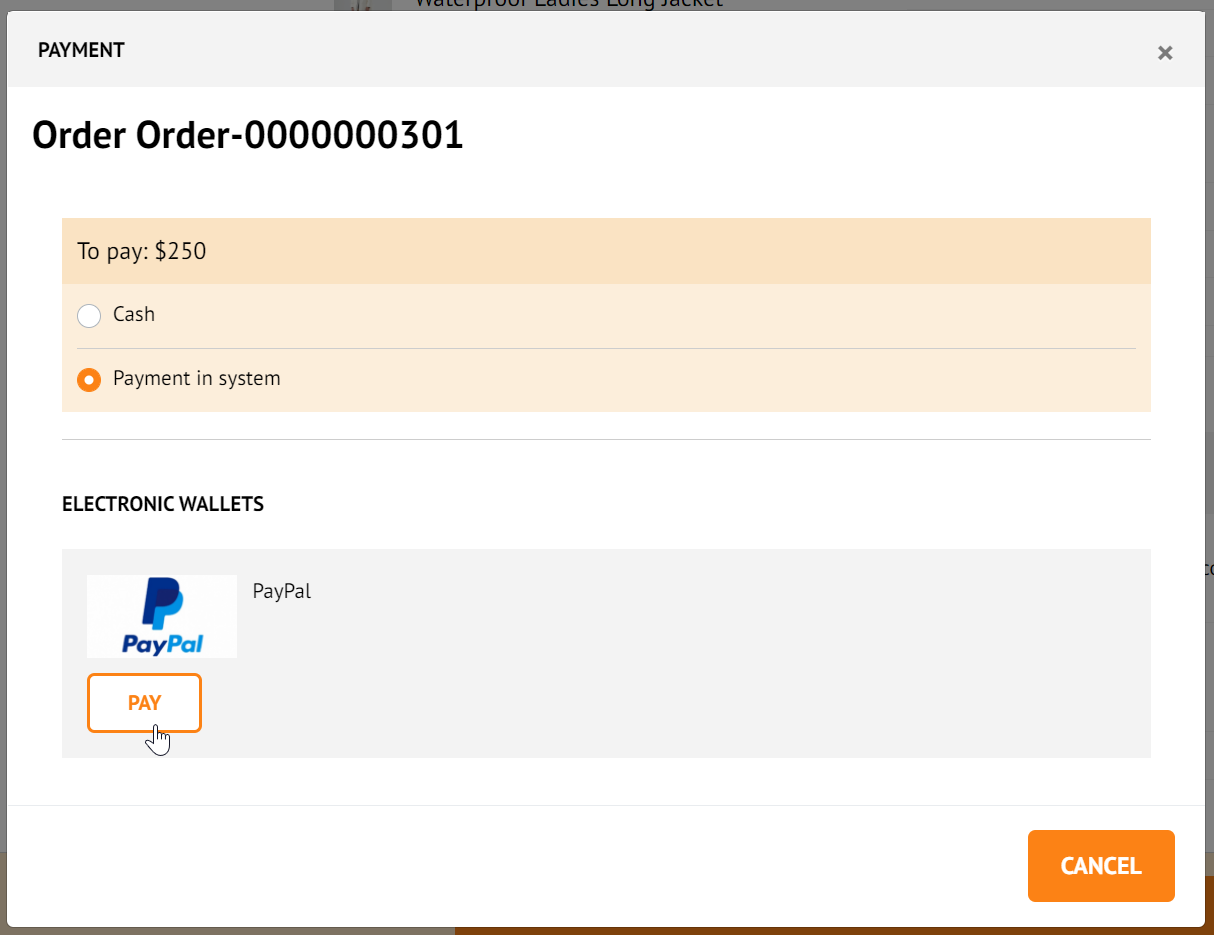
Then he pays the order and confirms it in his Personal Account.
...
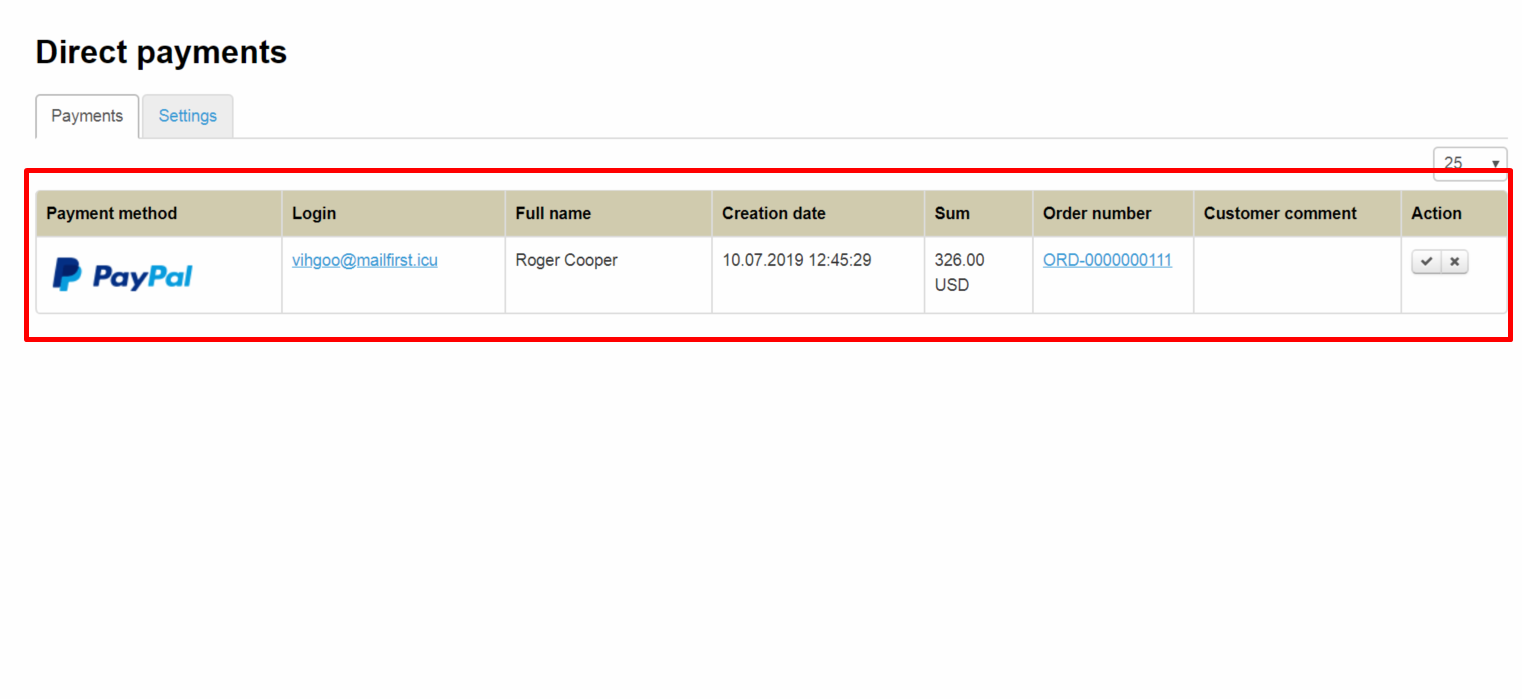
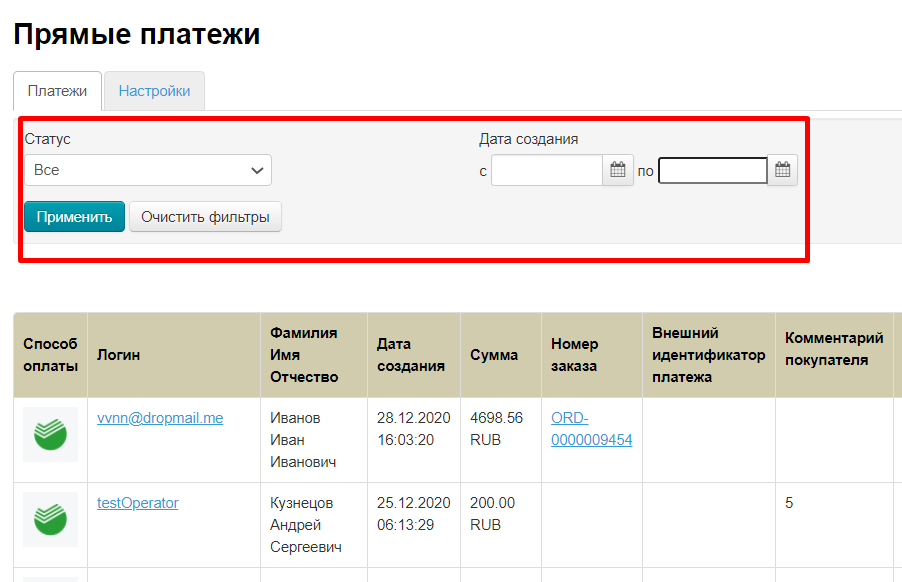
A record of made payments will be here.
Log into PayPal personal account after that and find customer's payment or choose another way to make sure that money was deposited to your account.
...
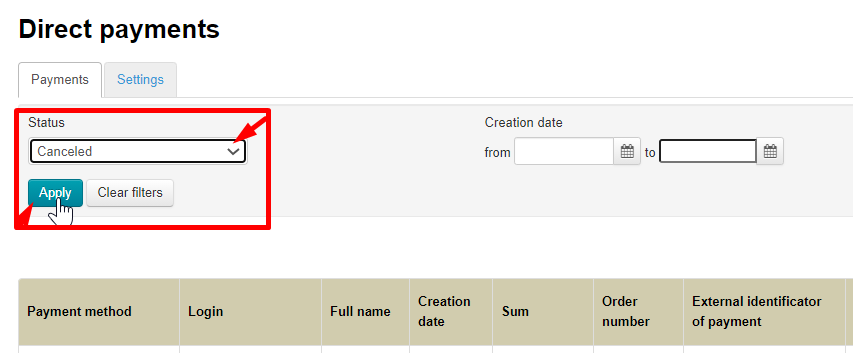
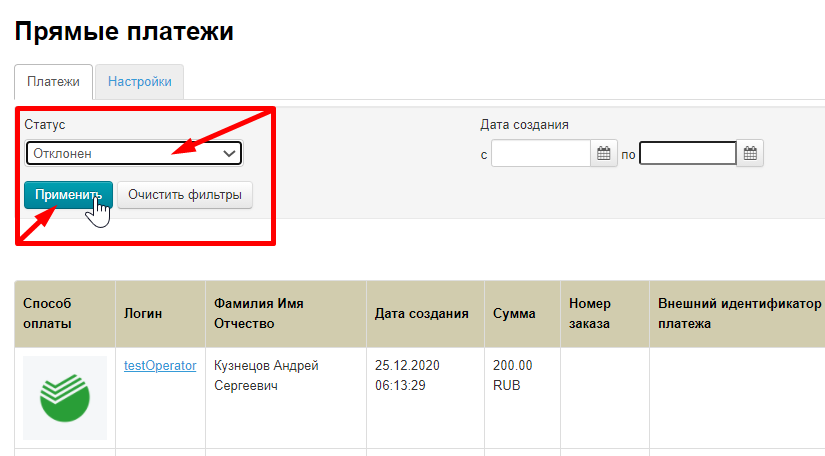
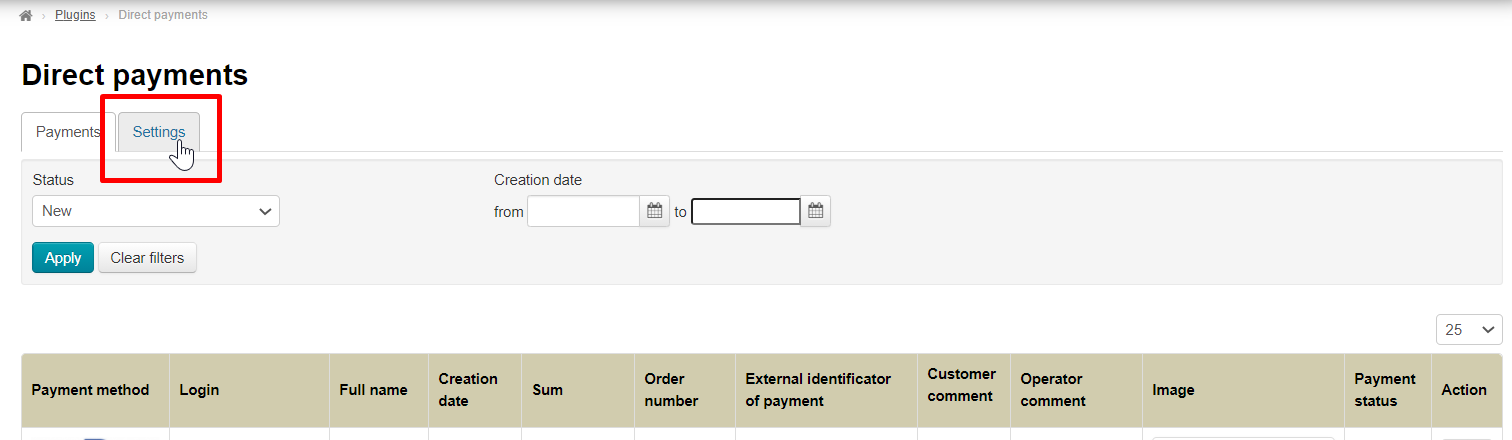
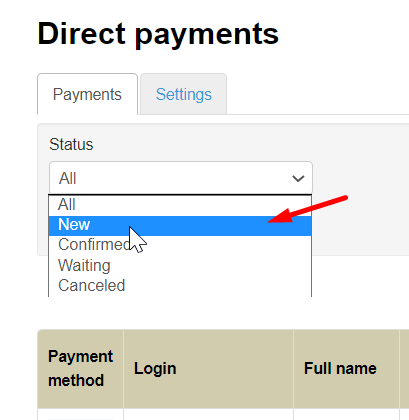
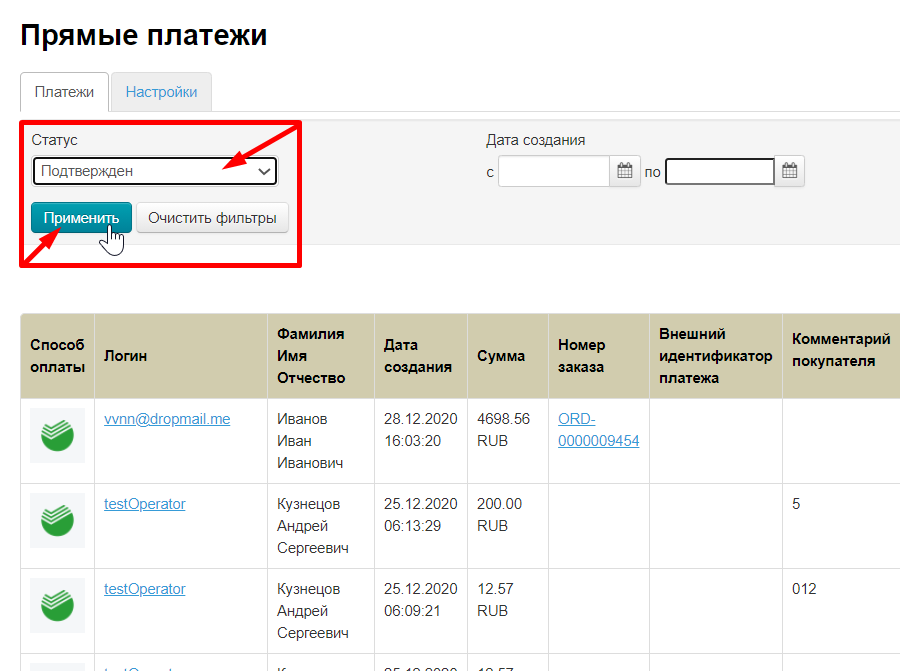
Use payment filter to find payment.
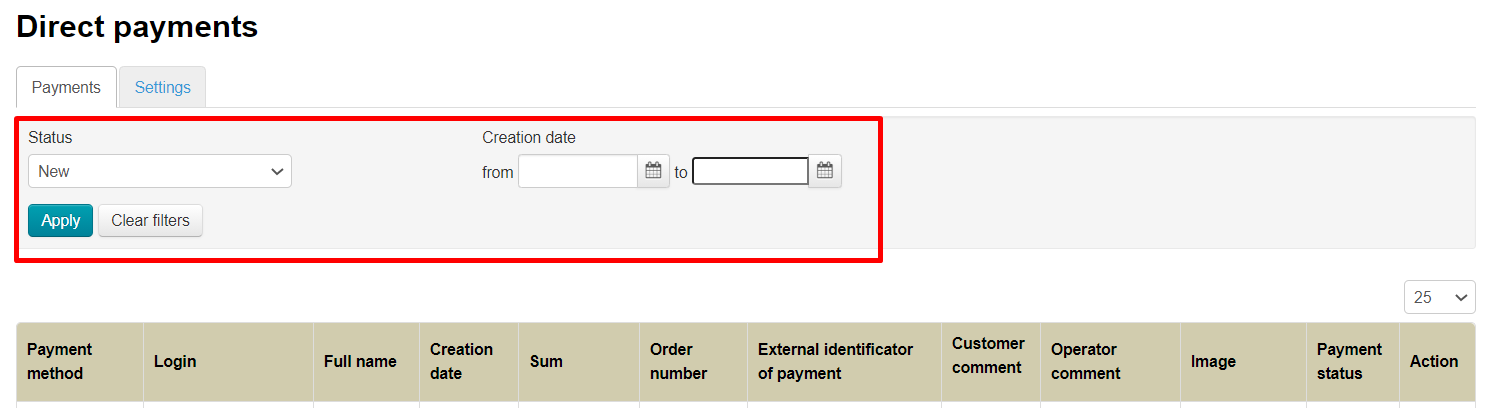
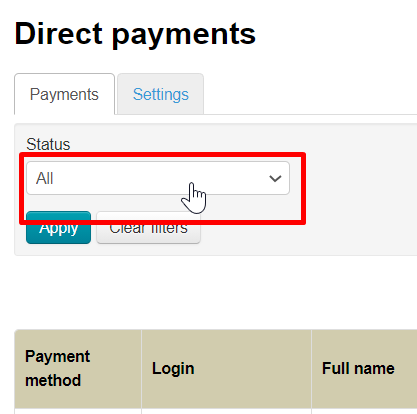
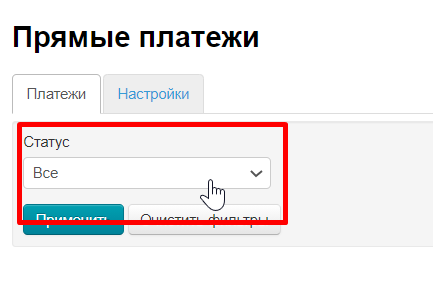
Payment can be found both by creation date and by status. You must search for either New or Waiting to confirm payment. Select necessary payment status from drop-down list.

Click “Apply” when you select status and/or date of payment and you will see only those payments that you’ve selected yourself.
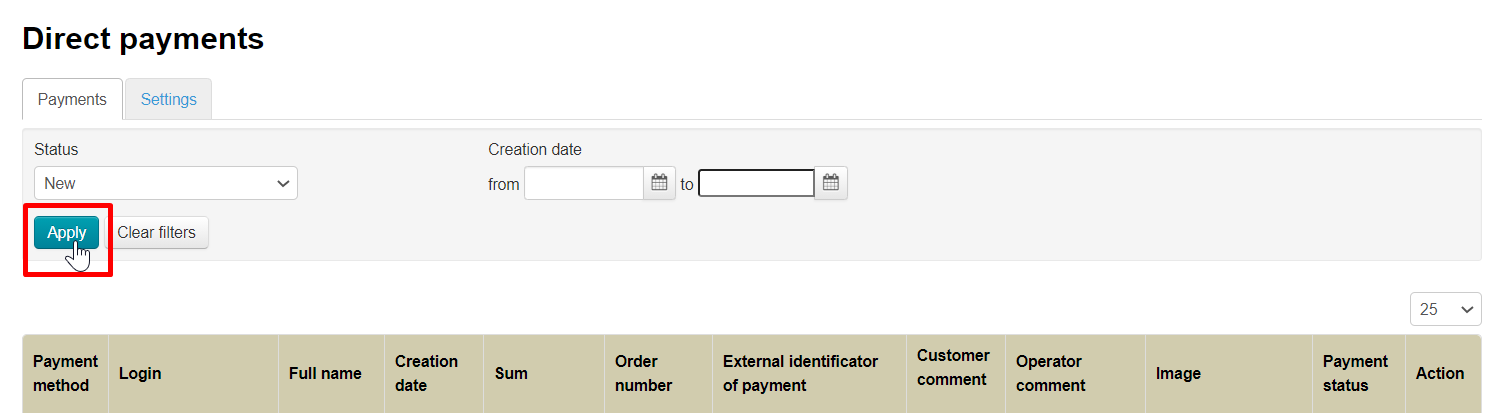

All payments are sorted by creation date by default.
...
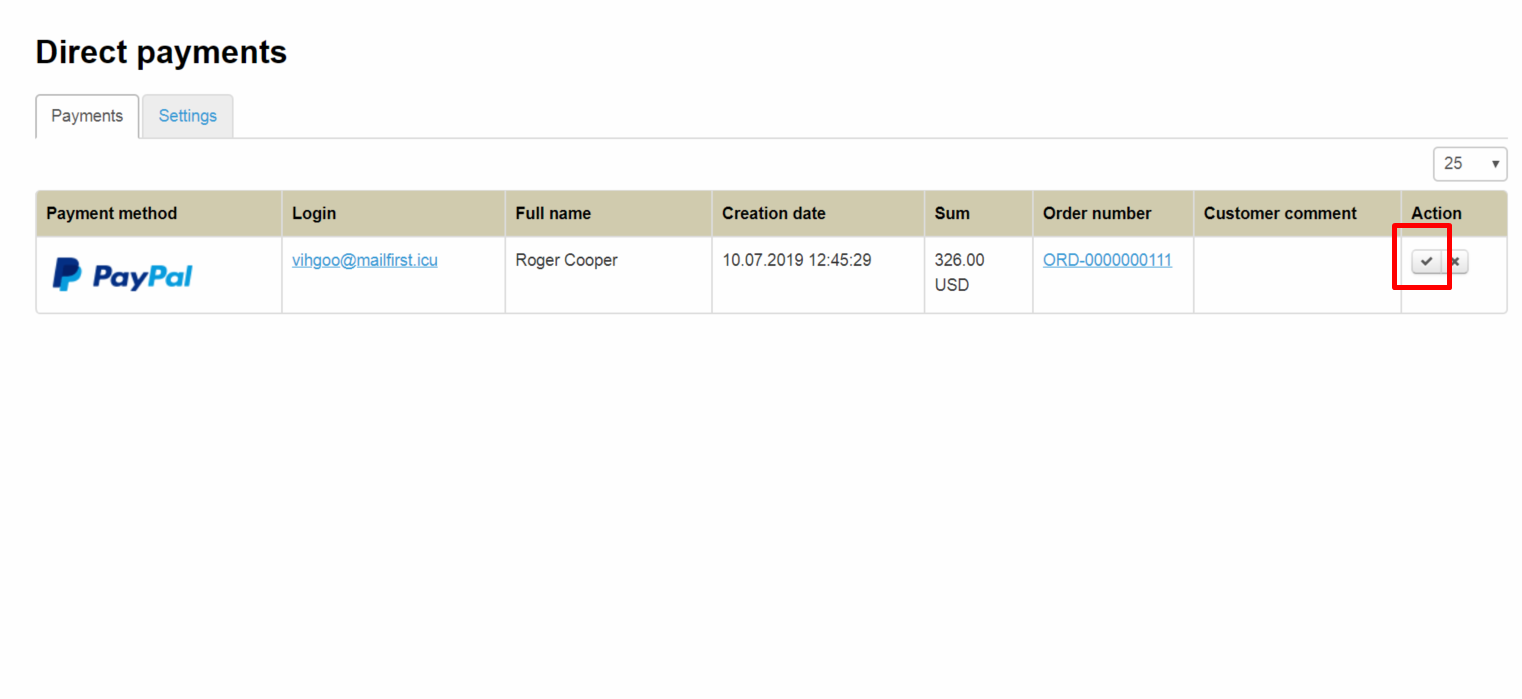
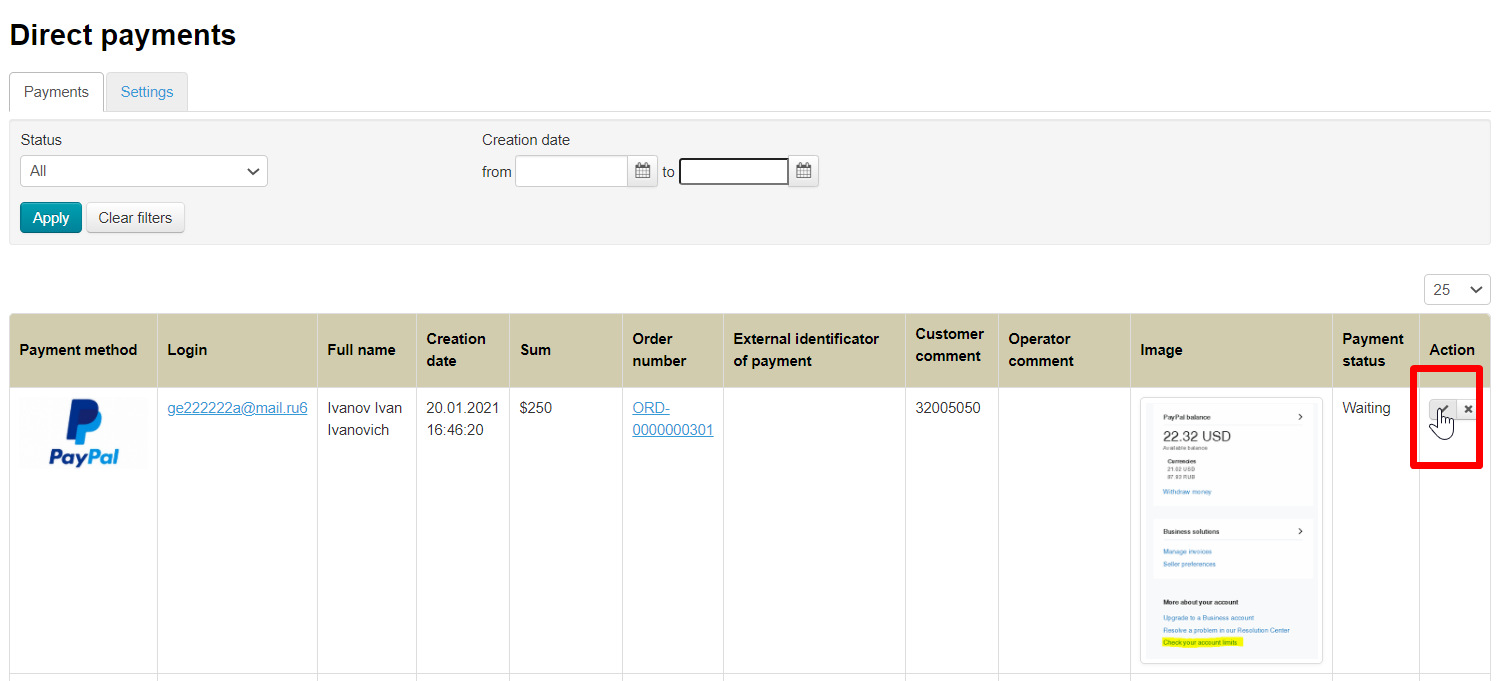
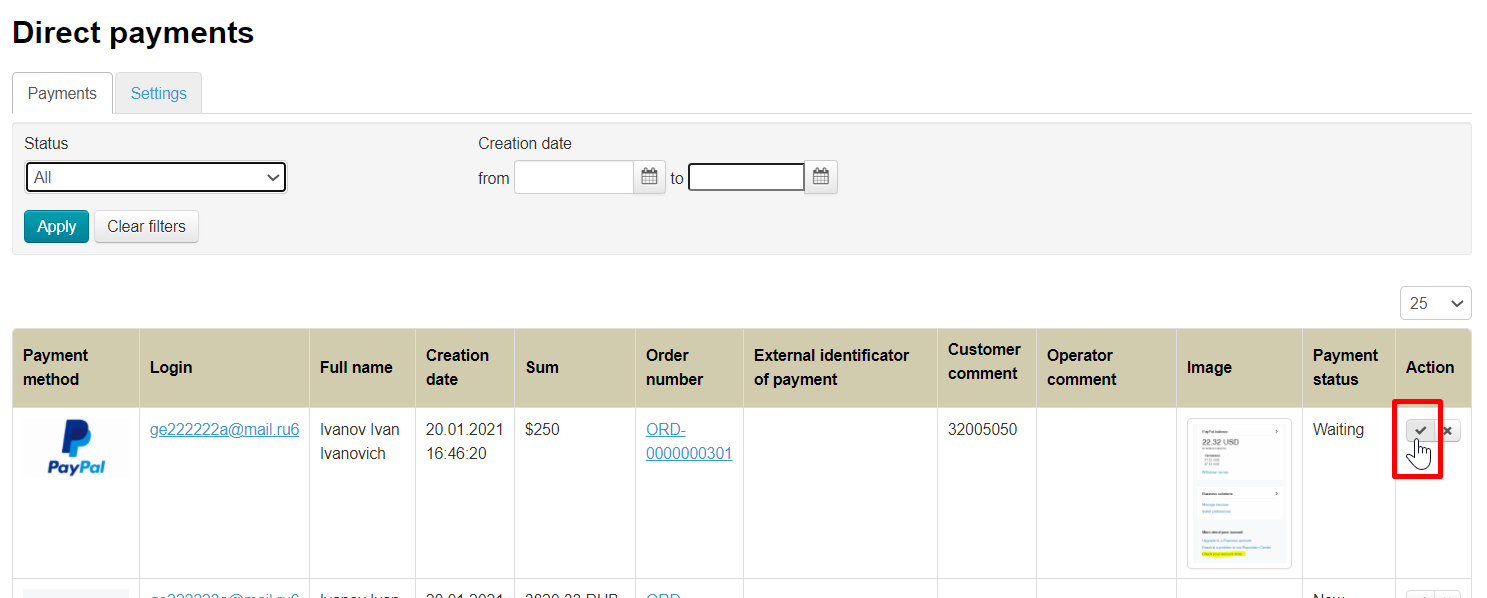
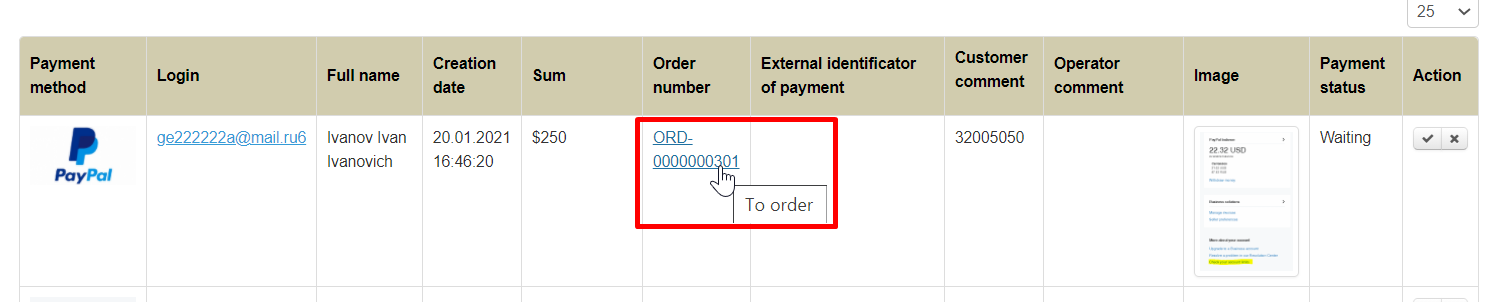
Click a tick (“Confirm” button) in “Action” column when payment is found.

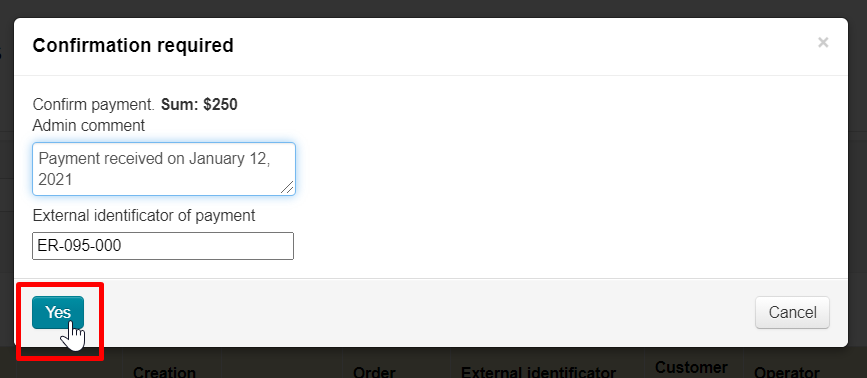
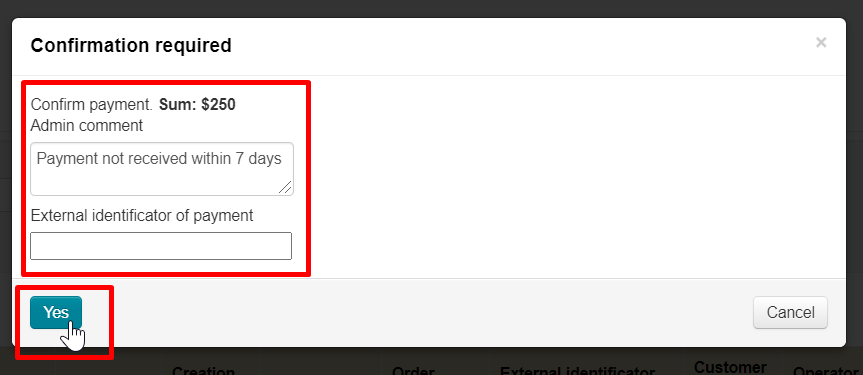
Admin comment and external identificator of payment are required to confirm payment.
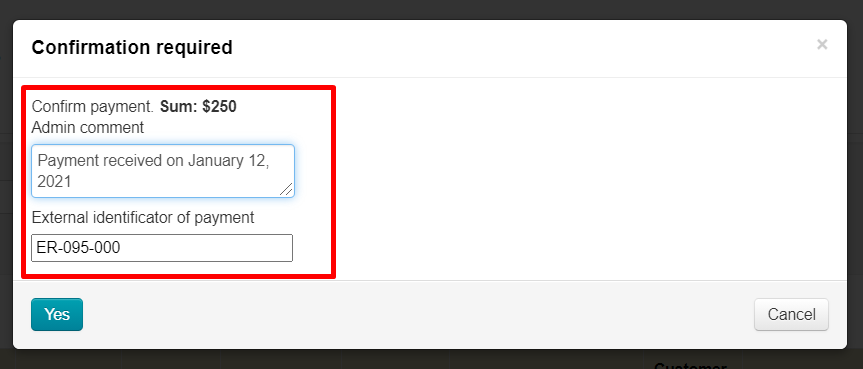

Click “Yes” to confirm payment. Order is automatically paid when you confirm payment.

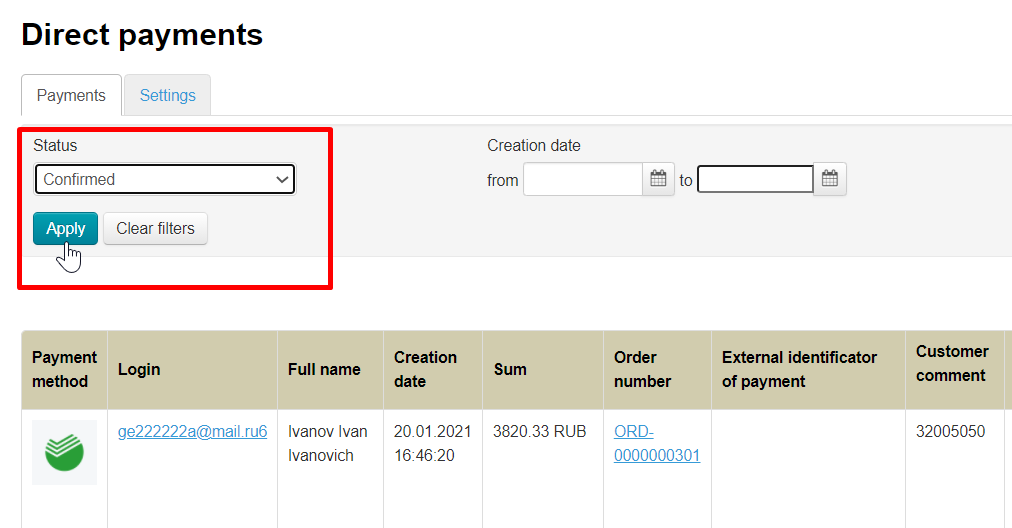
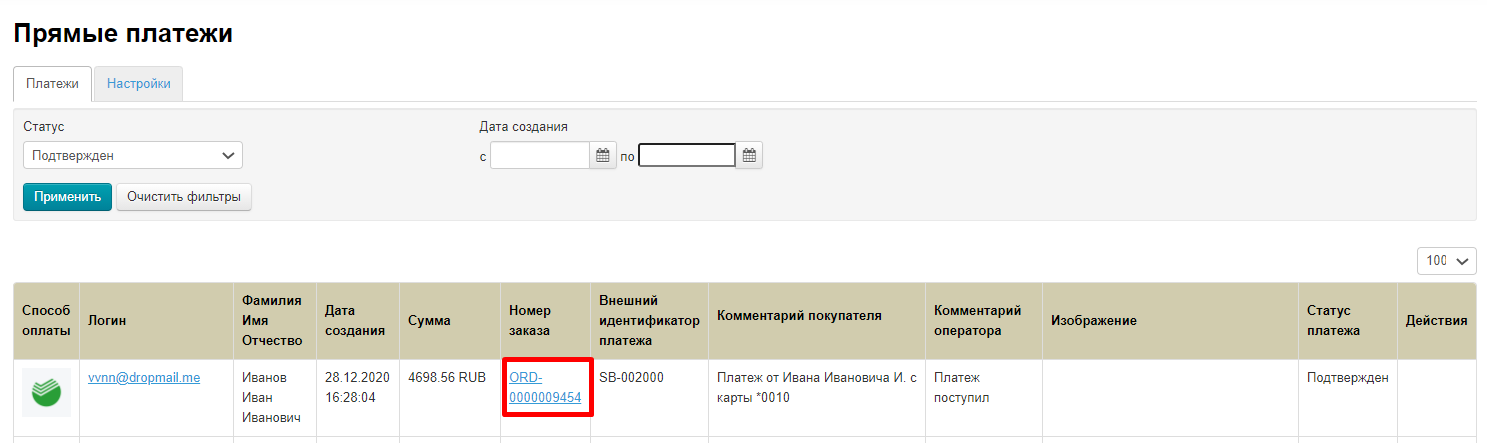
All confirmed payments can be viewed separately. Select “Confirmed” from drop-down list in filter "Status"and click "Apply" button.
View order and customer account
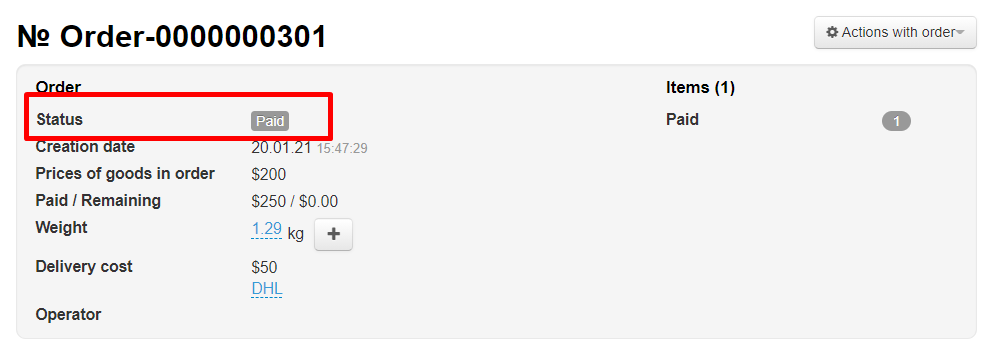
You will see the order that the buyer paid for if you click the order number.
Order will change status to “Paid”.

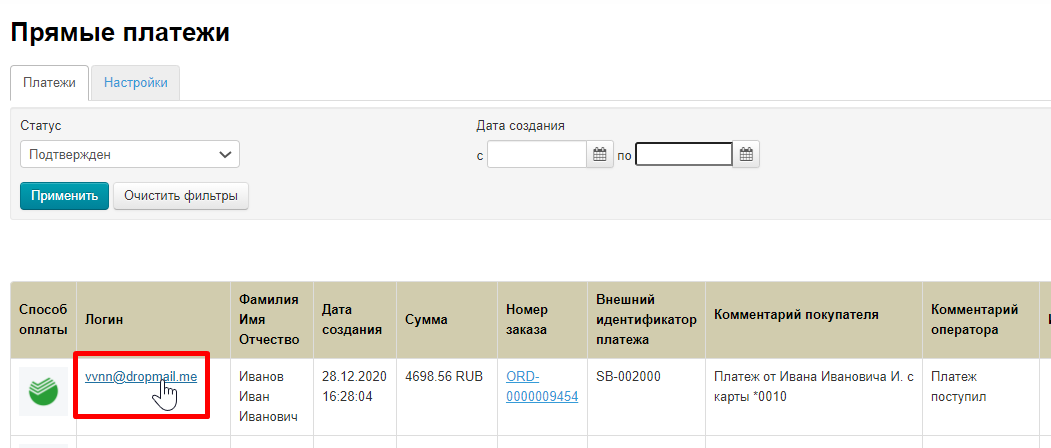
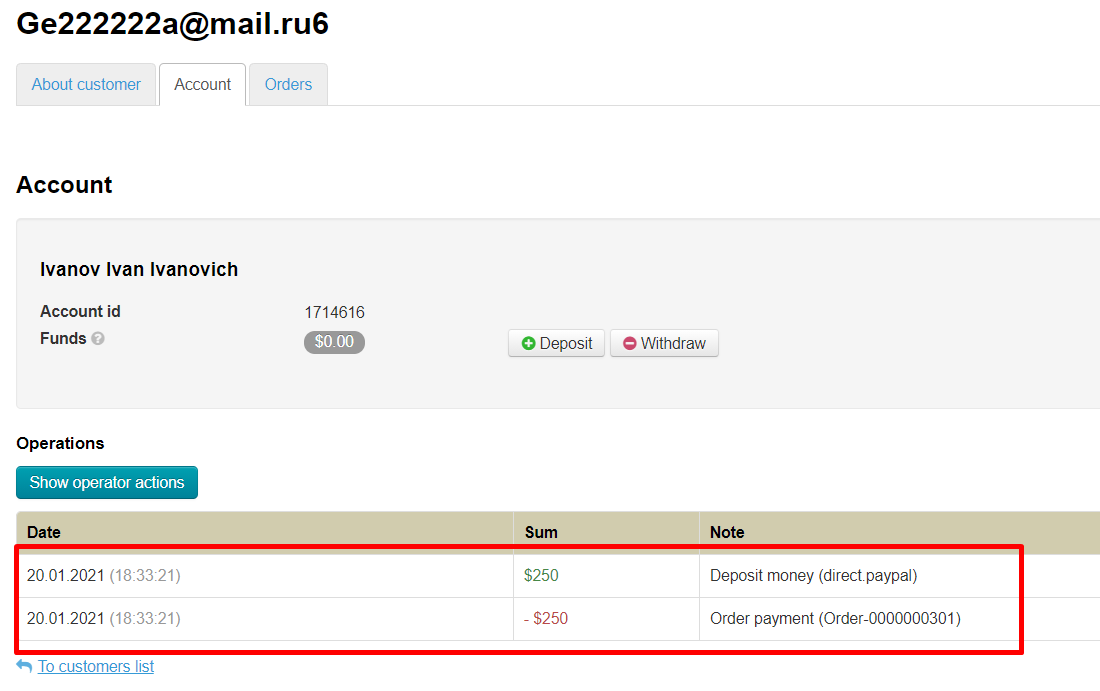
Customer personal card will open in your admin panel if you click his login.

You can view payments operations on “Account” tab.
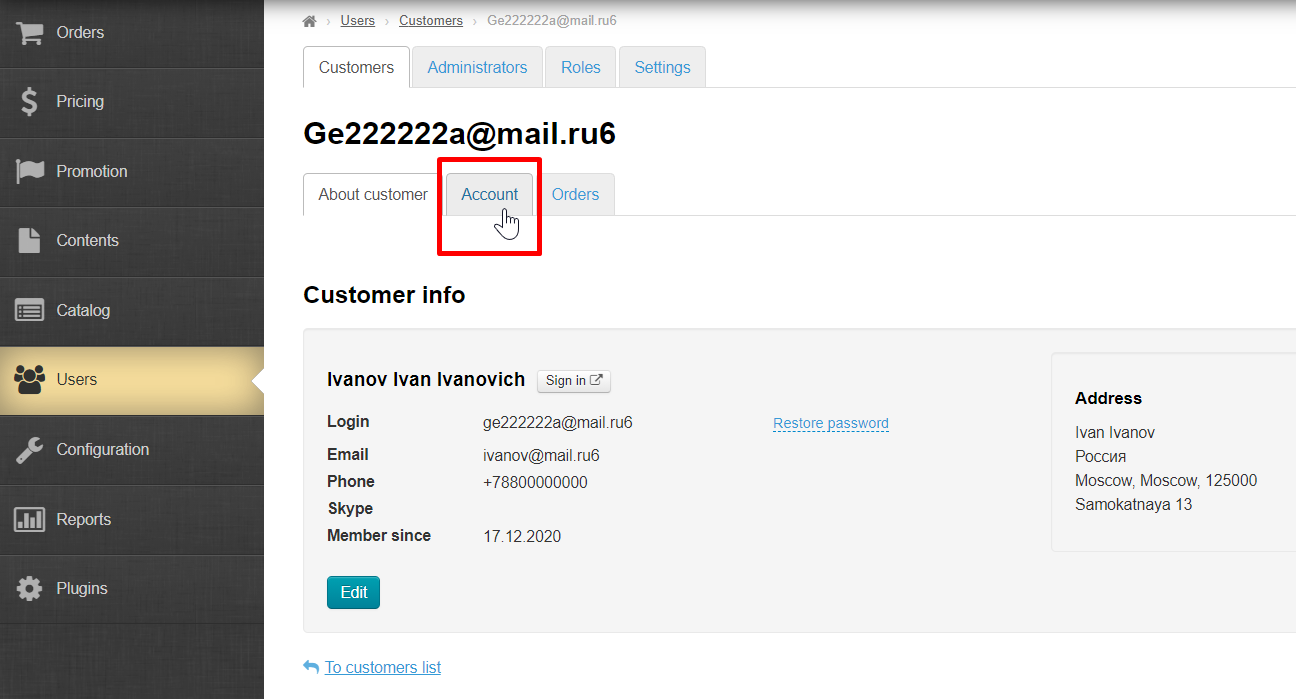

Order is automatically paid when you confirm payment.

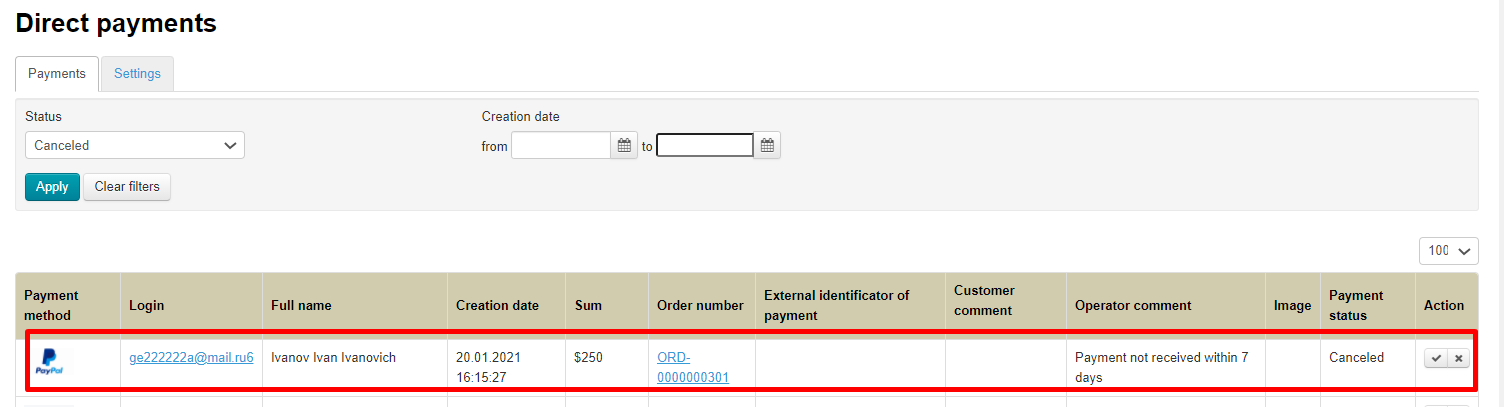
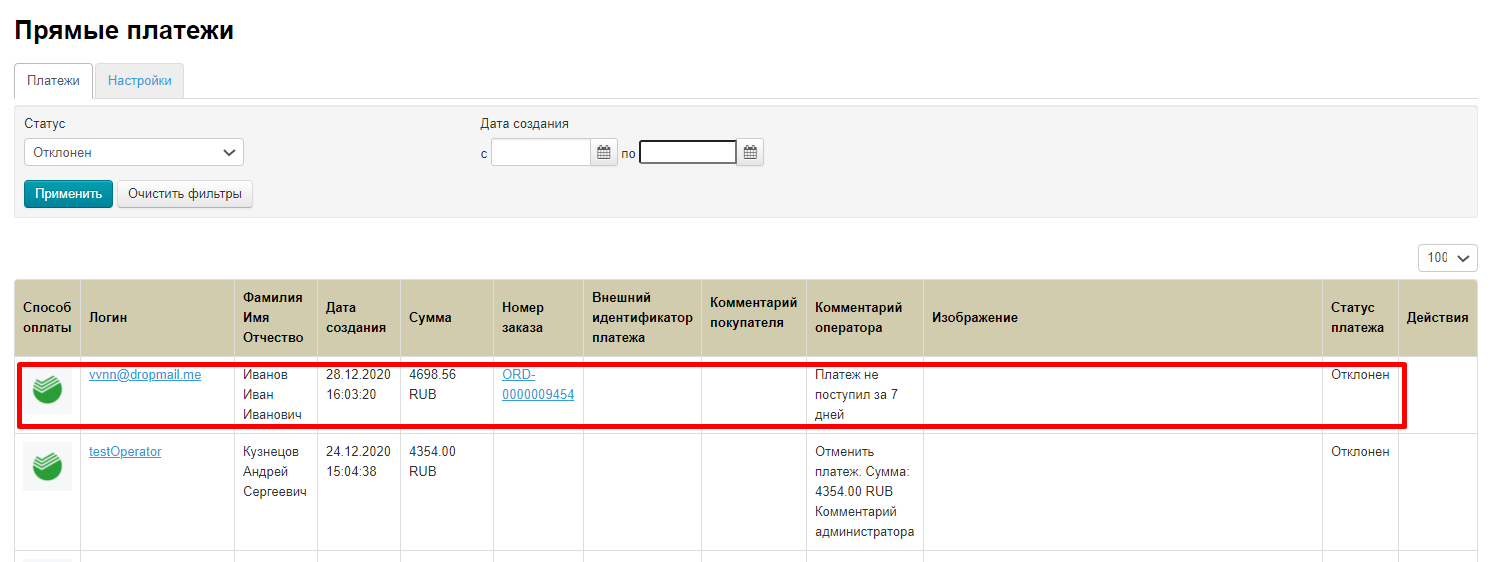
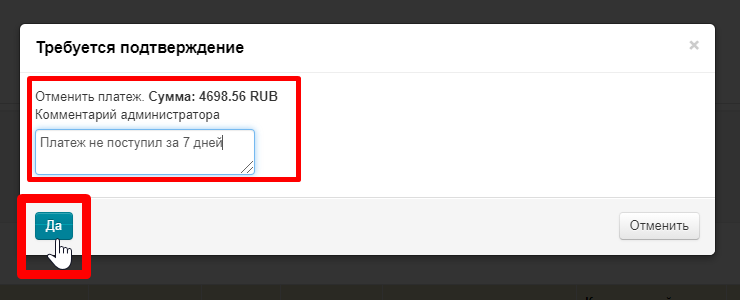
Cancel payment
Entry can be canceled using cancel button in “Actions” column if payment is not found in PayPal personal account (customer did not make payment).
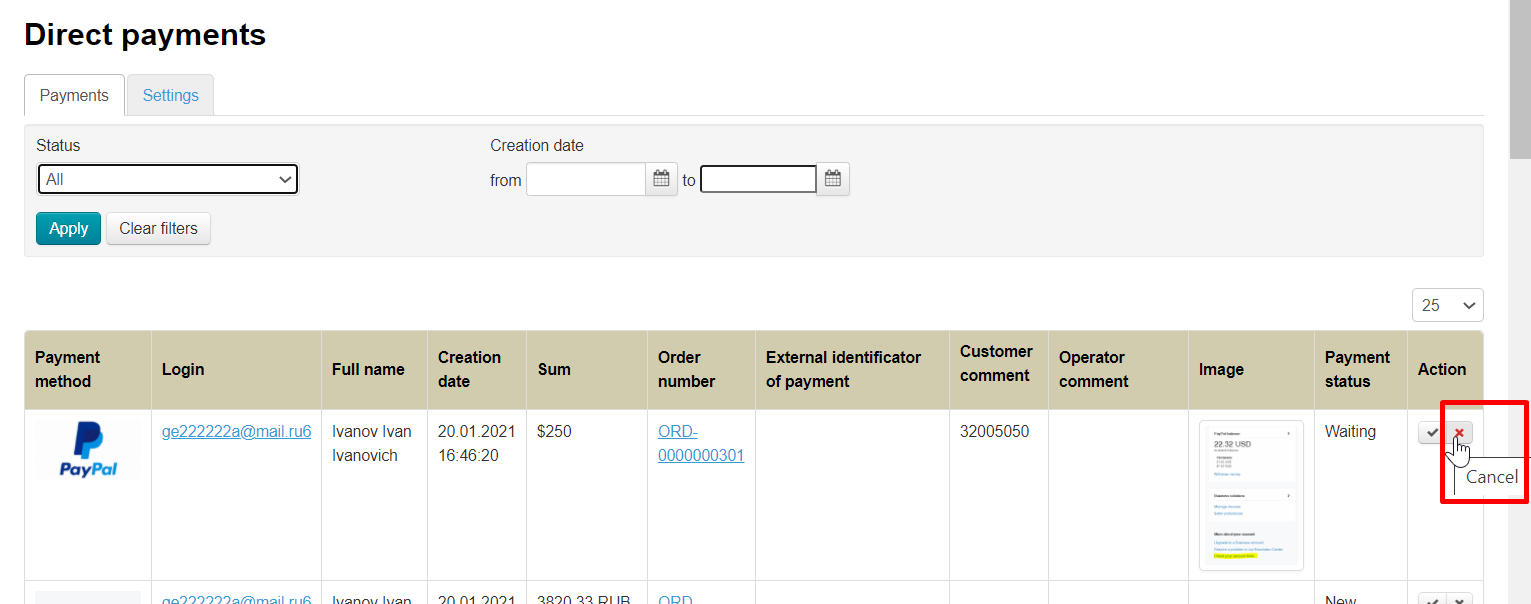
It is recommended to leave a comment and click “Yes” to cancel payment.
You can view all cancelled payments using search filters. Select “Canceled” and click “Apply”.