
Description
WebView is a specific format for mobile applications. Website will be displayed exactly as in mobile version but without the ability to “walk” through the browser tabs and to other sites (your buyer will not accidentally go to other tabs).
In addition, this is an extended mobile version of your site which allows you, for example, to add push notifications about promotions and sales.
IMPORTANT
Limitation: new applications will be available only for adaptive templates - website has a mobile version (It is Elastic template in OT Box)!
An example of website design in WebView application |  |  |
|---|
Example of push-notification

Settings for App Store and Google Play
Project creation will be in Firebase. Нужен аккаунт разработчика
Откуда взять аккаунт разработчика?
Google Play
Шаг 1: cоздание аккаунта
Переходим по ссылке https://play.google.com/console/u/0/developers
Важно
Если у вас переход по ссылке на работает, используйте VPN (актуально для жителей РФ)

Обязательно создаем новый аккаунт

Заполняем поля и нажмите «Далее»

На этом этапе подтверждаем номер телефона и потребуется включить двух


После регистрации, для доступа в интерфейс разработчика, Гугл потребует включить двухэтапную аутентификацию. Следуйте подсказкам и включите ее на время.
Перед передачей аккаунта разработчикам, двухэтапную аутентификацию на время работы с приложением лучше отключить или быть готовым постоянно присылать коды подтверждения разработчикам.

Отключаем через настройки аккаунта

В меню выбираем «Безопасность»

В списке последних действий кликом мышки выбираем «Включена двухэтапная аутентификация»

Вводим еще раз пароль и отключаем двухэтапную аутентификацию

Это не безопасно, поэтому сразу после окончания работ над приложением, включаем ее обратно! Схема та же что и при отключении.
Снова переходим по ссылке https://play.google.com/console/u/0/developers и создаем аккаунт разработчика для организации

Шаг 2: заполнение анкеты и принятие условий соглашения
Откроется анкета, которую нужно будет заполнить, а также проставить галочки согласия. Обратите внимание на «Имя», так как именно его будут видеть пользователи в Google Play.


Шаг 3: оплата аккаунта
Оплатите сбор $25 банковской картой. После оплаты потребуется подтвердить личность (фото паспорта или водительских прав)

Create project
Follow the link https://firebase.google.com/


Specify project name (1) - your website URL (domain name), put a tick next to the agreement (2) and click “Continue” button (3)
You can turn on Google Analytics at this stage (1), or you can do it later (optional). Click “Create project” (2)
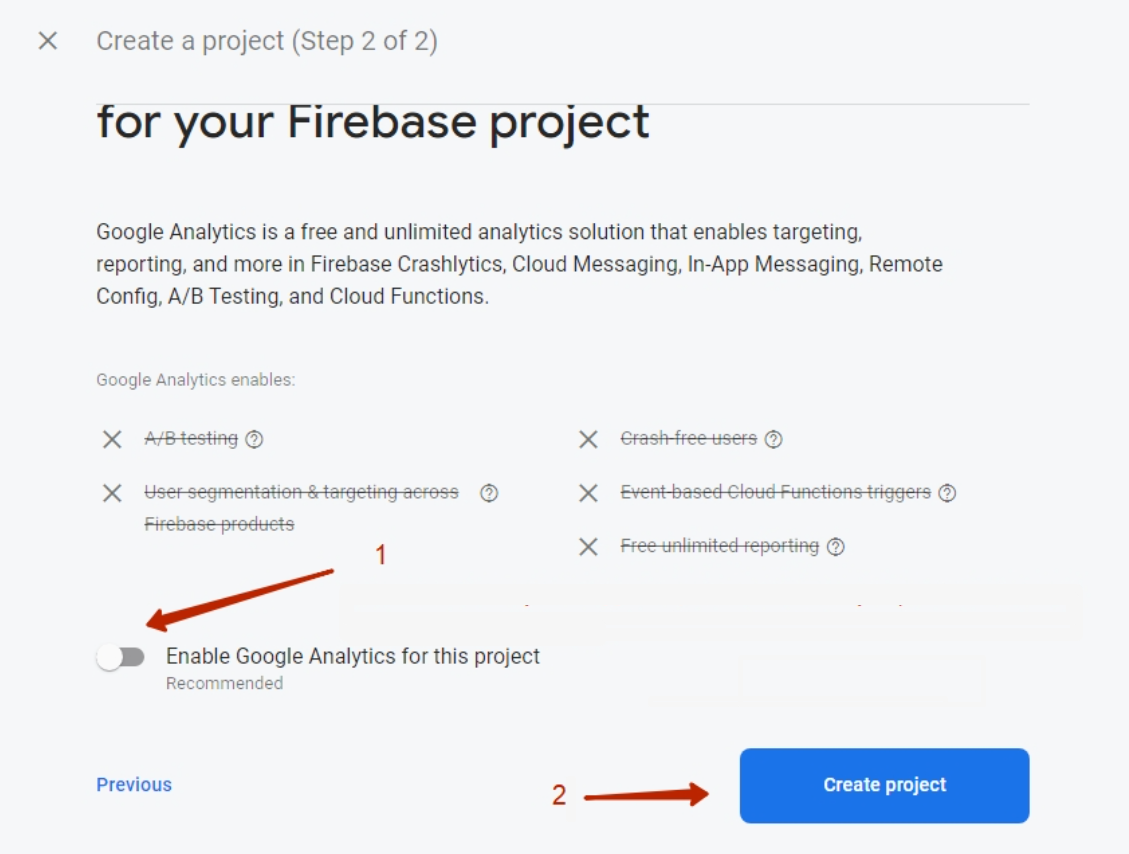
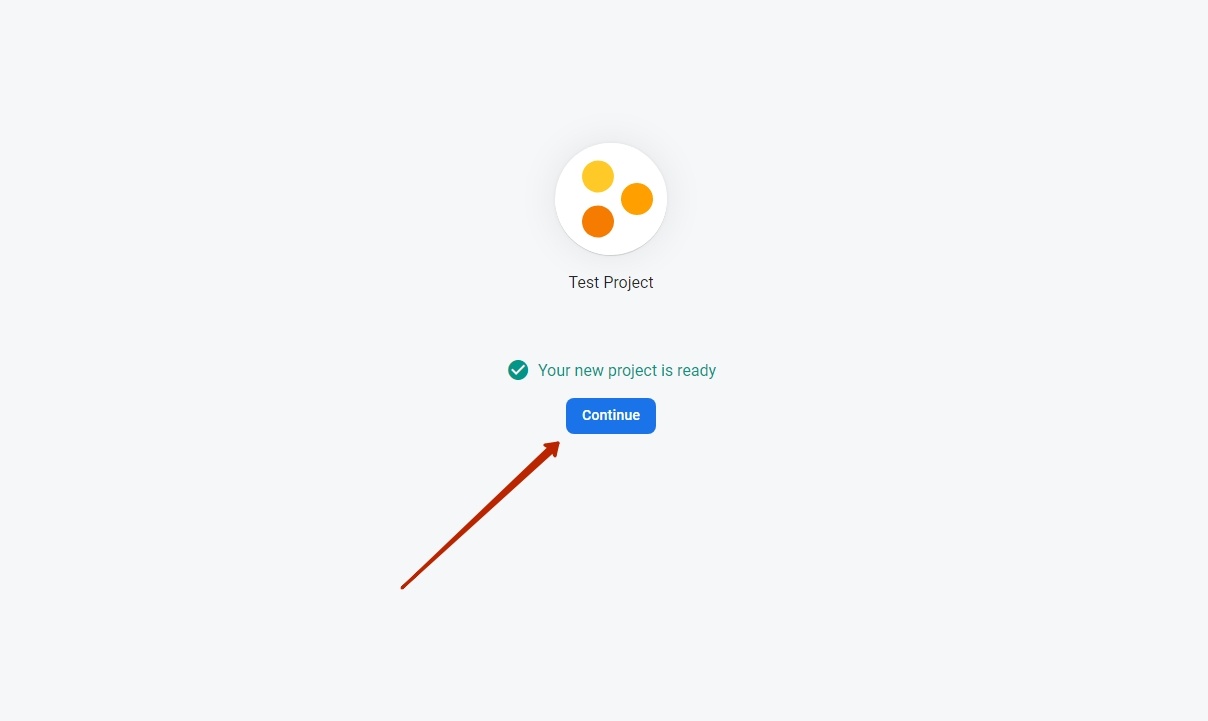
Continue” button
Create application
There is a choice here: create for Android or for iOS. The example shows how to create an Android application
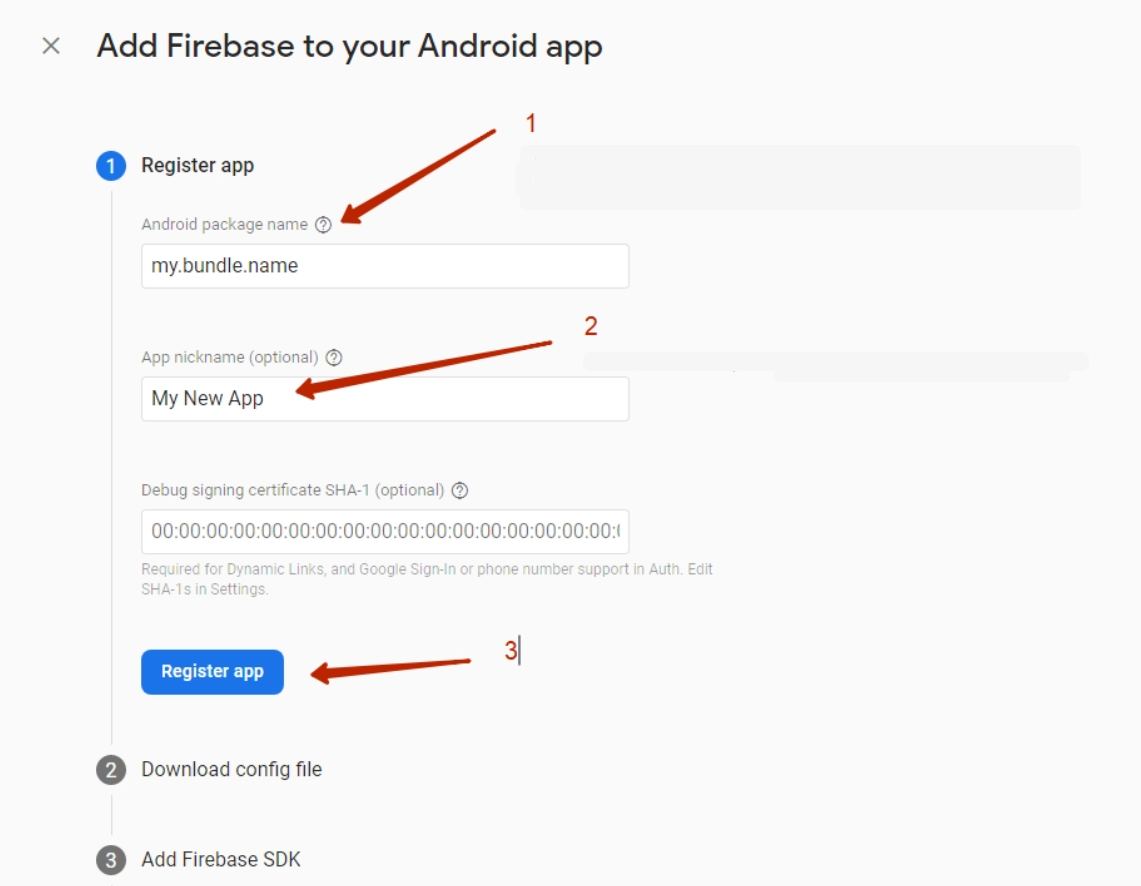
Step 1
Make a unique application identifier (Bundle ID) in English in “Android package name” field (1) in the application store (App Store or Google Play).
How to make Bundle ID?
- Take your website URL (for example, bundle.my)
- Take your website name in Latin (Name)
- Combine option1 and option2 by writing through a dot: firstly, the end of domain my (you can have any: com, ru, org, etc.), then the second part of domain bundle (you get com.bundle) and finally, the store name in Latin: Name (you get my.bundle.name)
More examples:
Address/URL | Website name | Bundle ID |
|---|---|---|
| top-test.otcommerce.com | Top-test | com.otcommerce.toptest |
| https://www.google.com/ | search | com.google.search |
| https://tao-bao.mn/ | tao-bao | mn.taobao.taobao |
We recommend to specify name of your store based on the OT Box in “App nickname” (2) field.
Register application clicking “Register app” button (3)
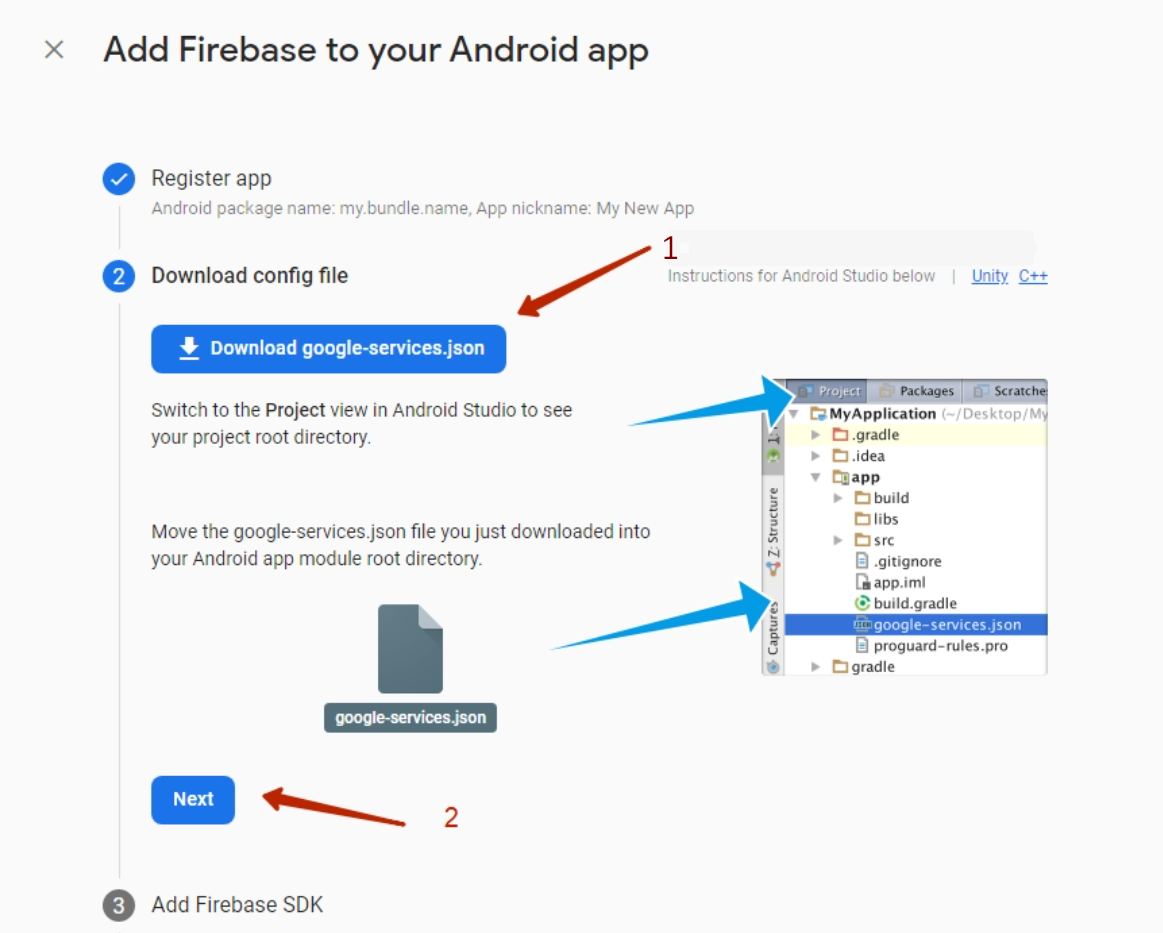
Step 2
Download *.json file to your PC clicking “Download google-services.json” (1)
Click “Next” button (2)
Step 3
Scroll down to “Next” button and click it. All fields will be filled in automatically and you do not need to add anything.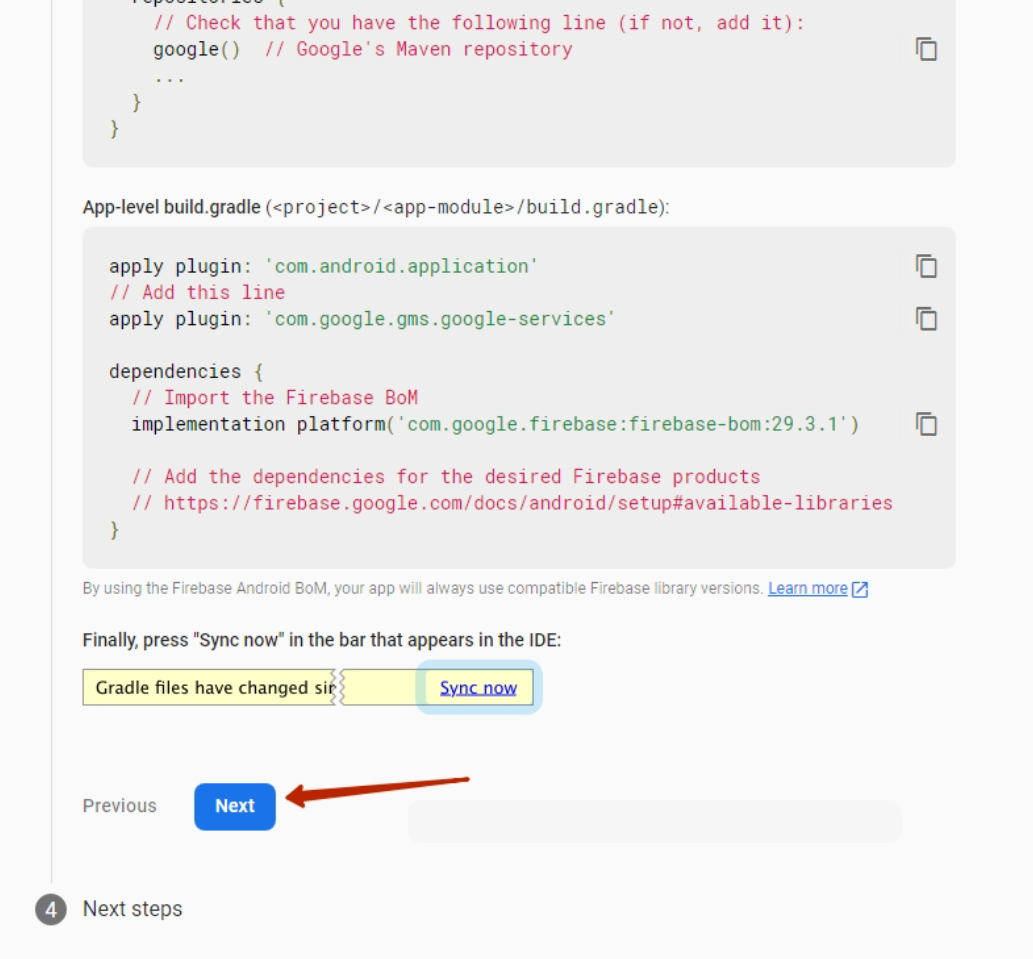
Step 4
Click “Continue to console”

Add PUSH notifications
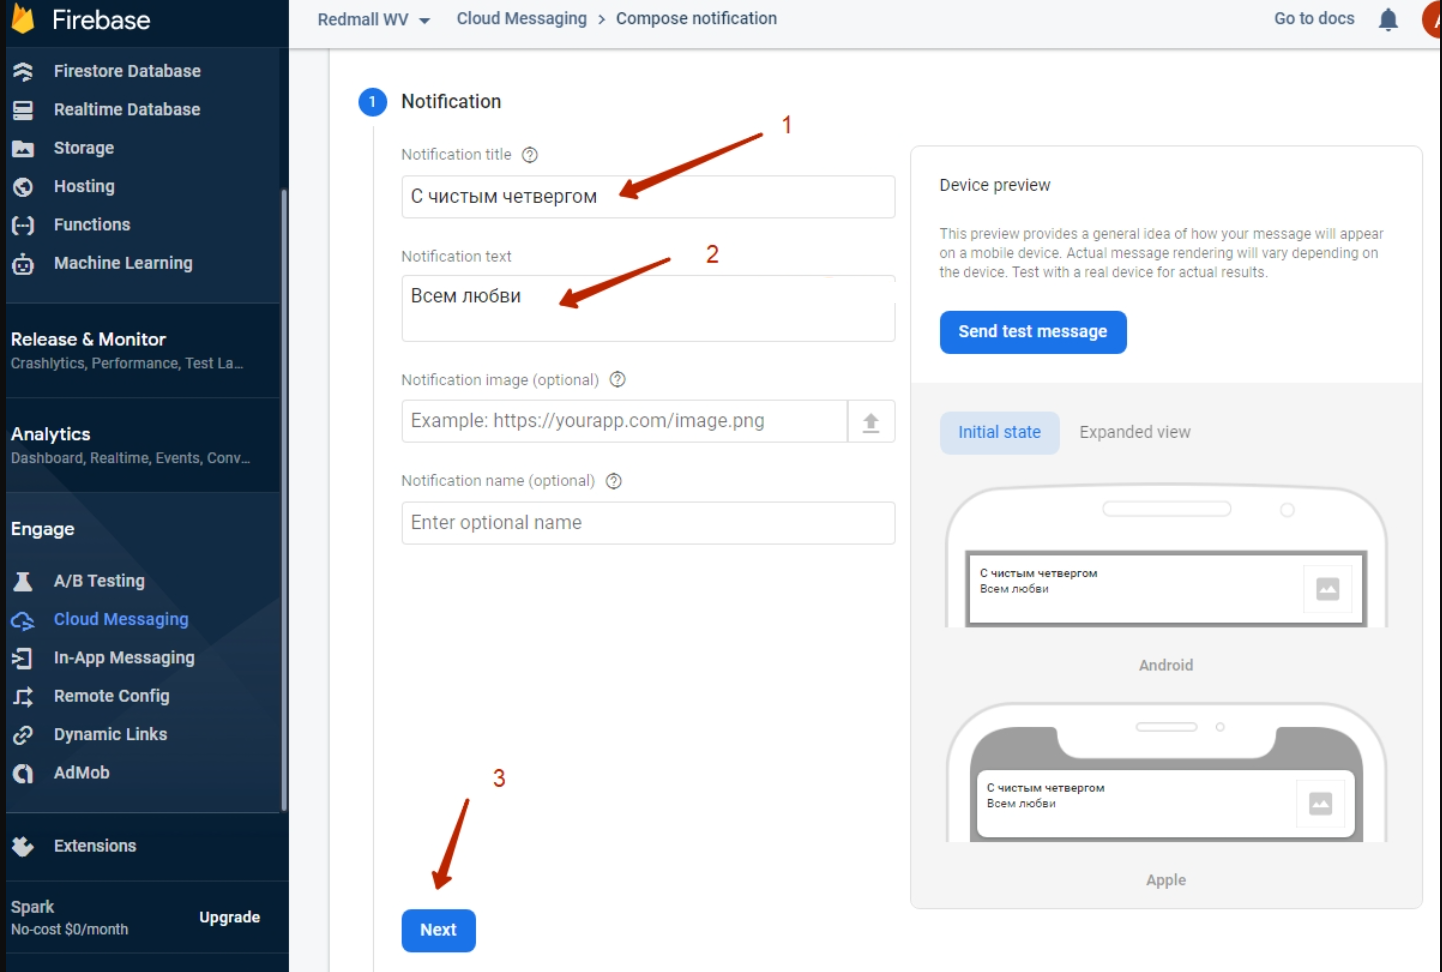
Go to Cloud Messaging in the FireBase project created above


Fill in the title field “Notification title” (1) and the message text “Notification text” (2)Click “Next” button (3)
In the Target block select the application for which we are sending a Push message. One project can have several applications including Android and iOS (1)
Click “Next” (2)

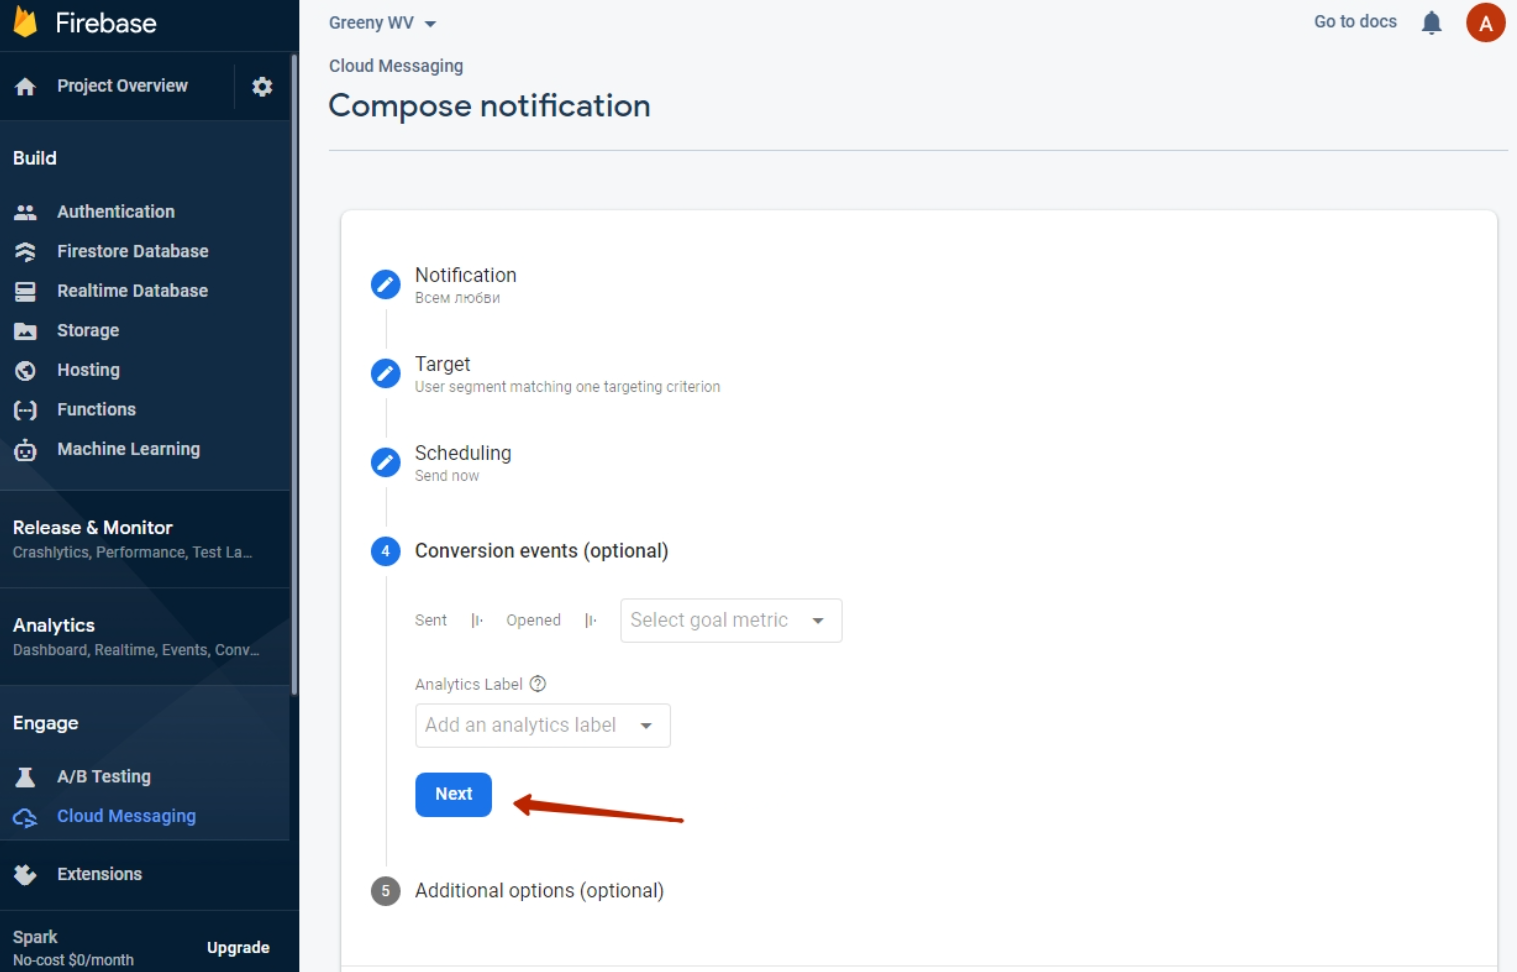
Don't change anything in 2 next steps and just click “Next” button both times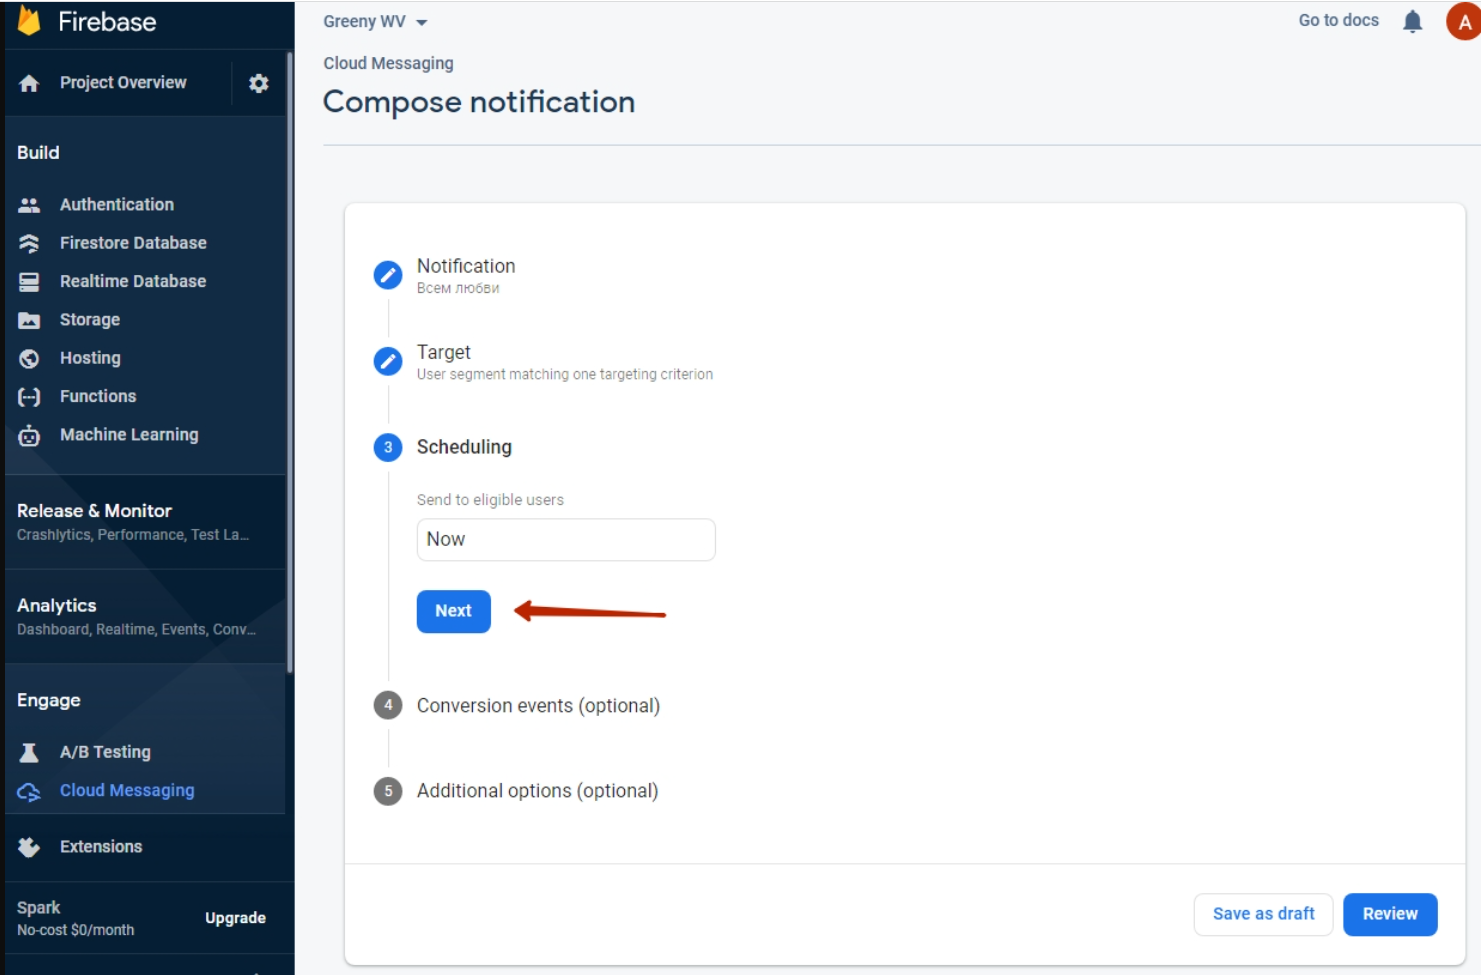
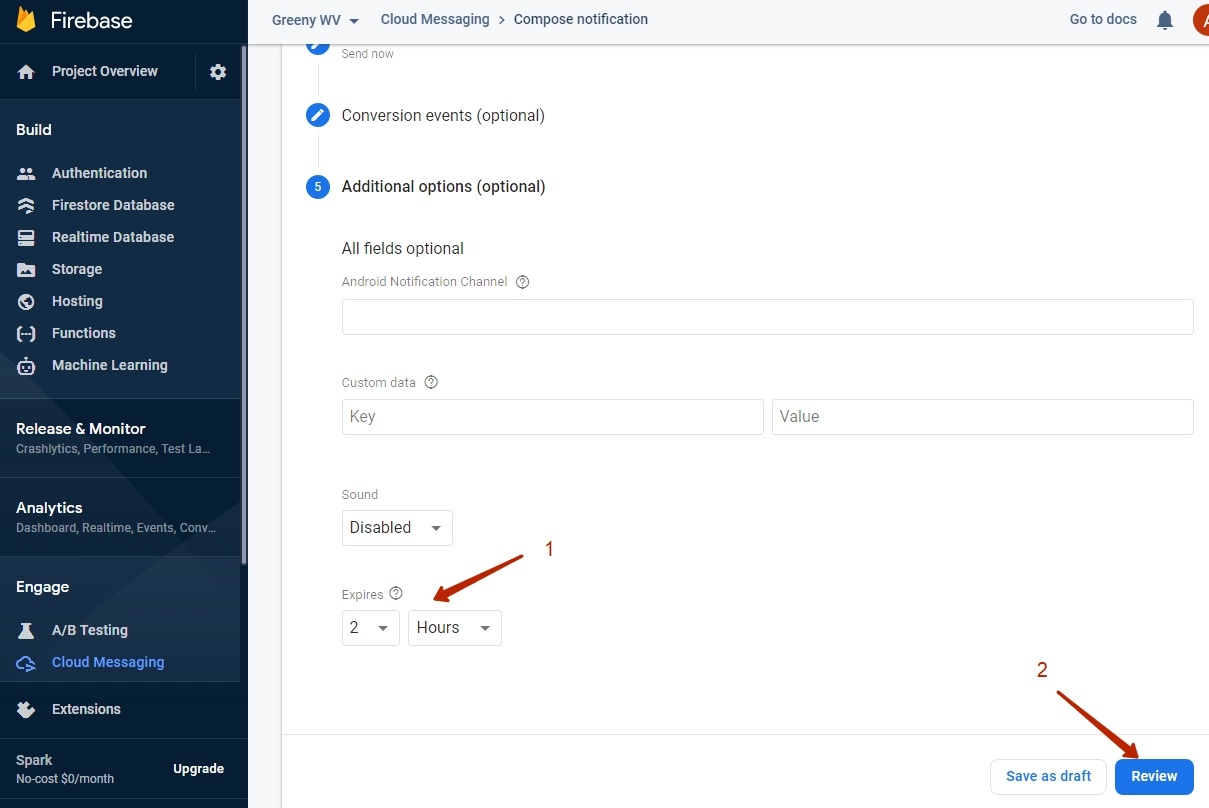
Select (1) message lifetime (how long it will be relevant and wait for the user when he appears on the network. This feature helps to set promotions and time-limited offers).Click “Review” button after that (2)
Check settings after that and click “Publish” button.
It is ready

IMPORTANT
Limitation: new applications will be available only for adaptive templates (It is Elastic template in OT Box)!