
Description
"Export to external resources" module allows to export products from your online store to external resources.
Selector module is required. Collections of goods are created in Selector module, which will then be exported to external resource (Facebook or Instagram).
Prepare collections in Selector
Read detailed instruction how to set and work with "Selector" in "Selector module" instruction. Below are the most basic steps for creating a collection.
Recommendations how to select goods
Every external resource that is different from an online store, most often, does not initially imply the sale of goods. For example, social networks are created for communication, forums for finding answers, etc. Therefore, selecting goods for sale in such places requires a special approach.
Let's take Instagram as an example. On average, it is believed that most of the active users of this social network are teenagers and women. Those people who most often make impulsive purchases for small amounts of money (adolescents are limited to pocket money, and women subconsciously tend to save money and it is better to buy 2 at 50 things than 1 for 100). Undoubtedly, there are also adult men, but there are fewer of them and men need their own approach to sell them.
Based on the analysis of the resource for export, you can make a rough forecast of what will sell better. For example, for the Instagram network, goods from 5-7$ to 40$ are suitable and do not carry any hint of serious investment (goods are bought according to the mood). Note that this is only an example for one and a very wide segment. Undoubtedly, on Instagram you can sell anything and to anyone, it is important to understand who your buyer is in a particular place and do a little analysis.
Information about traffic, target audience and other data is freely available on the Internet. Therefore, we recommend you study information and develop your strategy for successful sale of goods or your store promotion.
Create categories in Selector module
Read detailed instruction how to set and work with "Selector" in "Selector module" instruction.
So, collections can be used in Mixed and Internal modes.
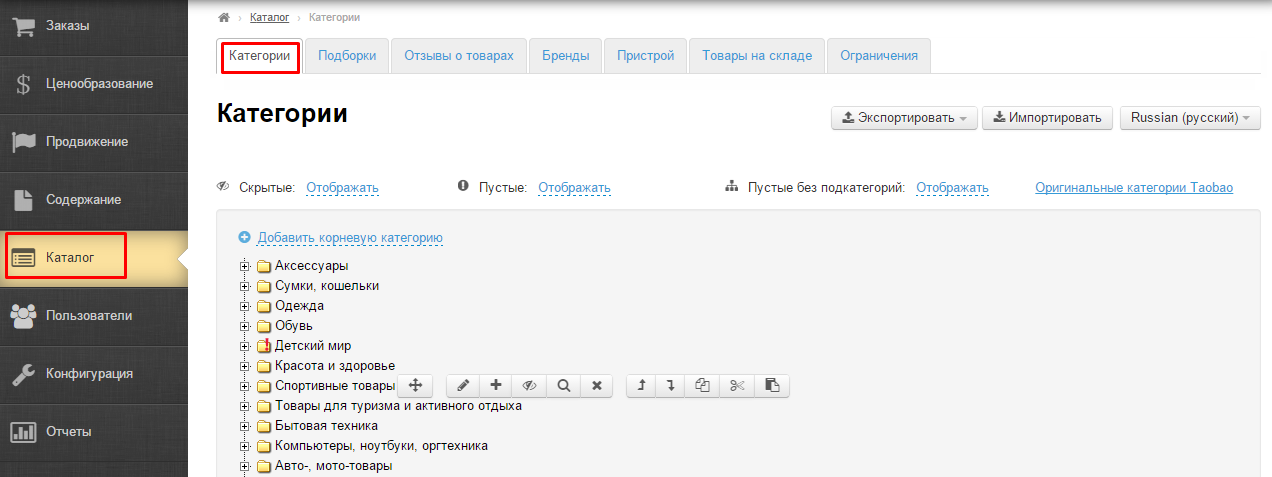
Open "Catalog" section and "Categories" tab.
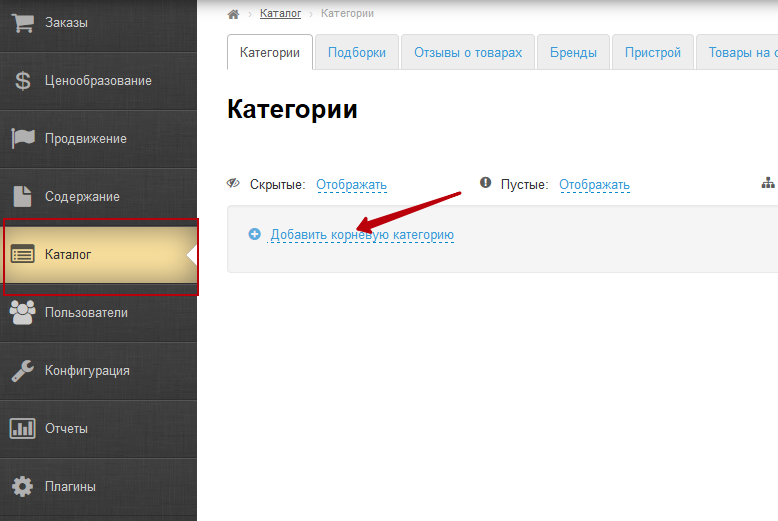
Click "Add root category".
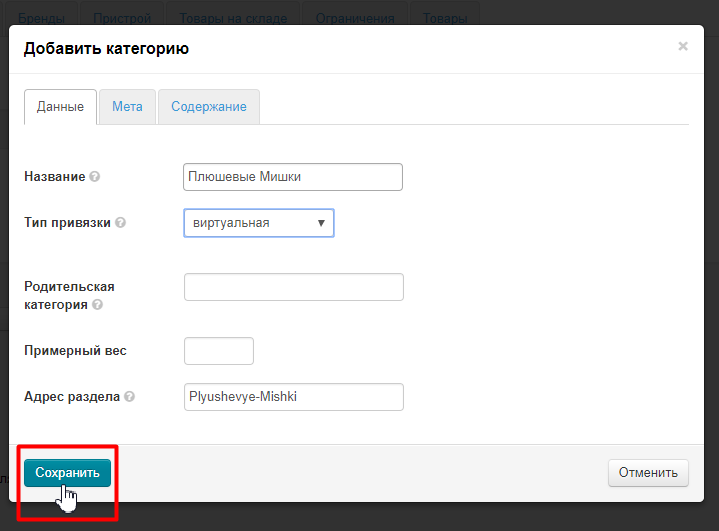
Enter name of this category in catalog and select virtual type of binding:
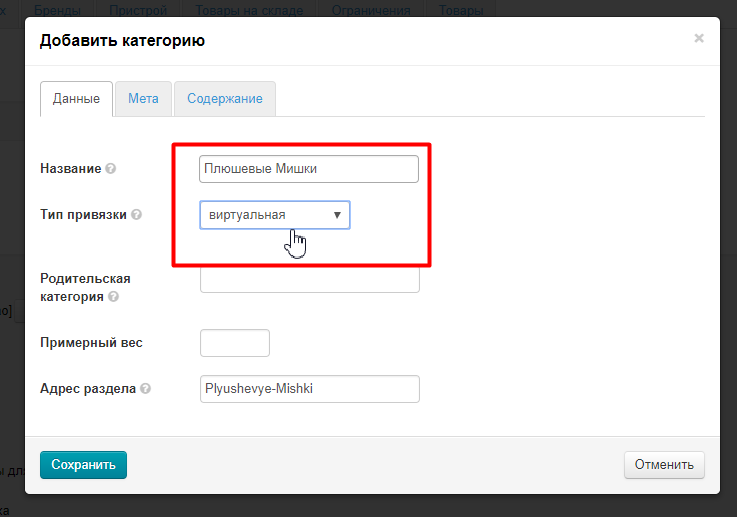
Other parameters are optional (check "Catalog: Add root category" section)
Click "Save" button:
Page will refresh and category will appear in the catalog.
You can also fill in information in Meta and Contents tabs for categories (collections) of Selector in a standard way.
Read more in "Categories: Add root category" section.
Add goods
Hover over a category. Click "Set Products in Selector" icon.
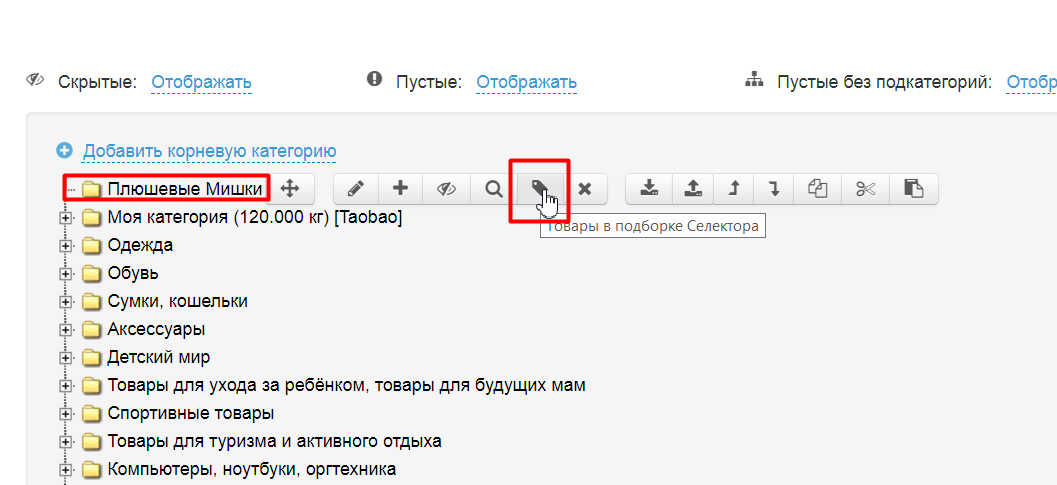
You will be redirected to "Collections" section (this will open a new tab in the browser).
Add
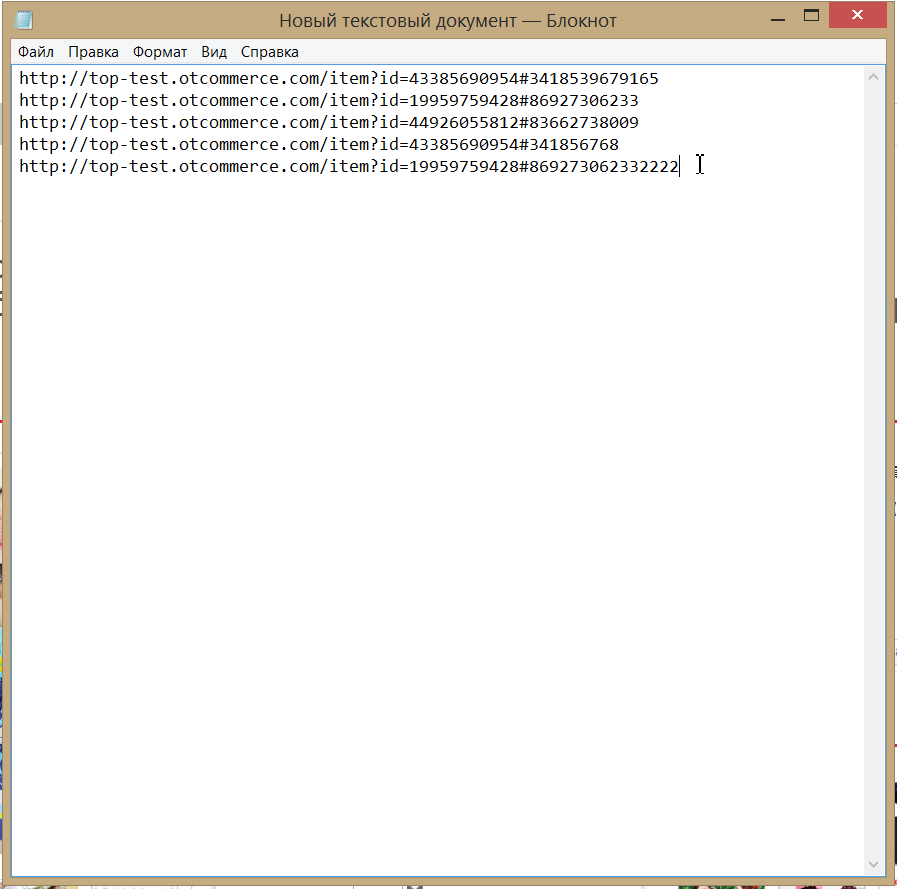
Copy the links to necessary products from the address bar of your browser.
Create a txt file. Copy all links of required products. Each link should be placed on a separate line.
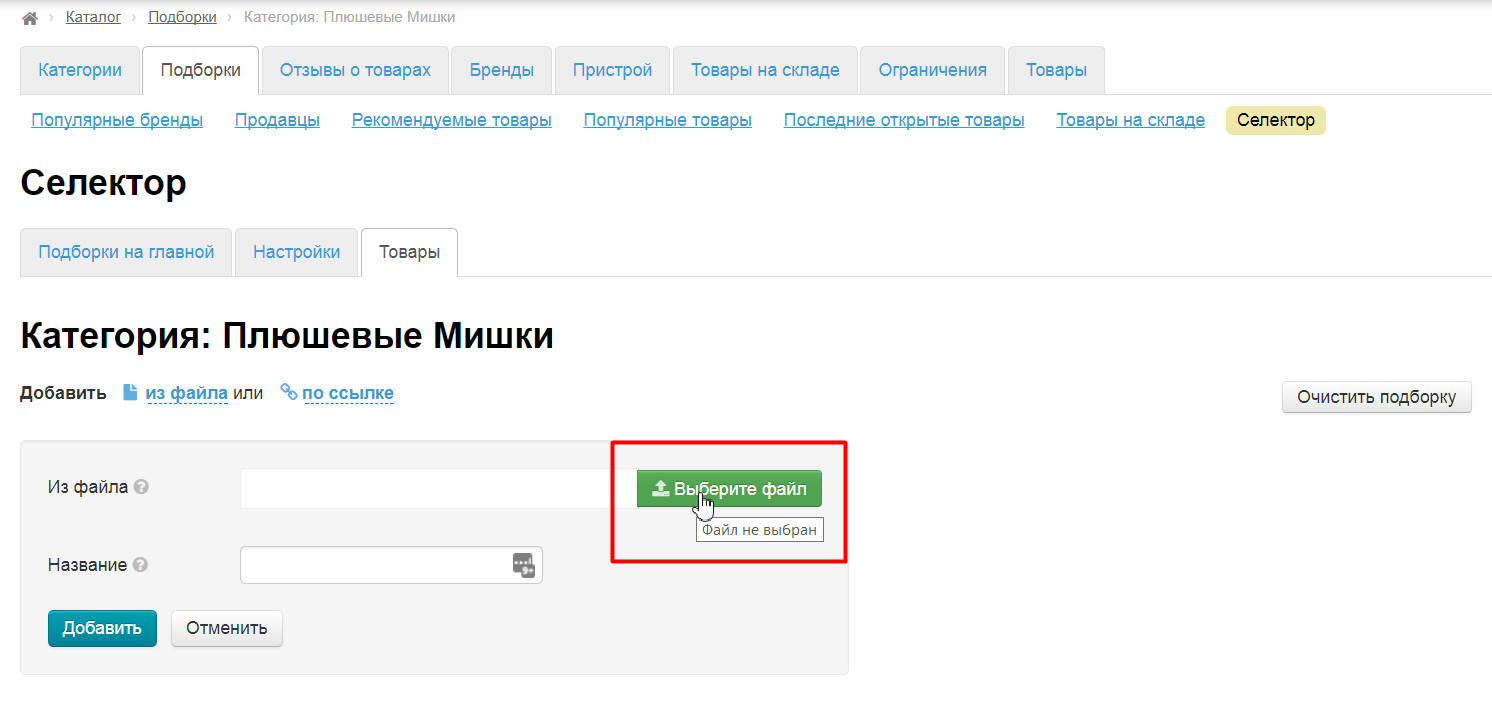
Click "from file":
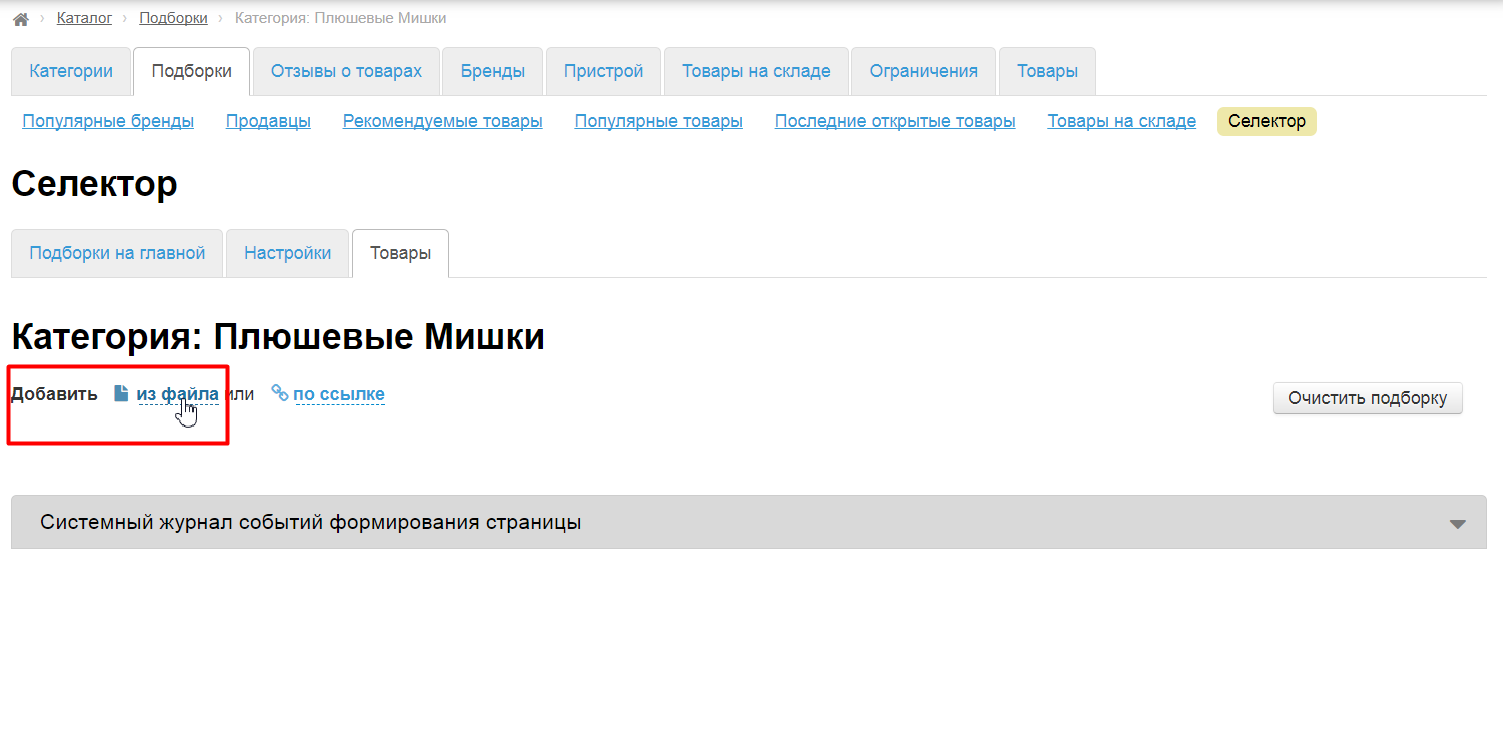
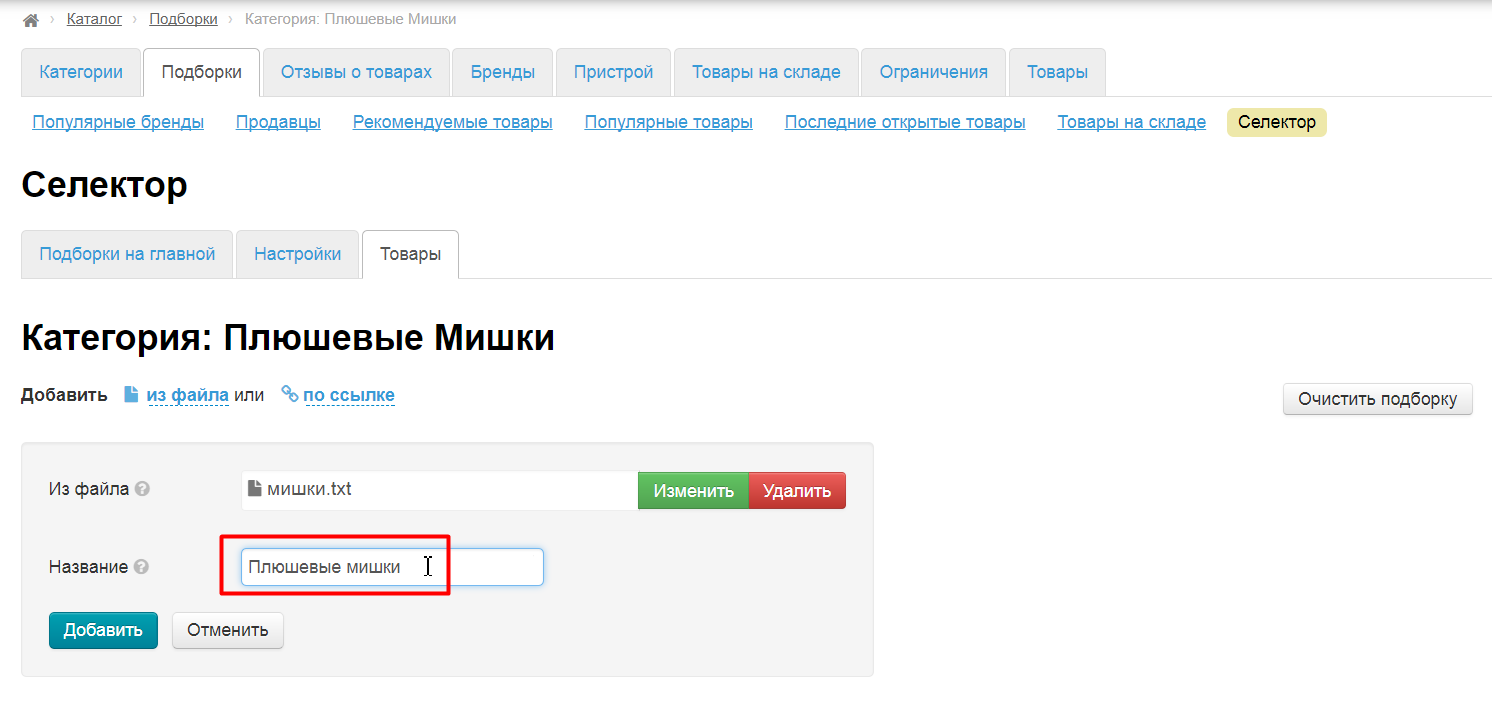
Select file created on the step above:
In addition, you can specify a common name for all products, for example "Teddy Bears":
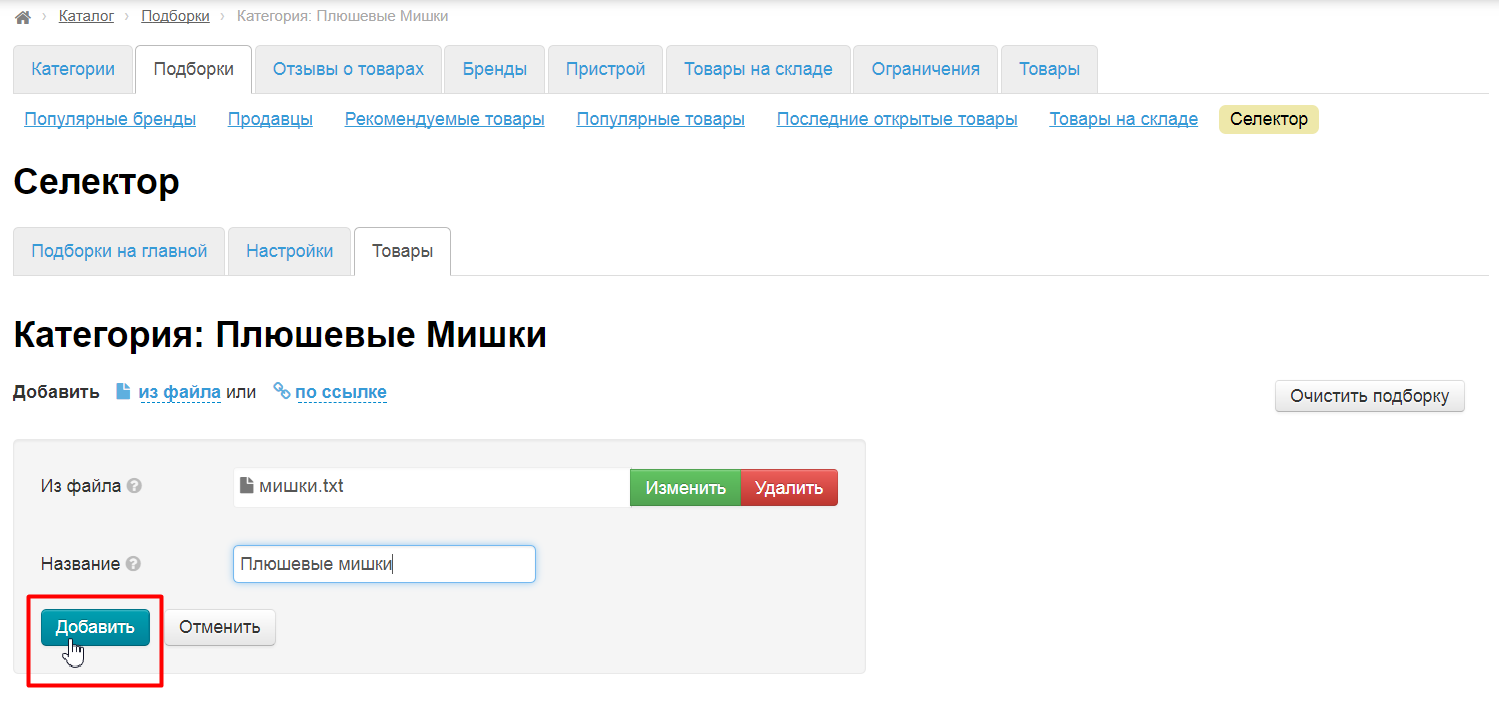
Click "Add":
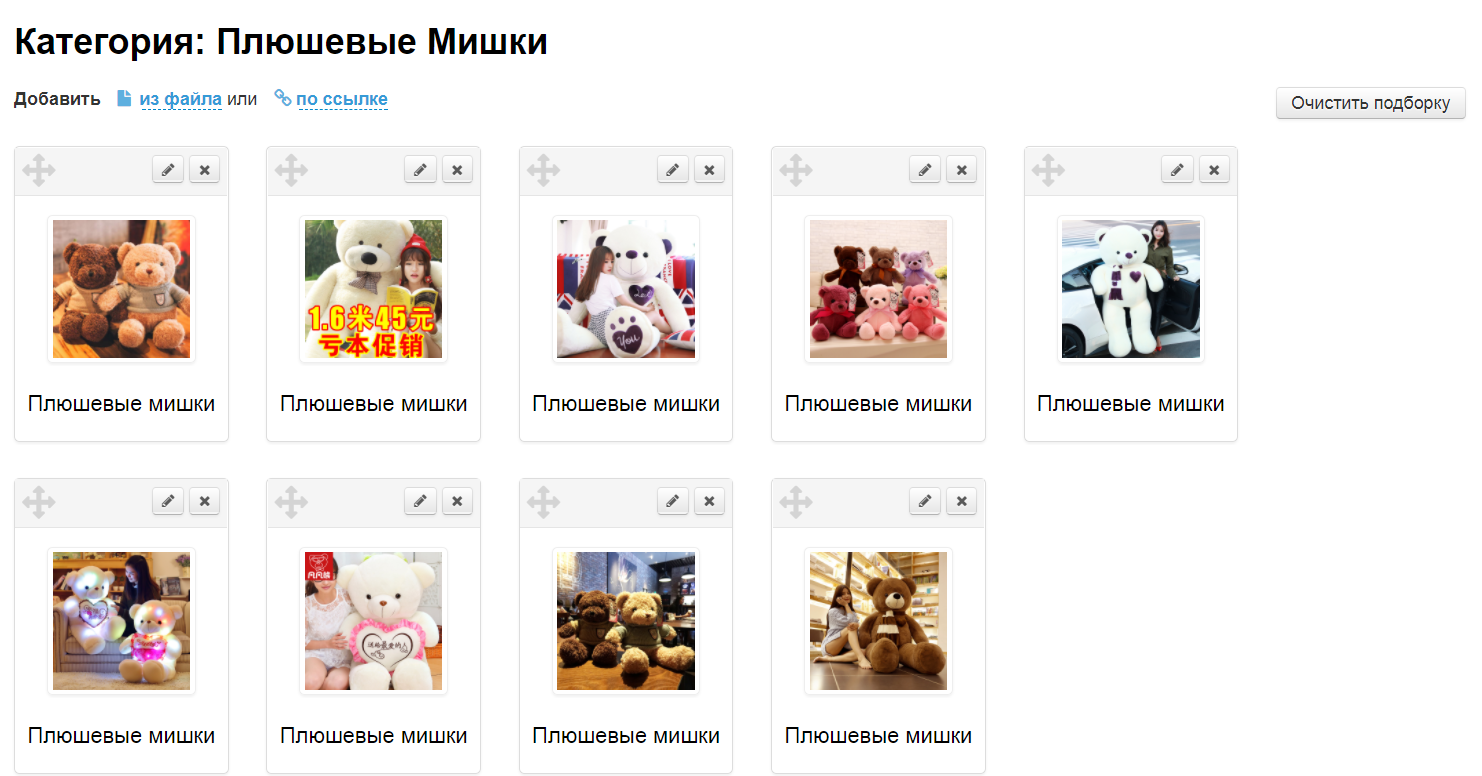
All products, links to which you have added, will be displayed below:
Set prices and margin for exported goods
The tab settings set goods price on the site. Here you can directly configure goods price: margin, price rounding and discounts.
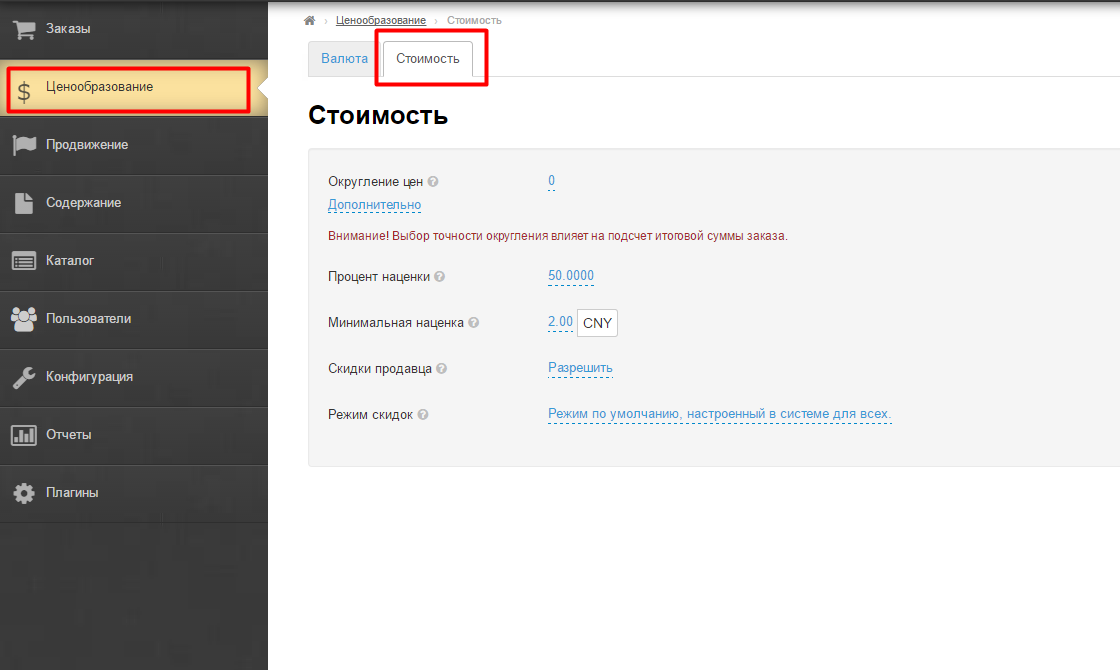
Price of each product is made up of individual parameters, namely: price rounding, discounts and minimum price.
Read detailed instruction in "Price" instruction.
Export into Facebook
Registration
Register account in Facebook. Click "Create New Account" for registration, fill in all fields in sign up form in a new window and click "Sign Up" button.
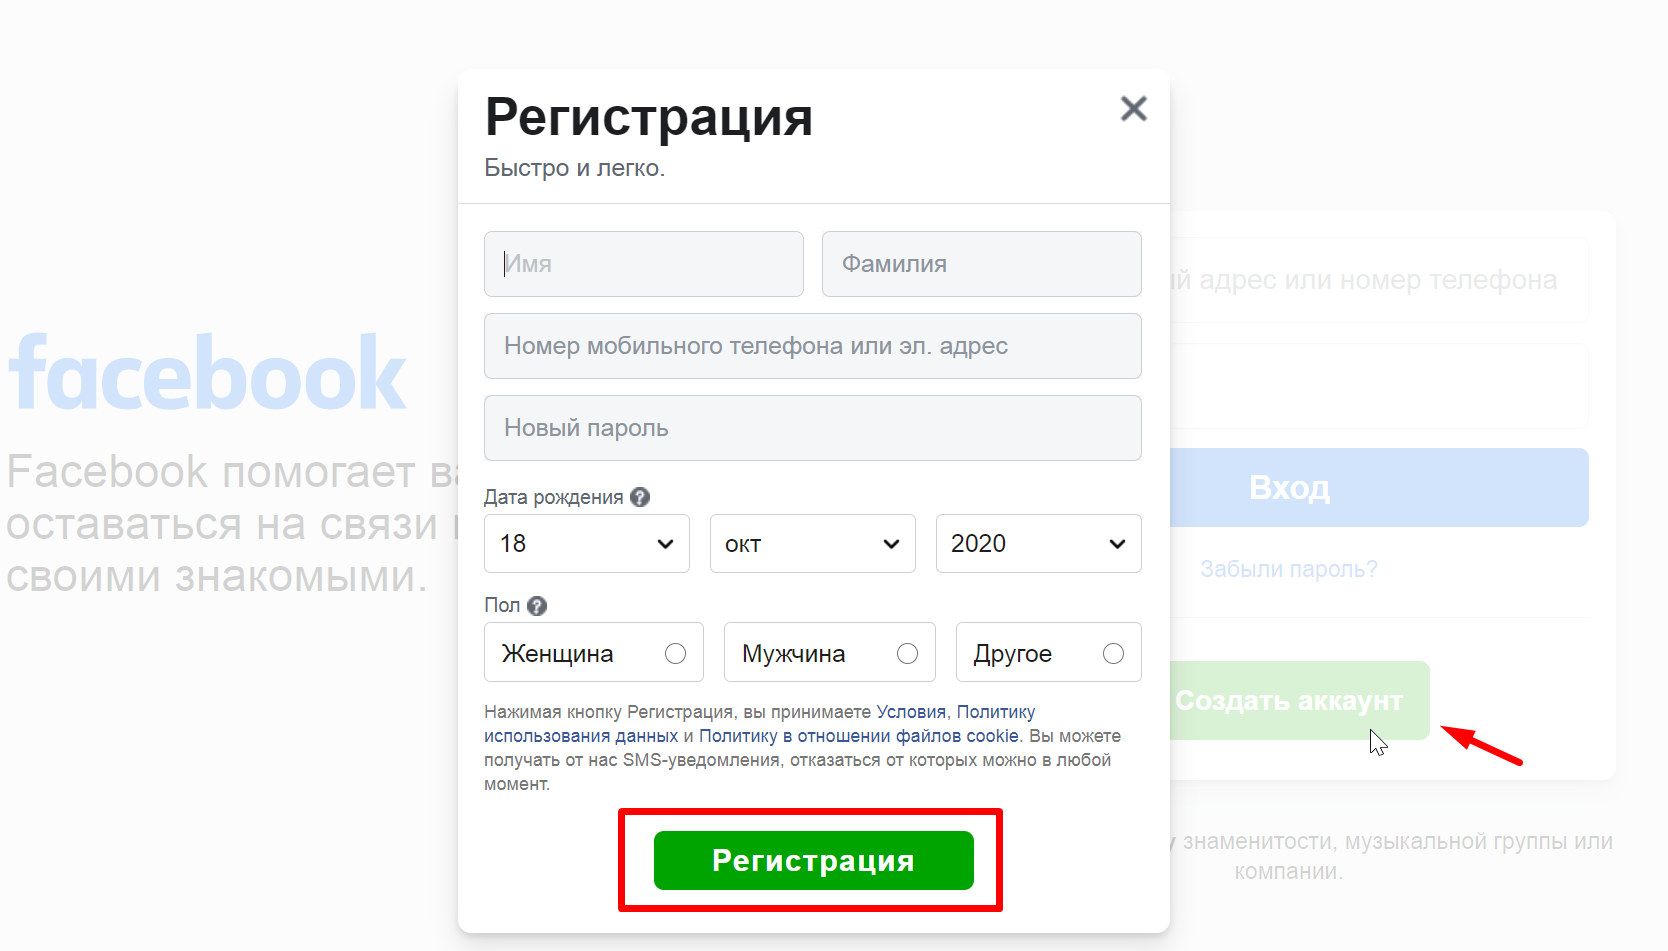
Log in if you already have an account and proceed to creating a group.
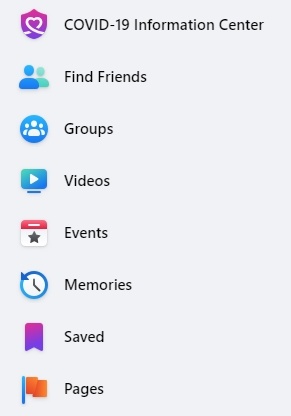
Create page for online shop
There are several options on the left of the page. Select "Pages" and click it.
Select "Create New Page" in new window.

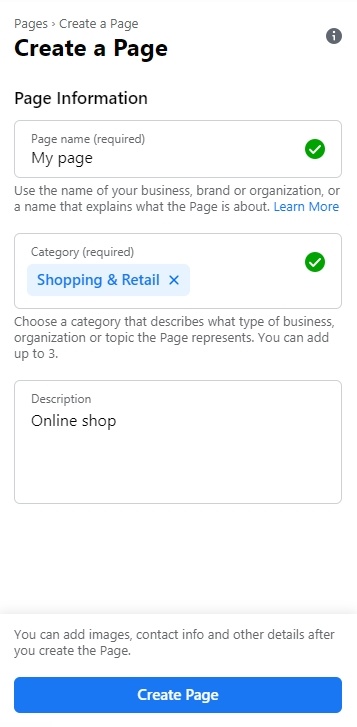
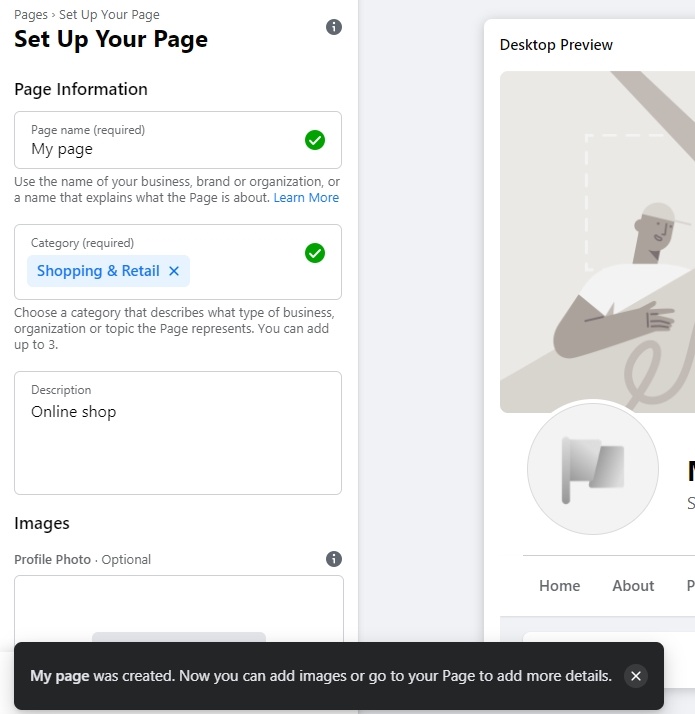
Fill in page Information. Write page name (use the name of your business, brand or organization, or a name that explains what the Page is about).
Choose a category that describes what type of business, organization or topic the Page represents. You can add up to 3.
Add description (write about what your business does, the services you provide, or the purpose of the Page).
Click "Create page" button after you finish settings.
You will see following message in the bottom of the page:
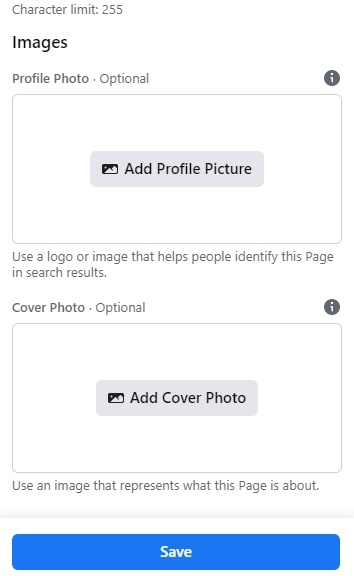
Set Up Your Page adding Profile Photo (Optional) and Cover Photo (Optional).
Use a logo or image for profile photo that helps people identify this Page in search results.
Use an image for cover photo that represents what this Page is about.
Click "Save" button after you finish settings. .
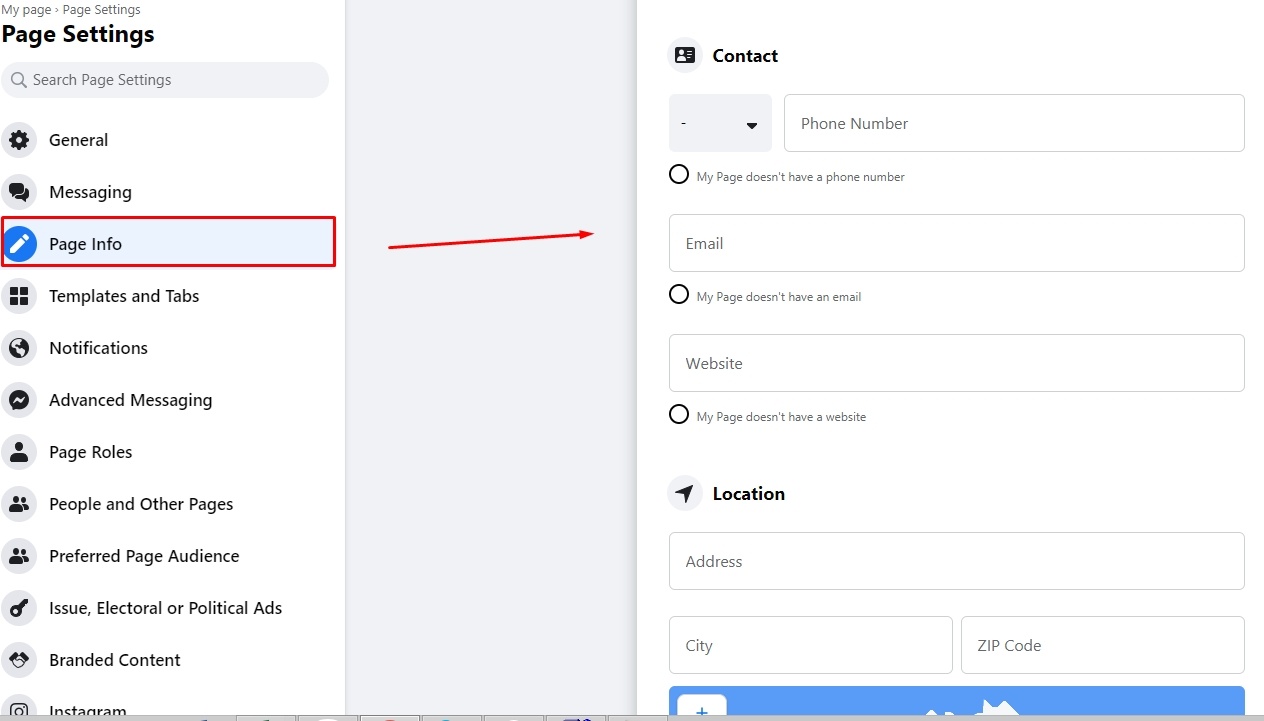
Go to "Page info" and add information about your shop:
You can mark "My Page doesn't have a location" if you don't have offline shop or showroom.
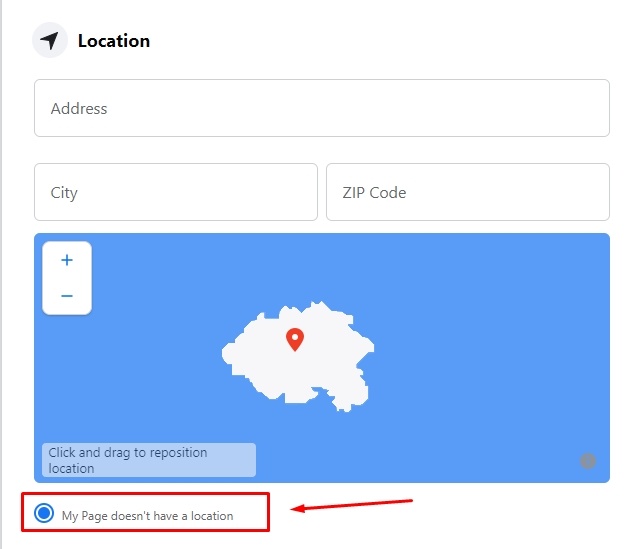
Your changes will be automatically saved.
It's also important to create album with photos of goods.
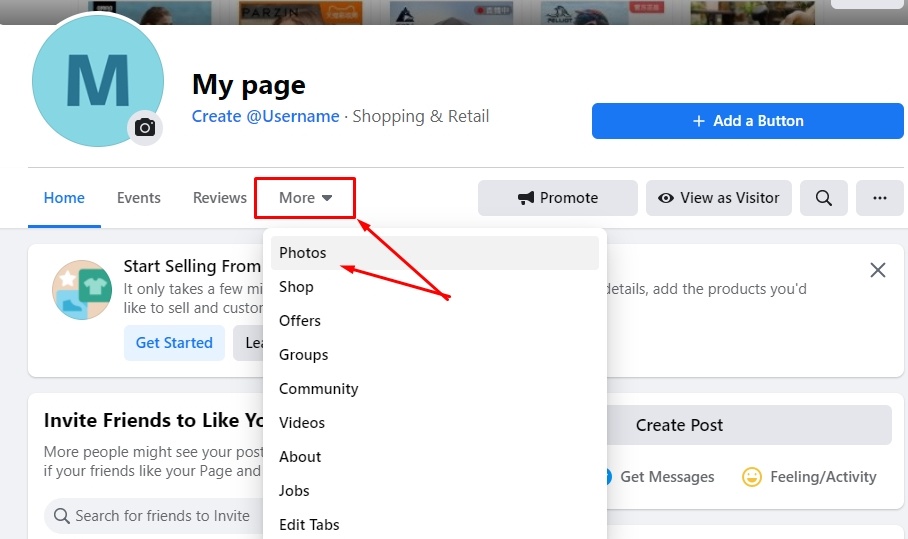
Click "More" and select "Photos" option.
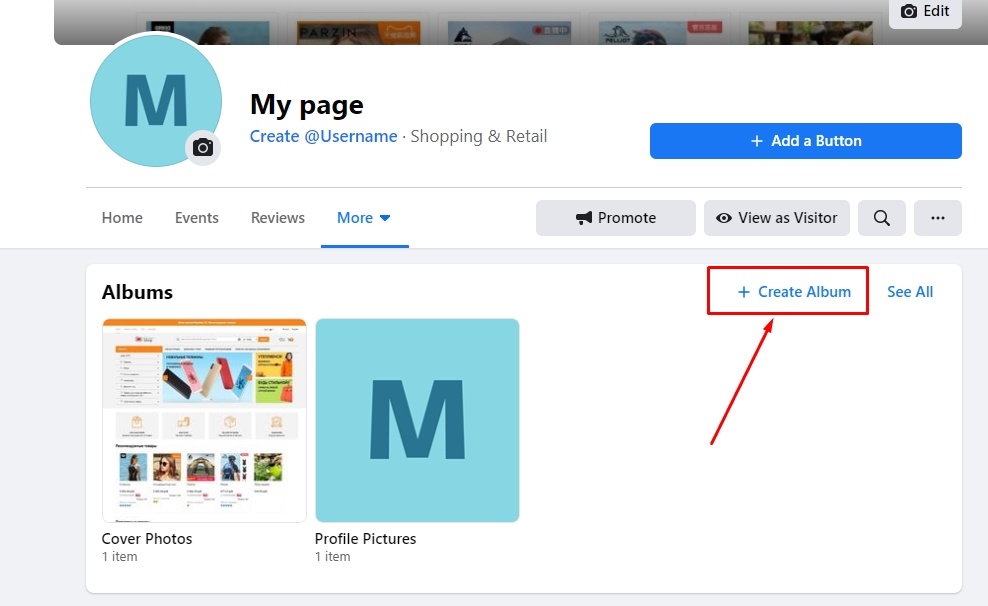
Click "Create album":
Add album name and description (optional). We will need to add this album name and OT Box admin panel. You are also required to upload 1 photo for album cover.
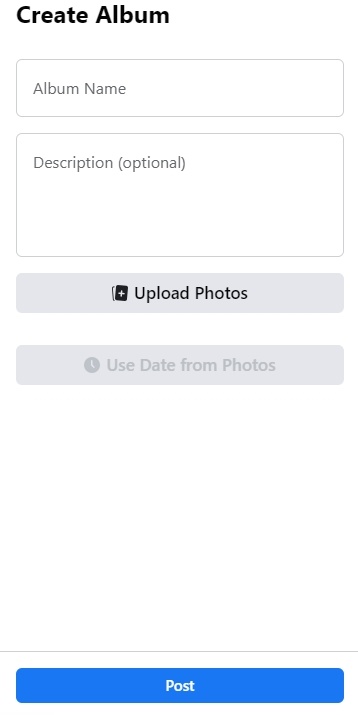
Click "Post" after you finish settings.
Authorization in OT Box
You need to authorize OT Box on Facebook to configure Export, as well as for synchronization.
Your authorization data will NOT be available to anyone, not even OT staff.
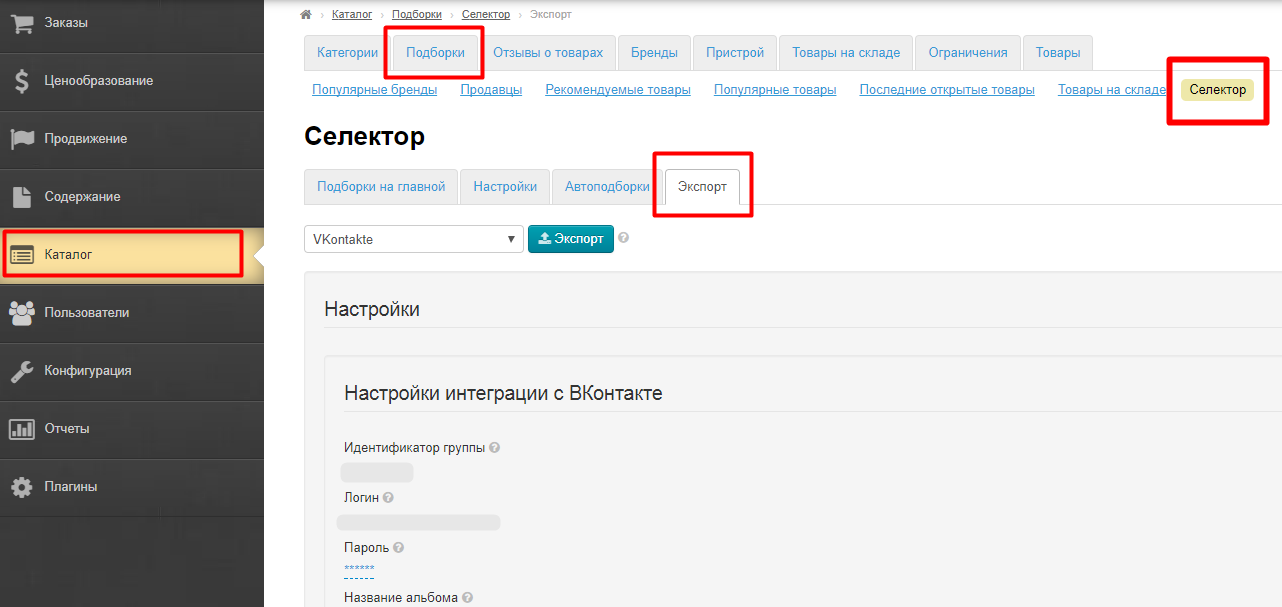
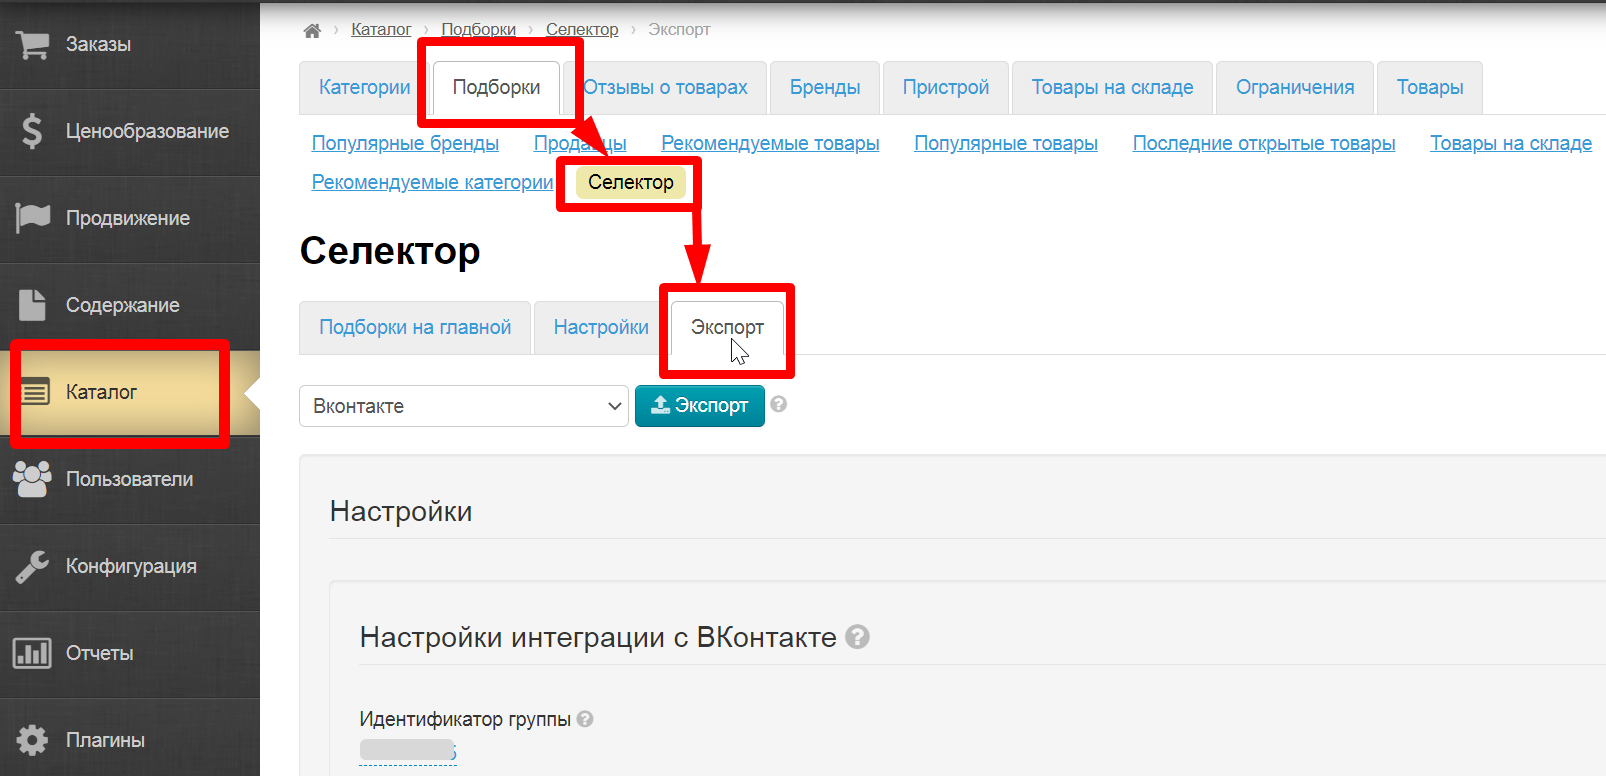
Log into admin panel of OT Box and go to Catalog -> Collections -> Selector -> Export.
Click "Authorized" button.
A window will open in which it is necessary to allow authorization for export from OT Box. Click "Continue as ..." button. Click "Log in to another account" if you are offered a wrong account.

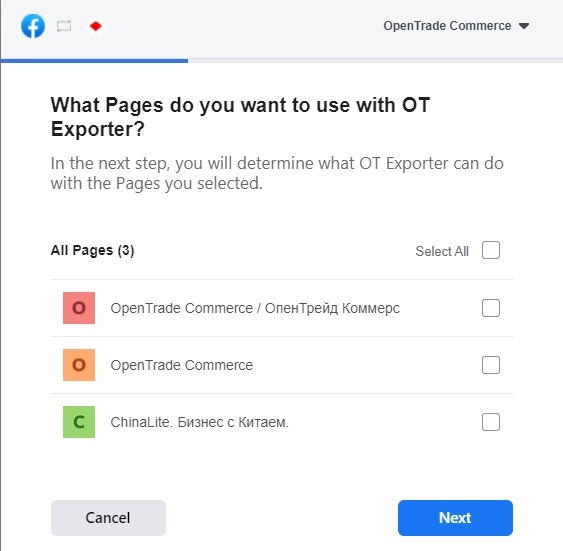
After clicking the button a window will open where you will be asked what pages (if several) you want to use with OT Exporter.
Select pages and click "Next":
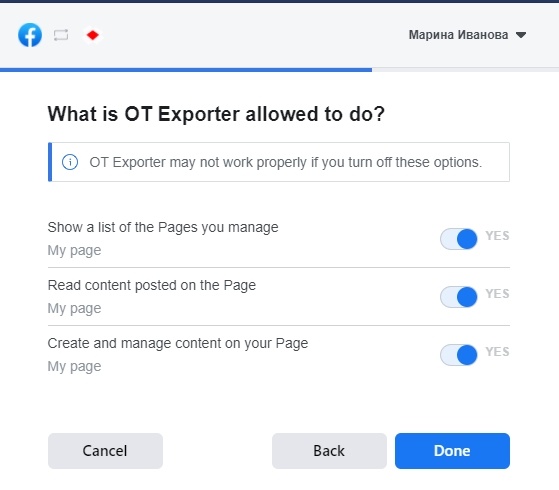
Now you need to select what OT Exporter is allowed to do. It is recommended to select all actions, as this directly affects export process.
You will see a message in new window "You've now linked OT Exporter to Facebook".
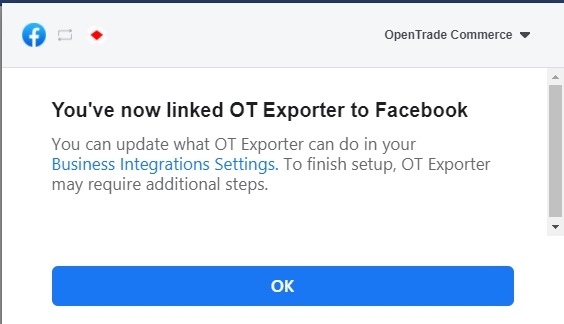
Click "OK".
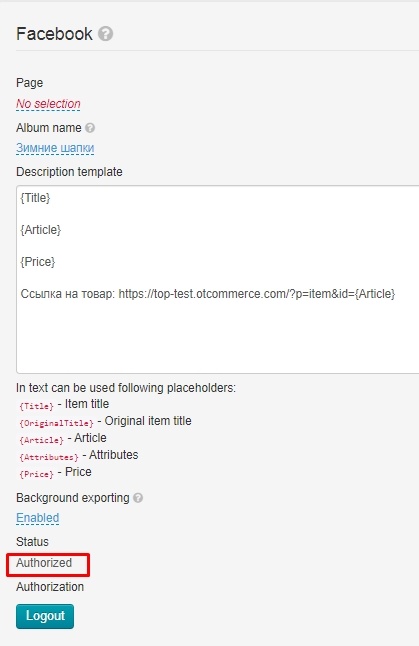
You will have "Authorized" status after reloading OT Box admin page if everything was successful.
Set Facebook integration
Now we rise a little higher and set up where goods will be exported.
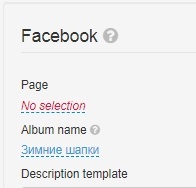
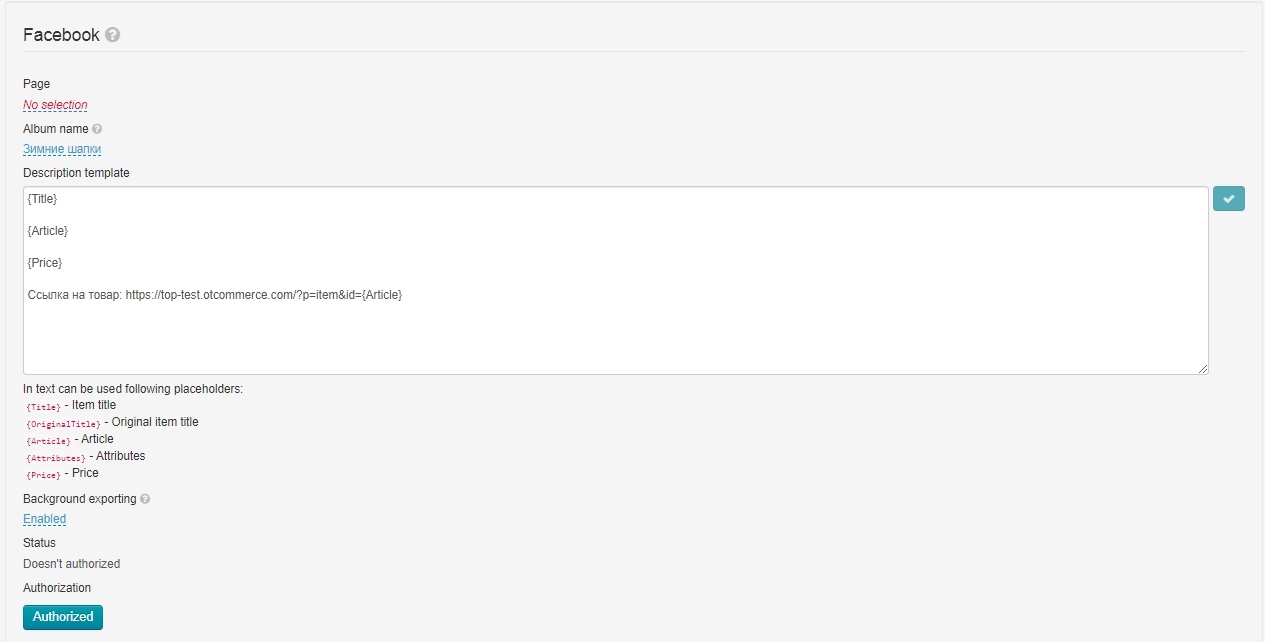
Click "No selection" and select page from the list. Save choice clicking checkmark button on the right.

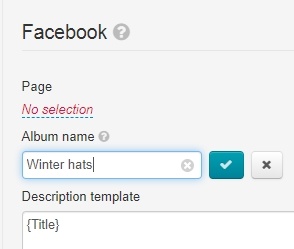
Add Album name for goods. Save name clicking checkmark button on the right.
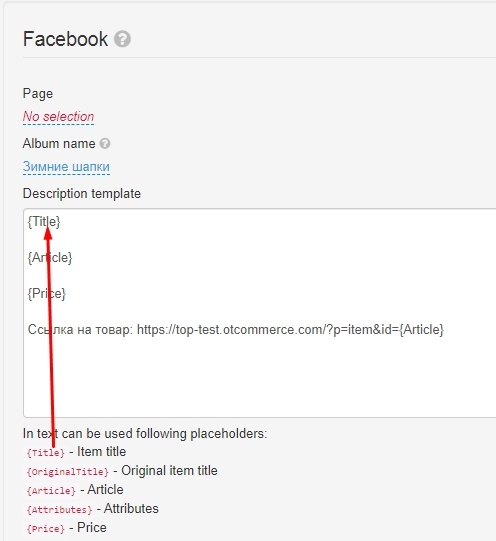
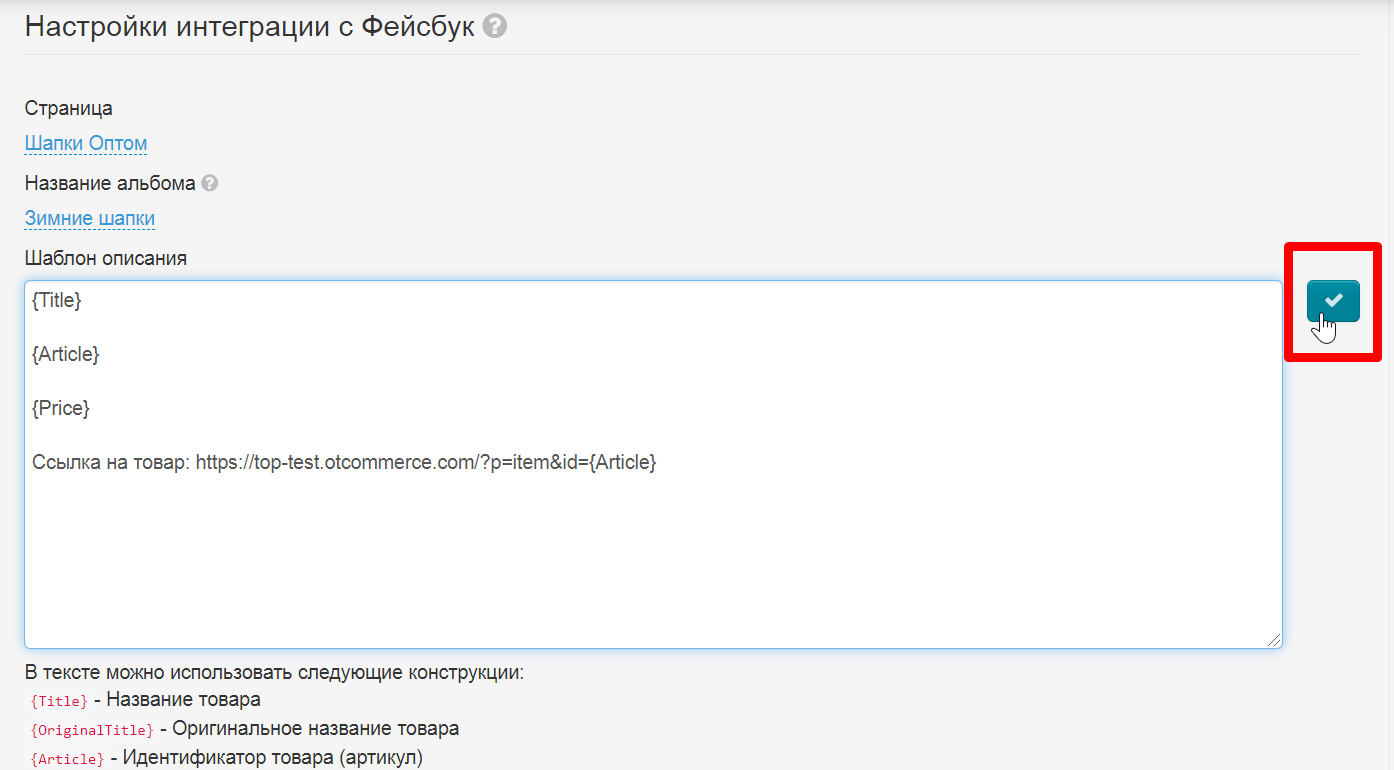
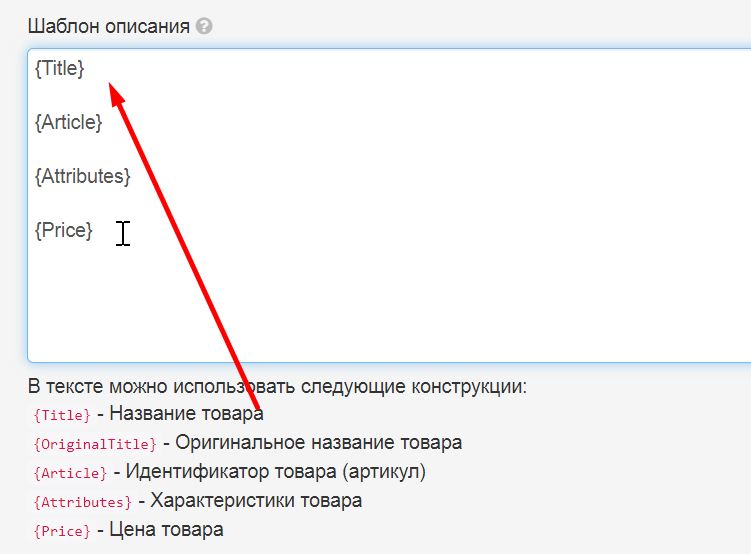
Description template allows to specify what data will be displayed in the product card.
Click red labels in admin panel and they will appear in the text field. We recommend you to write each value on a new line. Then in the product card, these fields will be on a new line. Or you can mark it with an empty line for convenience.
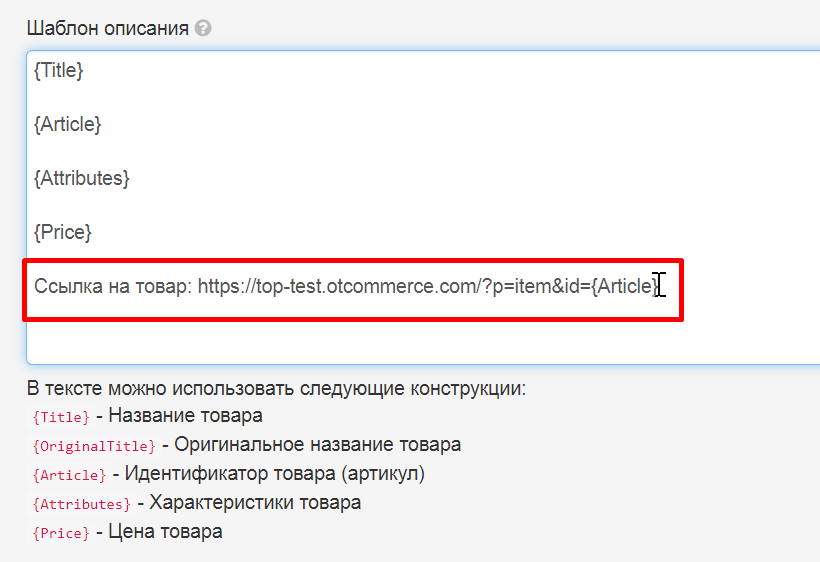
Write the following in "Description Template" field in order your group could have a link to this product on your website when viewing a product:
http://yourwebsite/?p=item&id={Article}
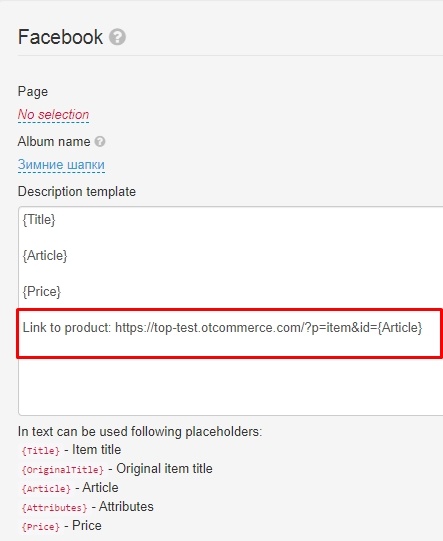
Save all changes clicking checkmark button on the right.
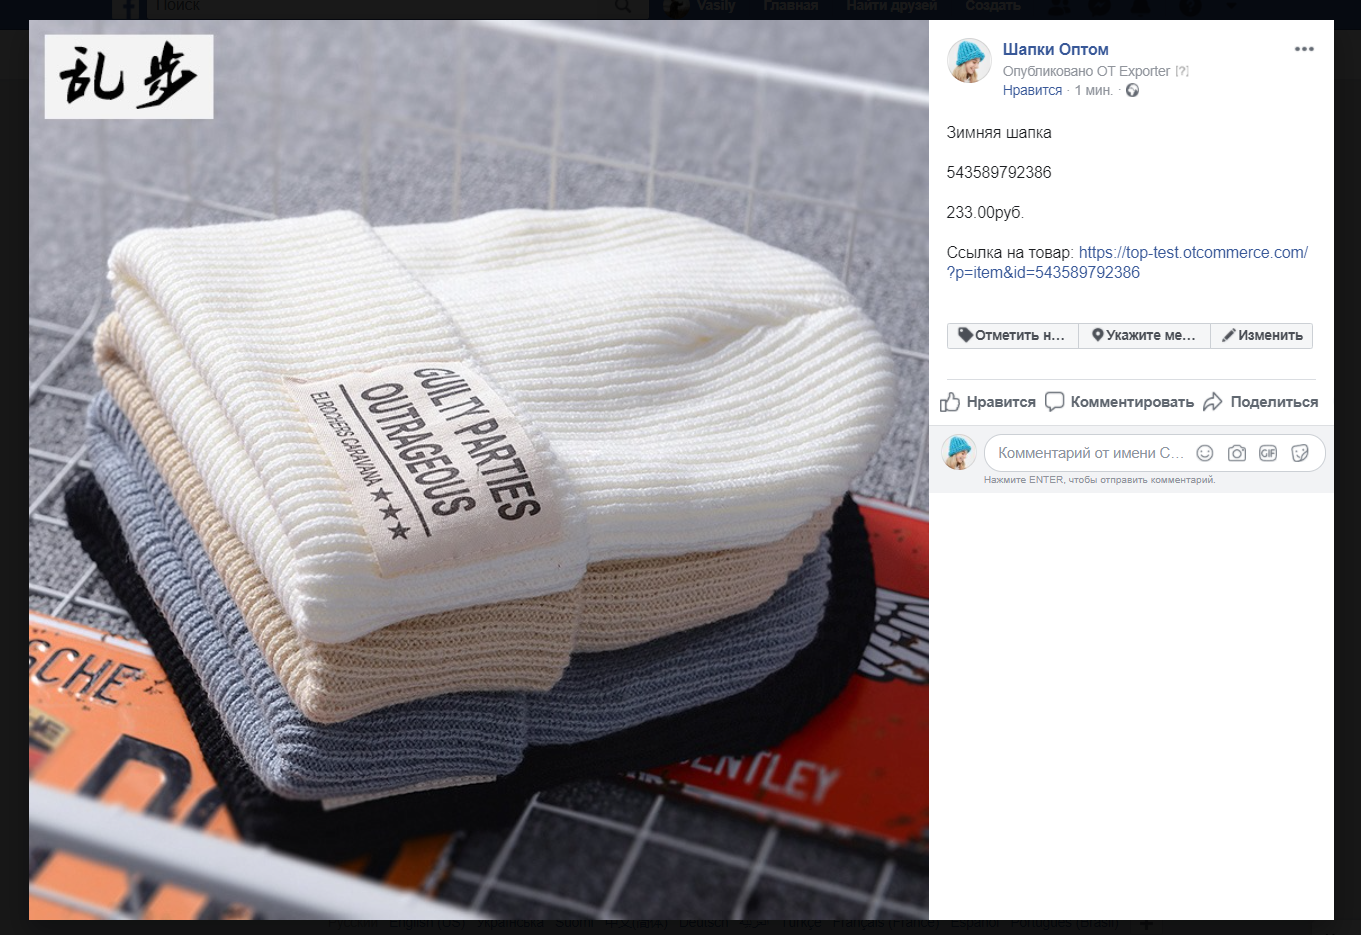
Product description will be shown in the following way:

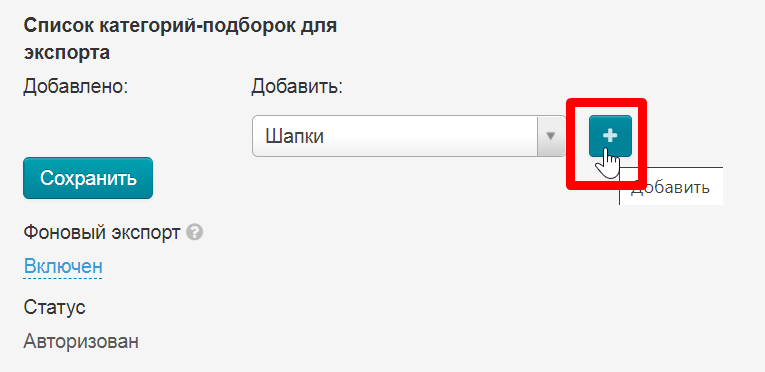
Select categories for export. If you do not have this block, then Selector categories are empty and must be filled with products.
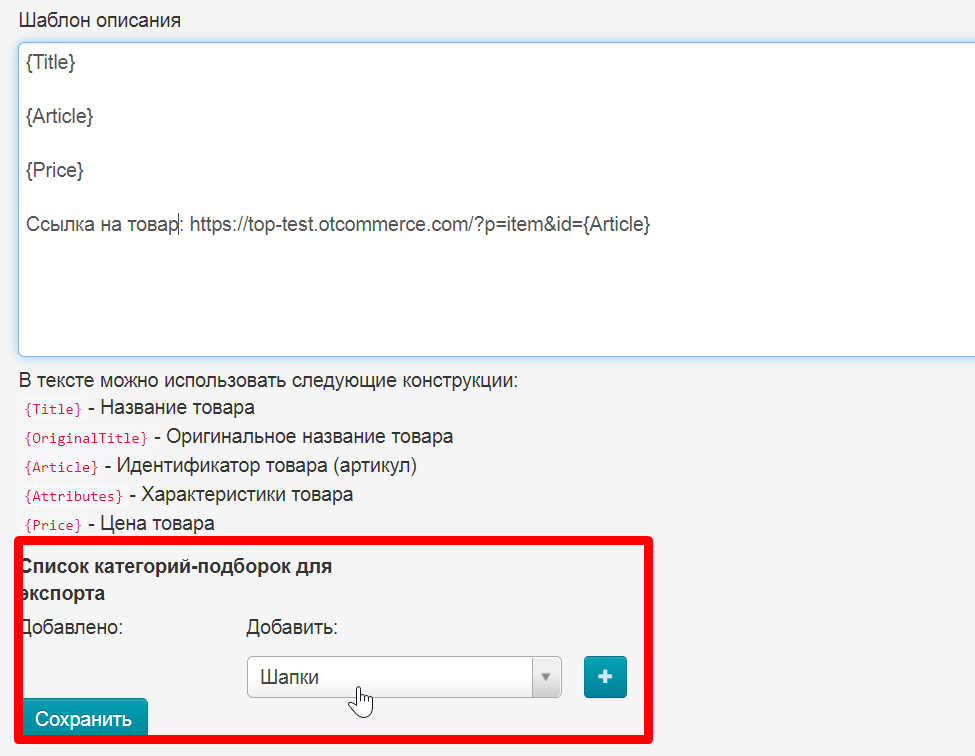
Click + and "Save" when all the necessary categories are in the left column.
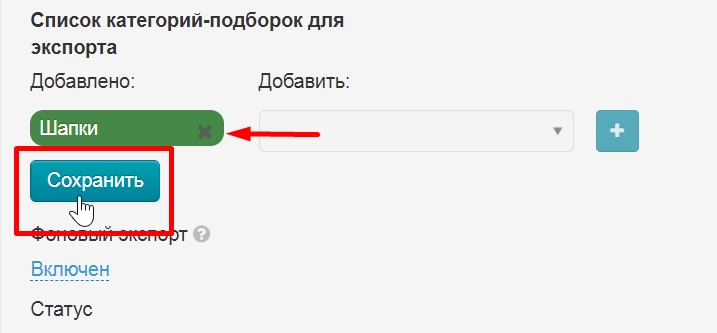
Thus, we have chosen which categories of Selector will be exported to the album page on Facebook.
Export goods
Open Catalog → Collections → Selector → Export in OT Box admin panel.
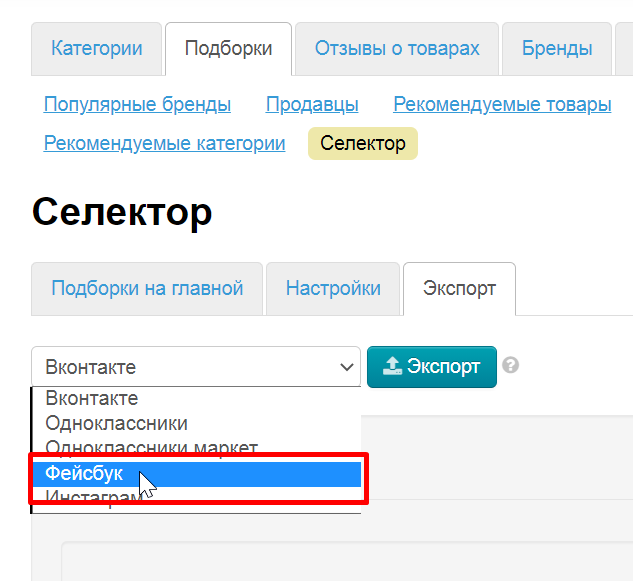
Select "Facebook" in the list of social networks for export.
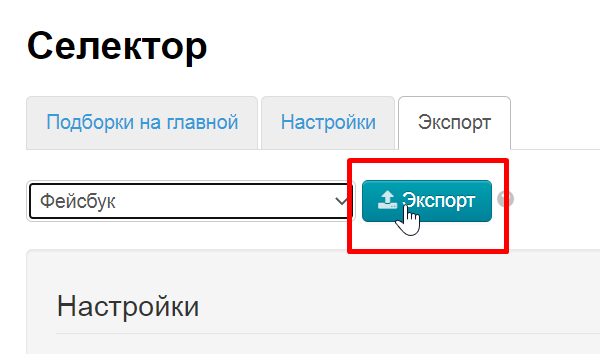
Click "Export" button.
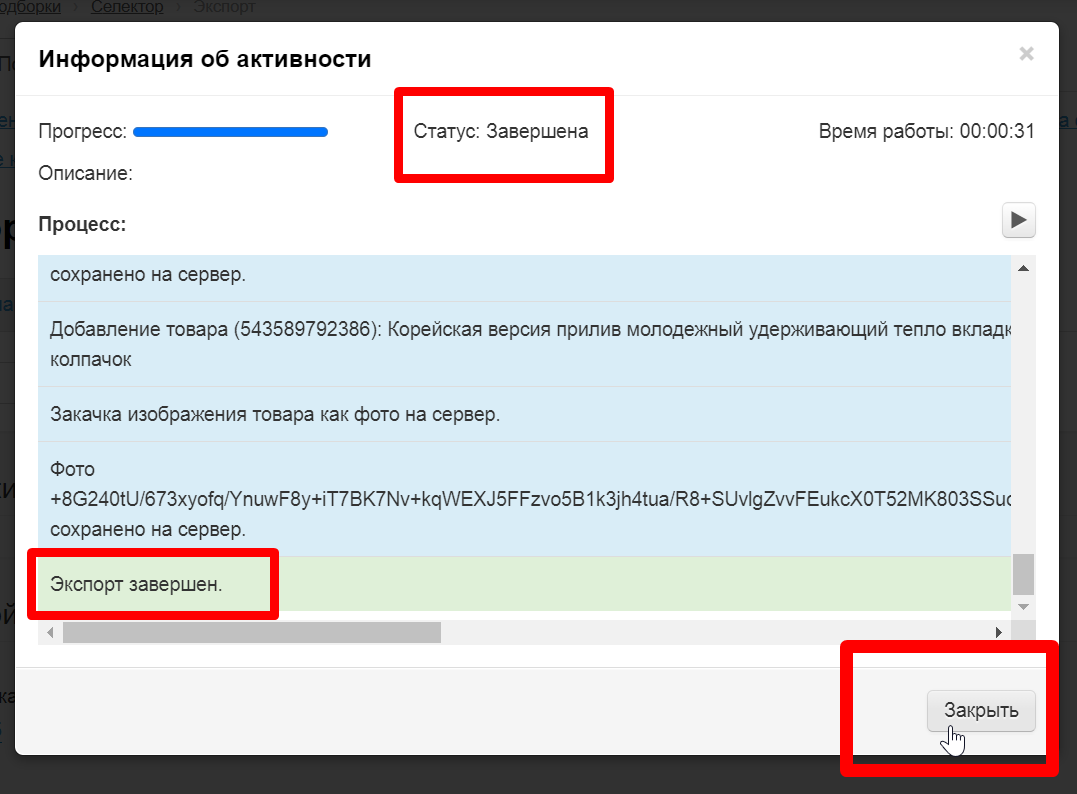
A window with download progress will open in admin panel when Export starts.
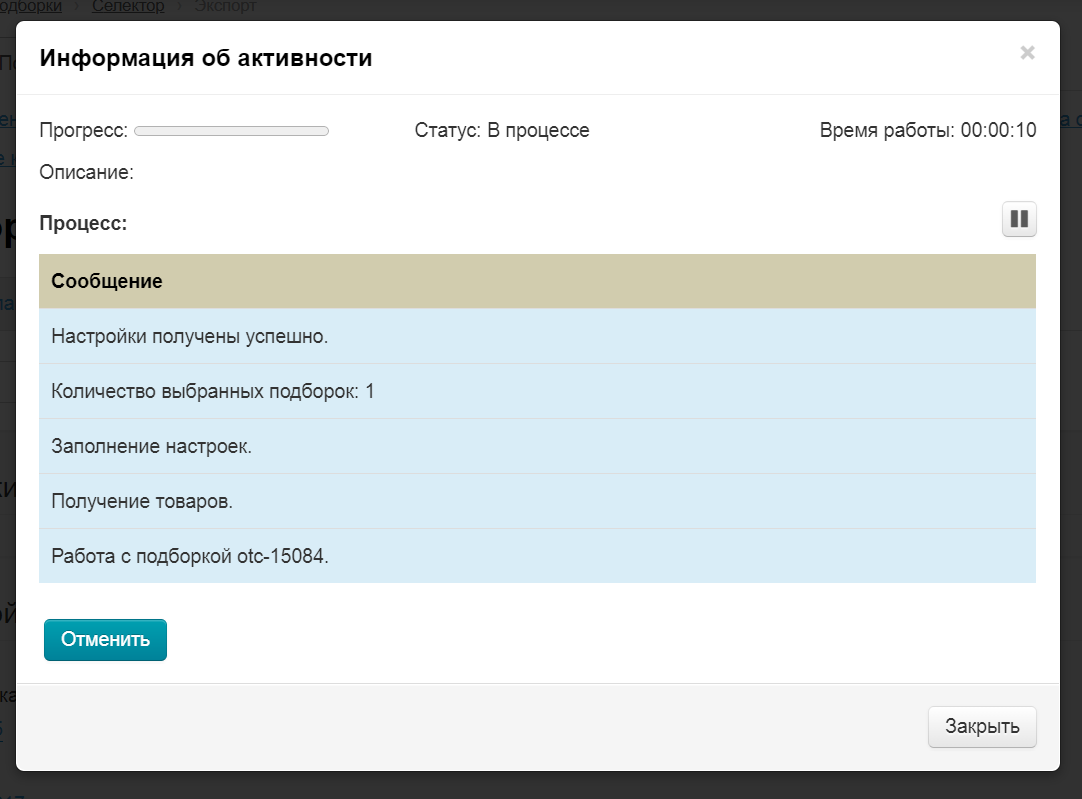
Wait for status "Finished" and close the window.
Export error
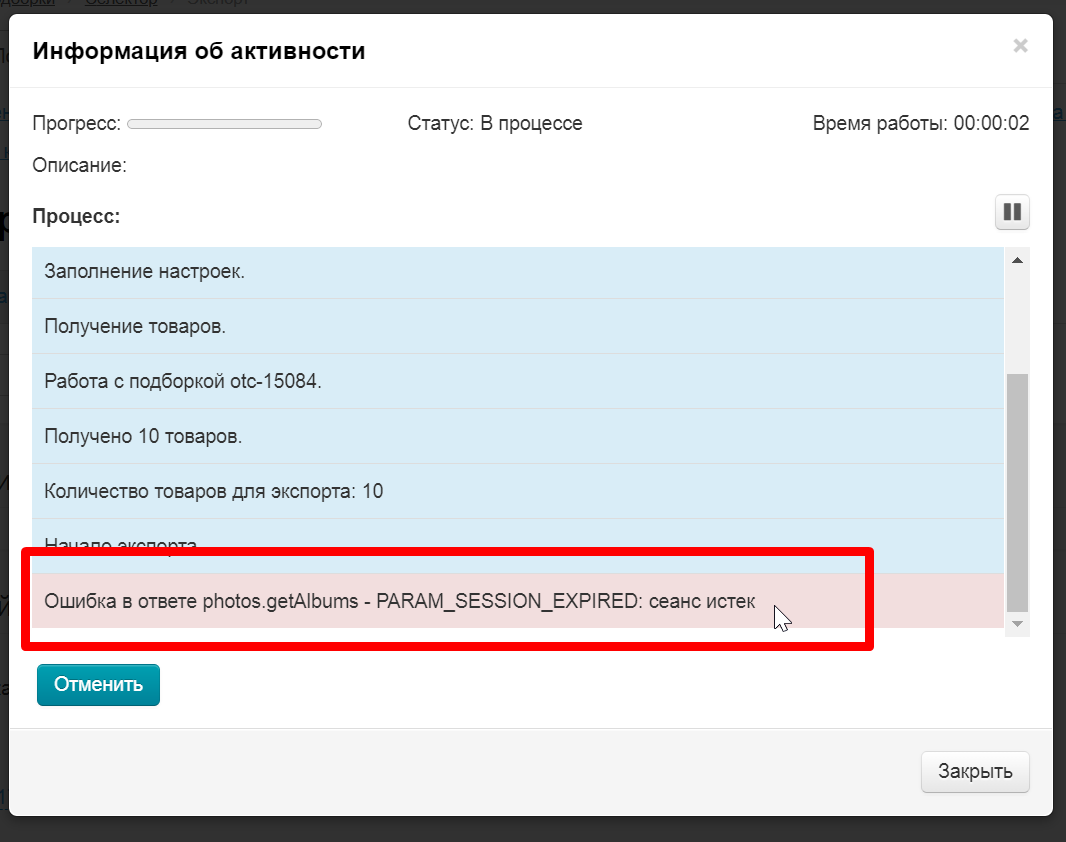
You need to re-authorize in OT Box admin panel if such an error occurs.
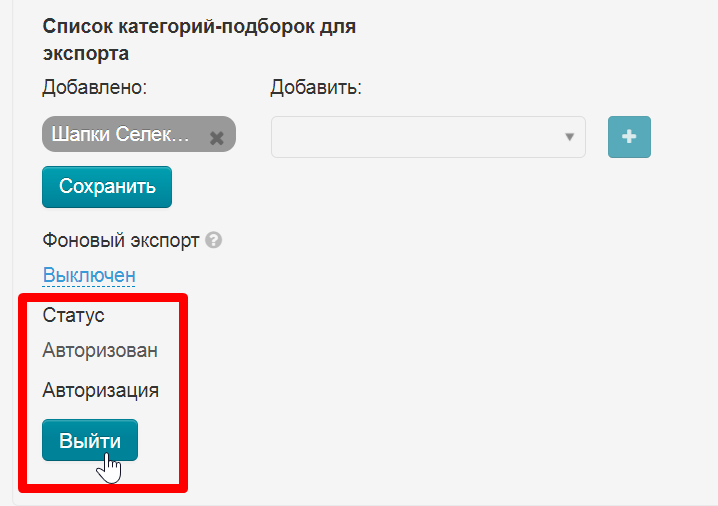
Scroll page to authorization block and click "Logout" button.
Click "Authorized" button after page automatically refreshes.
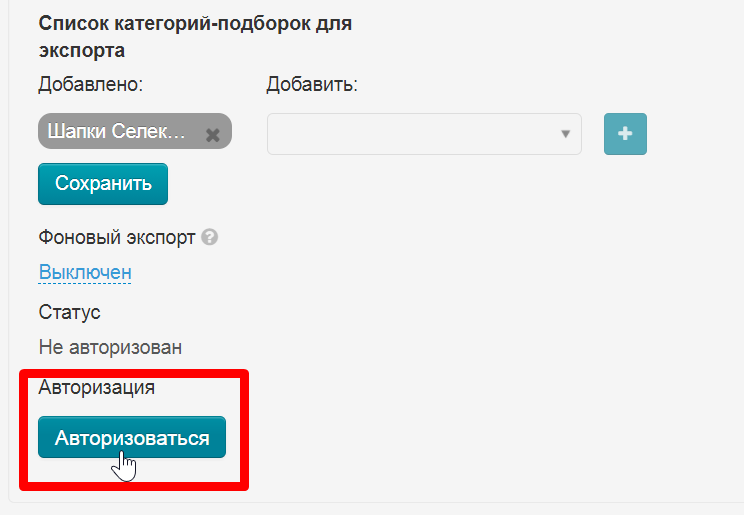
You can start export again.
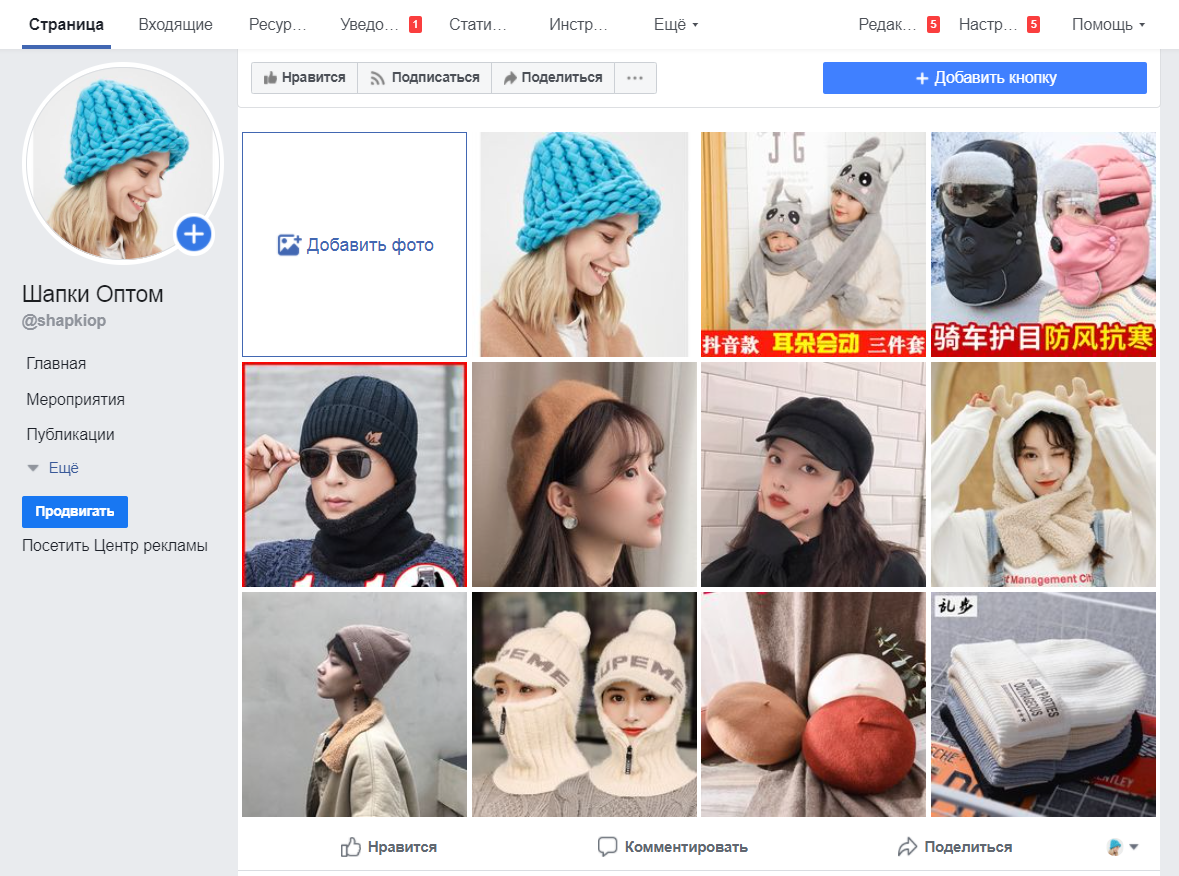
Export results will be shown on Facebook page.
Synchronization
You need to enable "Background exporting" to synchronize products once a day.
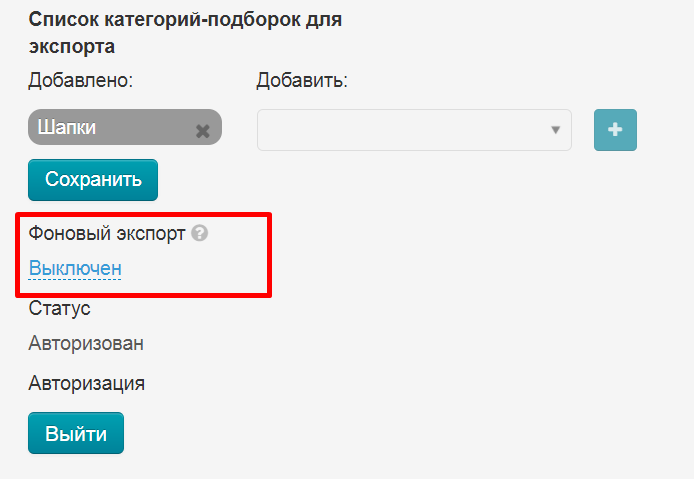
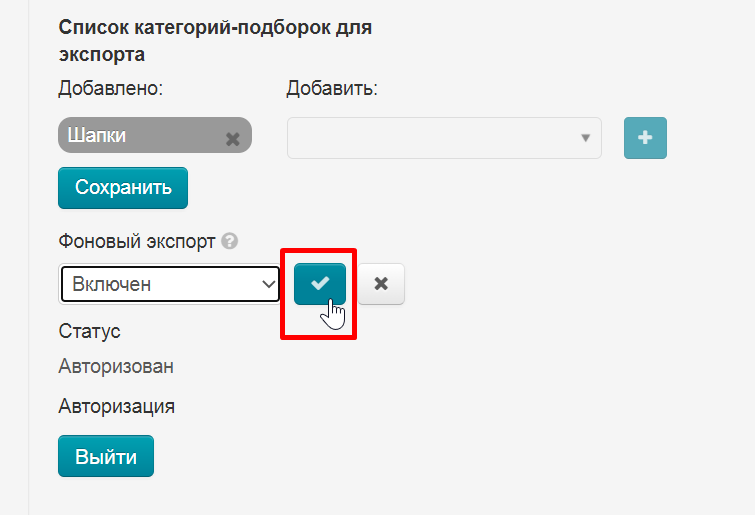
Click "Disabled", select "Enabled" and save choice clicking checkmark button on the right.
Export into Instagram
Registration
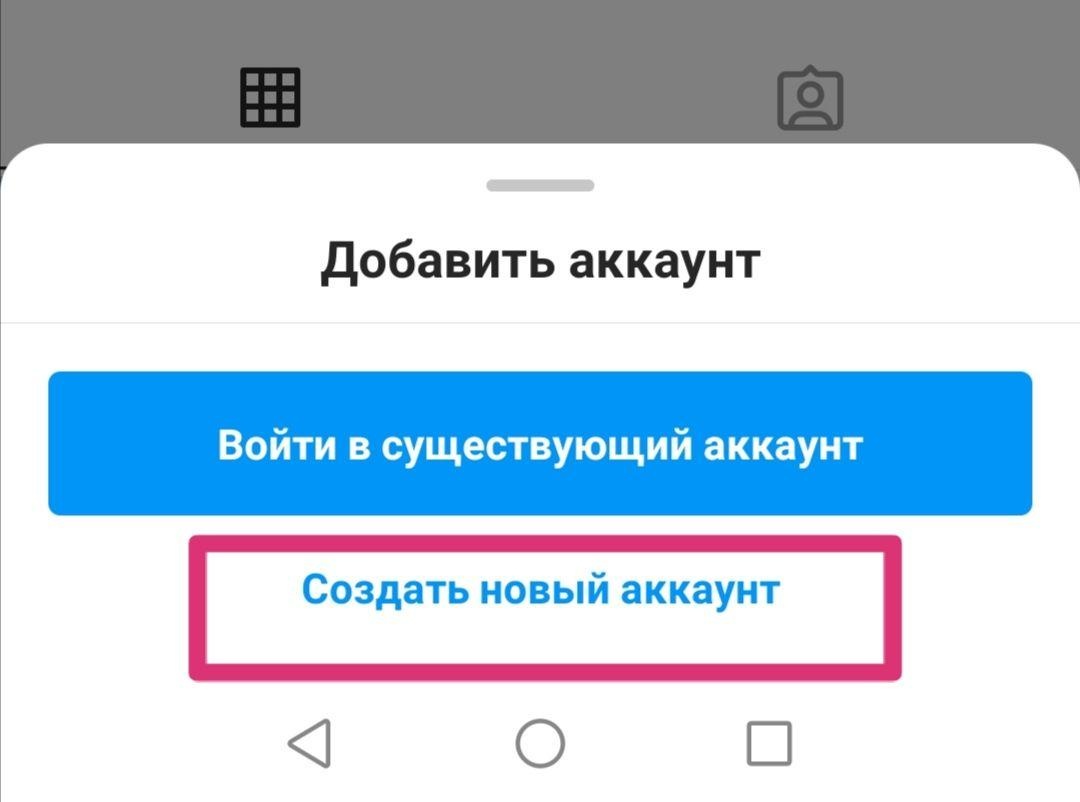
Register account in Instagram using "Create New Account" button.
Enter phone or email. Enter the confirmation code sent to phone or email and click "Next" button.
Enter full name and password. You can check "Save password".
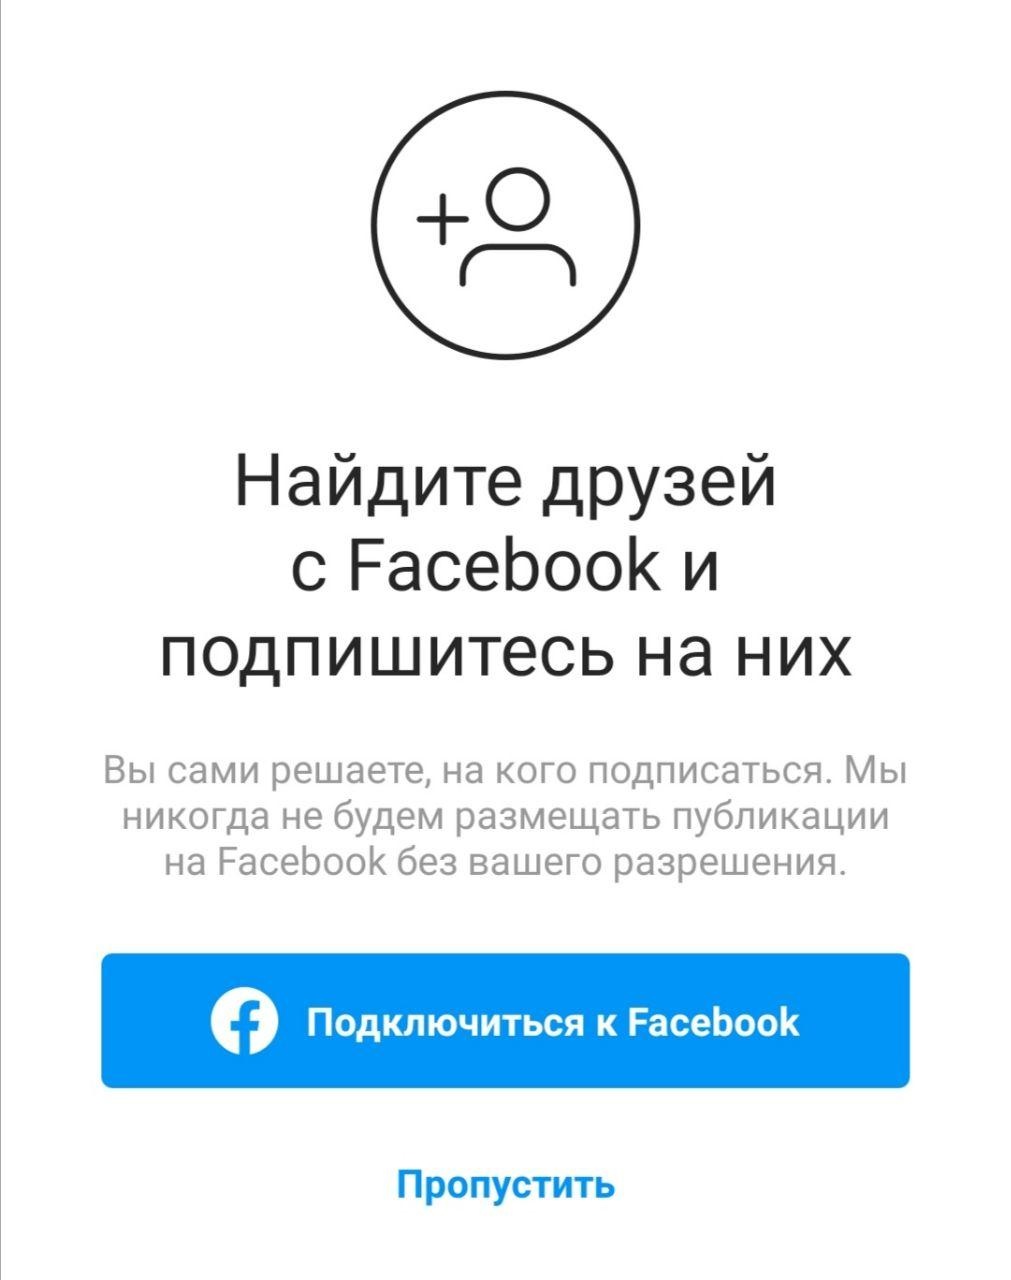
Click "Continue and Sync Contacts" or "Continue Without Syncing Contacts".
Add your birthday and click "Next".
Complete registration clicking "Next" button.
After successful registration Instagram offers to connect Instagram to Facebook. You can link them if you have both accounts selling goods. It won't influence export anyhow. But you can inform your customers that now you are on Instagram. In addition, all advertising on Instagram goes through Facebook account.
Log in and start goods export if you have registered an account.
Set Instagram integration
Log into admin panel of OT Box and go to Catalog -> Collections -> Selector -> Export.
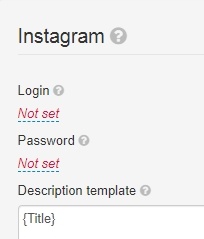
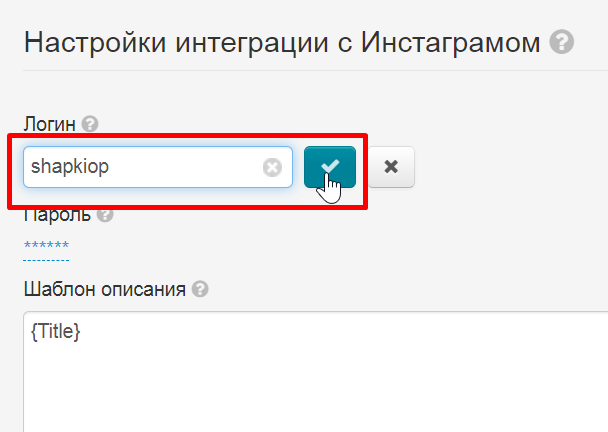
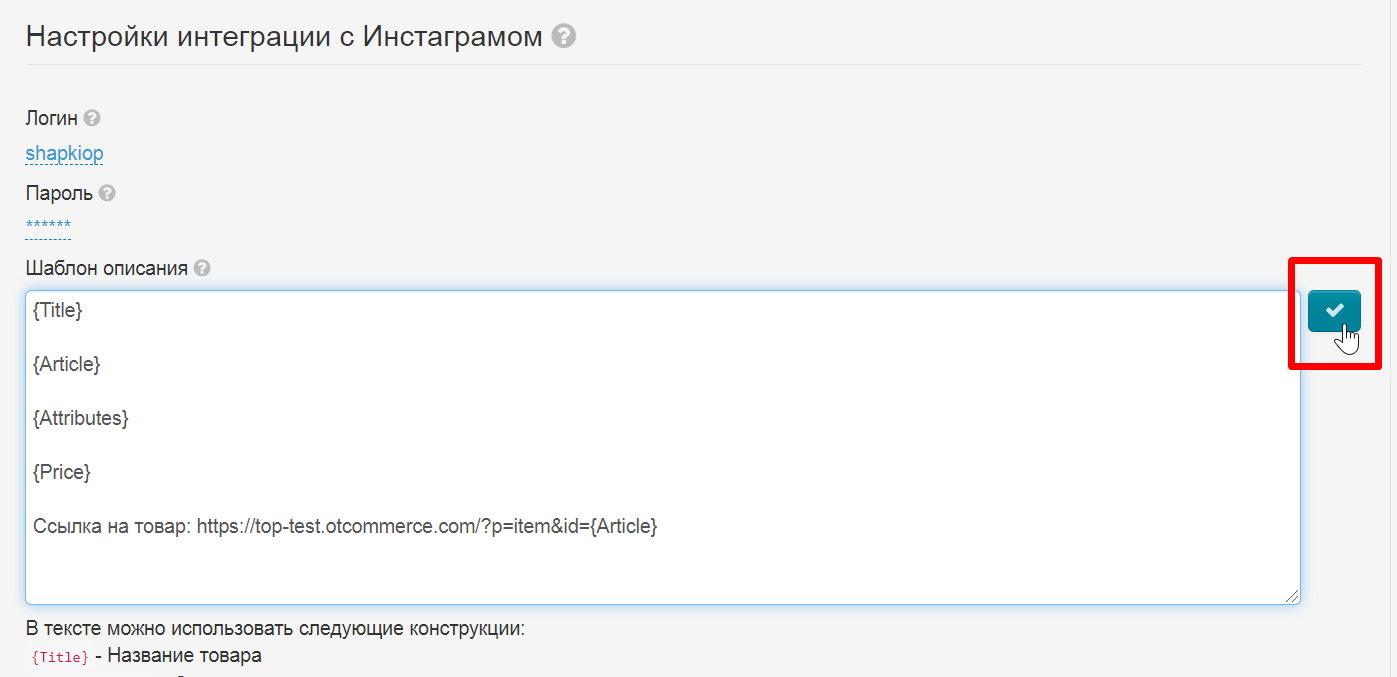
Scroll page to "Instagram" block. Click "Not set" to add Login and Password of your account.
Save clicking checkmark button on the right:
Description template allows to specify what data will be displayed in the product card.
Click red labels in admin panel and they will appear in the text field. We recommend you to write each value on a new line. Then in the product card, these fields will be on a new line. Or you can mark it with an empty line for convenience.
Write the following in "Description Template" field in order your group could have a link to this product on your website when viewing a product:
http://yourwebsite/?p=item&id={Article}
Save all changes clicking checkmark button on the right.
Product description will be shown in the following way:
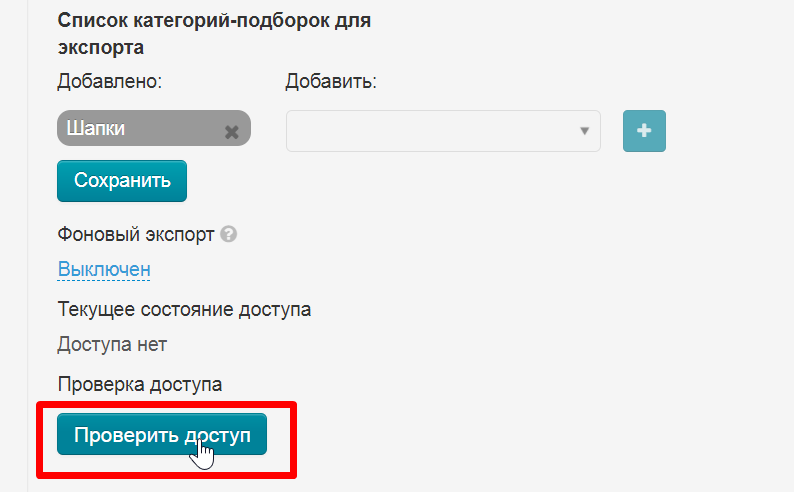
Select categories for export. If you do not have this block, then Selector categories are empty and must be filled with products.
Click + and "Save" when all the necessary categories are in the left column.
Thus, we have chosen which categories of Selector will be exported to the album page in Instagram.
Authorization in OT Box
You need to authorize OT Box in Instagram to configure export, as well as for synchronization.
Your authorization data will NOT be available to anyone, not even OT staff.
Click "Check access" button.
After requesting access verification, the page will be refreshed and confirmation code entry form will open.
Note! A confirmation code is not always required.
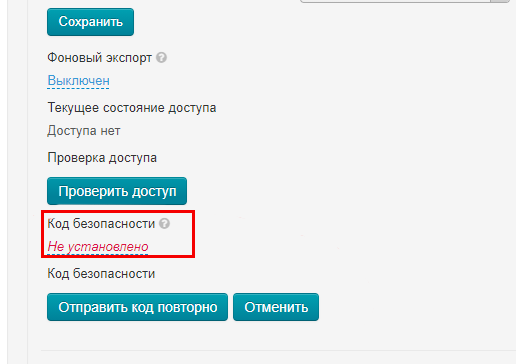
When security code came to email linked to Instagram, click "Not installed" and enter the code.
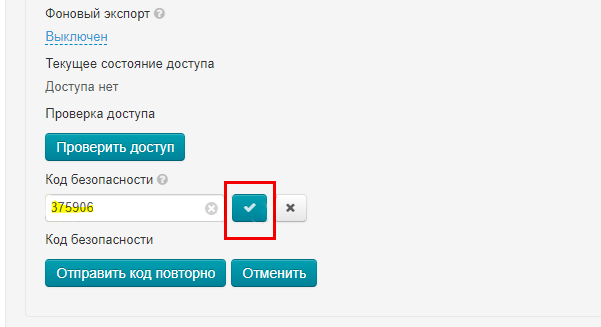
You will have "Authorized" status after reloading OT Box admin panel if everything was successful.
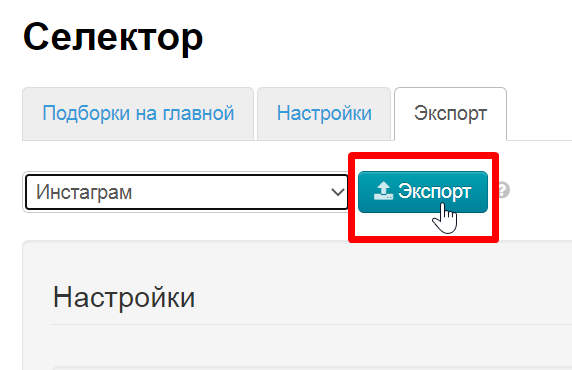
Export goods
Select "Instagram" in the list of social networks for export.

Click "Export" button.
A window with download progress will open in admin panel when export starts.
Wait for status "Finished" and close the window.
Export error
You need to re-authorize in OT Box admin panel if such an error occurs.
Scroll page to authorization block and click "Logout" button.
After requesting access verification, page will be refreshed and a confirmation code entry form will appear.
When security code came to email linked to Instagram, click "Not installed" and enter the code.
Click "Authorized" button after page automatically refreshes.
Synchronization
You need to enable "Background exporting" to synchronize products once a day.
Click "Disabled", select "Enabled" and save choice clicking checkmark button on the right.