![]()
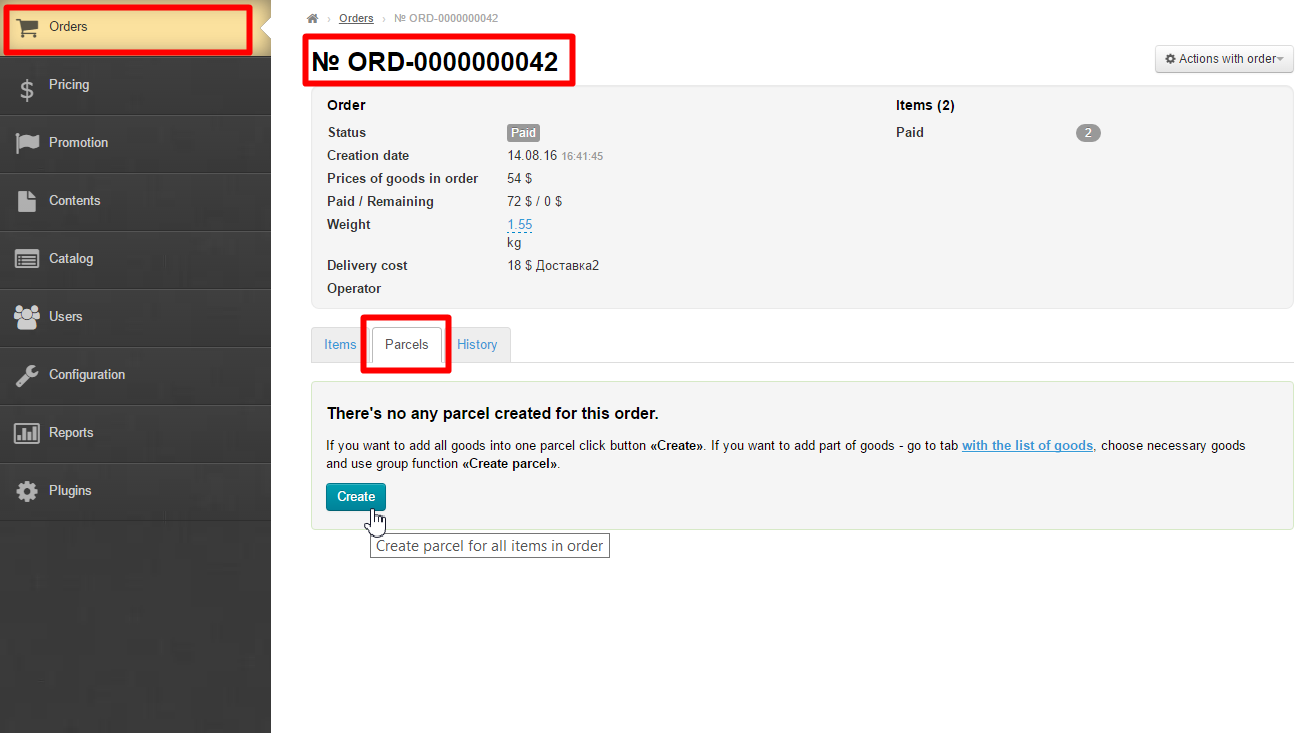
This page allows one to view orders details. The “Packages” tab.
Go to: Orders > Order number in the administrative area of your website.
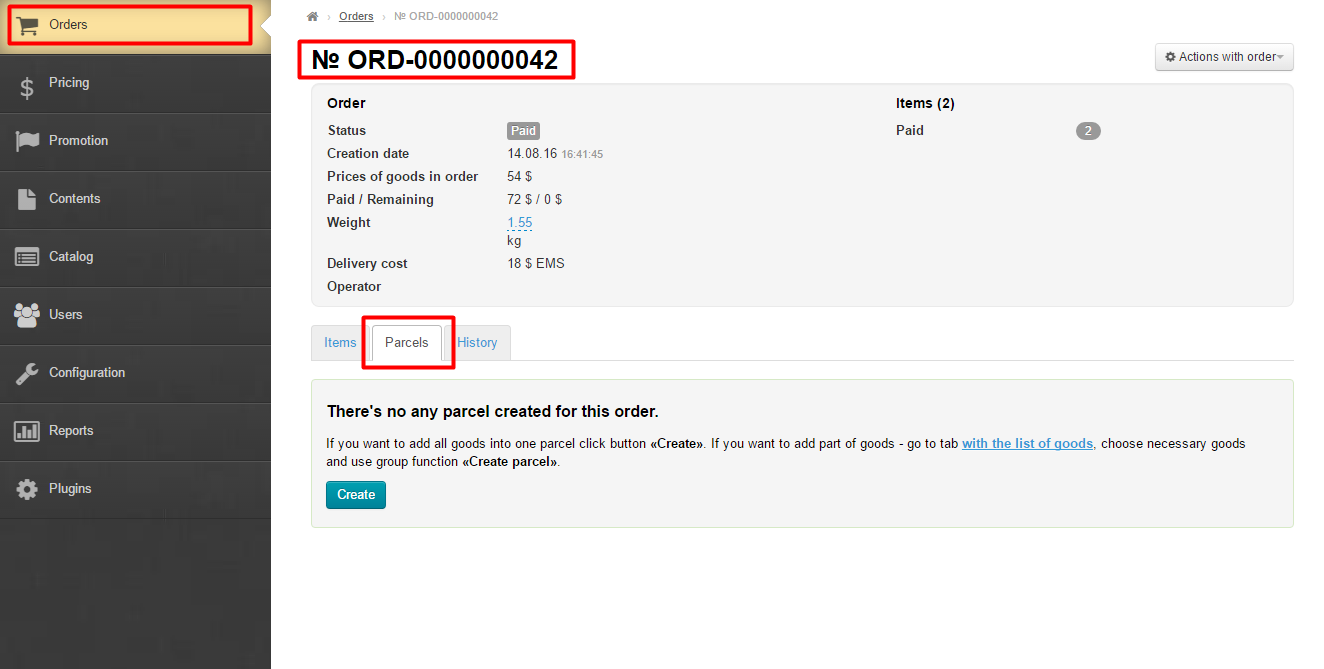
This tab displays packages to be shipped to a customer.
Description
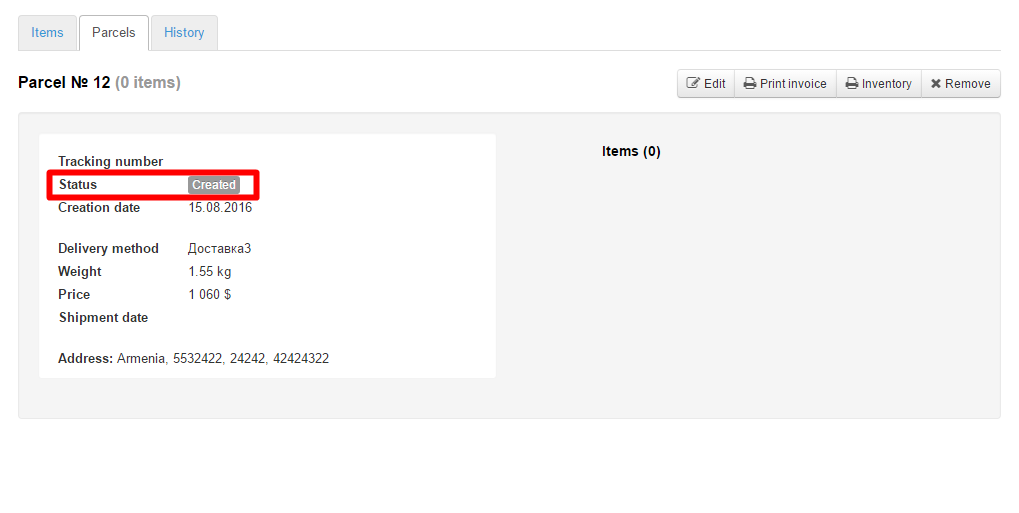
Every package has its package number and provides information about the quantity of items it includes.
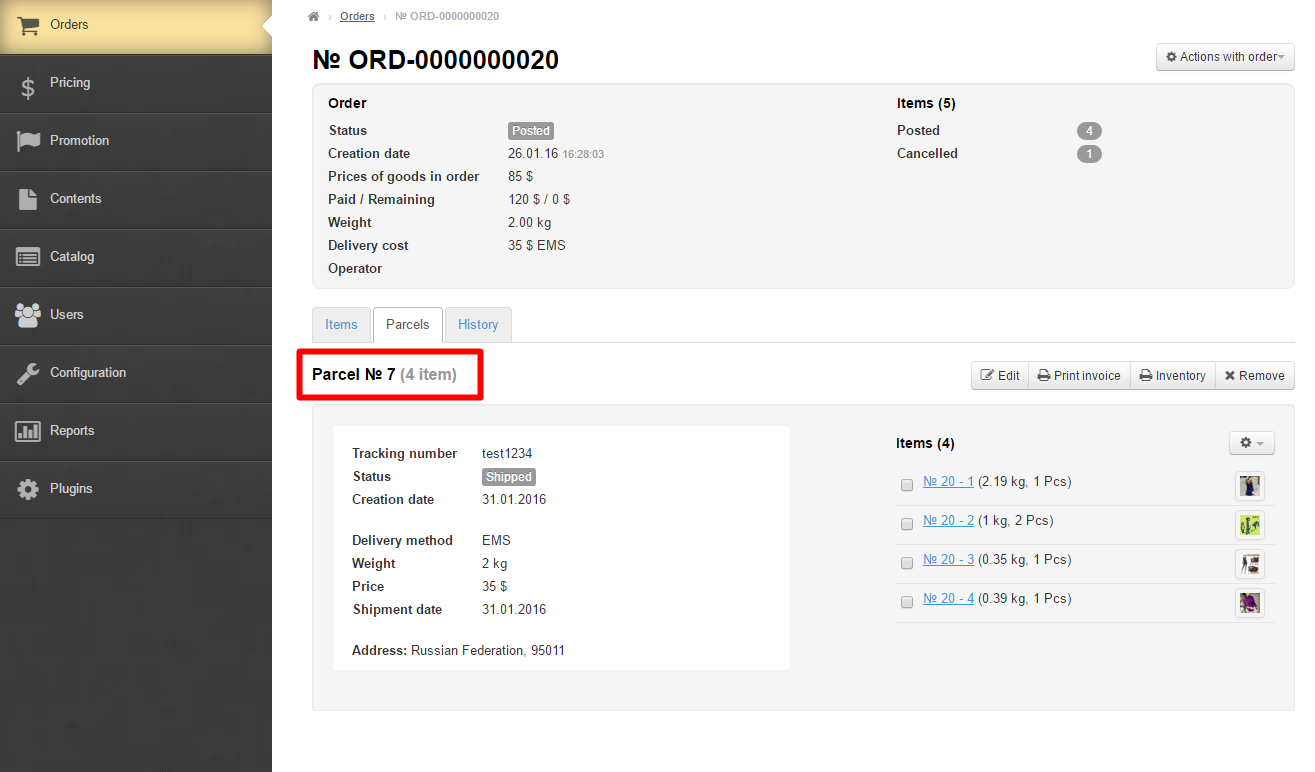
General package information:
And also the list of items that the created package includes:
There are two ways of creating a package:
Using the “Packages: tab.
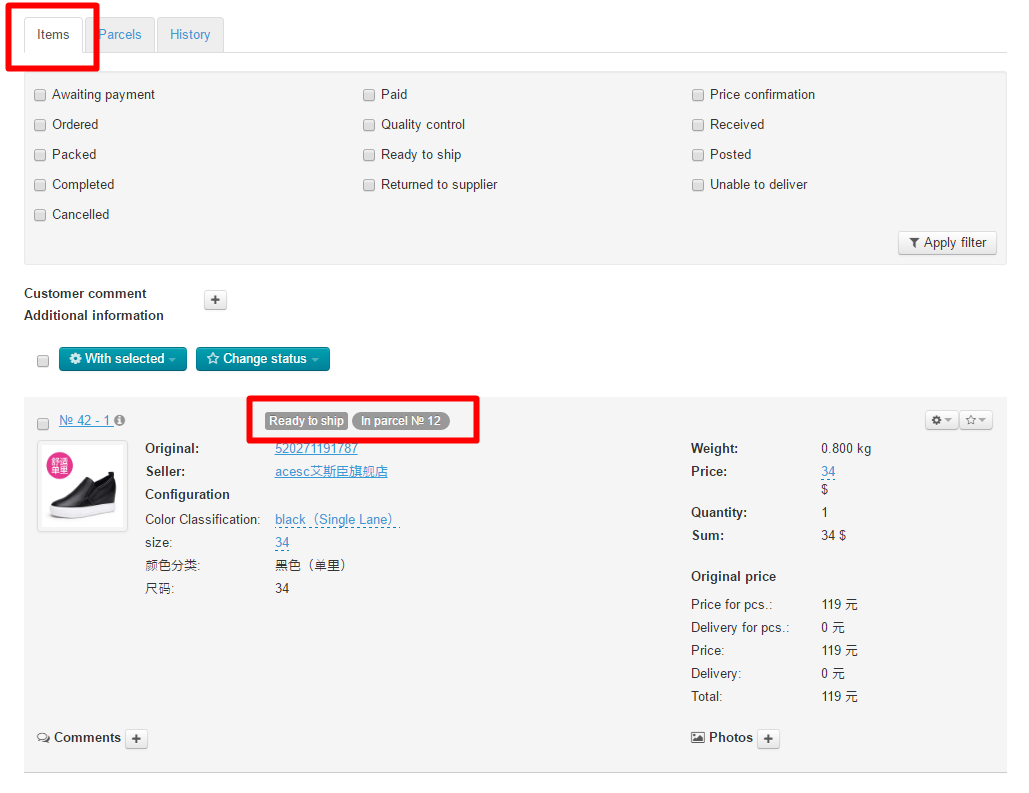
Using the “Items” tab.
If you’d like to add all items to a single package you should click the “Create” button. If you’d like to add a part of items to a package you need to go to the tab that lists all items, select the ones you want to add and apply the group function “Create package”.
Creating a package
Creating a package made up of all items of an order
A package cannot be created if the status of items is any one but “Paid”, “Received at warehouse” or “Ready to ship”.
To create a package you should click the “Create” button:
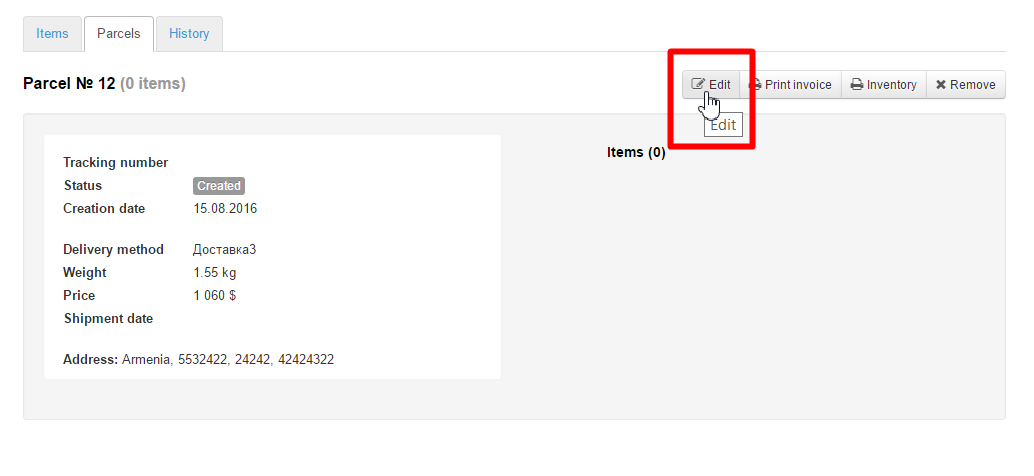
The package has been created successfully if the following block appears on the “Packages” tab.
Creating a package made up of some items of an order
If you need to create multiple packages for a single sales order you should perform the following steps:
Create a package and move items to different packages (for a detailed description see Moving an item to a new package ).
Go to the “Items” tab and create a package by selecting items.
Managing packages
Editing a package
To add or modify the package information please perform the following steps:
Click the “Edit” button.
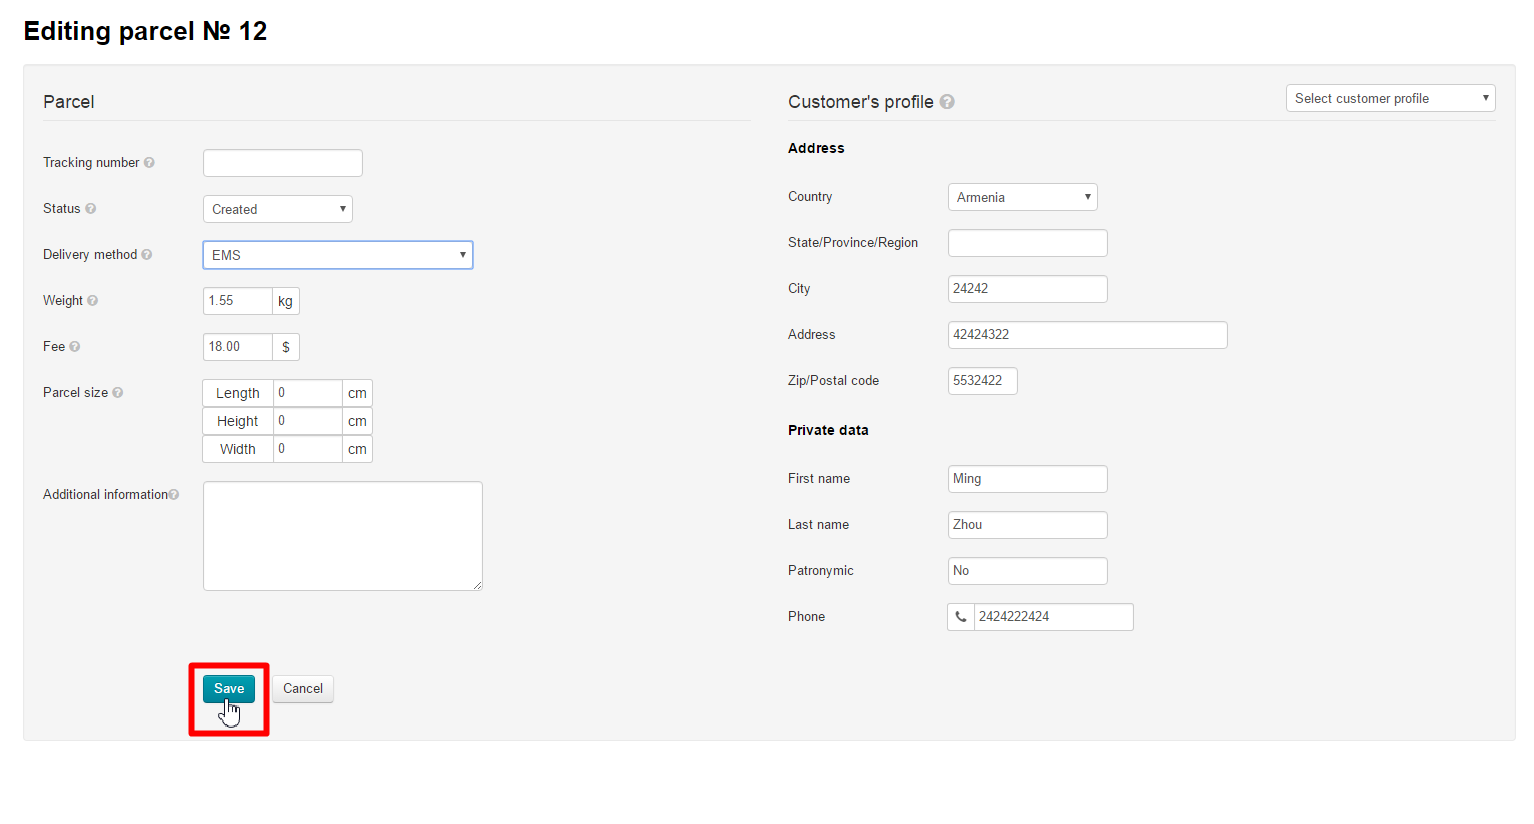
This will bring up a form to edit the package information:
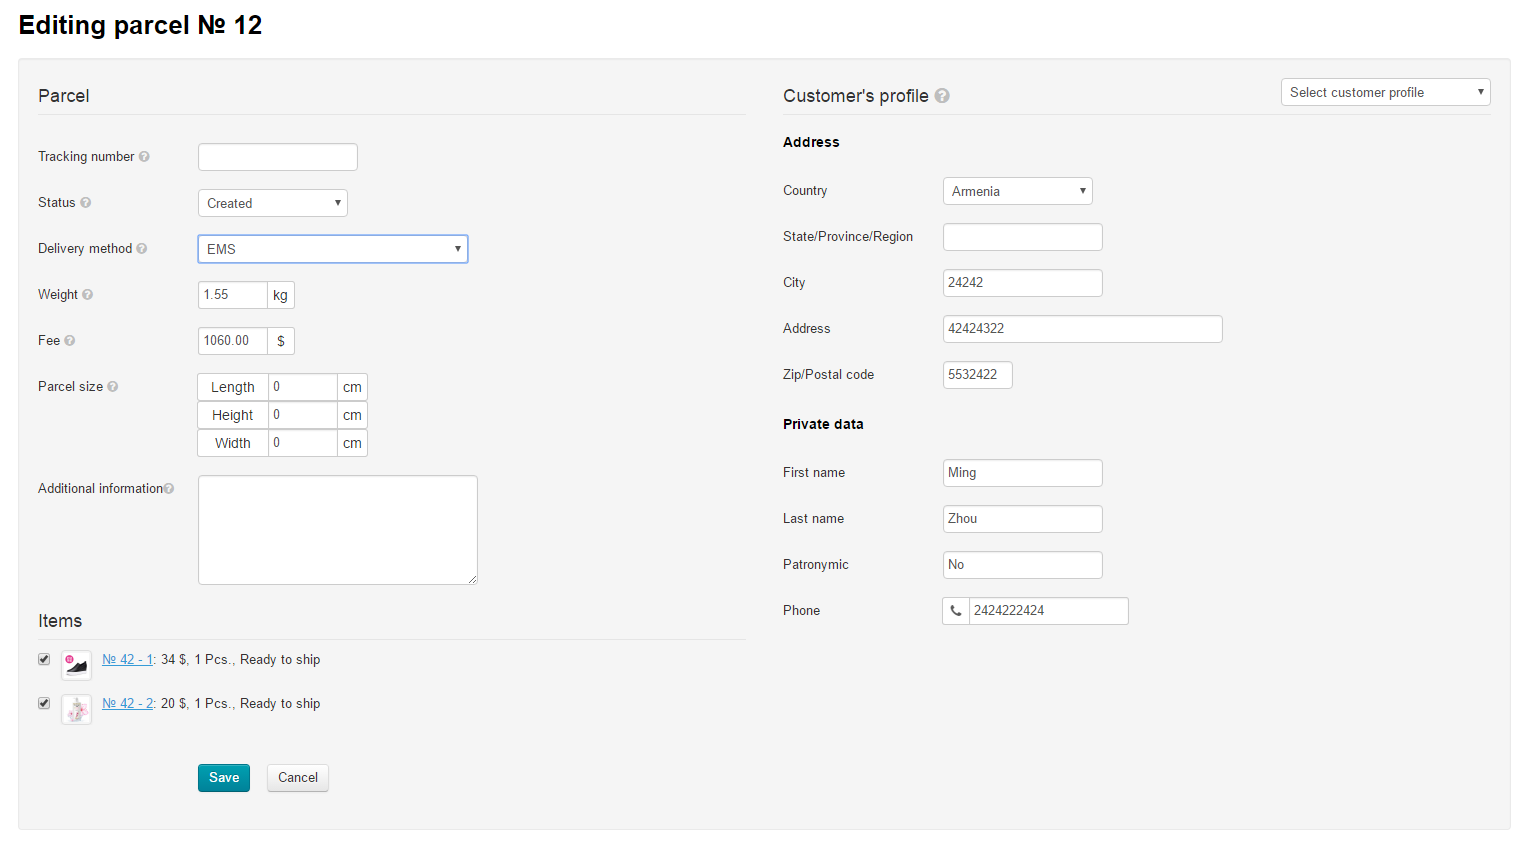
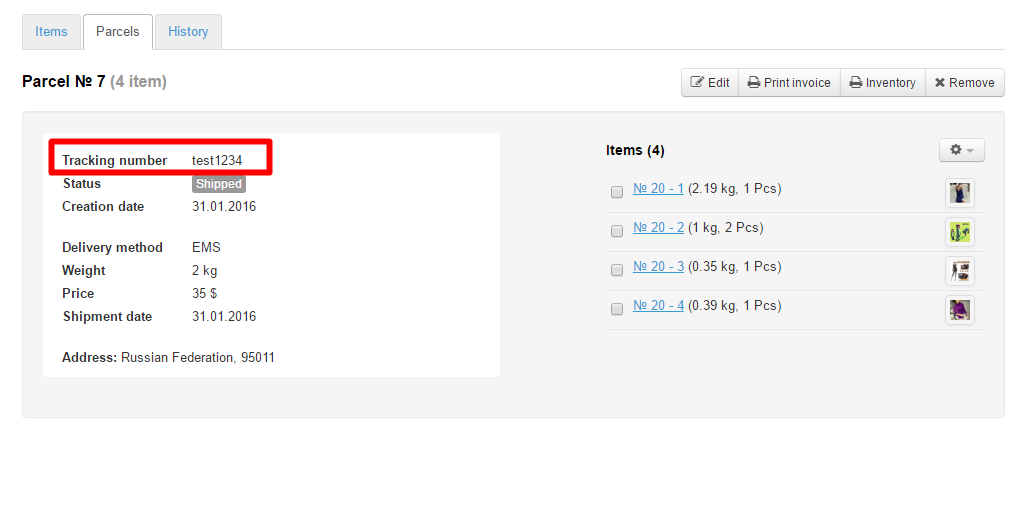
Enter or edit package information that follows:
Tracking number (i.e. the number used to trace a package in the delivery service).
Shipping method (You need to select the desired shipping method from the dropdown list).
Weight (You need to enter the weight if it differs from the stated one).
Shipping cost (You need to specify the cost of shipping to a recipient if it is different from the one shown).
Package dimensions (the dimensions of a package in centimeters).
Additional information (any special notes and so on, i.e. the package information not included in other fields).
Recipient information
Make sure the address is correct:
Country.
Region.
City.
Address.
Zip/Postal code.
Make sure the recipient personal data is correct:
First name.
Last name.
Patronymic.
Telephone.
Make modifications if required.
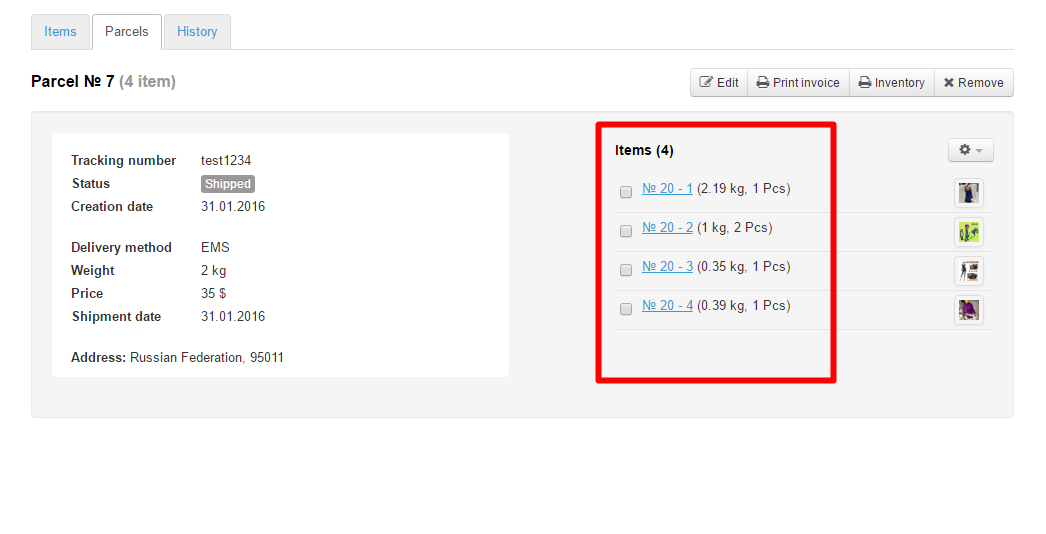
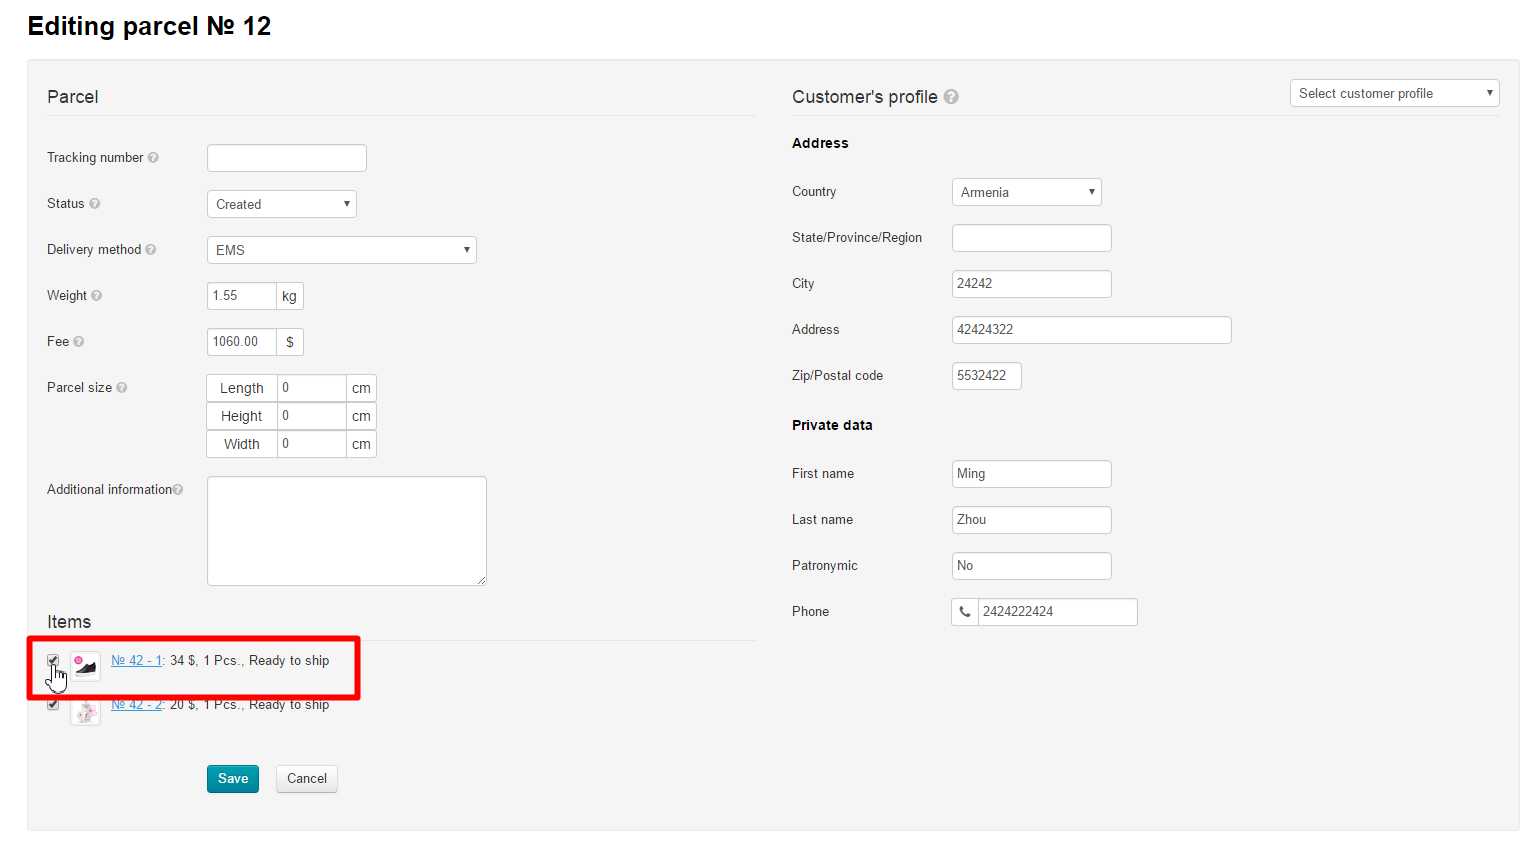
Items
Ensure that the list of items in a package is accurate and complete (uncheck the checkboxes in case you don’t need one or another item).
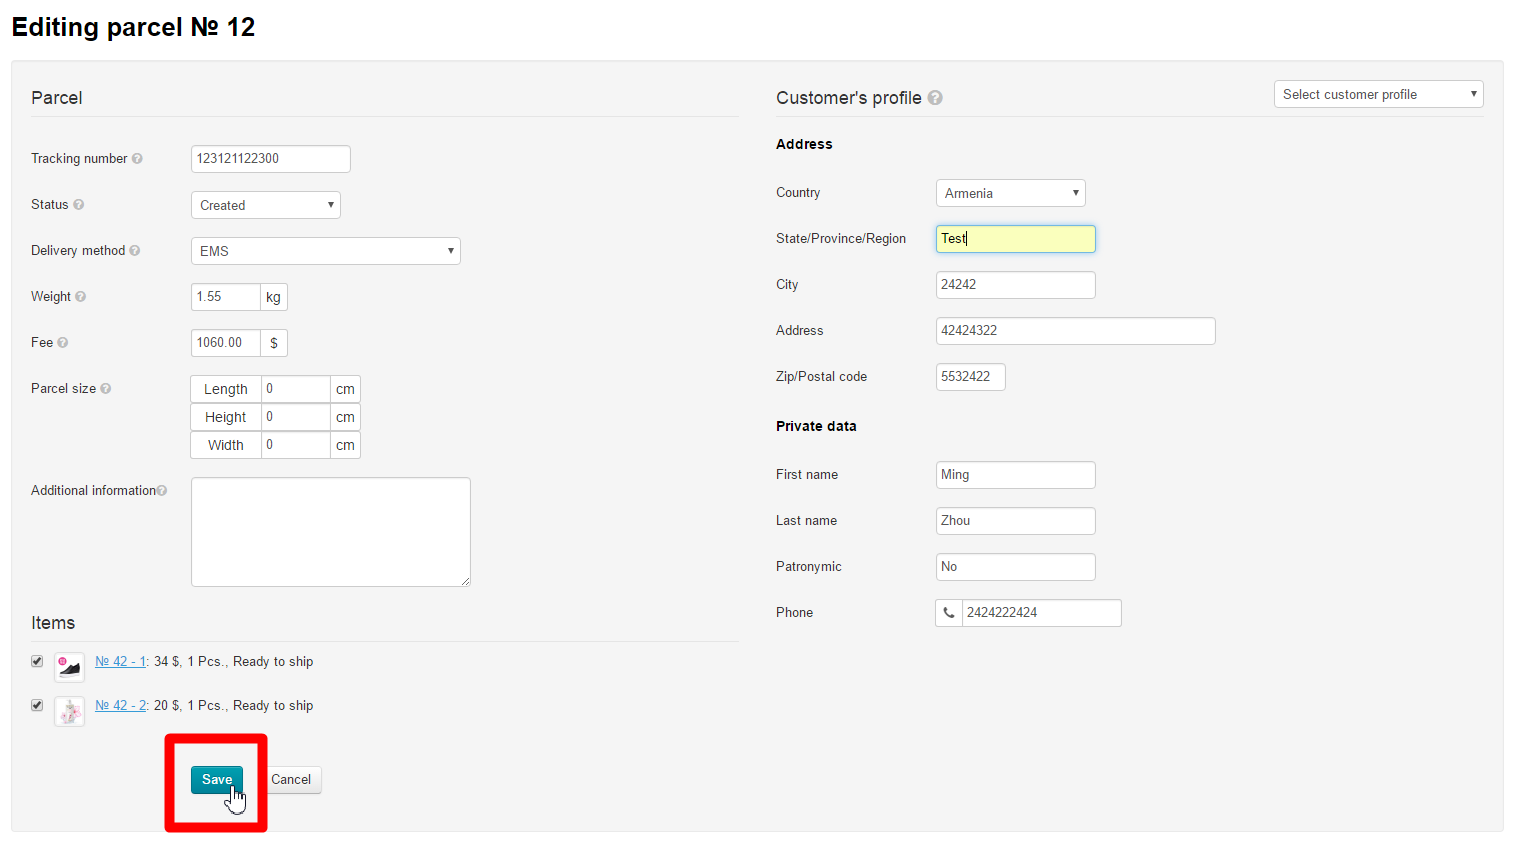
When the list of items is checked and edited click the “Save” button at the bottom of the page.
Printing an invoice
You can print an invoice for a created package.
Click the “Print invoice” button:
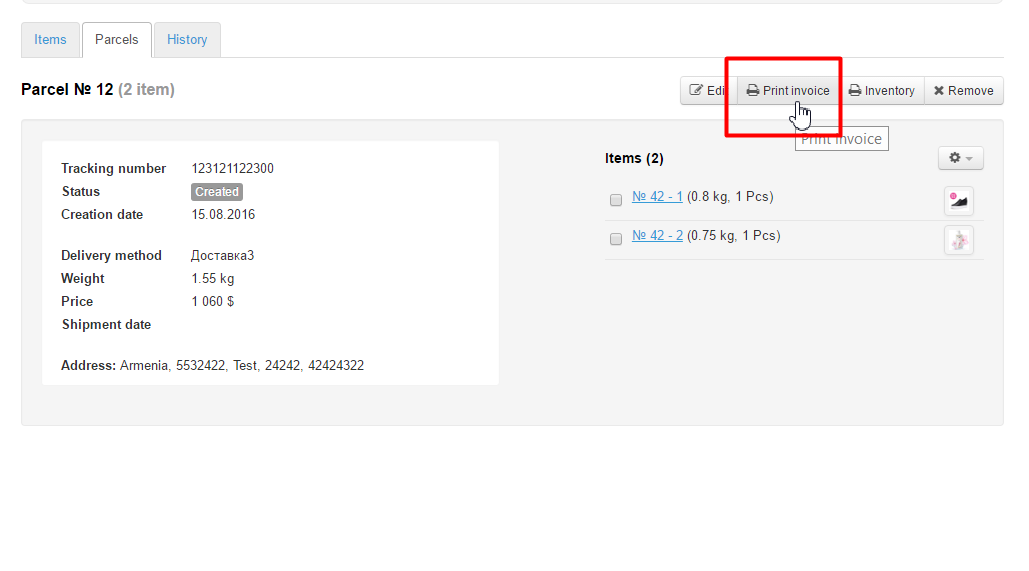
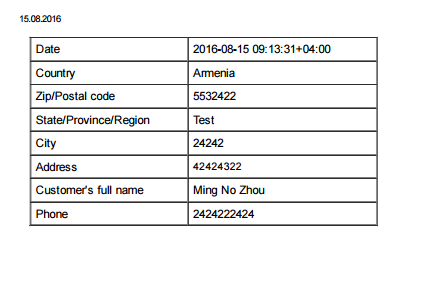
Once you’ve clicked this button the appropriate form will appear in the new window.
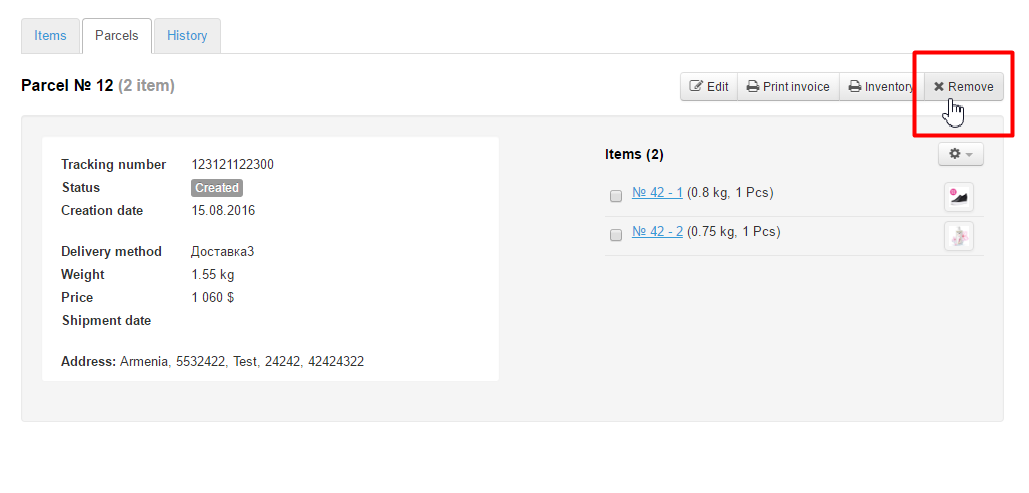
Deleting a package
To delete a created package please perform the following steps:
Click the “Remove” button.
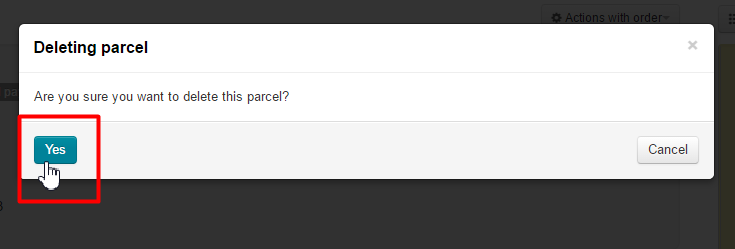
If you are sure you want to delete the package click “Yes”. If you don’t need to delete it click “Cancel”.
Once you’ve deleted the package the “Packages” tab will be empty and you can create a new package.
Moving an item to a new package
If you need to move an item to a new package or delete it from the created one do the following:
Choose the desired item by ticking the checkbox next to it.
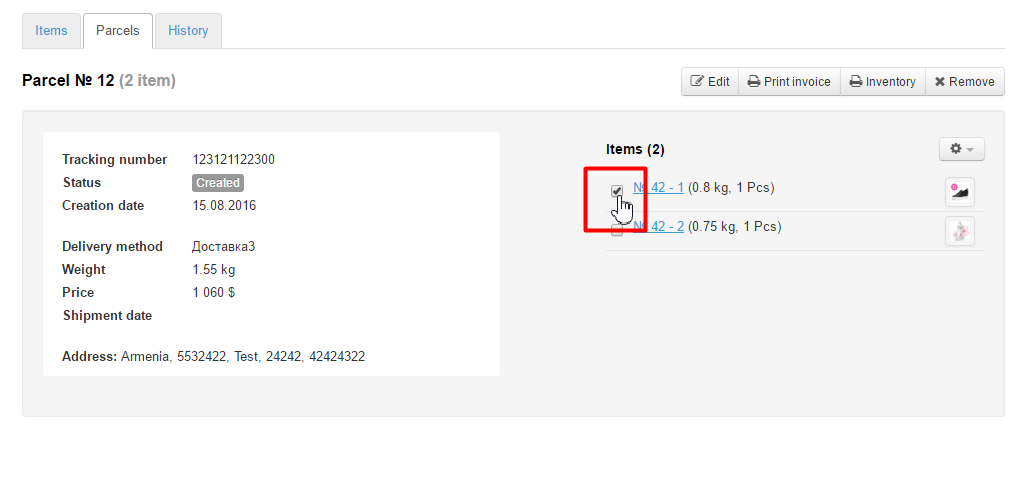
Click the gear button.
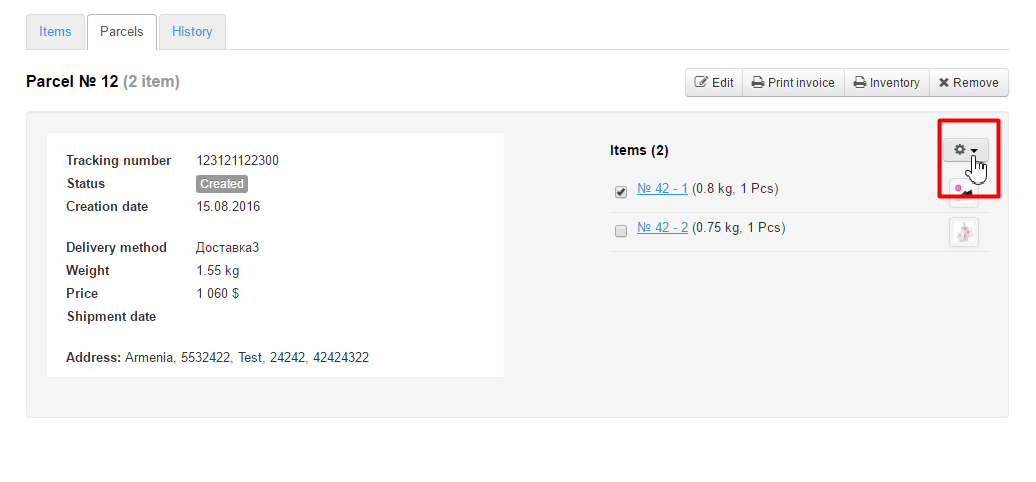
Click the “Move to new package” button.

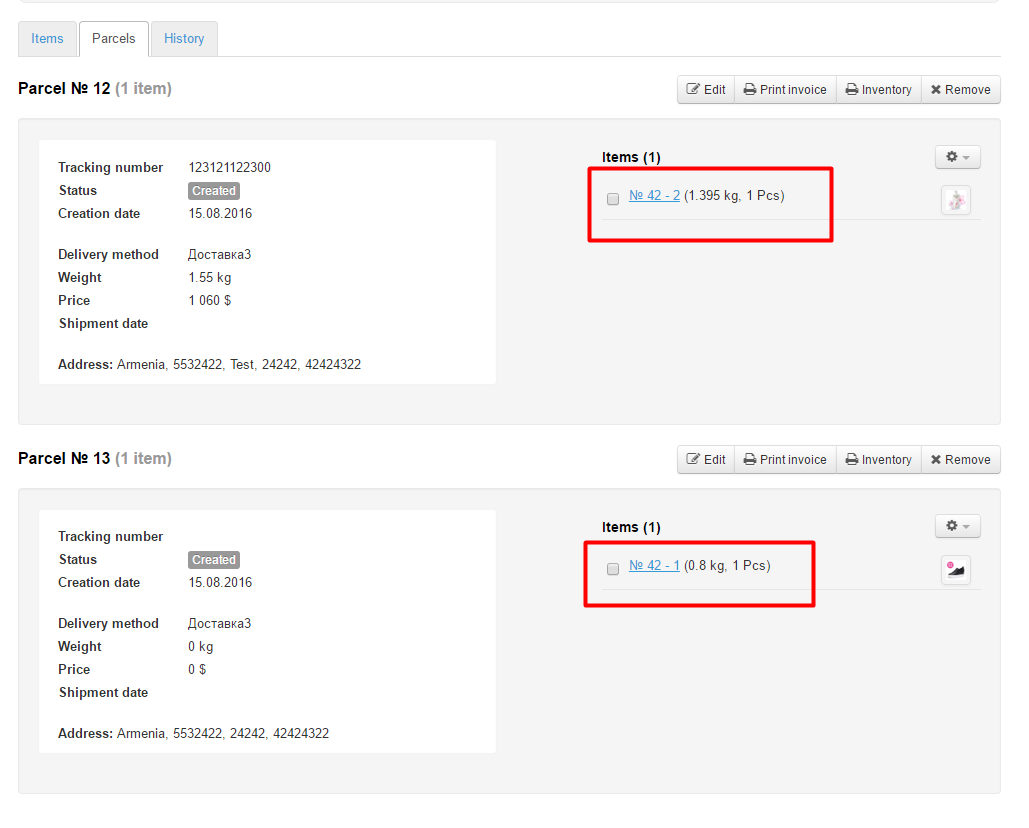
Confirm your choice.

Once this is done, the new package is created automatically and there you can find the item you’ve just moved.
Package statuses
The statuses of a package like the statuses of items or orders can be altered according to corresponding steps in order processing.
To alter the status of a package you should click the “Edit” button.

Look for the “Status” field.

Select the preferred status from the dropdown list by clicking it.

After clicking the status you’ve just selected will be shown in the “Status” field.

Click the “Save” button at the bottom of the page to save the setting.

That done, the status of the package will be updated and can be viewed on the “Packages” tab.
