...
Click the appropriate dropdown list to select the website’s main provider (his catalog and collections will be shown on the website which does not exclude availability of other providers but makes them minor).

In the list that appears select a preferred provider.

You should click on the checkmark button to apply the settings.
...
In the list that appears click on the desired setting.

Click the checkmark button to save the modifications.
...
When enabled, the website will be temporary offline for maintenance. Disabled is default.
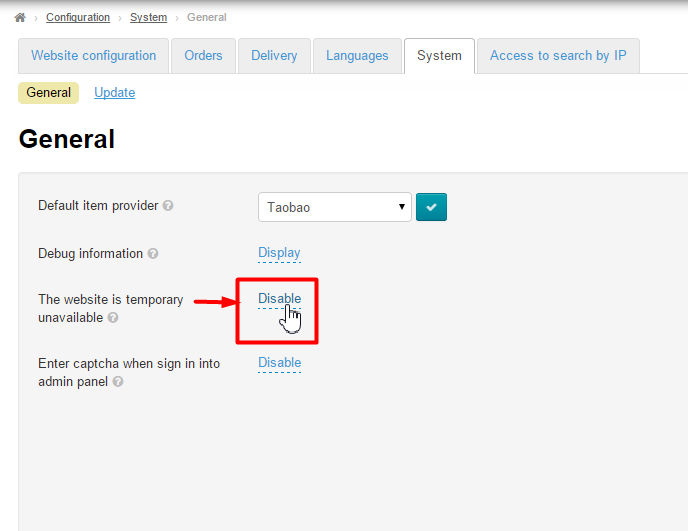
Click on click the dashed blue underlined text to enable/disable this feature.
...
In the list that appears click on the desired setting.
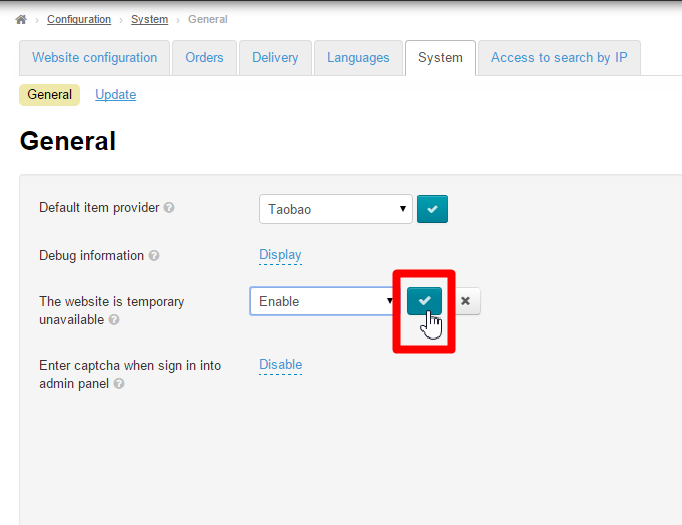
Click on click the checkmark button to save the modifications.
...
In the list that appears click on the desired setting.
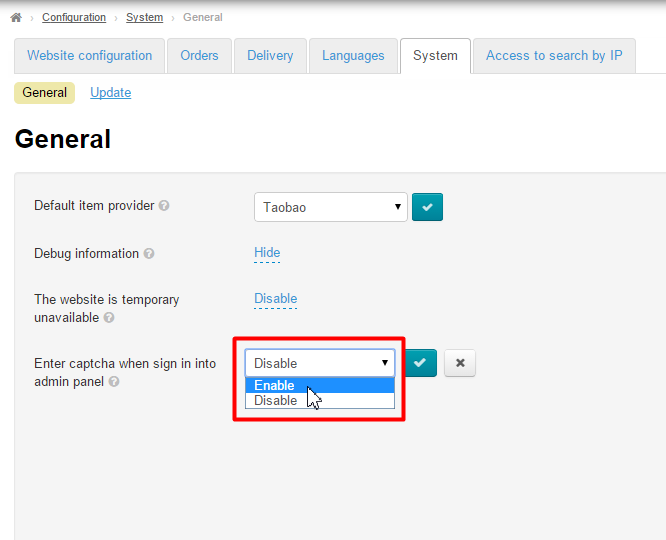
Click on click the checkmark button to save the modifications.
...
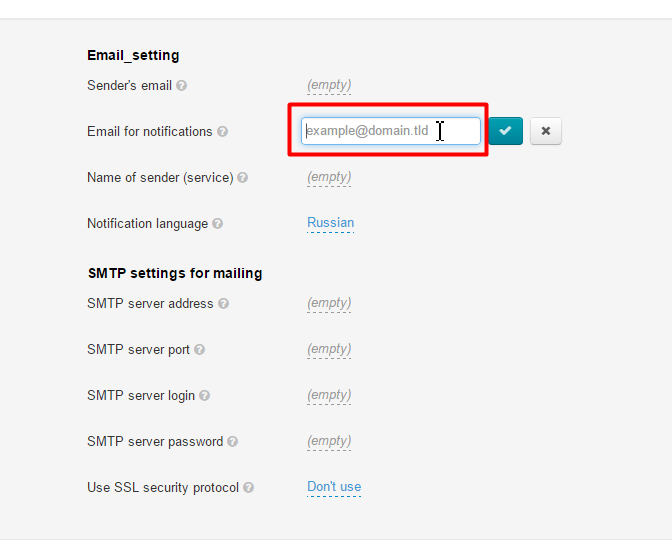
Email setting
Sender's emai
...
This is the e-mail address that notifications are sent from (the “From” field), for example, in mailing lists.
...
Enter the setting you need.
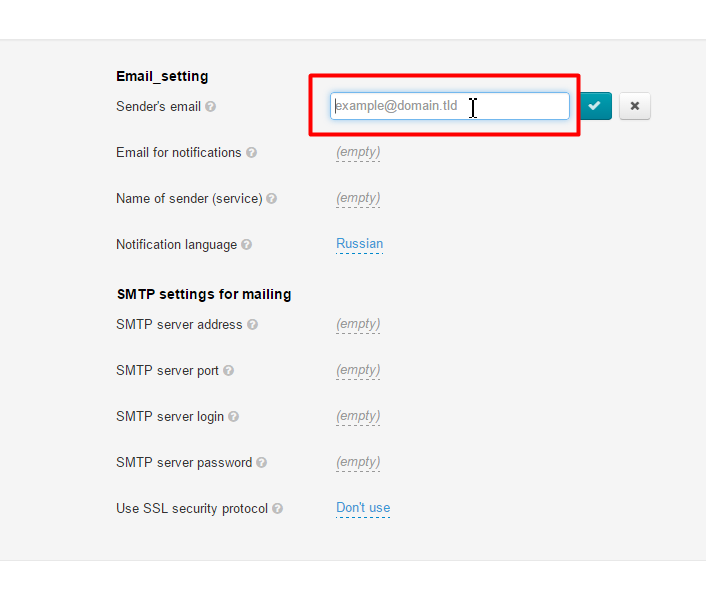
Click on click the checkmark button to save the modifications.
...
Enter the setting you need.
Click on click the checkmark button to save the modifications.
...
In the list that appears click on the desired setting.
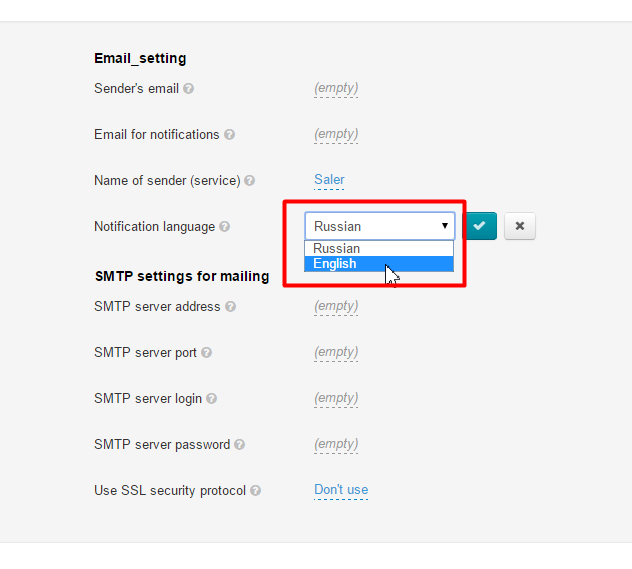
Click on click the checkmark button to save the modifications.
...
SMTP settings for mailing
...
Each mail message system provides the detailed settings itemized below. You should fill in the appropriate fields in accord with your e-mail account instructions.
...
SMTP server address
SMTP server port
SMTP server login
SMTP server password
Enable the SSL protocol (yes or no)
...
To fill out the necessary fields you should perform the following steps:
...
Enter the setting you need.
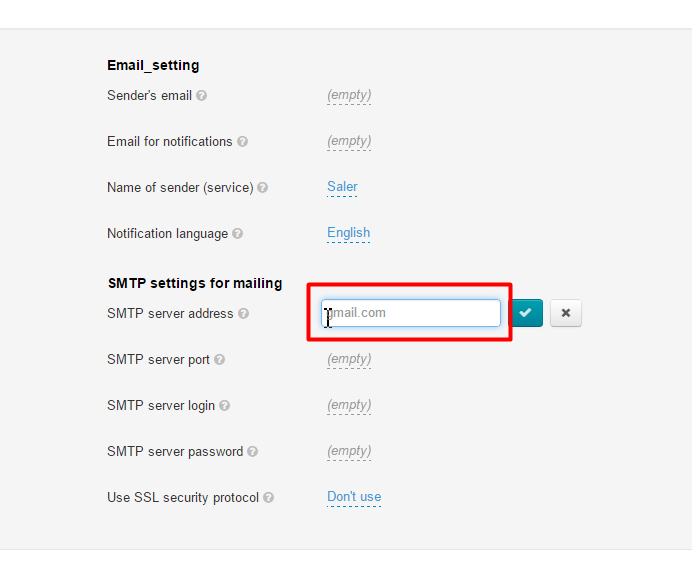
Click on click the checkmark button to save the modifications.
...