
Customize website color scheme for your brand. Use new design template of OT Box called "Elastic".
Enable design template "Elastic"
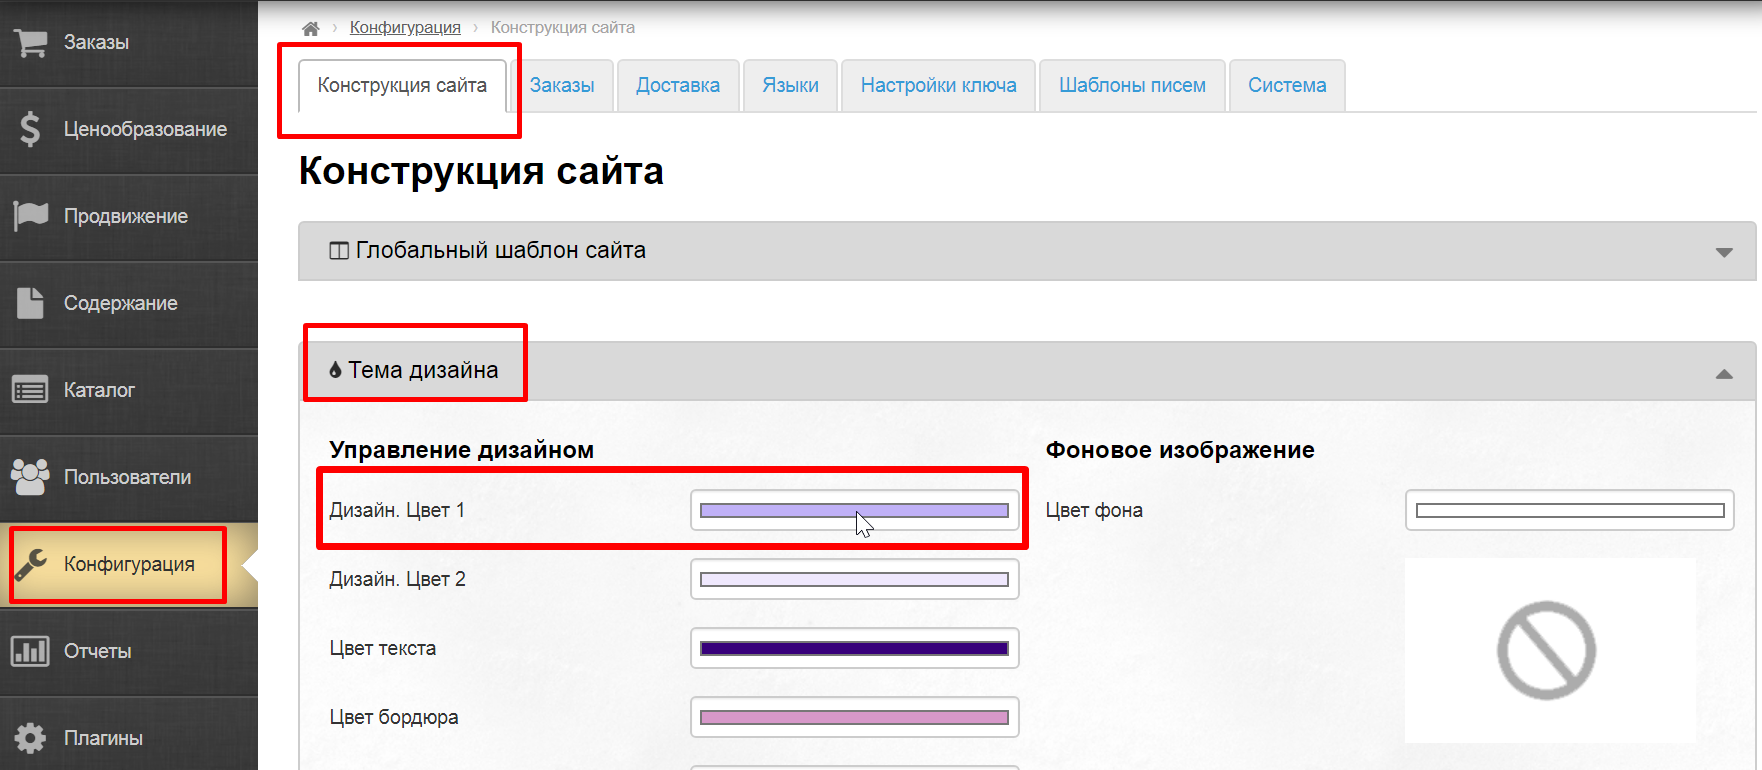
Open admin panel and go to "Configuration" → "System":

Find "Design theme" in section "General" and select "elastic" from drop-down list. Save choice clicking check marked button:

Customize design template
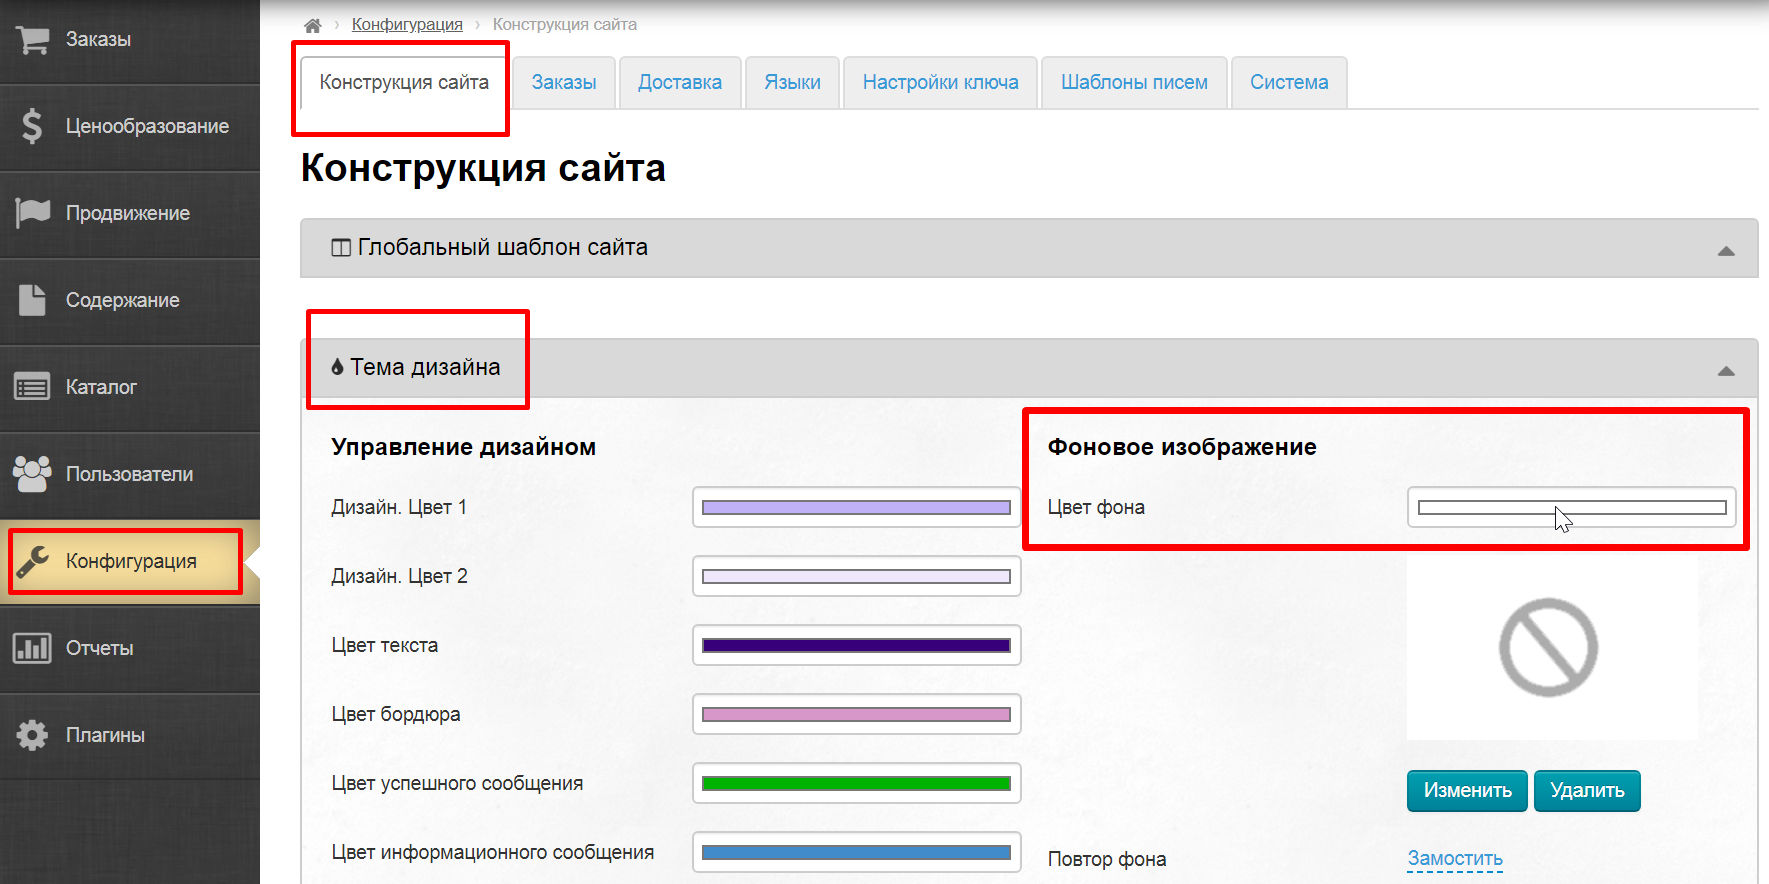
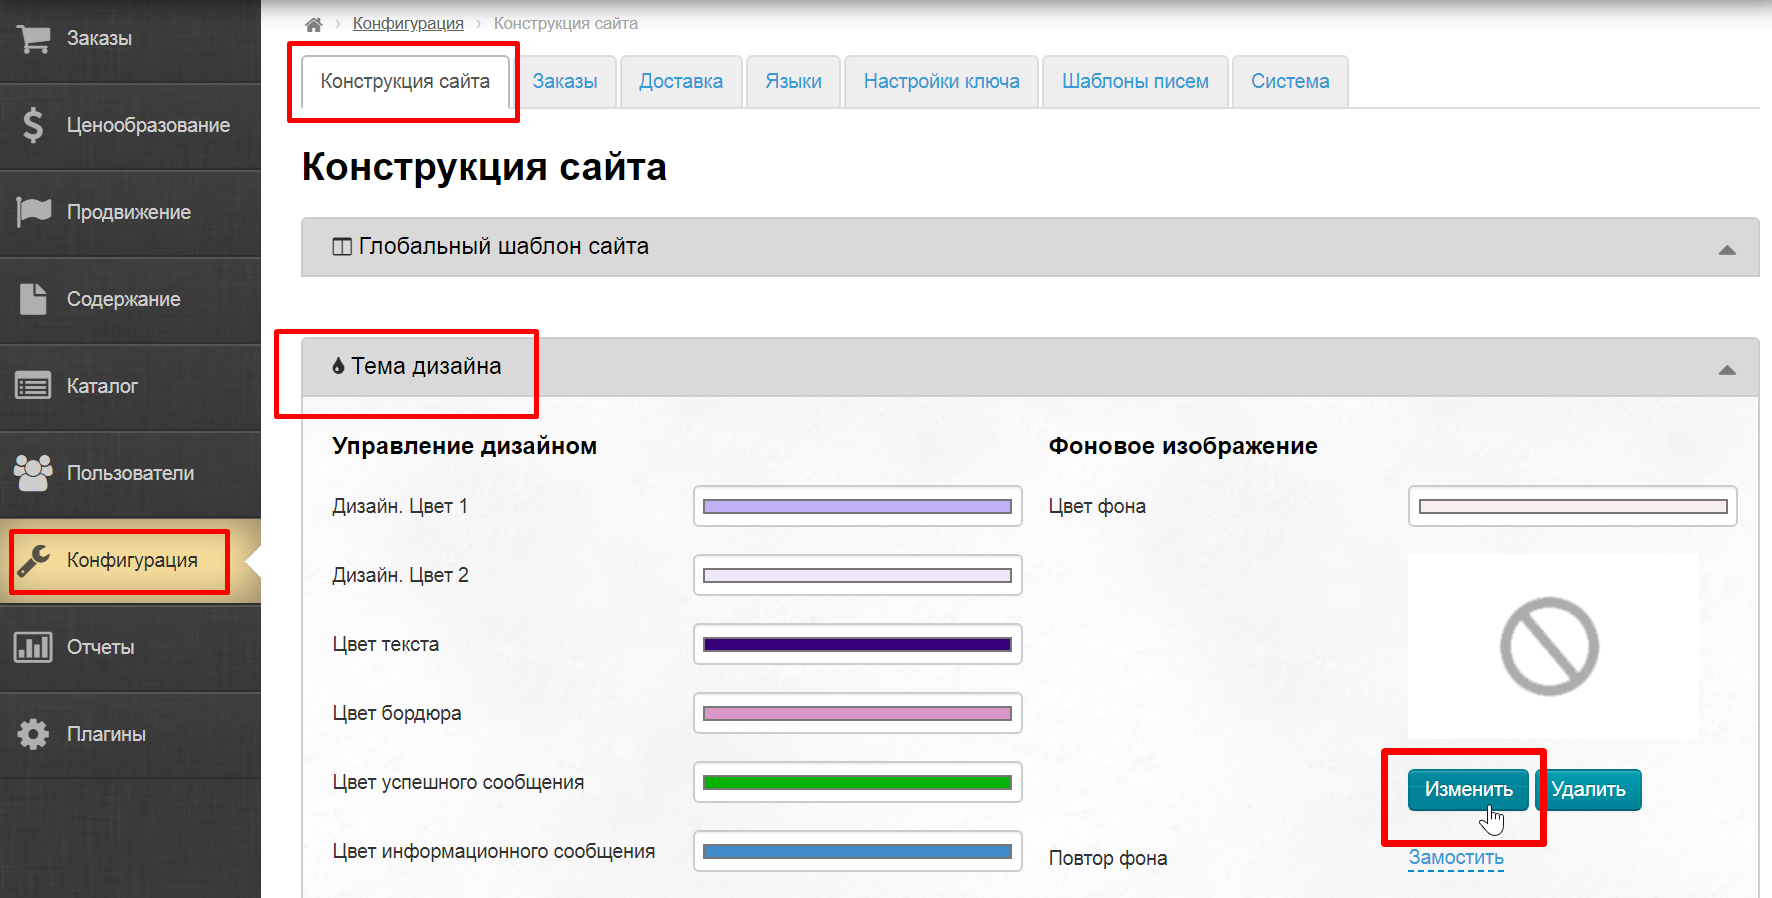
Go to "Configuration" -> "Website configuration" to customize selected design template:

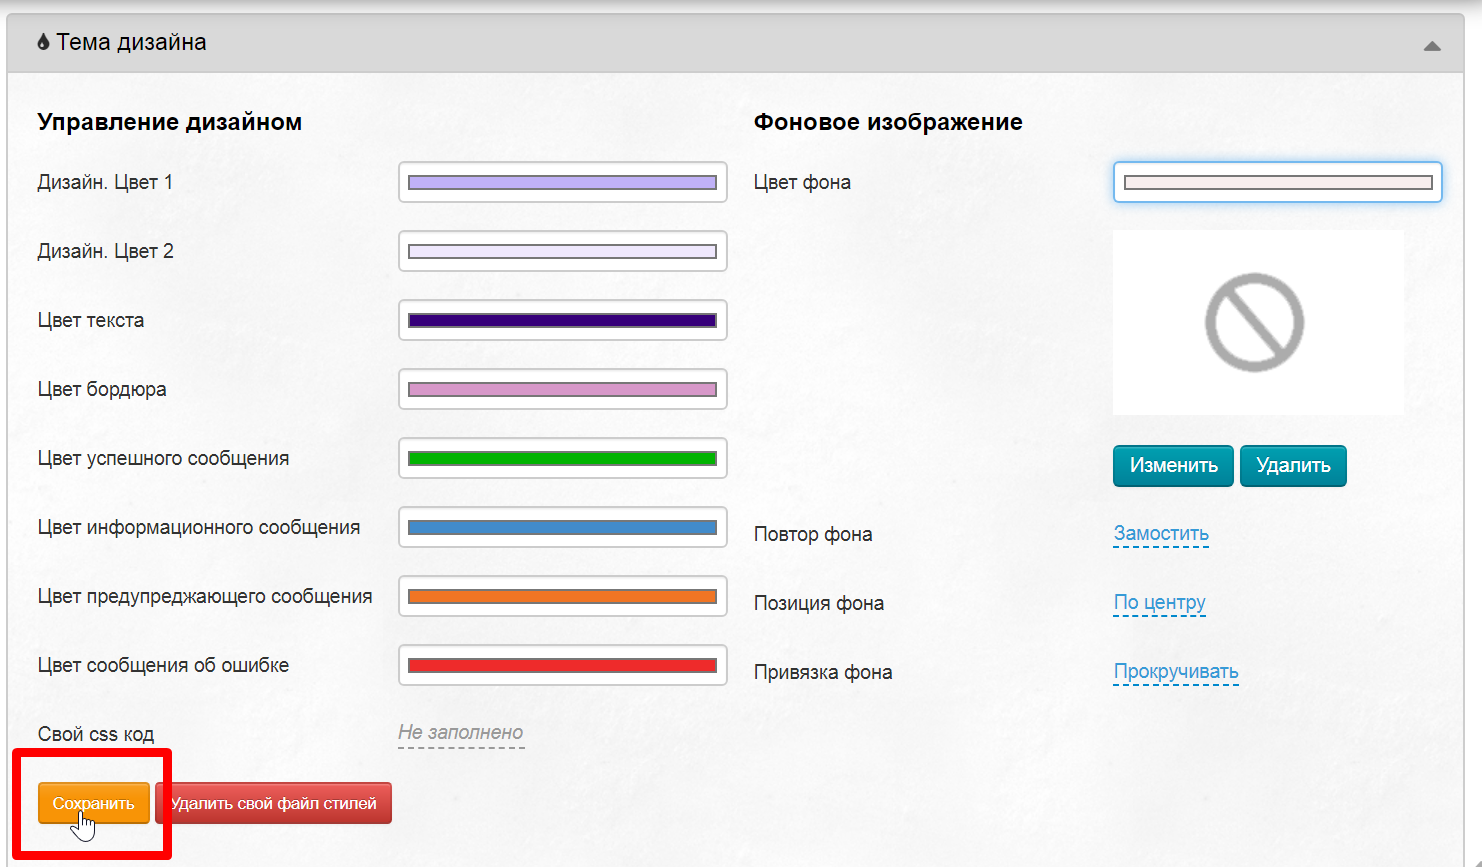
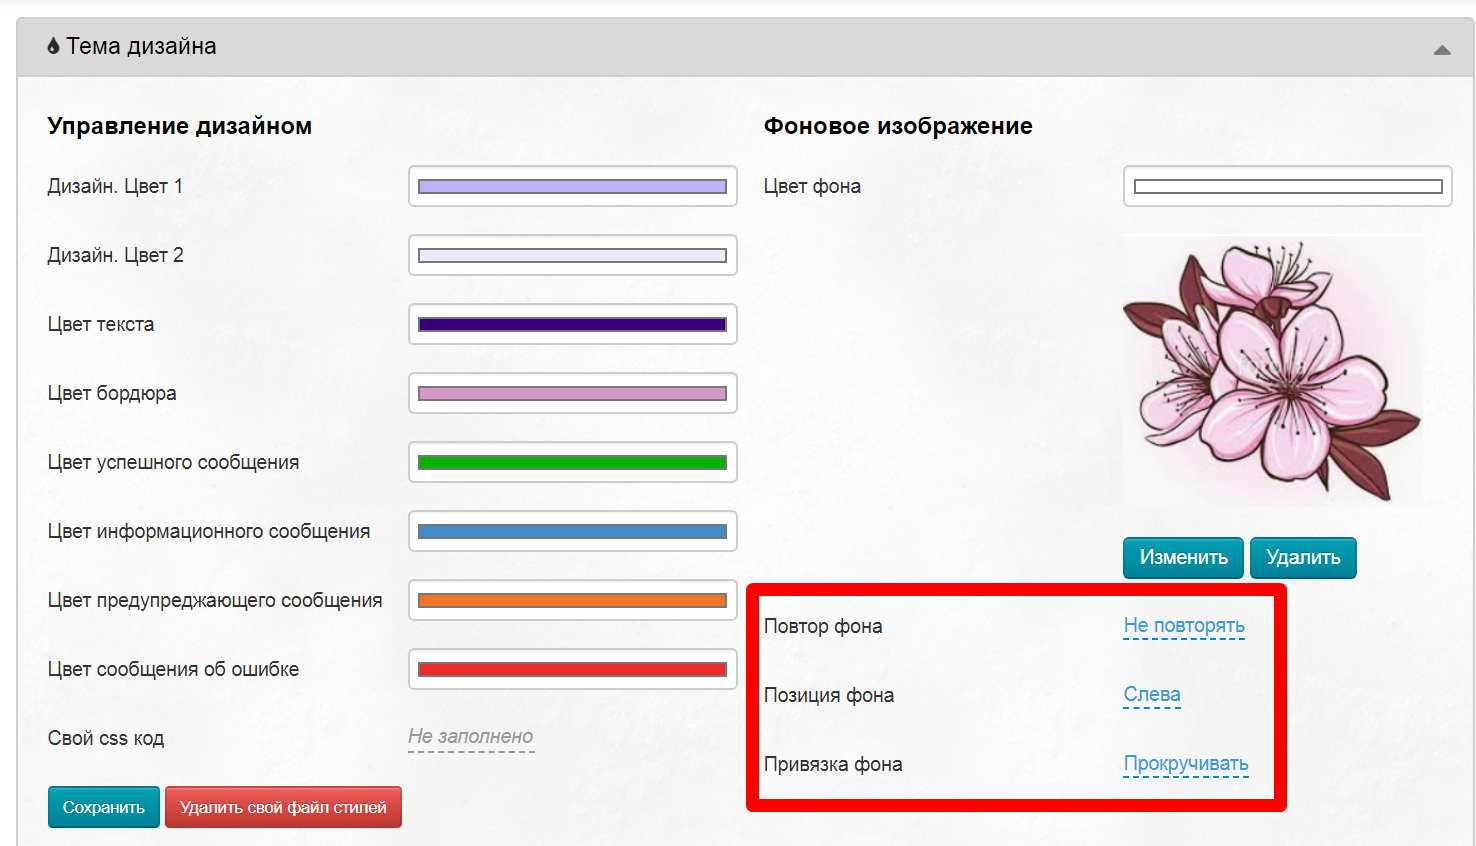
Scroll down the page to "design theme" block. You will make settings in this section:

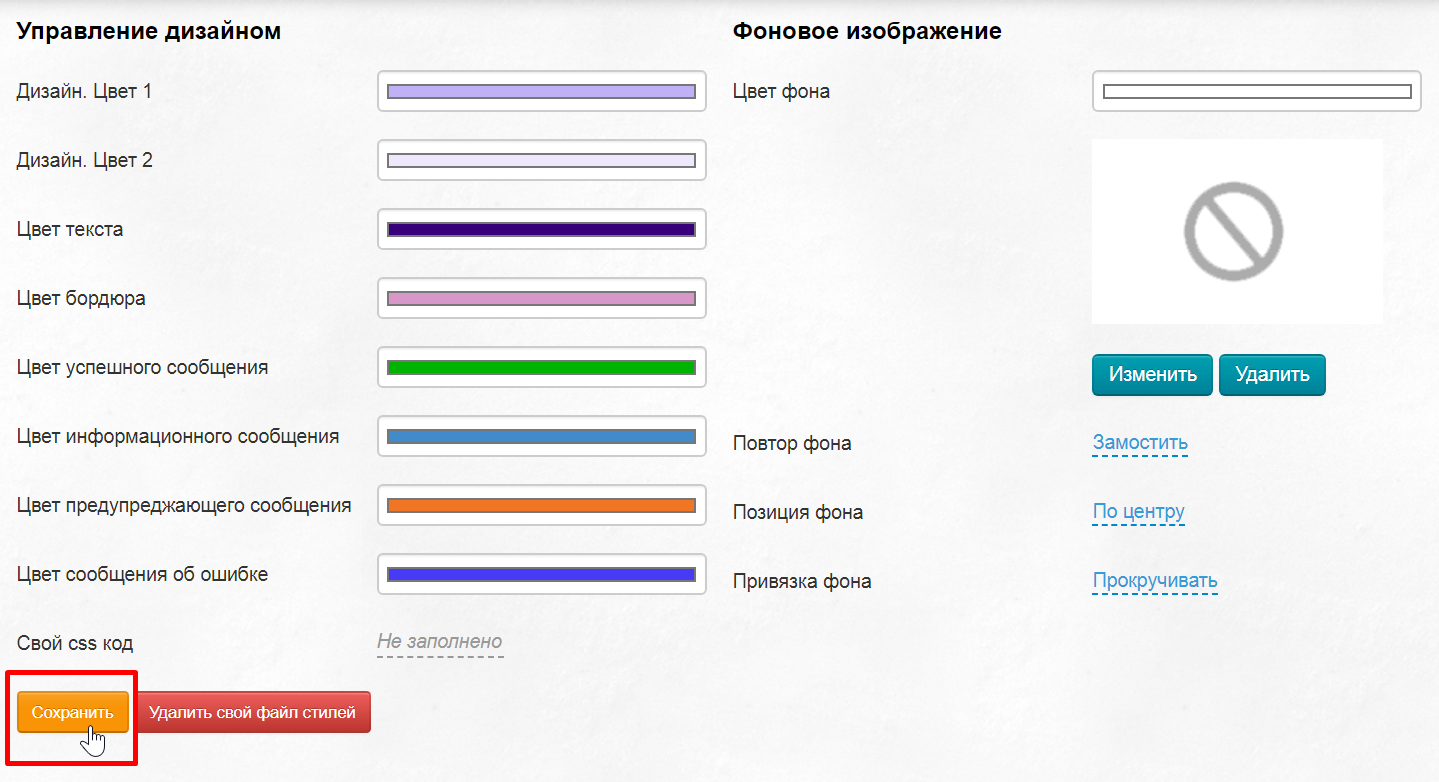
Change colors: Control design
Design will remain in the basic gray-orange color developed by OT designers if you do not change colors.
We recommend keeping default design if you are a novice entrepreneur and have not yet been developing a corporate identity.
However, it is better to repaint the site to match your brand colors if you already have a corporate identity.
There are 4 primary design colors.
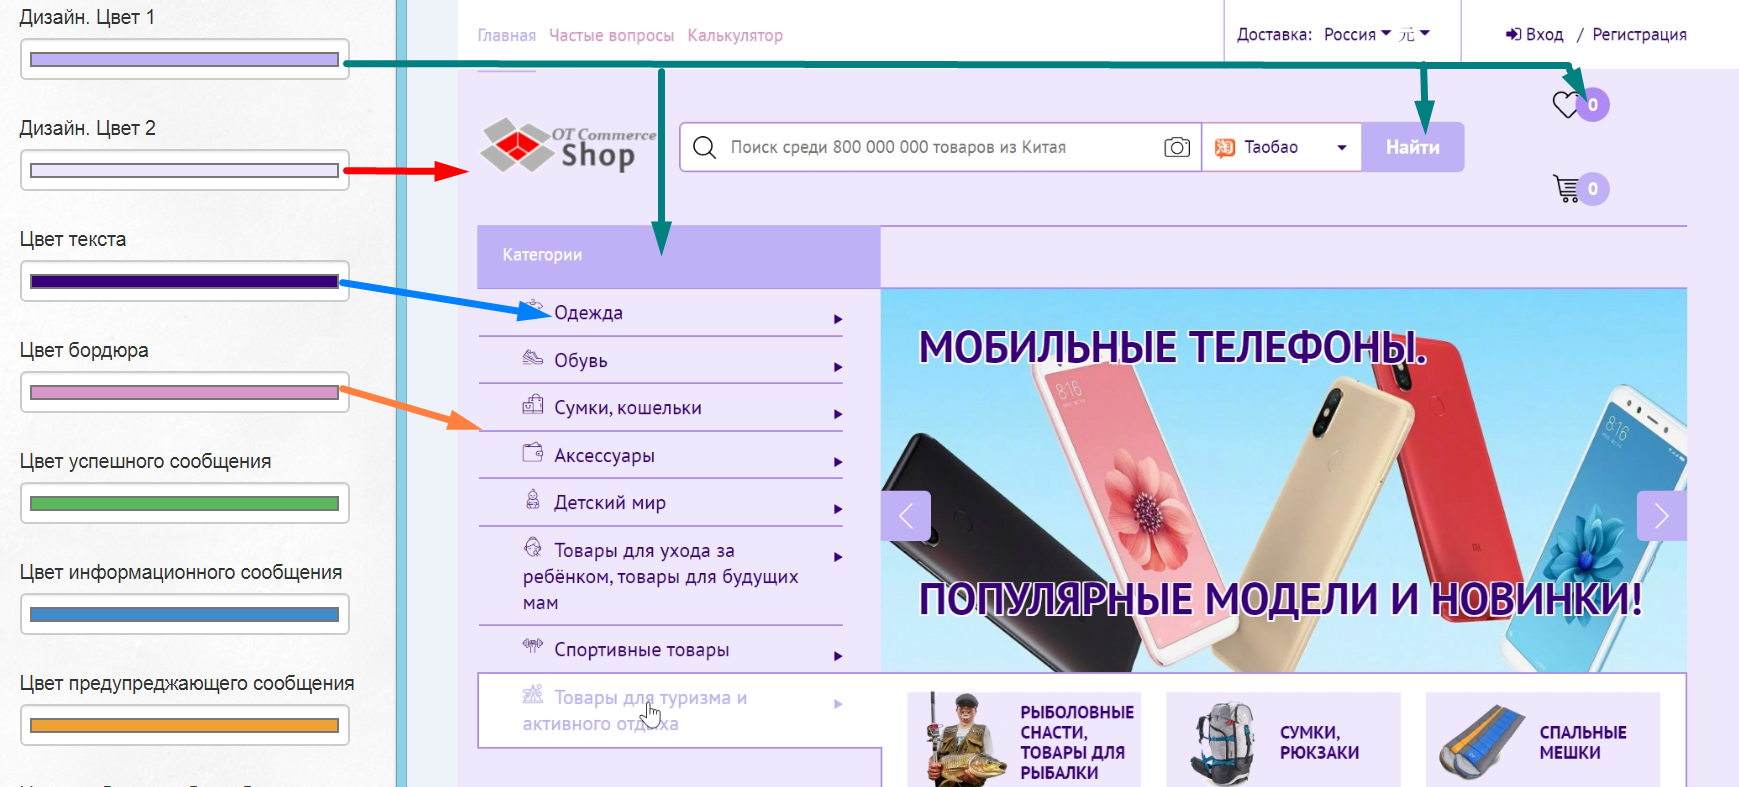
Select field in "Configuration -> Website configuration -> Design theme":
A color palette will open after click where you can select necessary color using mouse or specify RGB values from Photoshop.
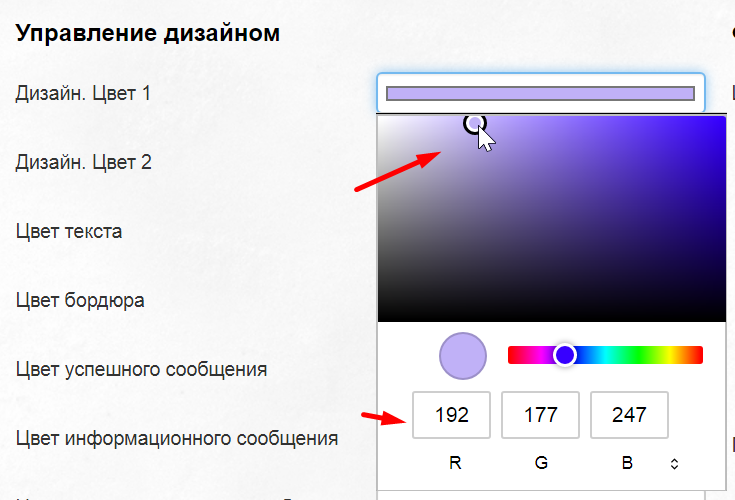
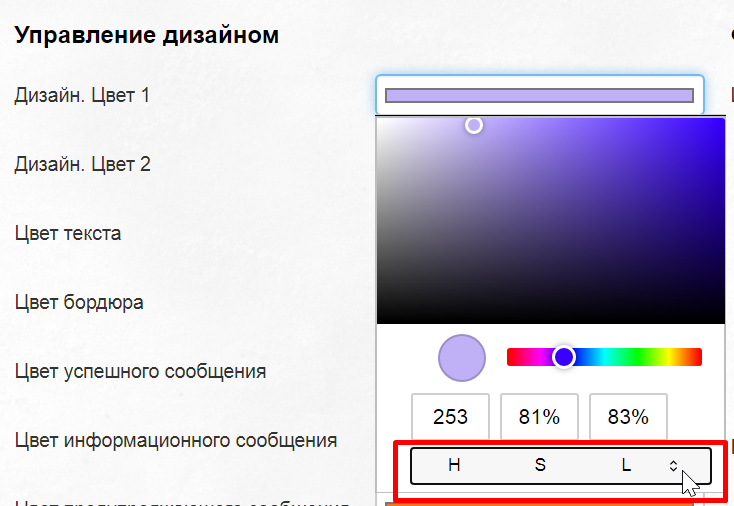
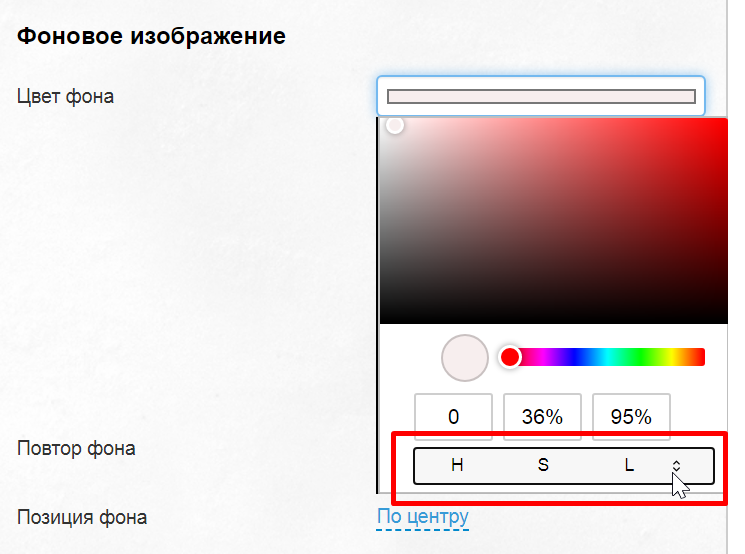
By the way, color can be specified in different formats, not only in RGB. Click special triangles in the format menu to select format.
Click "Save" button after all color are changed.
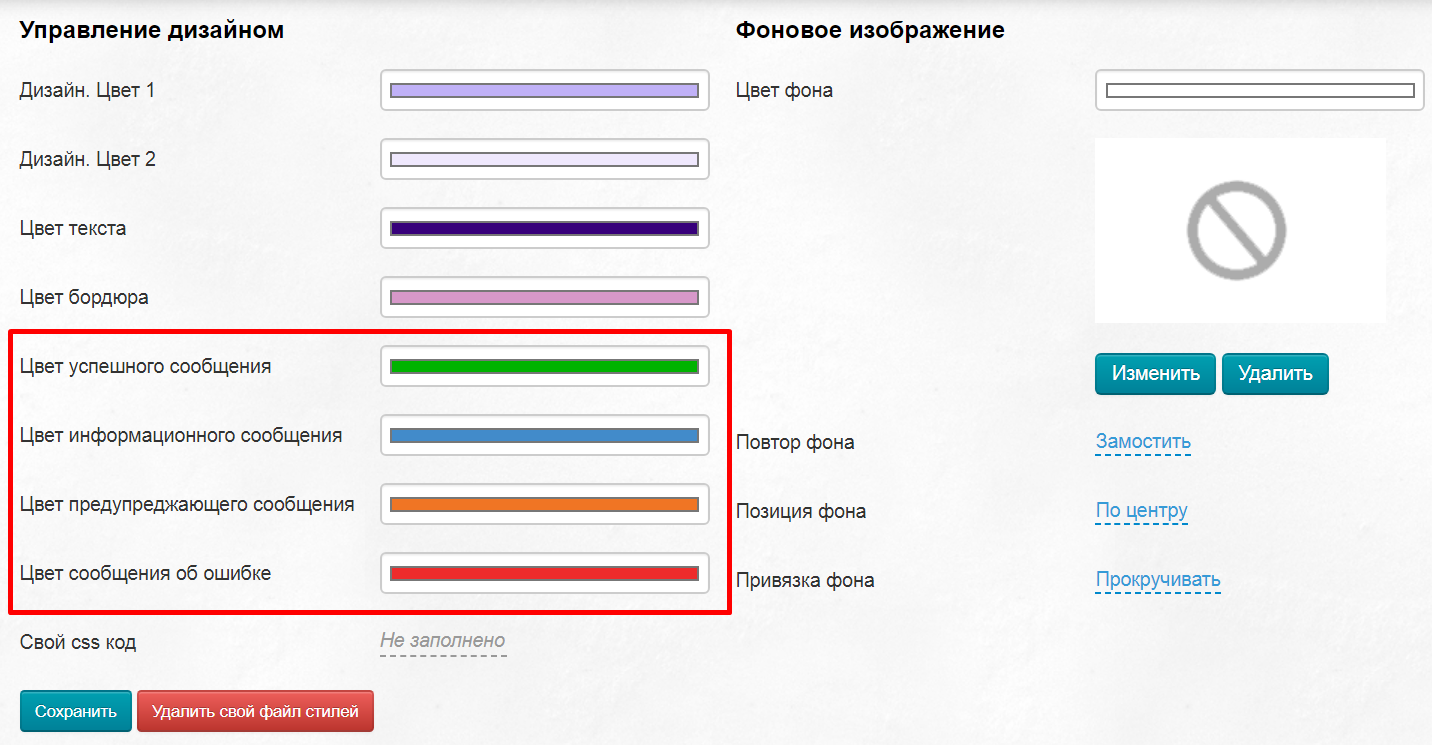
In addition to 4 design colors, there are 4 more colors of informational messages. We recommend leaving them unchanged or choosing no less vivid colors. Color of informational messages in OT Box admin panel is selected in accordance with the standards that a person is used to in everyday life.
Change background color
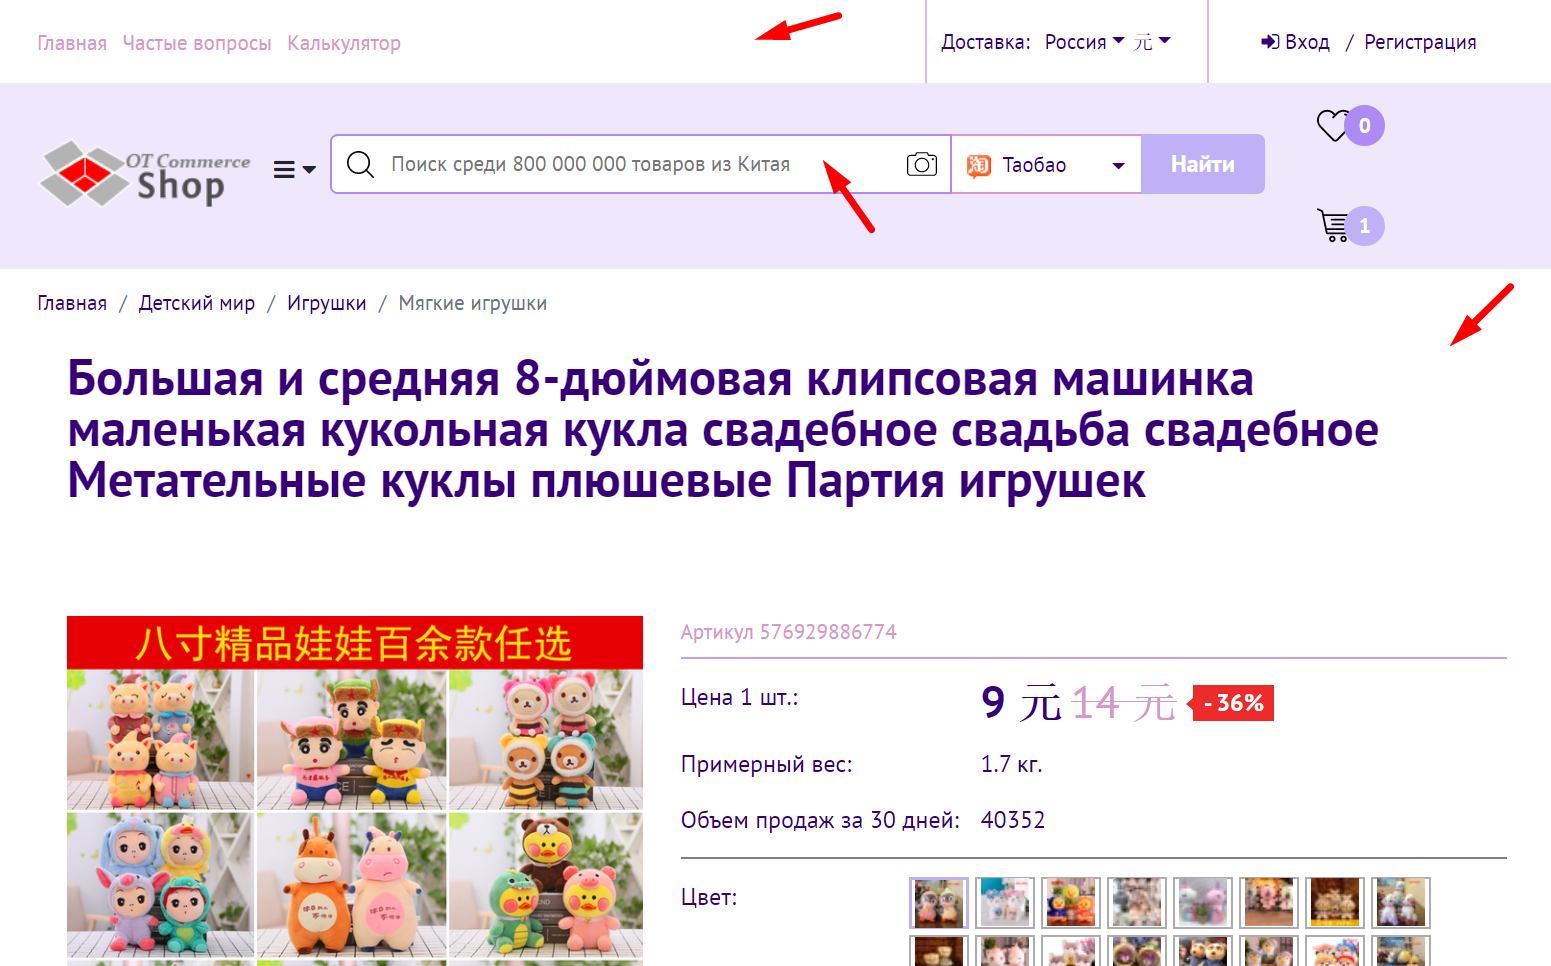
Background color is white by default. Background can be seen in the product card, as well as on the home page after the block with carousel.
Select field in "Configuration -> Website configuration -> Design theme" to change default background color:
A color palette will open after click where you can select necessary color using mouse or specify RGB values from Photoshop.
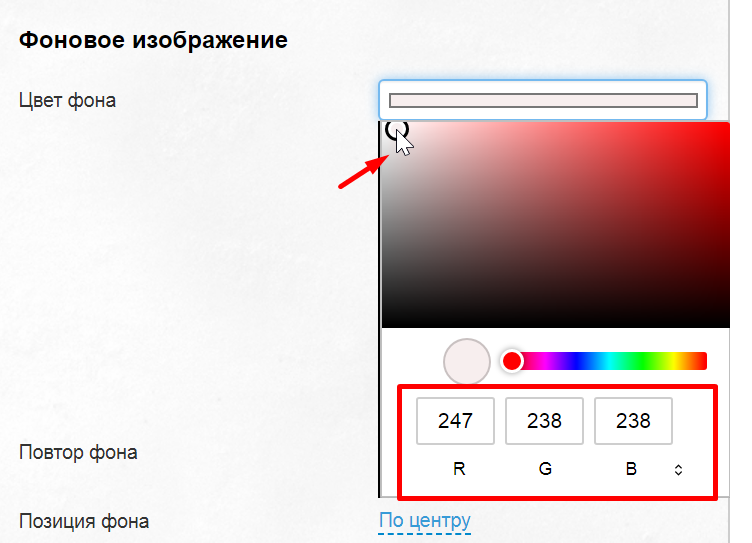
By the way, color can be specified in different formats, not only in RGB. Click special triangles in the format menu to select format.
Click "Save" button after all color are changed.
Add background image
Background image is downloaded from your computer and used in the background. It is important to consider several recommendations:
- The larger the size of background image, the longer website page will load. Sometimes users may not wait for the site to fully load and leave.
- Bright background distracts and irritates the eyes, so spent time on the site is reduced.
- Interface on some pages covers background almost completely, therefore it is not recommended to put any useful information on background (phone numbers, addresses, messages, etc.). And also it is worth considering when choosing an image so that the meaning does not change or distort.
Click "Change" button to download background image (there is no background image by default).
Downloaded image will be saved automatically. Click "Save" button to display it on website.
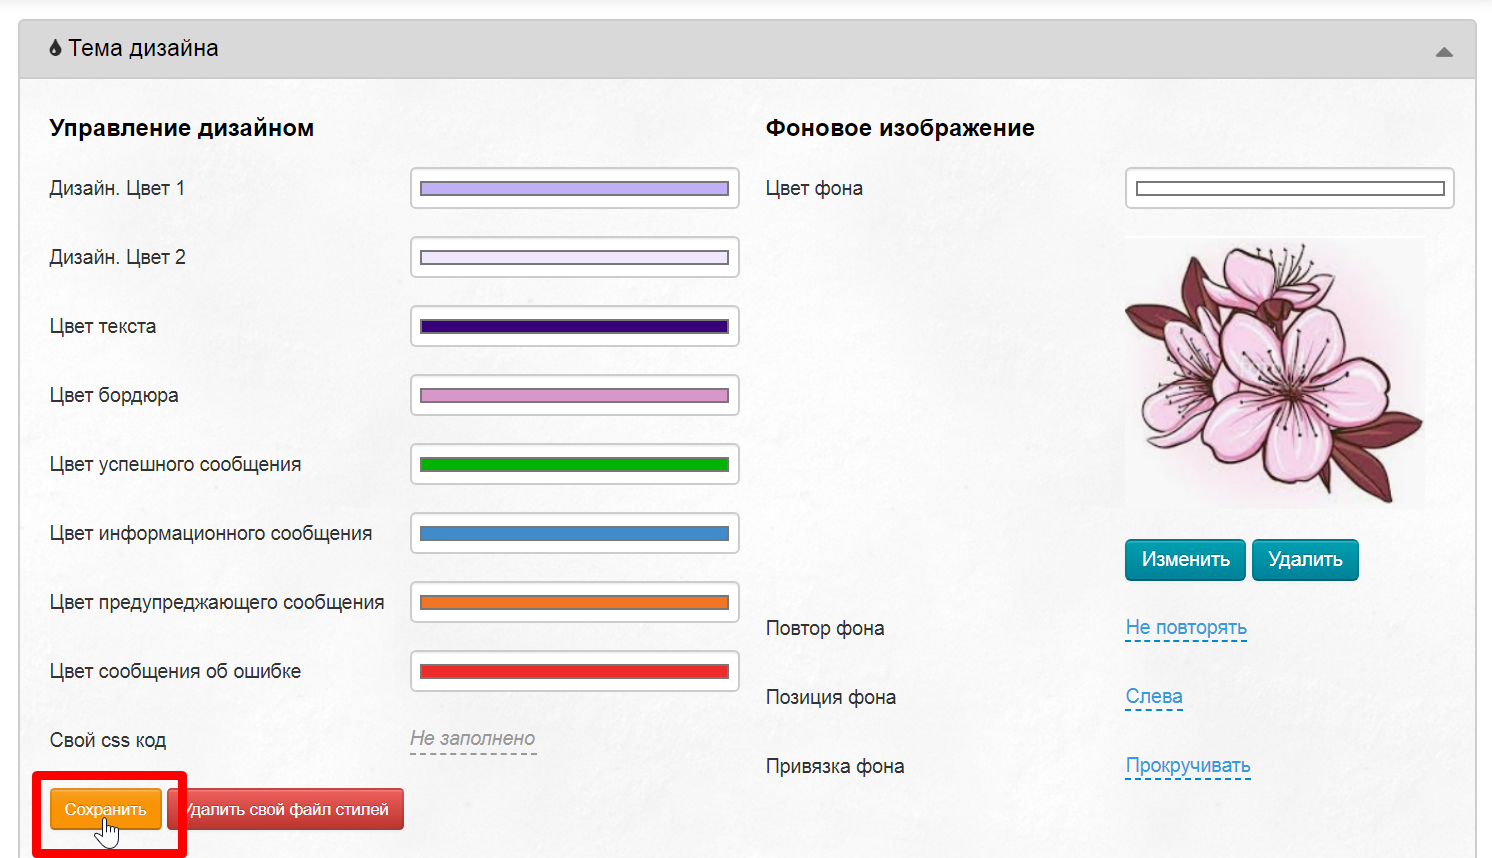
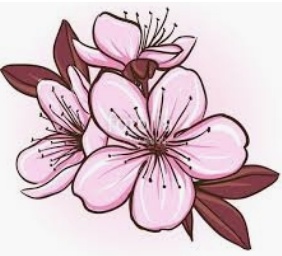
Set background binding after that. Tables below show how each setting looks. For example, we take a picture of a flower and show how it will look based on interface (picture will be partially hidden by menu bar or search bar in some places).
Background repeat
Setting | Site appearance |
|---|---|
| Do not repeat | 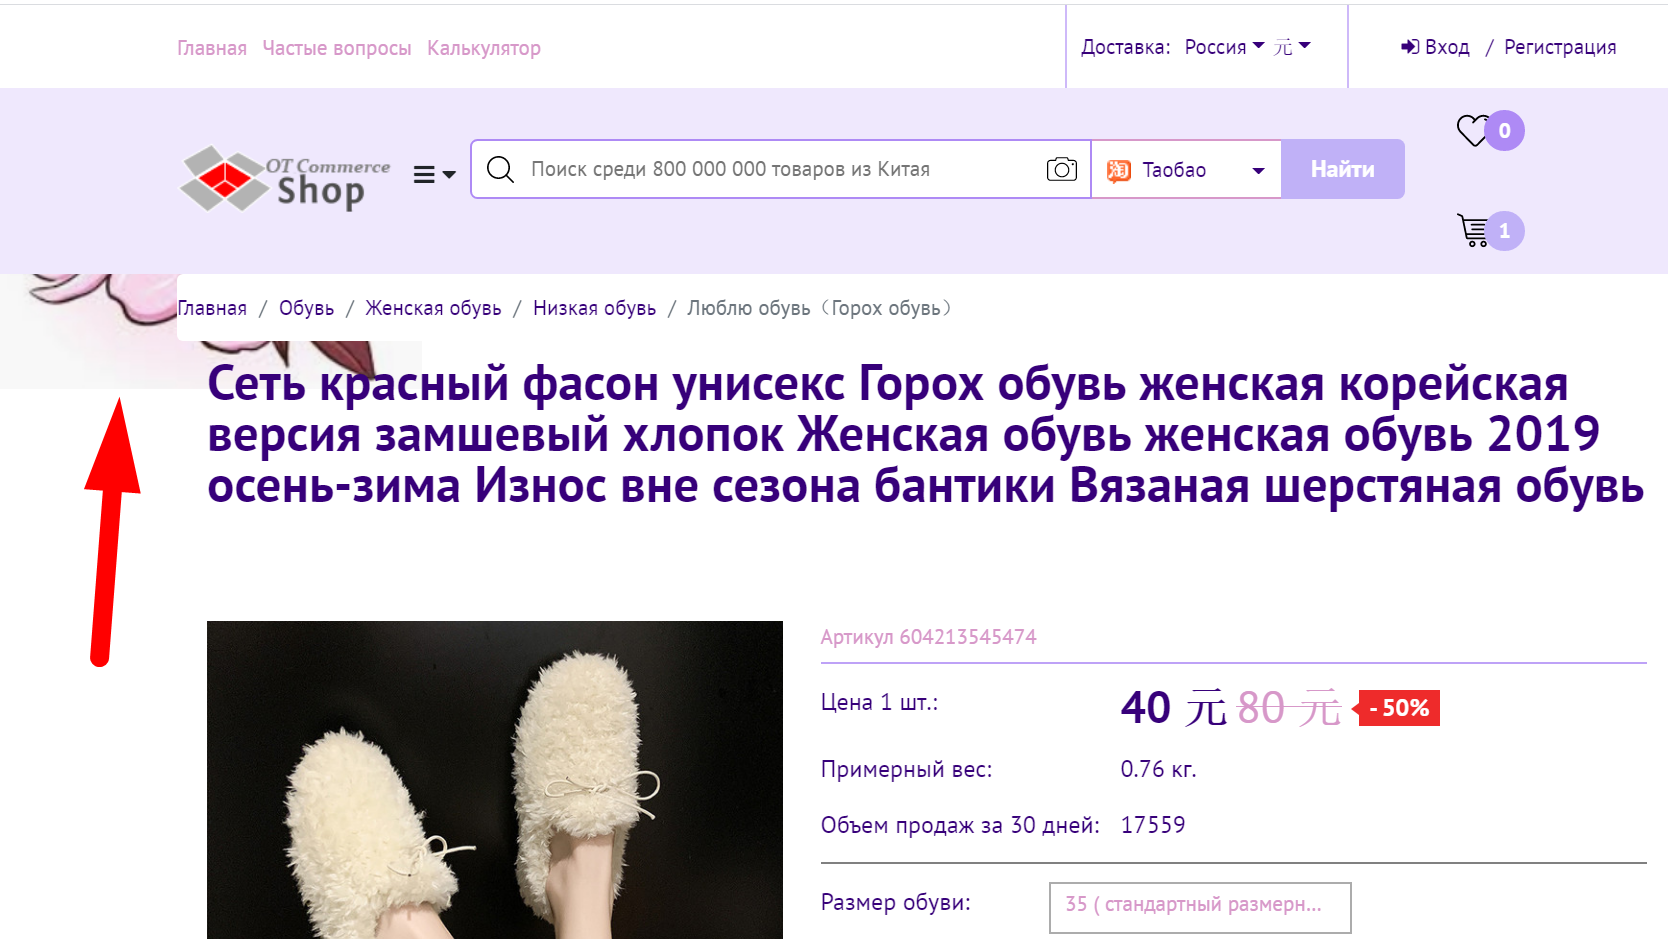 |
| Repeat | 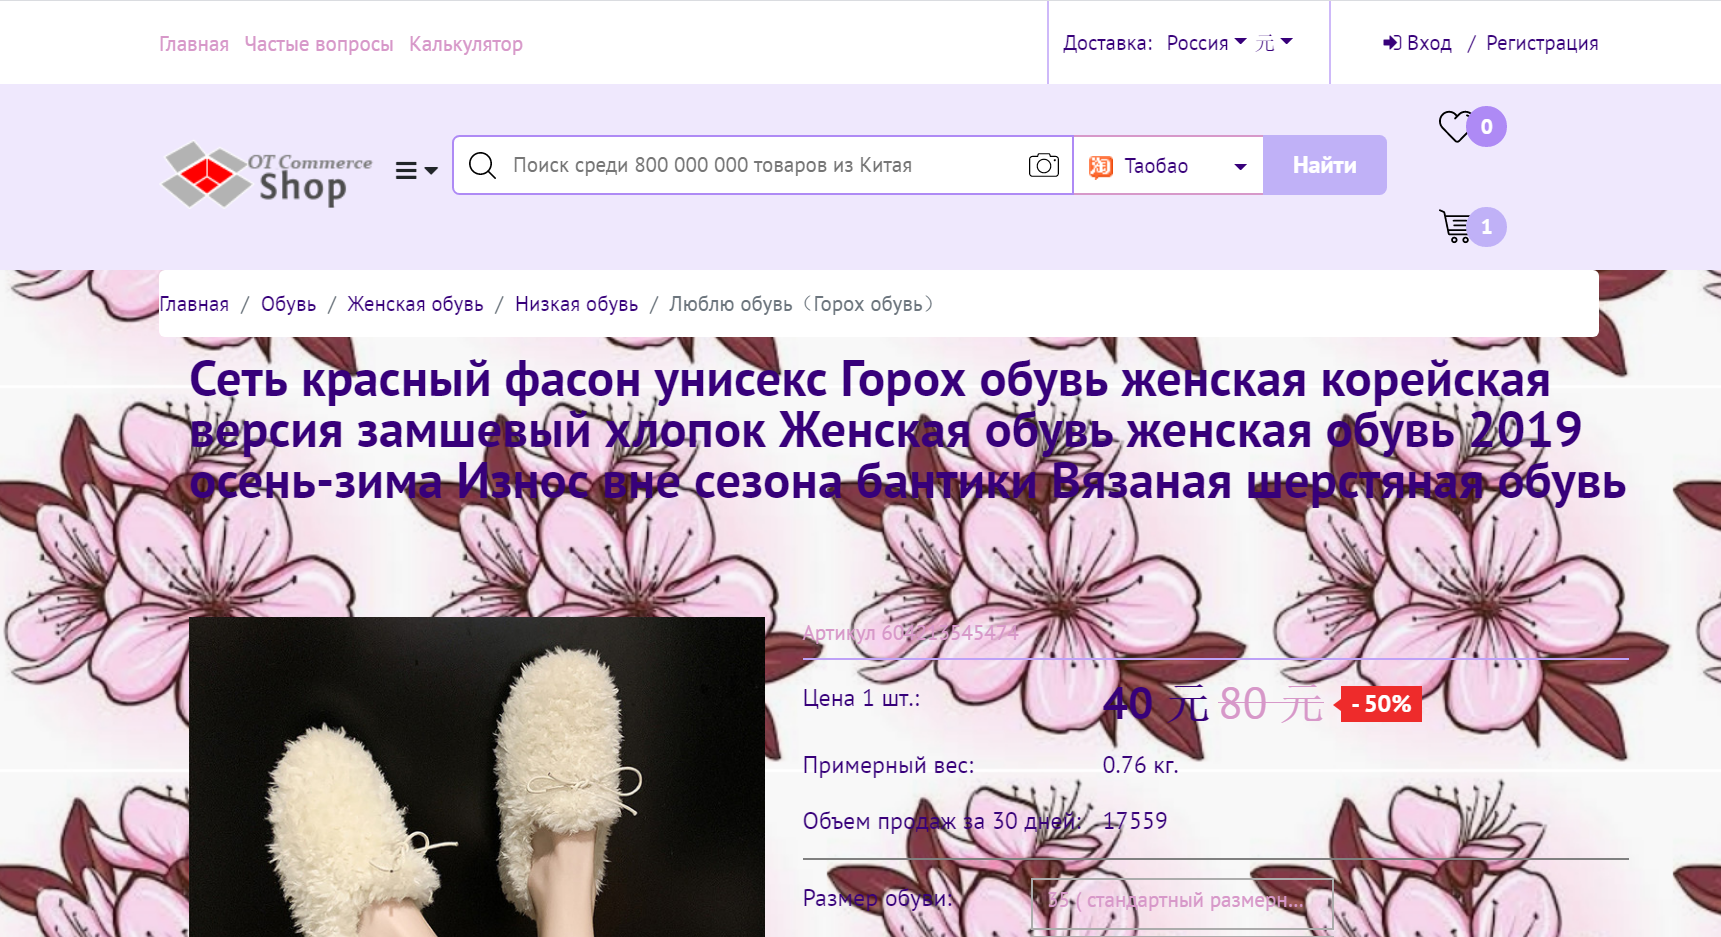 |
| Horizontal repeat | 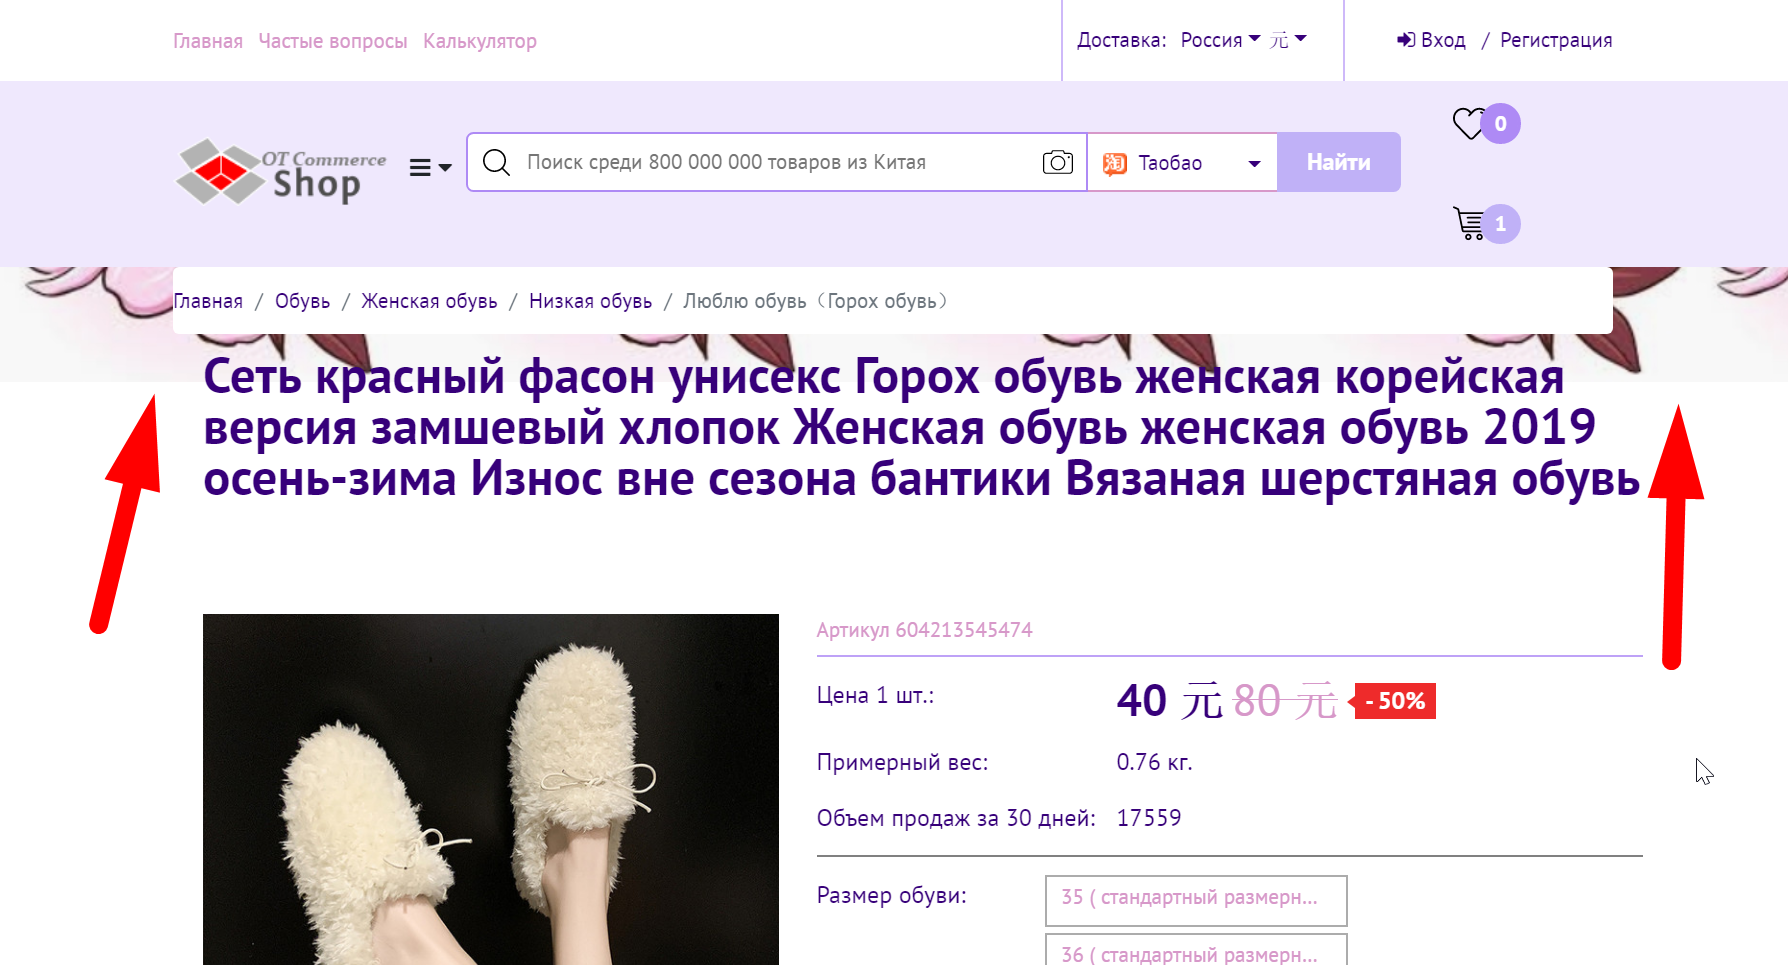 |
Virtical repeat |  |
Background position
Choose which side the image will be (or the beginning of tiling)
Let’s take a look at the “Vertical repeat” setting.
Setting | Site appearance |
|---|---|
Center | 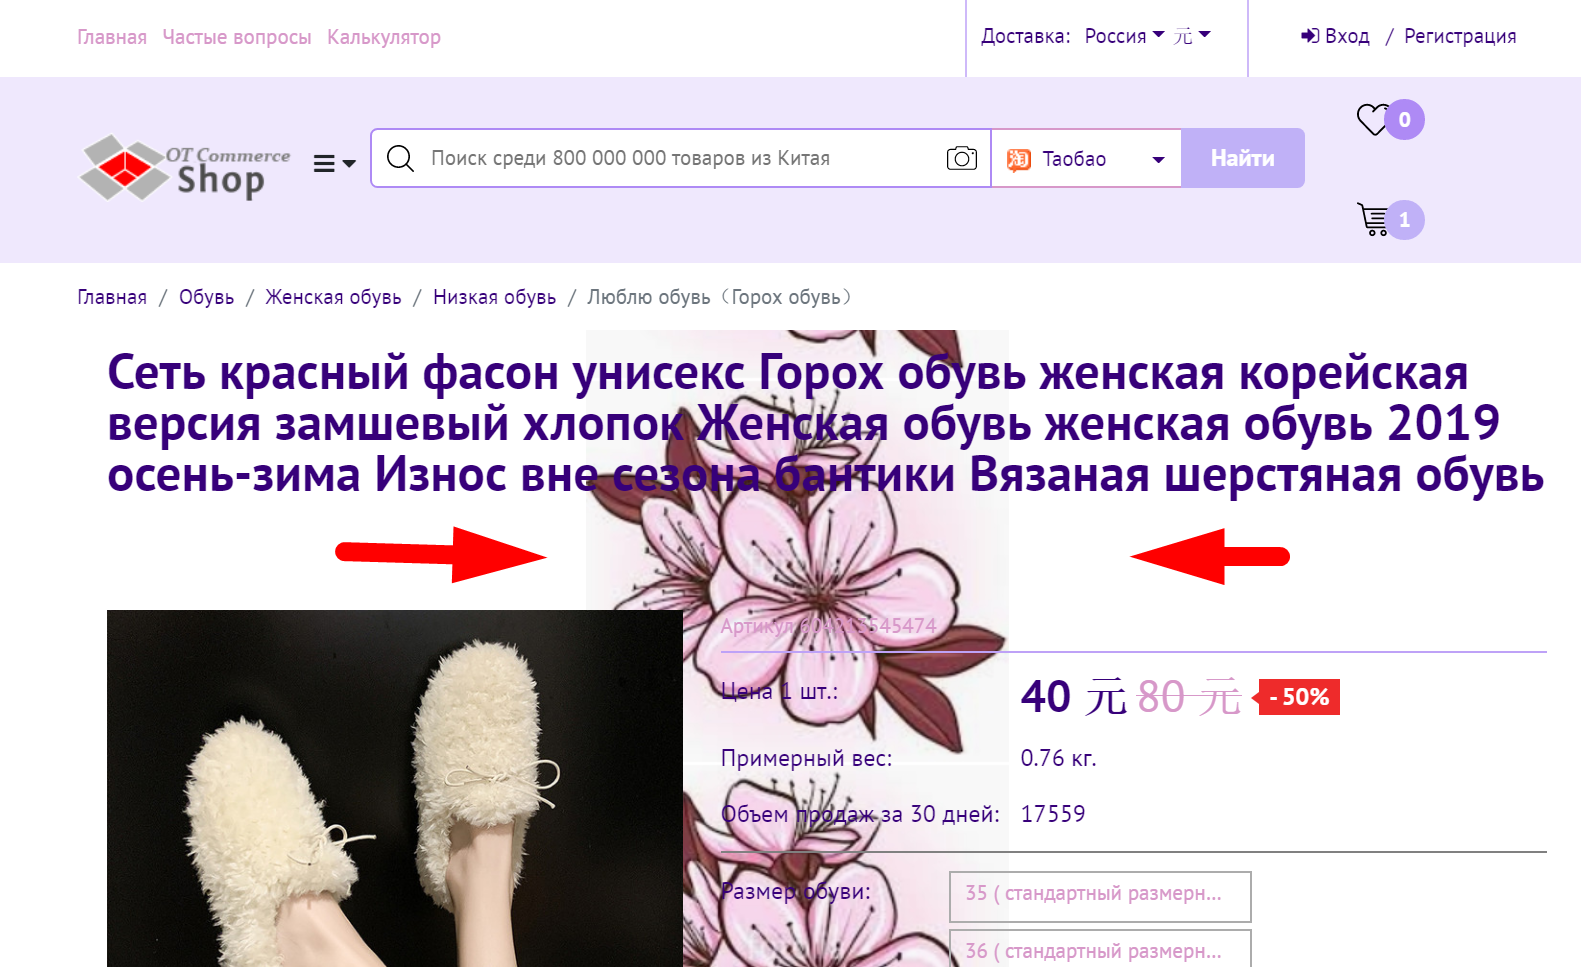 |
Left | |
| Right | 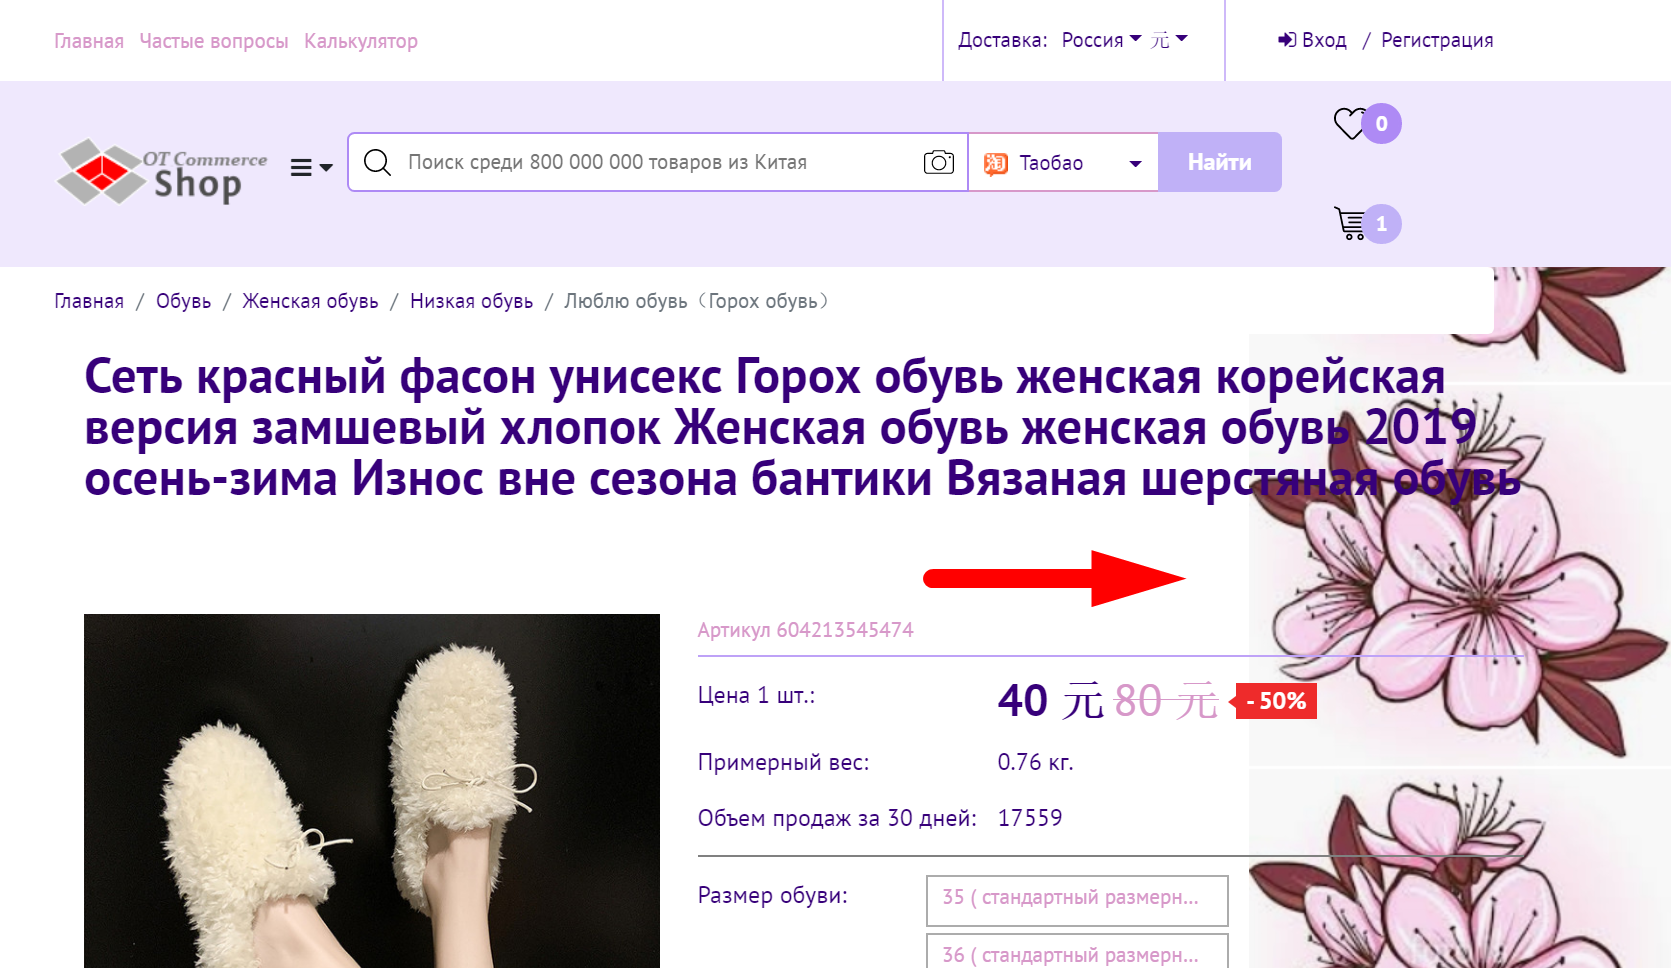 |
Background attachment
If you fix the image, it will always be “pressed” to selected position. That is, it will remain at specified location when scrolling through the site. As an example, we will show background with “left” position and page header and header.
Setting | Page header | Page footer |
|---|---|---|
Fix (observe "Flower" position in the upper left). No matter how long the page is, scrolling the image will always be visible in its original form. Background is attached to the screen instead of the page. It is convenient to use when your background has a large picture the size of the screen and you want to always leave it visible. Or you have a beautiful ornament at site header which is a continuation of menu style. | | 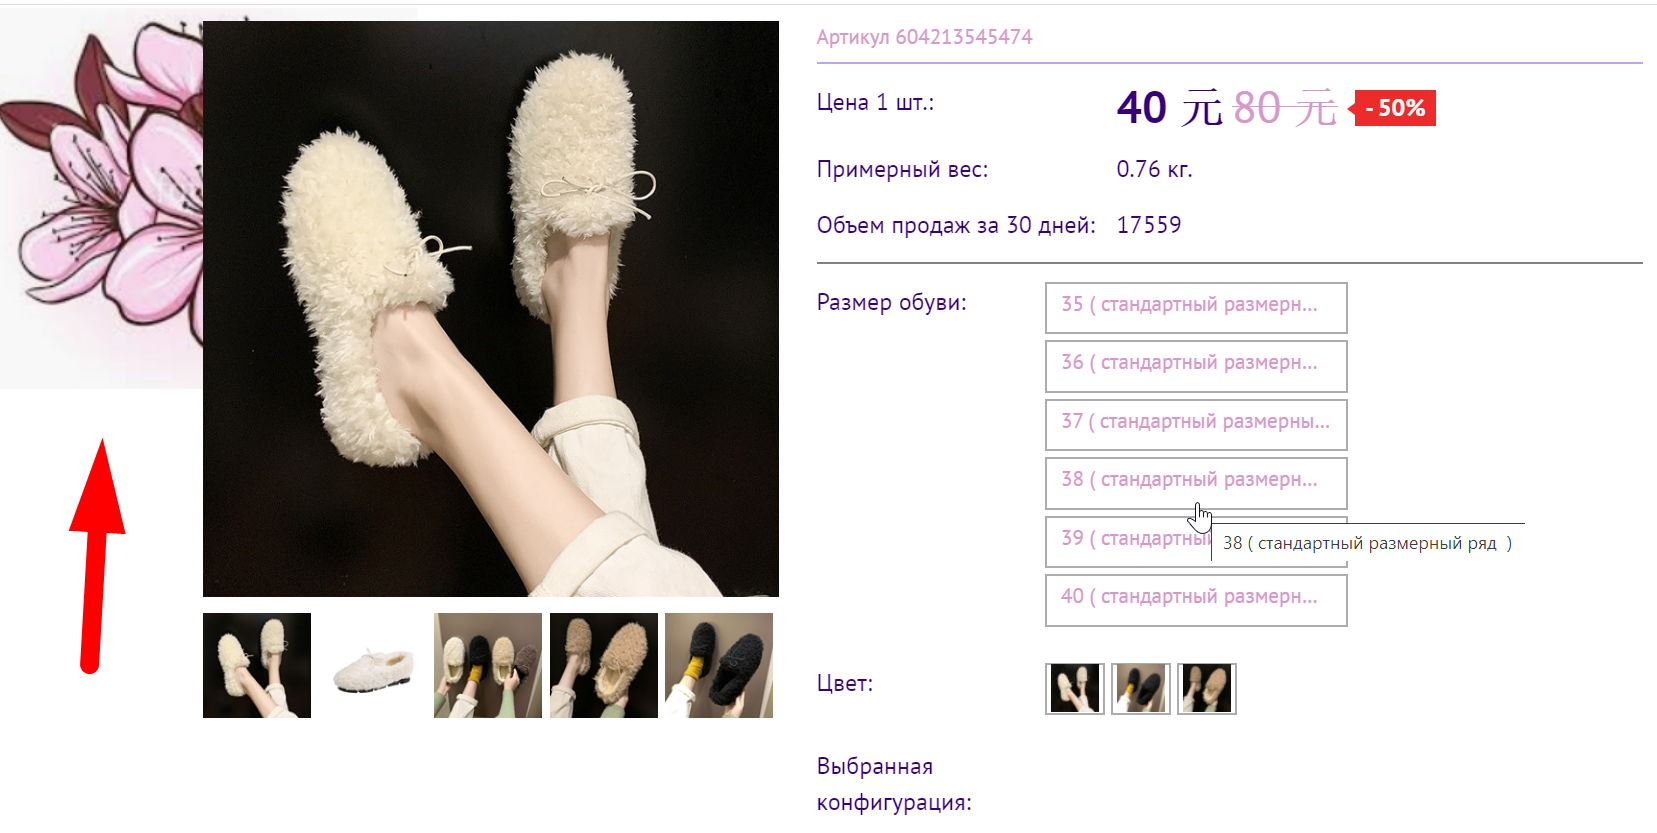 |
Scroll (observe "Flower" position in the upper left). Image disappears from the screen when scrolling and remains only in that place of the page where it was fixed. Background in this case is attached to the page instead of the screen. Therefore, in the example it disappears when scrolling. It is convenient to use if design is necessary only for site header and there is no need to show it when scrolling the page. This option is also suitable for design focusing on products instead of distract from viewing content. | | 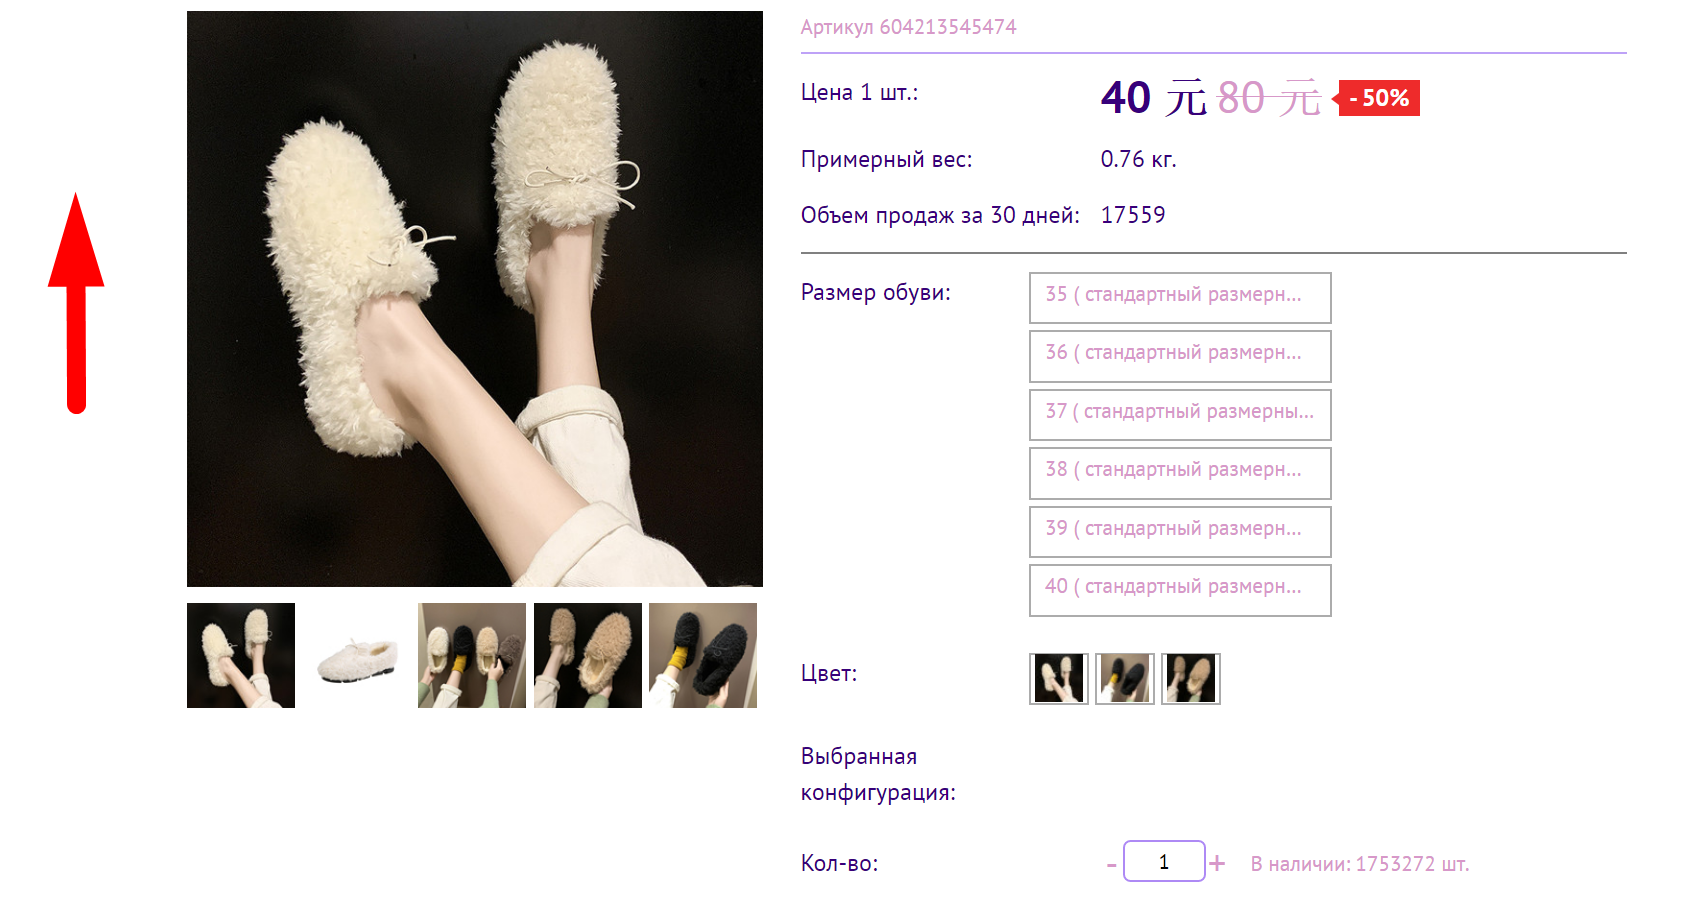 |
Use above settings to set background image position.
Сlick blue dotted text with necessary settings.
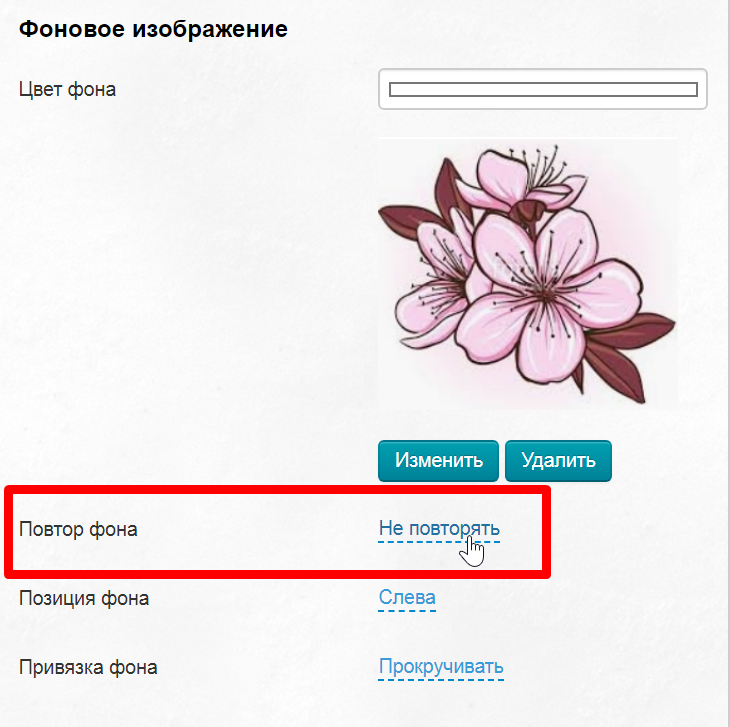
Select necessary position from drop-down list and save selection clicking checkmark button.
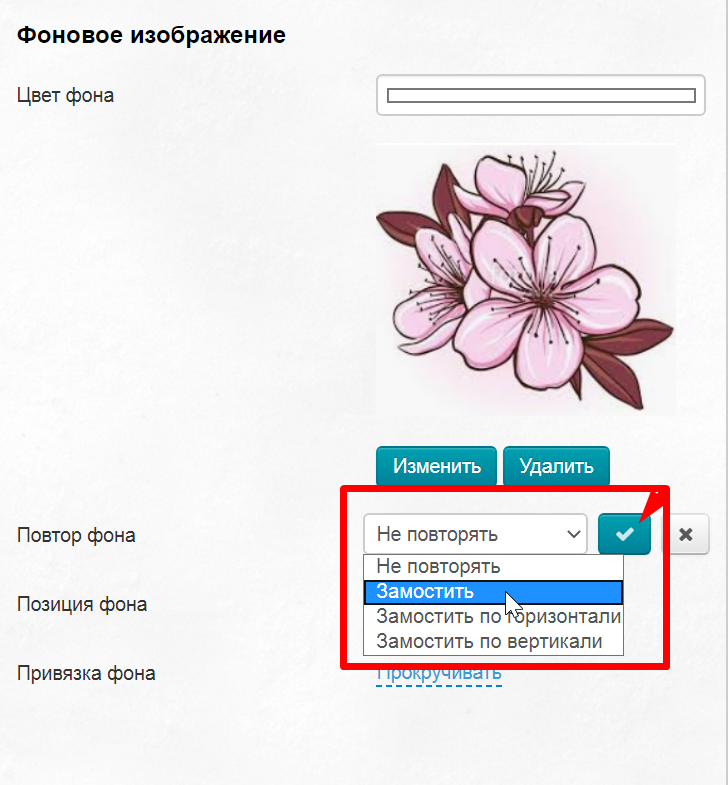
Click "Save" button after all changes are made.

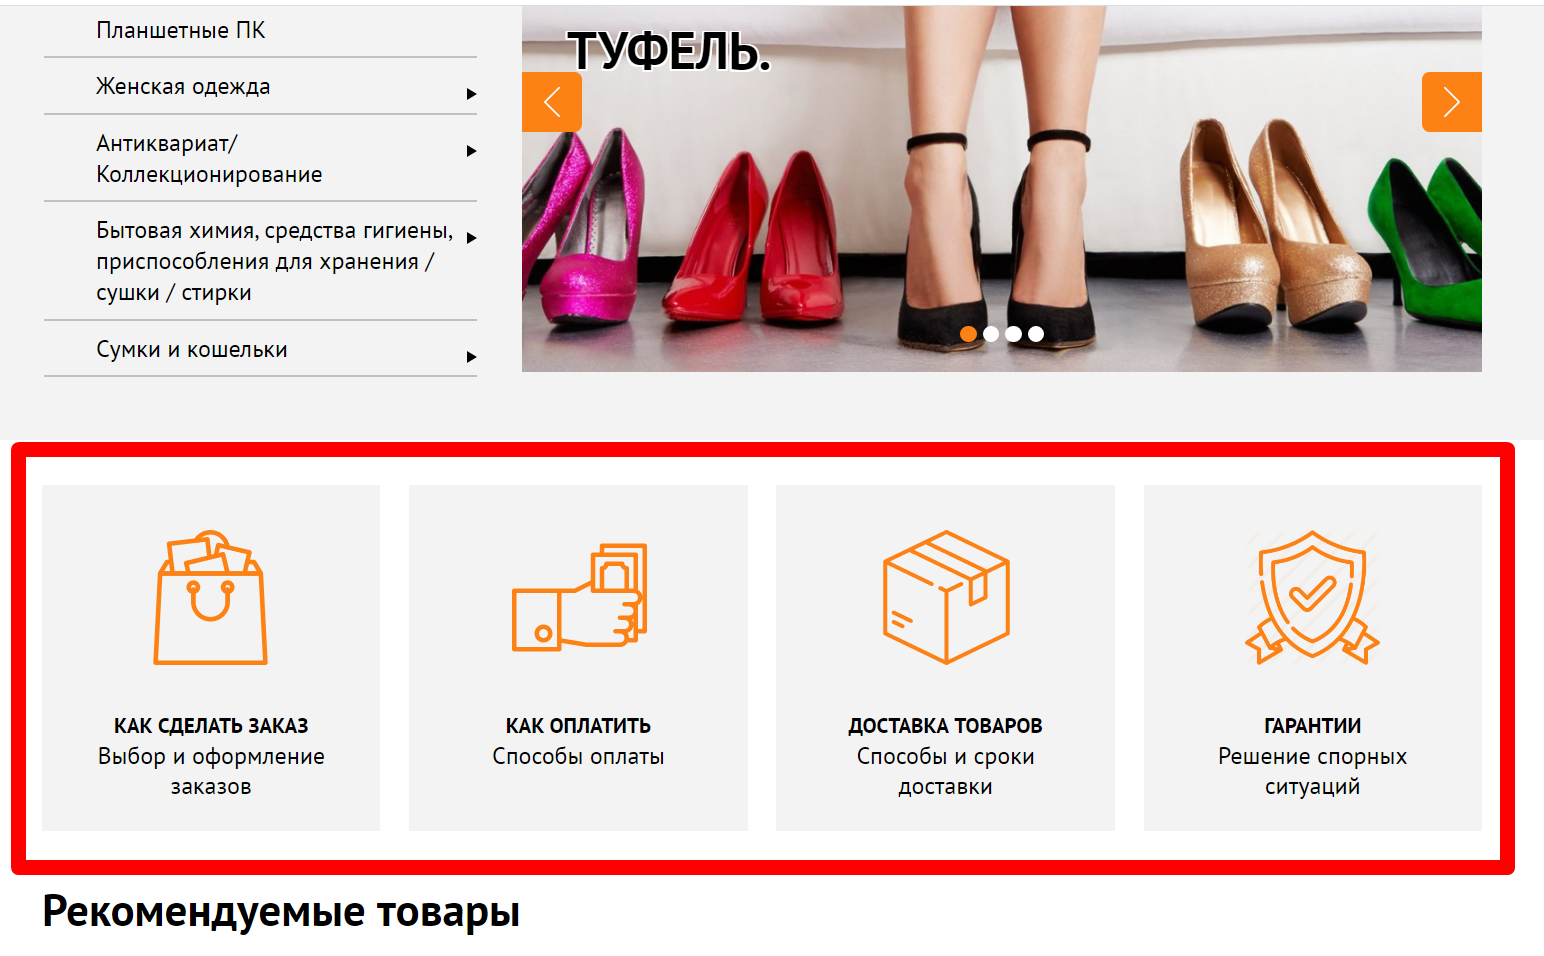
Add banners with special offers
Website design template has 2 banners for special offers. They are right after carousel on the home page .
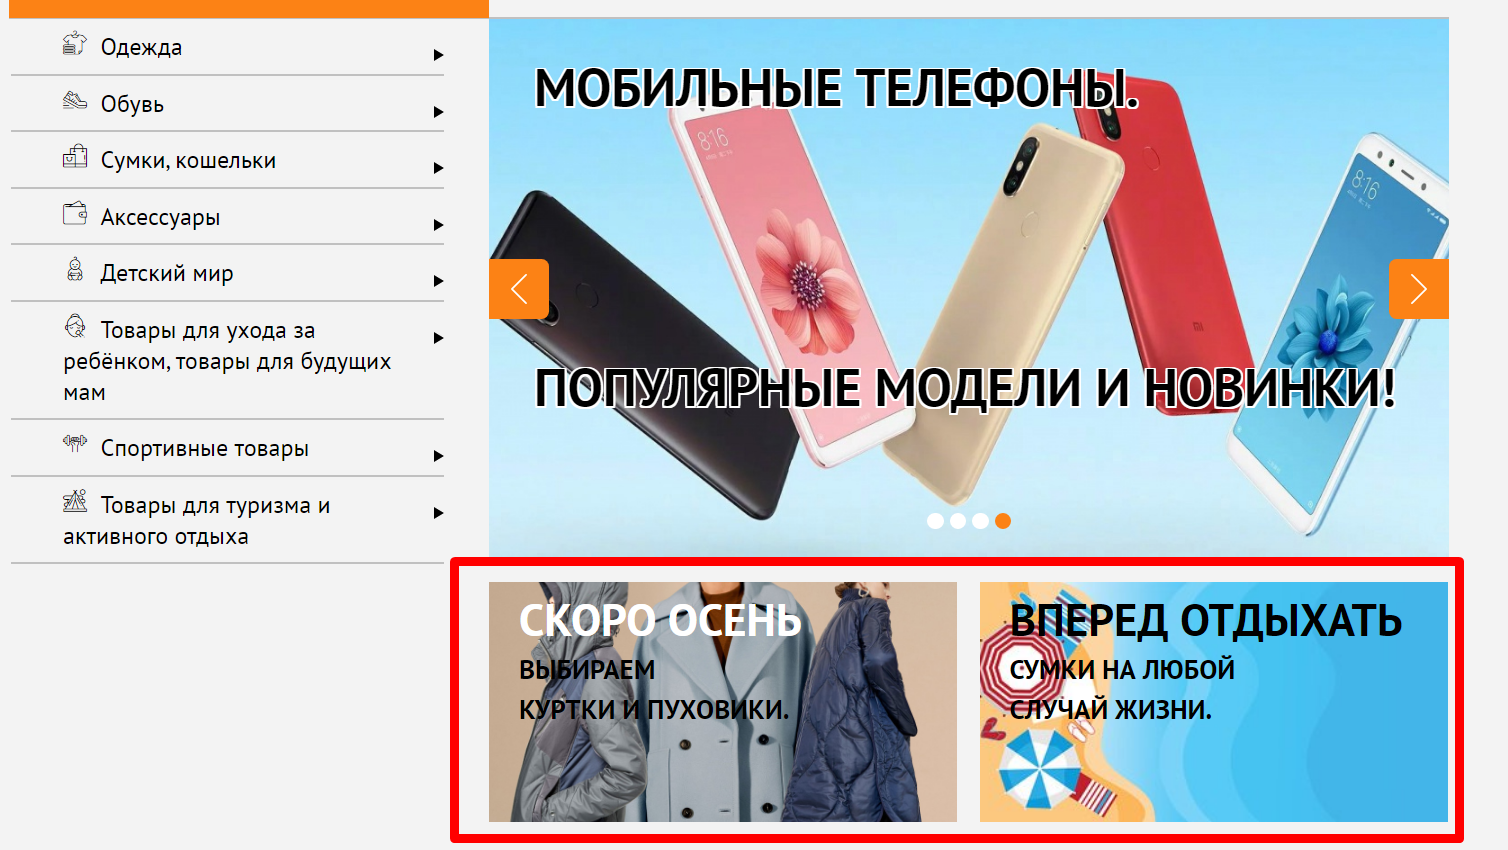
The size of each banner is 285 × 160 pixels. You can upload image of any size and it will be automatically cropped to necessary size.
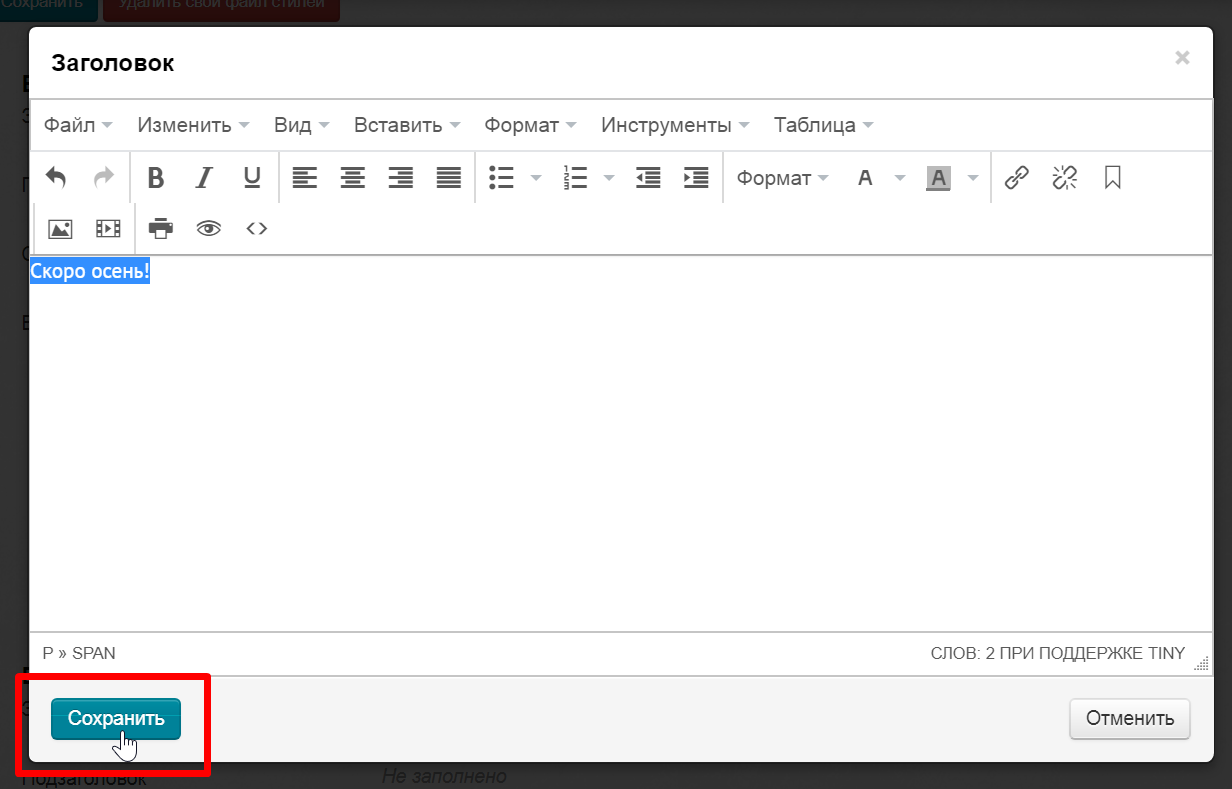
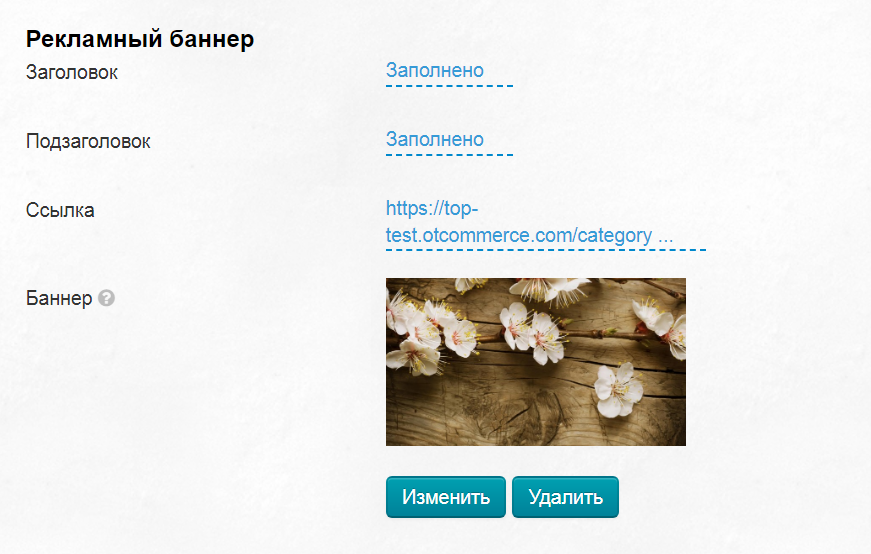
You can specify title and subtitle for each banner. Click special field to open text editor.
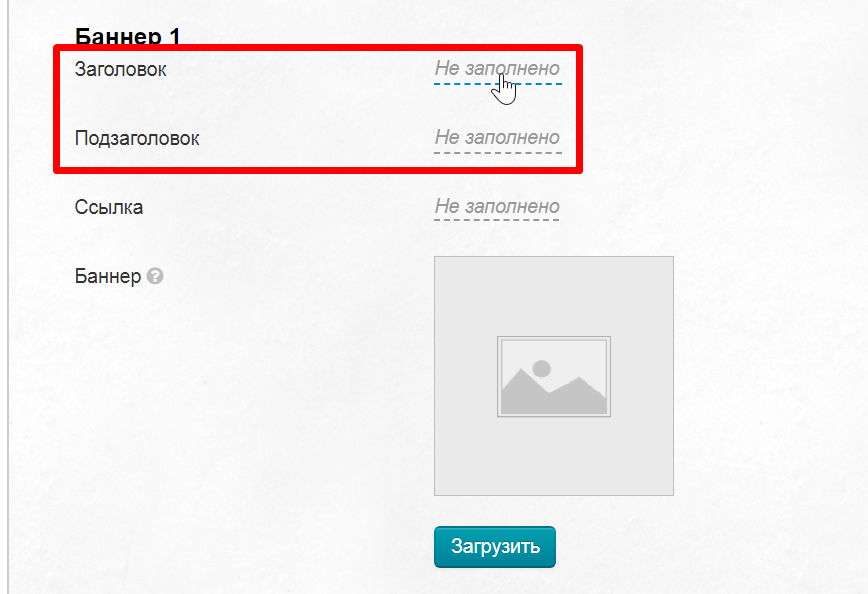
Write Title (or Subtitle) when text editor opens and change color if necessary.
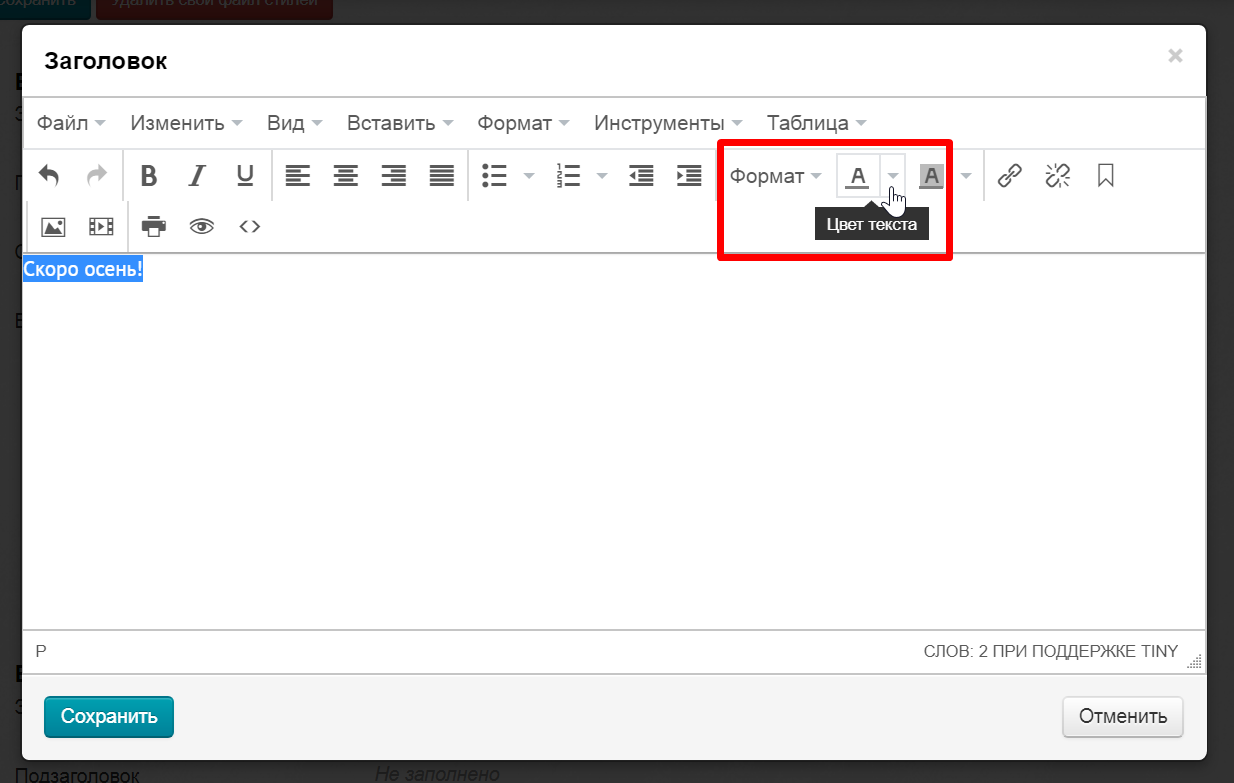
In addition to color, you can change any text settings. The editor functions like MS Word.
Save result after making all changes.
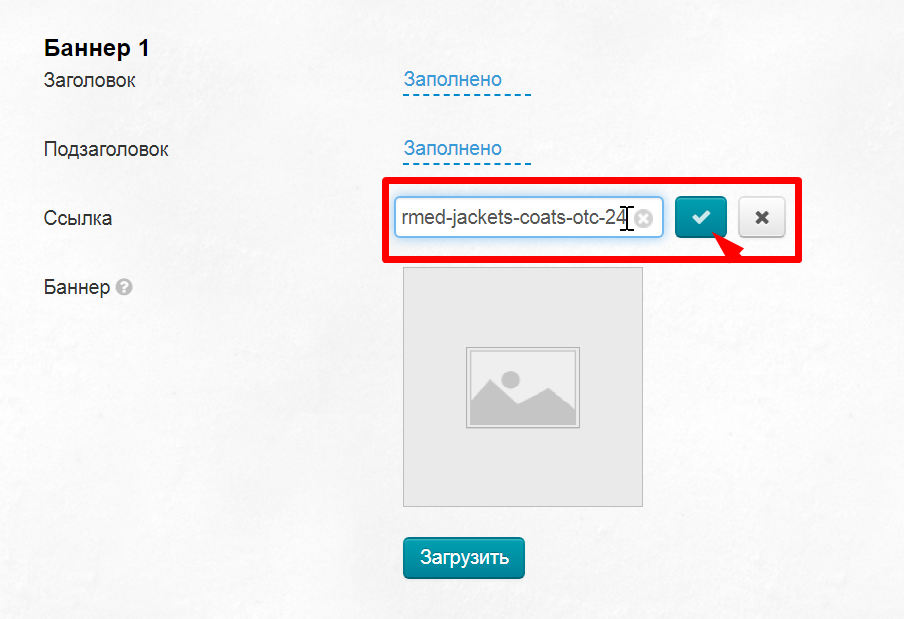
Text on the banner is clickable. This means that site visitor can go to the offer page if interested. Link is indicated in a special field.
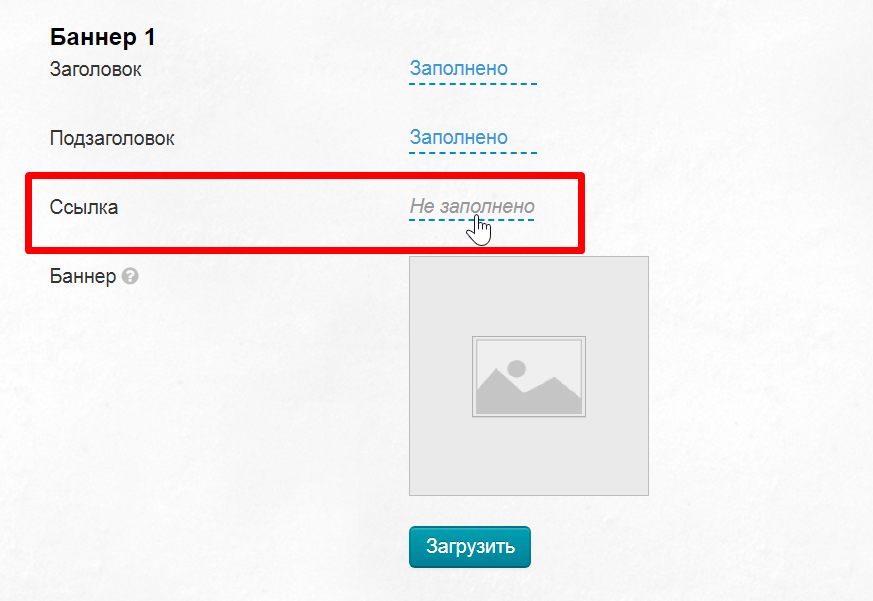
Select the page to which the banner will lead, copy the link and paste it into the link field. Save using checkmark button.
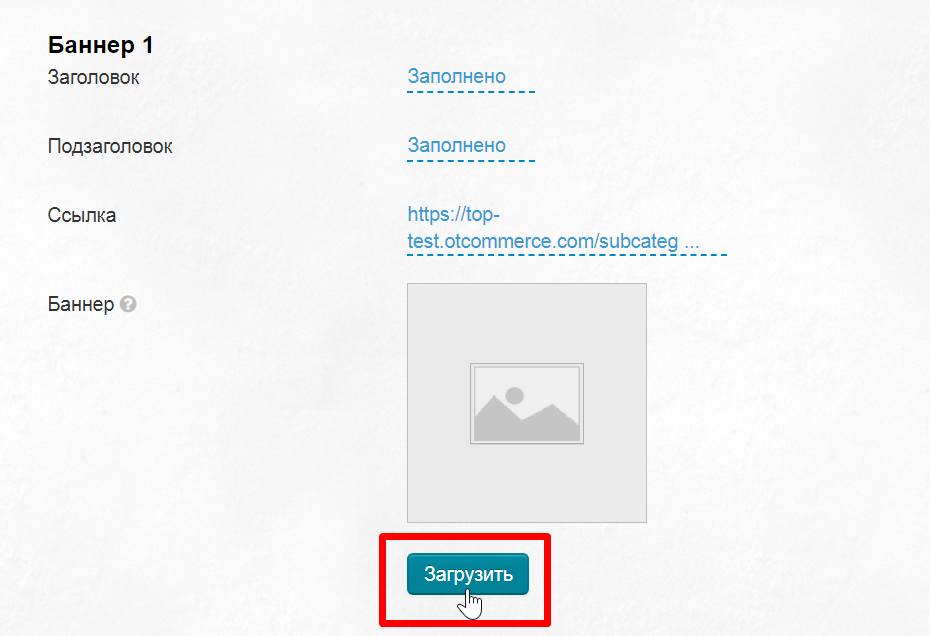
Download banner after that. Click “Download” button to select file on your computer. Image is saved automatically.
The size of each banner is 285 × 160 pixels. You can upload image of any size and it will be automatically cropped to necessary size.
Add second banner in the same way.
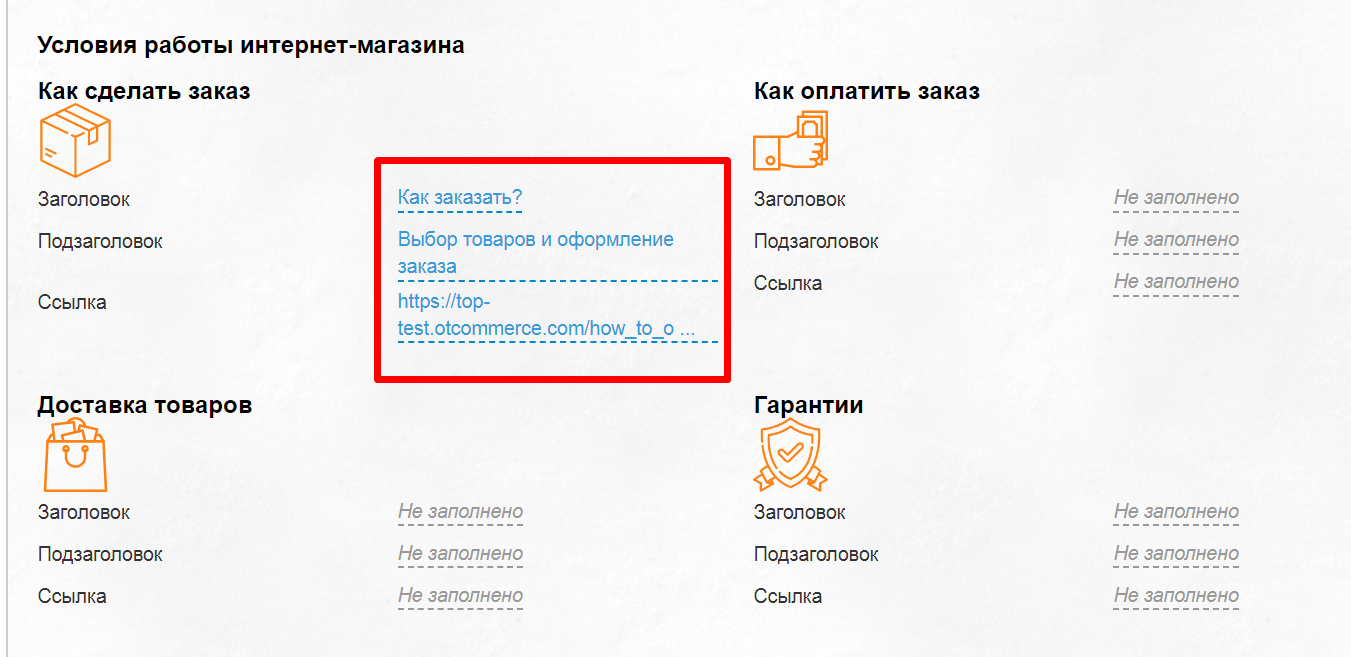
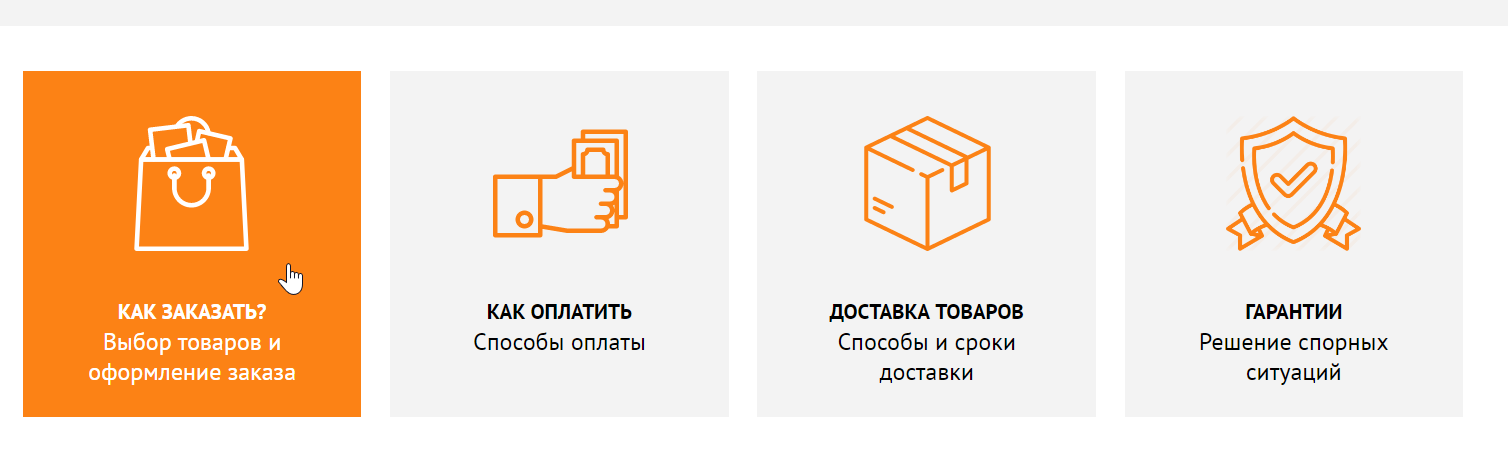
Add online store conditions
Create pages on the site for each item of working conditions with full details. Go to "Contents -> Pages -> Custom pages" in admin panel.
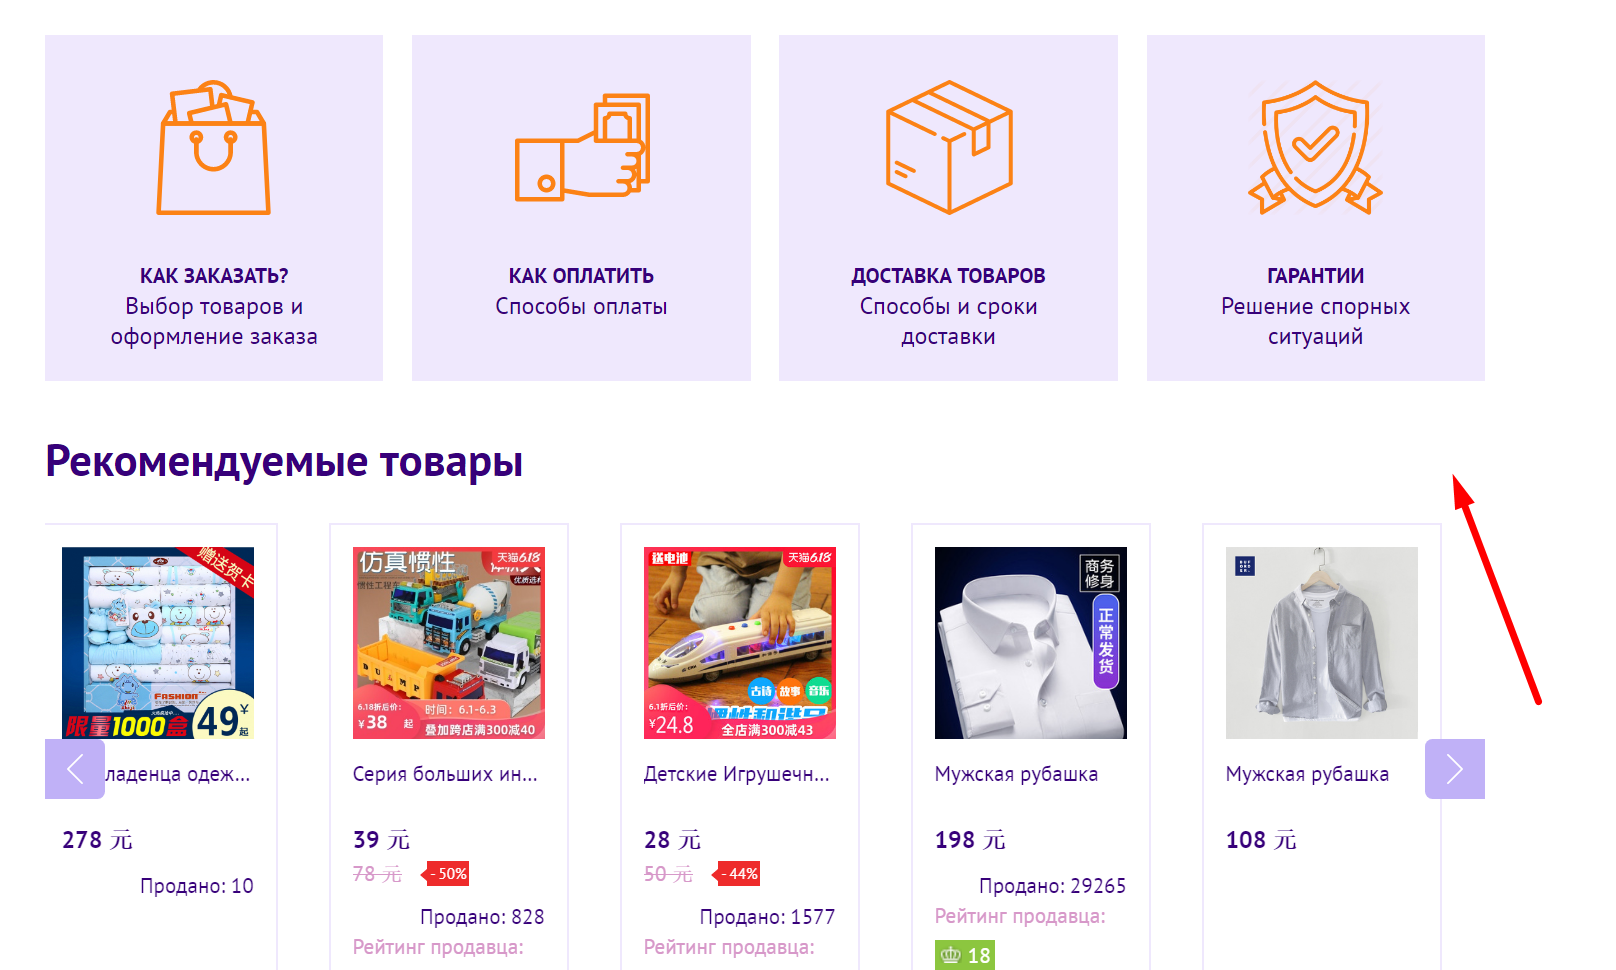
The key idea can be entered in special blocks on the home page.
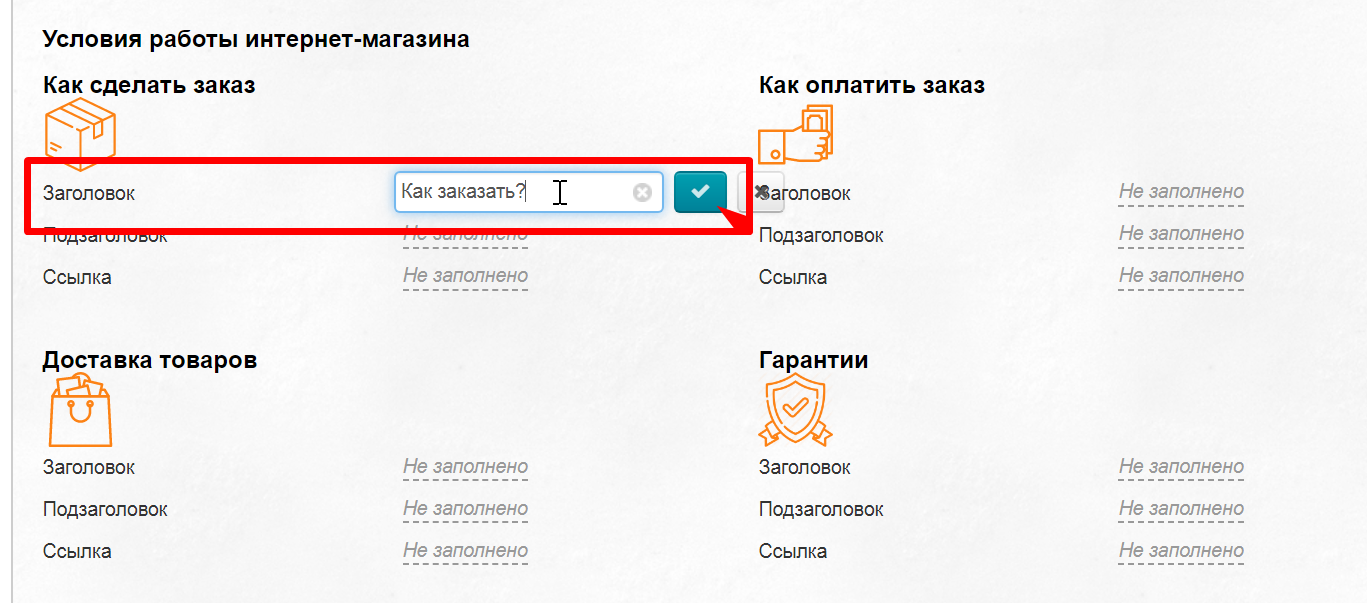
There is a title, a subheading and a link box for each icon.
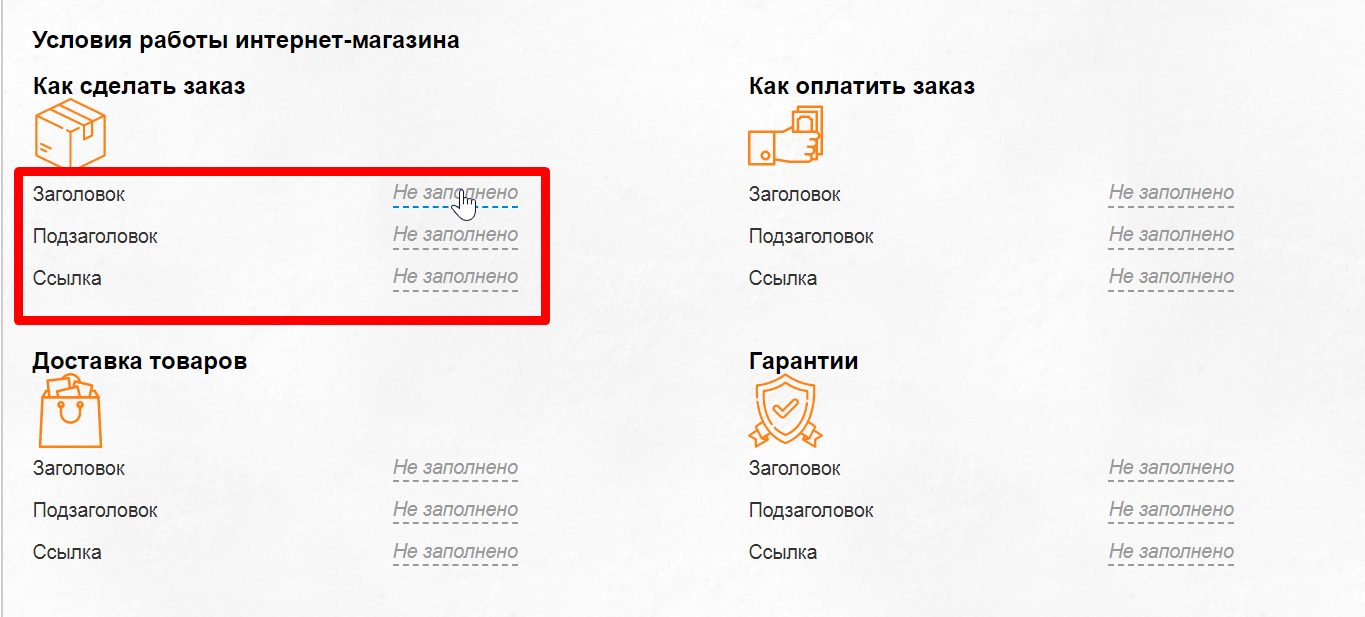
A text entry window will open after clicking corresponding field. Write conditions and save button with a tick.
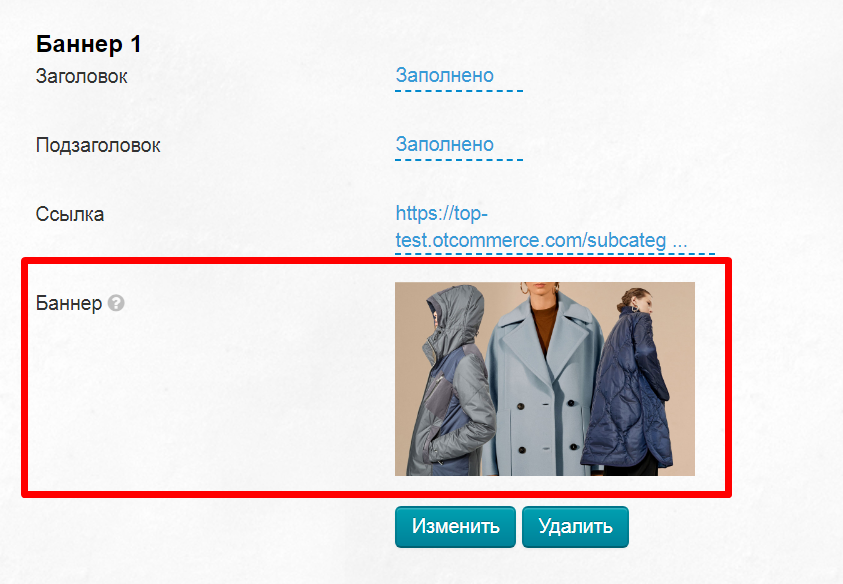
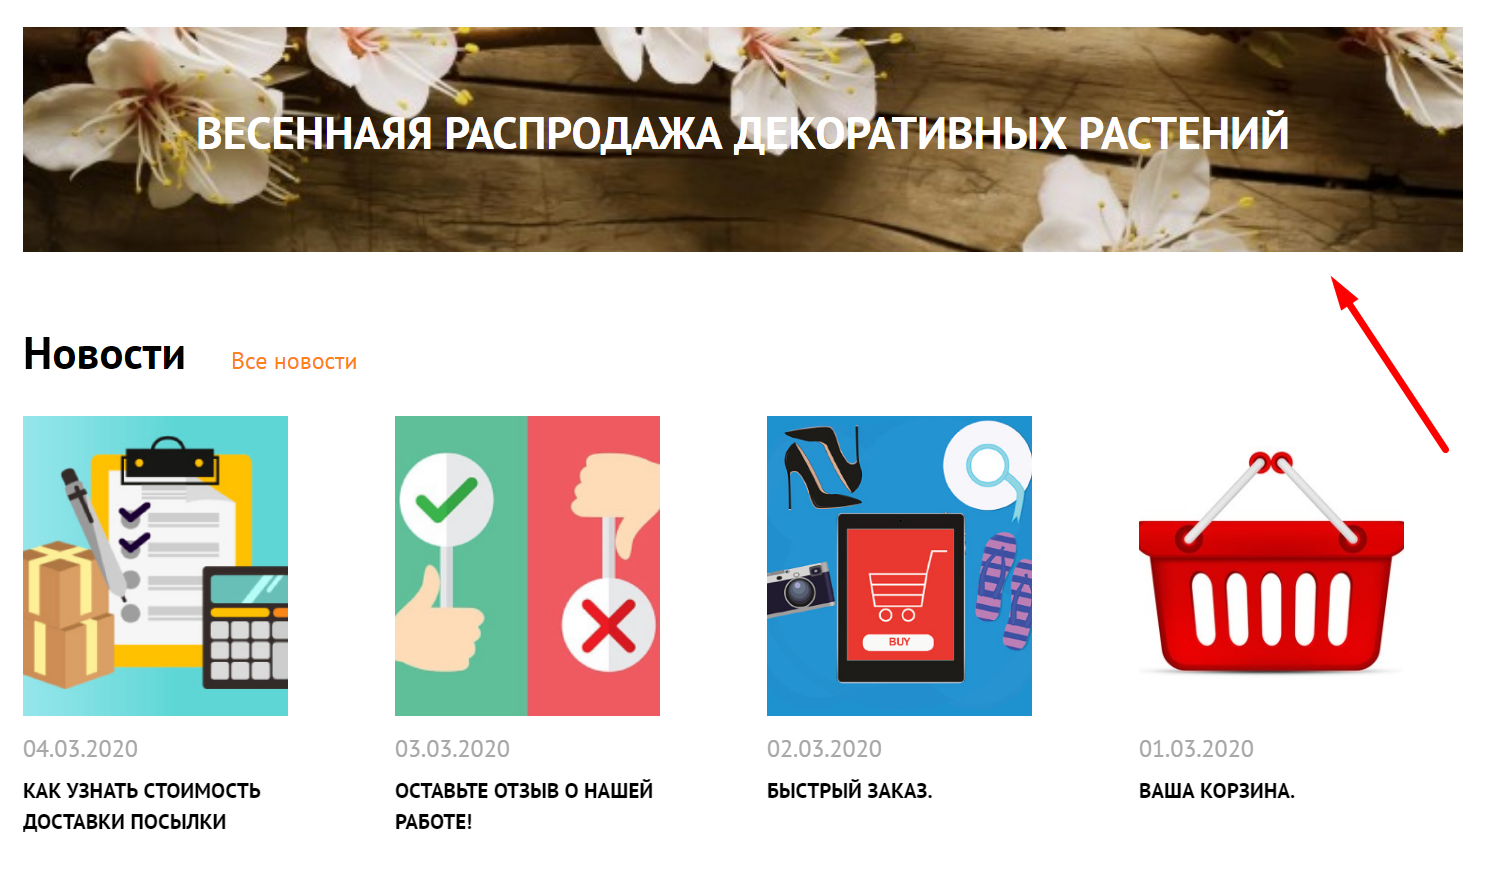
Add additional banner
The size of banner is 1420x260 pixels. You can upload image of any size and it will be automatically cropped to necessary size.
Banner is located above the news block on website home page.
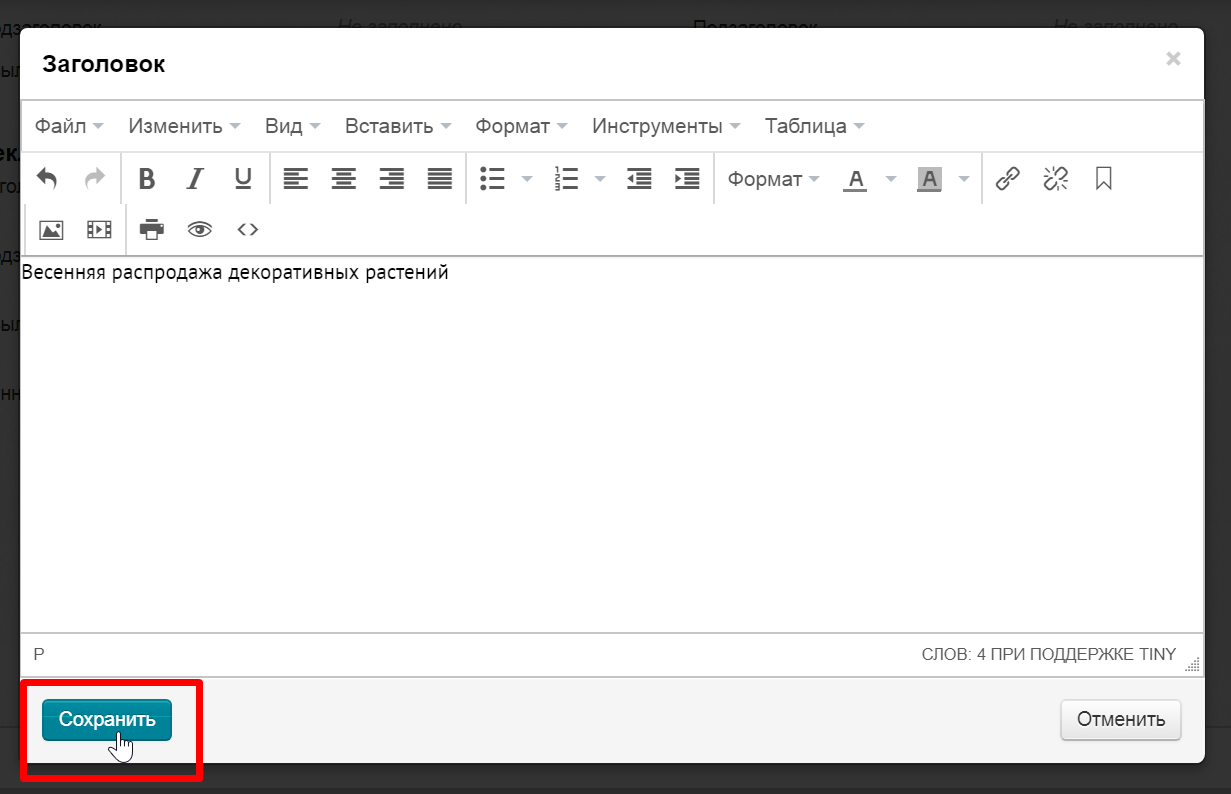
You can specify title, subtitle and add a link for each banner. Click "empty" to open text editor.

Write Title (or Subtitle) when text editor opens and change color if necessary.

In addition to color, you can change any text settings. The editor functions like MS Word.
Save result after making all changes.
Download banner after that. Click “Download” button to select file on your computer. Image is saved automatically.
The size of banner is 1420x260 pixels. You can upload image of any size and it will be automatically cropped to necessary size.
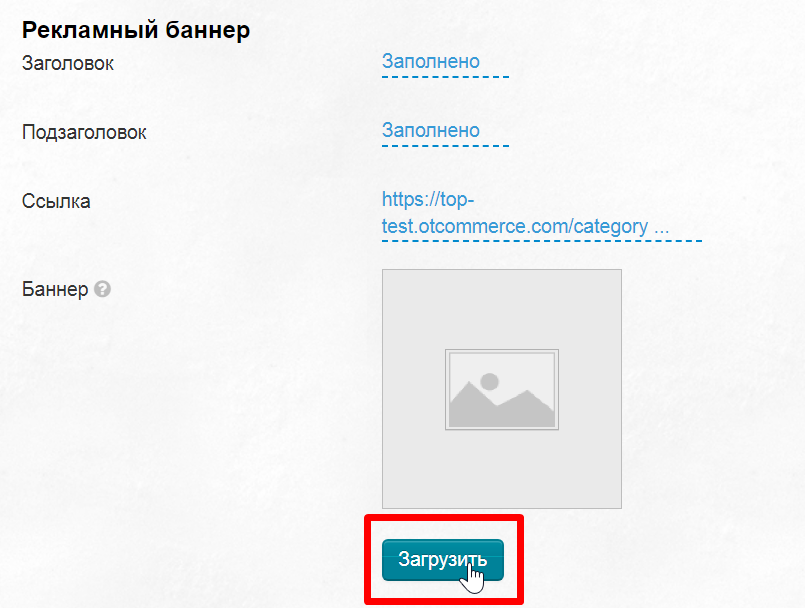
Image will be saved automatically and immediately updated on the site.
Catalog: left menu of categories on the main page
Left menu of categories on the main page is hidden by default.
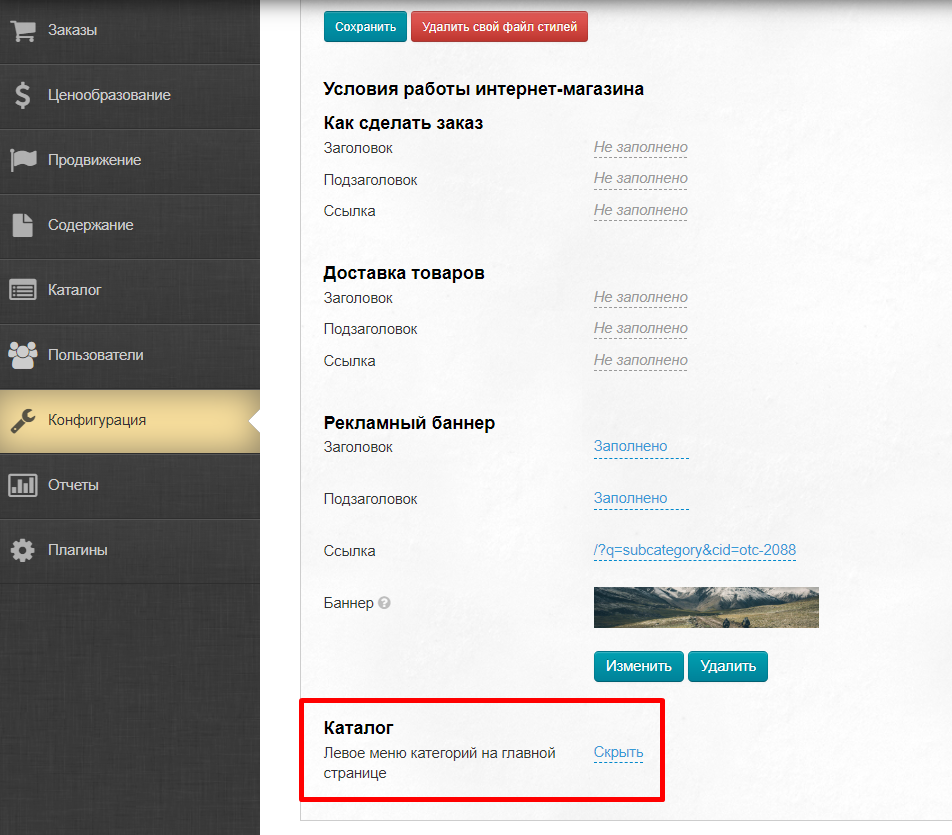
Click "Hide" to show left menu of categories on the main page:
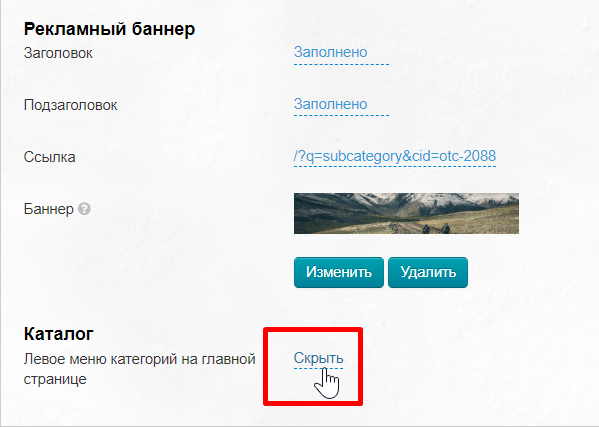
Select "Show" from drop-down menu:
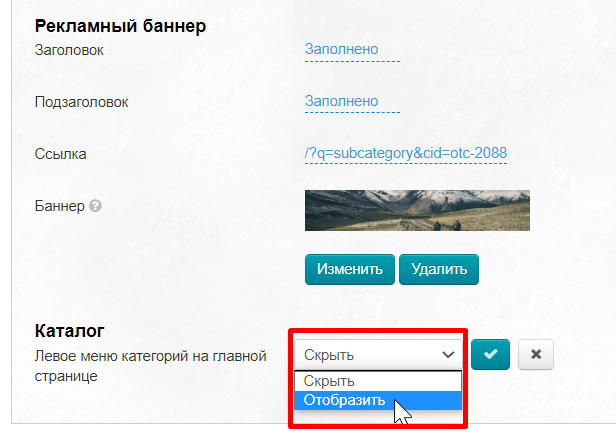
Save choice by clicking checkmark button.