...
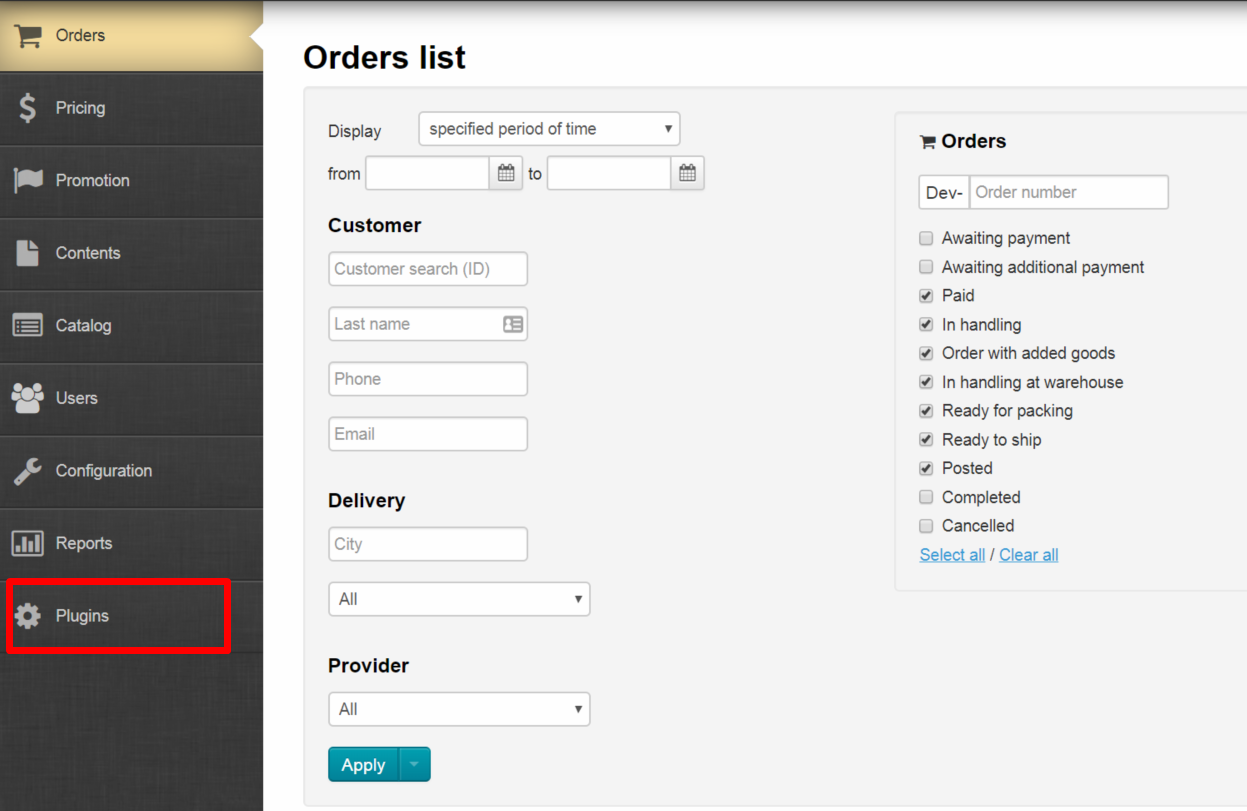
Go to admin panel after plugin connection and open "Plugins" section.
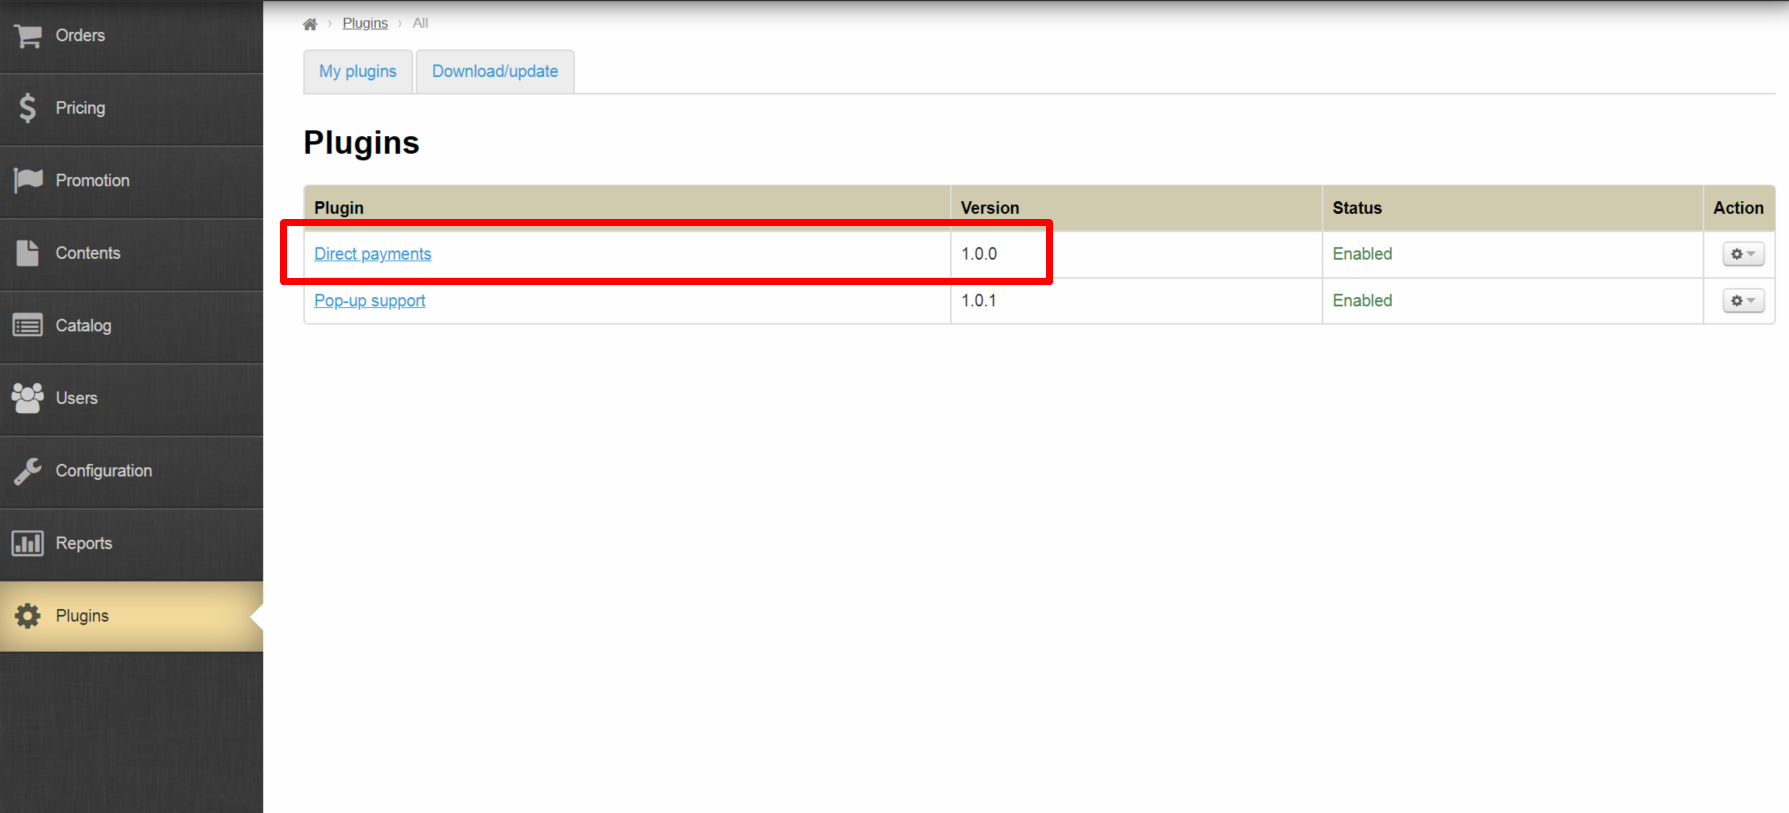
Choose "Direct Payments" from the list of plugins.
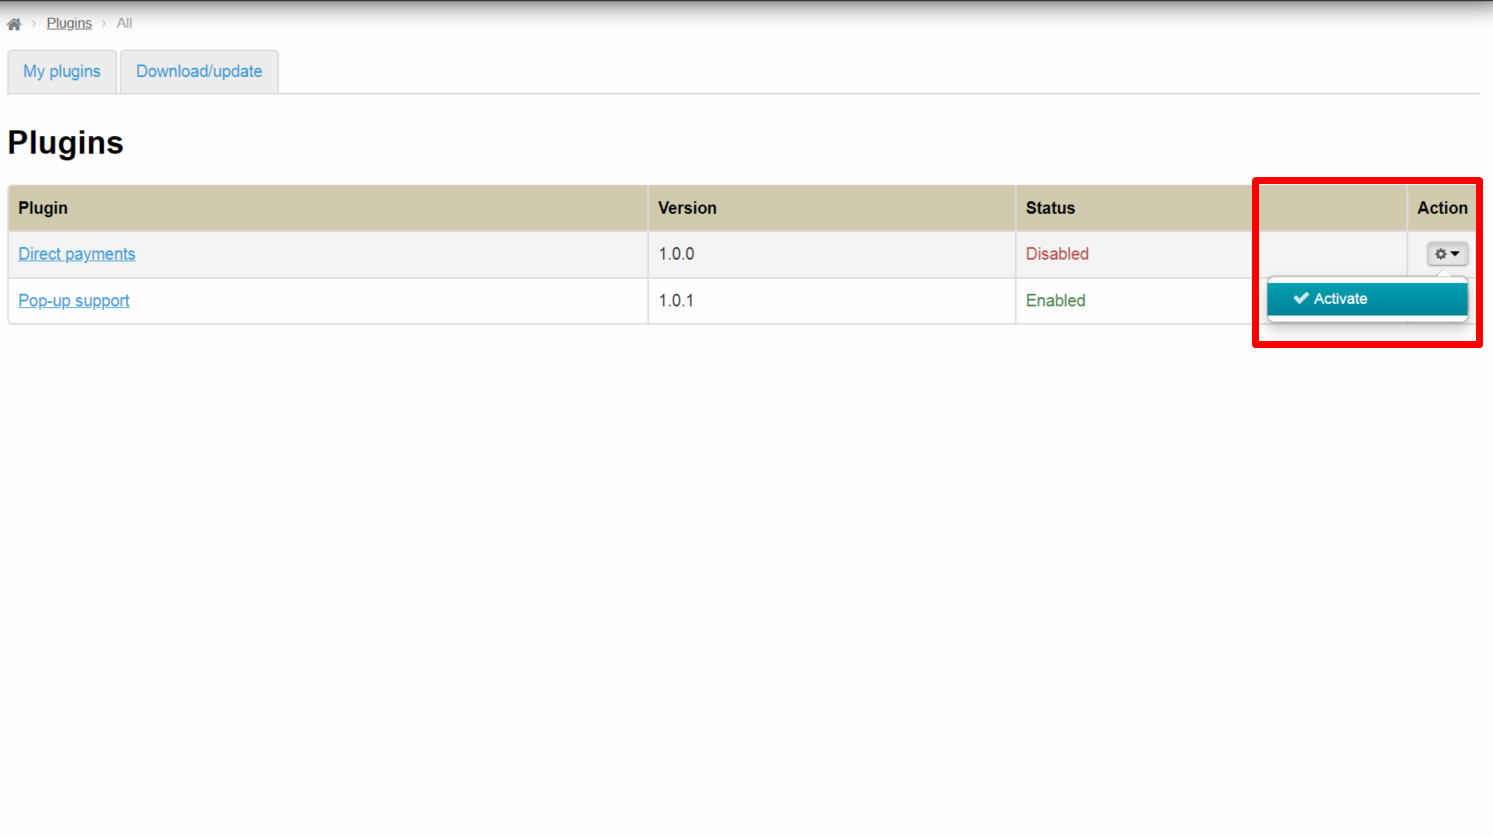
Activate plugin using "Activate" button in Actions menu if it is not activated.
Click "Direct Payments" title.

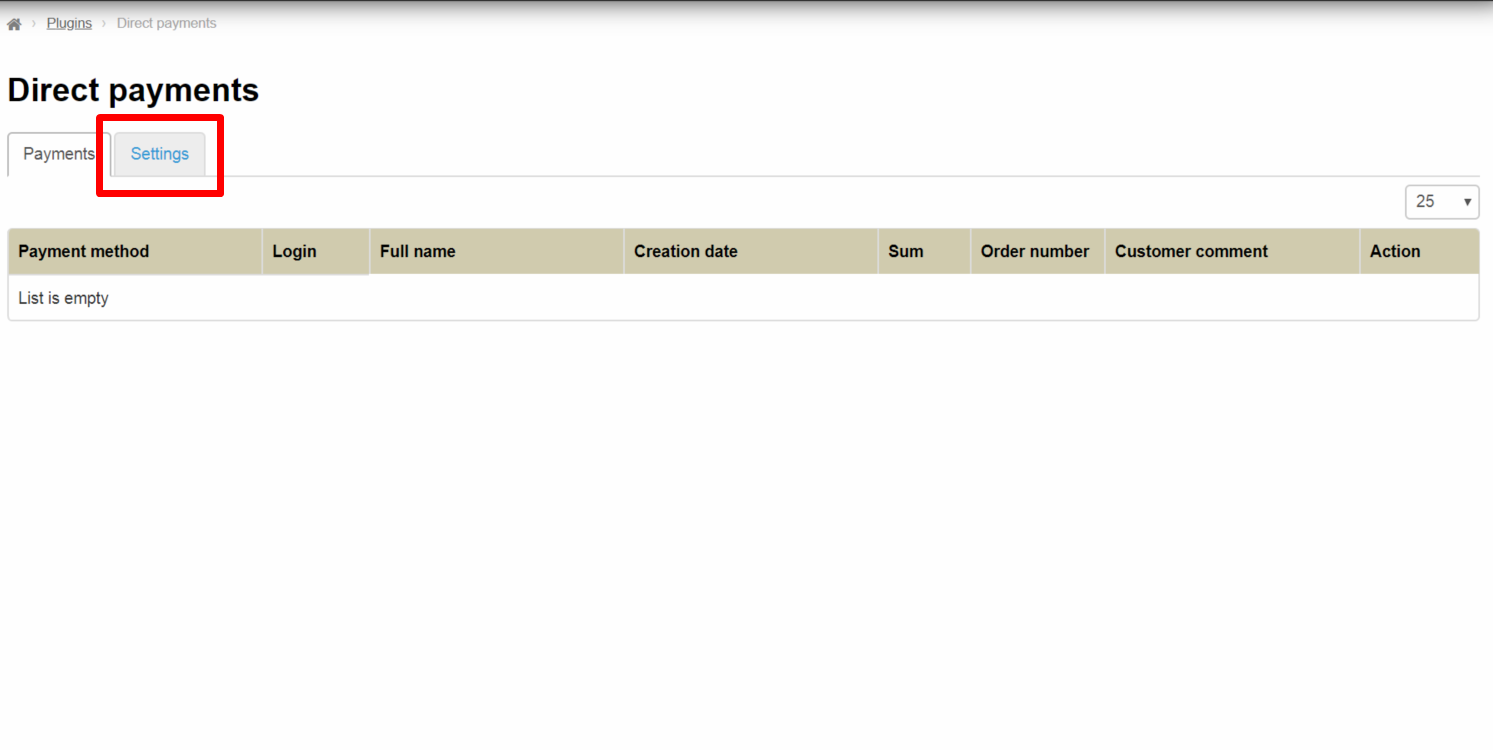
Open "Settings" tab.
Сhoose payment methods first. Full list of available methods is on the right:
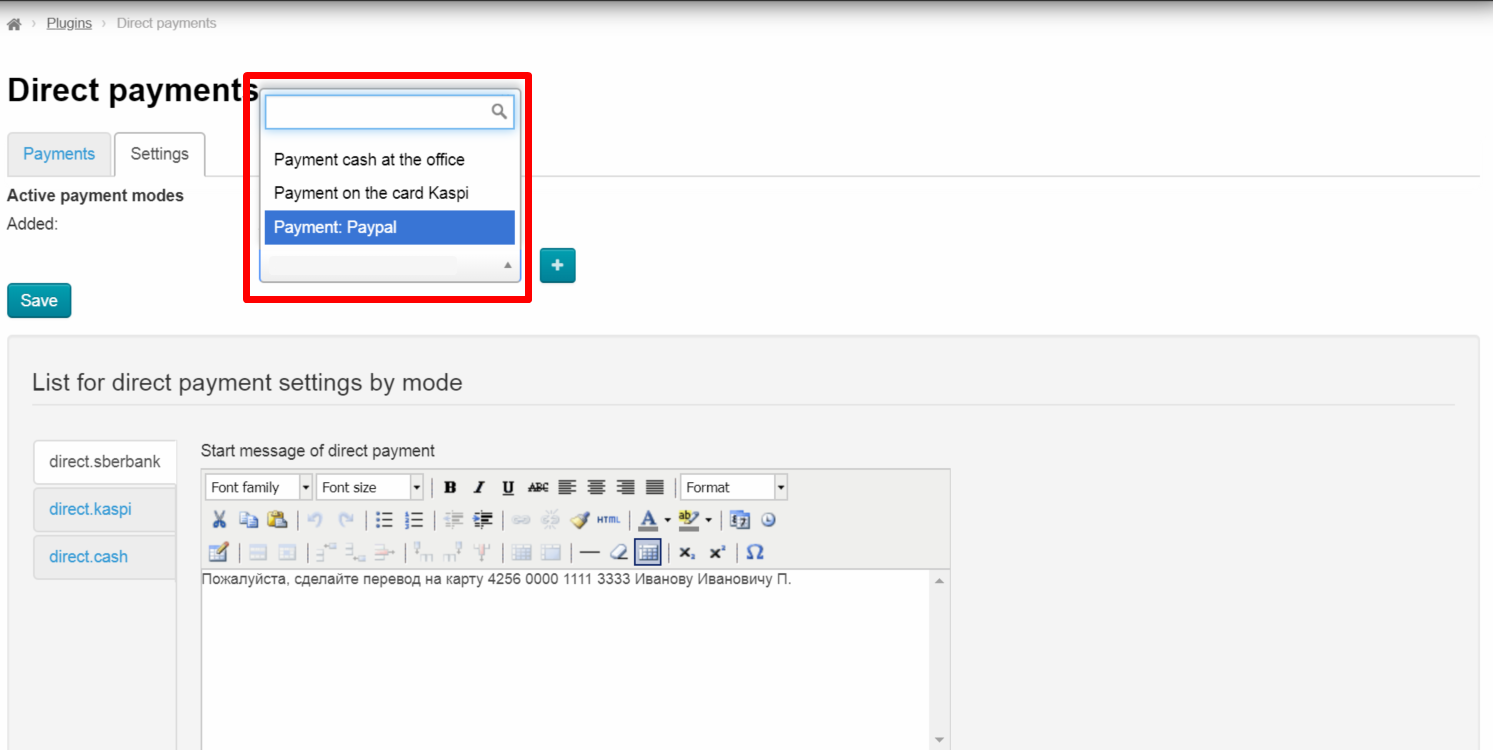
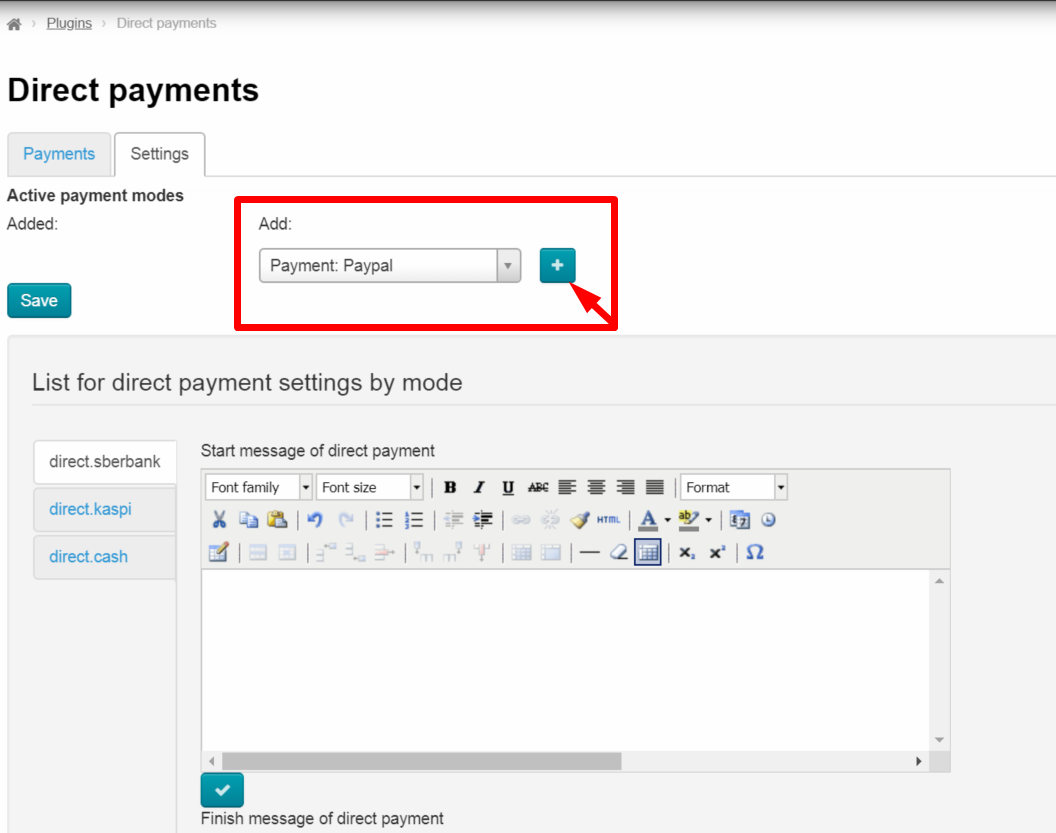
Select payment method from the list by mouse click and click “Add” button (a button with a plus sign).
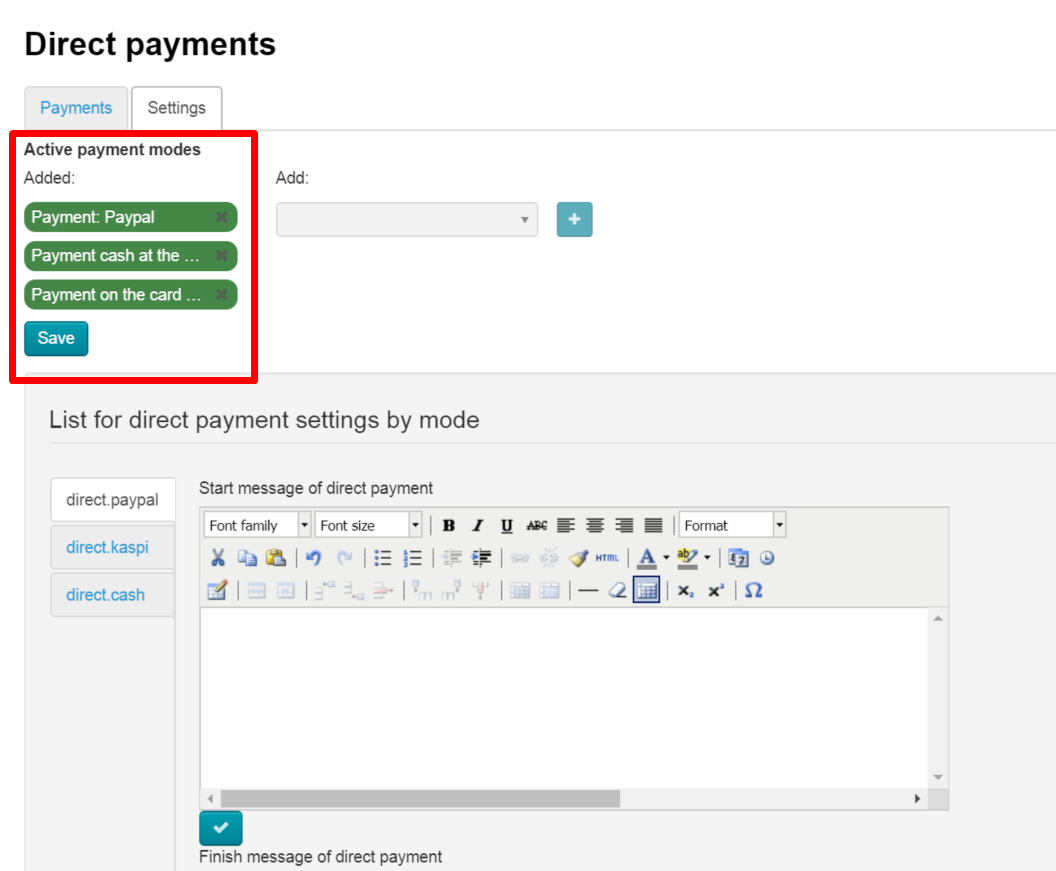
Added methods will be shown on the left. You can choose any number of available payment methods.
| Информация | ||
|---|---|---|
| ||
Contact OT technical support or your manager in Skype chat if there is no necessary method of accepting payments in the list of available methods (this list is available after connecting “Direct Payments” plugin during payments set up). |
Click "Save" button.
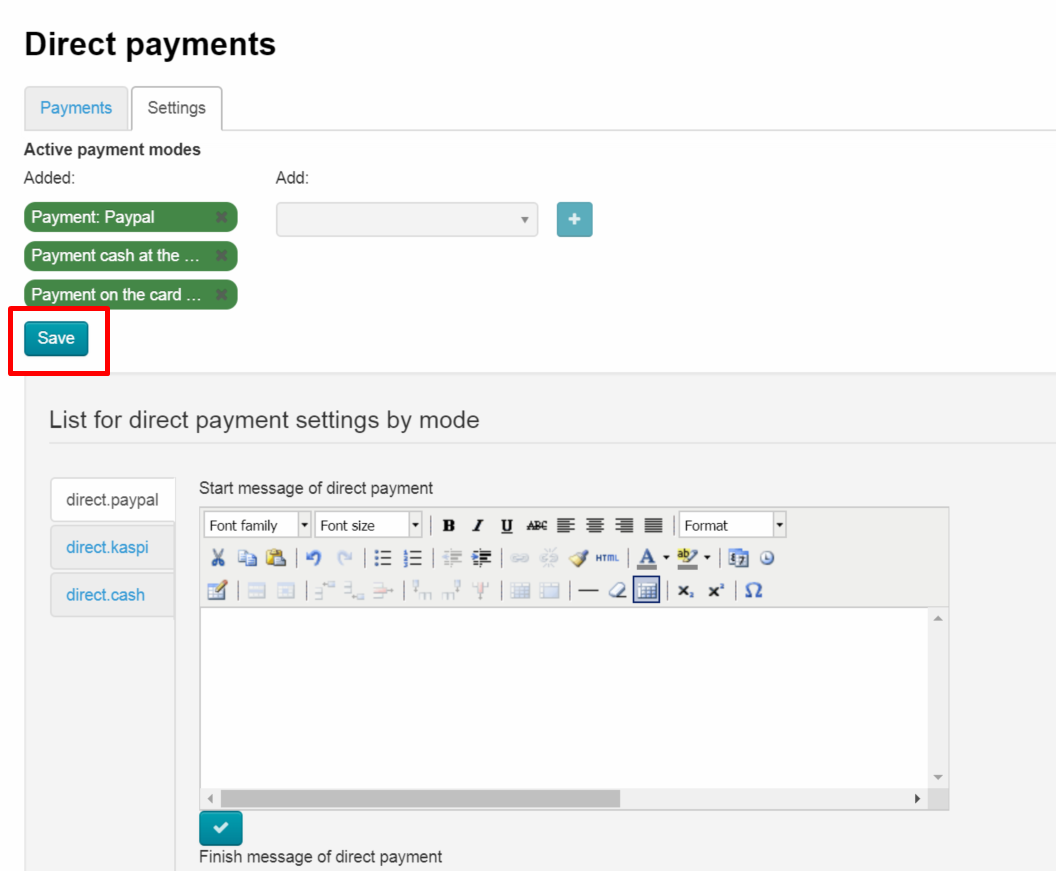
Payment method will be available for use after saving.
...
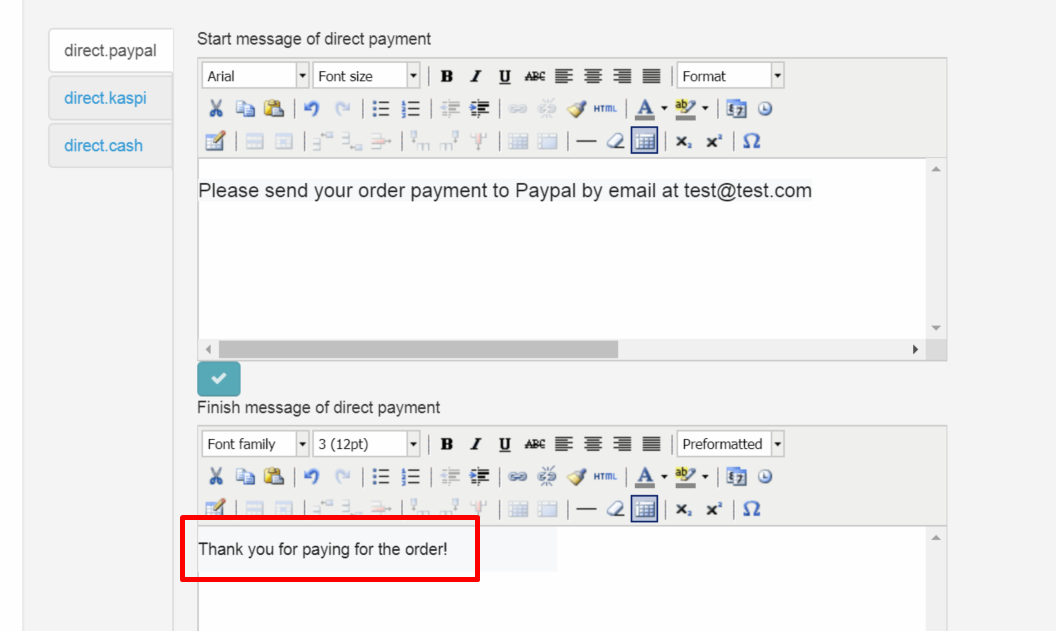
You must write payment messages in special fields for each payment method.
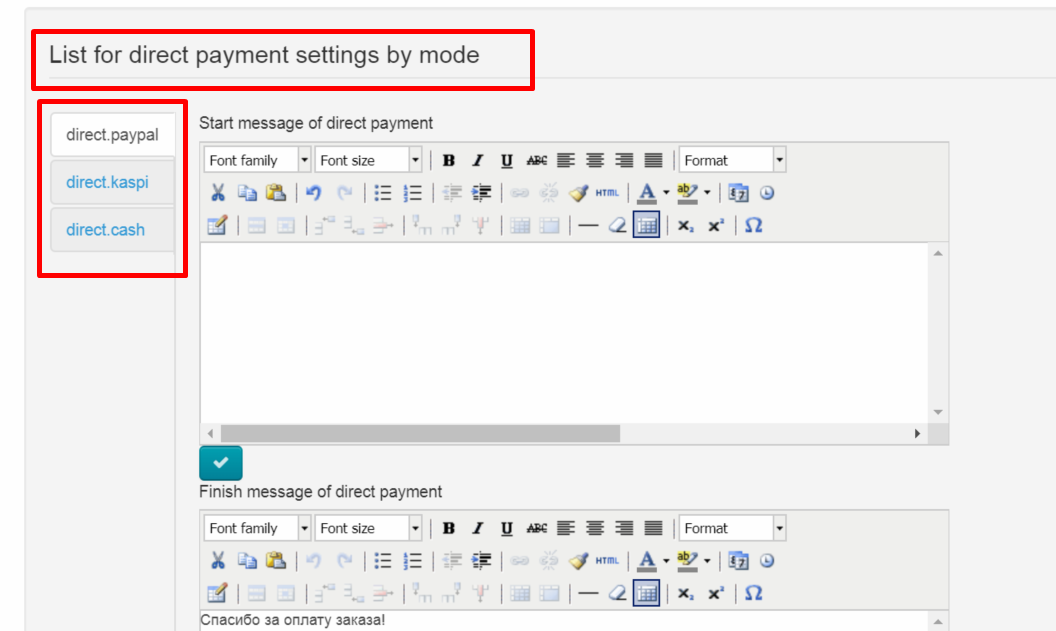
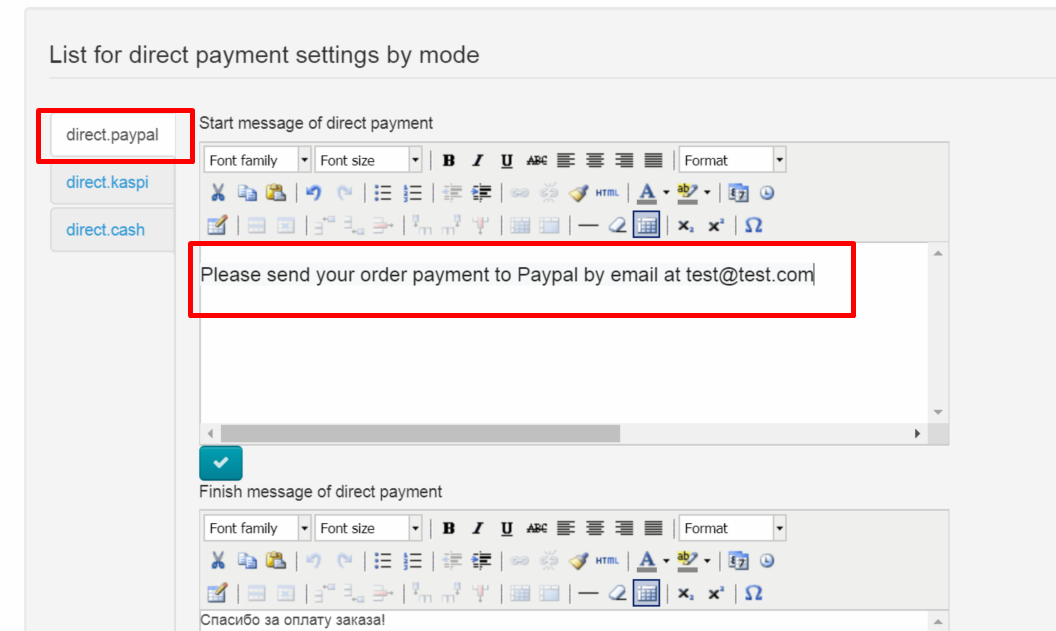
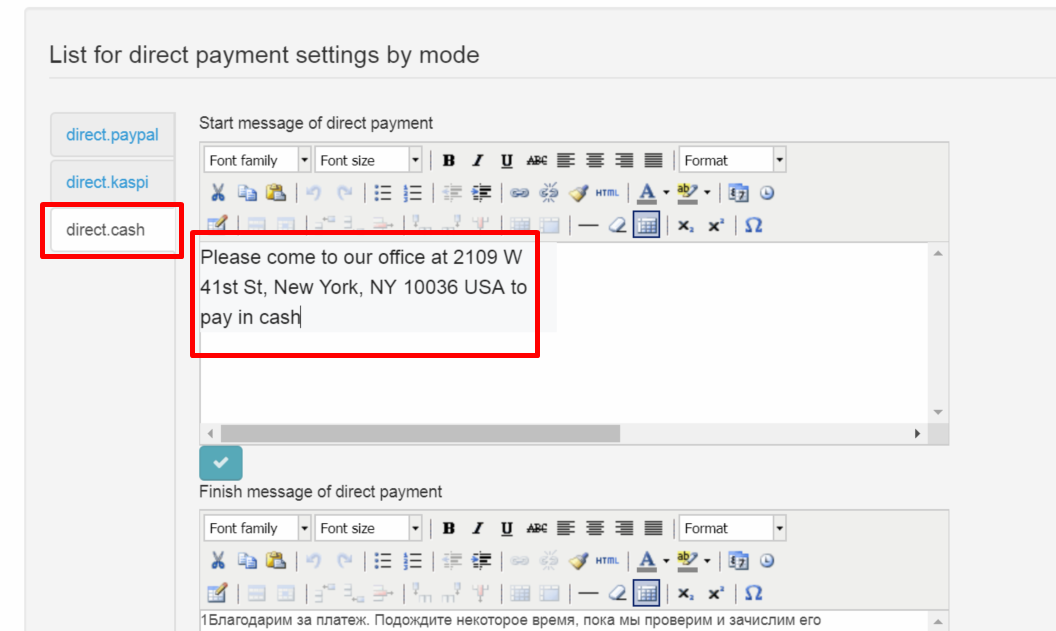
Write the message which will be shown at the beginning, before making payment.
You can specify card number here or request to write some information in comments for payment. You can also post detailed payment instructions. You can edit and format message using special text editor that works like MS Word.
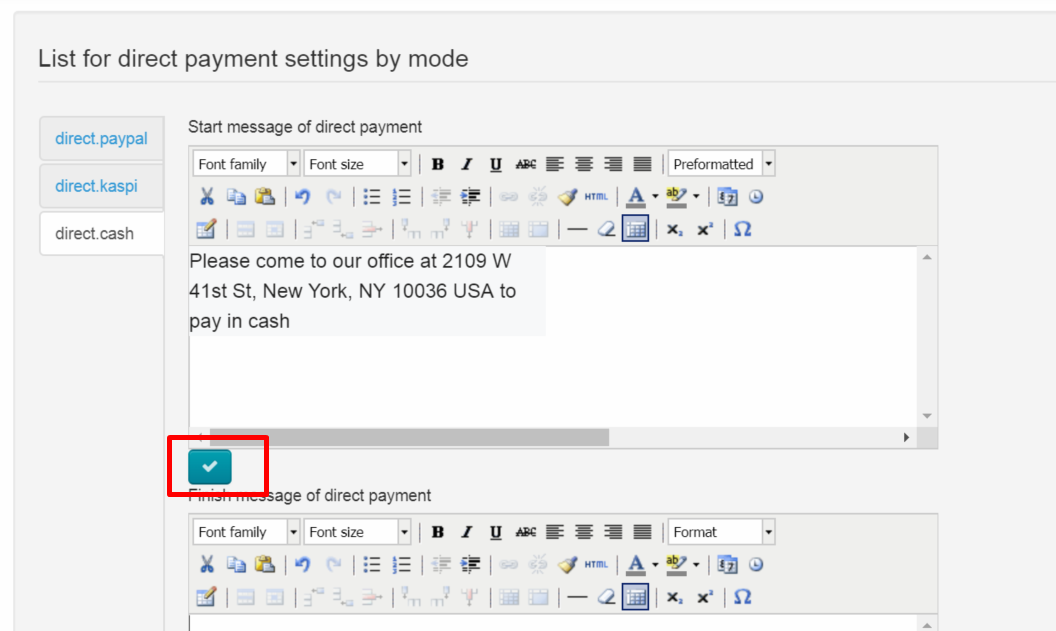
Save text clicking "Save" button with the tick.
This text will be shown to your customer immediately after clicking "Pay" button.
...
Compose a message that will be shown after making payment (it is necessary to write a separate message for each payment method) after that. You can write thanks for payment or something else here.
Save text clicking "Save" button with the tick.
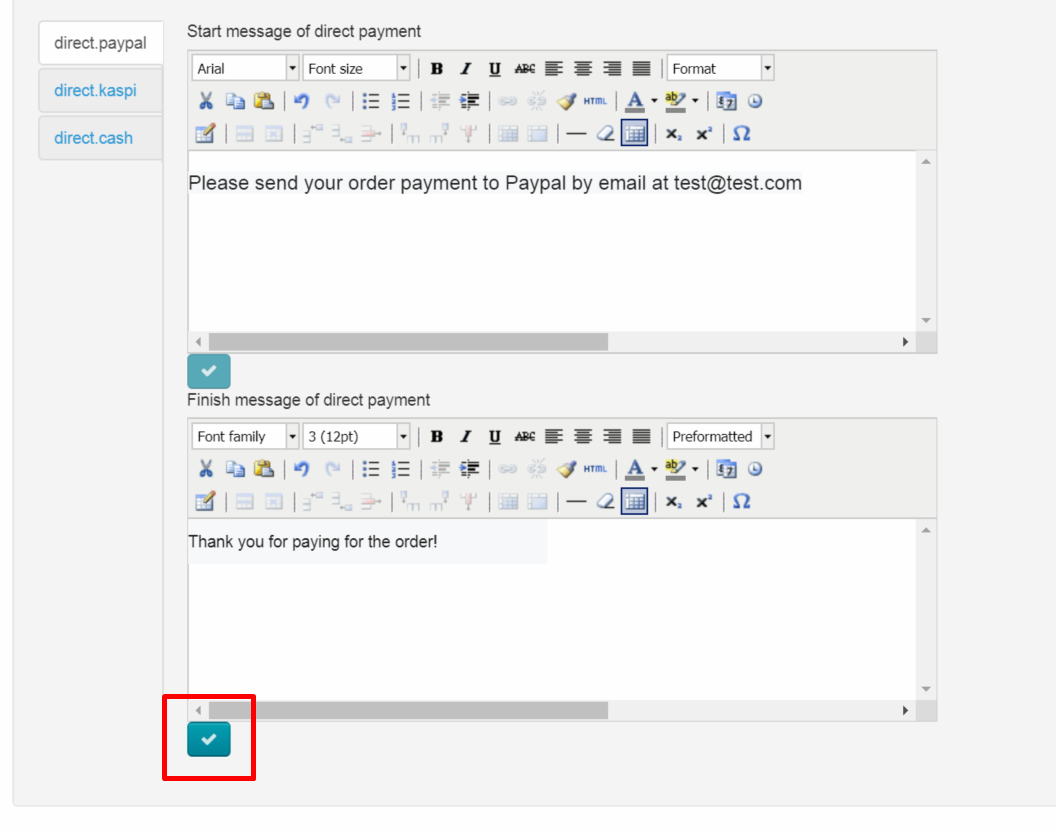
This text will be shown to your customer immediately after clicking "Confirm" button.
...
Go to admin panel of OT Box and open "Plugins" section to see the list of customers' payments.
Click “Direct Payments” title of the plugin to go to payments list.
A record of made payments will be here.
...