Сustomize website color scheme for your brand. Use new design template of OT Box called "Elastic".
Enable design template "Elastic"
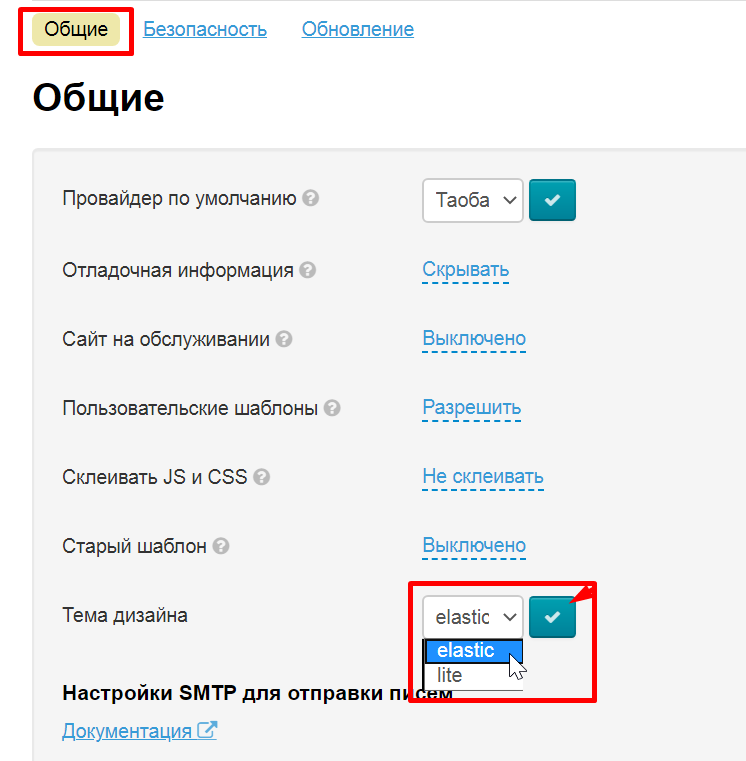
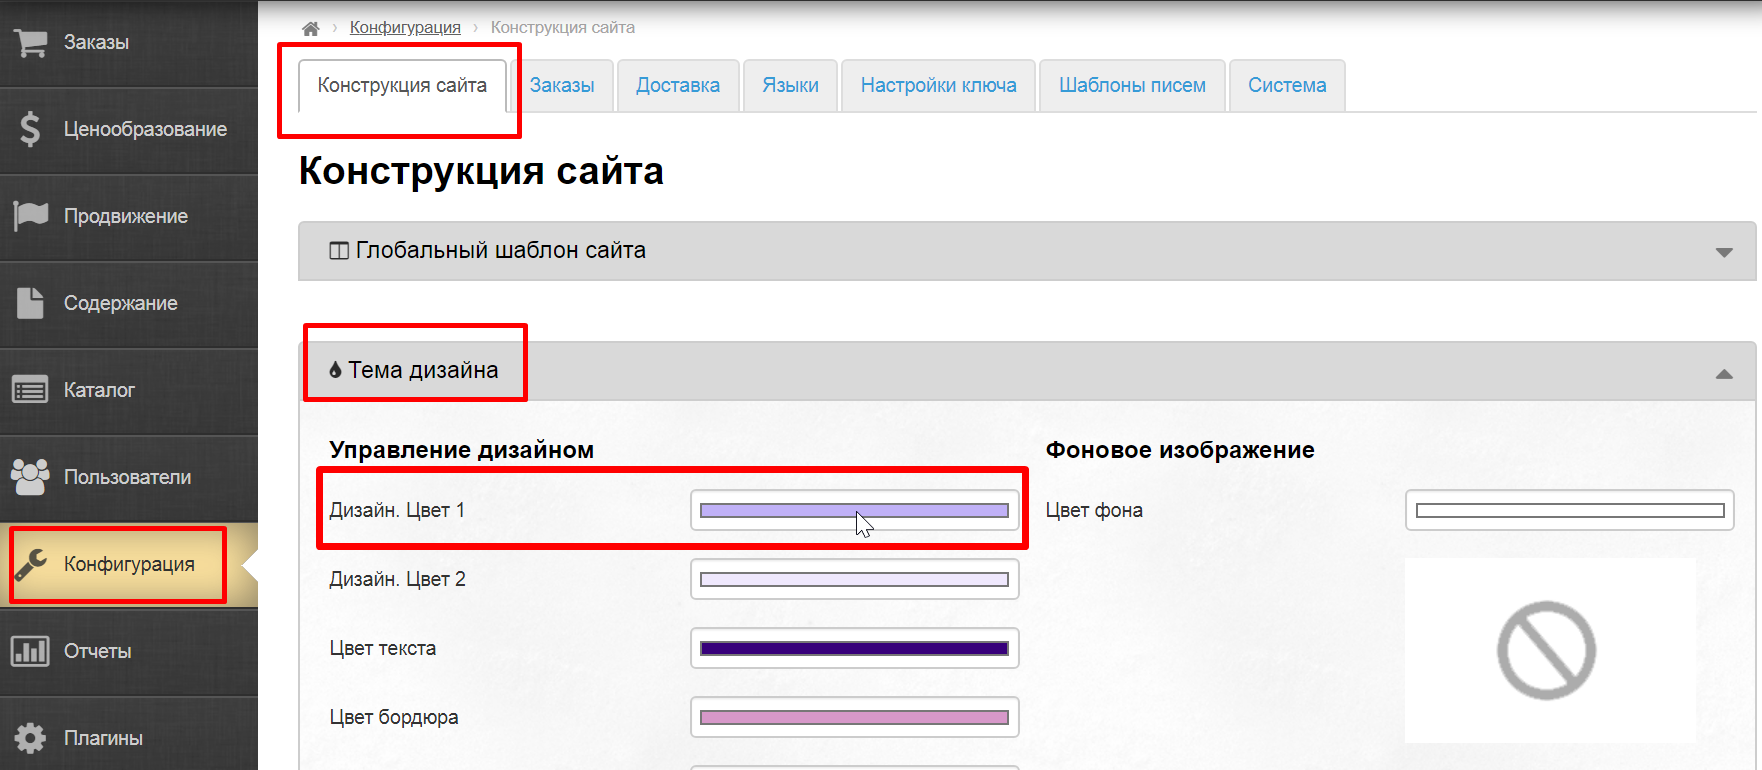
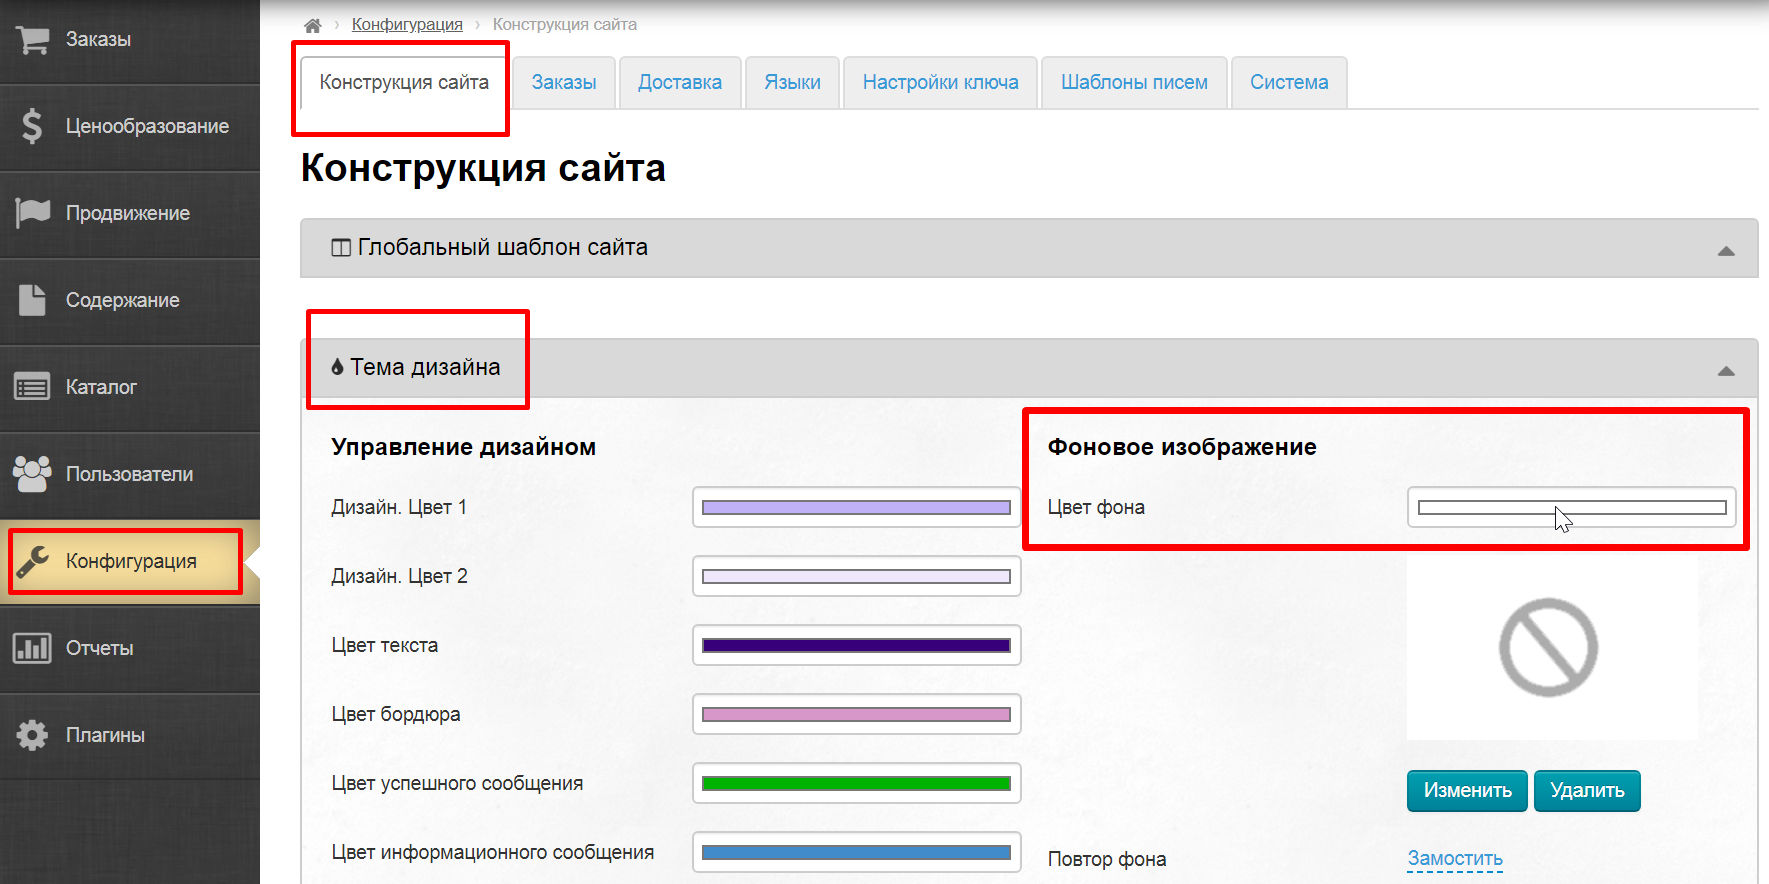
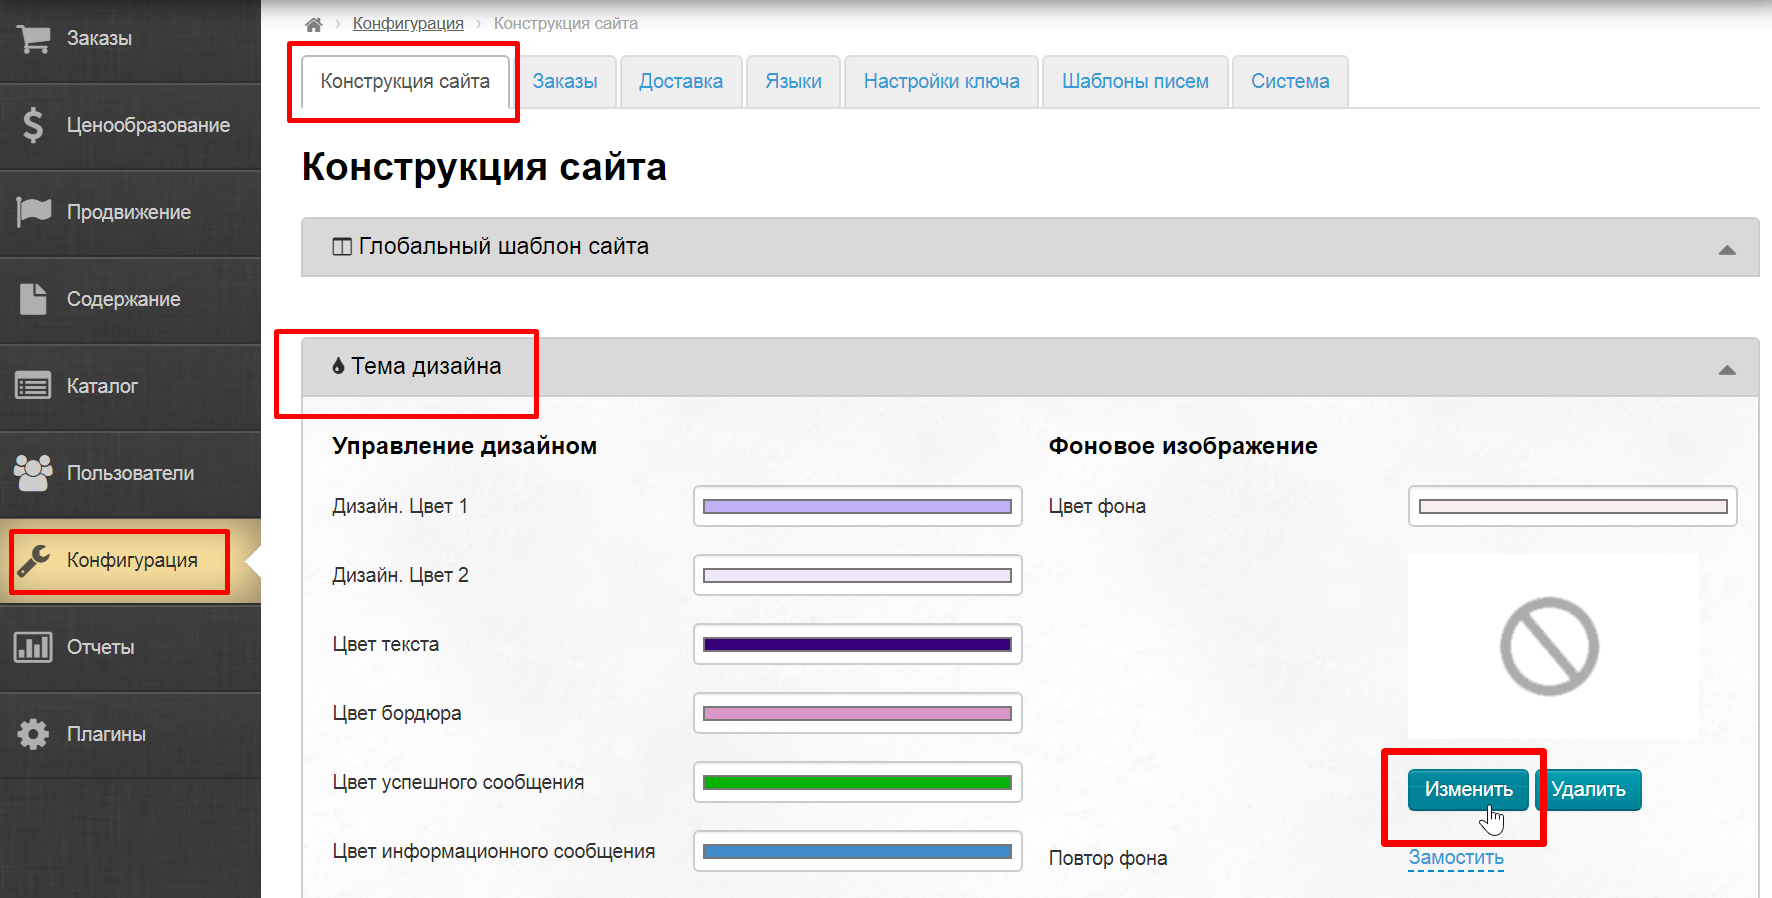
Open admin panel and go to "Configuration" -> "System".
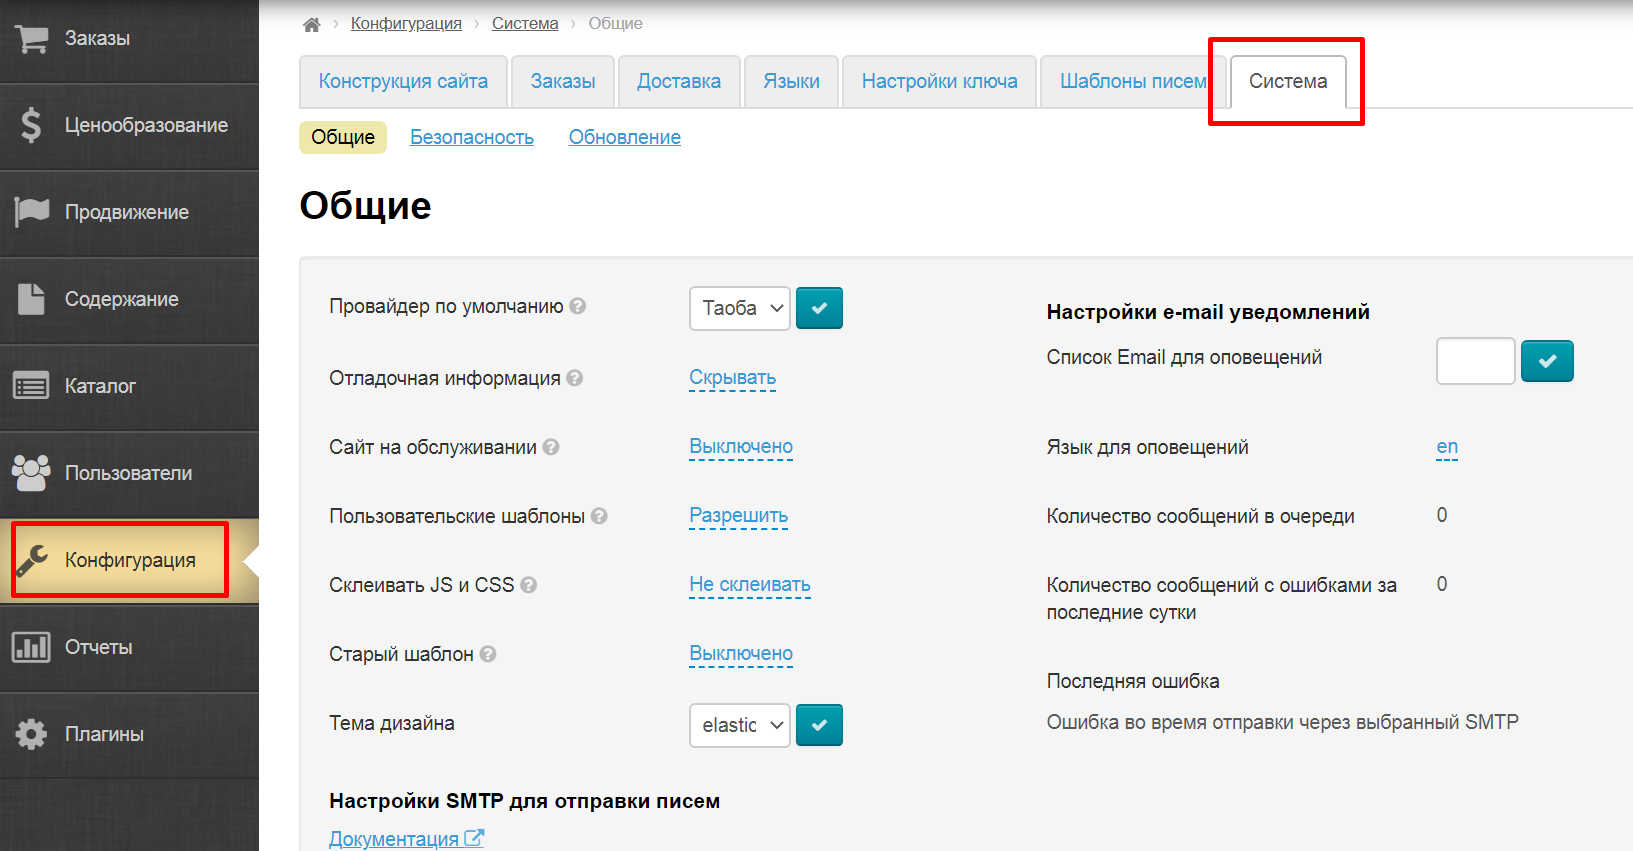
Find "Design theme" in section "General" and select "elastic" from drop-down list. Save choice clicking checkmarked button:
Customize design template
Go to "Configuration" -> "Website configuration" to customize selected design template.
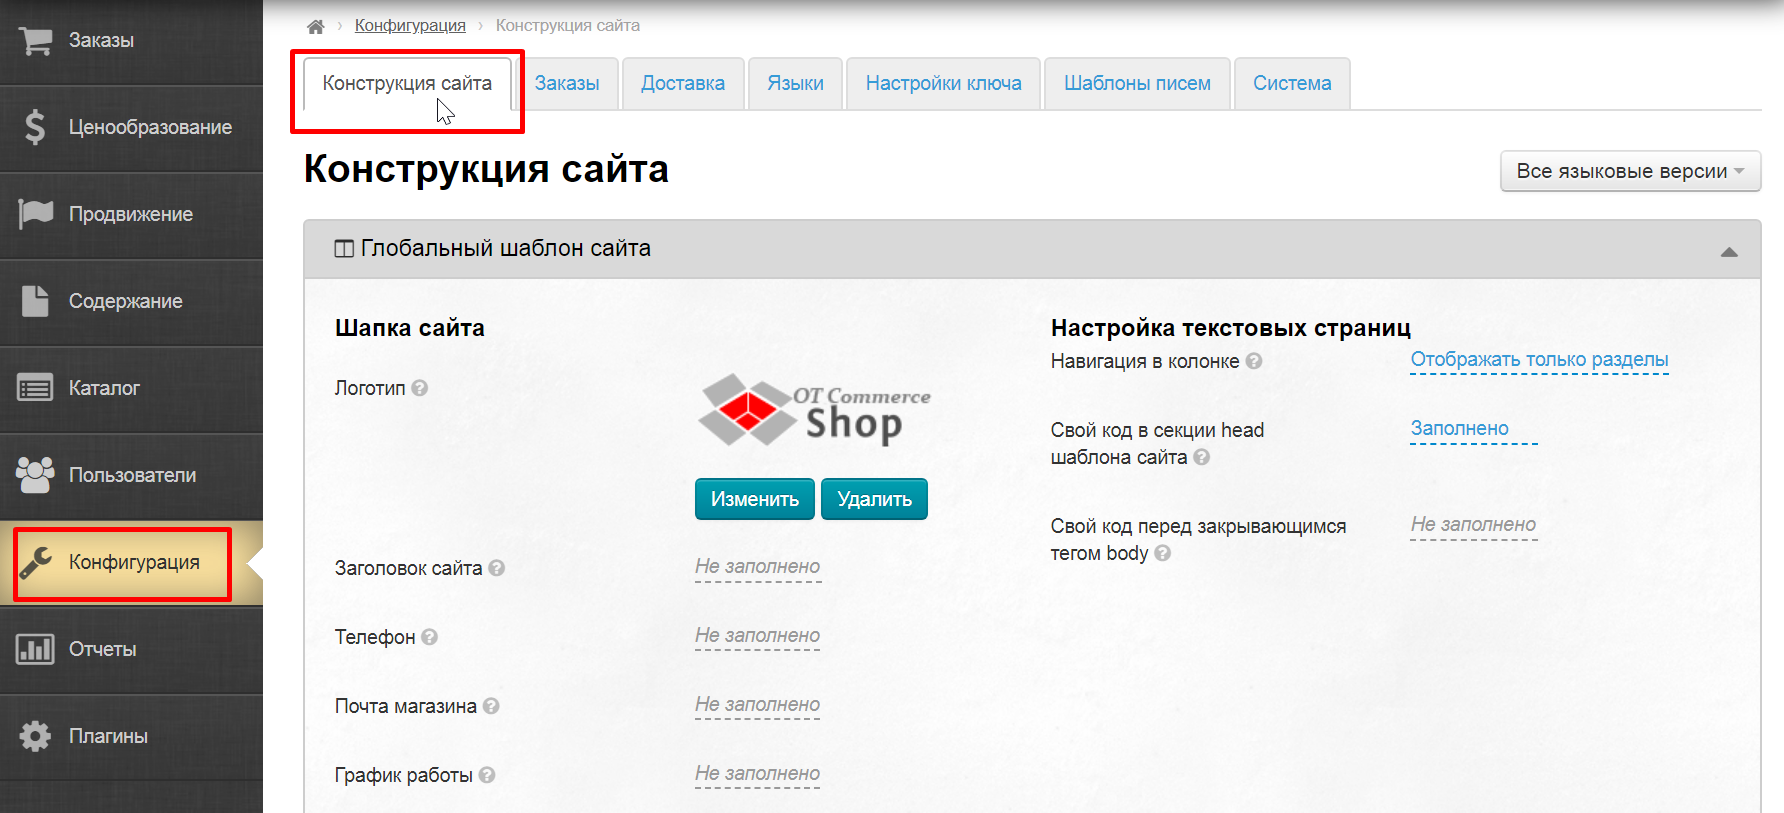
Scroll down the page to "design theme" block. You will make settings in this section.
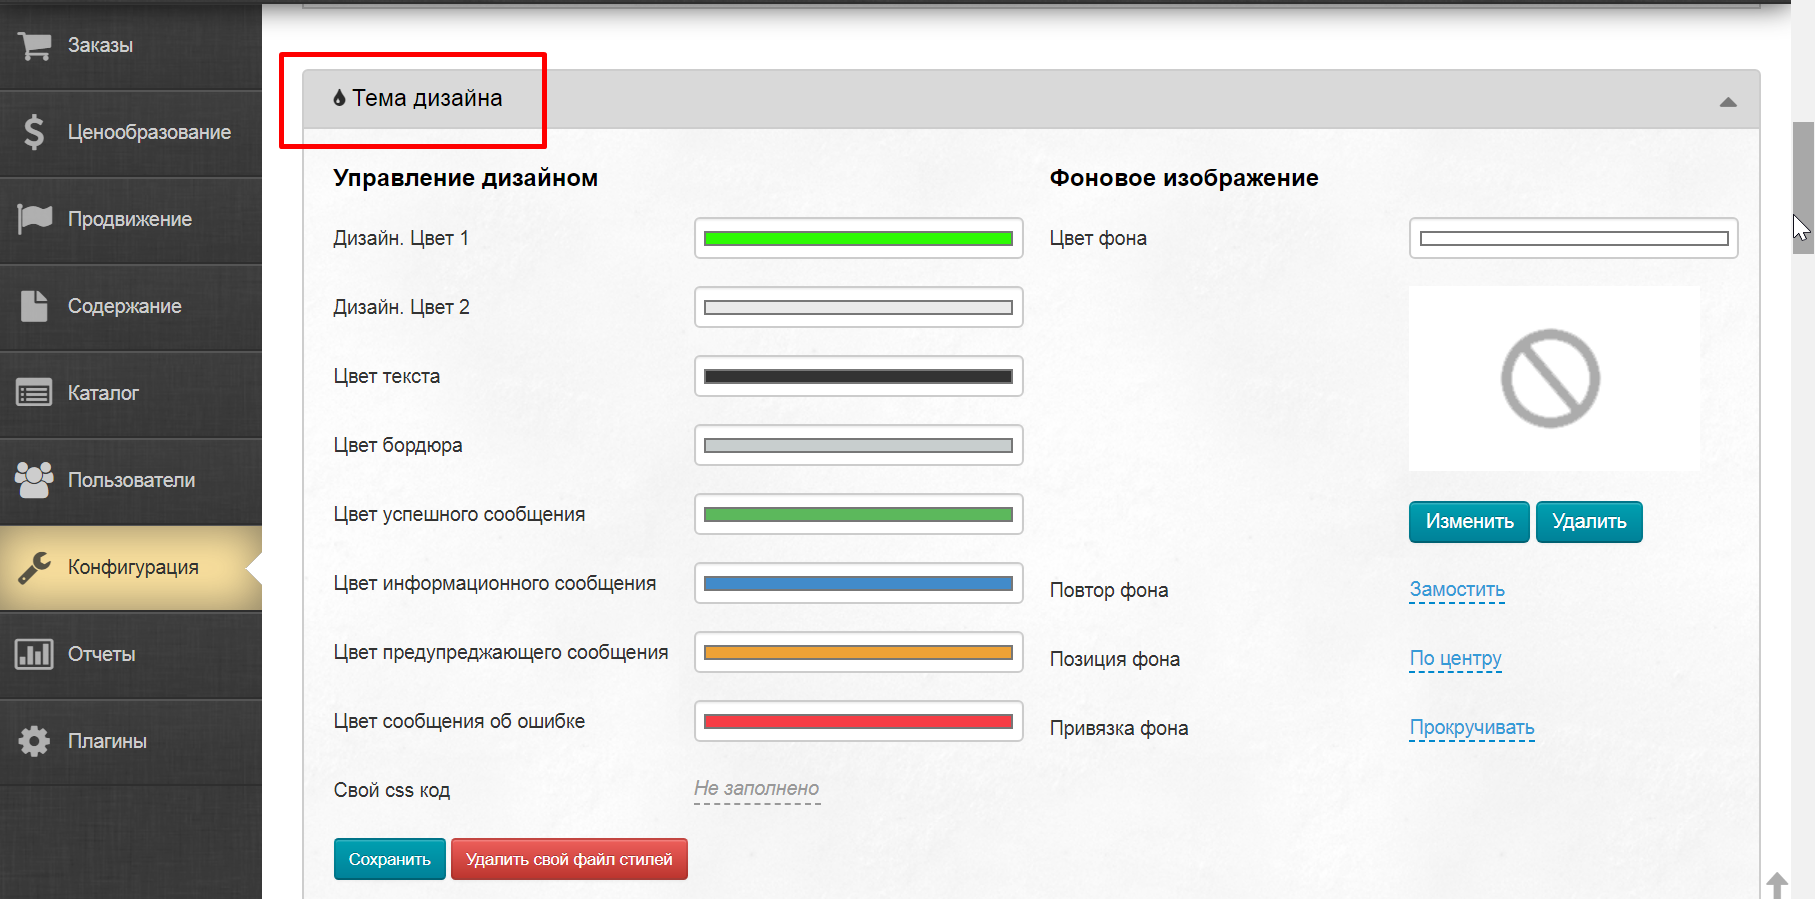
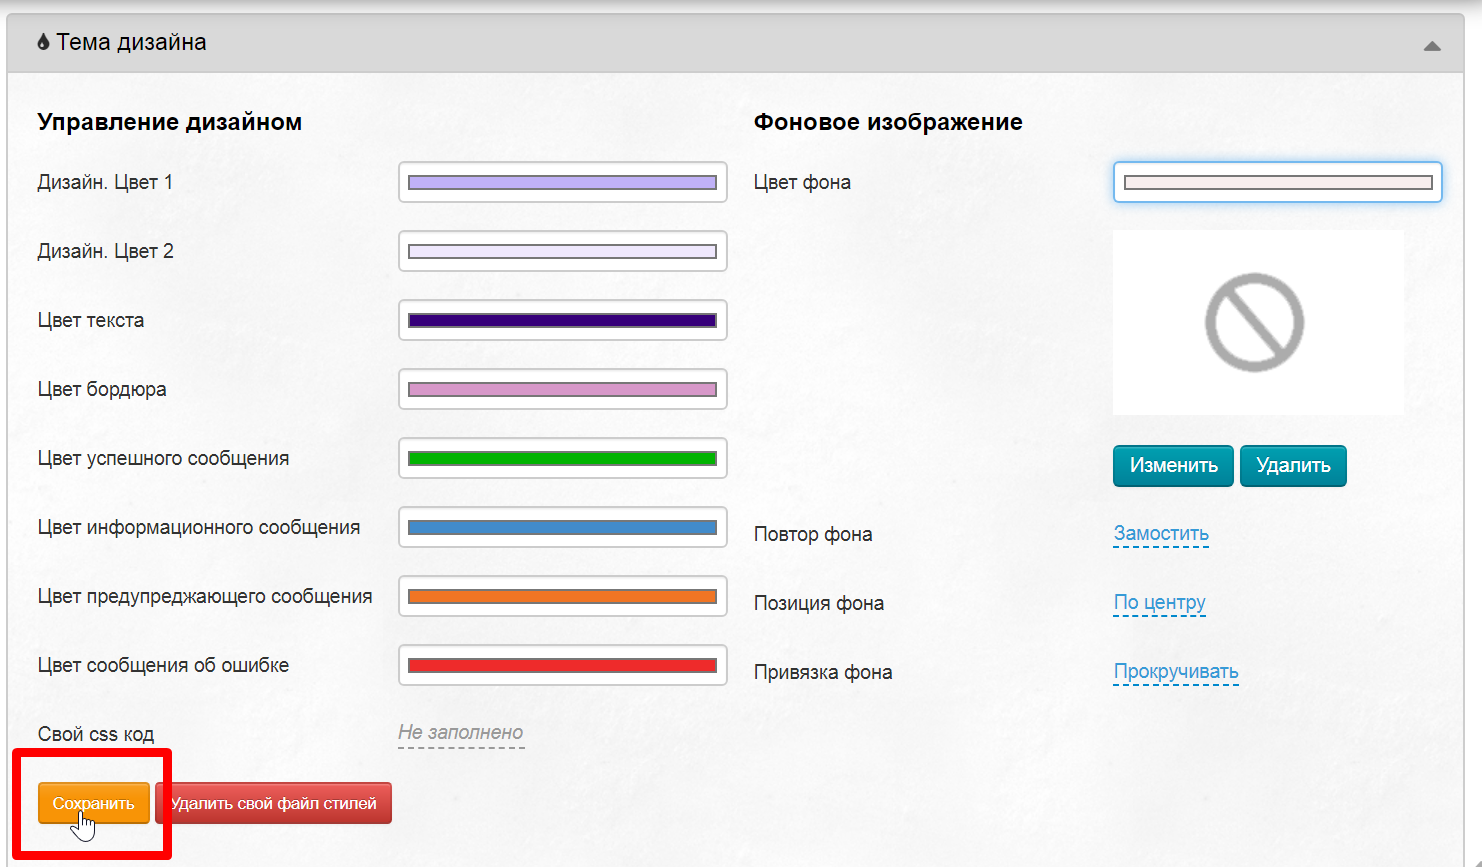
Change colors: Control design
Design will remain in the basic gray-orange color developed by OT designers if you do not change colors.
We recommend to keep default design if you are a novice entrepreneur and have not yet been developing a corporate identity.
However, it is better to repaint the site to match your brand colors if you already have a corporate identity.
There are 4 primary design colors.
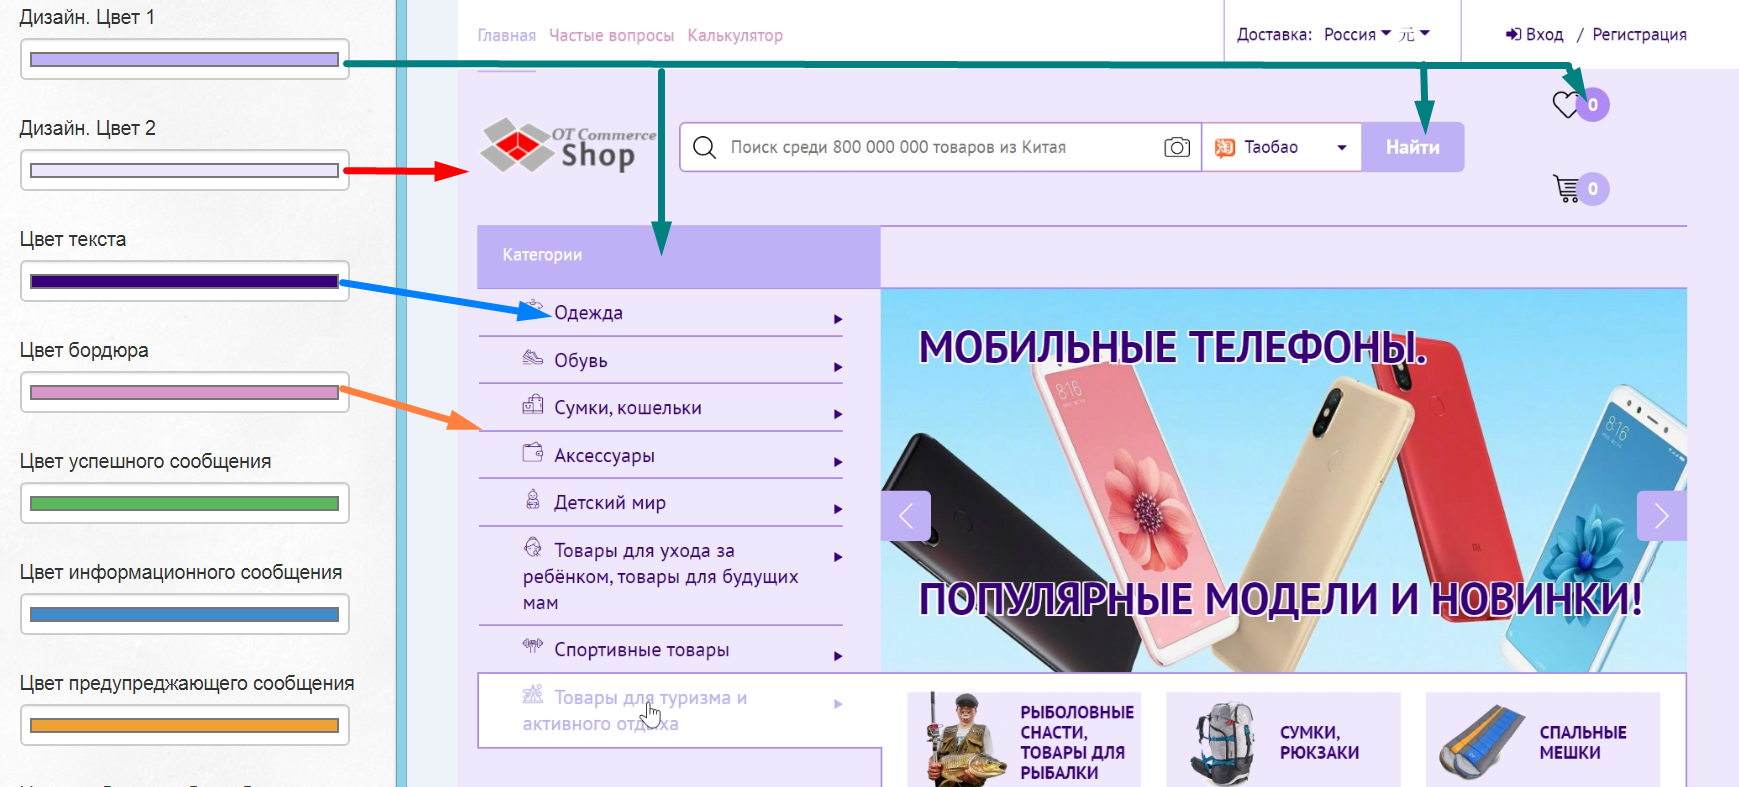
Select field in "Configuration -> Website configuration -> Design theme":
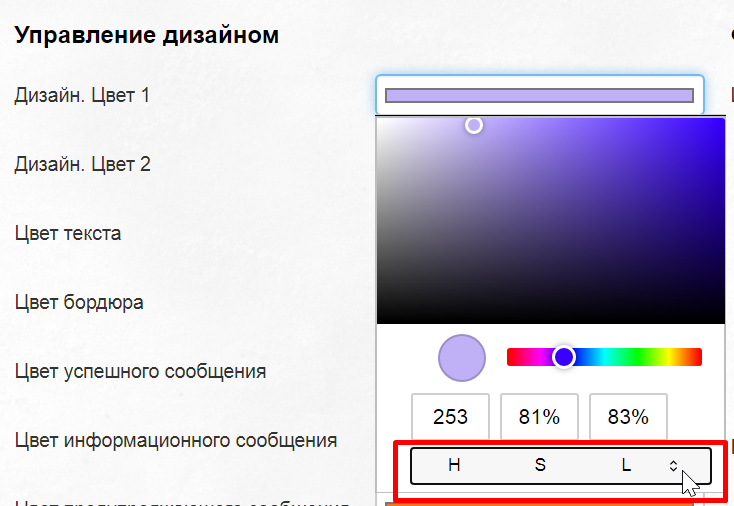
A color palette will open after click where you can select necessary color using mouse or specify RGB values from Photoshop.
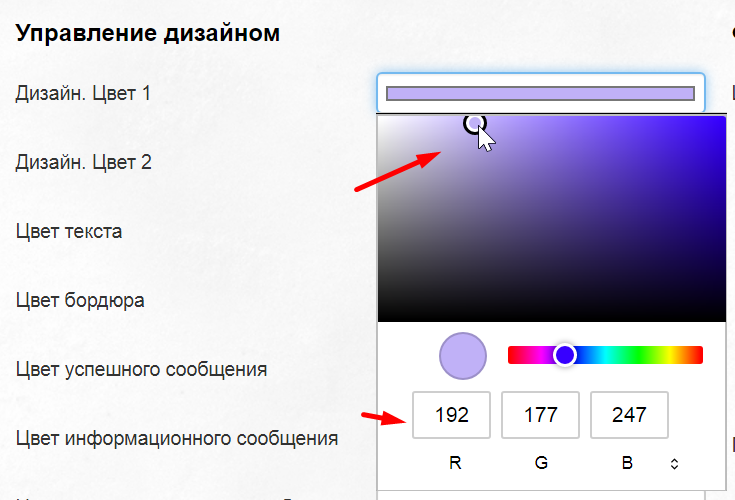
By the way, color can be specified in different formats, not only in RGB. Click special triangles in the format menu to select format.
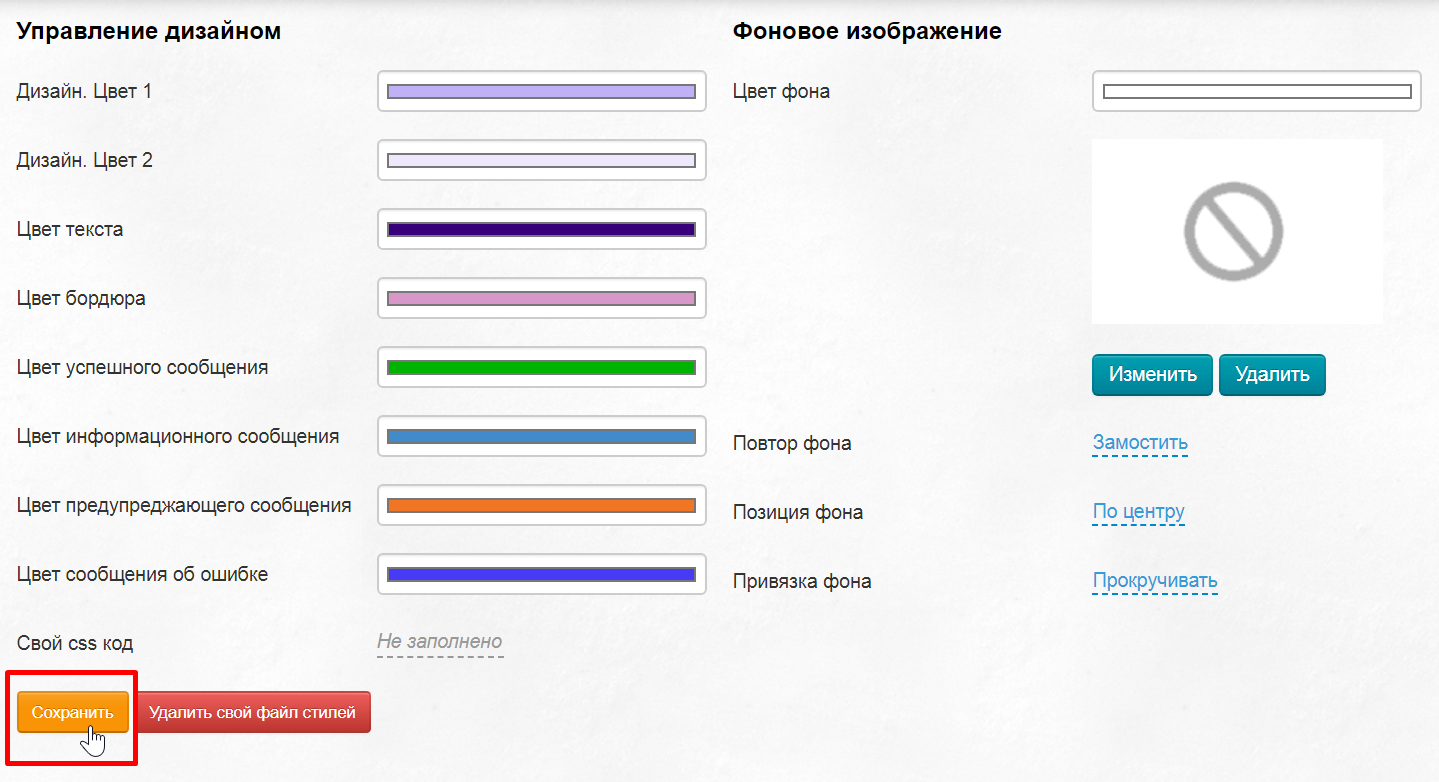
Click "Save" button after all color are changed.
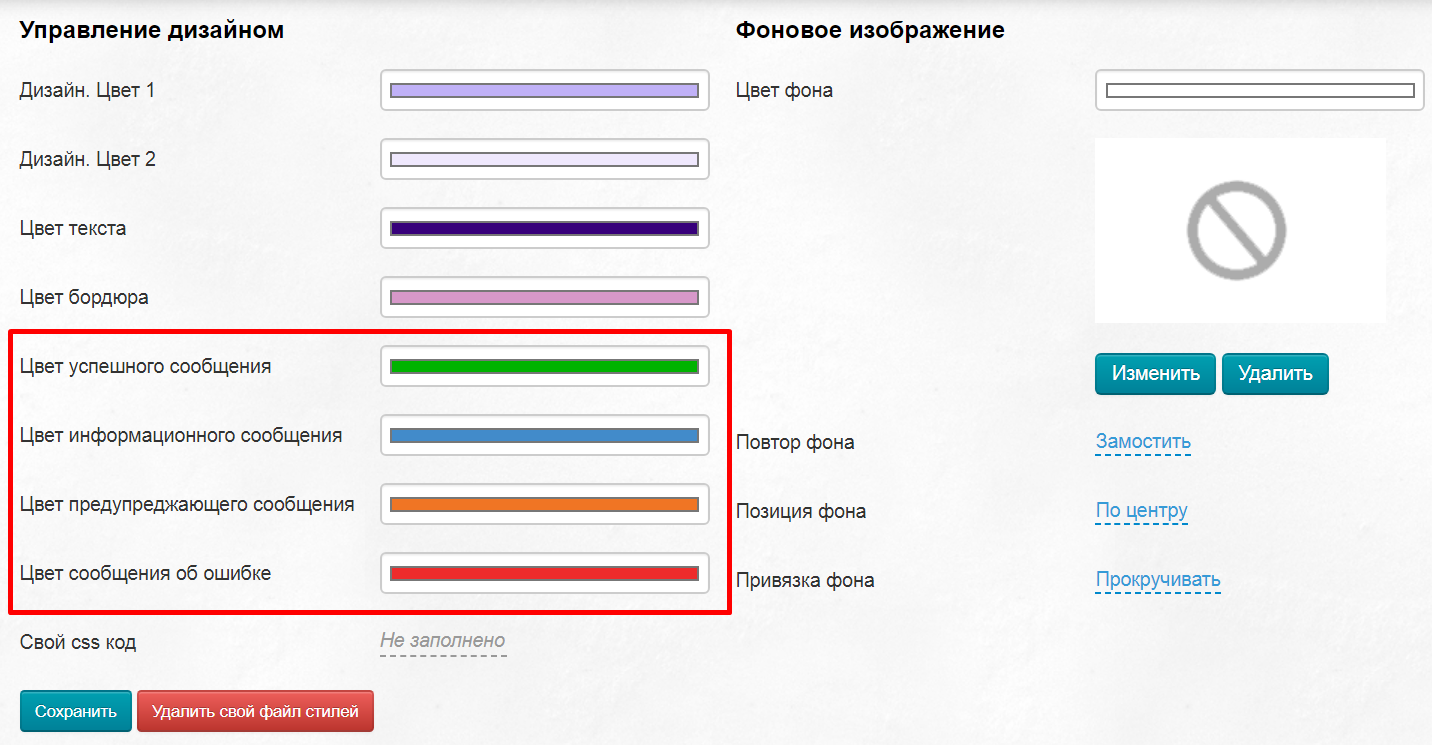
In addition to 4 design colors, there are 4 more colors of informational messages. We recommend leaving them unchanged or choosing no less vivid colors. Color of informational messages in OT Box admin panel is selected in accordance with the standards that a person is used to in everyday life.
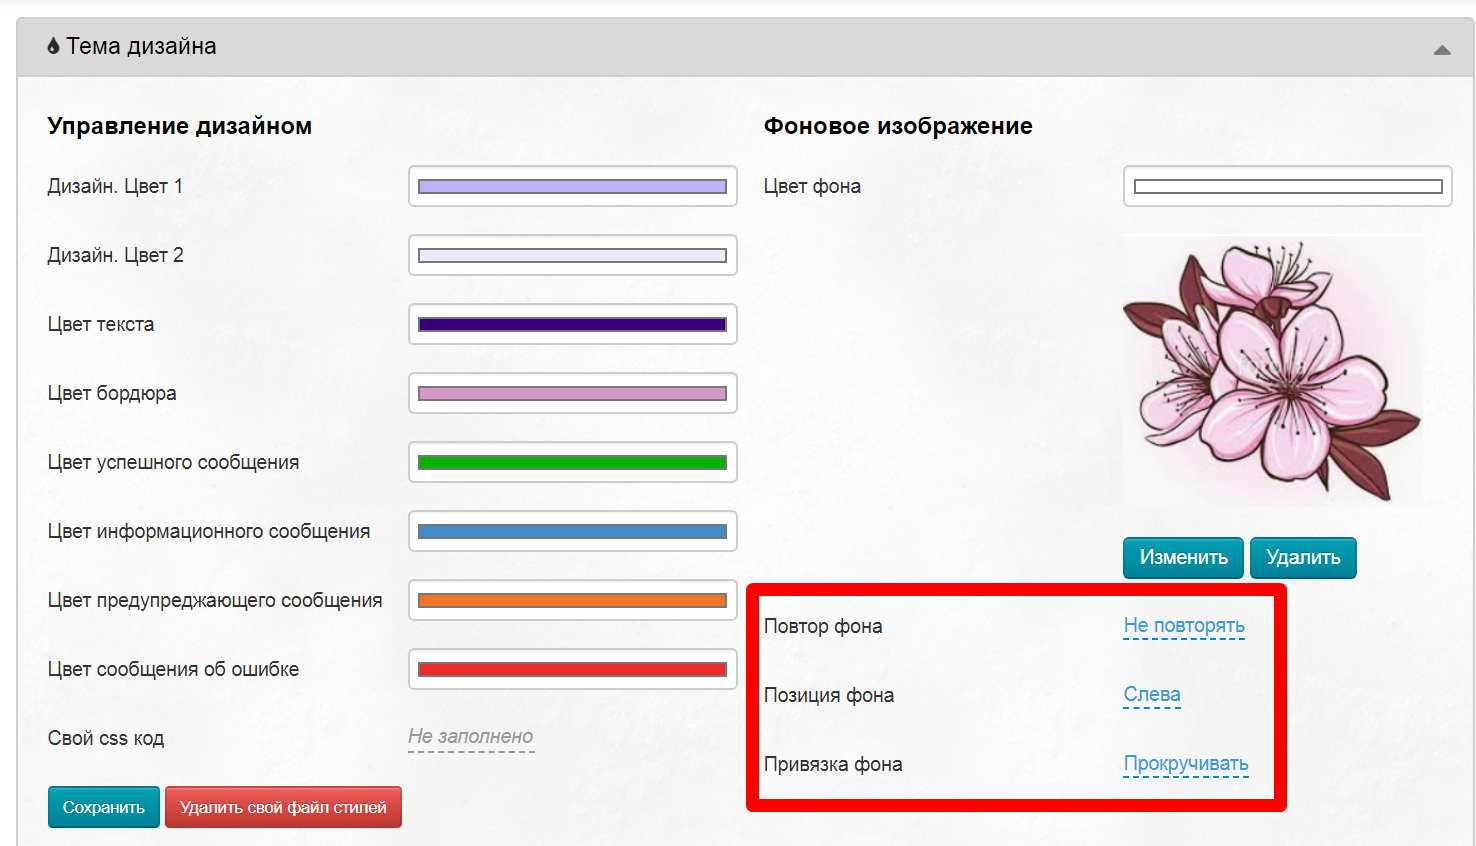
Change background color
Background color is white by default. Background can be seen in the product card, as well as on the home page after the block with carousel.
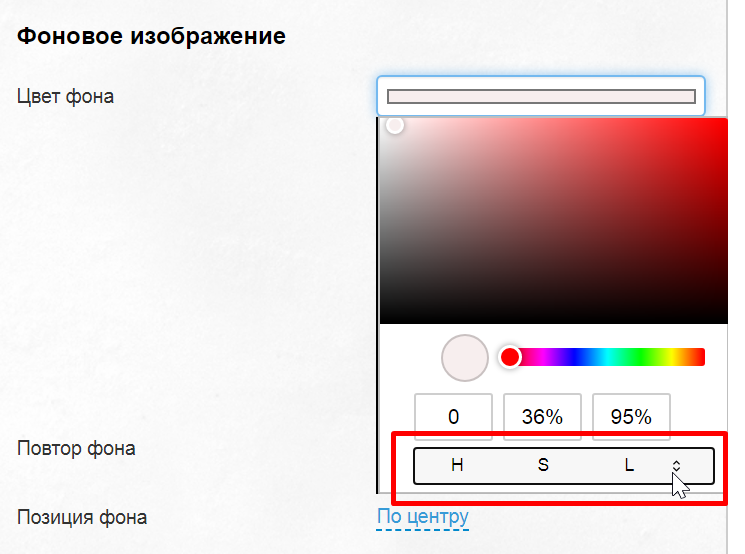
Select field in "Configuration -> Website configuration -> Design theme" to change default background color:
A color palette will open after click where you can select necessary color using mouse or specify RGB values from Photoshop.
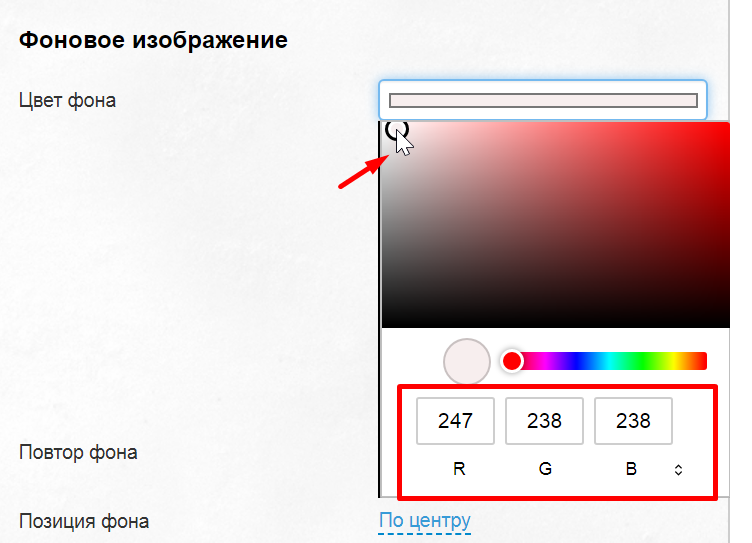
By the way, color can be specified in different formats, not only in RGB. Click special triangles in the format menu to select format.
Click "Save" button after all color are changed.
Add background image
Background image is downloaded from your computer and used in the background. It is important to consider several recommendations:
- The larger the size of background image, the longer website page will load. Sometimes users may not wait for the site to fully load and leave.
- Bright background distracts and irritates the eyes, so spent time on the site is reduced.
- Interface on some pages covers background almost completely, therefore it is not recommended to put any useful information on background (phone numbers, addresses, messages, etc.). And also it is worth considering when choosing an image so that the meaning does not change or distort.
Click "Change" button to download background image (there is no background image by default).
Downloaded image will be saved automatically. Click "Save" button to displ;ay it on website.
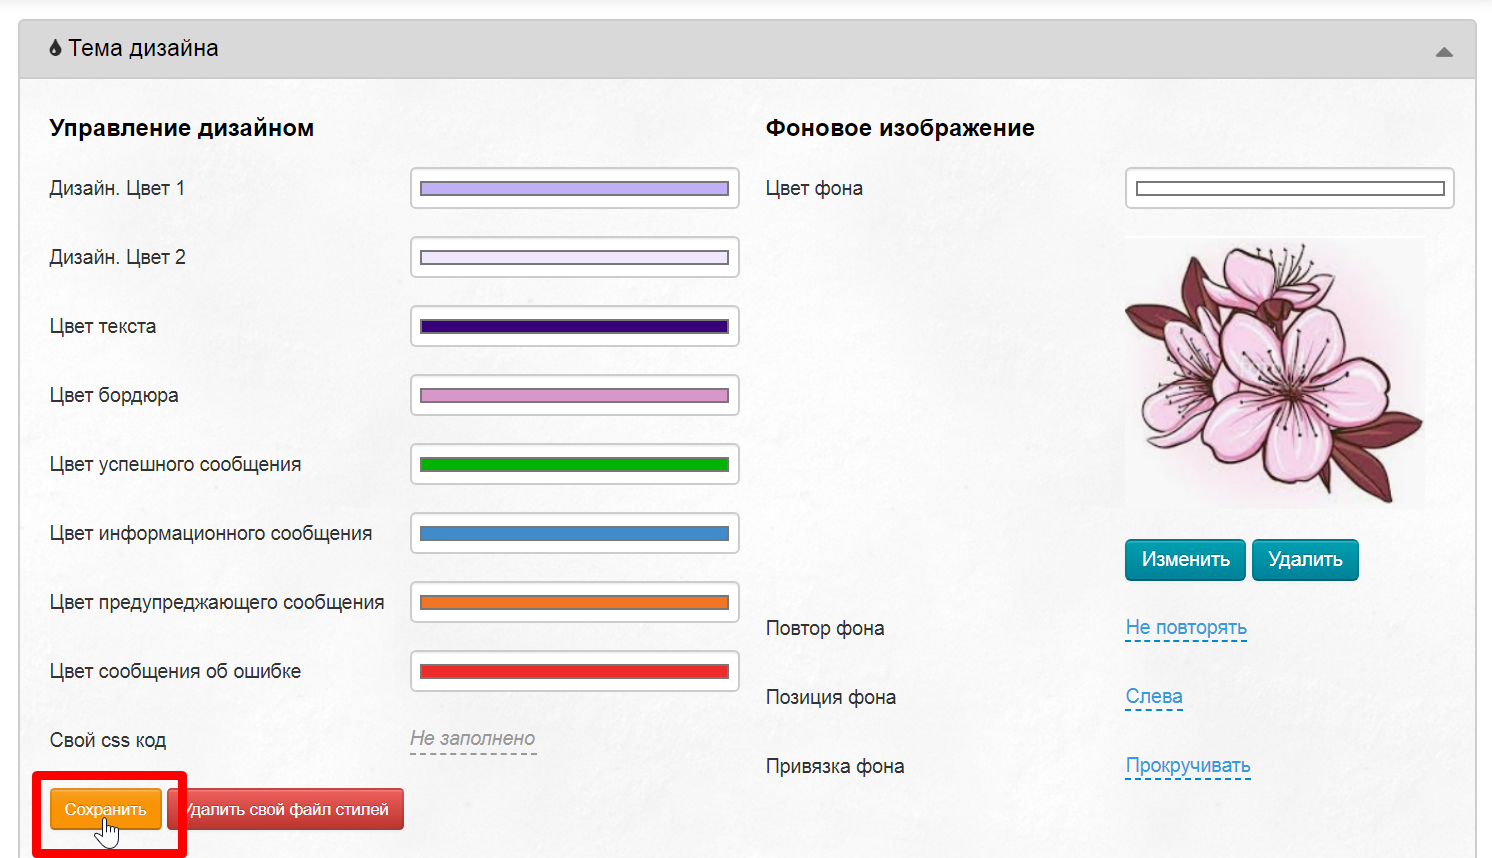
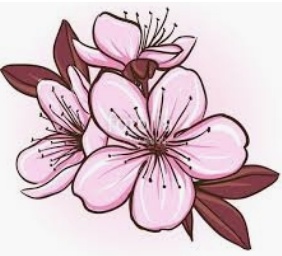
Set background binding after that. Tables below show how each setting looks. For example, we take a picture of a flower and show how it will look based on interface (picture will be partially hidden by menu bar or search bar in some places).
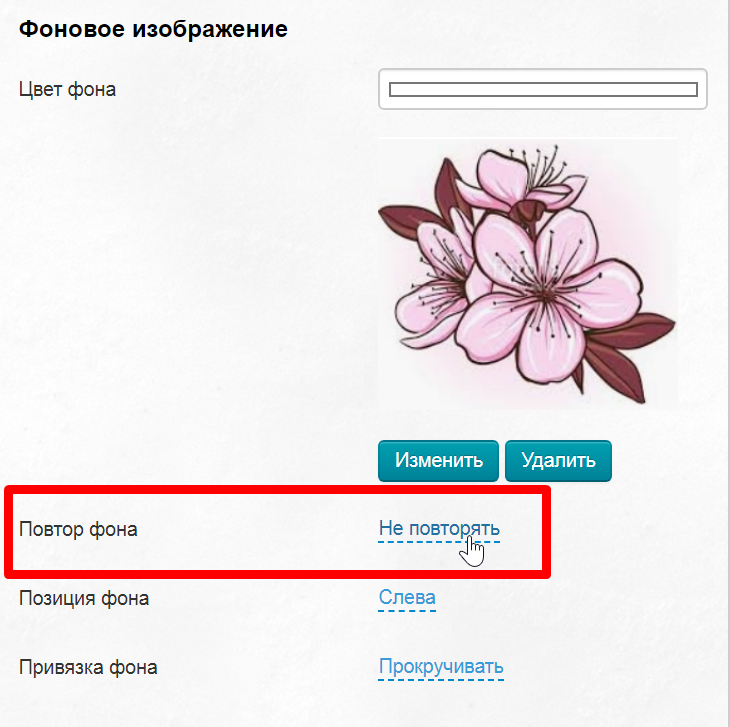
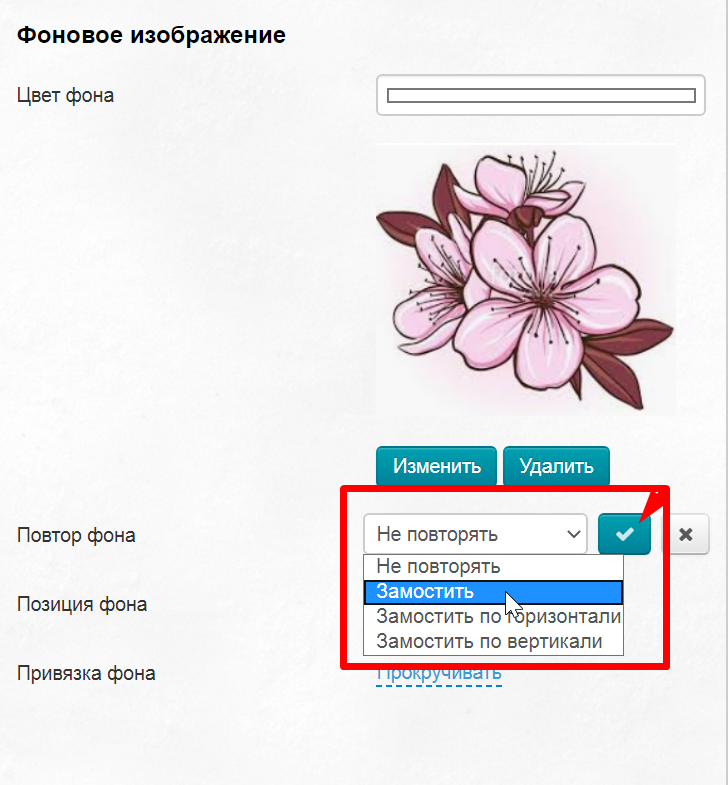
Background repeat
Setting | Site appearance |
|---|---|
| Do not repeat | 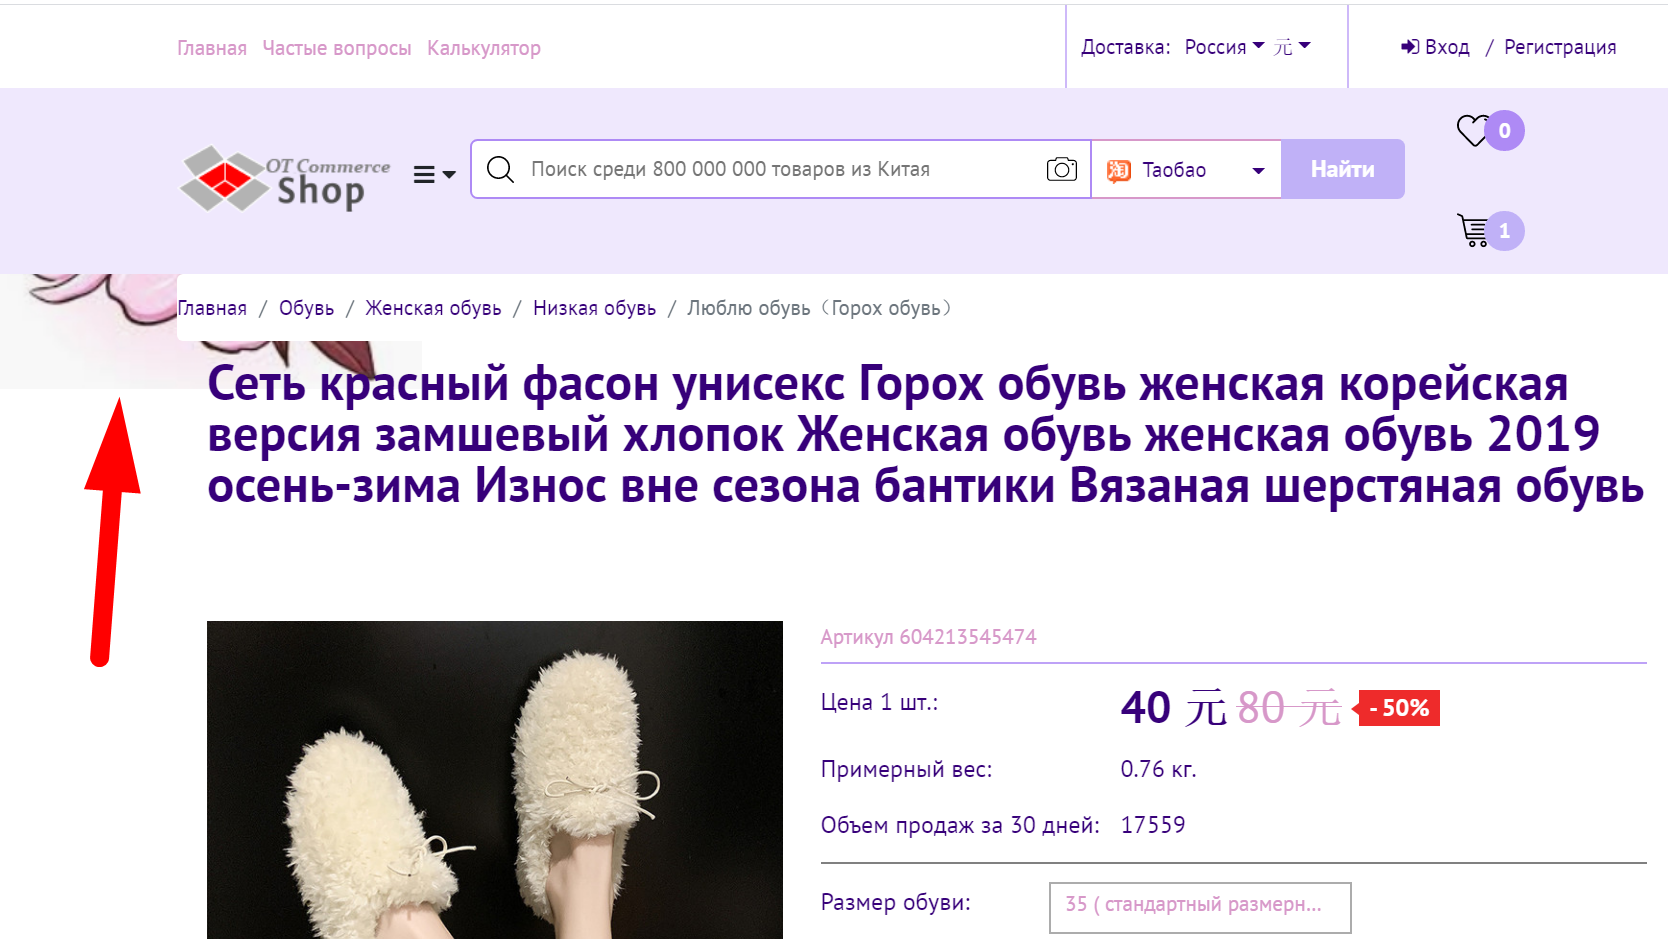 |
| Repeat | 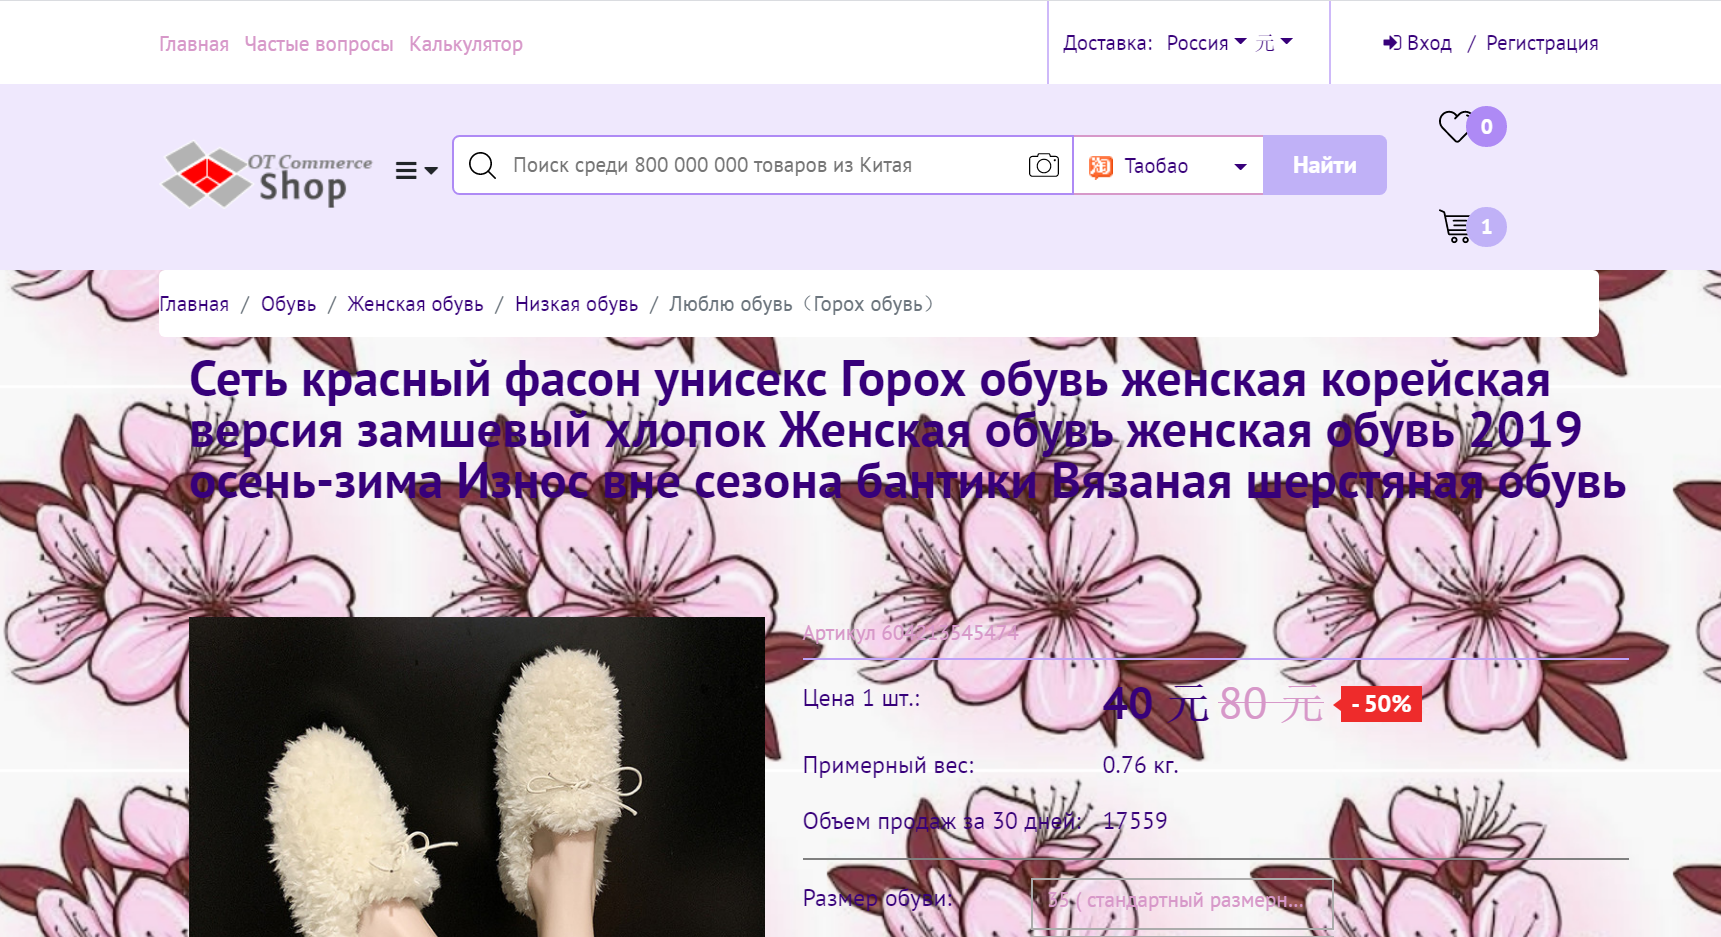 |
| Horizontal repeat | 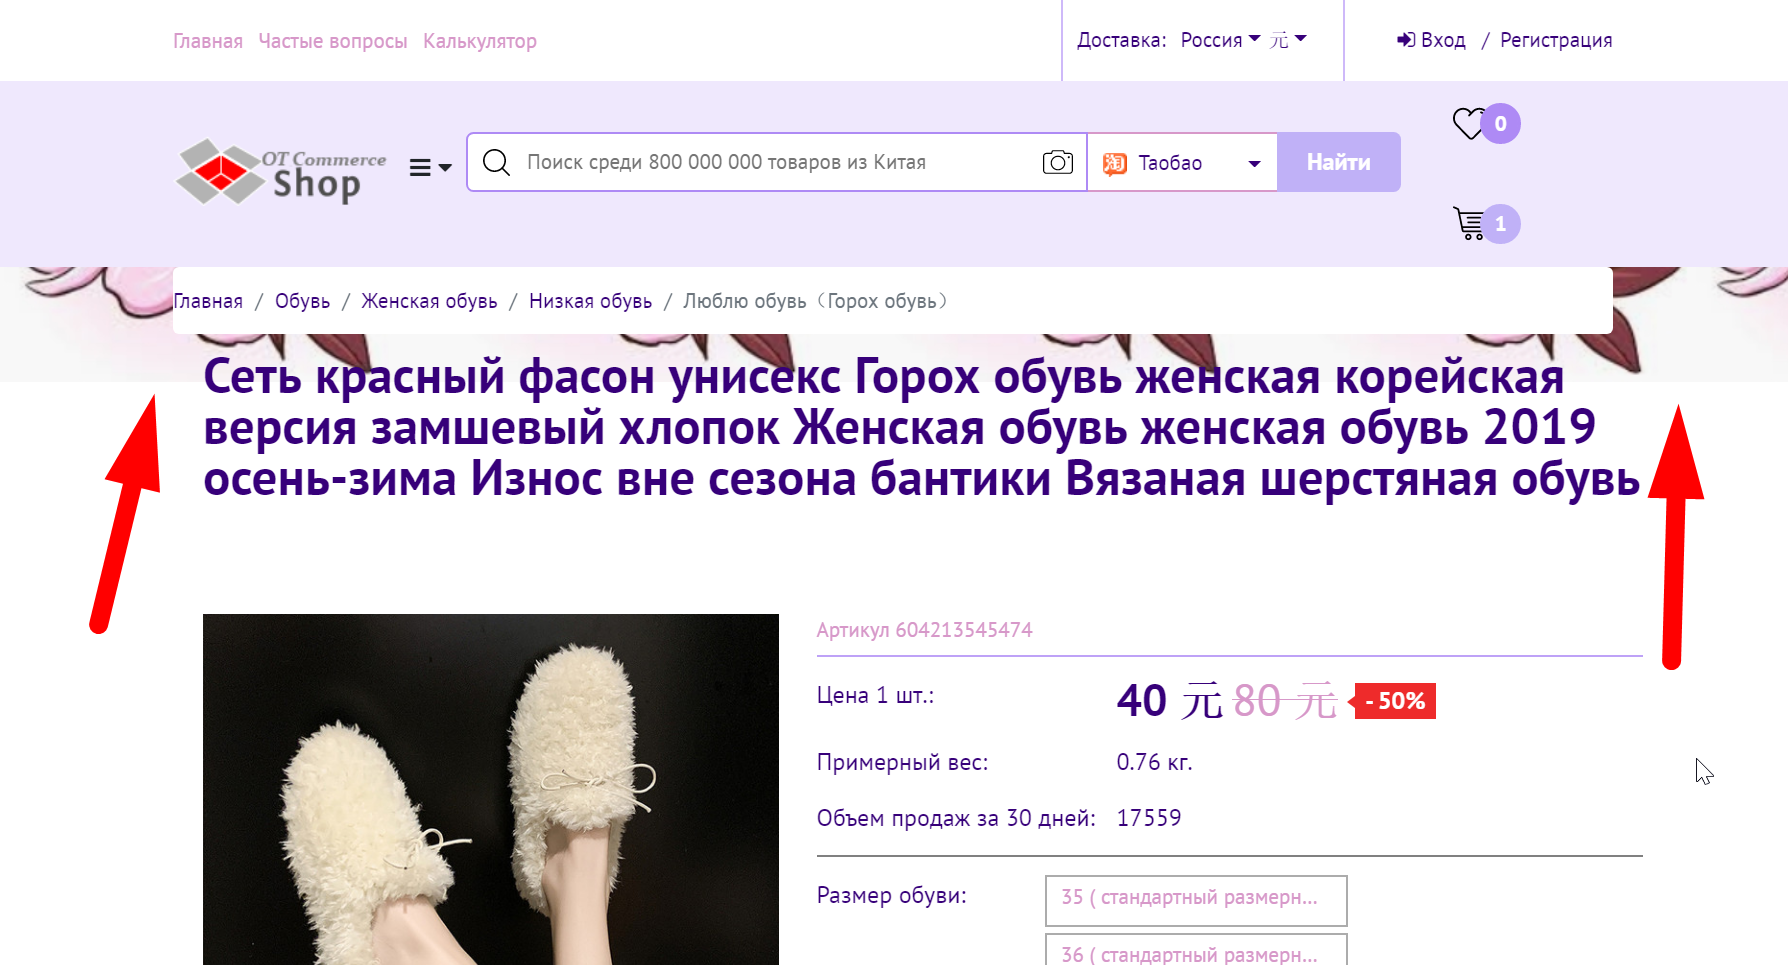 |
Virtical repeat |  |
Background position
Choose which side the image will be (or the beginning of tiling)
Let’s take a look at the “Vertical repeat” setting.
Setting | Site appearance |
|---|---|
Center |  |
Left | |
| Right |  |
Background attachment
If you fix the image, it will always be “pressed” to selected position. That is, it will remain at specified location when scrolling through the site. As an example, we will show background with “left” position and page header and header.
Setting | Page header | Page footer |
|---|---|---|
Fix (observe "Flower" position in the upper left). No matter how long the page is, scrolling the image will always be visible in its original form. Background is attached to the screen instead of the page. It is convenient to use when your background has a large picture the size of the screen and you want to always leave it visible. Or you have a beautiful ornament at site header which is a continuation of menu style. | |  |
Scroll (observe "Flower" position in the upper left). Image disappears from the screen when scrolling and remains only in that place of the page where it was fixed. Background in this case is attached to the page instead of the screen. Therefore, in the example it disappears when scrolling. It is convenient to use if design is necessary only for site header and there is no need to show it when scrolling the page. This option is also suitable for design focusing on products instead of distract from viewing content. | |  |
Чтобы задать позицию фонового изображения воспользуемся указанными выше настройками.
Выбираем нужную настройку кликом мышки по синей надписи с пунктиром.
В открывшемся списке выбираем кликом мышки нужную позицию и сохраняем выбор, нажав на кнопку с галочкой.
Когда все изменения внесены, нажимаем кнопку «Сохранить».

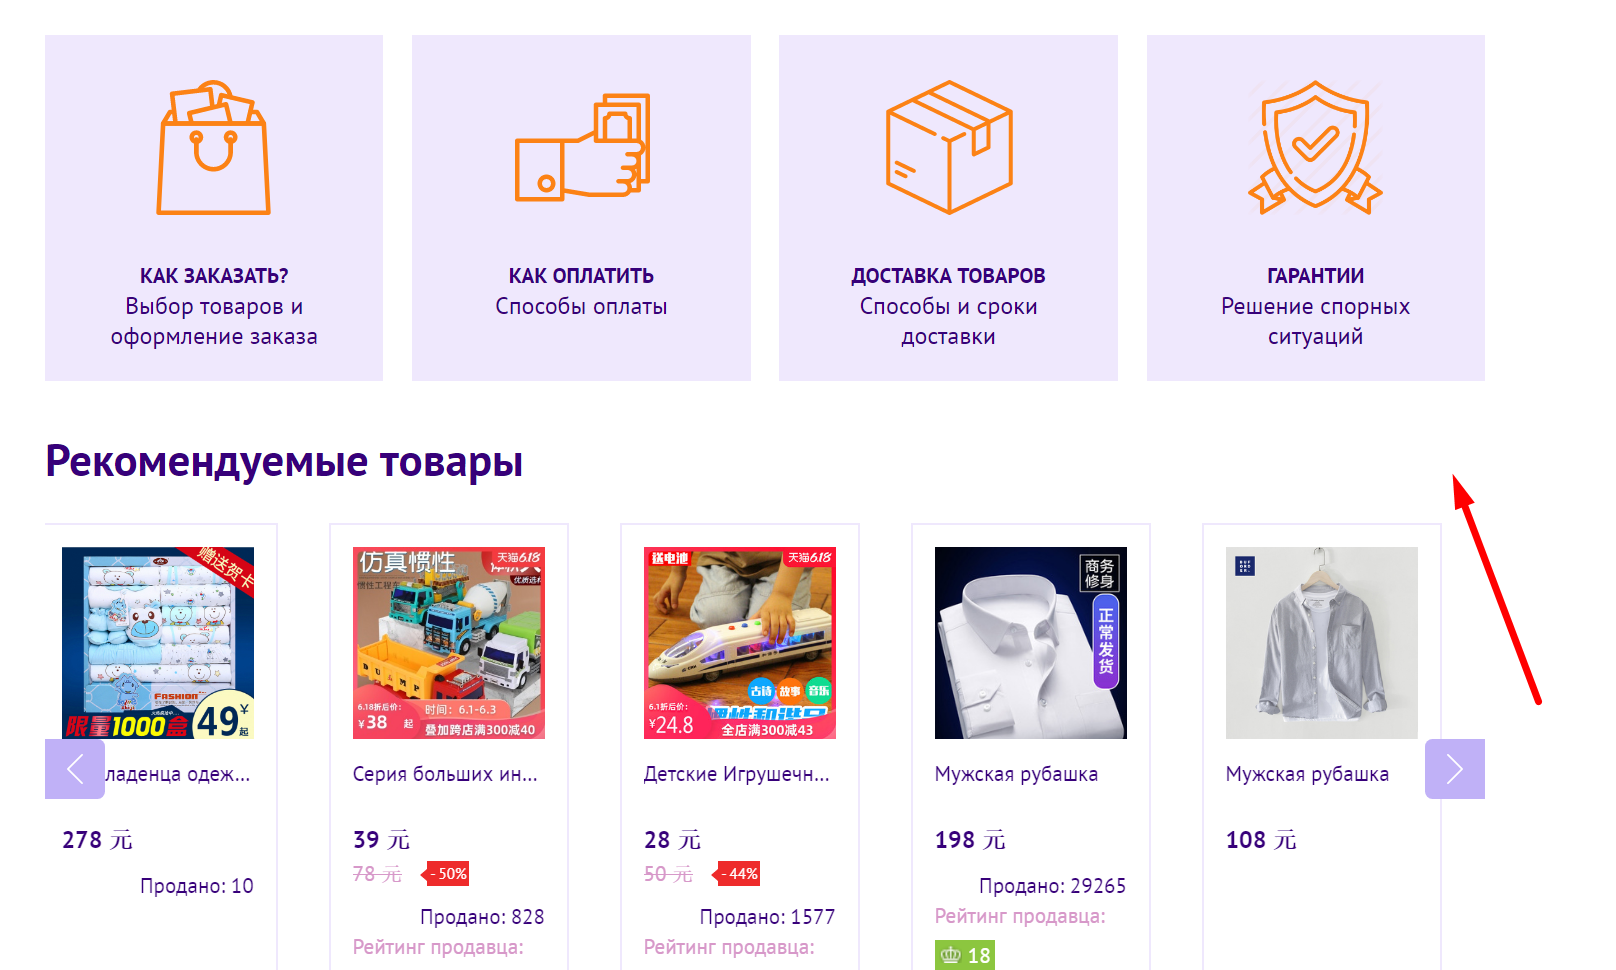
Добавляем баннеры со спецпредложениями
Для спецпредложений в шаблоне сайта есть 2 баннера сразу после карусели на главной станице.
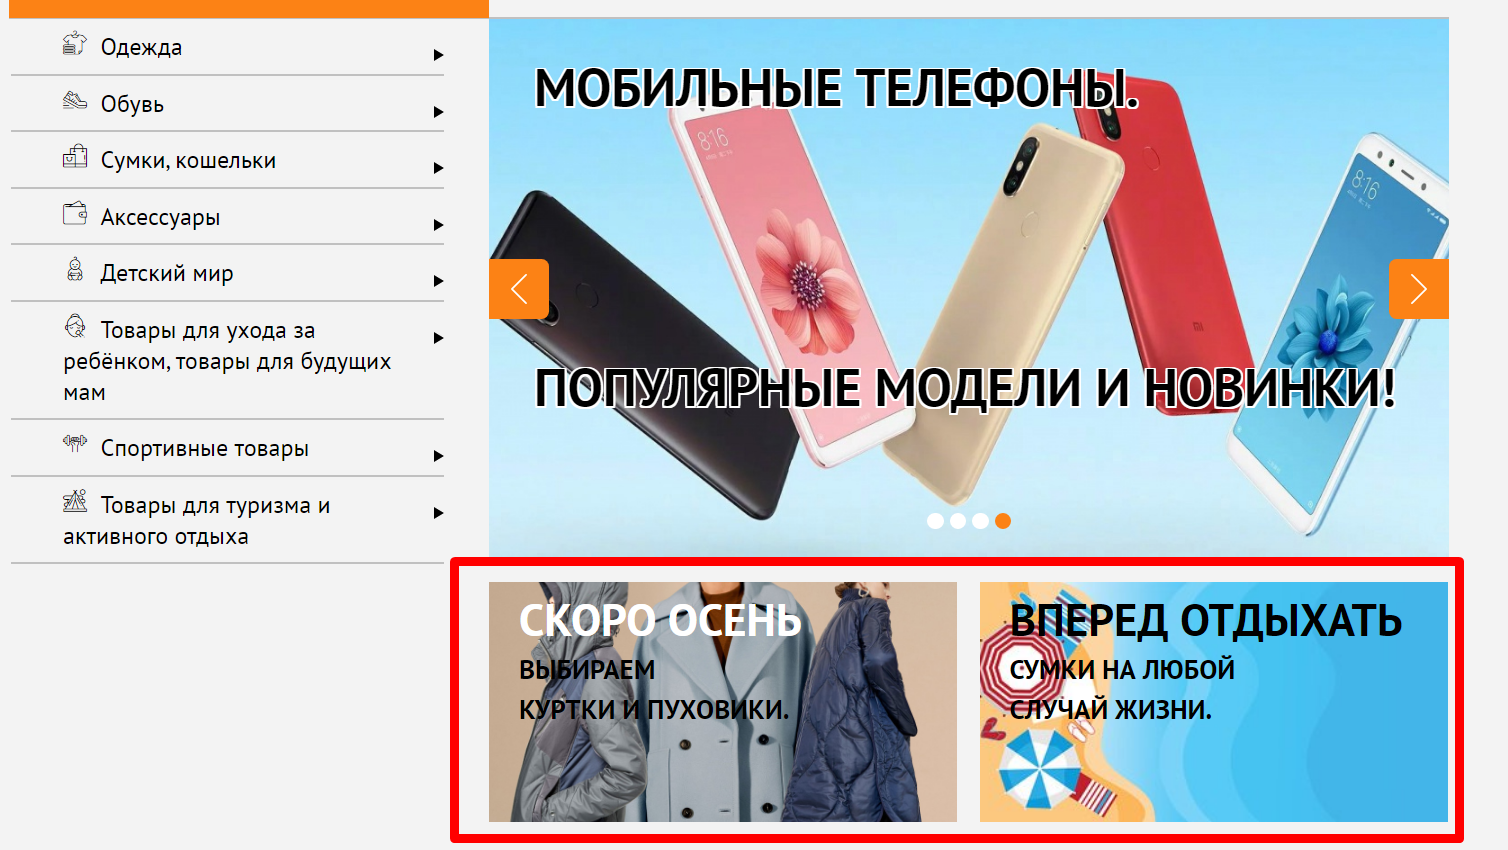
Размер каждого баннера 285×160 пикселей. Можно загрузить картинку любого размера и она автоматически обрежется под нужный размер.
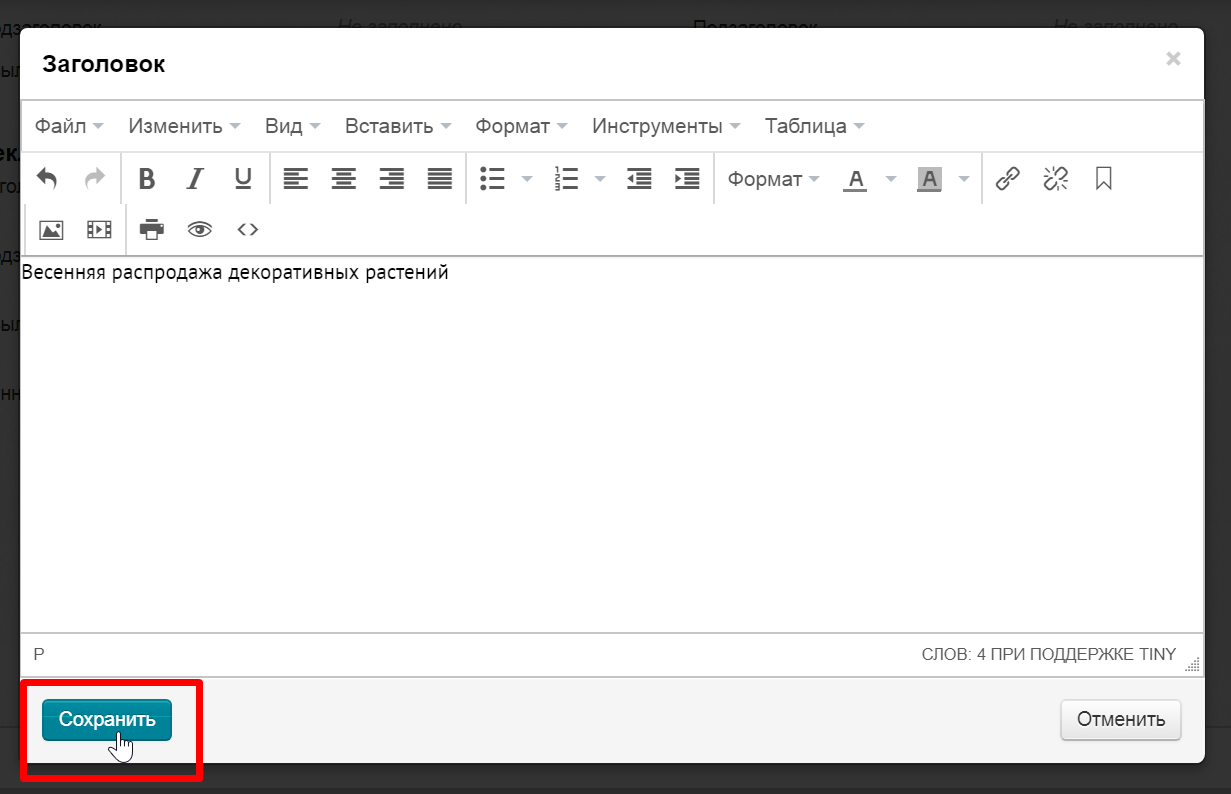
Для каждого баннера можно прописать заголовок и подзаголовок. Для этого нажимаем на специальное поле, чтобы появилось окошко редактора текста.
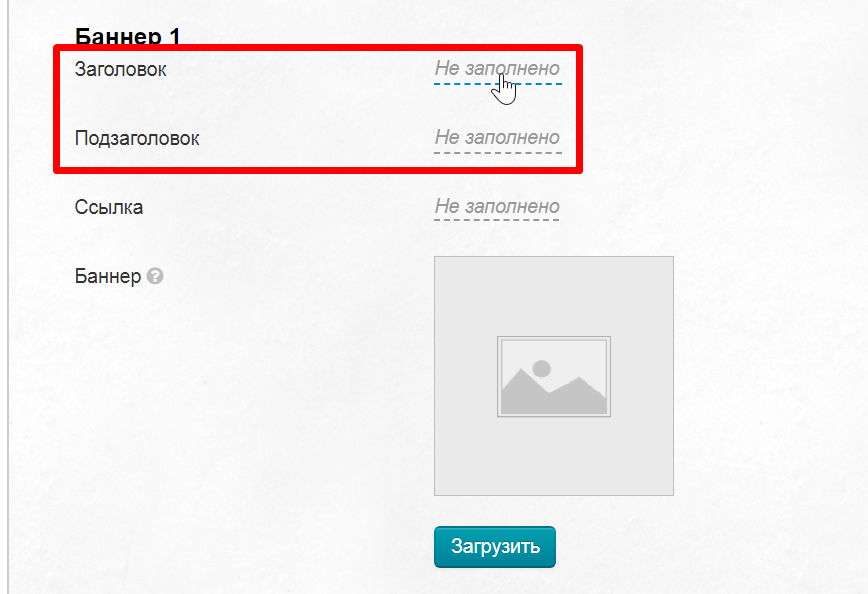
Когда откроется редактор текста, пишем Заголовок (или Подзаголовок), а затем меняем цвет, если необходимо.
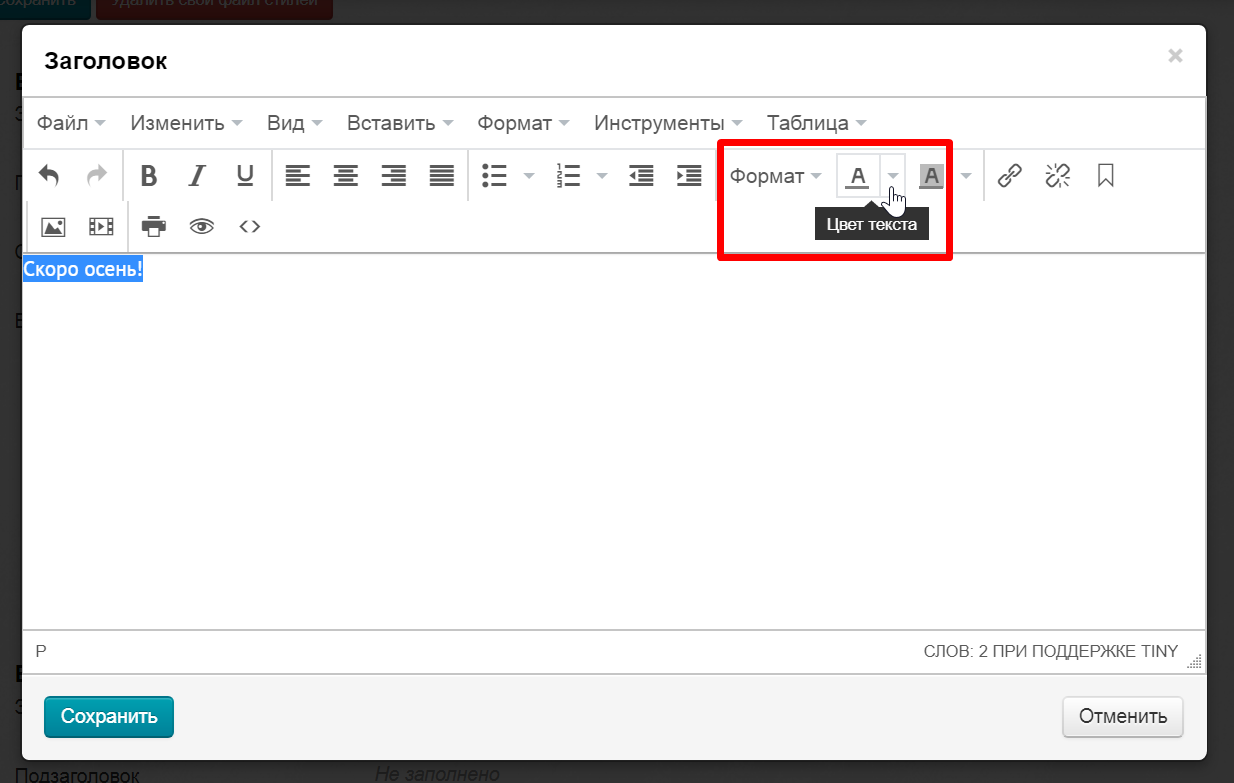
Кроме цвета можно изменить любые параметры текста. Редактор по своим функциям напоминает MS Word.
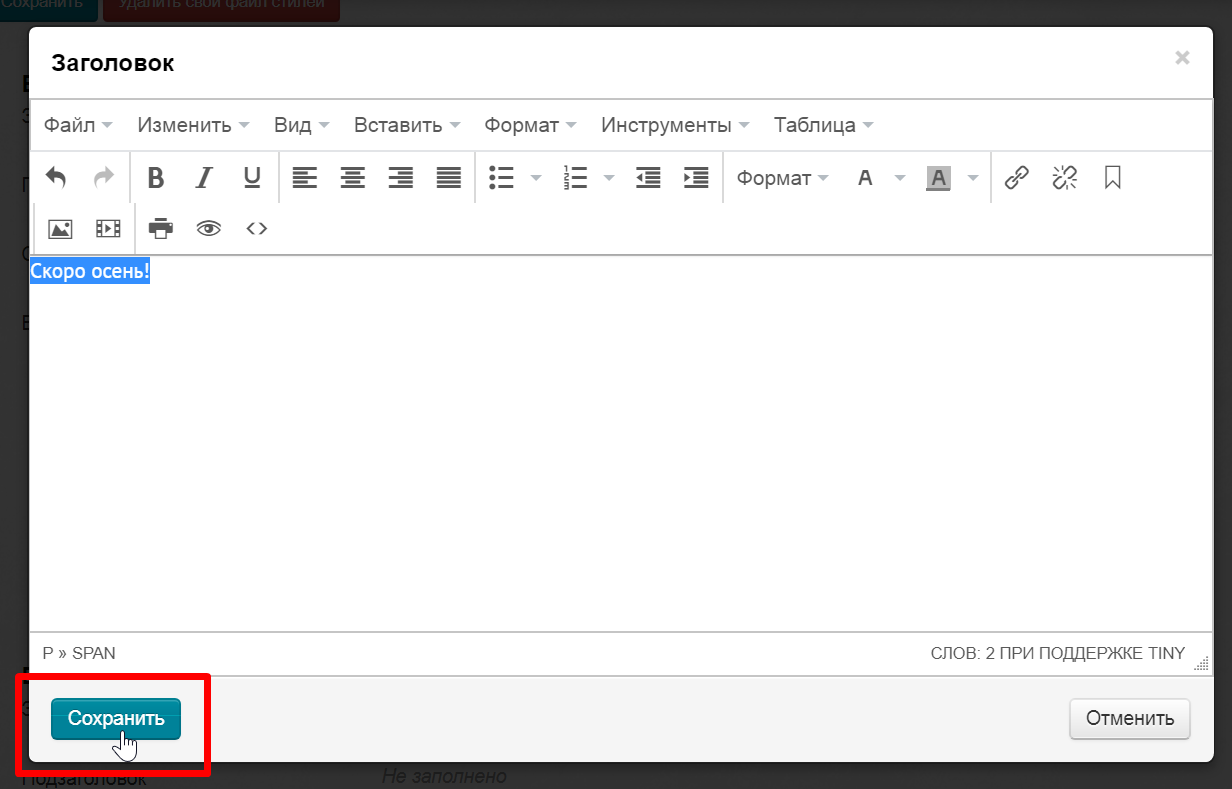
После внесения всех изменений сохраняем результат.
Текст на баннере кликабельный. Это значит, что посетитель сайта может перейти на страницу предложения, если заинтересован. Ссылка указывается в специальном поле.
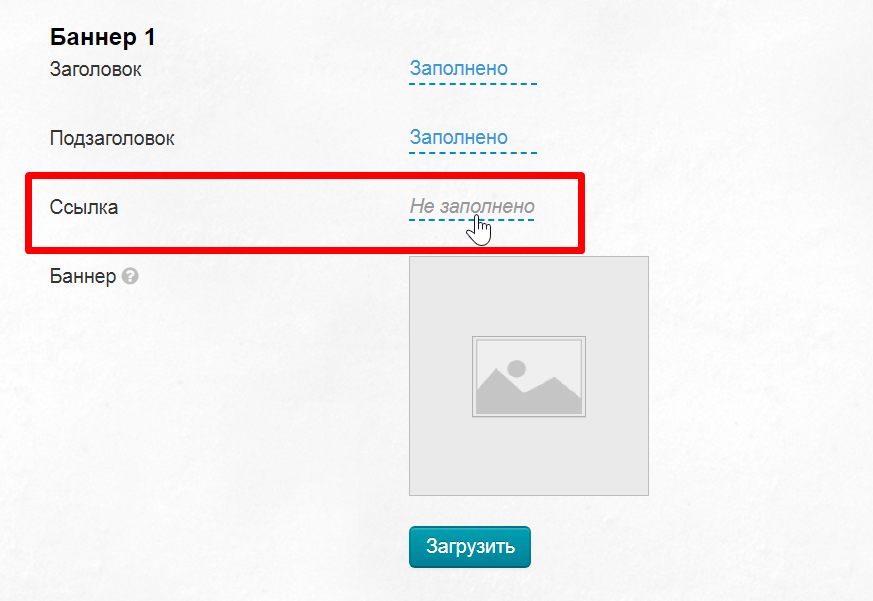
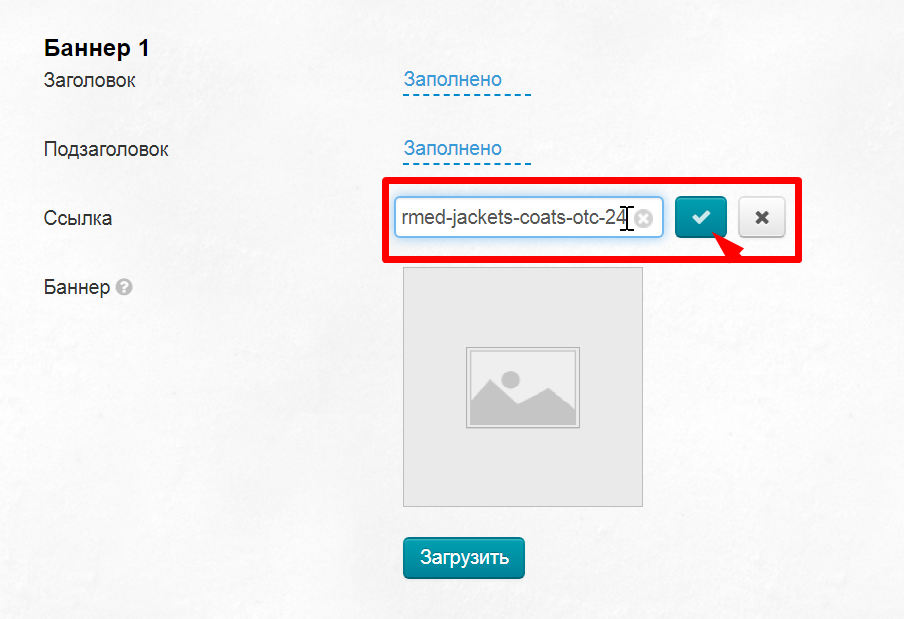
Выбираем страницу на которую будет вести баннер, копируем ссылку и вставляем в поле для ссылки. Сохраняем с помощью кнопки с галочкой.
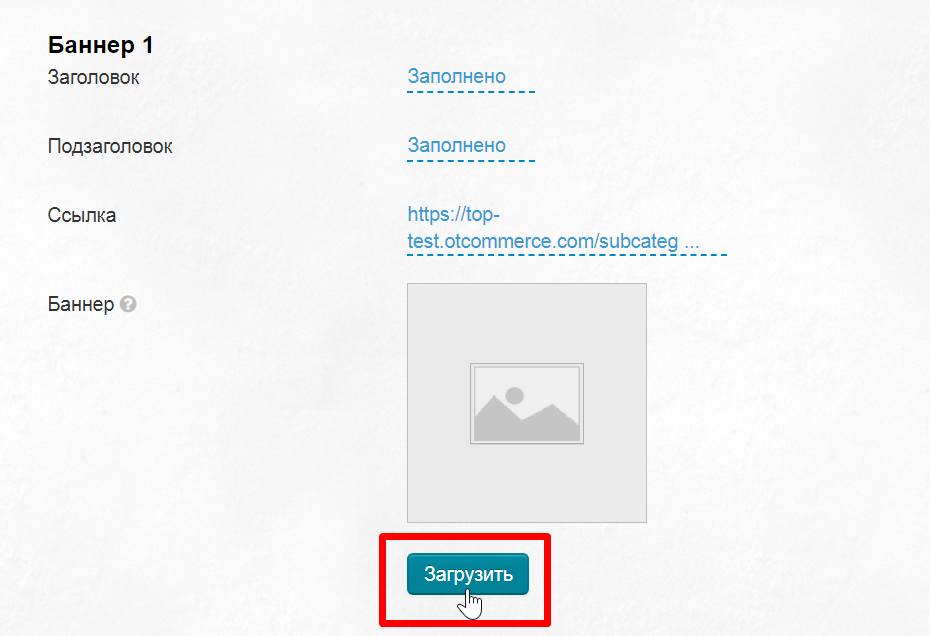
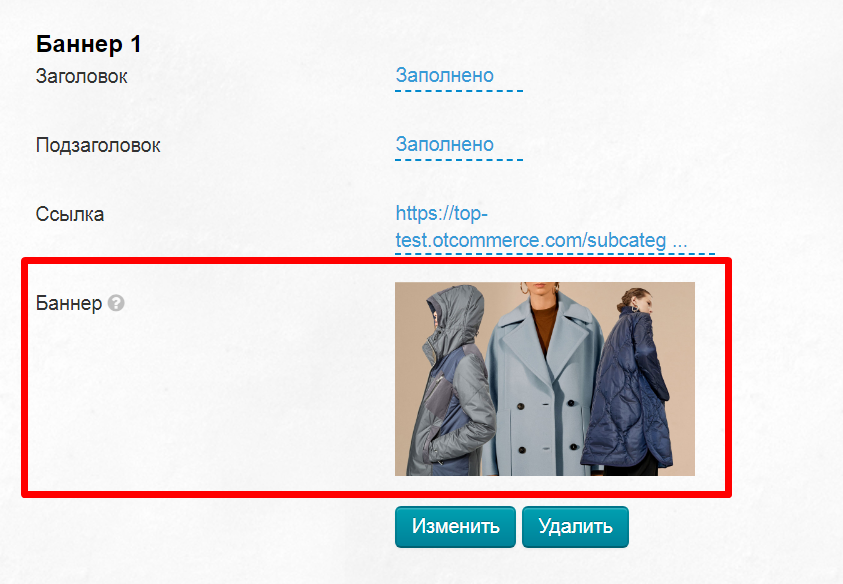
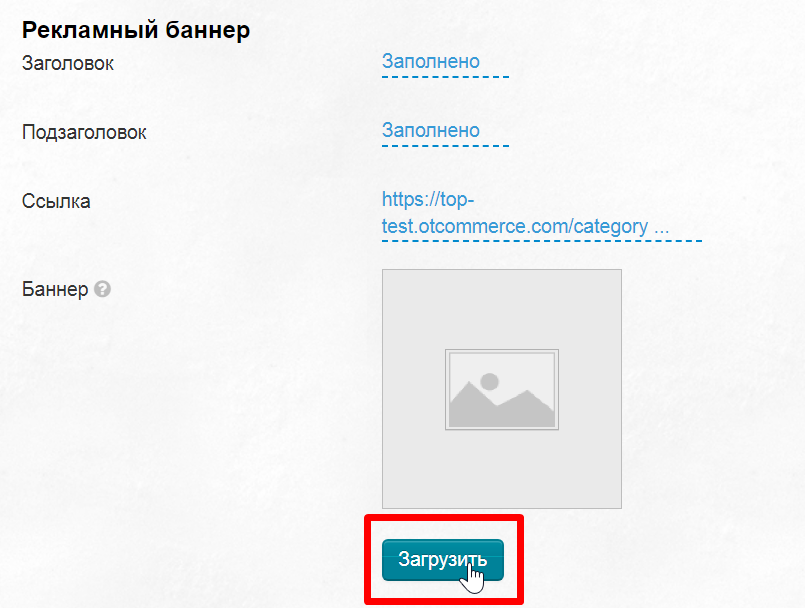
Теперь загружаем сам баннер. Нажимаем кнопку «Загрузить», чтобы выбрать файл на вашем компьютере. Изображение сохраняется автоматически.
Размер каждого баннера 285×160 пикселей. Можно загрузить картинку любого размера и она автоматически обрежется под нужный размер.
Таким же образом добавляем второй баннер.
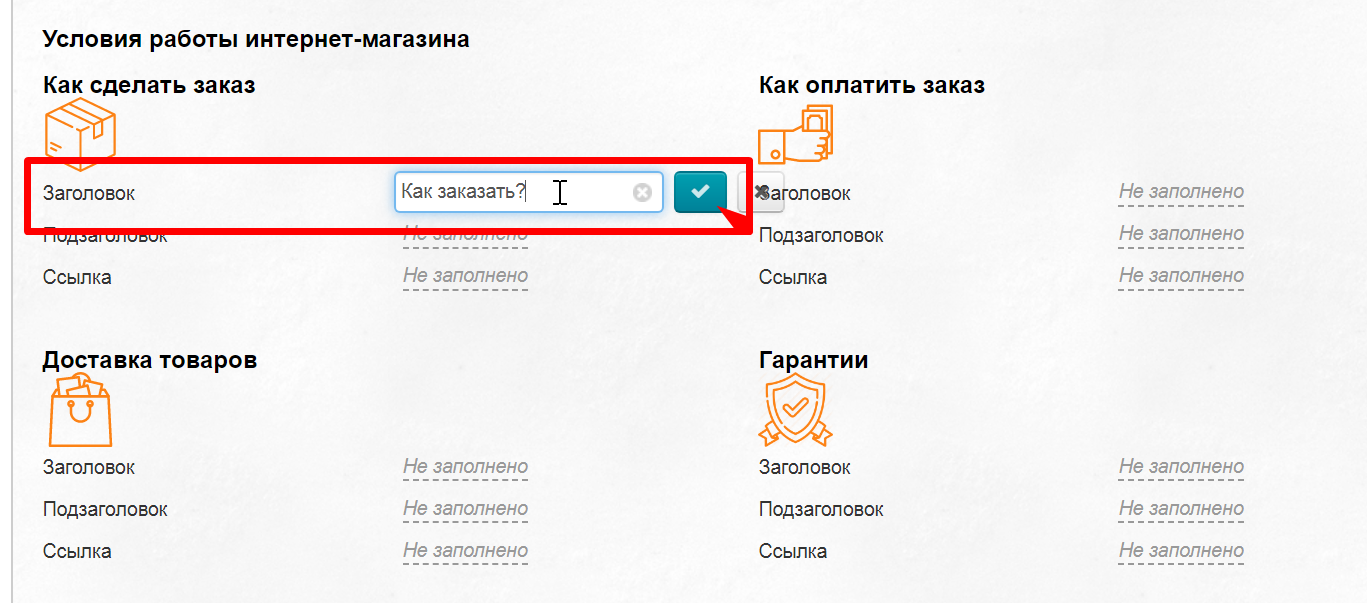
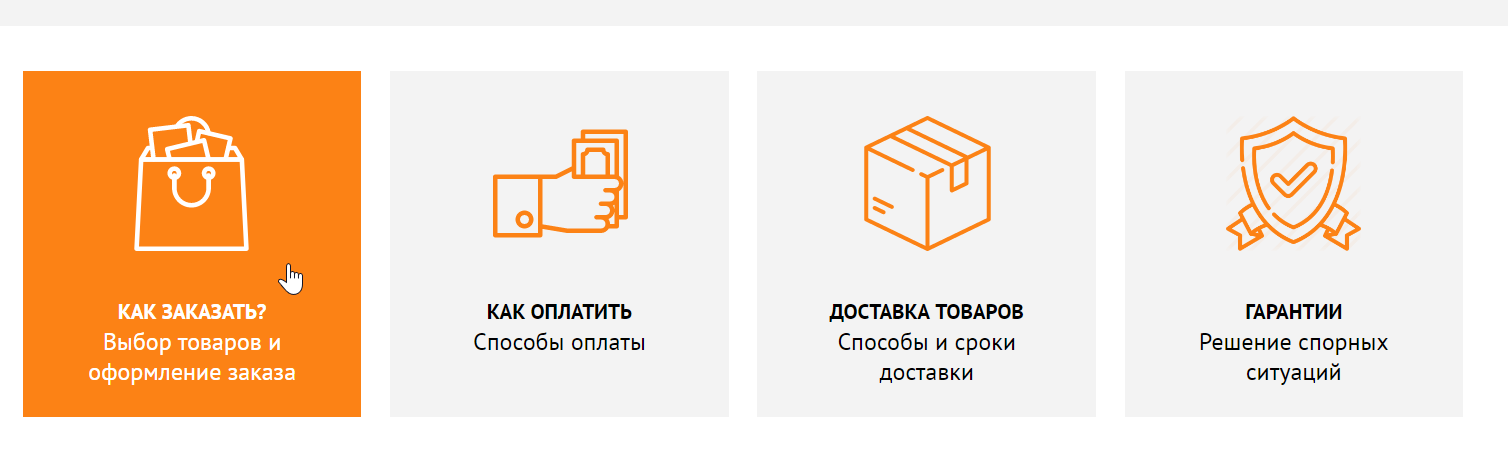
Заполняем условия работы интернет-магазина
Для каждого пункта условий работы необходимо создать страницы на сайте в разделе «Содержание → Страницы → Пользовательские» где будут описаны подробности.
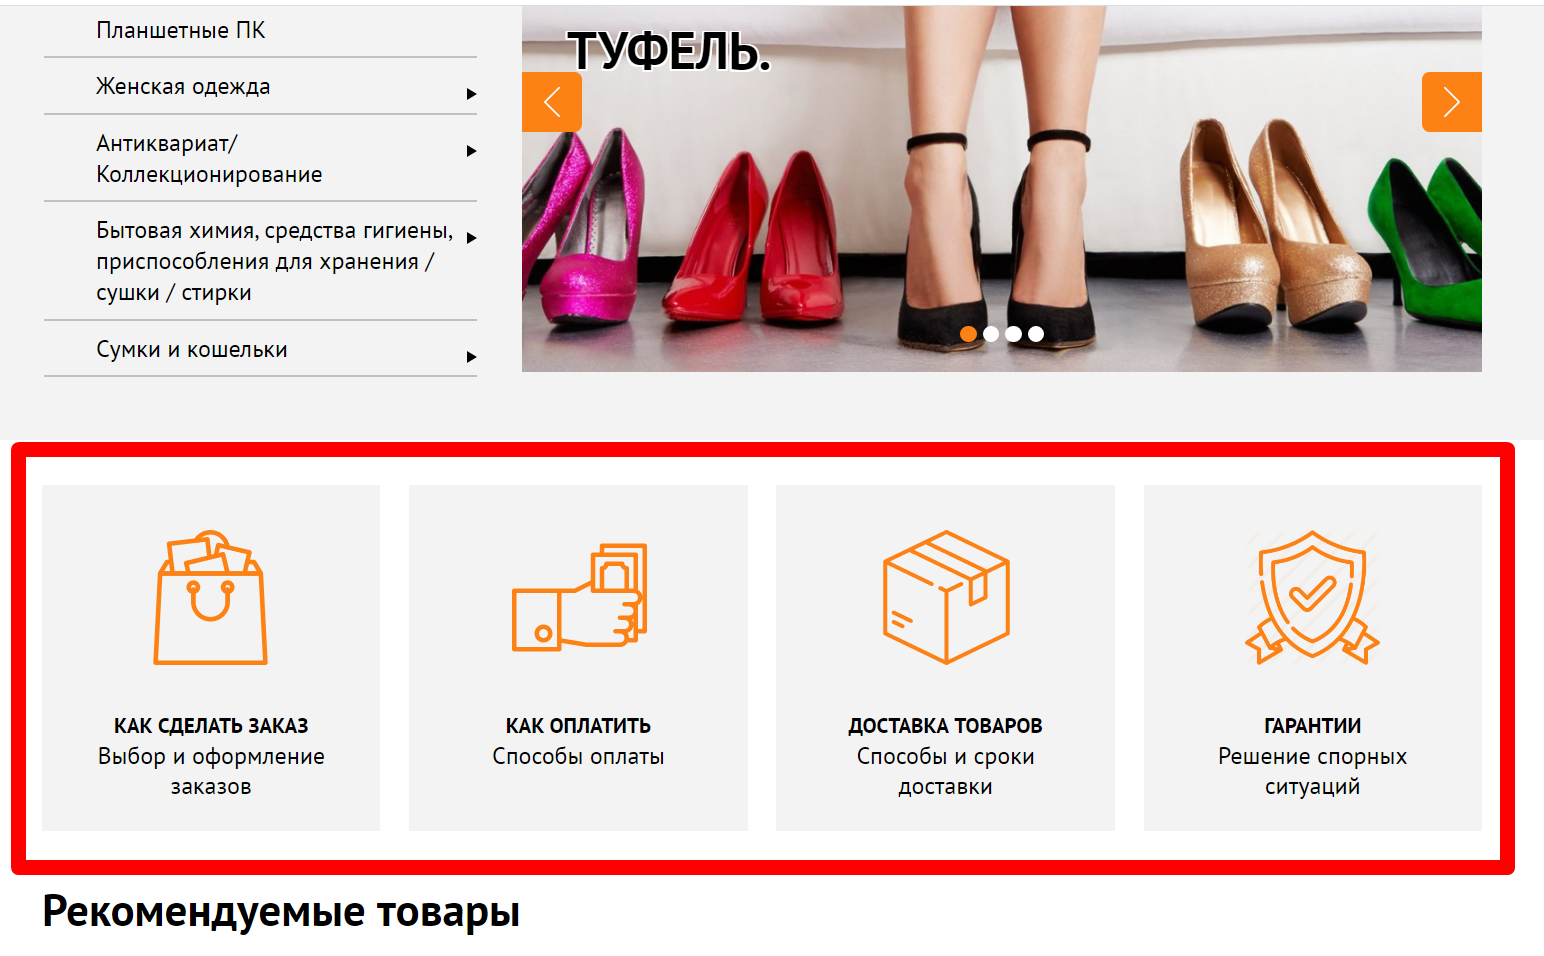
Ключевую же идею можно вписать в спец блоки на главной странице.
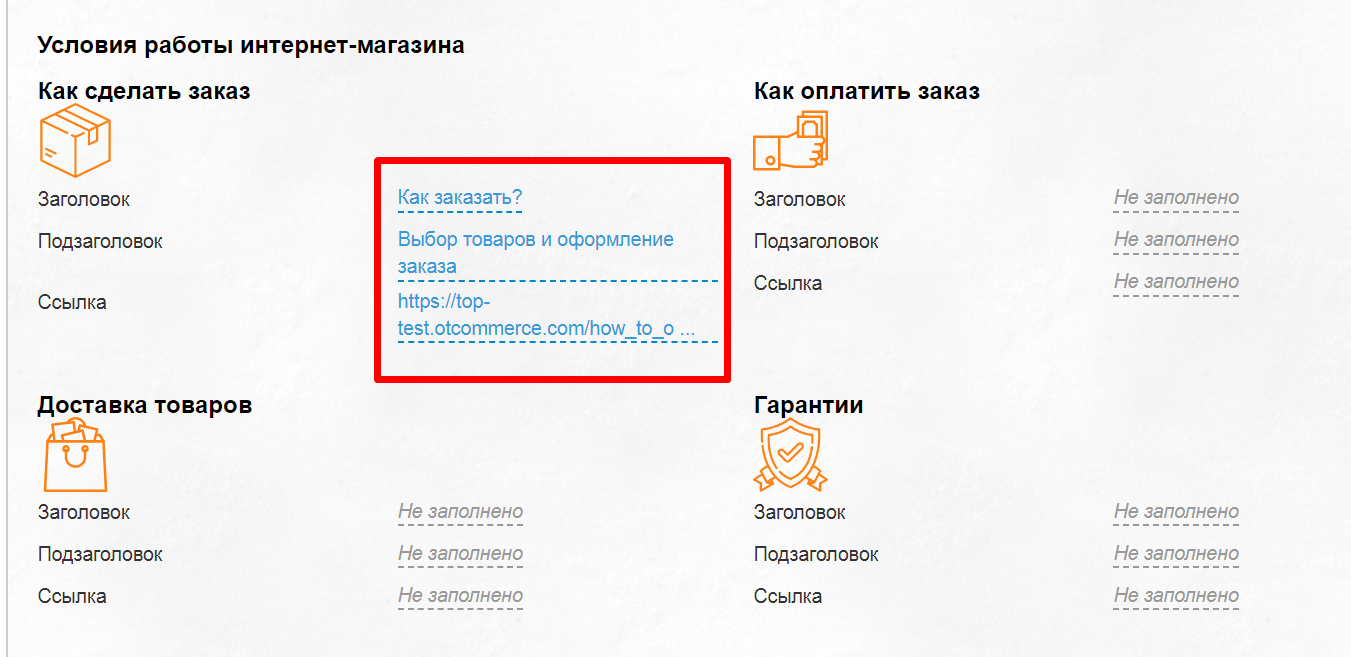
Для каждой иконки есть заголовок, подзаголовок и поле для ссылки.
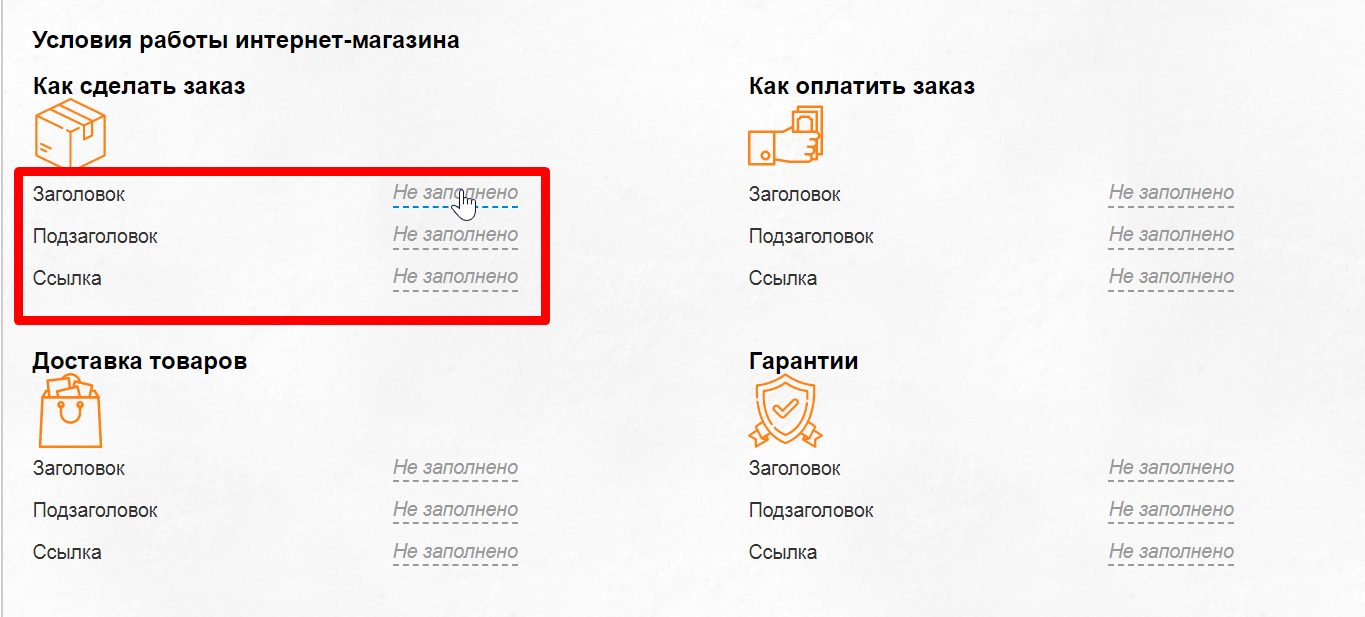
При клике на соответствующее поле откроется окошко ввода текста. Пишем условия и сохраняем кнопкой с галочкой.
После того как заполнены все поля, можно убедиться что и на сайте данные изменились.
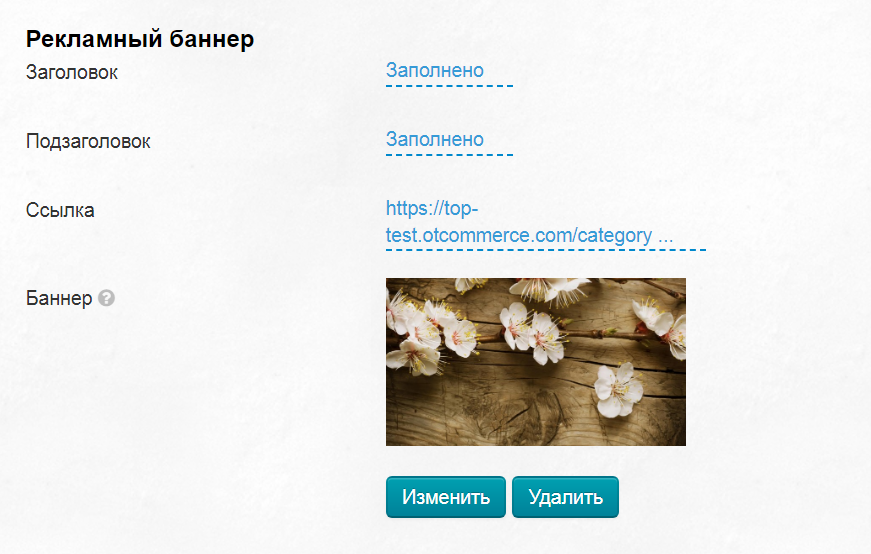
Добавляем еще баннер
Размер баннера 1420x260 пикселей. Можно загрузить картинку любого размера и она автоматически обрежется под нужный размер.
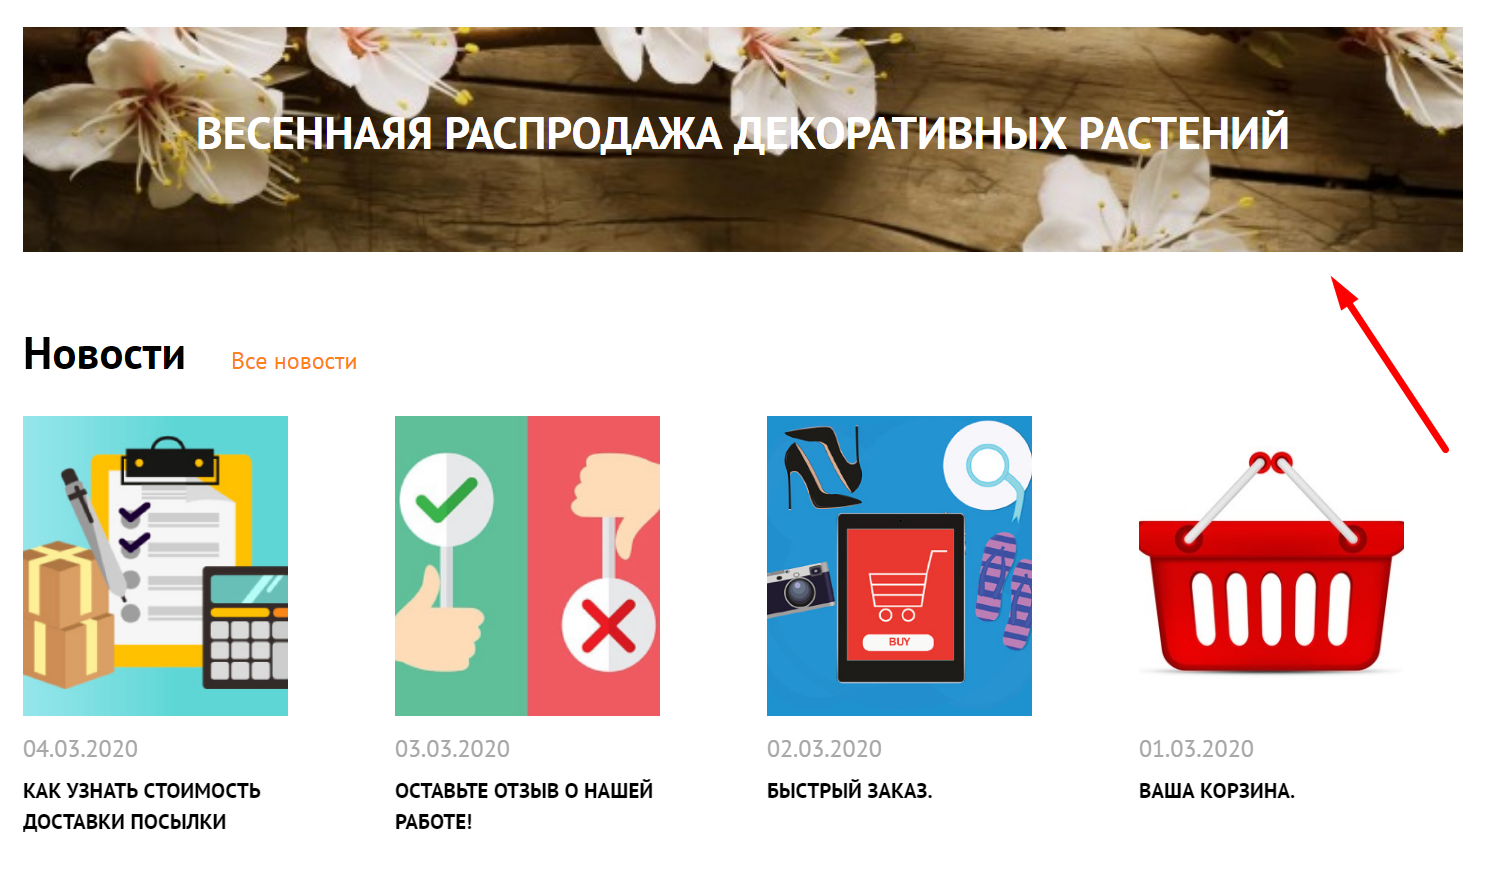
Располагается баннер над блоком новостей на главной странице сайта.
Для баннера можно прописать заголовок, подзаголовок и указать ссылку. Кликаем по надписи «Не заполнено», чтобы открылось окошко редактора текста.

Когда откроется редактор текста, пишем Заголовок (или Подзаголовок), а затем меняем цвет, если необходимо.

Кроме цвета можно изменить любые параметры текста. Редактор по своим функциям напоминает MS Word.
После внесения всех изменений сохраняем результат.
Теперь загружаем сам баннер. Нажимаем кнопку «Загрузить», чтобы выбрать файл на вашем компьютере. Изображение сохраняется автоматически.
Размер баннера 1420x260 пикселей. Можно загрузить картинку любого размера и она автоматически обрежется под нужный размер.
Изображение сохранится автоматически и сразу обновится на сайте.